




Warning! The content within this article is over 36 months old and, therefore, may be out of date.
HOWTO: Deploy VMware vRealize Business for Cloud for vRealize Automation
Share this article on:



Certification VCAP6-CMA VCIX6 VMware vRealize Automation vRealize Business
Published on 12 March 2017 by Christopher Lewis. Words: 534. Reading Time: 3 mins.
Introduction
This post is a part of a series of posts for preparation for the VCAP6-CMA Deploy exam. For the full exam prep resources check here .
In this post we are covering the deployment of vRealize Business for Cloud.
Prerequisite Steps
- A fully deployed vRealize Automation implementation.
Overview
- Deploy VMware vRealize Business for Cloud Appliance.
- Configure integration with vRealize Automation.
Step by Step Instructions
Note:
For anyone who has deployed an OVF/OVA before (such as the vRealize Automation Identity Appliance or the vRealize Automation Appliance) the steps will look very familiar!
- Within the VMware vSphere Web Client, right click and select Deploy OVF Template.
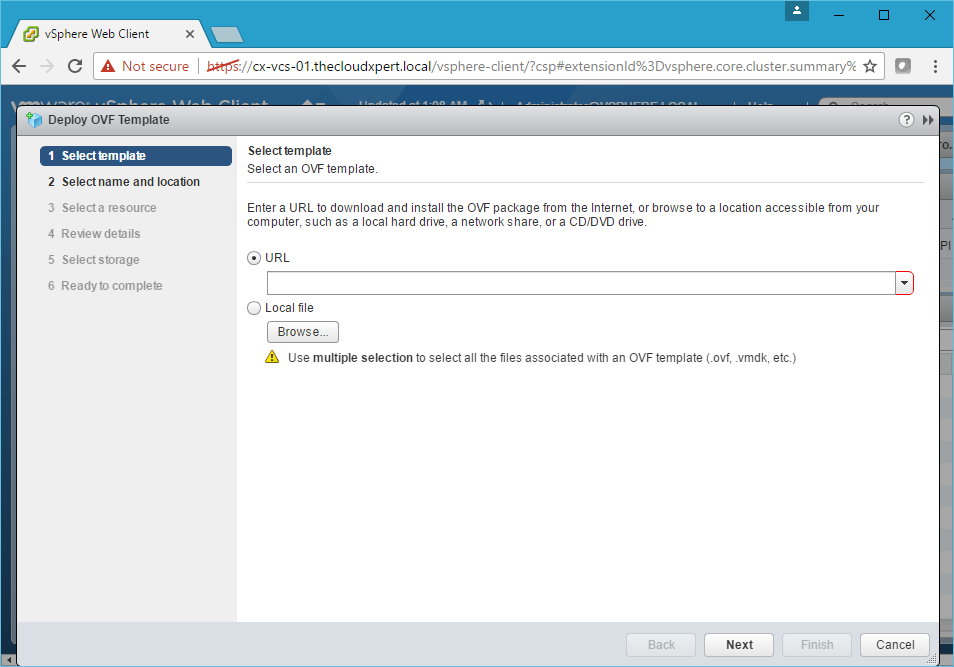
- Click Browse, navigate to the location of the vRealize Business Standard OVA, select it and then click Open and then click Next.
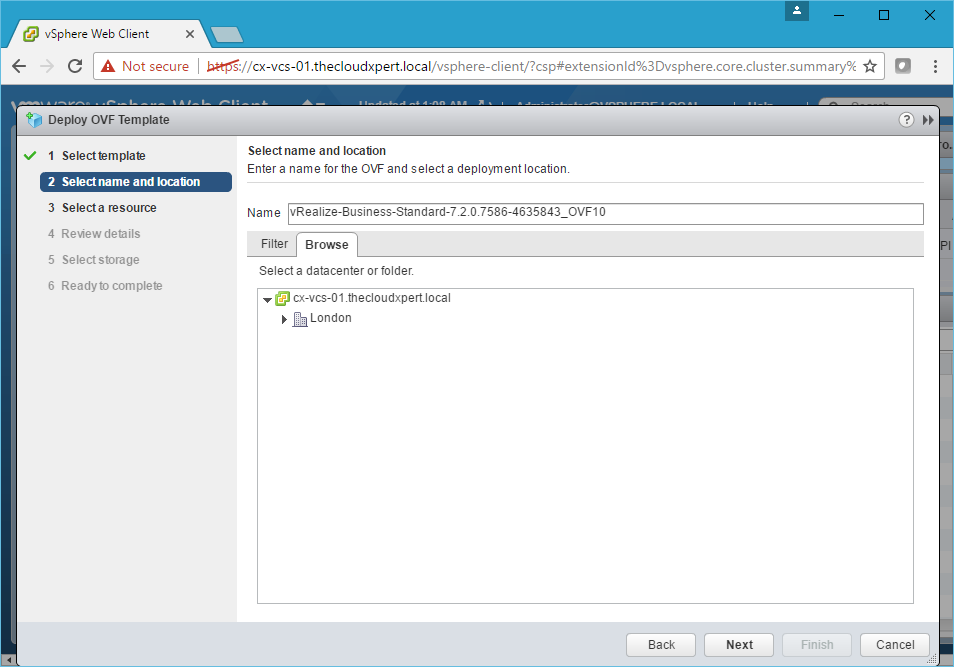
- Type the vRealize Realize Business Appliance name into the the Name text field and then select the Datacentre or folder location to deploy the Appliance.
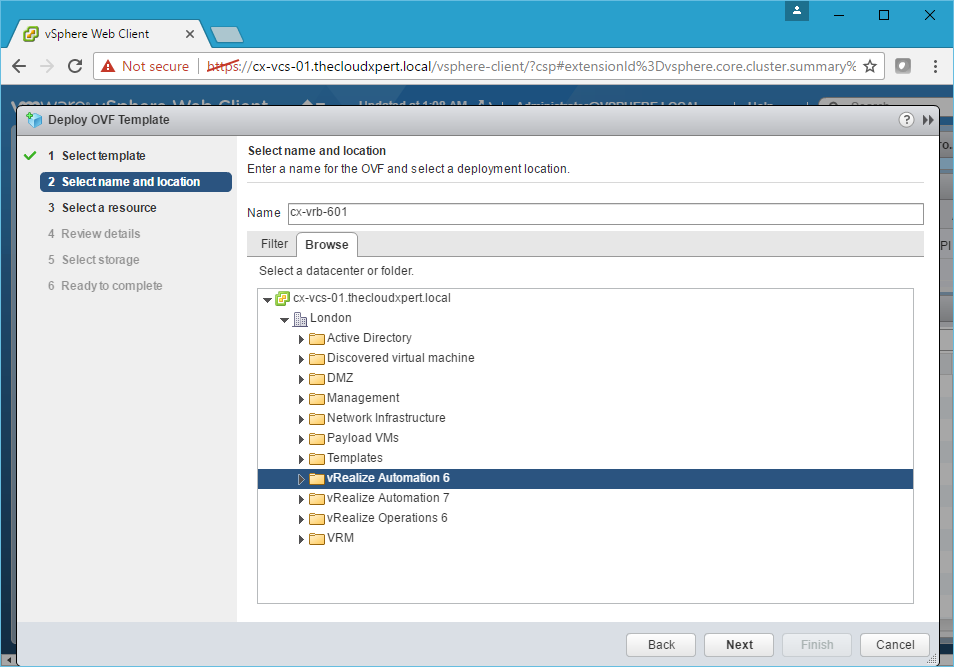
- Click Next.

- Select the appropriate cluster, host or resource pool and then click Next.
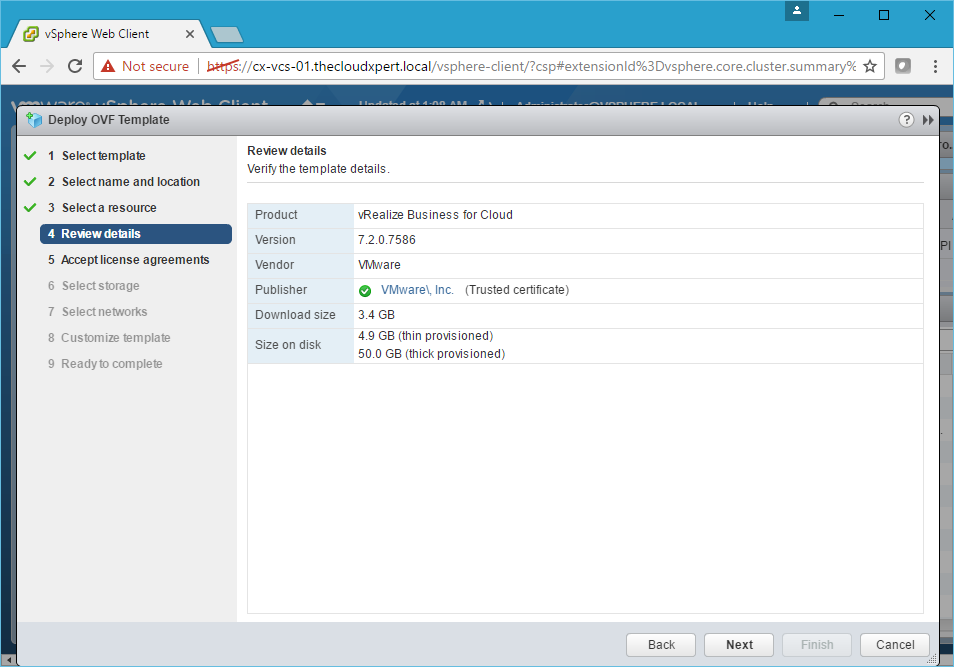
- Click Next.
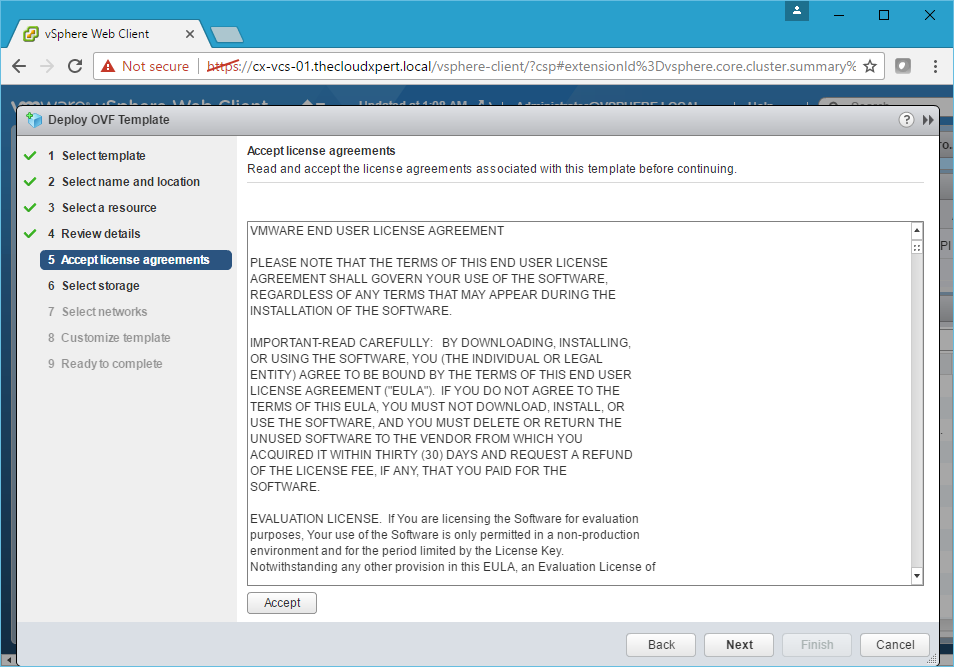
- Click Accept and then Next.
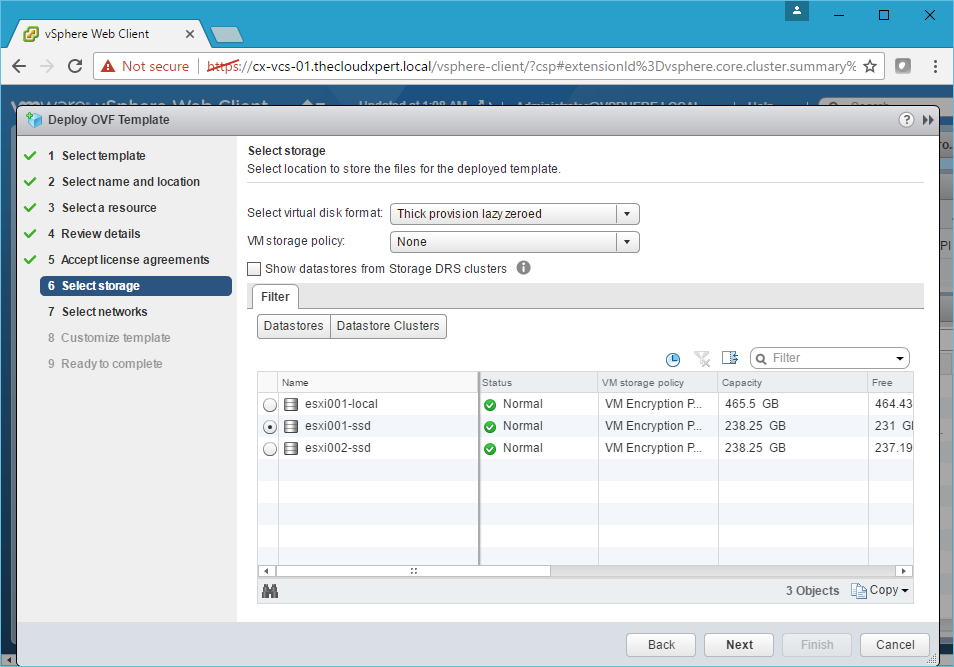
- Select the appropriate storage format and location and then click Next.
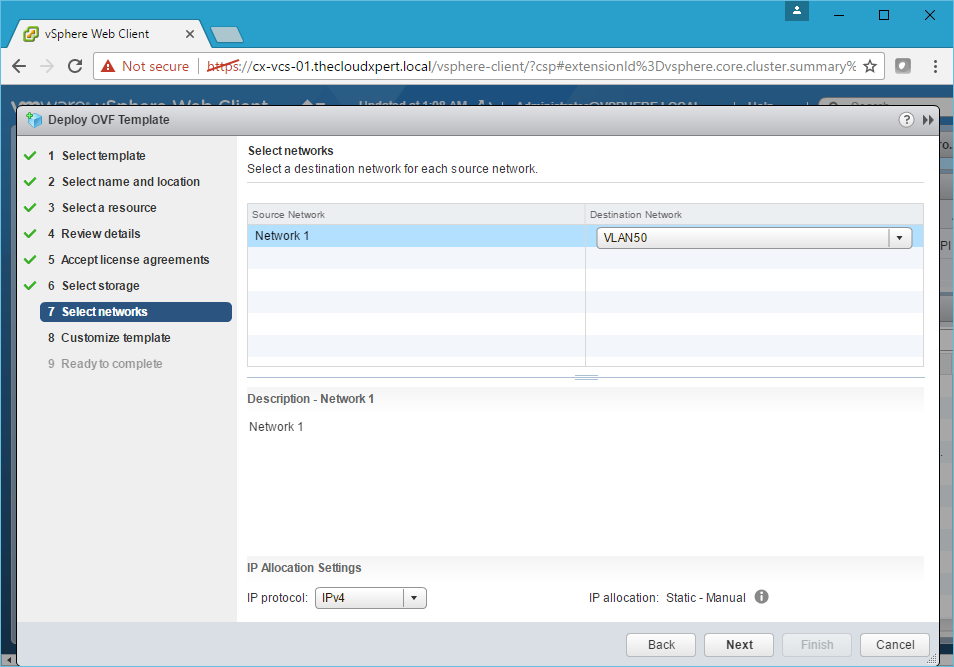
- Choose the correct Port Group from the Destination Network dropdown and click Next.
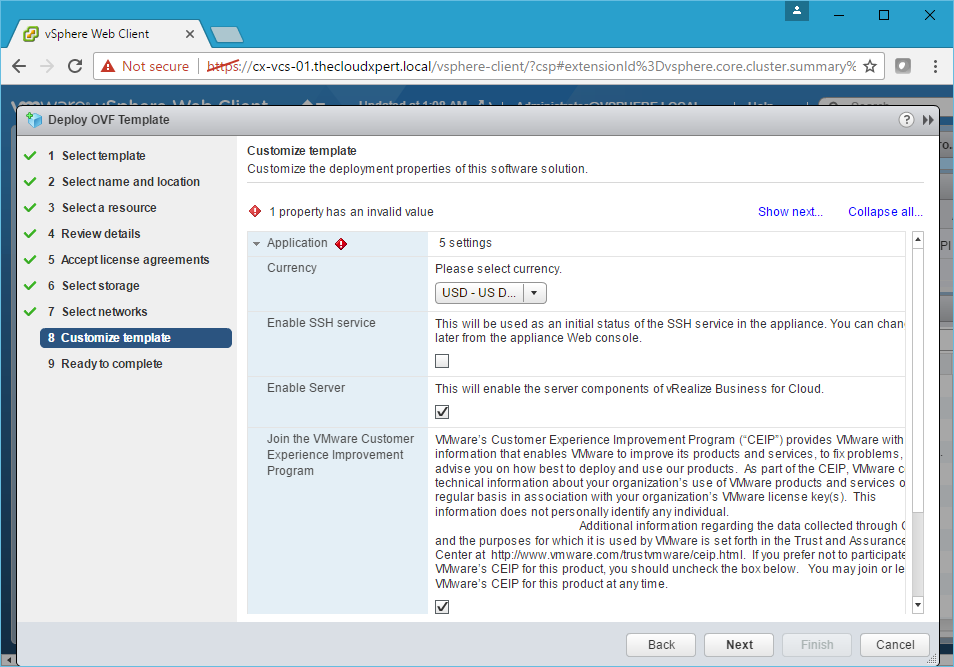
- Select the appropriate Currency from the dropdown (for me that is GBP), check the Enable SSH service in the appliance checkbox (this can be disabled later), check the Enable Server checkbox and type (then confirm) the vRealize Business Appliance Root password in the Enter password and Confirm password text boxes.
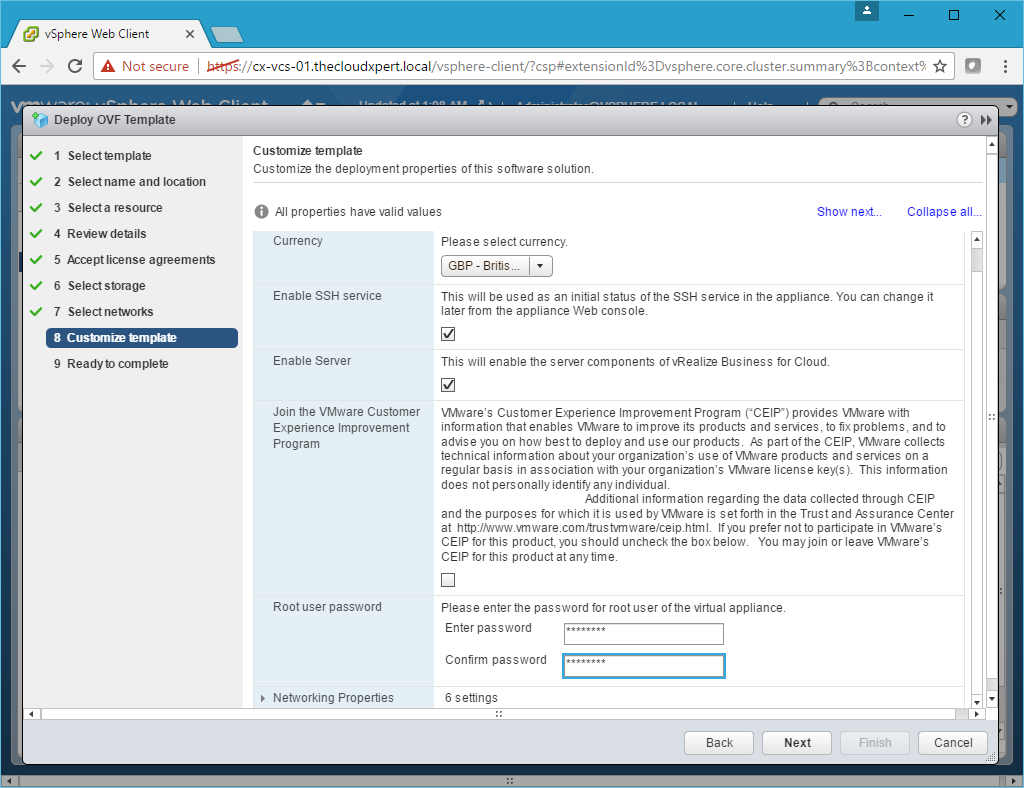
- Minimise Application and expand Networking Properties.

- Type the Gateway IP Address into the Default Gateway text box, type the name of the domain into the Domain Name text box, type the IP Address(es) of the DNS Server(s) into the Domain Name Servers text box, type the Appliance IP Address into the Network 1 IP Address text field and finally add the Netmask into the Network 1 Netmask text field.
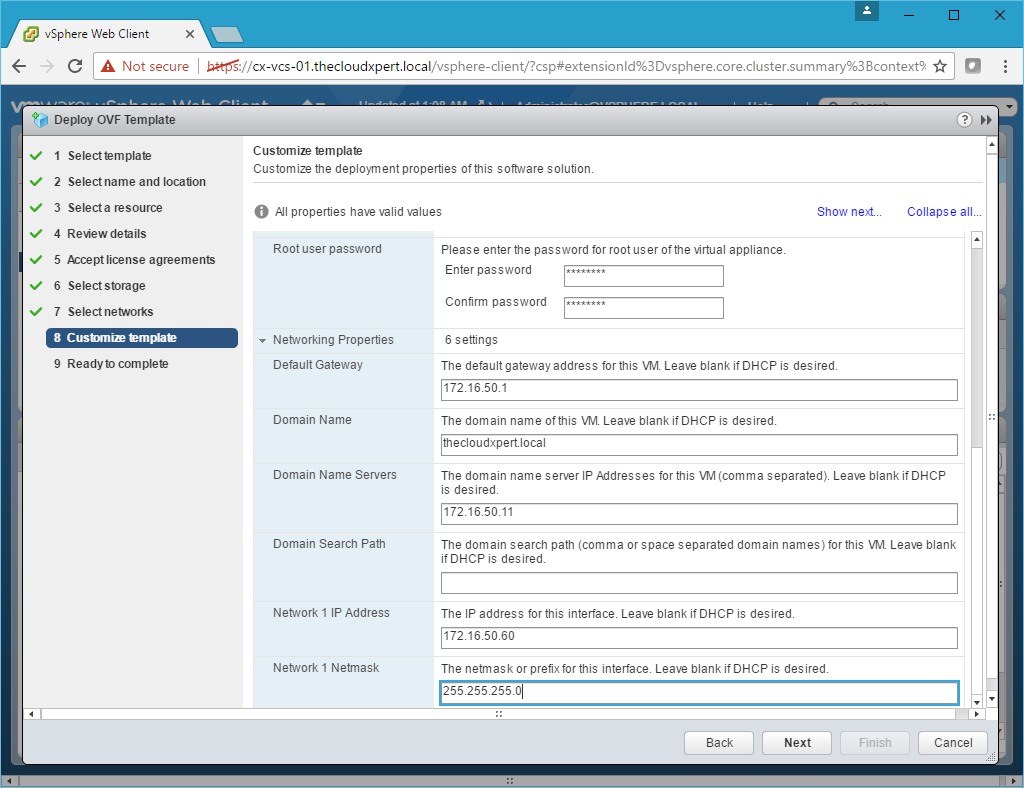
- Click Next.
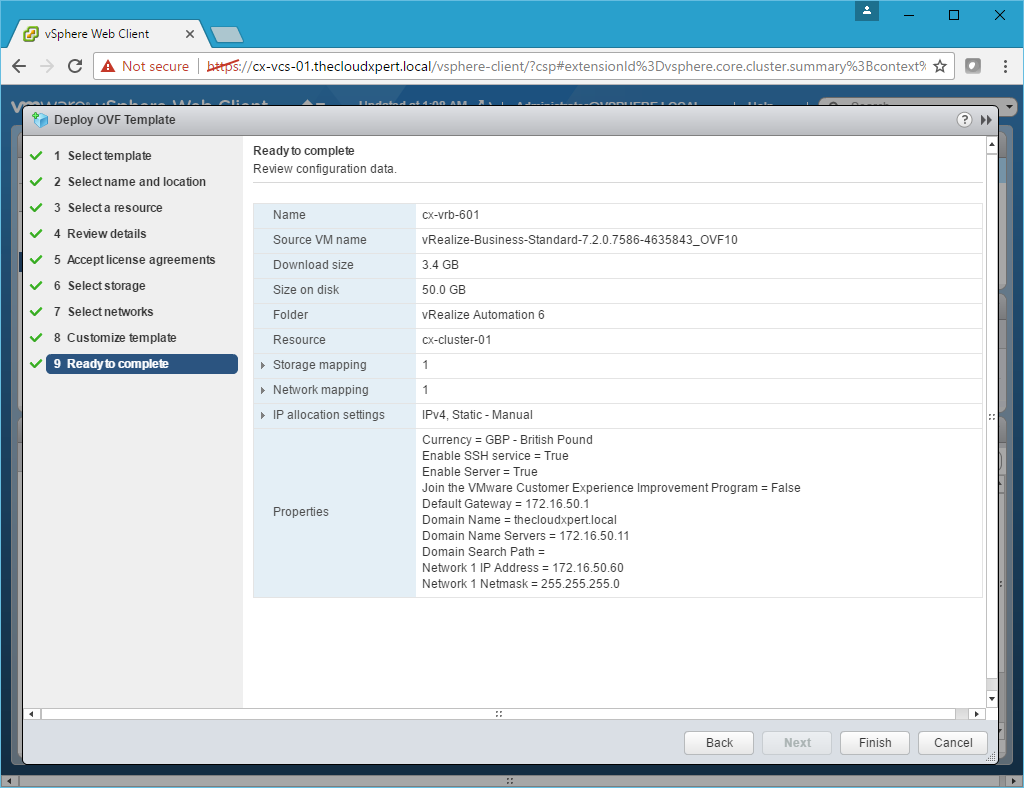
- Click Finish.
Configure integration with vRealize Automation
- Navigate to the vRealize Business VAMI interface (
https://vrb-appliance.fqdn:5480).
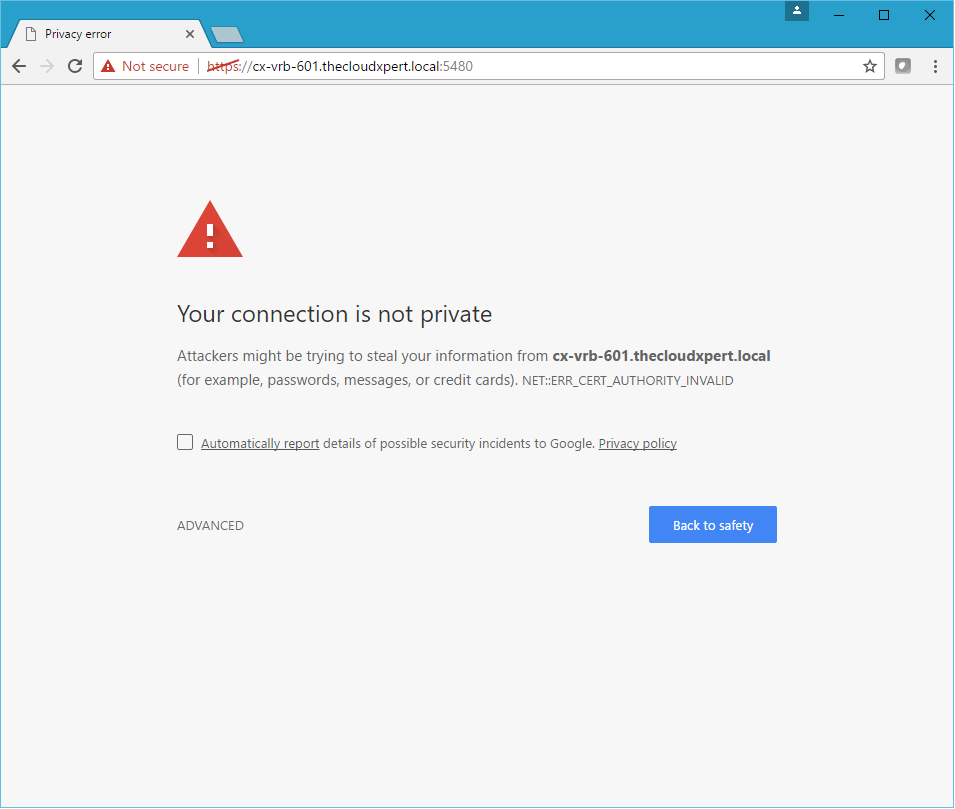
- Click Advanced and then click on Proceed to vrb-appliance.fqdn (unsafe)
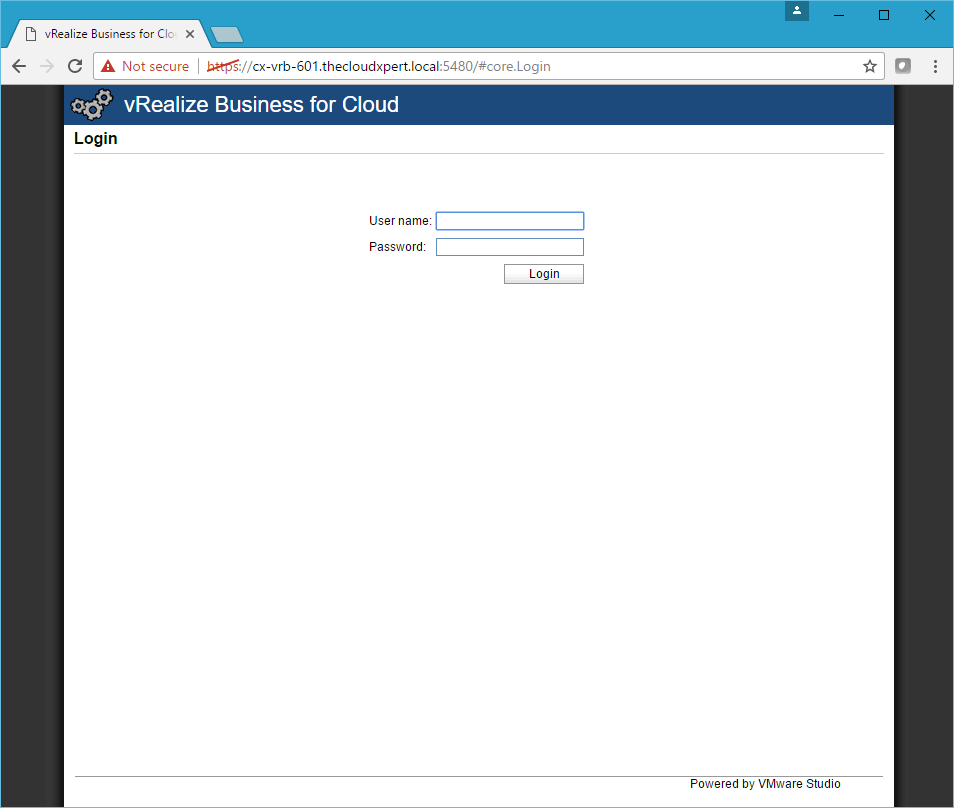
- Log in using the
rootcredentials.
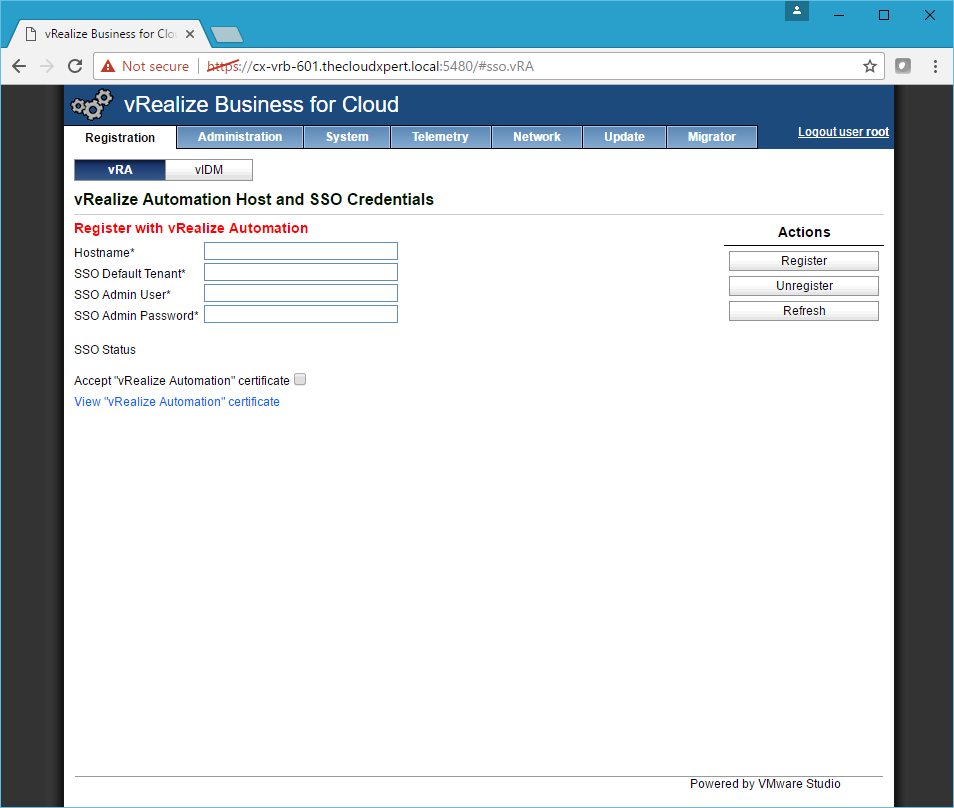
- Click the Administration tab and then click Time Settings.
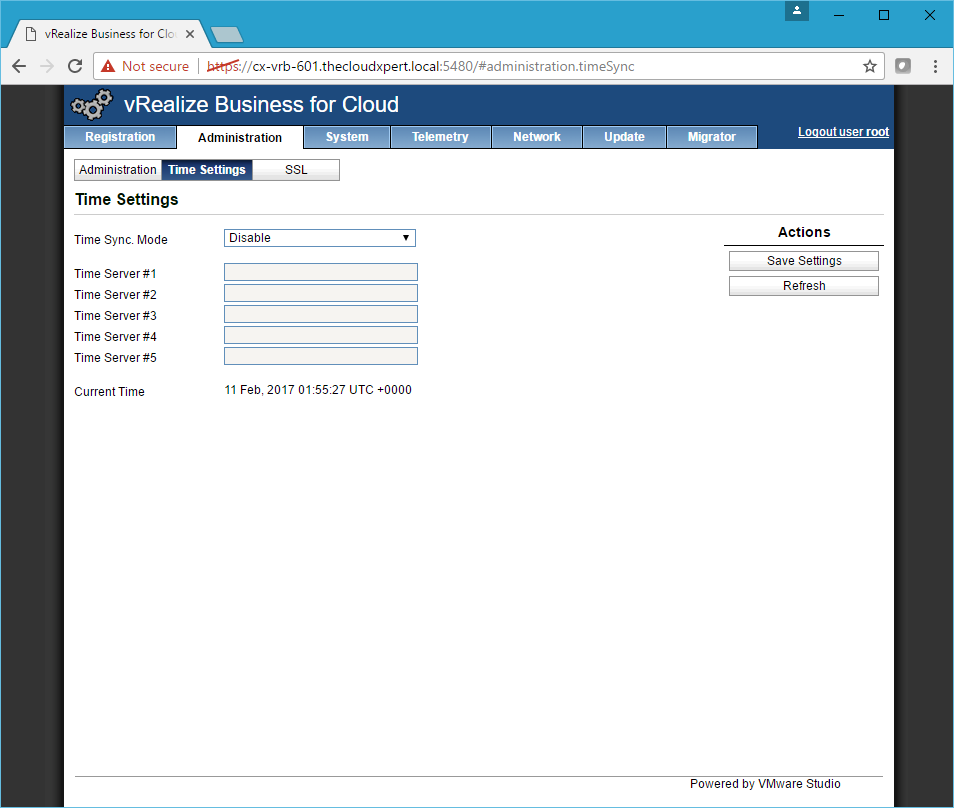
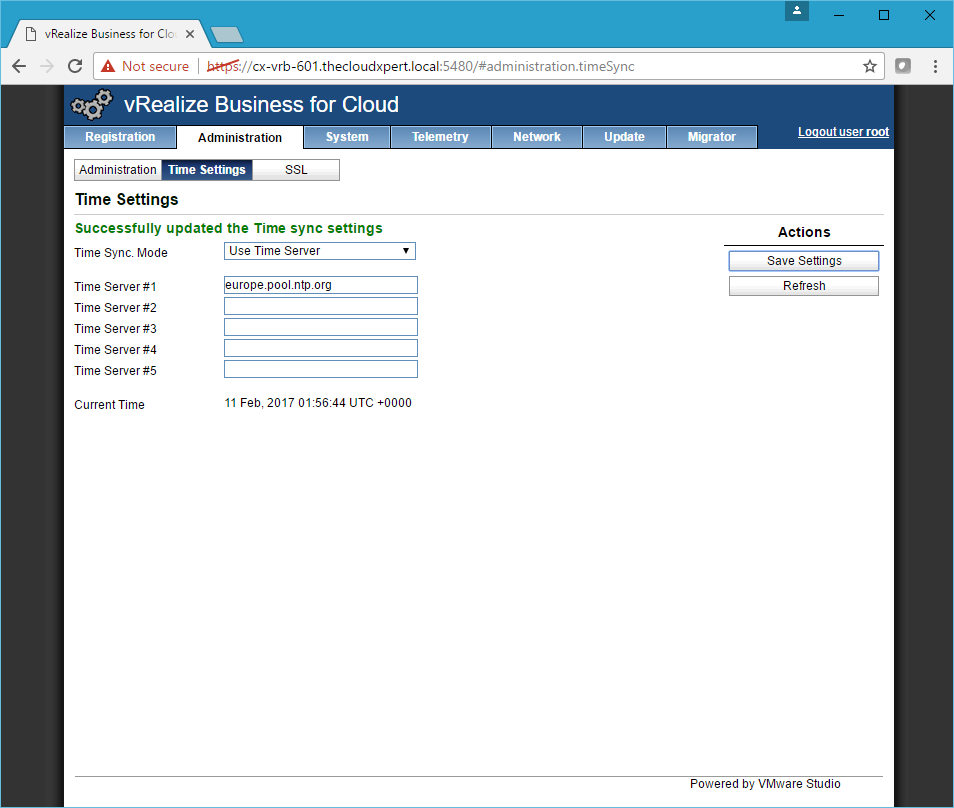
- Select NTP Server from the Time Sync Mode dropdown and type the NTP server addresses and click Save Settings.
- Click SSL.
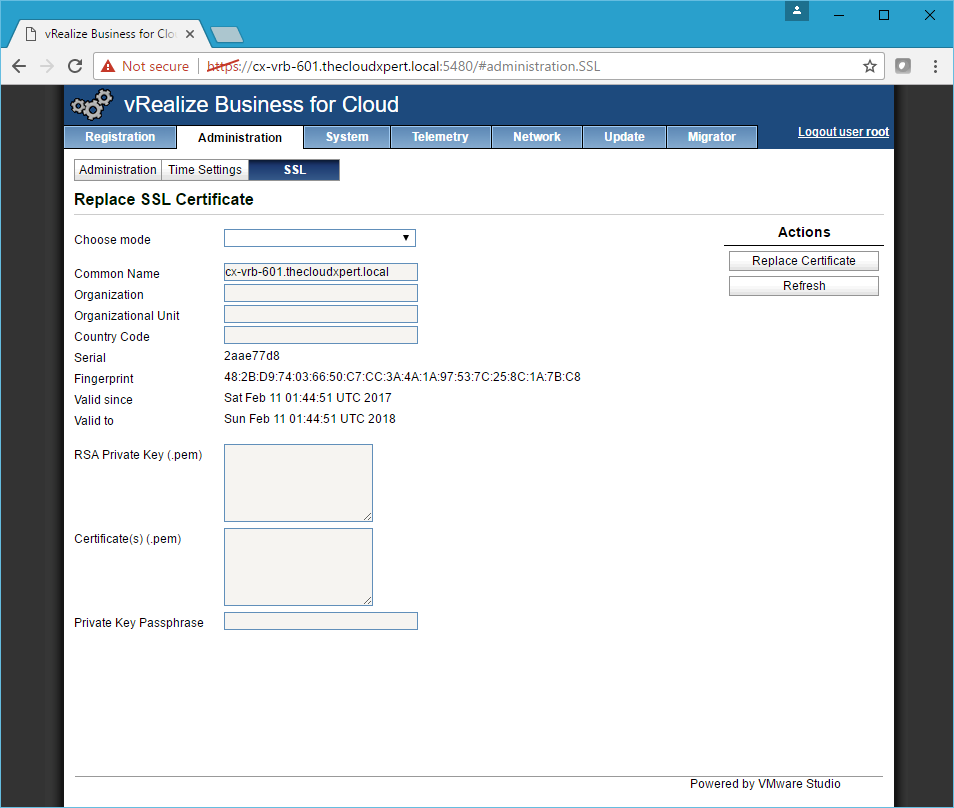
- Select Import PEM Encoded Certificate from the Choose mode drop down and copy the RSA Key into the RSA Private Key text field and SSL Certificate (Leaf and then Root) into the Certificate(s) text field.
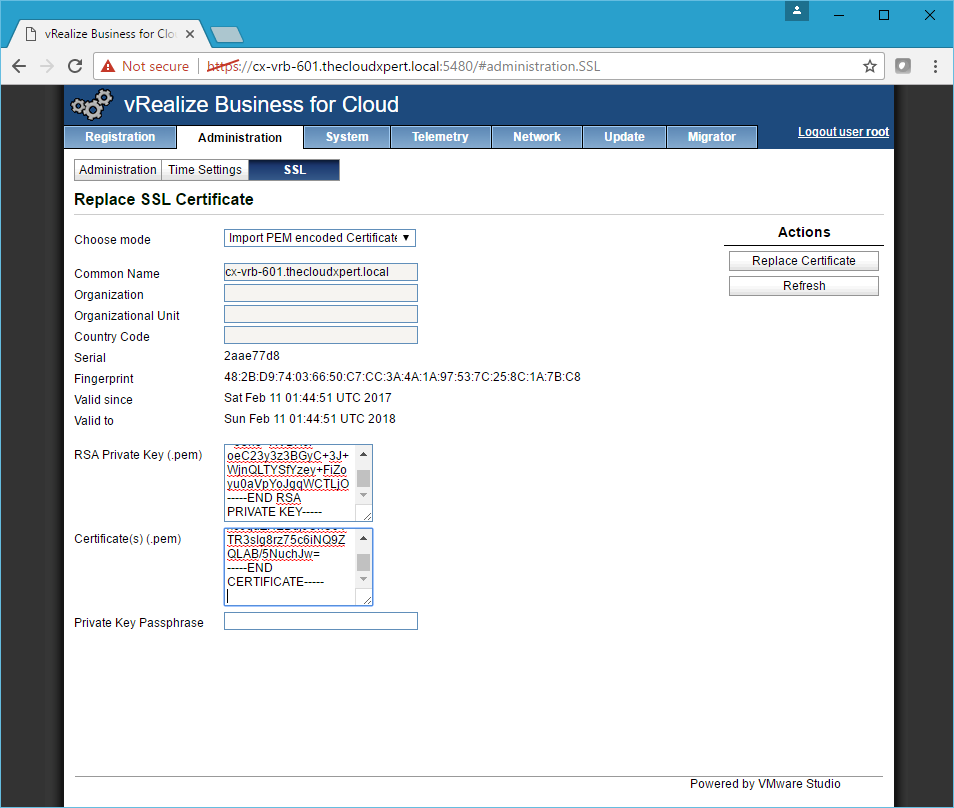
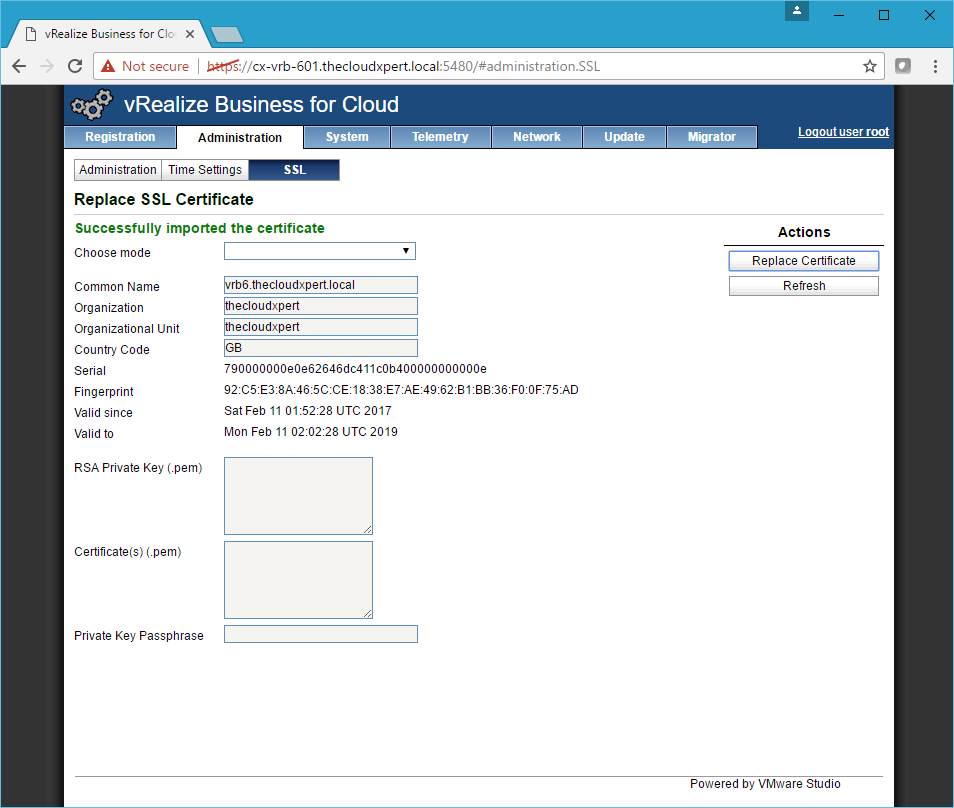
- Click Replace Certificate.
- Click the Registration tab.
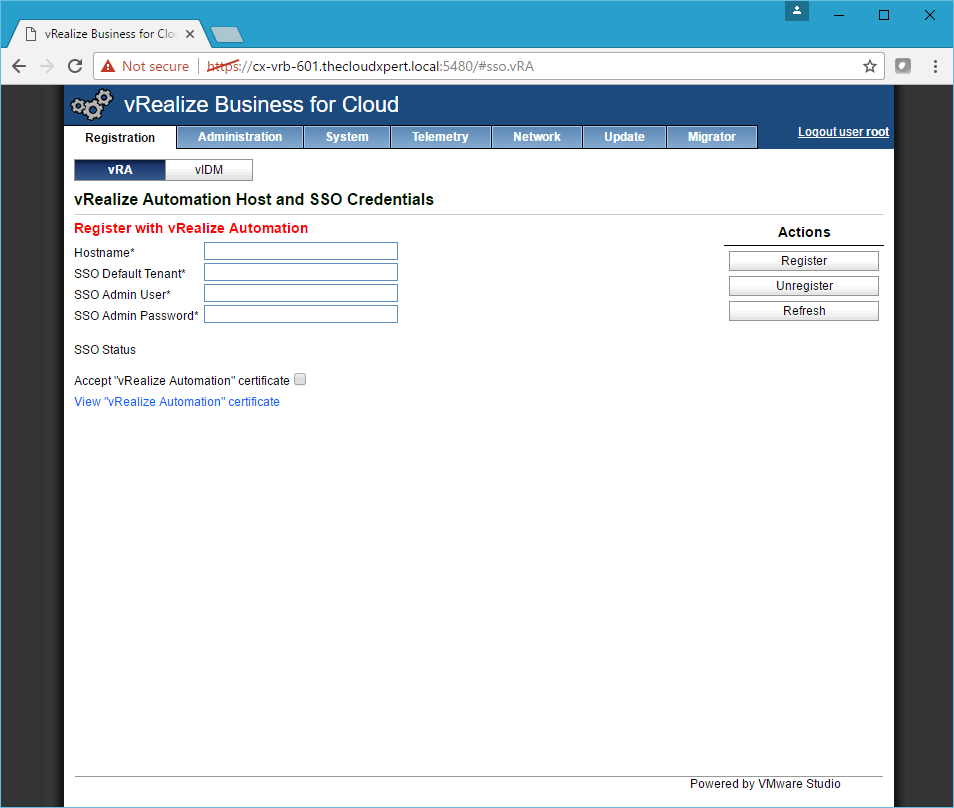
- Type the vRealize Automation FQDN (or VIP FQDN) into the Hostname text box, type vsphere.local into the SSO Default Tenant text box, type administrator into the SSO Admin User text box, type the password into the SSO Admin Password text box, check the Accept vRealize Automation certificate check box.
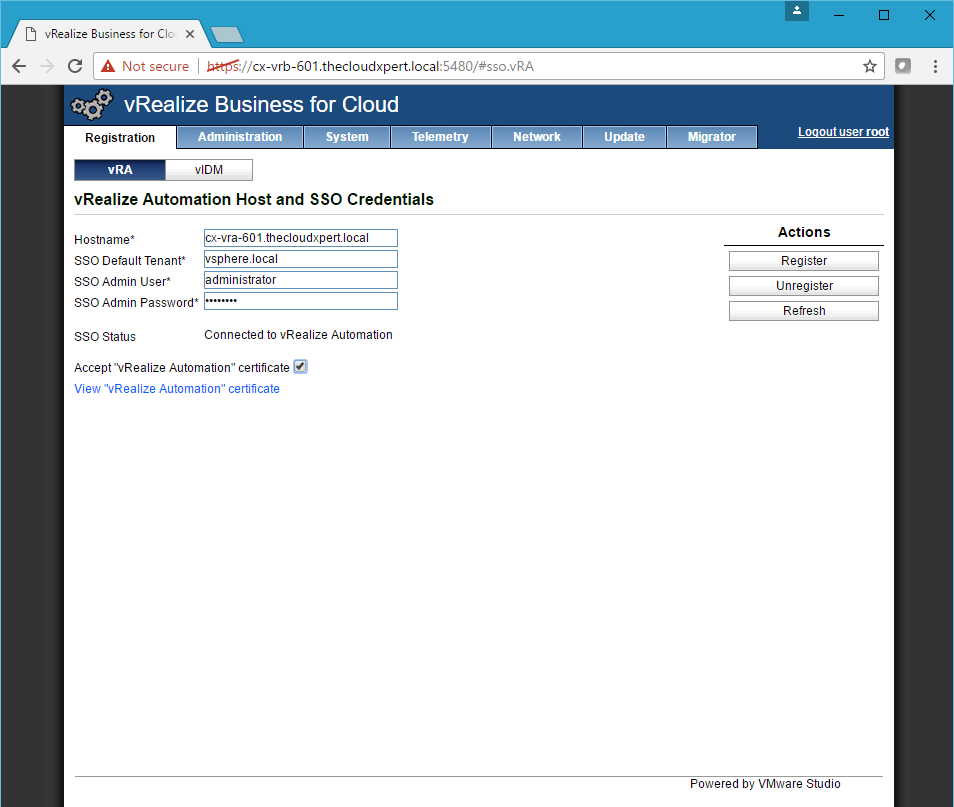
- Click Register.
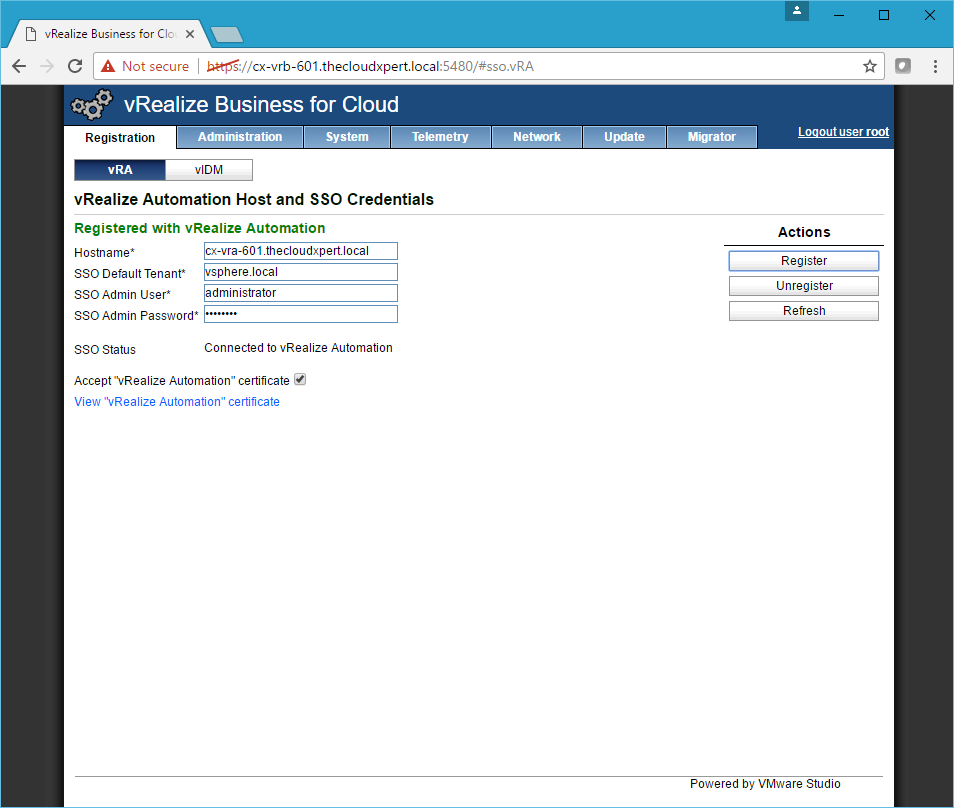
Once some has been granted the Business Management Administrator role you can configure the license.
Log into vRealize Automation Tenant Portal (
https://vra-appliance.fqdn/vcac) as the user with the Business Management Administrator role and click the Business Management Tab.
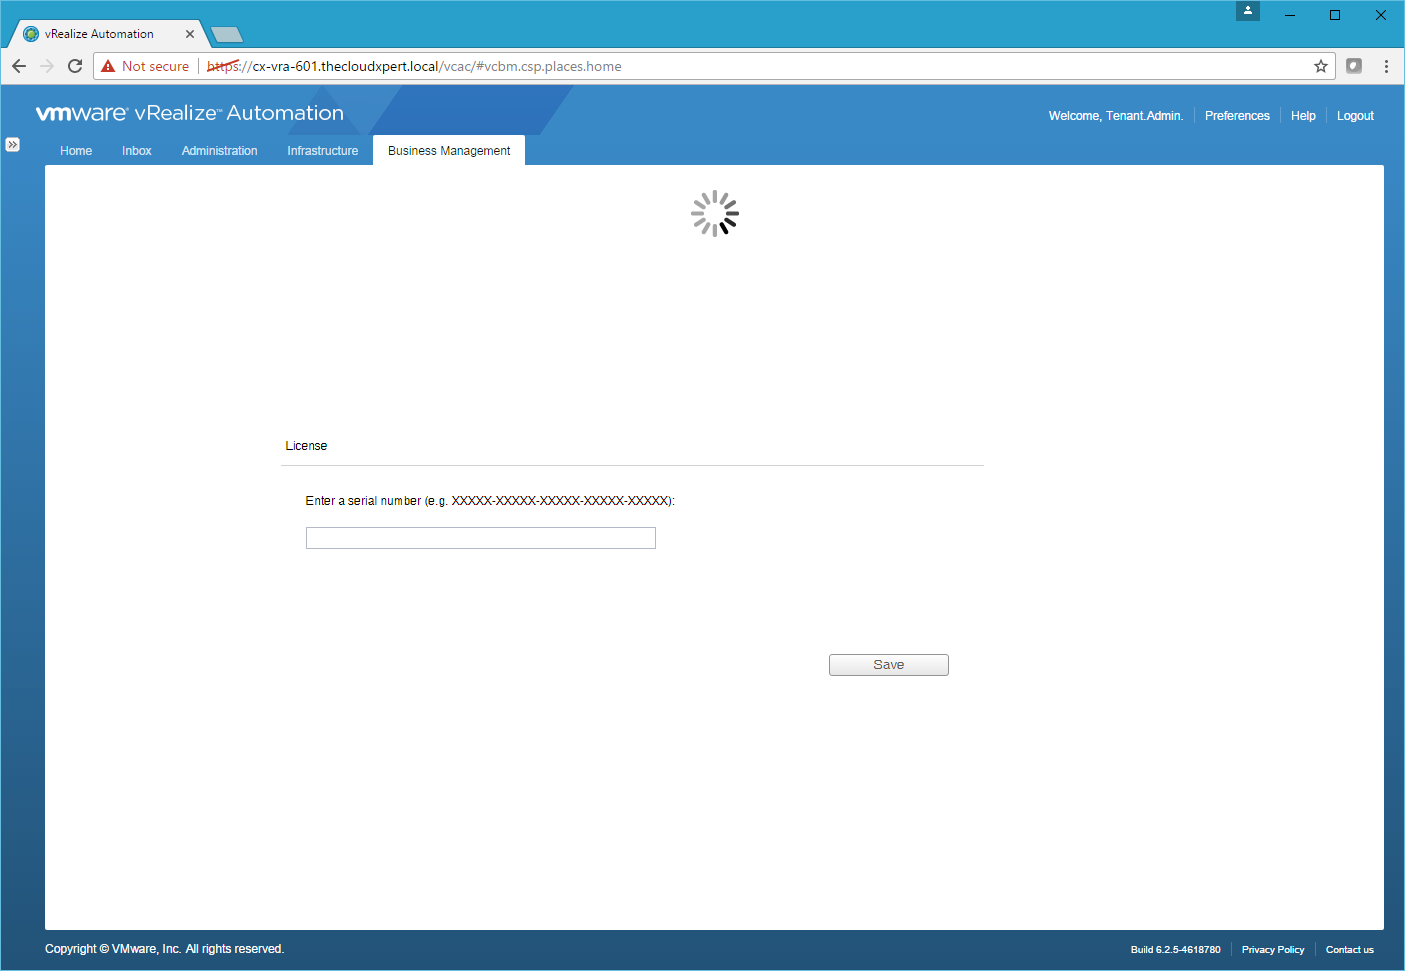
- Type the vRealize Business license key and press Save.
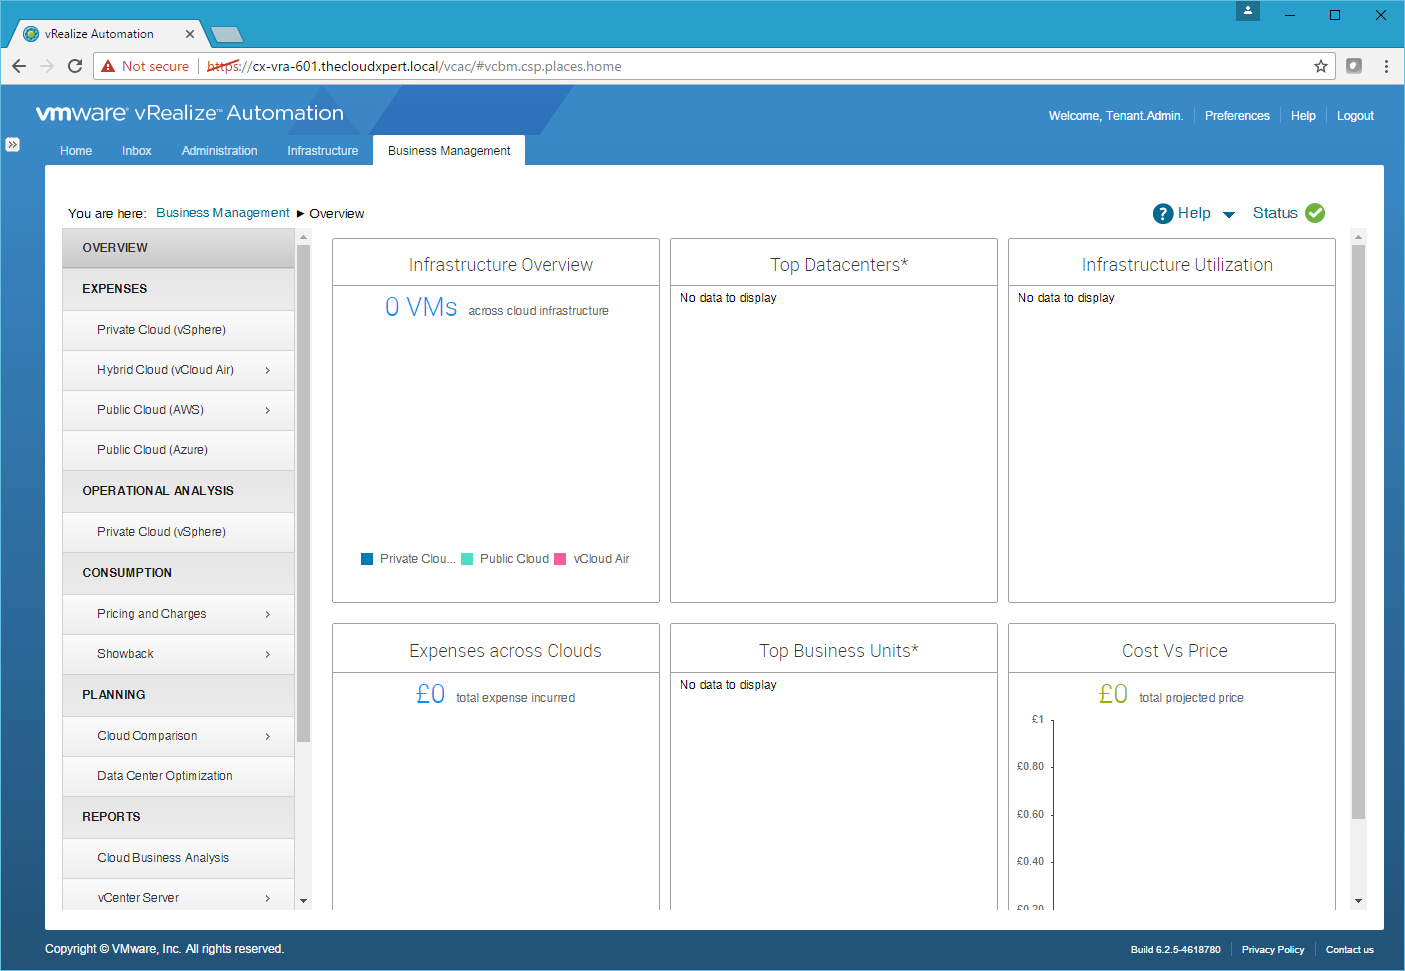
There you have it, now you just need to configure the instance to do the chargeback!
Published on 12 March 2017 by Christopher Lewis. Words: 534. Reading Time: 3 mins.
Share this article on:
Related Post(s):
- VCAP6-CMA Deploy - Objective 8.1: Deploy and Manage a vRealize Business Standard Appliance ()
- VCAP6-CMA Deploy Exam - What a #Terrible Experience! ()
- VCAP6-CMA Deploy - Objective 4.4: Import existing workloads ()
- HOWTO: Configure a vRealize Automation 6 Advanced Services Endpoint for vCenter Server ()
- VCAP6-CMA Deploy - Objective 6.1: Configure Advanced Service Designer ()
About the Author:

Name: Christopher Lewis
Twitter/X: thecloudxpert
Role: Domain Expert - VCF Automation & VCF Operations
Company: Broadcom
Recent Posts by Christopher Lewis:
Blog Categories:
vmware260
certification91
vrealize automation80
vcap48
nsx45
nsx v41
vmworld36
vrealize suite lifecycle manager20
vrealize suite14
vrealize orchestrator13
aria automation9
general9
vexpert9
vmware aria automation9
vsphere9
powercli8
microsoft7
active directory6
powershell6
windows6
certificate authority5
certificates5
vcf5
vmug5
vmware aria operations5
vrealize operations manager5
vsan5
vcenter4
vmware cloud3
aria operations2
aws2
home lab2
vcap62
vcix2
vmware explore2
vmware identity manager2
vrealize business2
Top Tags:
vmware 99+
vrealize automation 74
vcap6 cma 48
vcap6 45
nsx v 43
vcap6 nv 37
vcix6 nv 36
vmworld 35
howto 33
barcelona 24
vrealize orchestrator 21
vrslcm 20
vexpert 19
api 18
vmworld 2016 13
vra 13
certificates 12
vmware aria 12
vsphere 12
vrealize suite lifecycle manager 11
multi tenancy 9
vcap 9
vmware aria automation 9
vmworld 2017 9
platform services controller 8
powercli 8
vmug 8
vrealize operations 8
certification 7
microsoft 7
powershell 7
vsan 7
active directory 6
psc 6