HOWTO: Deploy a vSphere 6.5 External Platform Services Controller (VCSA)
VMware vSphere Platform Services Controller PSC vCenter
Published on 15 November 2016 by Christopher Lewis. Words: 510. Reading Time: 3 mins.
Introduction
If you didn’t already here the news, VMware vSphere 6.5 is now GA . Whilst lots of people will be concentrating on upgrading vSphere 5.x/6.x to 6.5 I’m going to start with the basics…
To install the Platform Services Controller using the VMware vCenter Server Appliance (VCSA), you first have to mount the ISO. In Windows 10 this is simple!
Step By Step Guide
So first things first, double click on VMware-VCSA-all-6.5.0-<buildnumber>.iso to mount it as a drive on your system. (In my instance on my Windows 10 machines, this was drive letter H:)
- Using Windows Explorer, navigate to the
H:\vcsa-ui-installerfolder and double click oninstaller.exeto load the new installer.
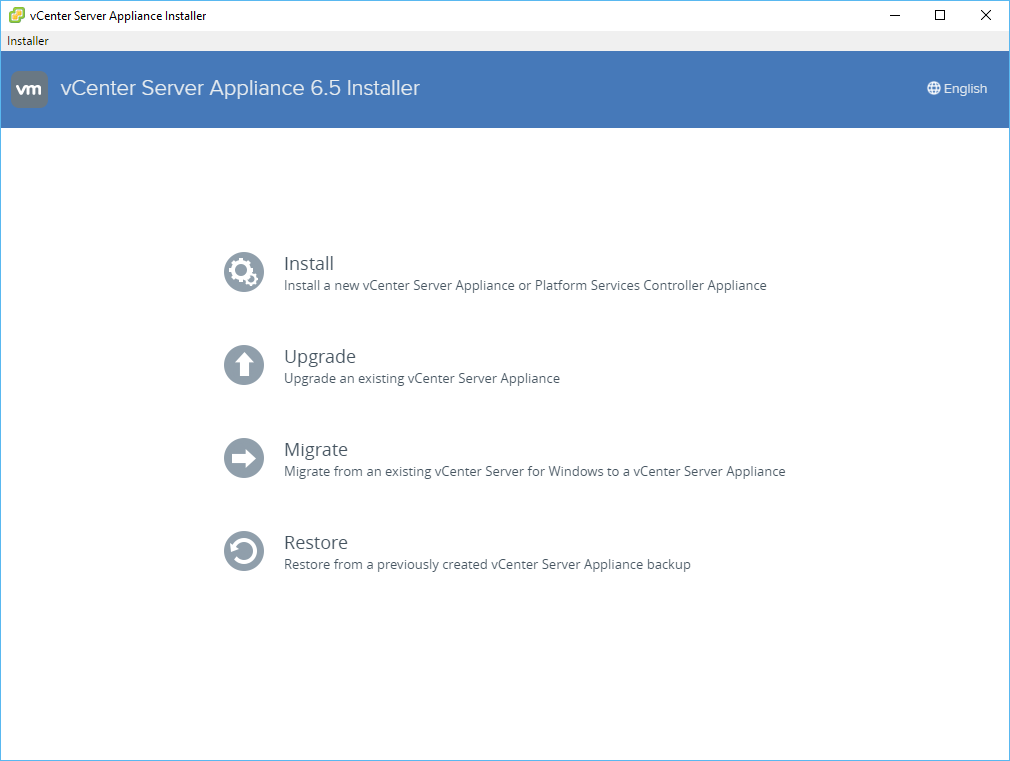
- Select Install.
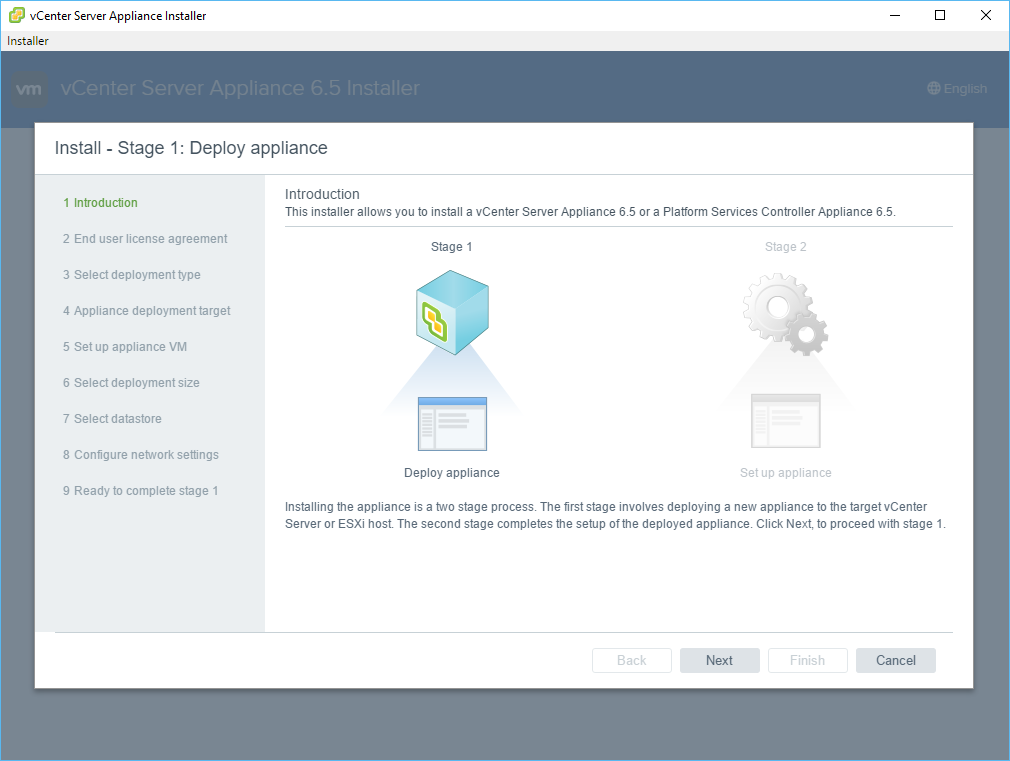
- Click Next.
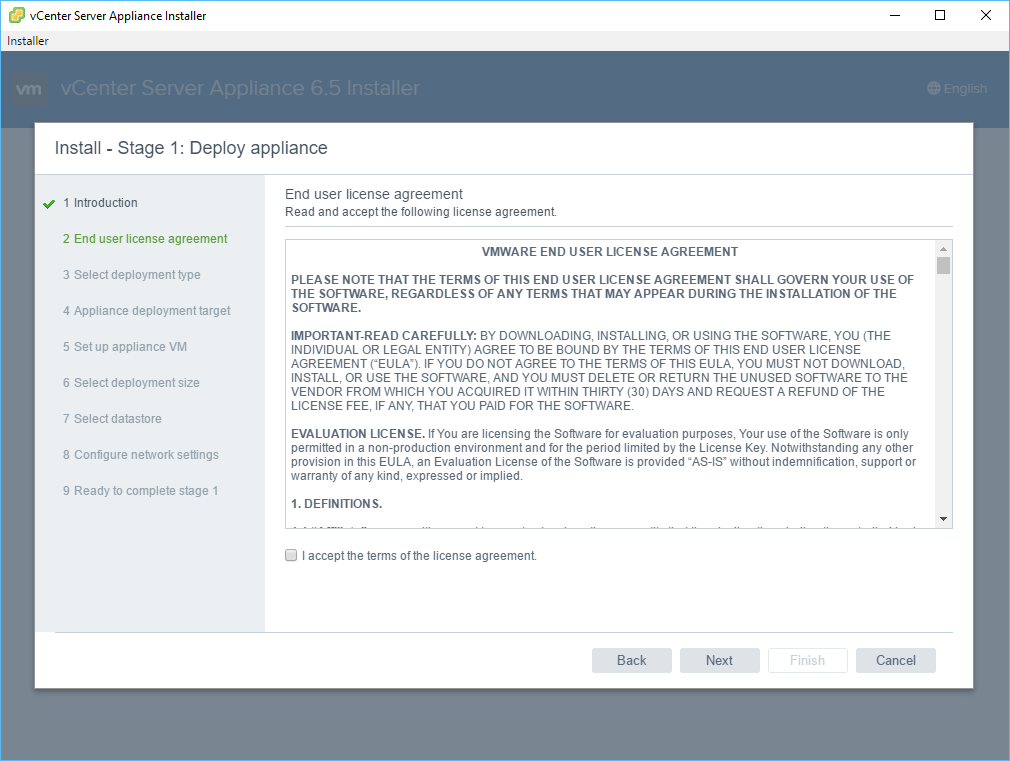
- Check the I accept the terms of the license agreement checkbox and click Next.
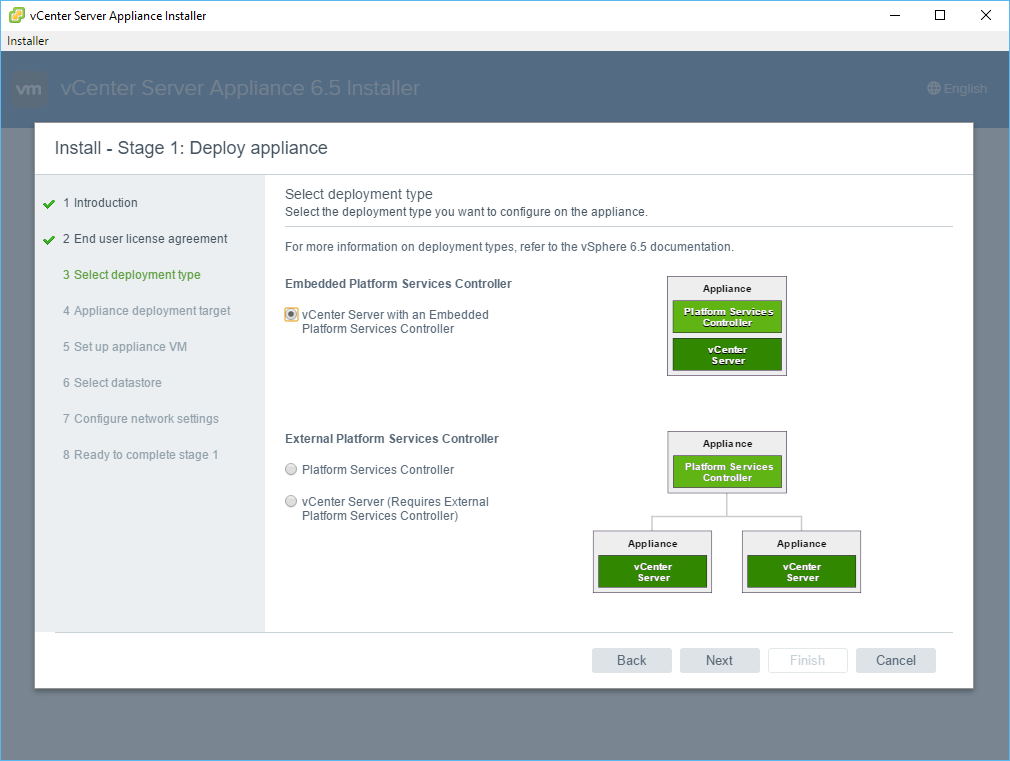
- Select Platform Services Controller option and click Next.
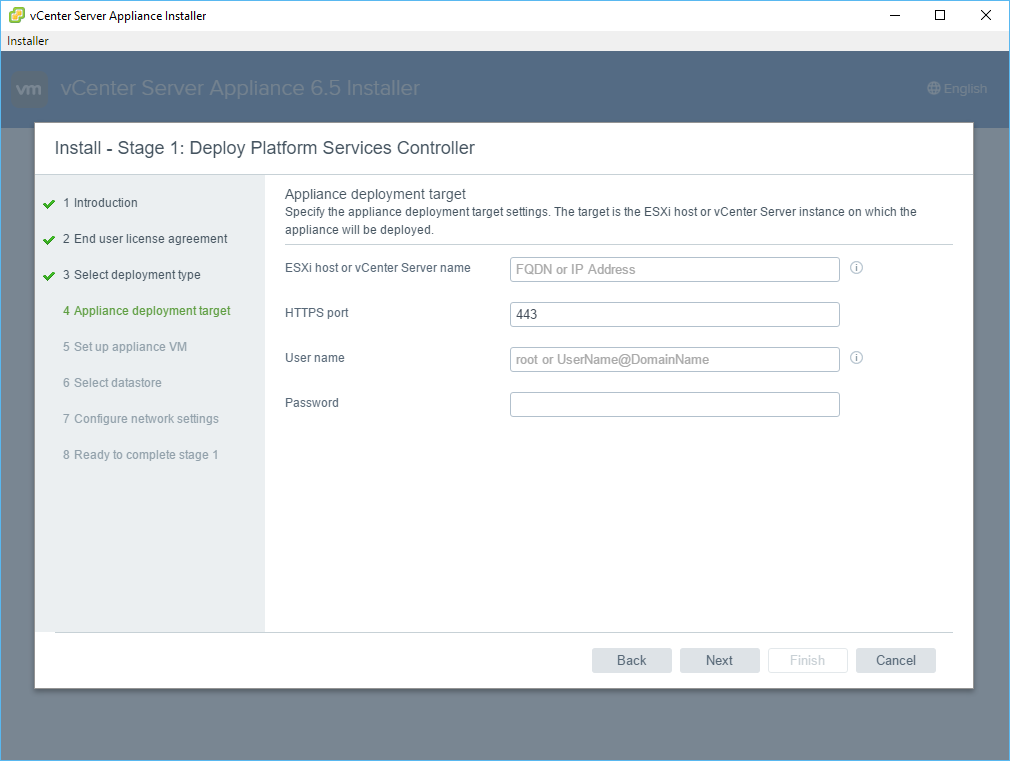
- Enter the FQDN of the target ESXi host, and the root username and root password for the target ESXi host.
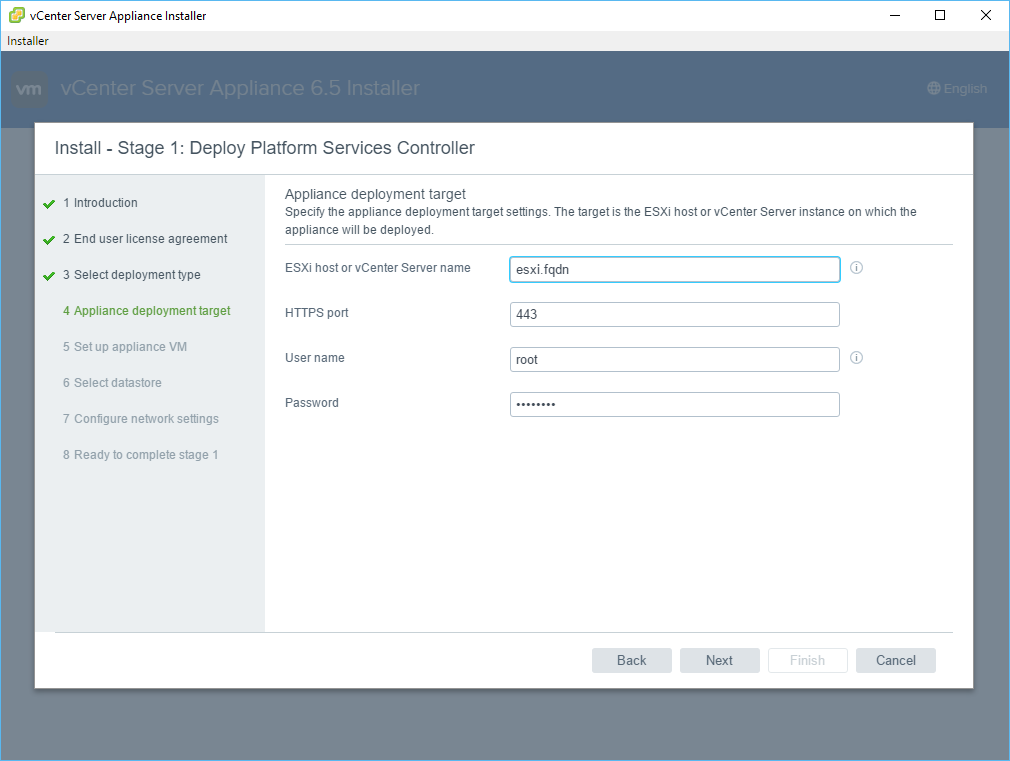
- Click Next.
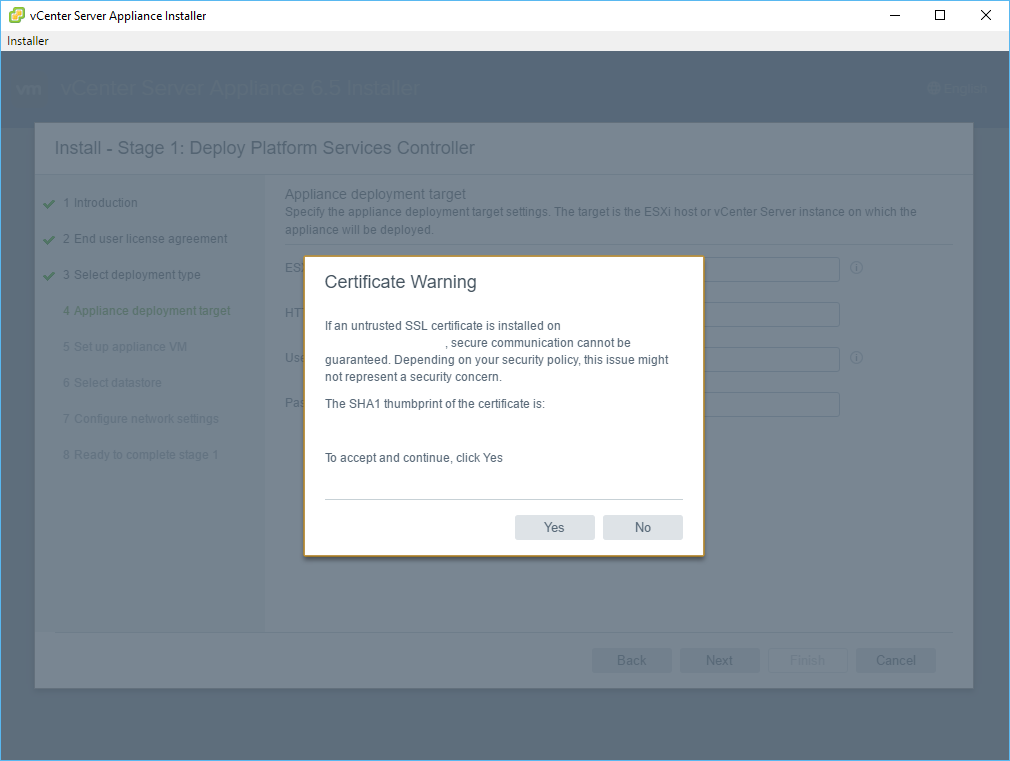
- If prompted, at the Certificate Warning, click Yes.
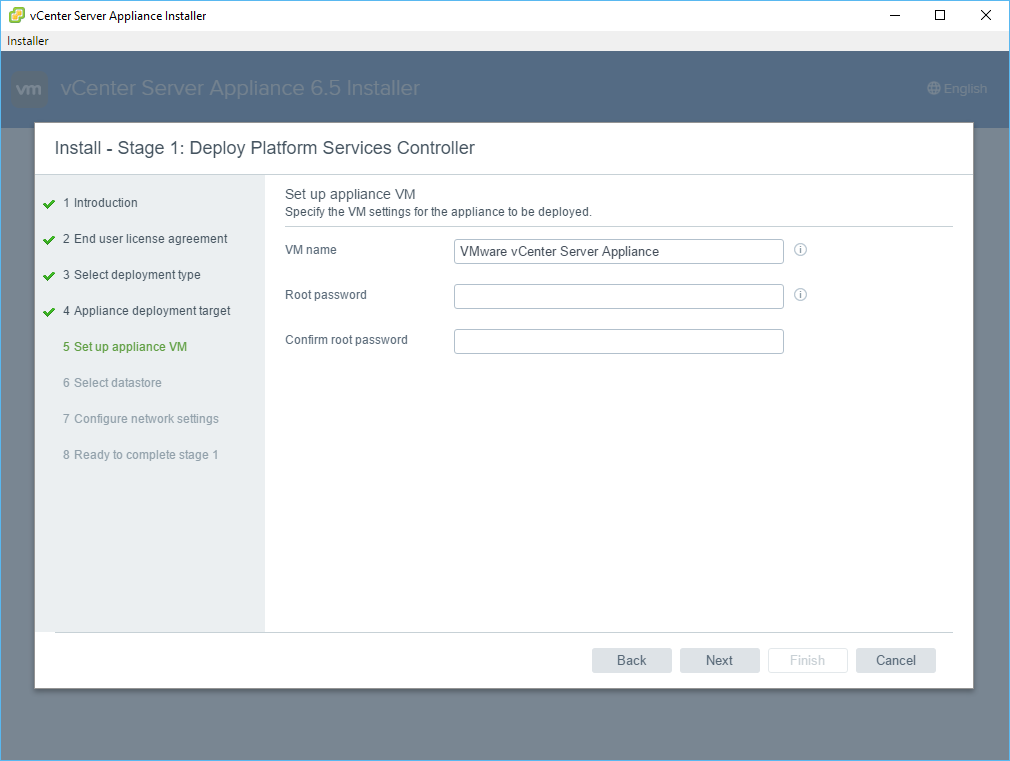
- Enter the VM Name (which is basically the display name in vCenter) and the password for the appliance root password.
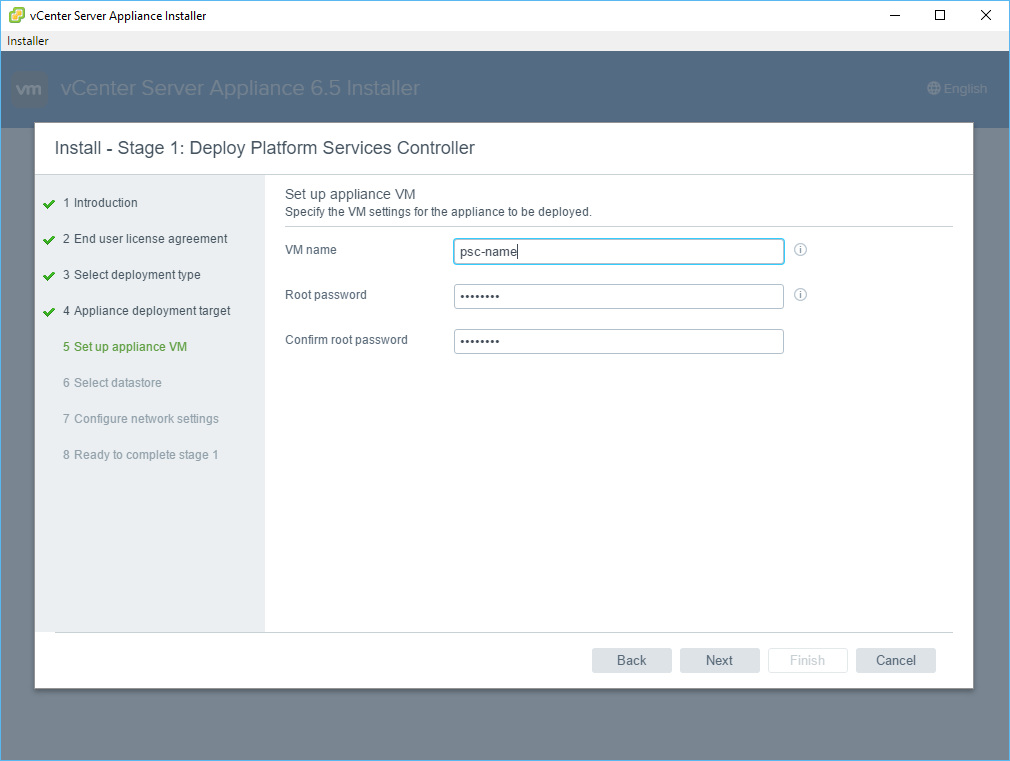
- Click Next.
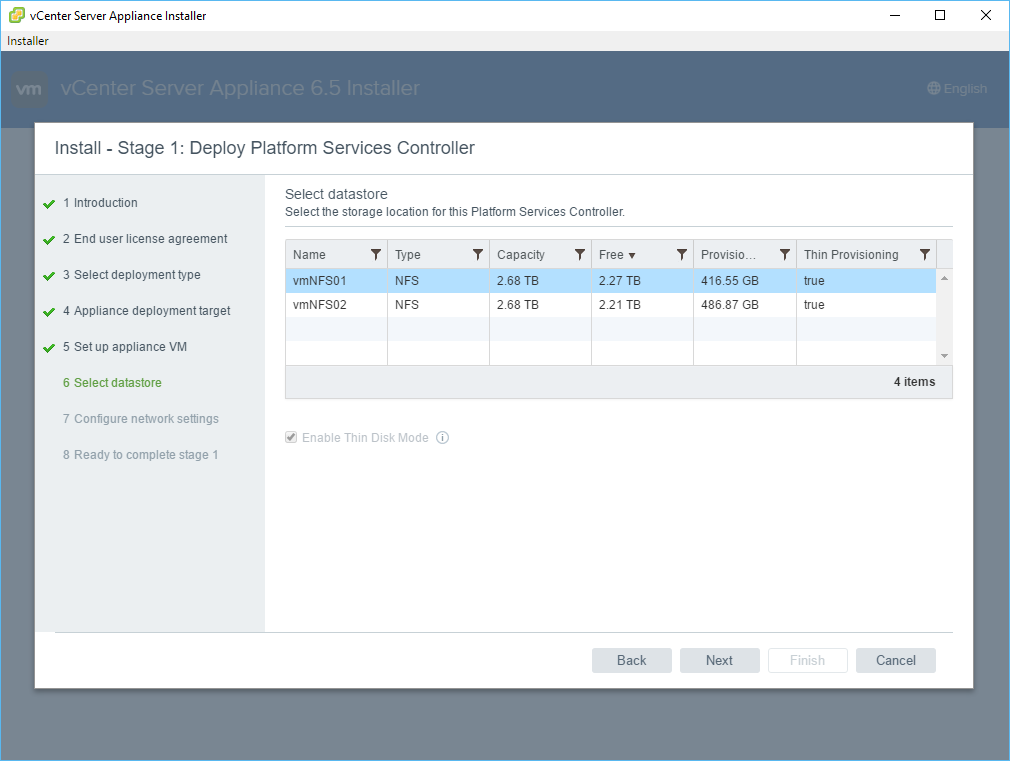
- Select the target Datastore and click Next.
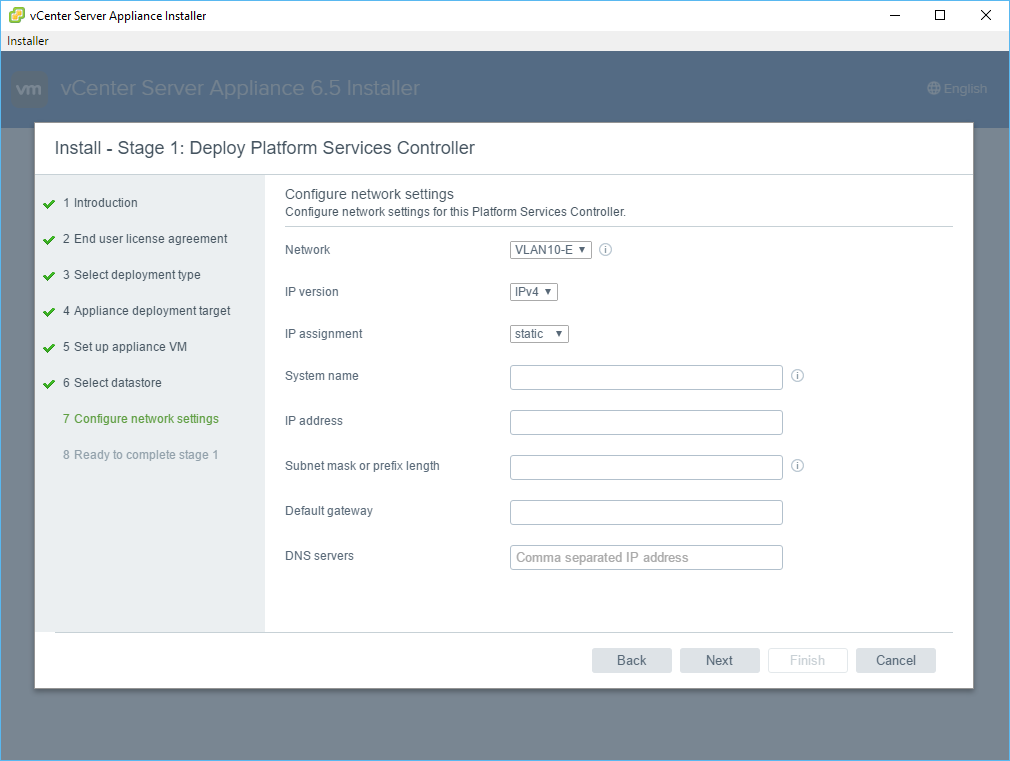
- Select the target Network IP Version and IP assignment from the relevant dropdown. Then enter the PSC’s FQDN along with the IP Address, Subnet Mask, Default Gateway and DNS Servers then click Next.
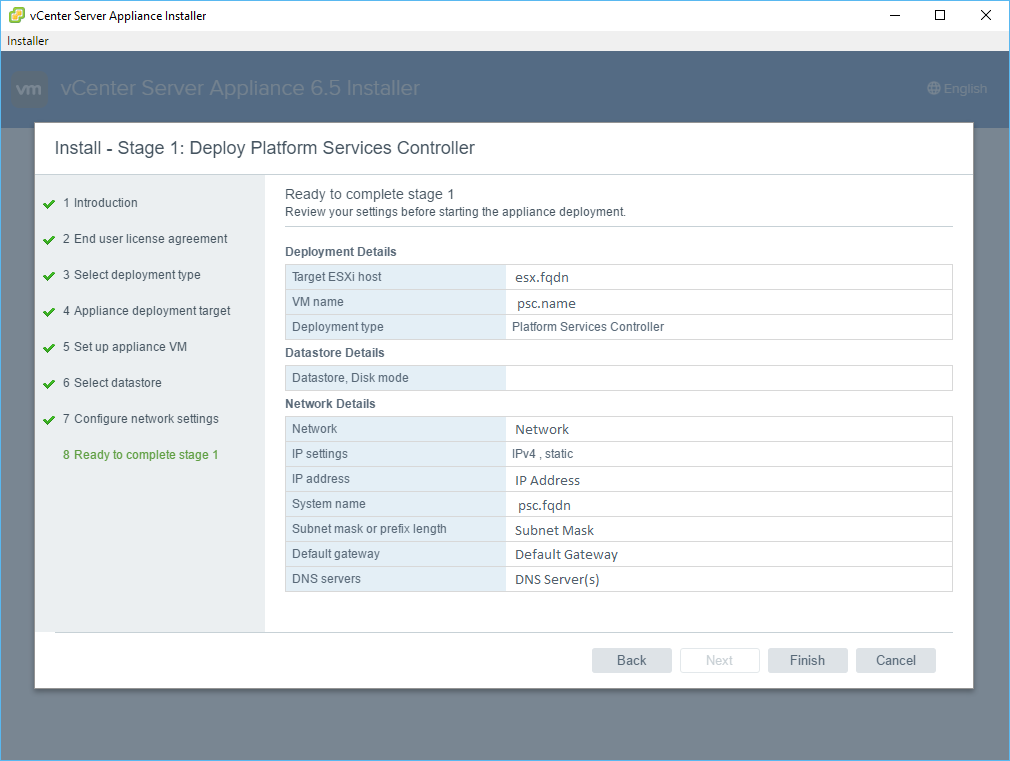
- Click Finish.
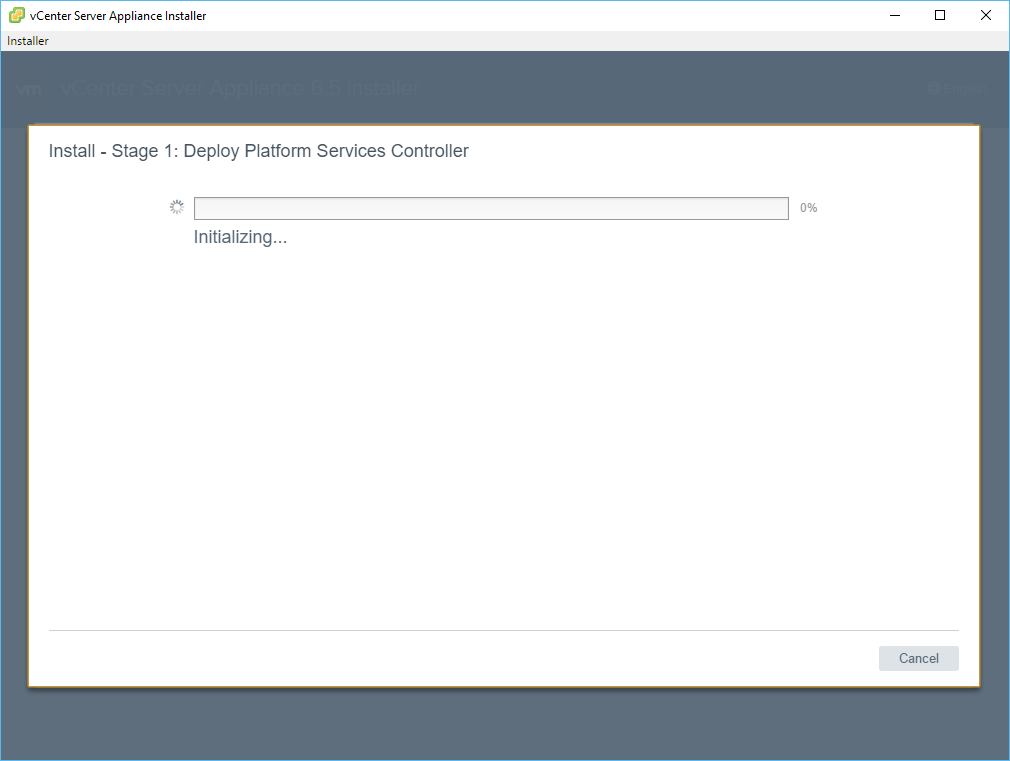
- After a few minutes, you will be prompted with the Stage 1 Complete.
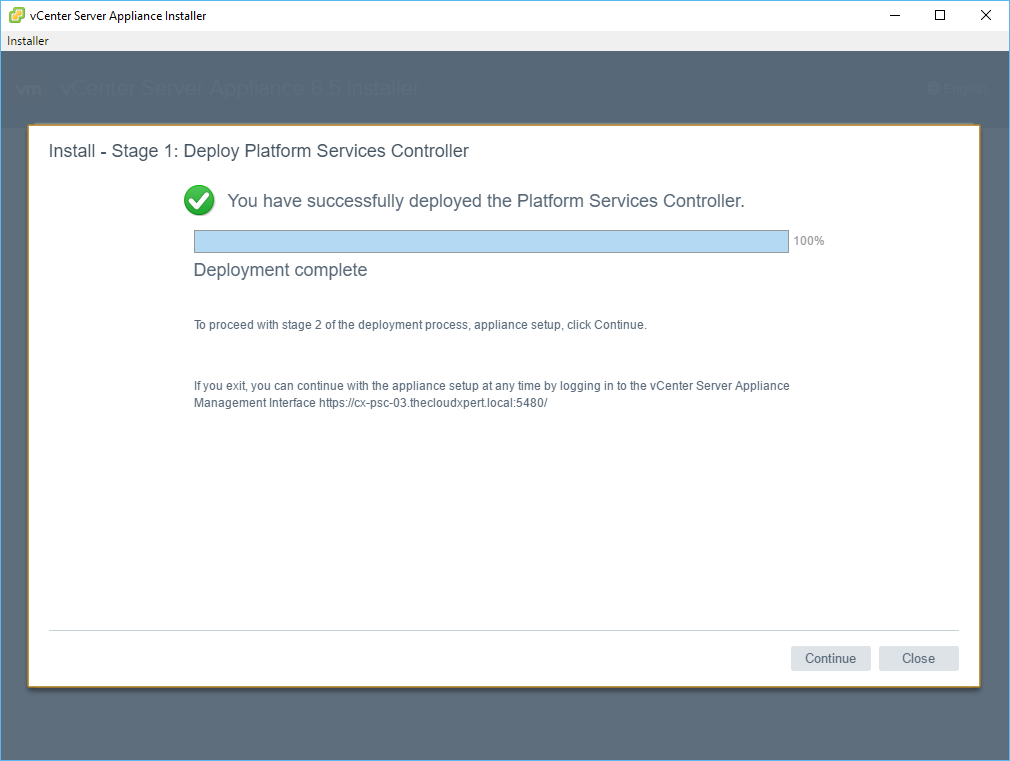
- Click Continue.
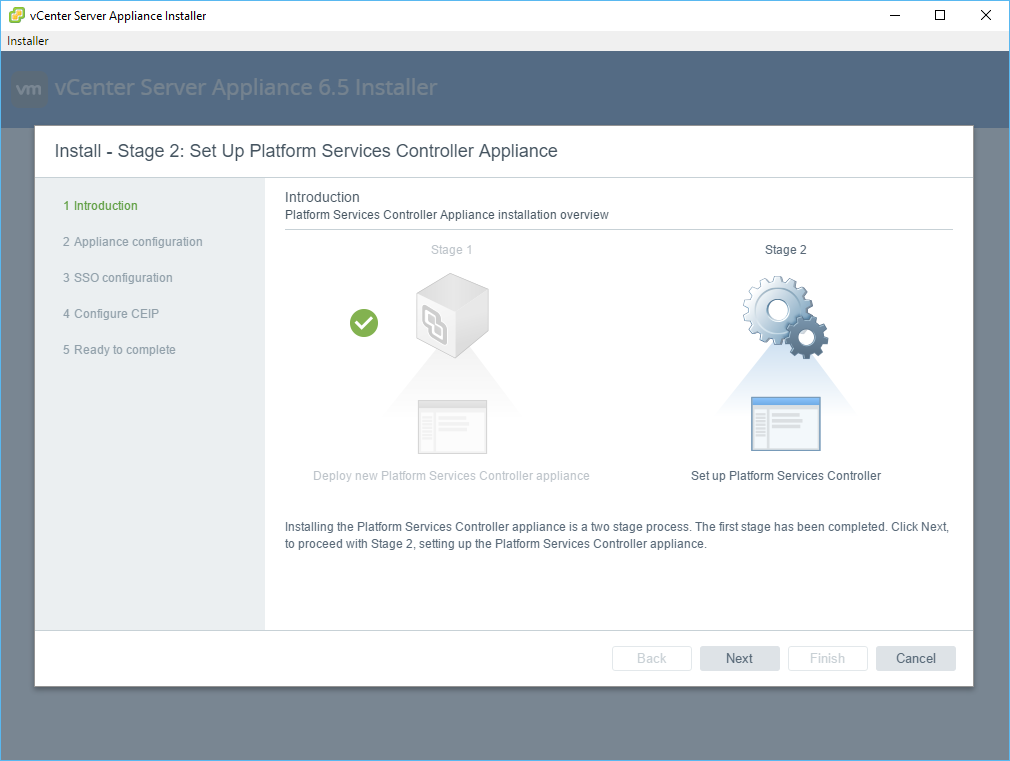
- Click Next.
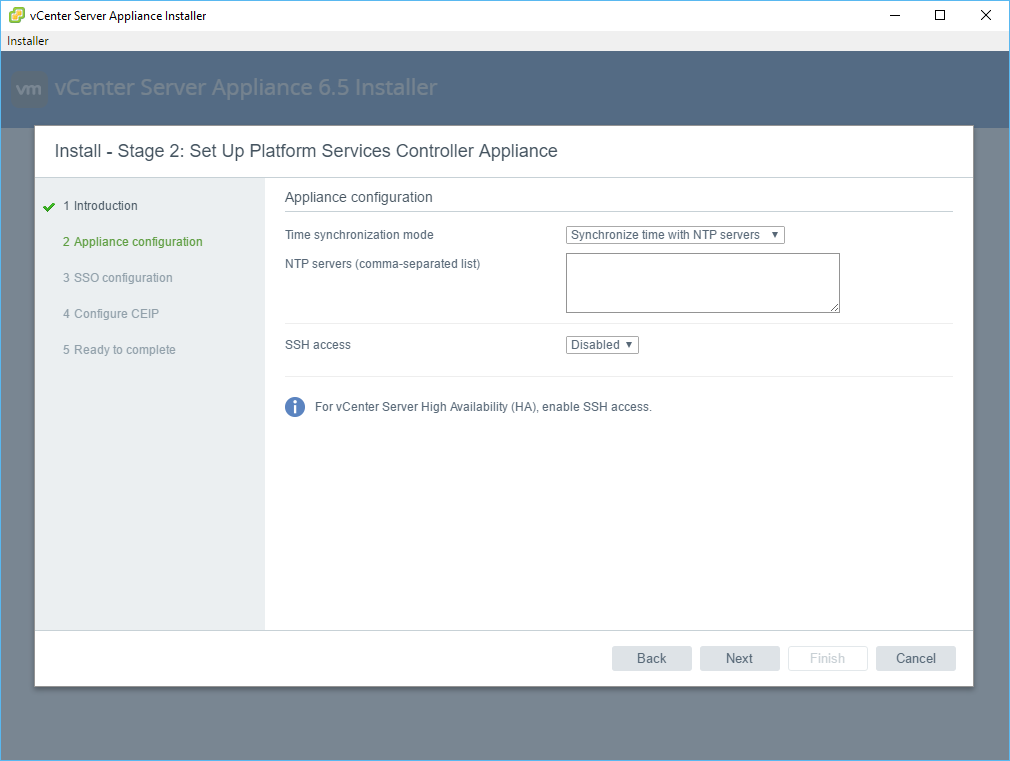
- Either select Synhronize time with NTP servers or Synhronize time with the ESXi host (depending on your preference). Enter NTP servers (if required) and select Enabled from the SSH access dropdown.
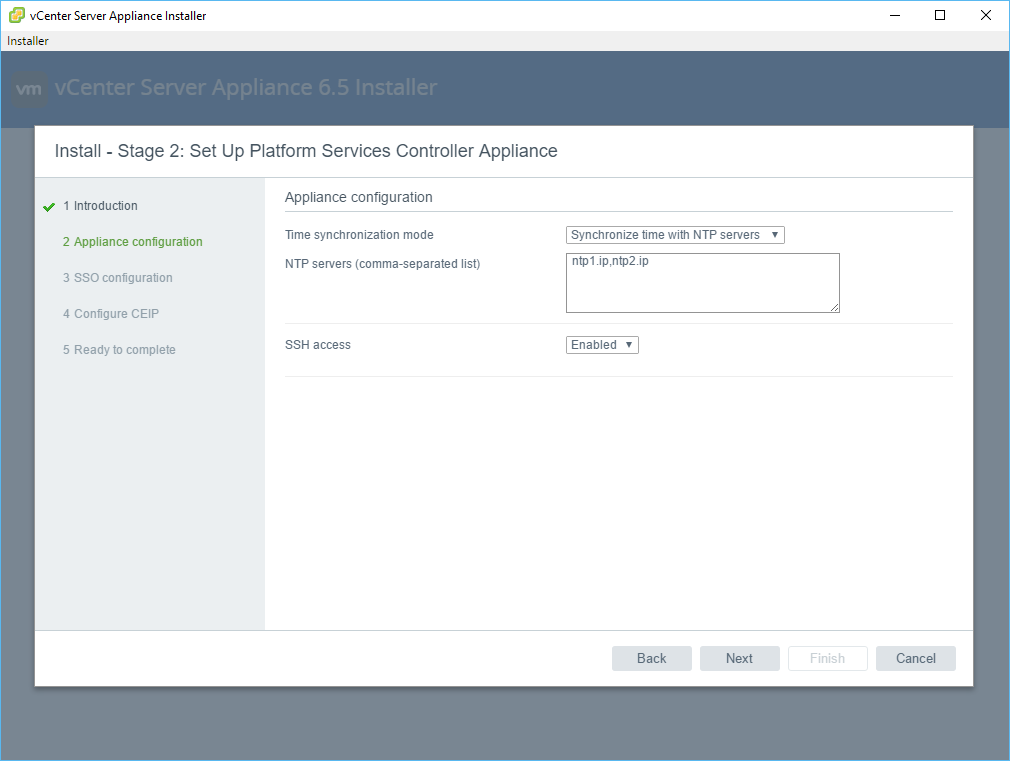
- Click Next.
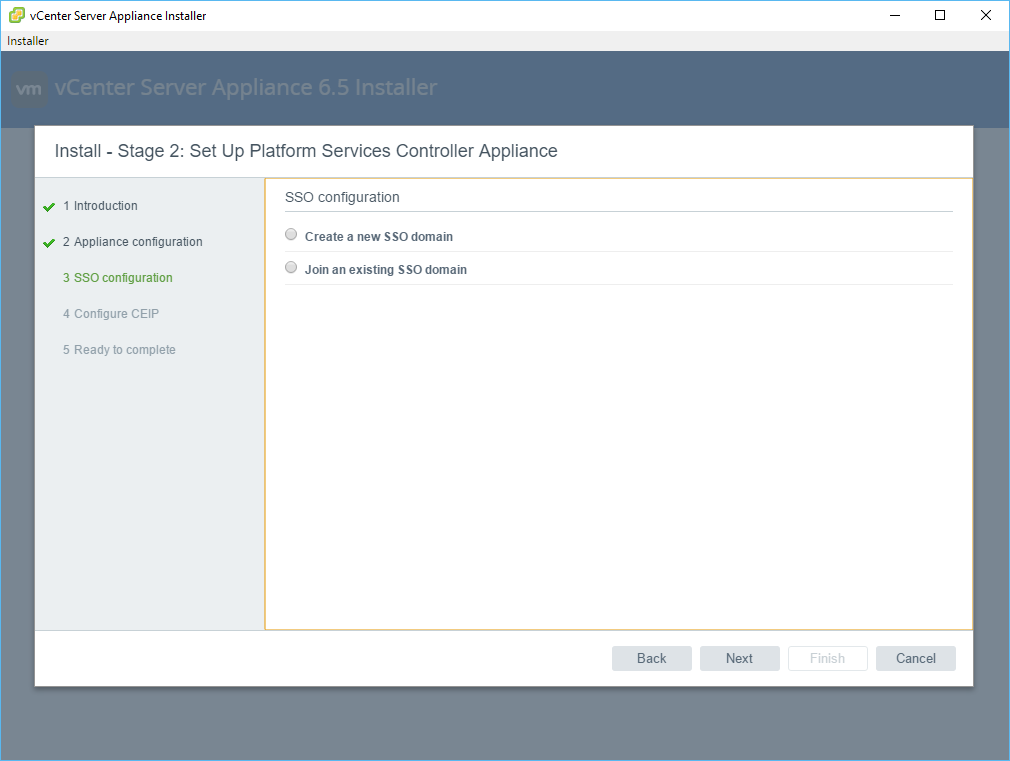
- Select the Create a new SSO domain option.

- Enter the new SSO Domain Name, SSO password and the Site name.
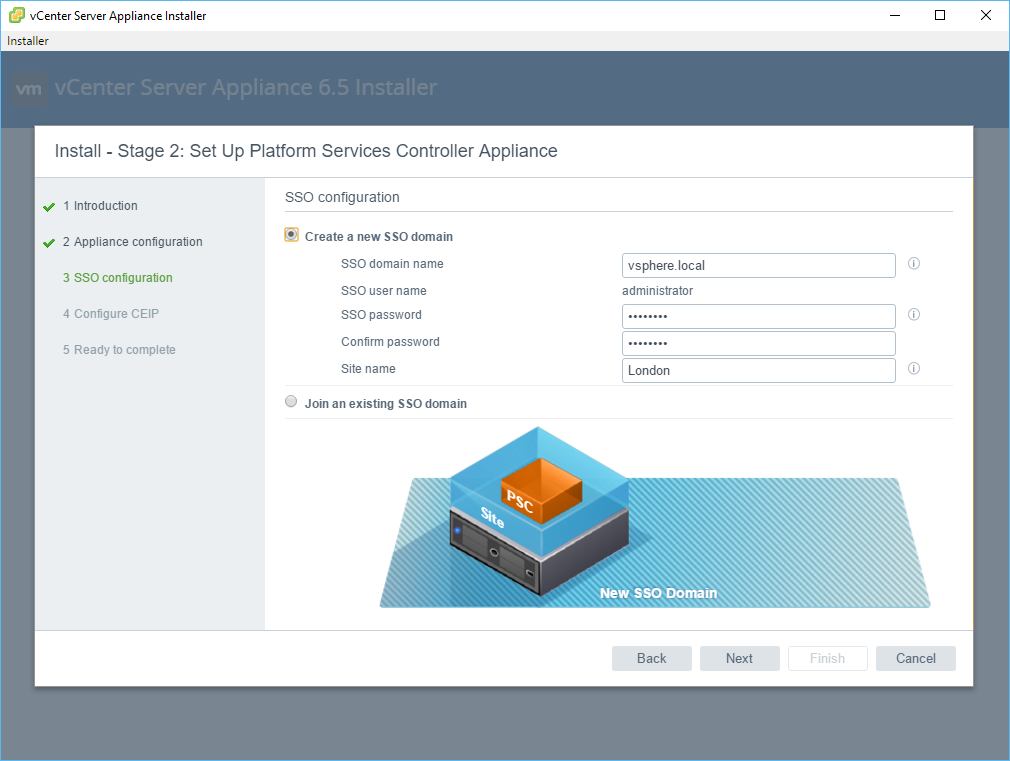
- Click Next.
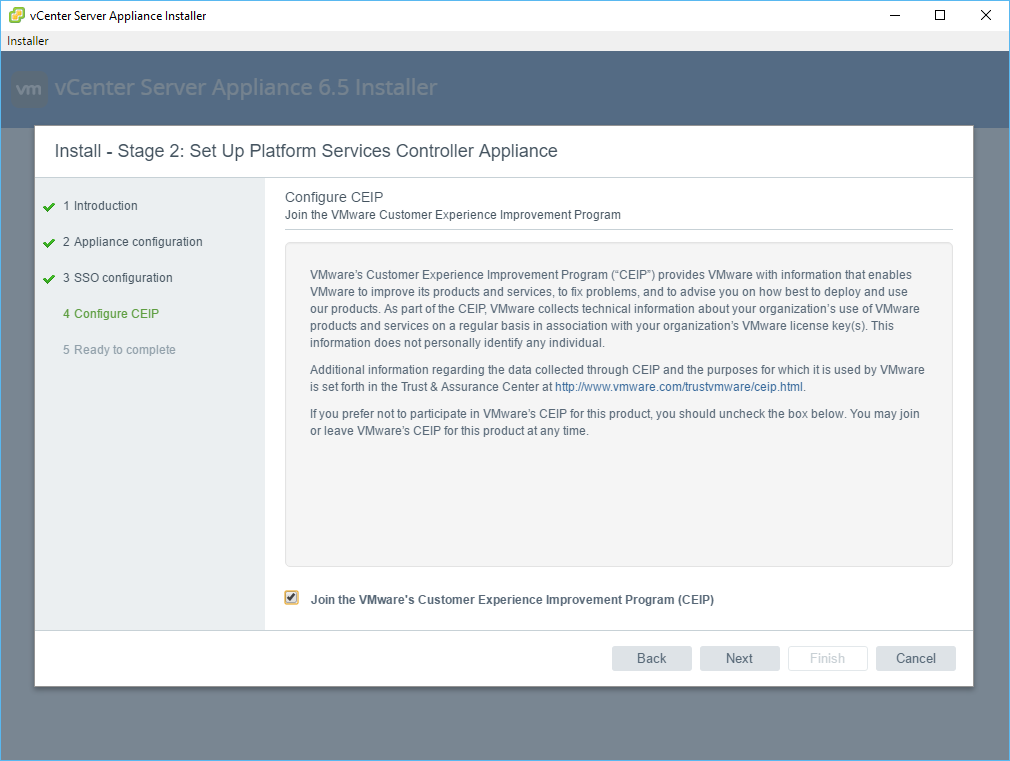
- Uncheck the Join the VMware’s Customer Experience Improvement Program (CEIP) check box and click Next.
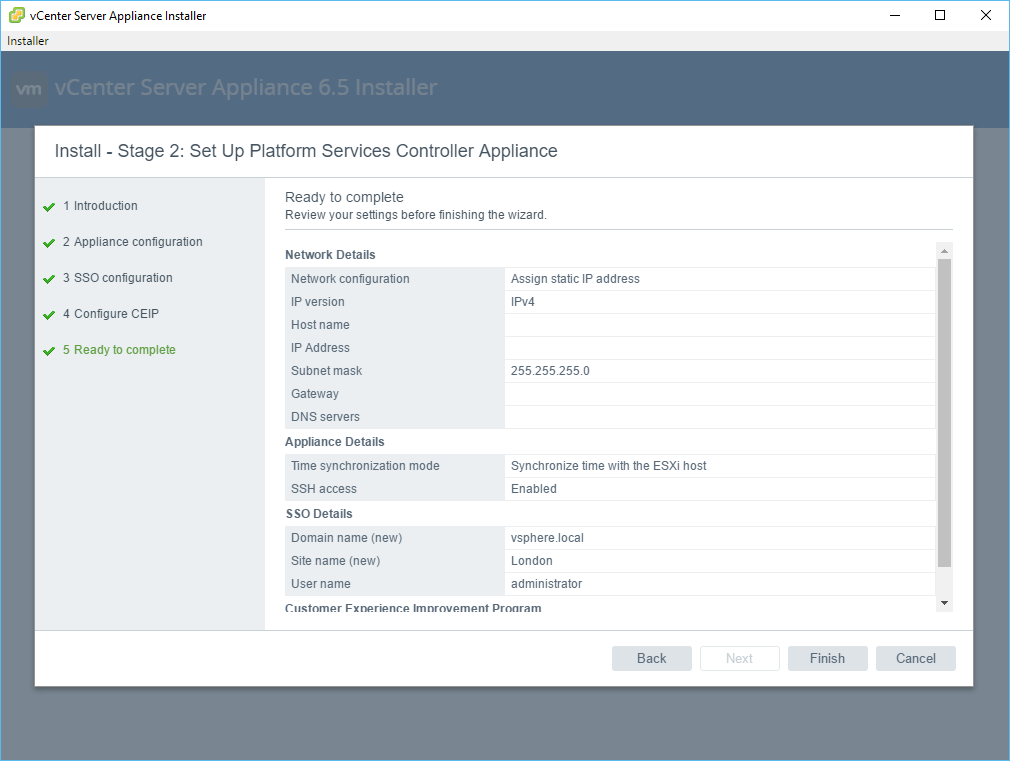
- Click Finish.
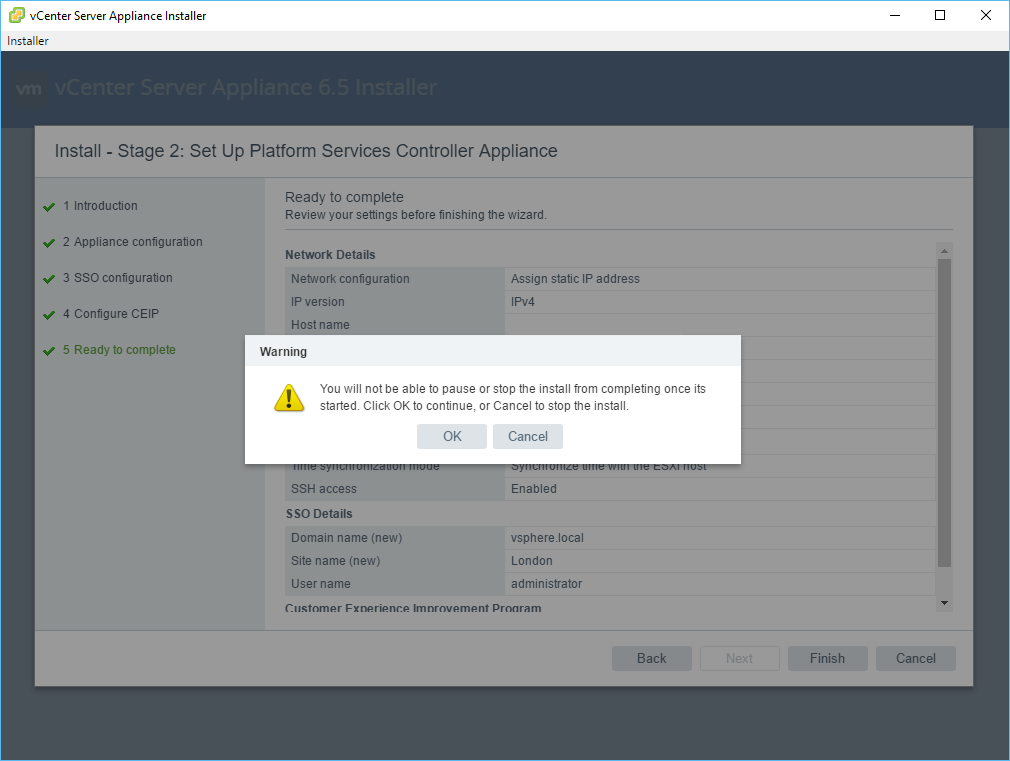
- At the Warning dialog, Click OK to start the configuration of the Platform Services Controller.
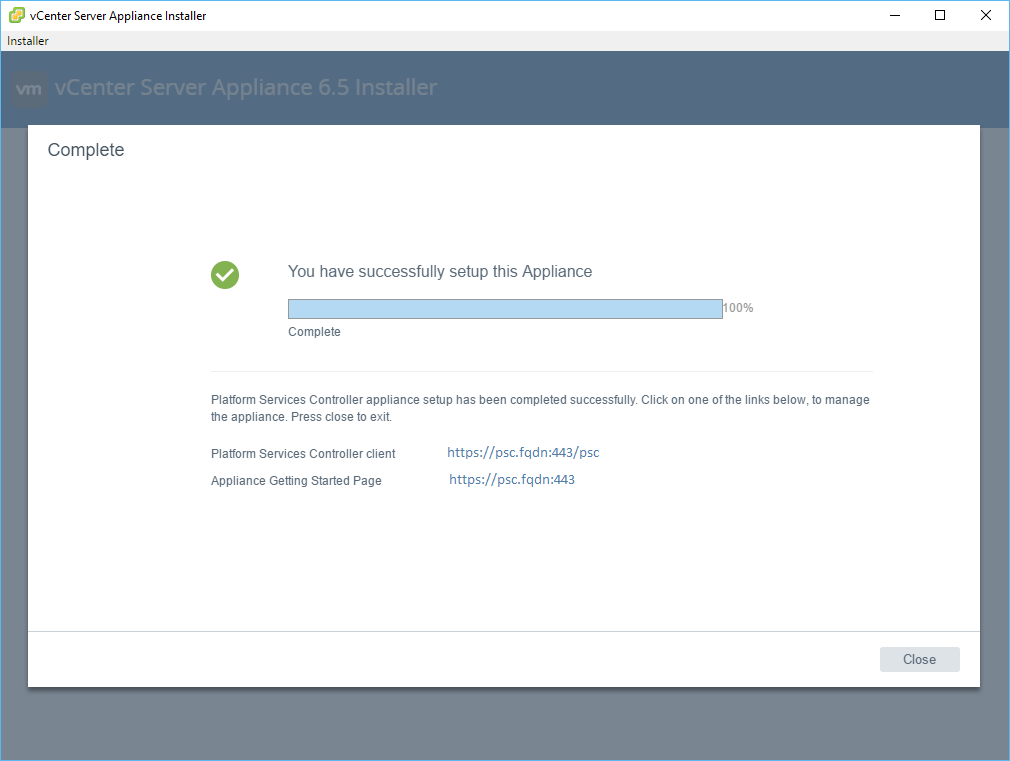
- Click Close.
And there you have it, the first step to deploying your shiny new vCenter 6.5 is complete!
My initial thoughts on the VCSA 6.5 installer
The fluidity and responsiveness of the VCSA 6.5 installer is a quantum leap forward from the VCSA 6 installer. The visible separation of the deployment and configuration steps into two distinct steps is a welcome addition. Albeit that is probably what happens under the covers in the VCSA6 installer, we don’t actually get to see it.
Published on 15 November 2016 by Christopher Lewis. Words: 510. Reading Time: 3 mins.
- HOWTO: Automate the installation of the External Platform Services Controller using PowerCLI & JSON - Part 2 ()
- HOWTO: Automate the installation of the External Platform Services Controller using PowerCLI & JSON - Part 1 ()
- HOWTO: Deploy the VMware vSphere 6.0 Platform Service Controller ()
- HOWTO: Configure SYSLOG on Platform Services Controller via SSH ()
- HOWTO: Automate the installation of the External Platform Services Controller using PowerCLI & JSON - Part 3 ()
