Warning! The content within this article is over 36 months old and, therefore, may be out of date.
VCAP6-NV Deploy - Objective 5.1 - Backup and Restore Network Configurations
Share this article on:


VMware NSX-V VCAP6-NV VCIX6-NV HOWTO
Published on 1 August 2017 by Christopher Lewis. Words: 635. Reading Time: 3 mins.
Objective 5.1 - Backup and Restore Network Configurations
Objective Overview
- Schedule/Backup/Restore NSX Manager data
- Export/Restore vSphere Distributed Switch configuration
- Export/Import Service Composer profiles
- Save/Export/Import/Load Distributed Firewall configurations
Objective Prerequisites
The following prerequisites are assumed for this Objective:
- A working VMware vSphere 6.x environment.
- A working VMware NSX 6.x environment.
Objective Breakdown
Schedule/Backup NSX Manager data
- Using a browser, navigate to the VMware NSX Manager Virtual Appliance (
https://nsx-manager.fqdn).
- Type
adminas the User name and the Password (set during the installation above) then click Login.
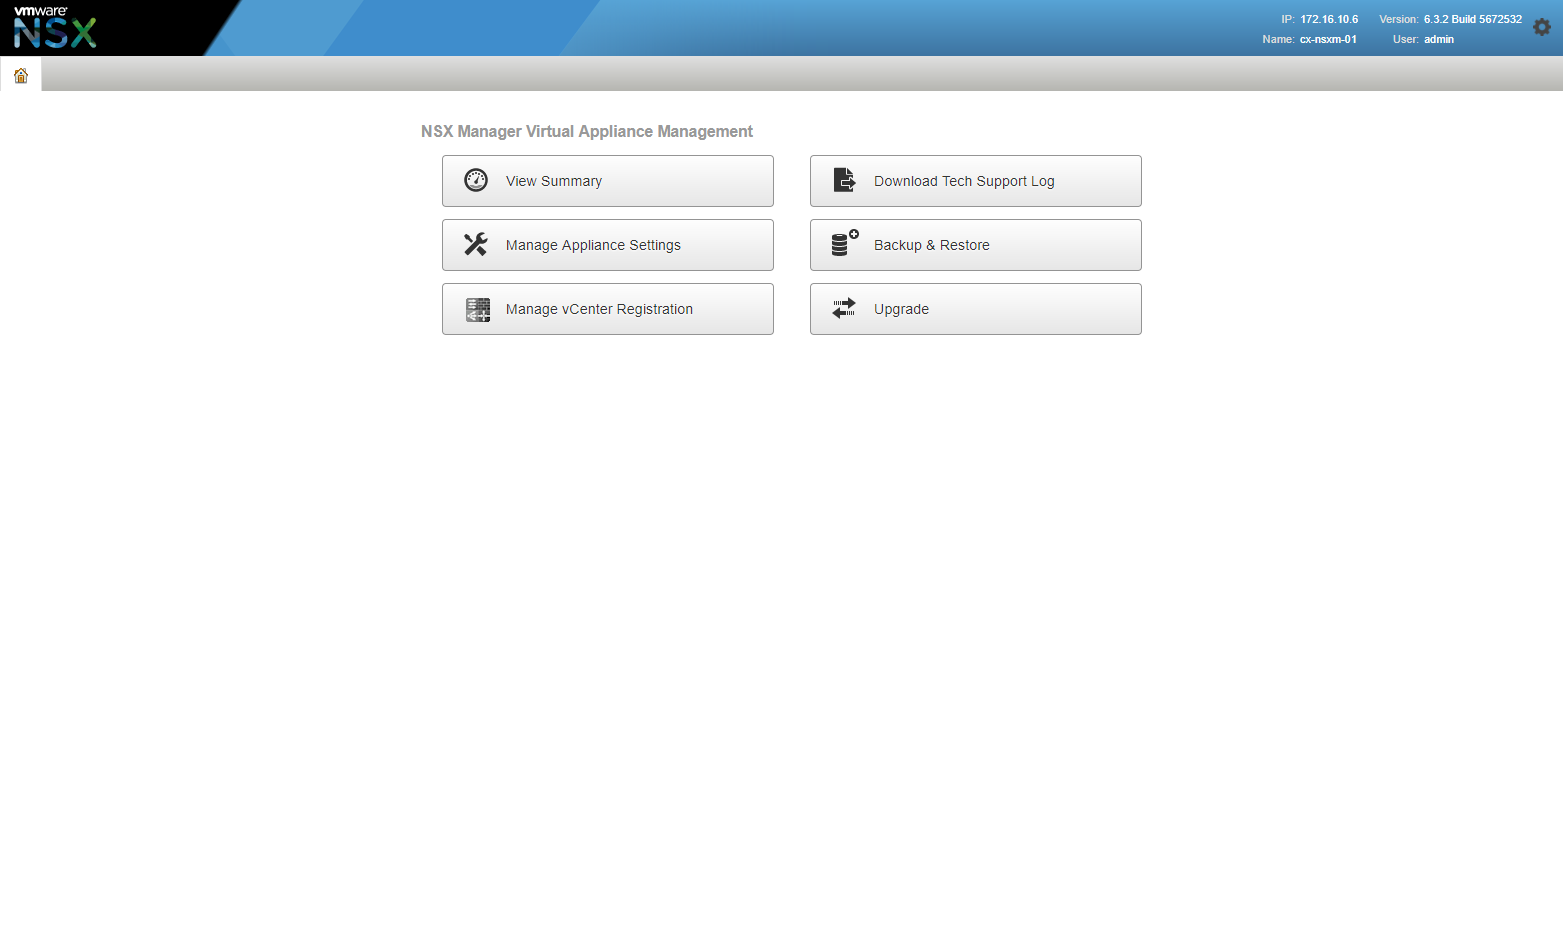
- Click Backup & Restore.
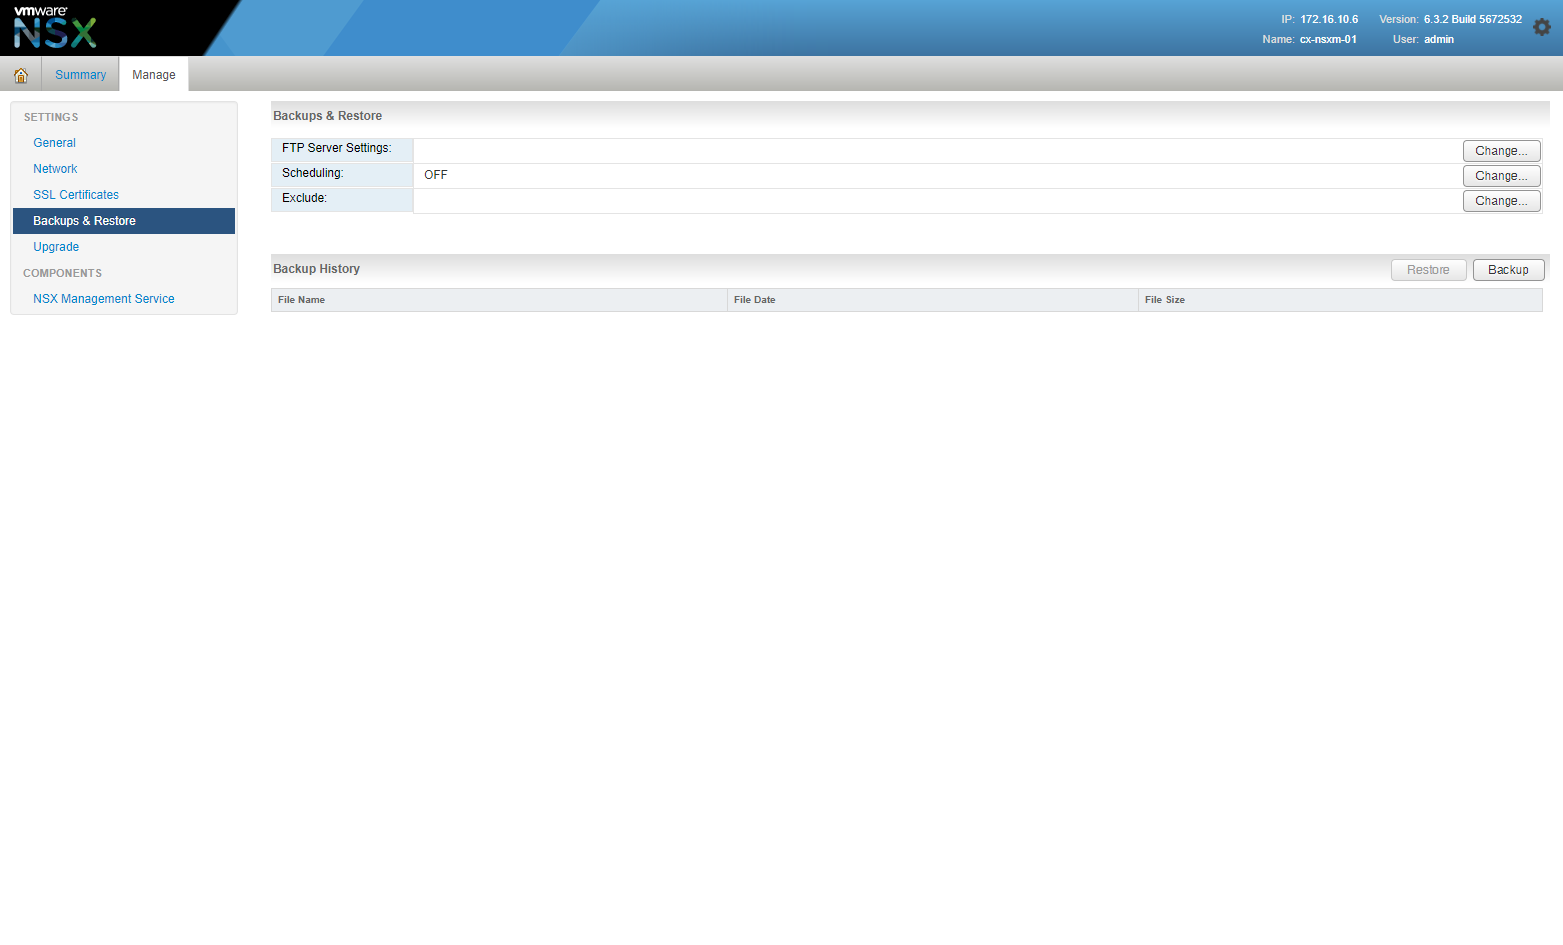
- At FTP Server Settings, click Change.
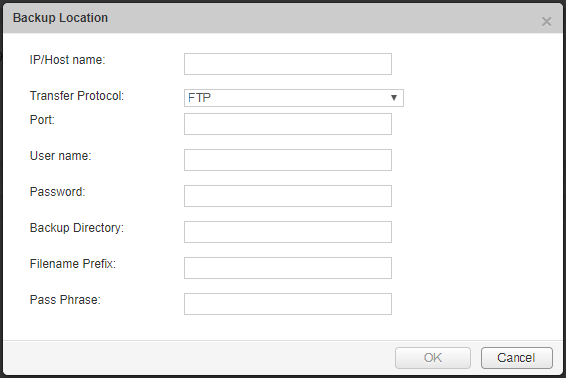
- Type the IP/Host name, select the Transfer Protocol from the dropdown, (optional) amend the Port, type the ftp User name, enter the ftp user Password, the Backup Directory, the Filename Prefix and, finally, the Pass Phrase.
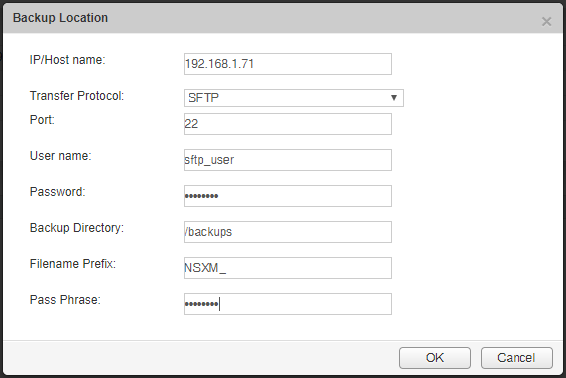
- Click OK.

- At Scheduling, click Change.
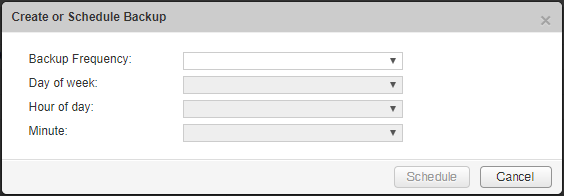
- Select the Backup Frequency, Day of Week, Hour of day and Minute from the dropdowns.
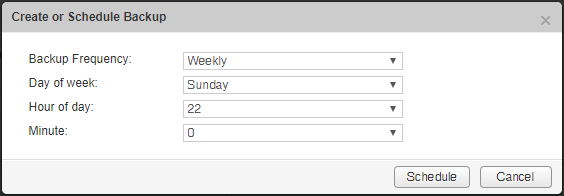
- Click Schedule.
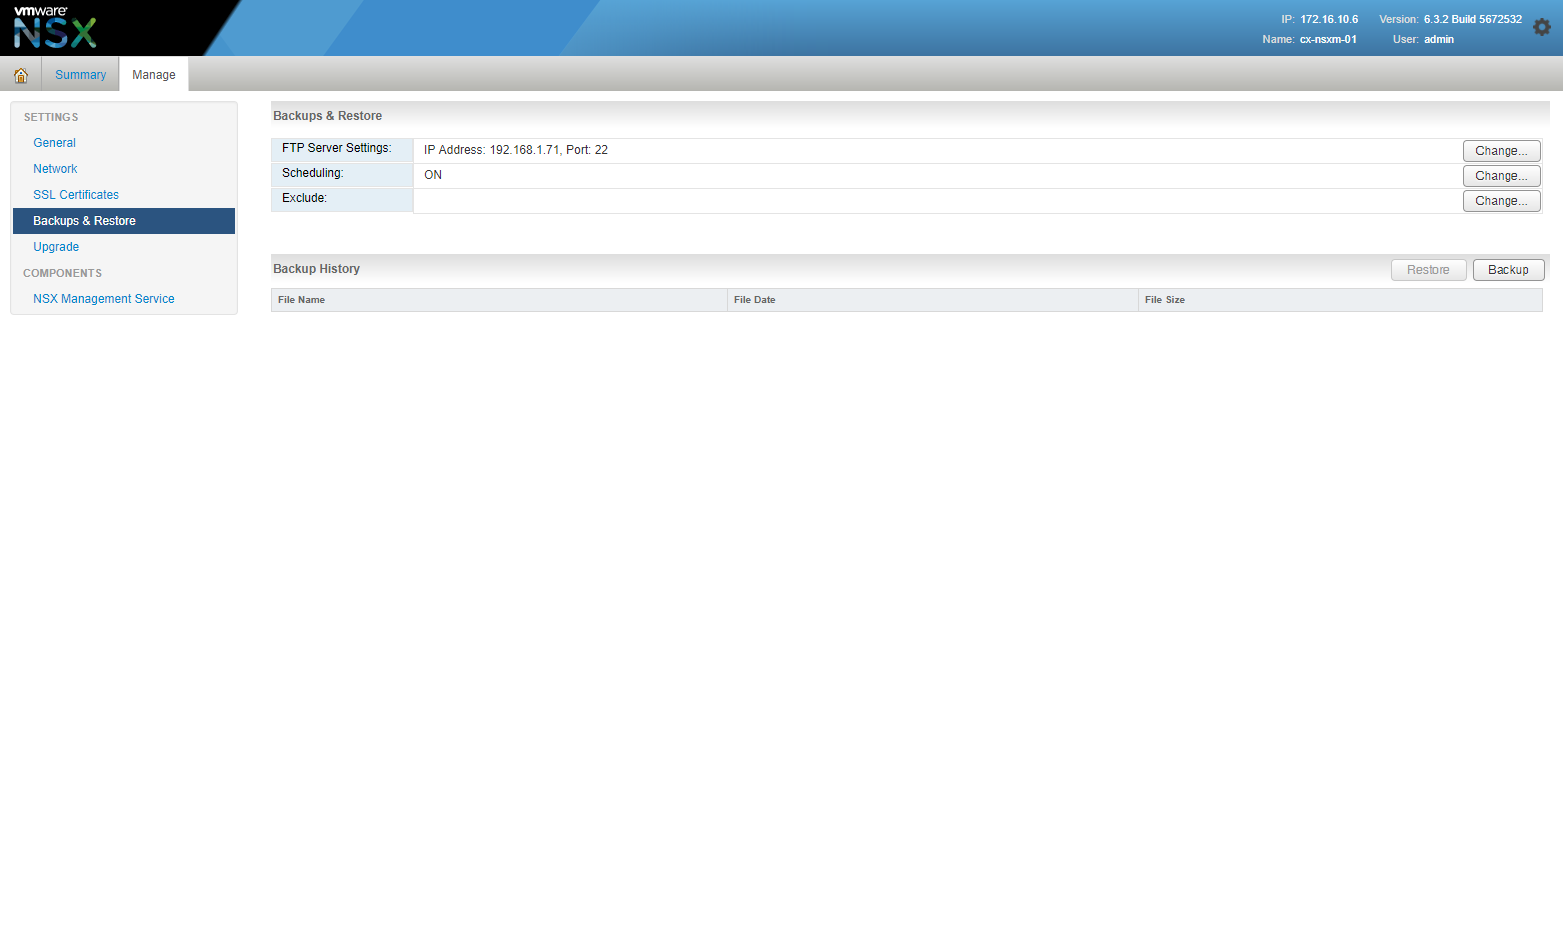
- At Exclude, click Change.
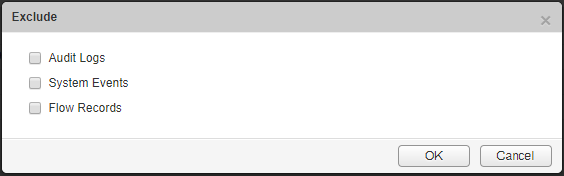
- Check the checkbox of the items to exclude.
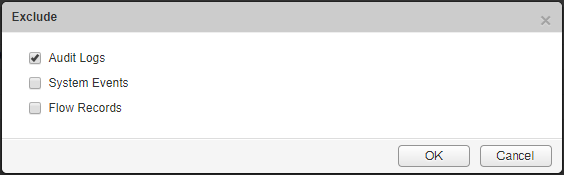
- Click OK.

- Click Backup.
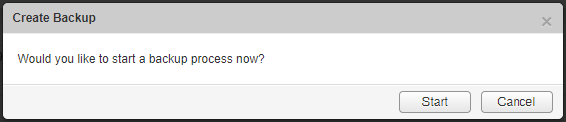
- Click Start.
Restore NSX Manager data
- Take screen shots or note all settings on the existing NSX Manager appliance.
- Deploy a new NSX Manager appliance.
- Log in to the new NSX Manager appliance.
- Under Appliance Management, click Backups & Restore.
- In FTP Server Settings, click Change and add the settings.
- The Host IP Address, User Name, Password, Backup Directory, Filename Prefix, and Pass Phrase fields in the Backup Location screen must identify the location of the backup to be restored.
- In the Backups History section, select the check box for the backup to restore and click Restore.
Note:
The version must be the same as the backed up NSX Manager appliance.
Export vSphere Distributed Switch Configuration
Note:
These steps assume you are not even logged into vCenter Server. Skip the first few steps if you are!
- Using your favourite web browser, navigate to the vCenter Server login page (
https://vcenter.fqdn).
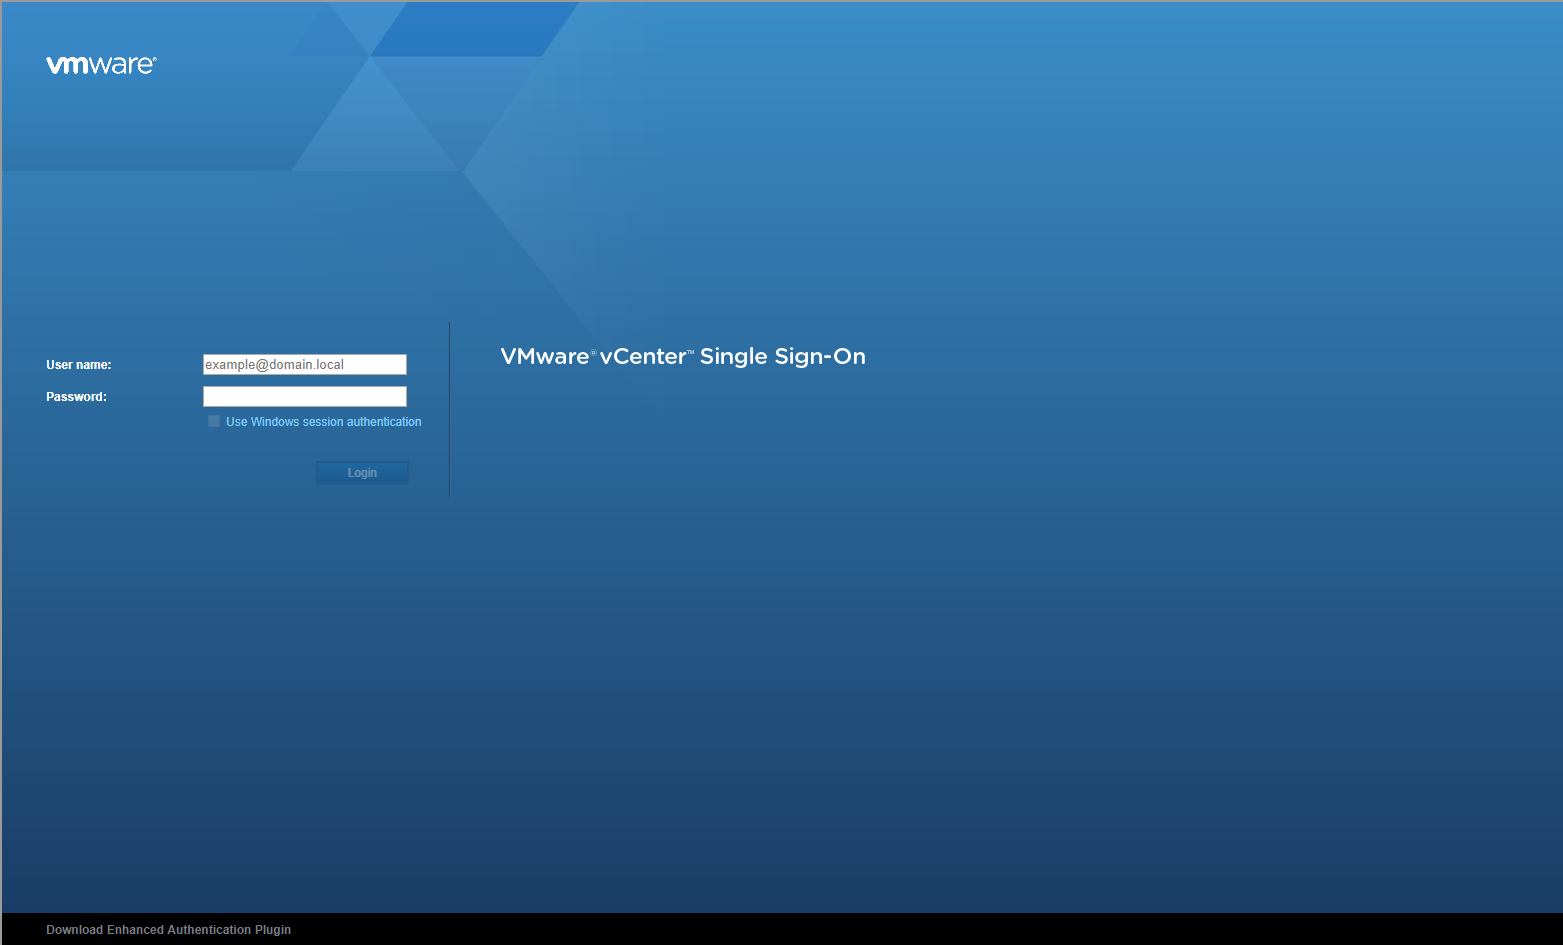
- Type the administrator User name and Password and click Login.
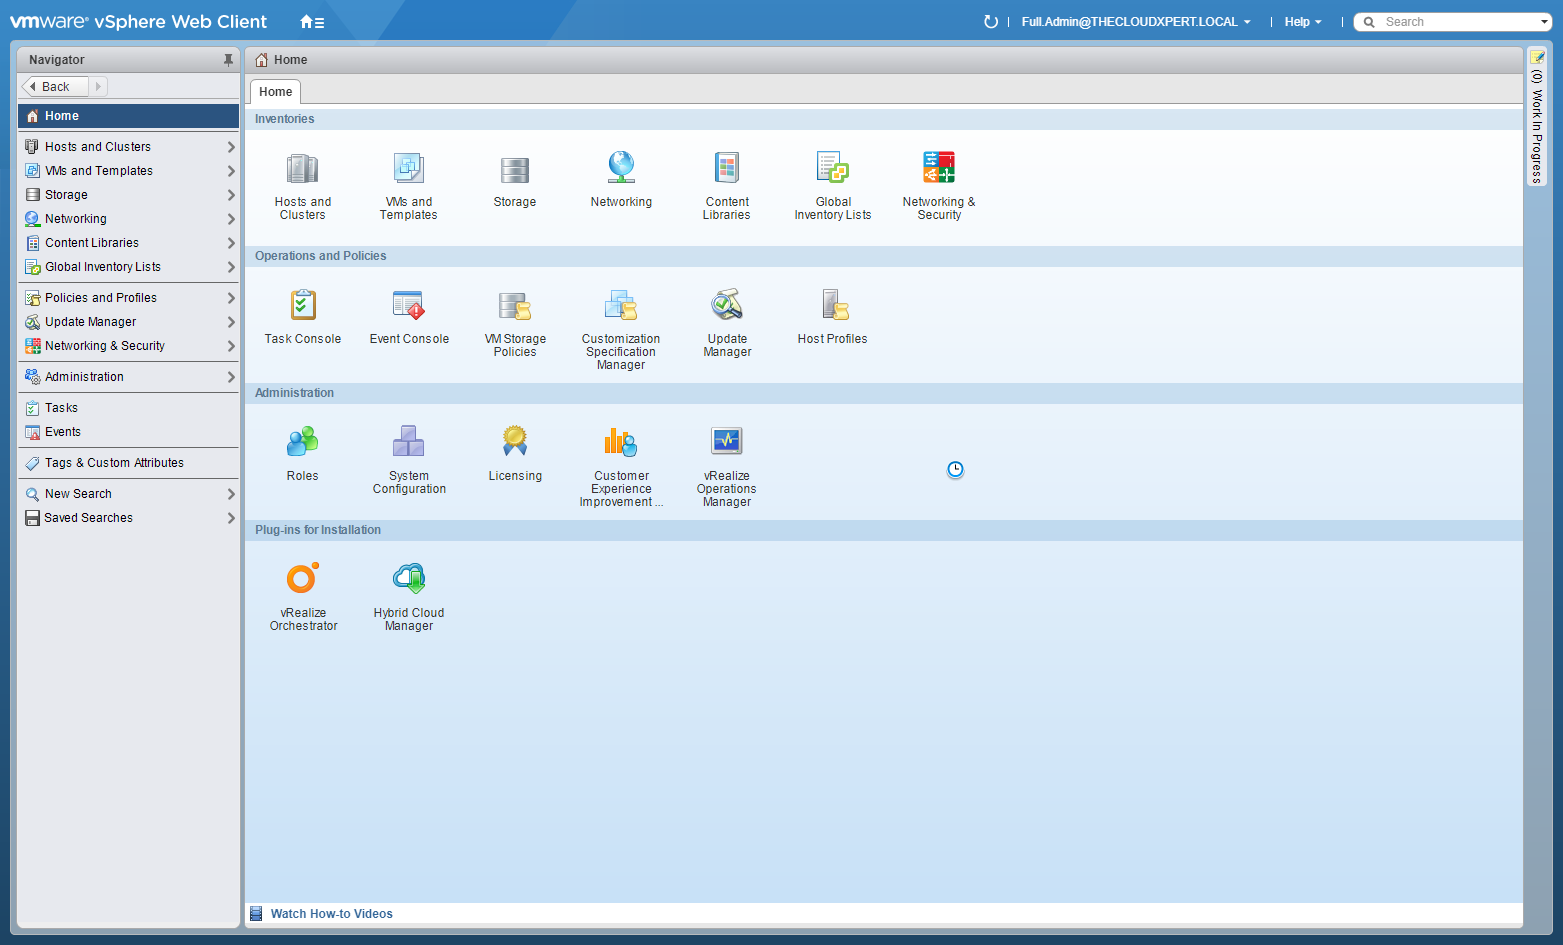
- Click Networking.
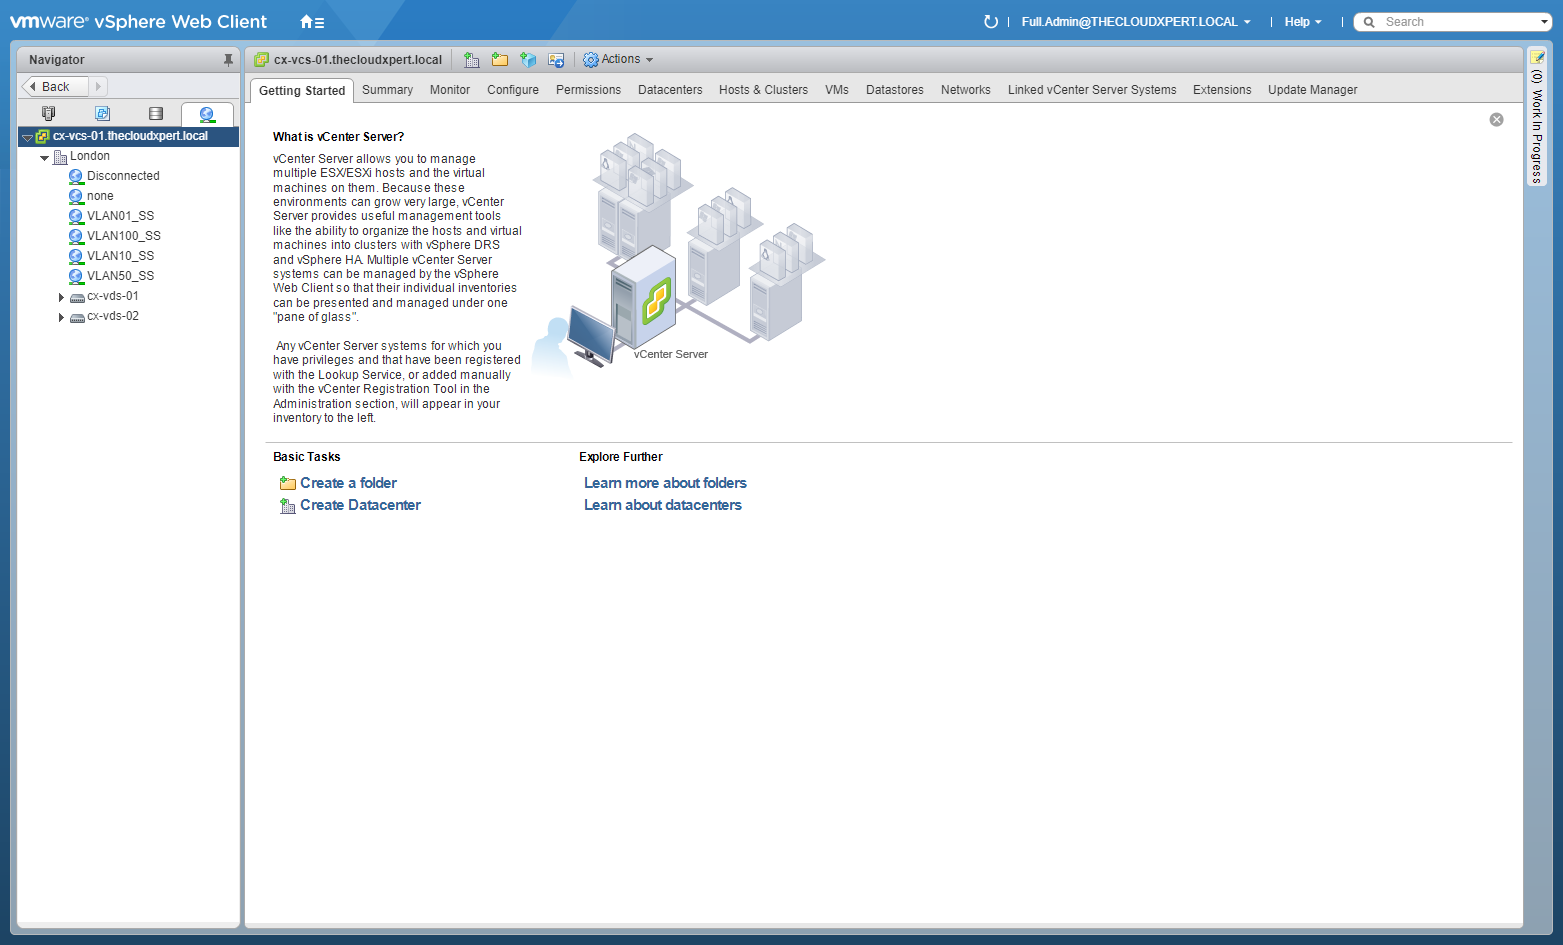
- Right-Click on the vDS that needs to be exported.
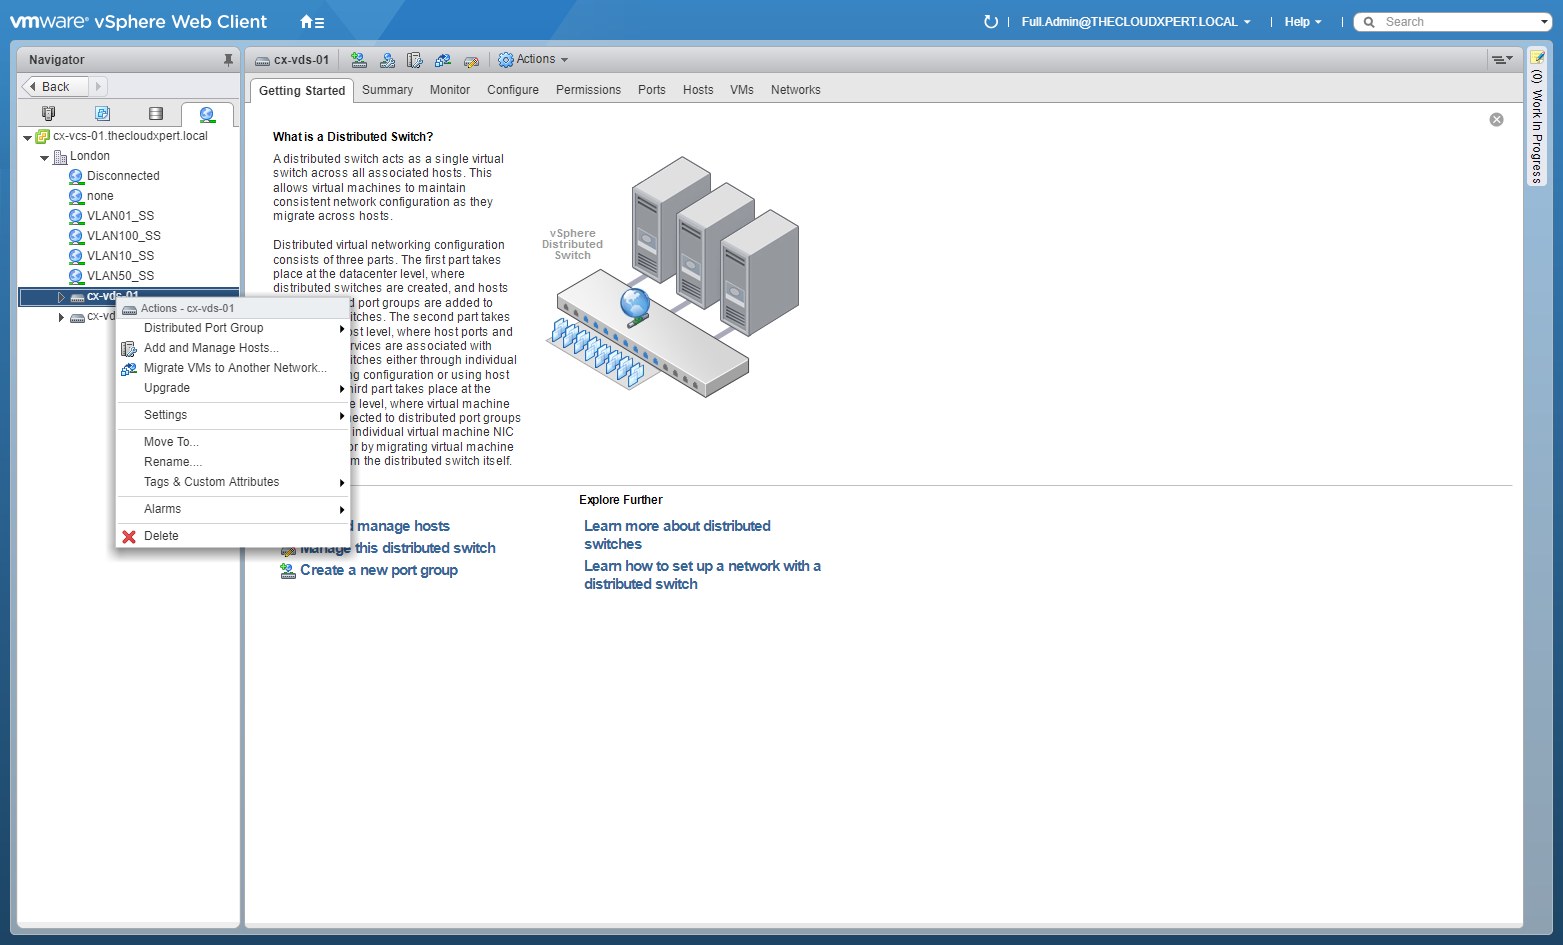
- Select Settings > Export Configuration.
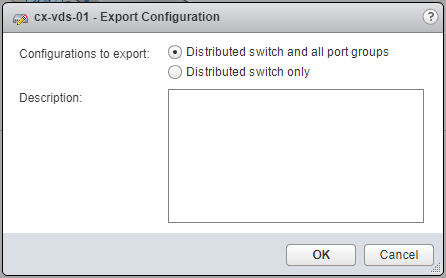
- Select either the Distributed switch and all port groups option or the Distributed switch only option, (optional) enter a Description for the export and click OK.
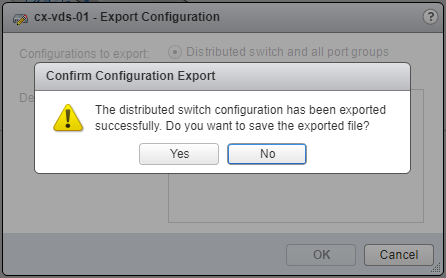
- Click Yes.
Restore vSphere Distributed Switch Configuration
Note:
These steps assume you are not even logged into vCenter Server. Skip the first few steps if you are!
- Using your favourite web browser, navigate to the vCenter Server login page (
https://vcenter.fqdn).
- Type the administrator User name and Password and click Login.
- Click Networking.
- Right-click on the Distributed Switch.
- Select Settings > Restore Configuration.
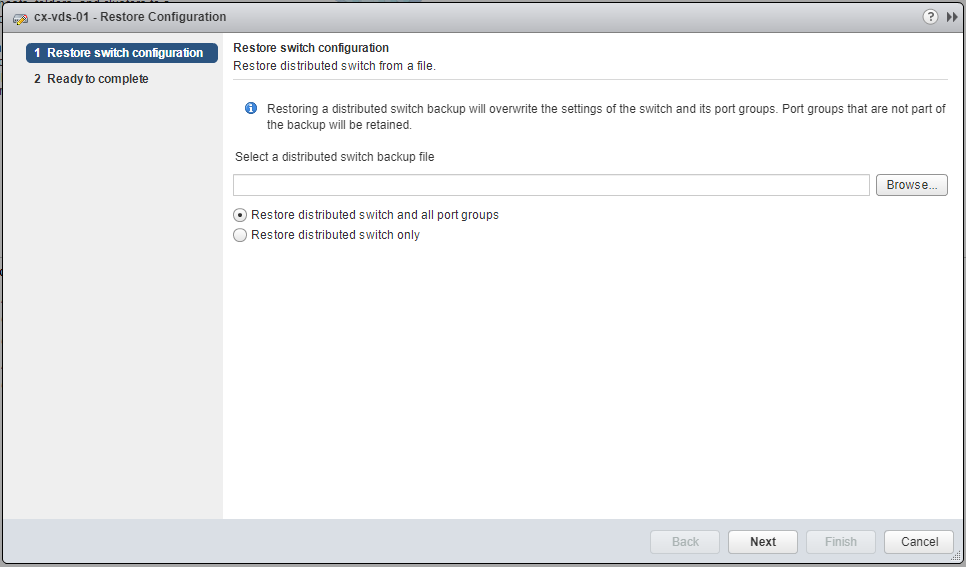
- Click **Browse, **locate the file and click Open.

- Click Next.
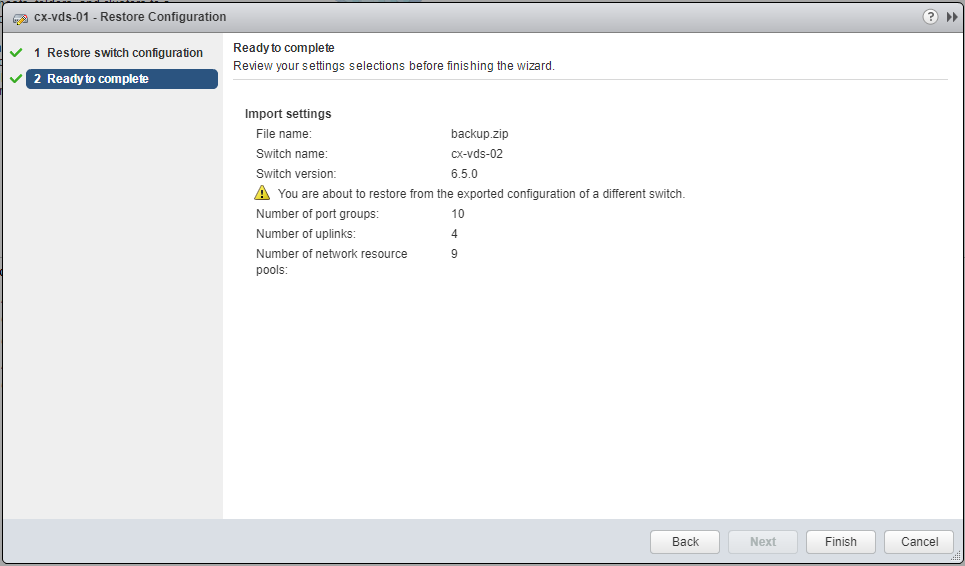
- Click Finish.
Export Service Composer profiles
Note:
These steps assume you are not even logged into vCenter Server. Skip the first few steps if you are!
- Using your favourite web browser, navigate to the vCenter Server login page (
https://vcenter.fqdn).
- Type the administrator User name and Password and click Login.
- Click Networking and Security.

- Click Service Composer.
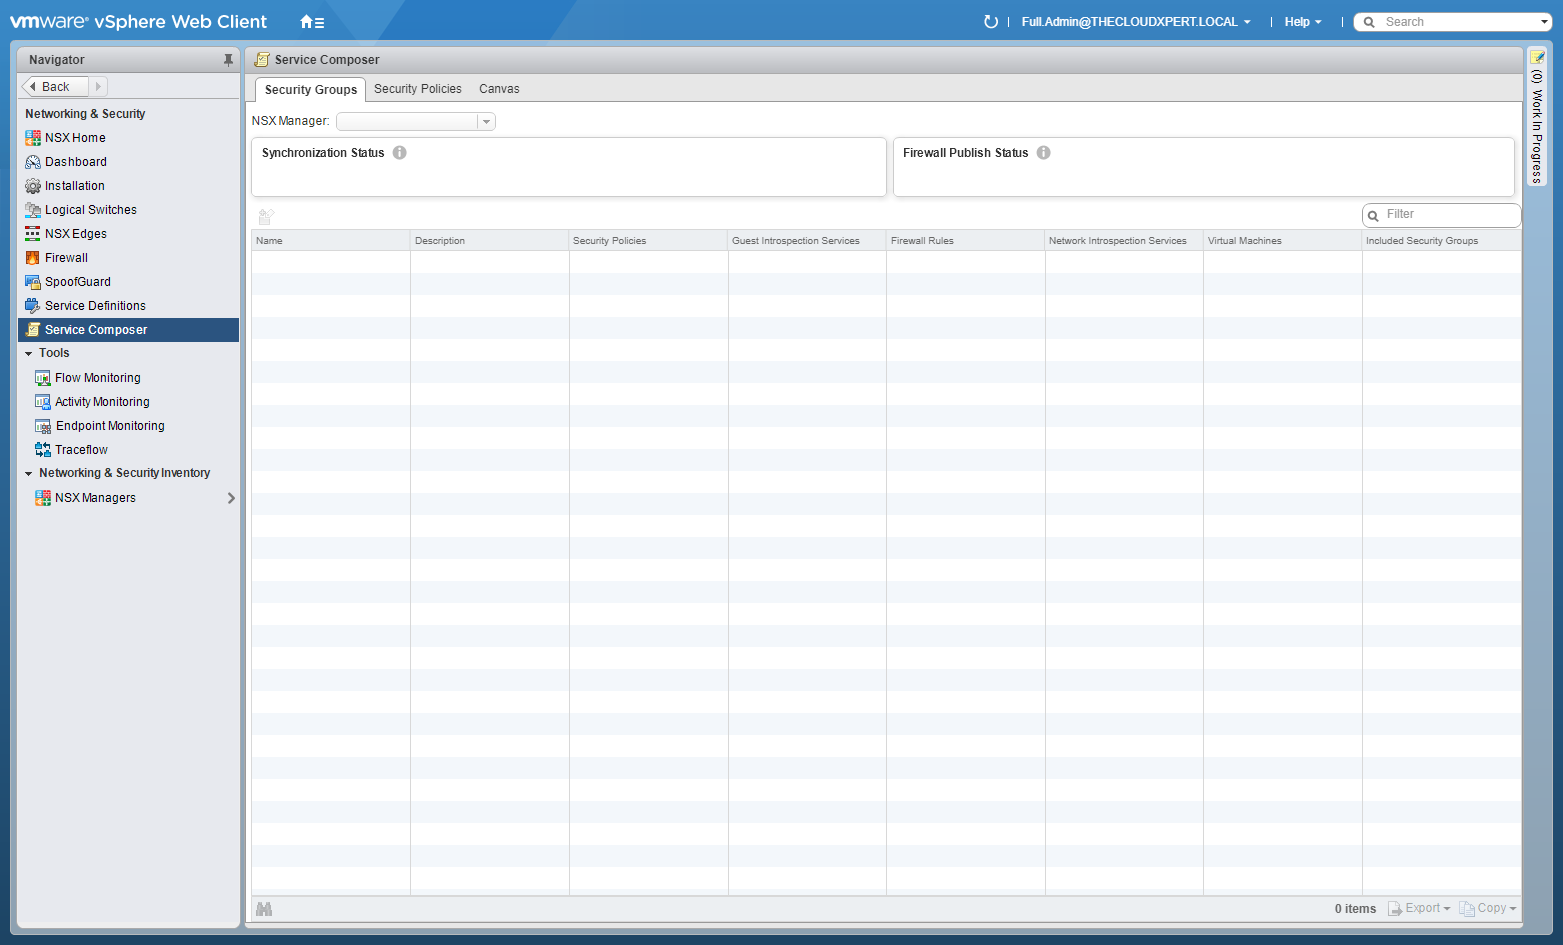
- Click the Security Policies tab.
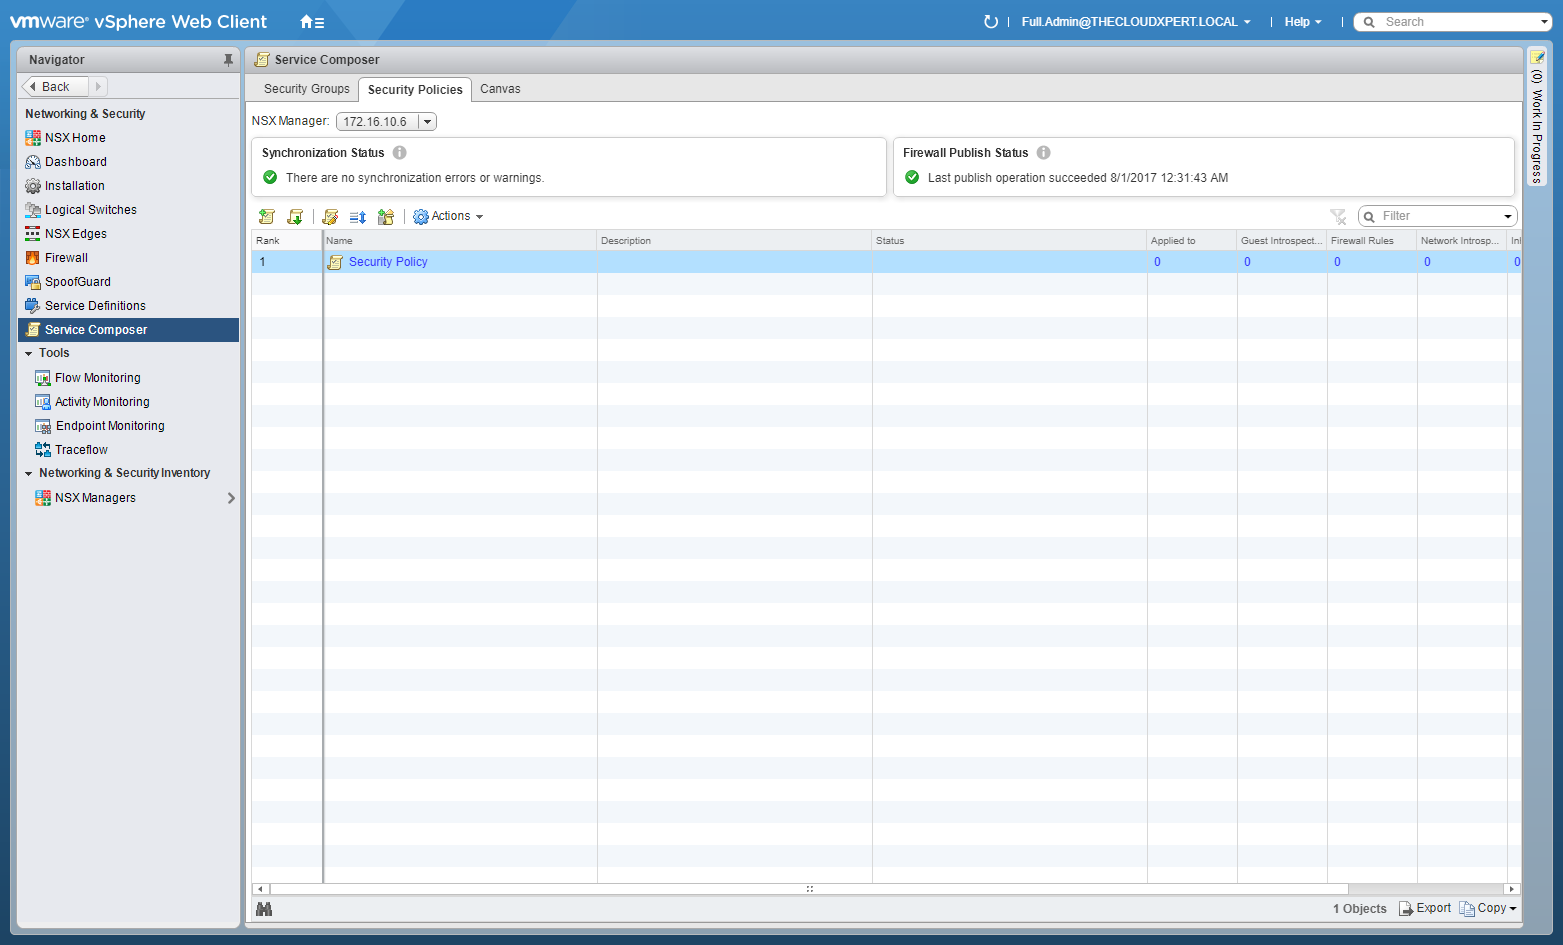
- Right-Click on the target Security Policy.
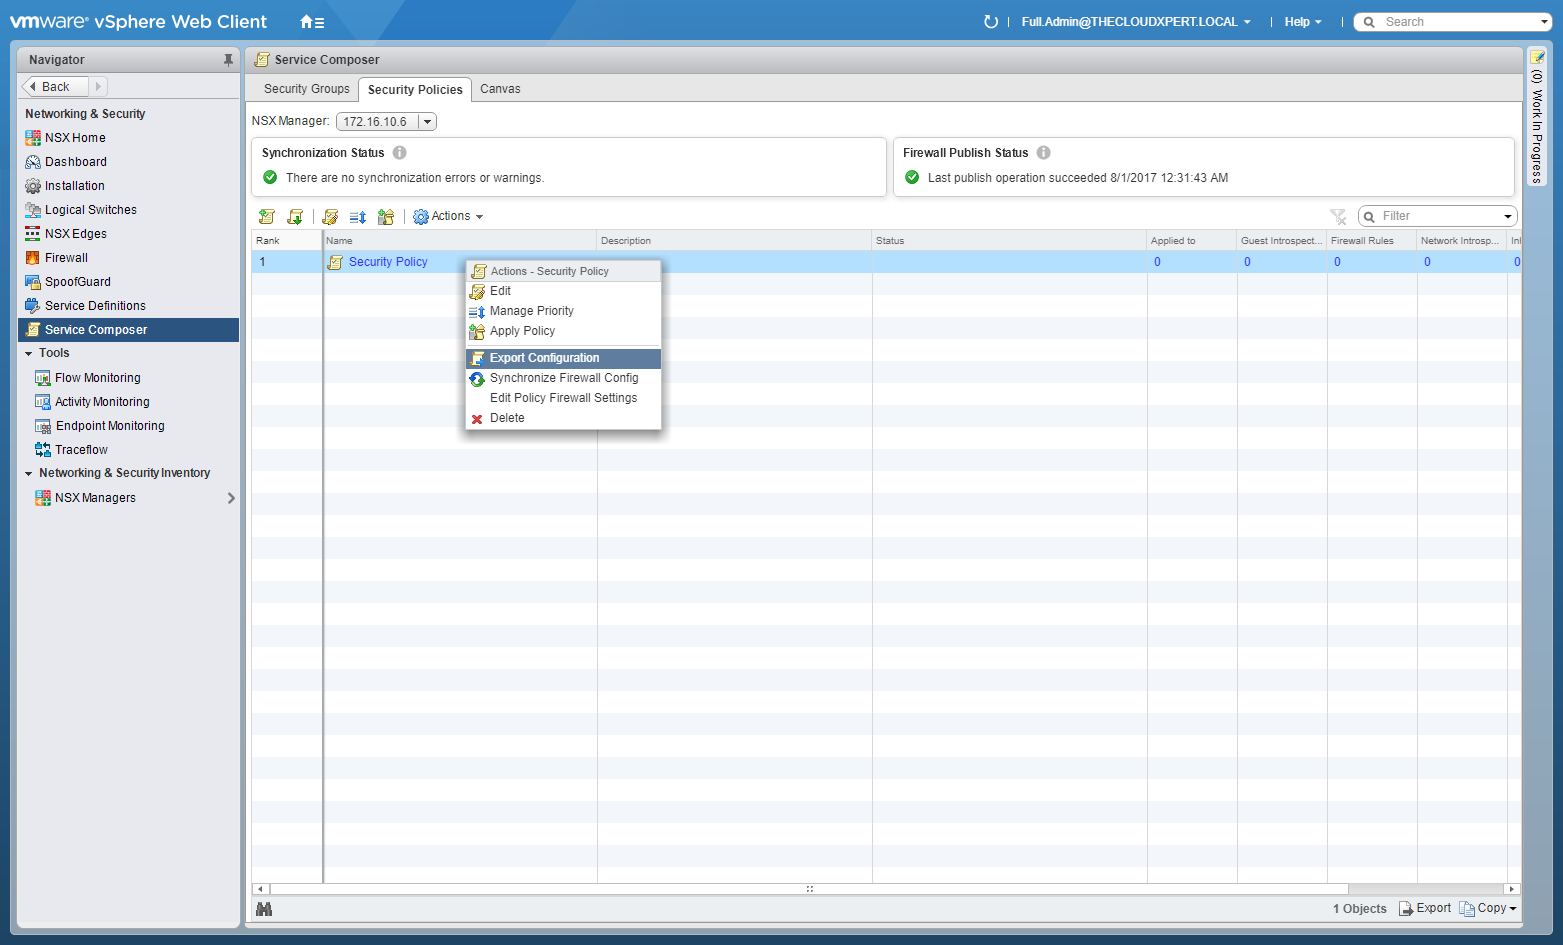
- Select Export Configuration.
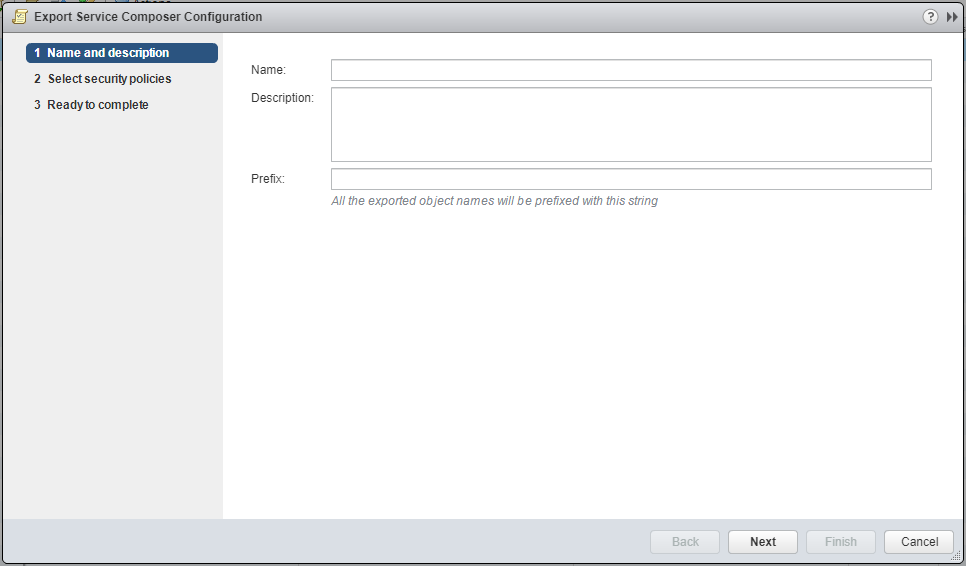
- Type a Name for the exported policy, (optional) enter a description, (optional) enter a prefix.
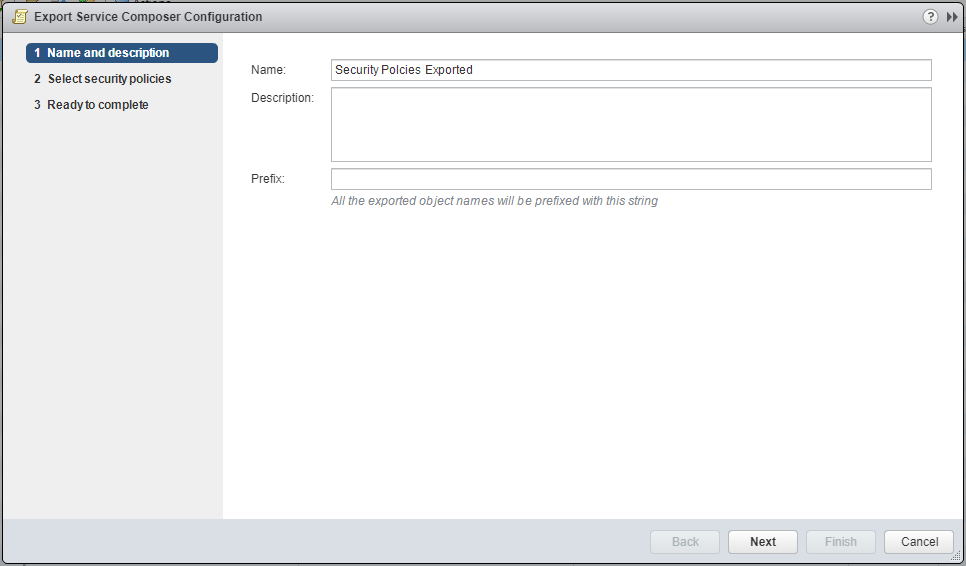
- Click Next.
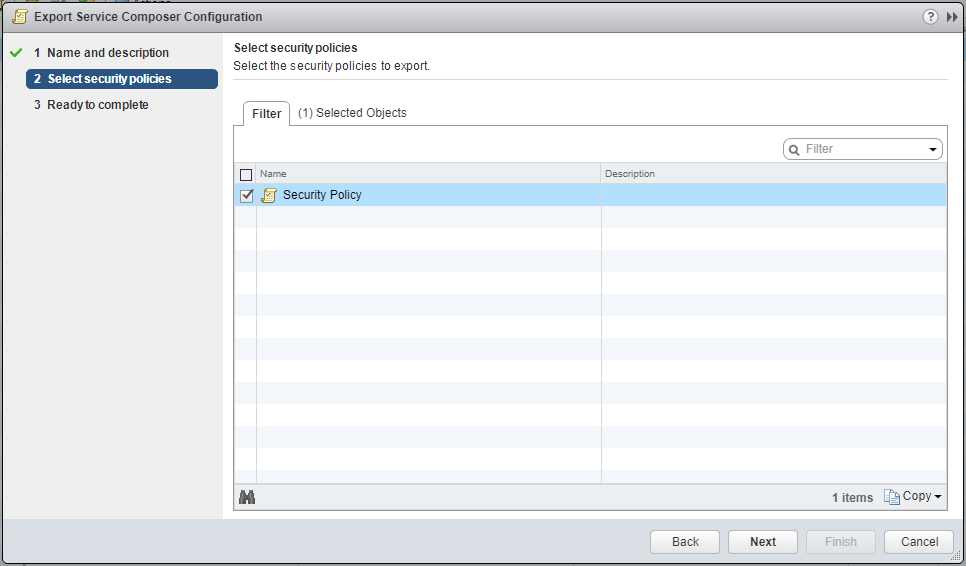
- Ensure the policies to be exported are checked and click Next.
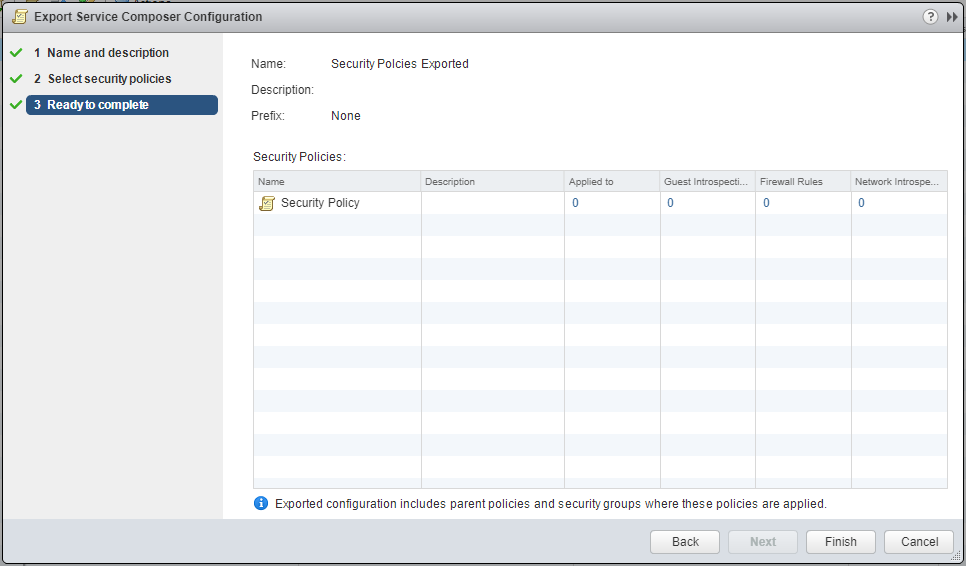
- Click Finish and then select a location to save the .blueprint file.
Import Service Composer profiles
Note:
These steps assume you are not even logged into vCenter Server. Skip the first few steps if you are!
- Using your favourite web browser, navigate to the vCenter Server login page (
https://vcenter.fqdn).
- Type the administrator User name and Password and click Login.
- Click Networking and Security.
- Click Service Composer.
- Click the Security Policies tab.
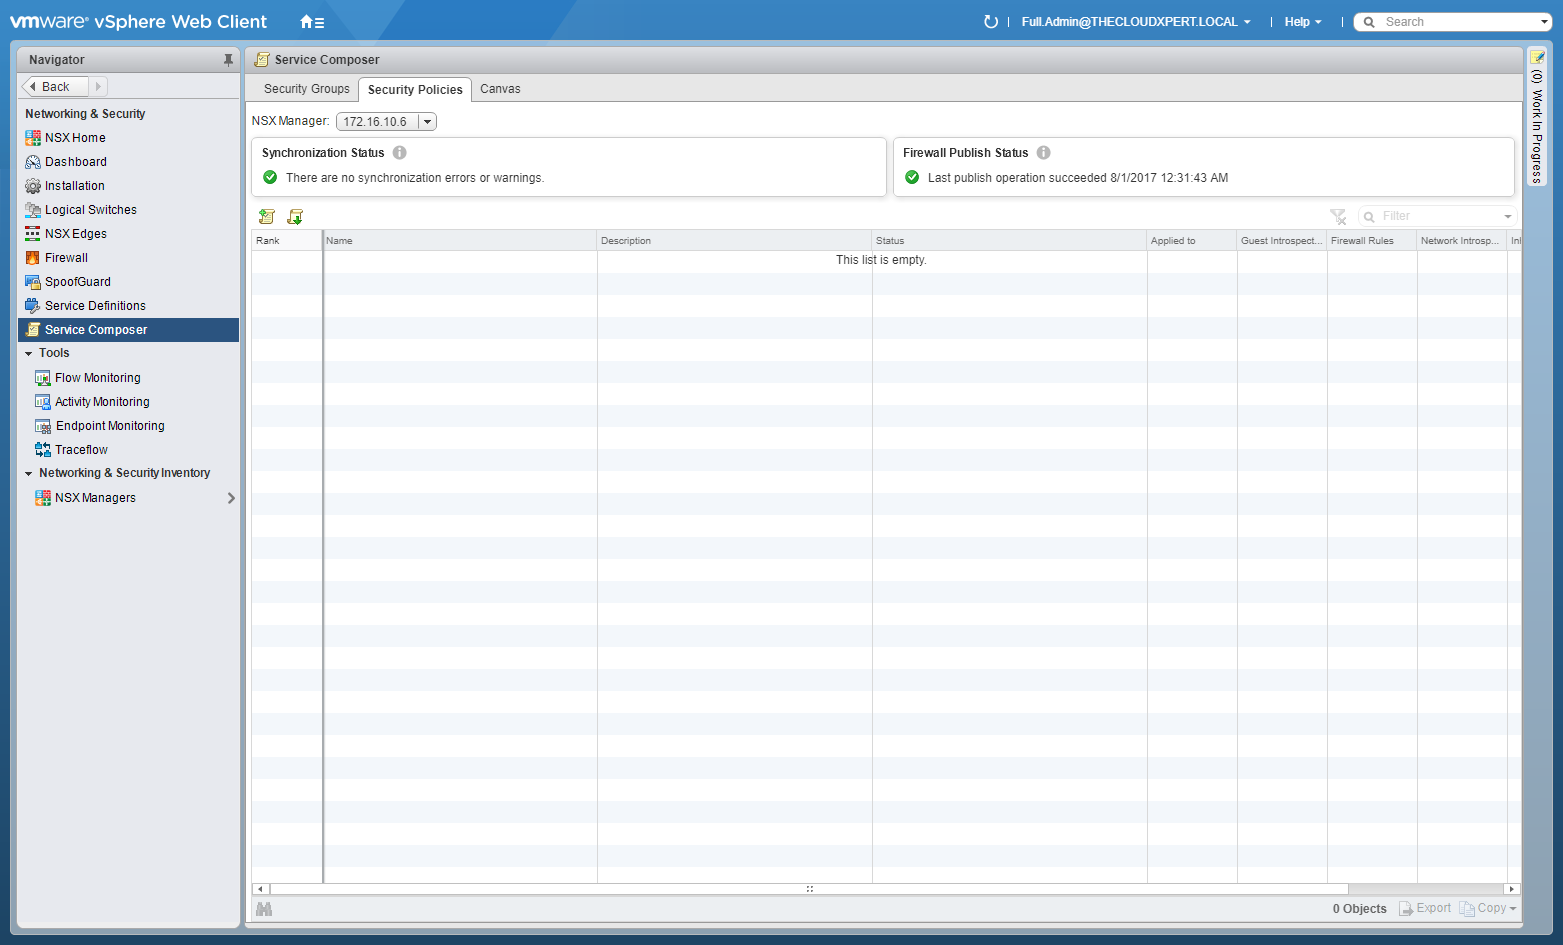
- Click Import Configuration.
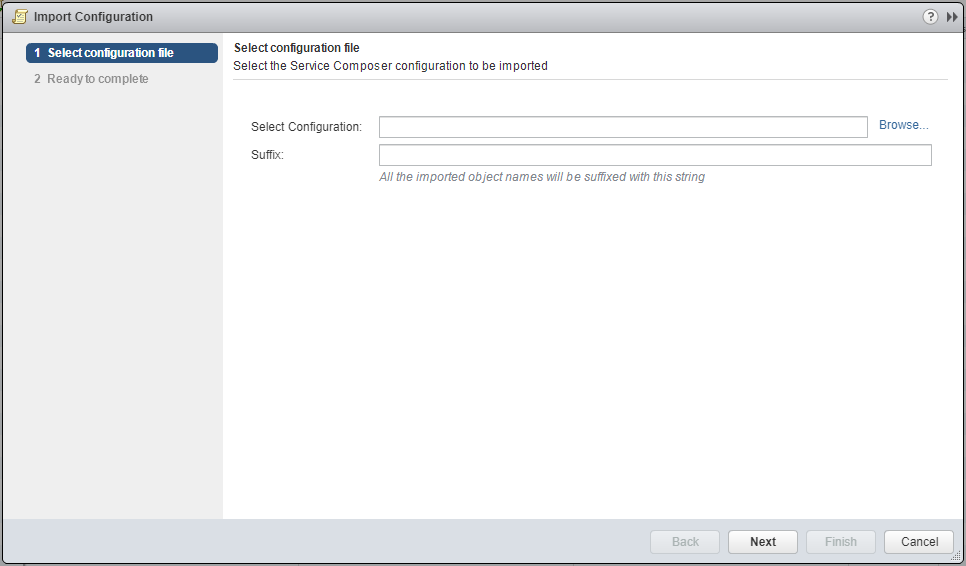
- Click Browse. locate the appropriate *.blueprint file and click Open.
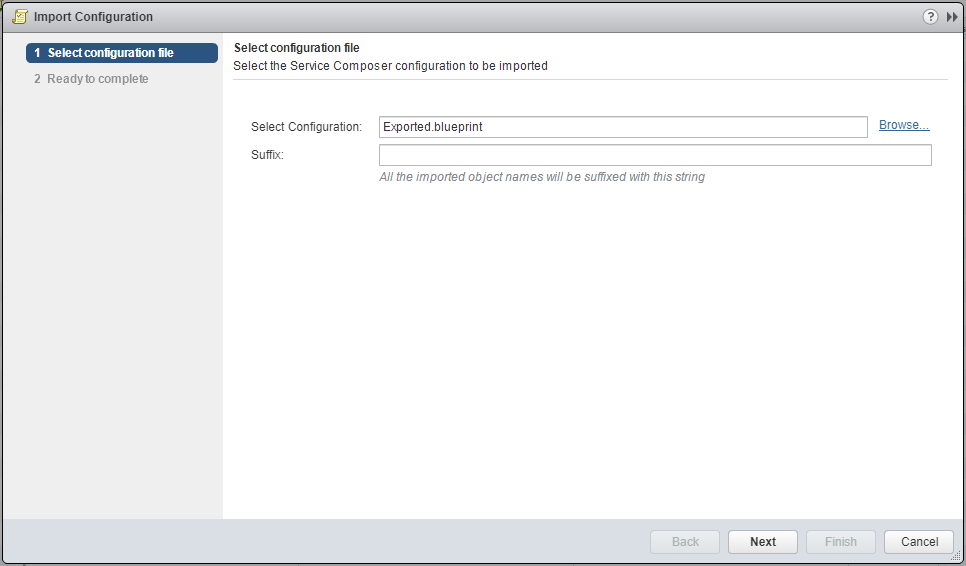
- Click Next.
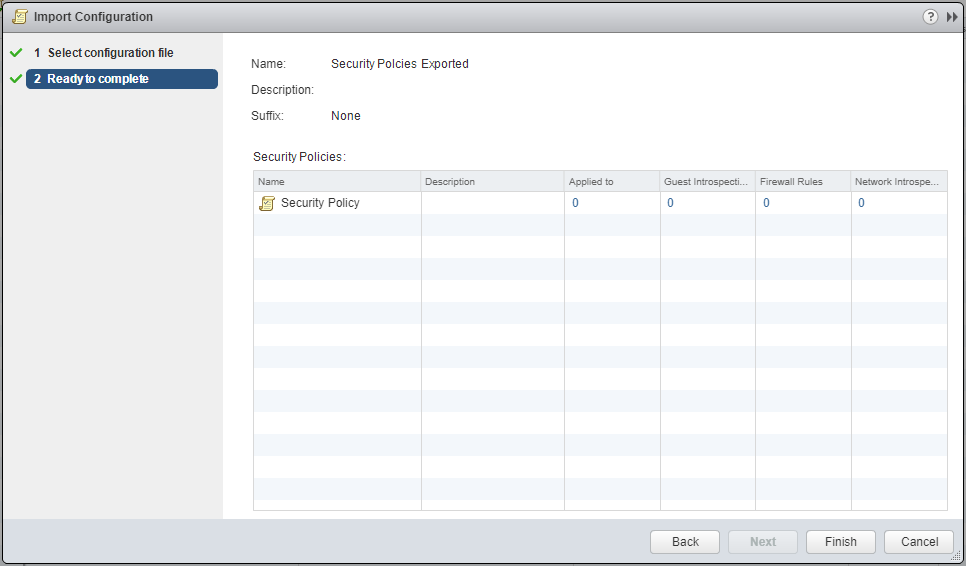
- Click Finish.

Save/Export/Import/Load Distributed Firewall configurations
To be completed.
Published on 1 August 2017 by Christopher Lewis. Words: 635. Reading Time: 3 mins.
Share this article on:
Related Post(s):
- HOWTO: Deploy a VMware NSX Edge Services Gateway (ESG) ()
- HOWTO: Deploy a VMware NSX-V Distributed Logical Router (DLR) ()
- VCAP6-NV Deploy - Objective 1.1 - Deploy VMware NSX Infrastructure components ()
- HOWTO: Configure VMware NSX and VMware vRealize Log Insight - Part Three ()
- HOWTO: Add a Host to a VMware NSX-V enabled vSphere Cluster ()
About the Author:

Name: Christopher Lewis
Twitter/X: thecloudxpert
Role: Domain Expert - VCF Automation & VCF Operations
Company: Broadcom
Recent Posts by Christopher Lewis:
Blog Categories:
active directory 6
aria automation 9
aria operations 2
aws 2
certificate authority 5
certificates 5
certification 91
general 9
home lab 2
microsoft 7
nsx 45
nsx v 41
powercli 8
powershell 6
vcap 48
vcap6 2
vcenter 4
vcf 5
vcix 2
vexpert 9
vmug 5
vmware 99+
vmware aria automation 9
vmware aria operations 5
vmware cloud 3
vmware explore 2
vmware identity manager 2
vmworld 36
vrealize automation 80
vrealize business 2
vrealize operations manager 5
vrealize orchestrator 13
vrealize suite 14
vrealize suite lifecycle manager 20
vsan 5
vsphere 9
windows 6
Top Tags:
active directory 6
api 18
barcelona 24
certificates 11
certification 7
howto 33
microsoft 7
multi tenancy 9
nsx v 43
platform services controller 8
powercli 8
powershell 7
psc 6
vcap 9
vcap6 45
vcap6 cma 48
vcap6 nv 37
vcix6 nv 36
vexpert 19
vmug 8
vmware 99+
vmware aria 12
vmware aria automation 9
vmworld 35
vmworld 2016 13
vmworld 2017 9
vra 13
vrealize automation 74
vrealize operations 8
vrealize orchestrator 21
vrealize suite lifecycle manager 11
vrslcm 20
vsan 7
vsphere 12