Part 1 - Installing Microsoft Windows 2012 R2 Certificate Services
Active Directory Certificate Authority Certificates Microsoft
Published on 22 March 2016 by Christopher Lewis. Words: 277. Reading Time: 2 mins.
This is Part 1 of a series of posts on how to configure VMware vSphere 6.0 to use Certificates from Microsoft Windows Server Certificate Services.
I have heavily invested into my Home Lab over the last few months and as part of building my new VMware vSphere 6.0 Home Lab. I have decided that creating an Enterprise Root CA is a good idea so that I can work with certificates in my home lab.
The following instruction assumes you have a vanilla installation Windows Server 2012 R2 server. In this instance I have named the server cx-ca-01 in line with my naming policy and joined it to my lab domain.
Instructions
Select Add roles and features from within the Server Manager screen.

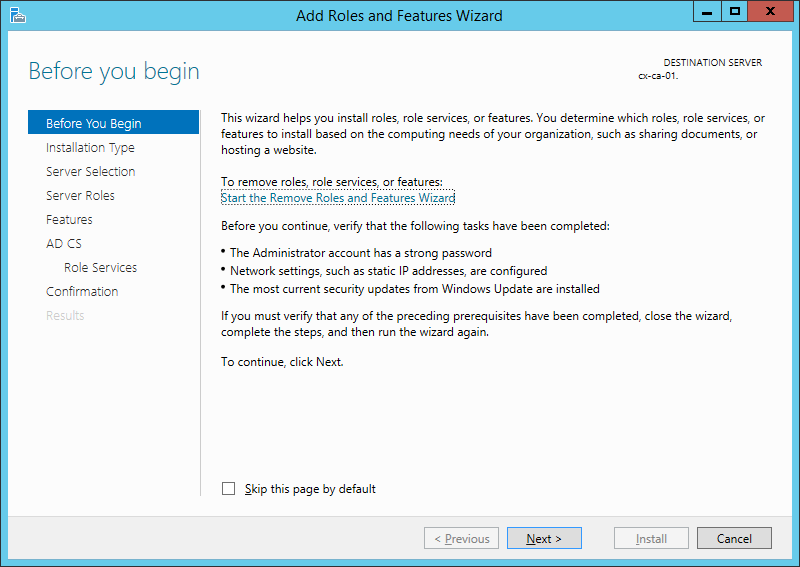
If desired (for your own sanity) check the Skip this page by default checkbox and then Click Next.
Select the Role-based or feature-based installation option and click Next.

Select the Select a server from the server pool option and ensure the server you want to install Certificate Services on is selected and click Next.

Select Active Directory Certificate Services.

When prompted, click Add Features to add the default pre-requisite components.

Unless there are additional Roles you wish to install, Click Next.
Add any additional Features you may wish to install and click Next.

Click Next.

Select Certificate Authority Web Enrollment.

When prompted, click Add Features to add the default pre-requisite components.

Click Next.

Click Next.

Click Next.

Click Install.

The roles and features will now install. Click Close.

Once the CA features have been installed, click Configure Active Directory Certificate Services.

Next Steps
In Part 2 will cover the initial configuration of the Certificate Authority.
Published on 22 March 2016 by Christopher Lewis. Words: 277. Reading Time: 2 mins.
