Warning! The content within this article is over 36 months old and, therefore, may be out of date.
HOWTO: Deploy a VMware NSX Edge Services Gateway (ESG)
Share this article on:


VMware NSX-V VCAP6-NV VCIX6-NV HOWTO
Published on 31 July 2017 by Christopher Lewis. Words: 378. Reading Time: 2 mins.
Introduction
This is one of many posts that will form part of the VCAP6-NV Deploy Exam Guide .
What is an Edge Service Gateway (ESG)?
An Edge Services Gateway is a virtual appliance that is responsible for both North/South traffic and various Edge services, including Load Balancing, NAT and DHCP.
In this example, we will create a new ESG with two interfaces, one to connect to the transit network (Internal) and one to connect to a vDS Port Group (Uplink).
Step by Step Guide
Prerequisites
Adding an ESG has a certain amount of prerequisites that can be found within the VMware Doc site here .
Deploying a VMware NSX Edge Service Gateway (ESG)
Note:
These steps assume you are not even logged into vCenter Server. Skip the first few steps if you are!
- Using your favourite web browser, navigate to the vCenter Server login page ( https://vcenter.fqdn ).
- Type the administrator User name and Password and click Login.
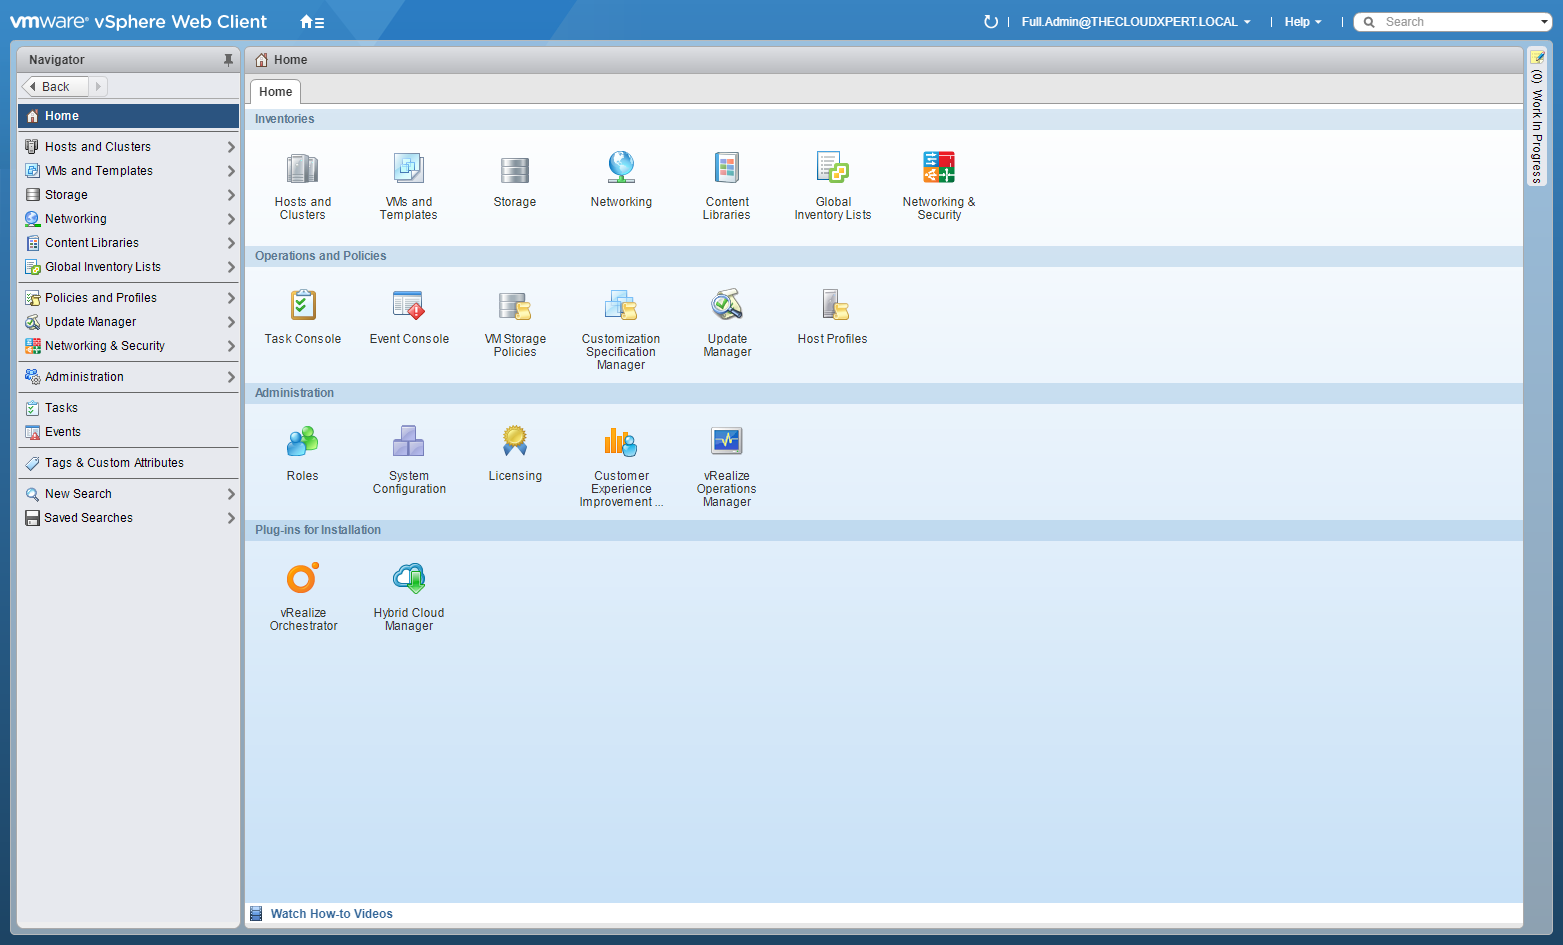
- Click Network and Security.
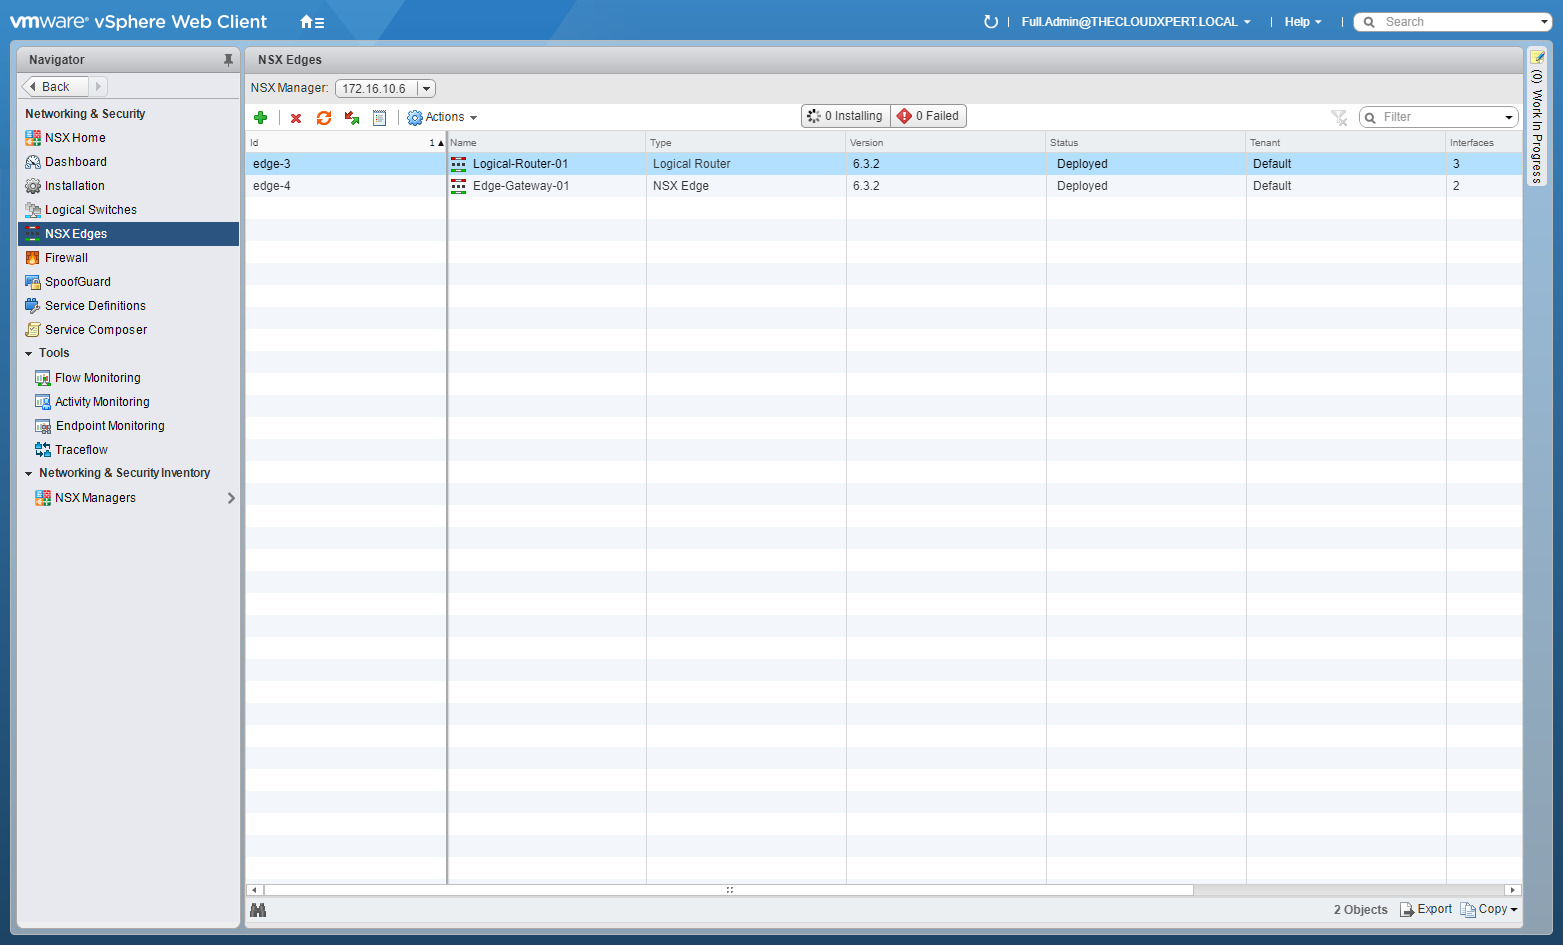
- Click NSX Edges.
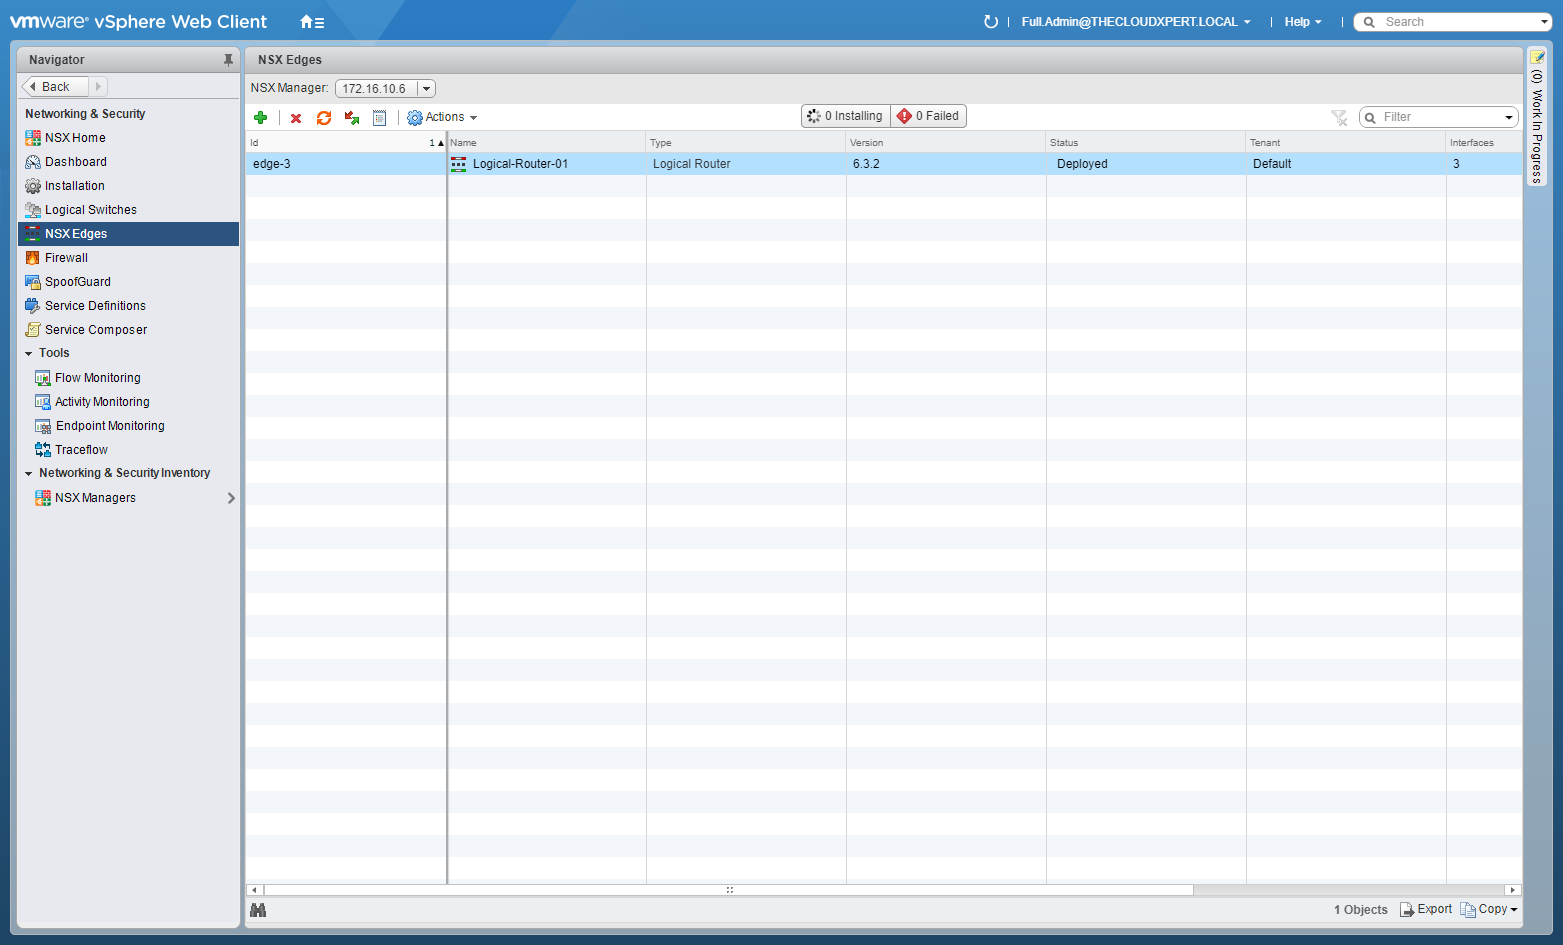
- Click Add (+).
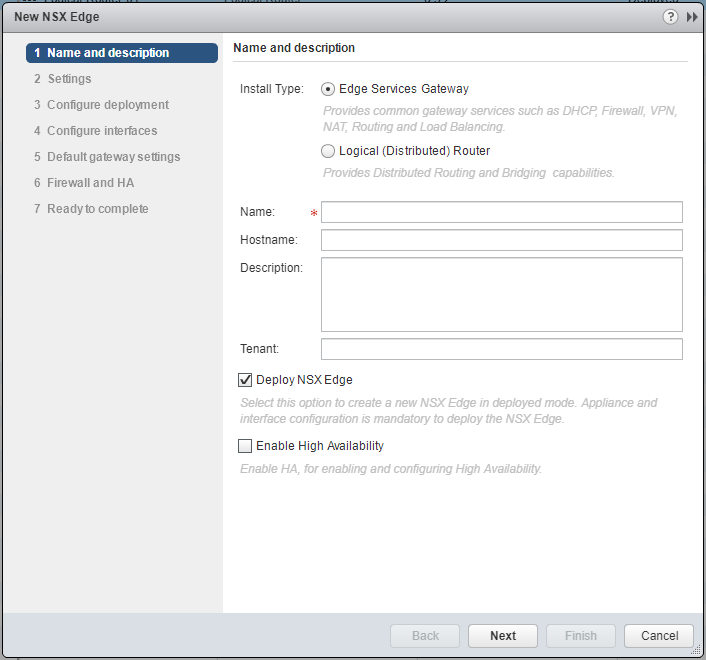
- Type the Name of the new ESG and (optional) check the Enable High Availability checkbox.
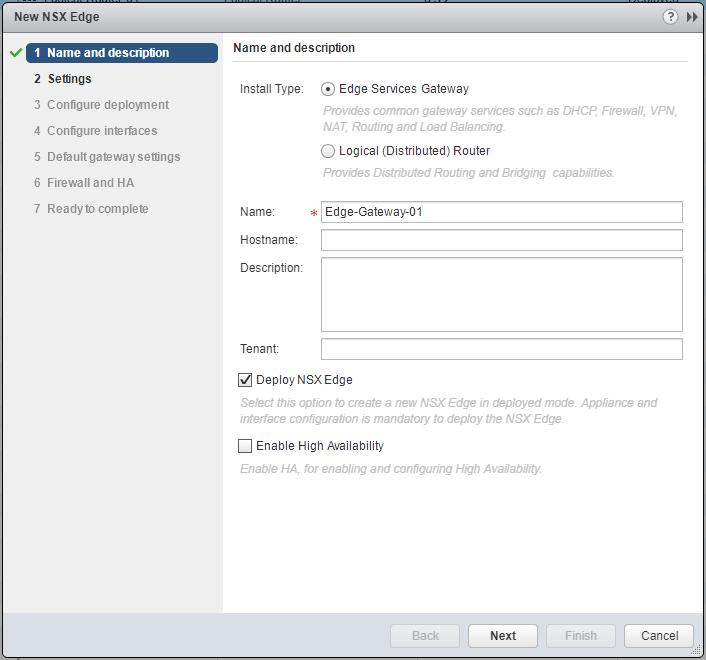
- Click Next.
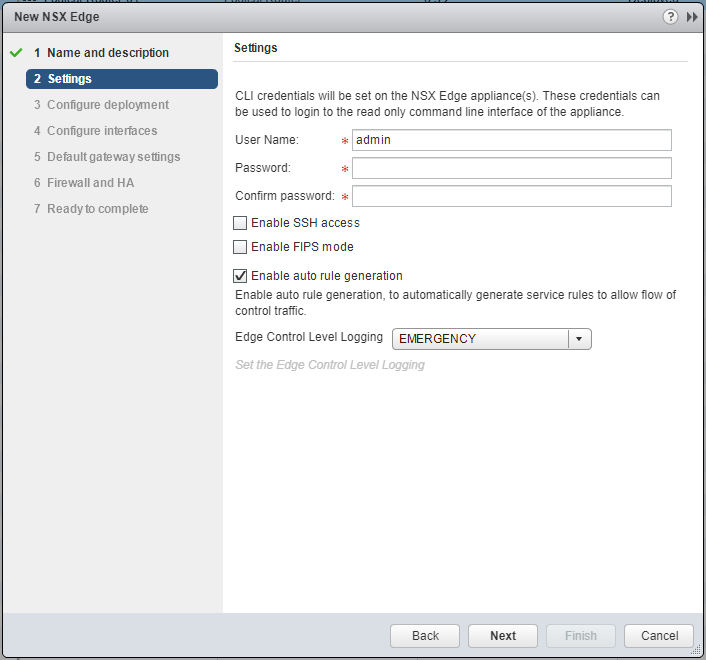
- Type and confirm a Password for the CLI credentials. (Optional) check the Enable SSH access or Enable FIPS mode checkboxes based on your requirements.
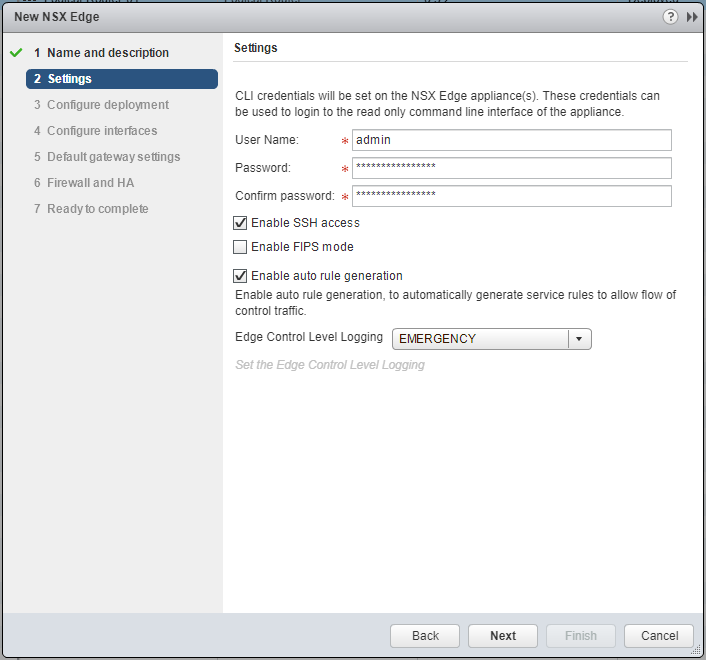
- Click Next.
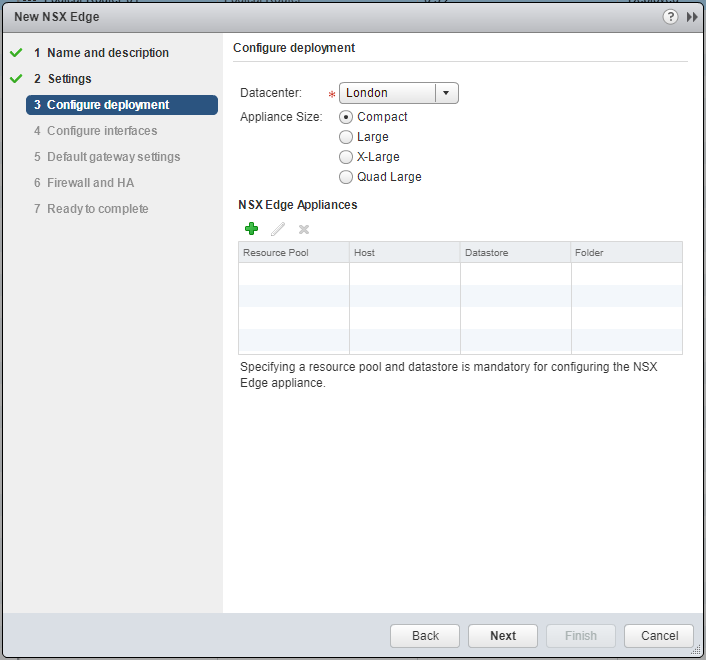
- Select the correct Datacenter from the drop down, select the appropriate Appliance Size and then click Add(+).
Note:
One of the main differences between deploying the ESG and DLR is the ESG is sized based requirements.
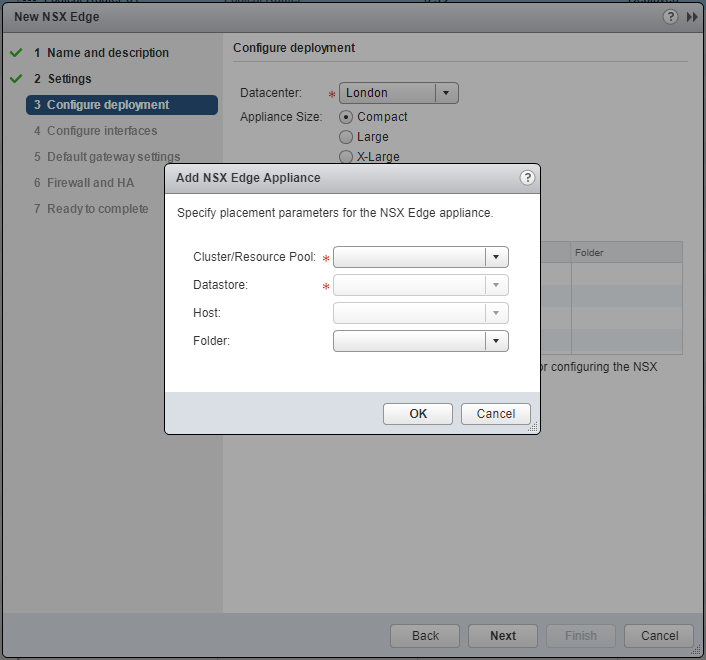
- Select the target Cluster/Resource Pool from the dropdown.
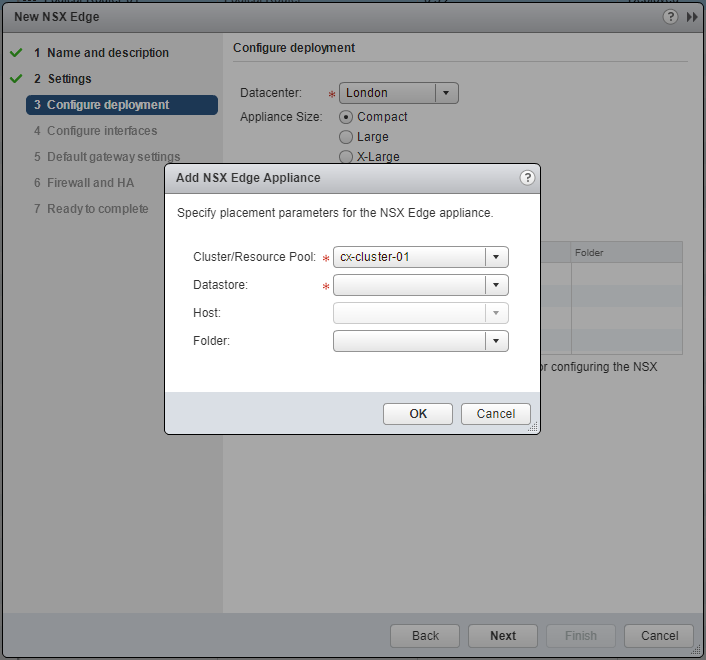
- Select the target Datastore from the dropdown.

- Click OK.
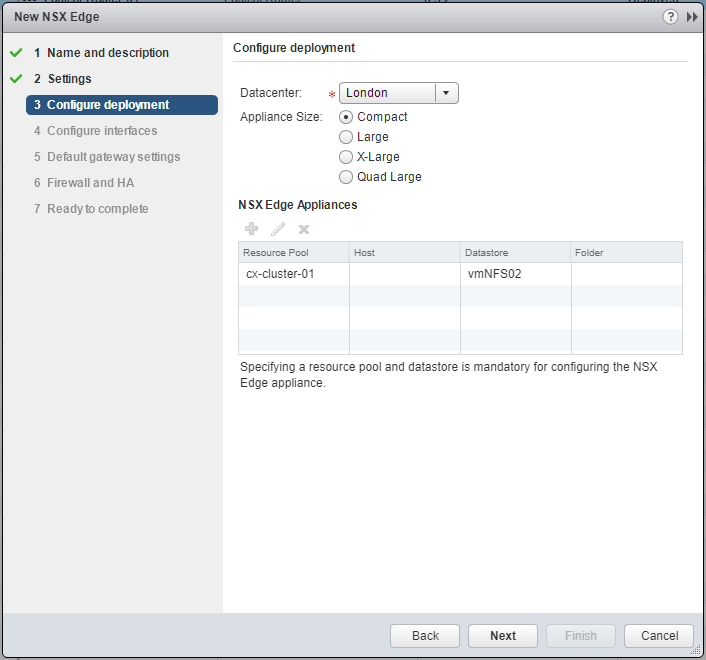
- Click Next.
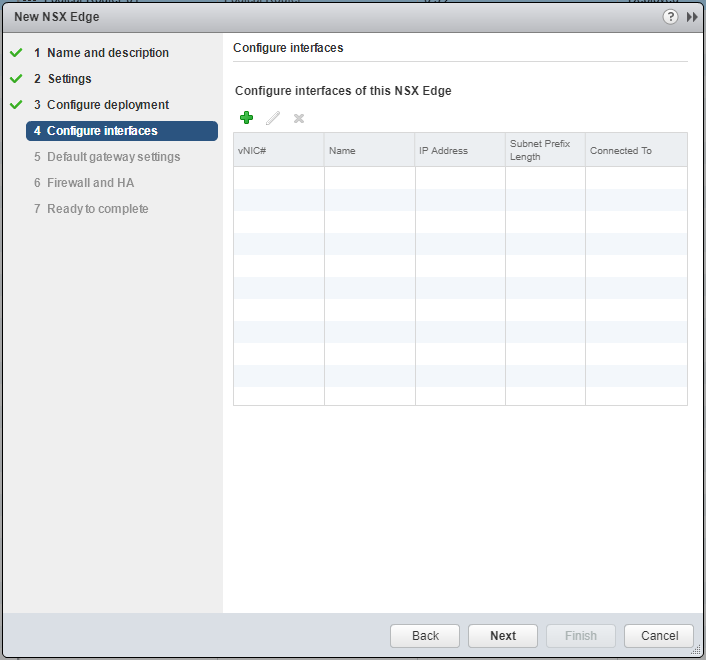
- Click Add(+).
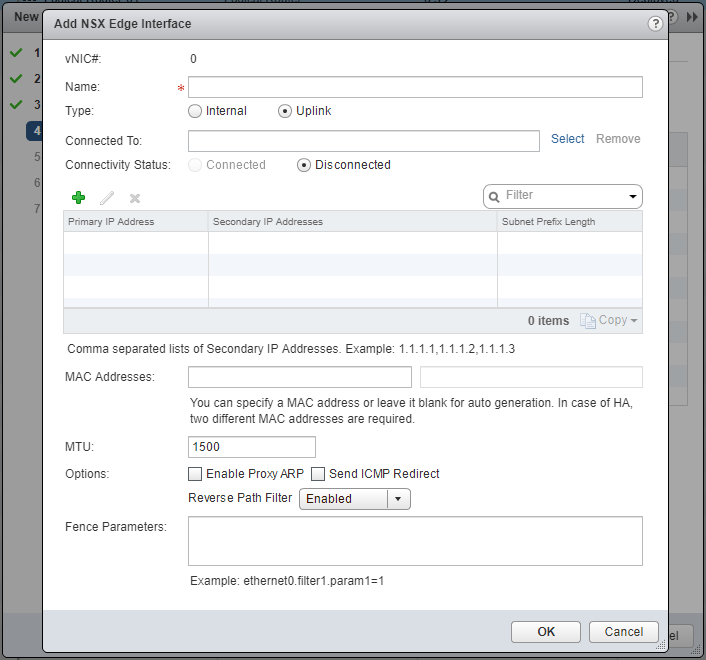
- Type the Name of the NSX Edge Interface, select the appropriate Type option (either Internal or Uplink).
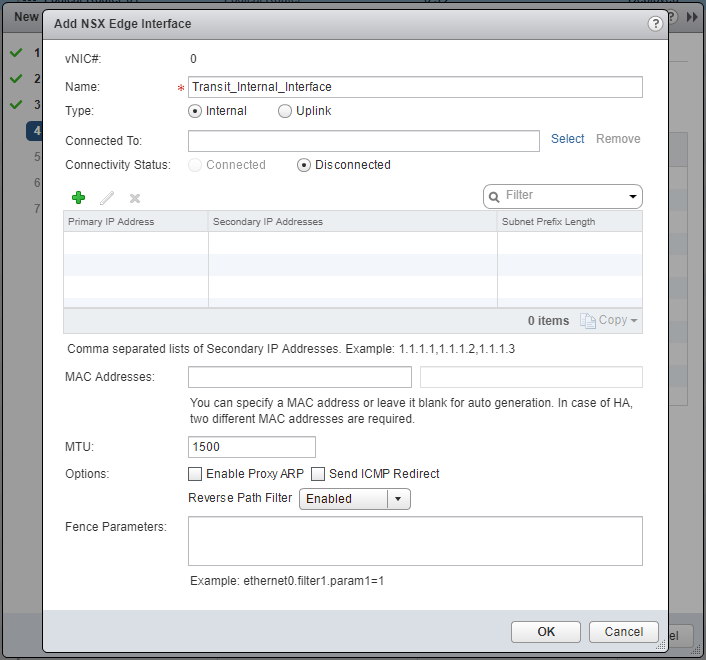
- At Connected To, click Select.
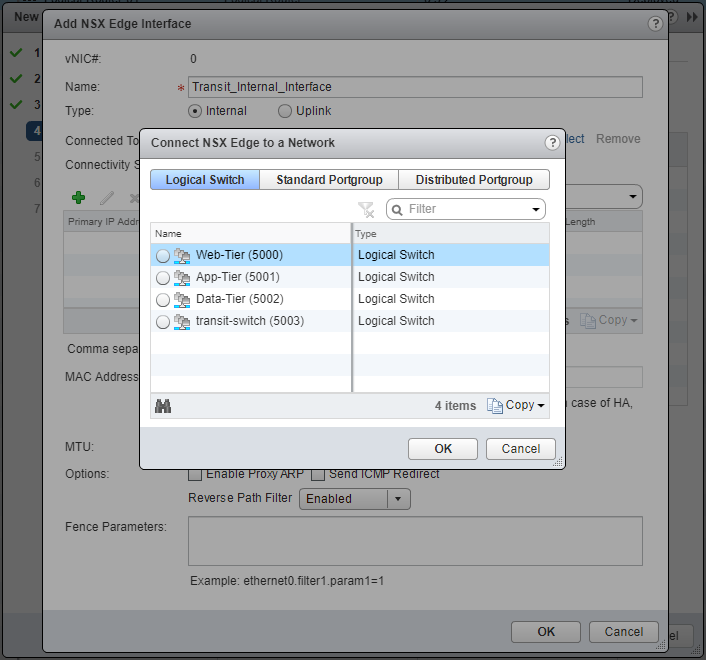
- Select the target Network (Logical Switch / Standard Portgroup / Distributed Portgroup) and click OK.
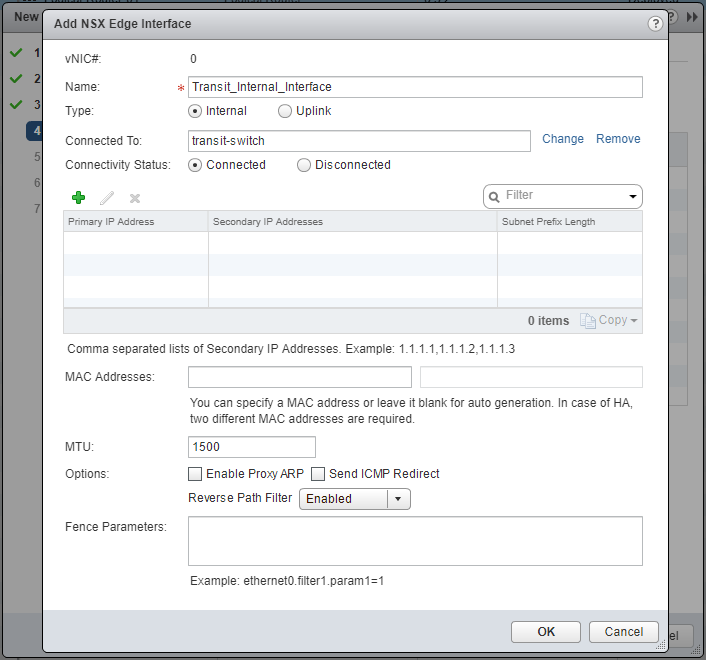
- Click Add(+).
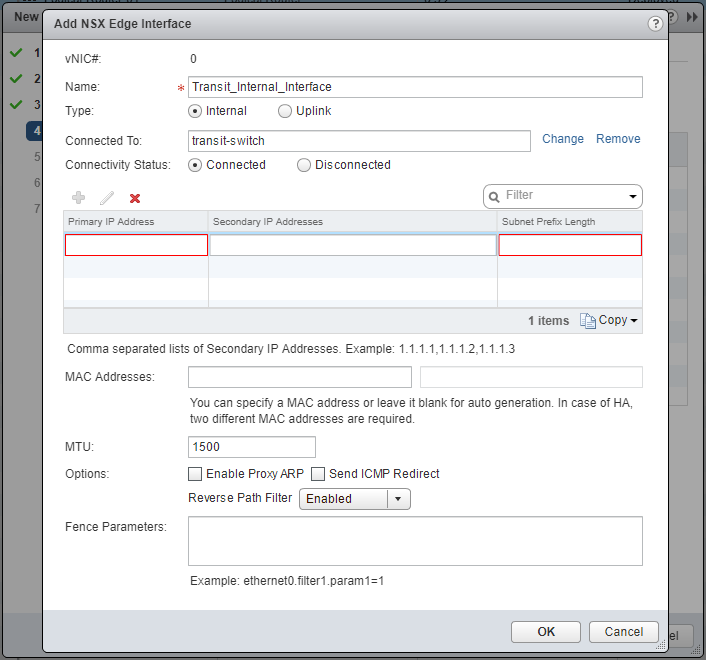
- Type the Primary IP Address and the Subnet Prefix Length.
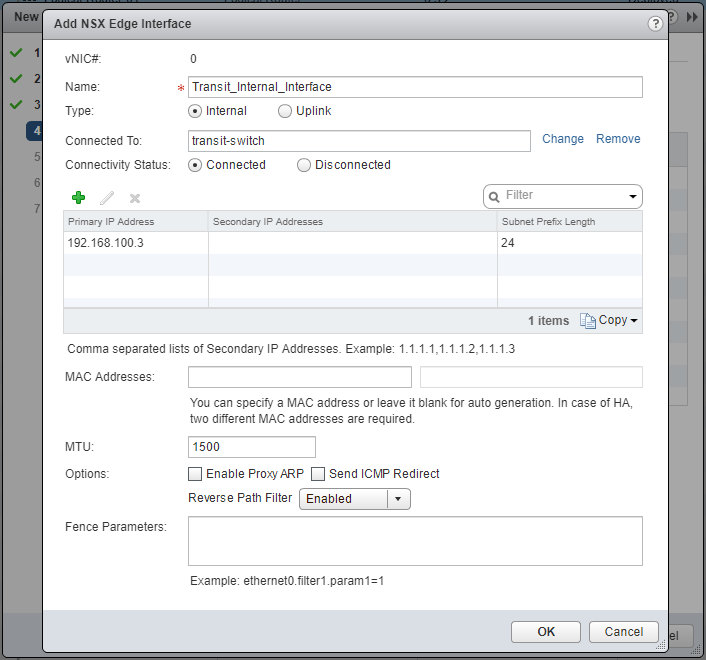
- Click OK.
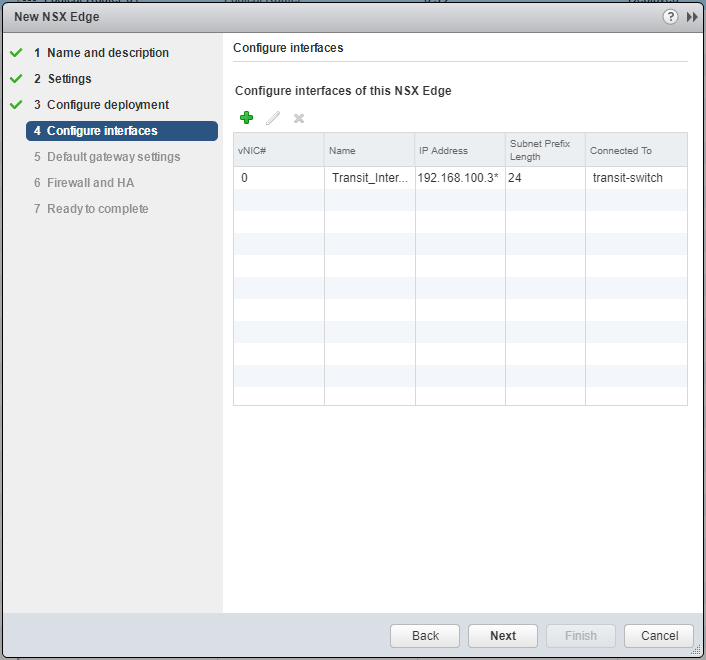
- Add additional Interfaces as required.
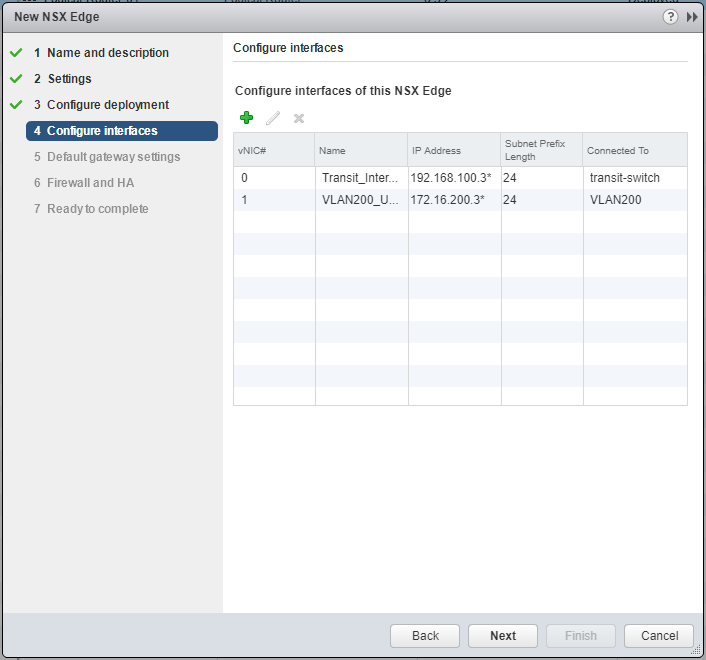
- Click Next.
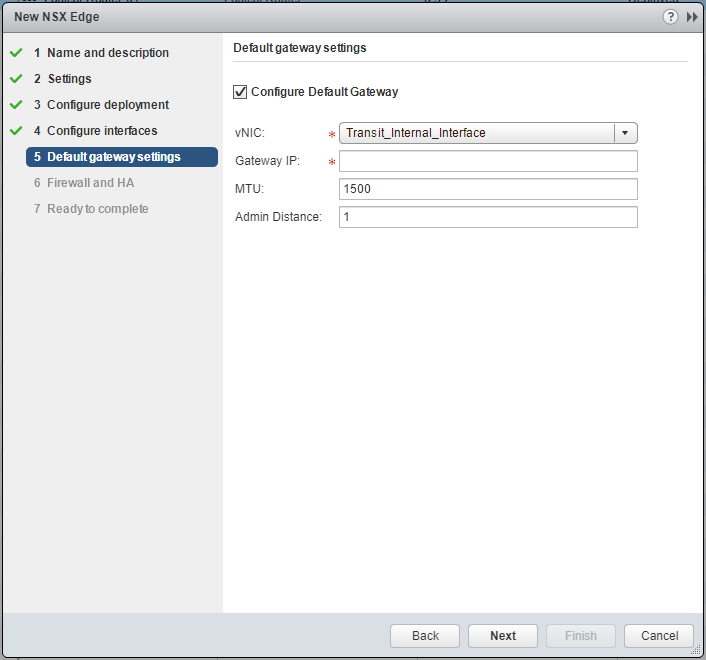
- Select the appropriate vNIC from the dropdown and enter the Gateway IP Address.

- Click Next.
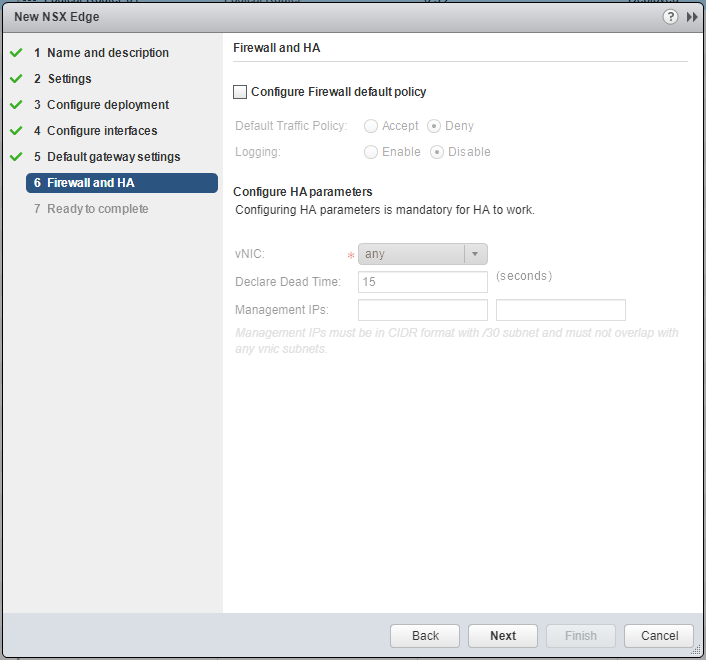
- Check the Configure Firewall default policy checkbox.

- Select the desired Default Traffic Policy and Logging options.
Note:
If HA has been specified, select the vNIC from the dropdown and enter the Management IPs.
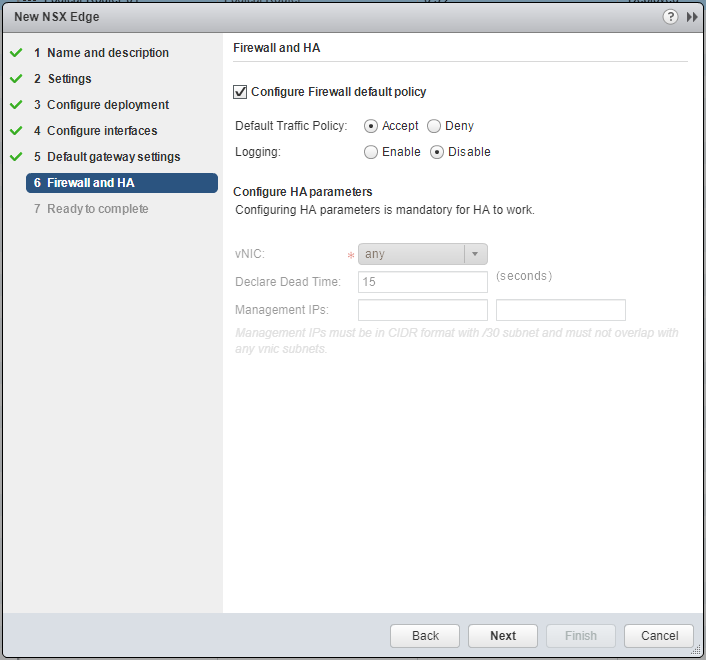
- Click Next.
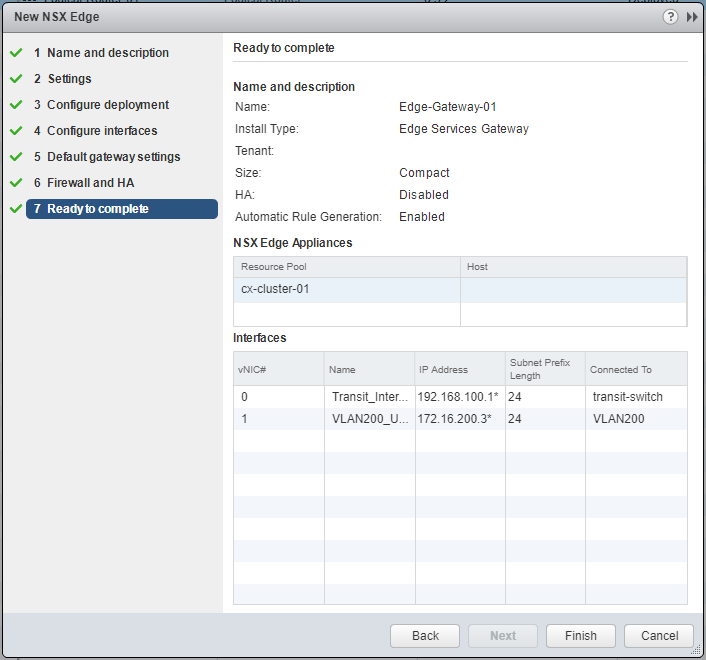
- Click Finish.
Published on 31 July 2017 by Christopher Lewis. Words: 378. Reading Time: 2 mins.
Share this article on:
Related Post(s):
- HOWTO: Deploy a VMware NSX-V Distributed Logical Router (DLR) ()
- VCAP6-NV Deploy - Objective 1.1 - Deploy VMware NSX Infrastructure components ()
- HOWTO: Add a Host to a VMware NSX-V enabled vSphere Cluster ()
- HOWTO: Remove a Host from a VMware NSX-V enabled vSphere Cluster ()
- HOWTO: Exclude Virtual Machines from Firewall Protection in NSX-V ()
About the Author:

Name: Christopher Lewis
Twitter/X: thecloudxpert
Role: Domain Expert - VCF Automation & VCF Operations
Company: Broadcom
Recent Posts by Christopher Lewis:
Blog Categories:
active directory 6
aria automation 9
aria operations 2
aws 2
certificate authority 5
certificates 5
certification 91
general 9
home lab 2
microsoft 7
nsx 45
nsx v 41
powercli 8
powershell 6
vcap 48
vcap6 2
vcenter 4
vcf 5
vcix 2
vexpert 9
vmug 5
vmware 99+
vmware aria automation 9
vmware aria operations 5
vmware cloud 3
vmware explore 2
vmware identity manager 2
vmworld 36
vrealize automation 80
vrealize business 2
vrealize operations manager 5
vrealize orchestrator 13
vrealize suite 14
vrealize suite lifecycle manager 20
vsan 5
vsphere 9
windows 6
Top Tags:
active directory 6
api 18
barcelona 24
certificates 11
certification 7
howto 33
microsoft 7
multi tenancy 9
nsx v 43
platform services controller 8
powercli 8
powershell 7
psc 6
vcap 9
vcap6 45
vcap6 cma 48
vcap6 nv 37
vcix6 nv 36
vexpert 19
vmug 8
vmware 99+
vmware aria 12
vmware aria automation 9
vmworld 35
vmworld 2016 13
vmworld 2017 9
vra 13
vrealize automation 74
vrealize operations 8
vrealize orchestrator 21
vrealize suite lifecycle manager 11
vrslcm 20
vsan 7
vsphere 12