Installing the vRealize Automation IaaS Management Agent
VMware vRealize Automation
Published on 15 November 2016 by Christopher Lewis. Words: 439. Reading Time: 3 mins.
Introduction
The task of deploying VMware vRealize Automation 7.x is now mainly completed by the Deployment Wizard (unless you actually like pain) but before you can run the deployment wizard you need to install the VMware vRealize Automation Management Agent onto the IaaS Servers that you will be using within your deployment.
So I can hear you asking:
- What happens when you want to deploy new IaaS components into you vRealize Automation environment?
- What happens when you want to scale you DEMs horizontally (onto new servers) rather than vertically (deploying more DEMs per server)?
- What happens if you want to add another vCenter Proxy Agent for High Availability or a new vCenter Instance?
Well, I’m glad you asked!
As far as I can tell, the Management Agent install is multi-purpose, and is responsible for:
- Ensuring the IaaS Servers are communicating with the Primary vRealize Appliance (both prior and after to the Deployment Wizard).
- Log bundle collection.
- IaaS Certificate Replacement.
- Upgrading the vRA IaaS infrastructure.
Therefore, if you have already run the Deployment Wizard and are scaling out your infrastructure by adding more servers , it is recommended that you install the Management Agent first before running the IaaS Installer (which is available from the same site) to install the component you require.
Where can I find the Management Agent?
The Management Agent (vCAC-IaaSManagementAgent-Setup.msi) can be found on the vRealize Automation appliance at https://vra.fqdn:5480/installer.

**Note: **When you are doing upgrades or installing new components it is always a good idea to get the latest Management Agent from this central location. If you use a previously downloaded Management Agent install package, it may well be out of date and need to be upgrading too!
How to install the Management Agent
- Double click on vCAC-IaaSManagementAgent-Setup.msi to start the installation.
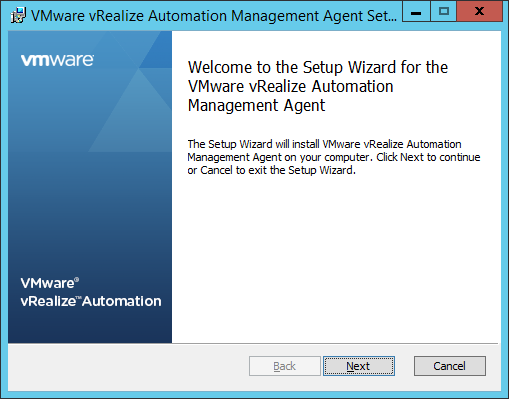
- Click Next
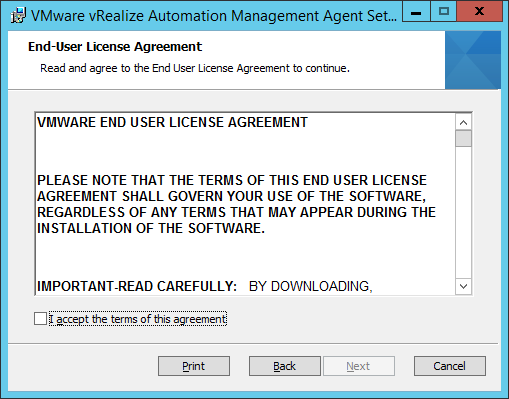
- Check the I accept the terms of this agreement checkbox.
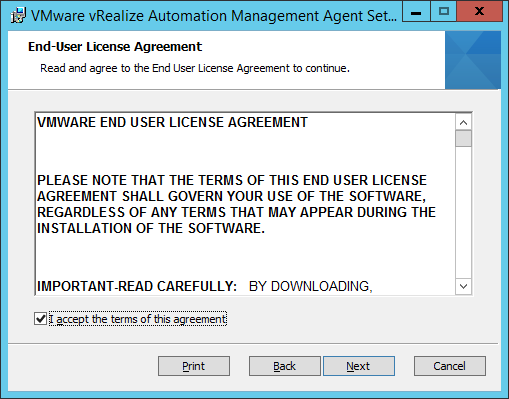
- Click Next.
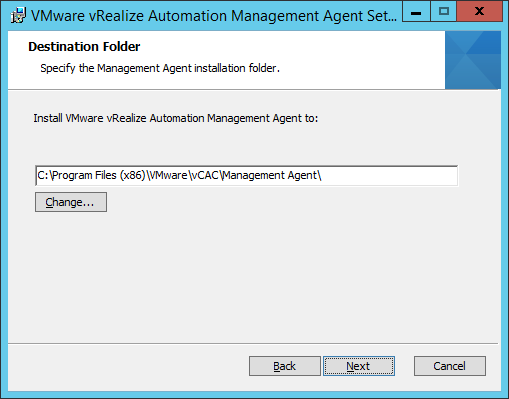
- If required, change the Destination Folder, then click Next.
- Enter the address (
https://vra.fqdn:5480), the root username and password then click Load to load the SSL Thumbprint.
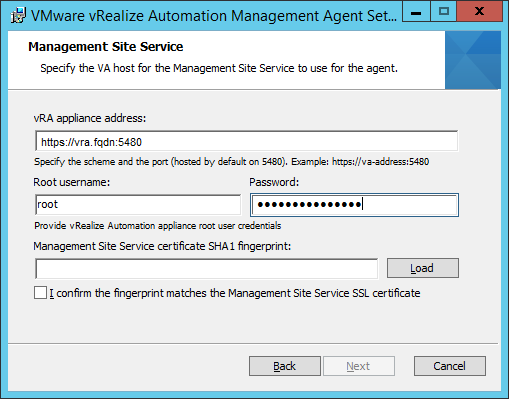
- Check the I confirm the fingerprint matches the Management Site Service SSL certificate check box and then click Next.
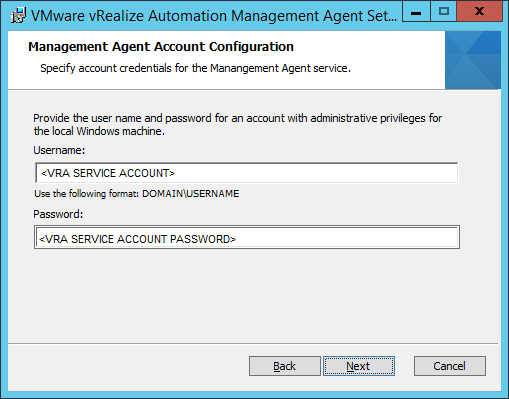
- Enter the VRA Service Account and password then click Next.
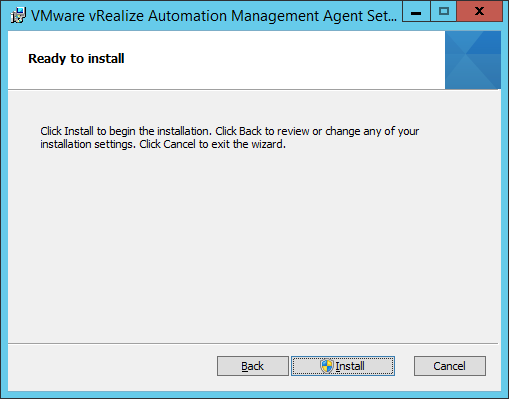
- Click Install.
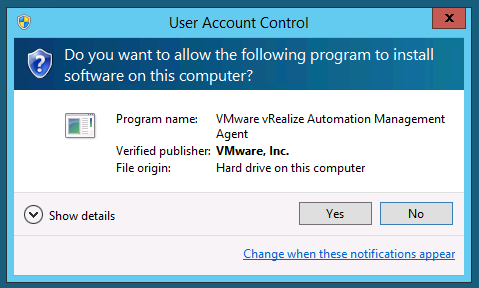
- If prompted by a UAC Warning, click Yes.
- Once the install has completed, click Finish.

That’s all there is to it! To double check all is well, load up services.msc and check to see the service is present, started and running under the service account specified.

Finally, if you log back into the VAMI (https://vra.fqdn:5480/) the Deployment Wizard should now show you have at least one server with the Management Agent Installed.
Published on 15 November 2016 by Christopher Lewis. Words: 439. Reading Time: 3 mins.
- Replacing the Package Signing Certificate in vRealize Orchestrator 7 ()
- Replacing the Control Center Certificate on an embedded vRealize Orchestrator instance ()
- Replacing the Appliance Management Site Certificate for vRealize Automation ()
- Additional SSL Certificates for vRealize Automation 7.x (including vRealize Orchestrator) ()
- A Muggles Guide to creating a PEM encoded SSL Certificate using OpenSSL ()
