Warning! The content within this article is over 36 months old and, therefore, may be out of date.
HOWTO: Deploy and Configure VMware vRealize Log Insight 4.5
Share this article on:


VMware vRealize Suite vRealize Log Insight HOWTO
Published on 15 July 2017 by Christopher Lewis. Words: 462. Reading Time: 3 mins.
Introduction
The deployment of vRealize Log Insight can be completed in a few easy steps:
- Deploying the vRealize Log Insight Appliance
- Configuring the first vRealize Log Insight Appliance
- (optional) Configuring additional vRealize Log Insight Appliance(s)
- Configuring vSphere Integration
Deploying the vRealize Log Insight Appliance
- Navigate to the VMware vCenter Server Web Client (
https://vcenter.fqdn/vsphere-client/) and log in using appropriate credentials. - Right click on the vCenter Server in the navigation window and select Deploy OVF Template…
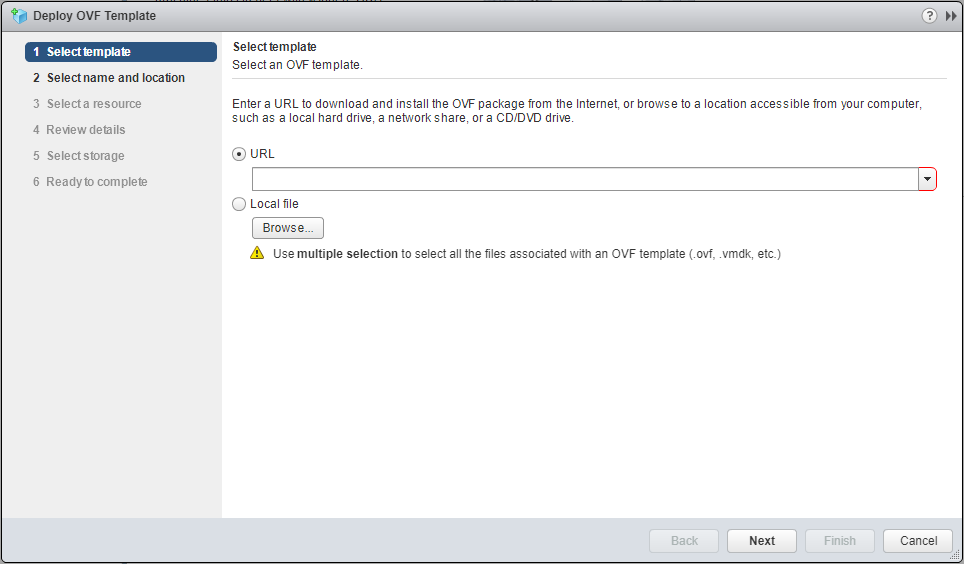
- Click Browse and navigate to the vLI OVA file and click Open.
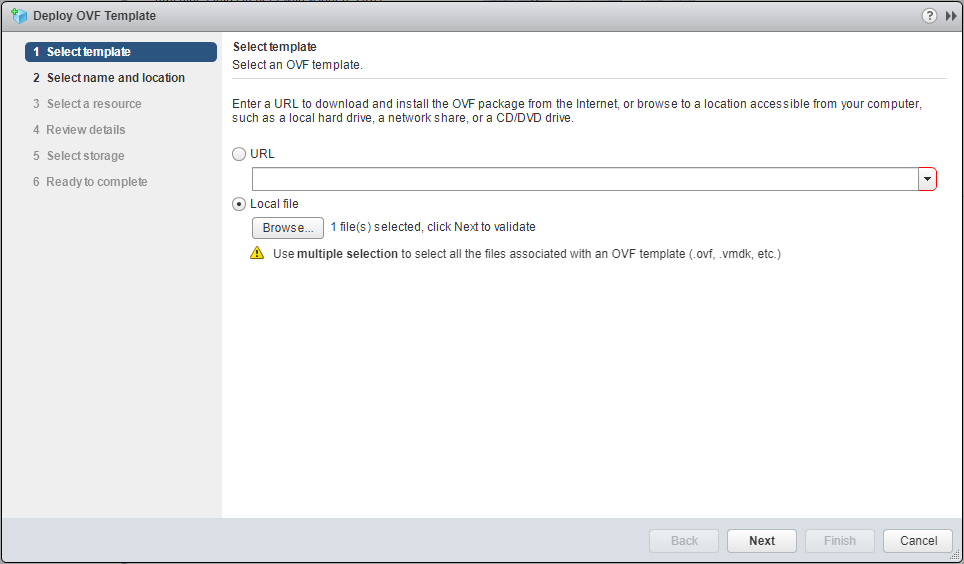
- Click Next.
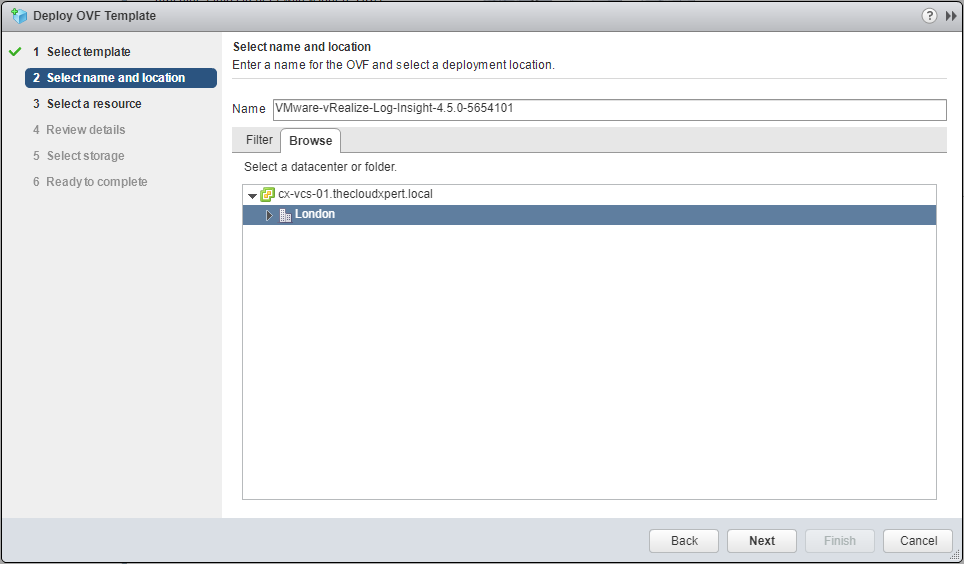
- Type the Name of the virtual machine (within vCenter - this doesn’t set the hostname) and select the VM folder to deploy the OVA.
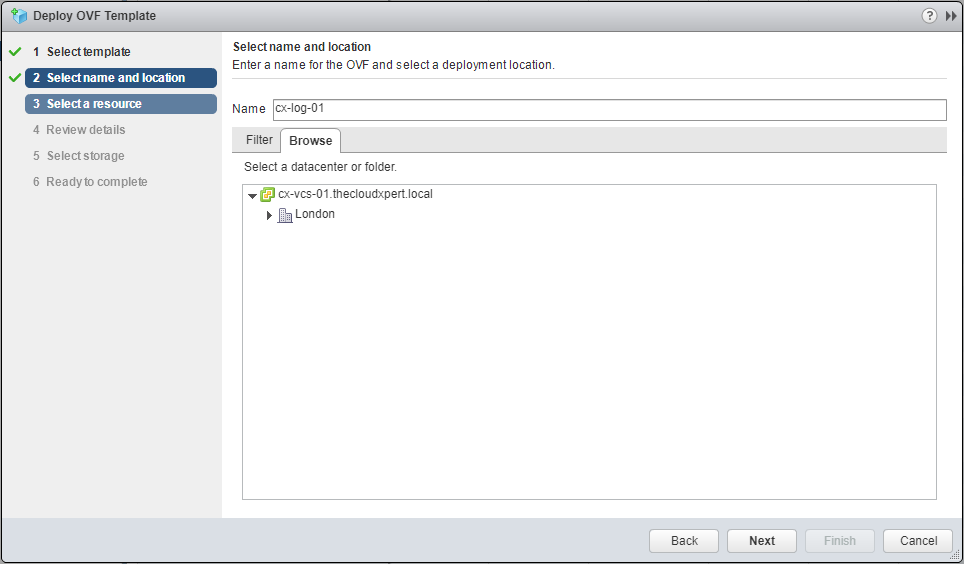
- Click Next.
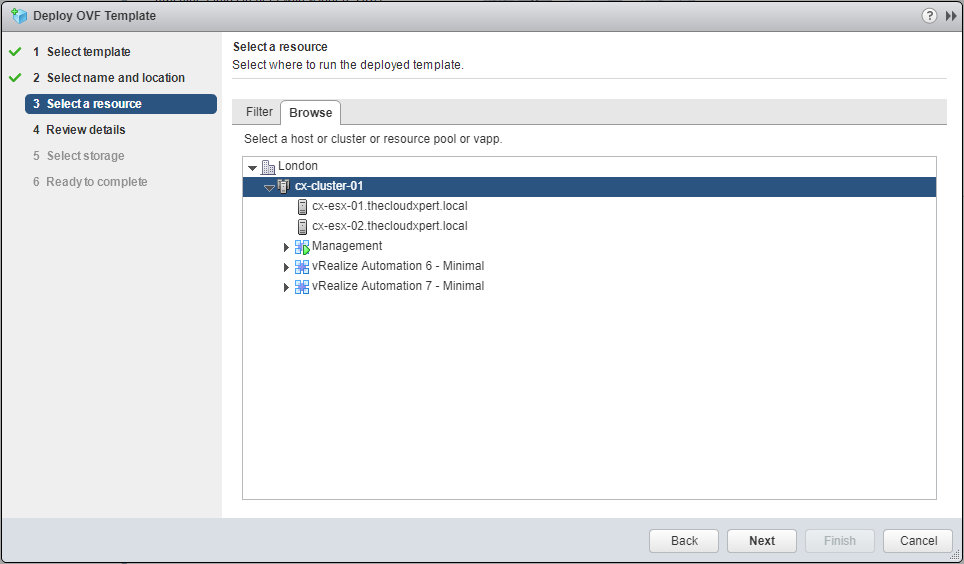
- Select the Resource (cluster, host or vApp) where you want to deploy vLI and click Next.

- Click Next.
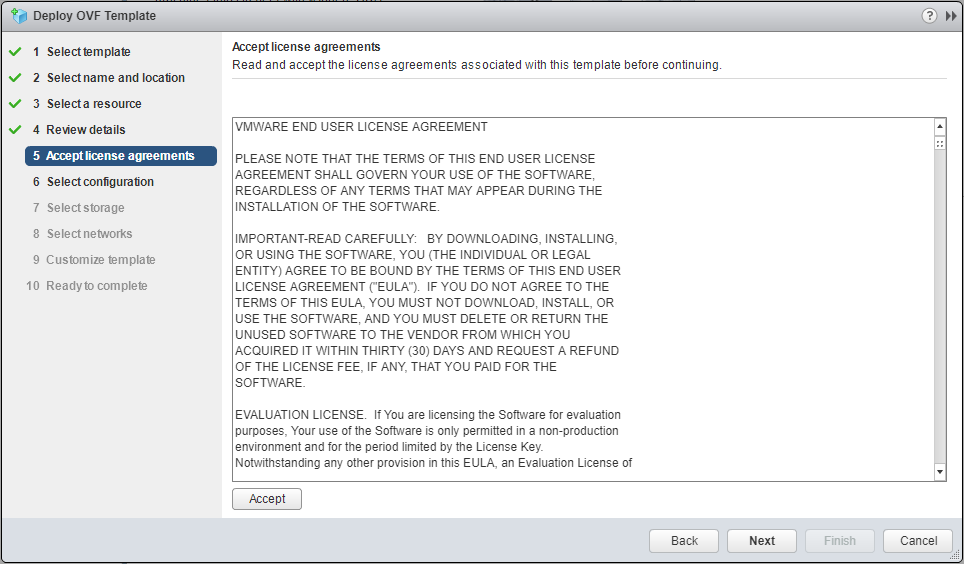
- If you have nothing better to do, read the EULA, then click Accept.
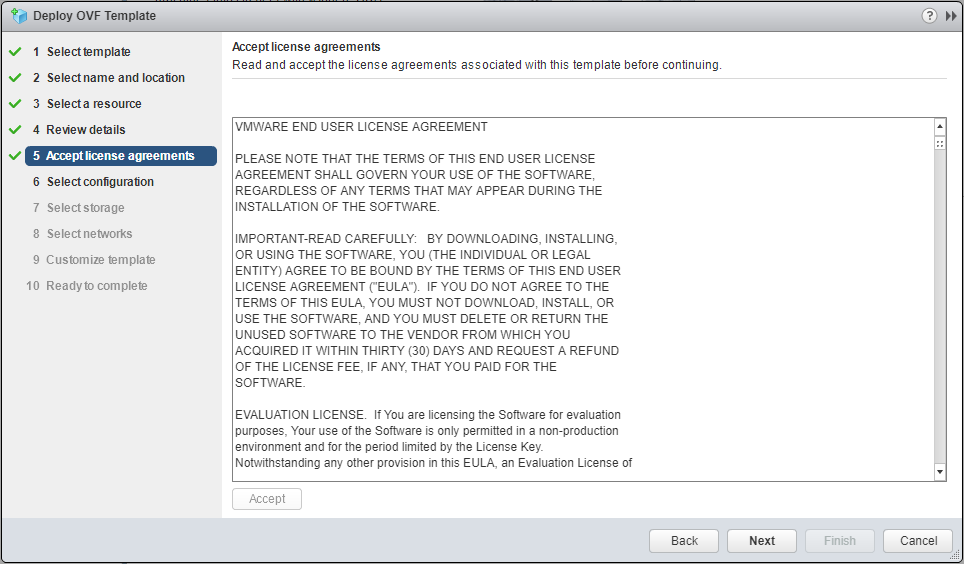
- Click Next.
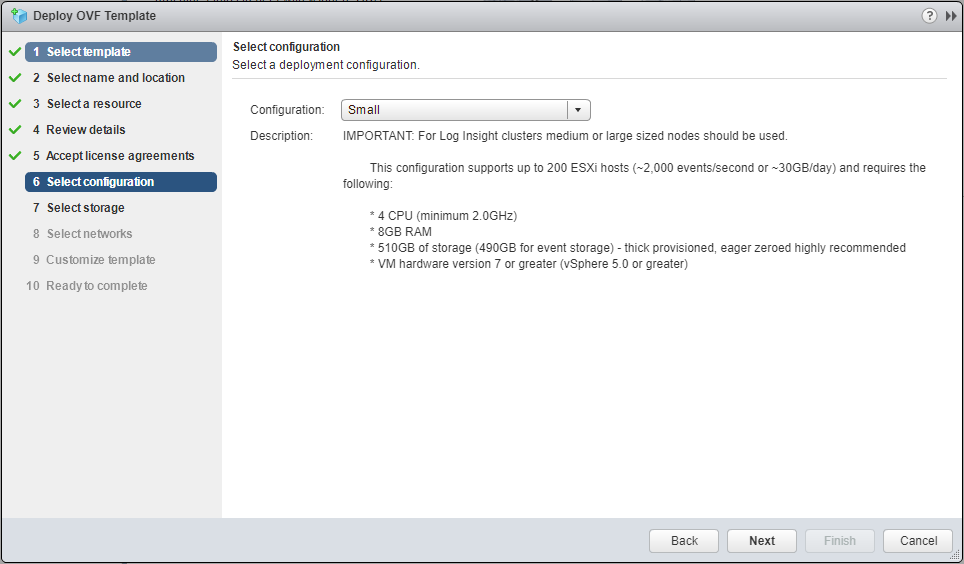
- Select the desired the appropriate appliance size from the Configuration dropdown.

- Click Next.
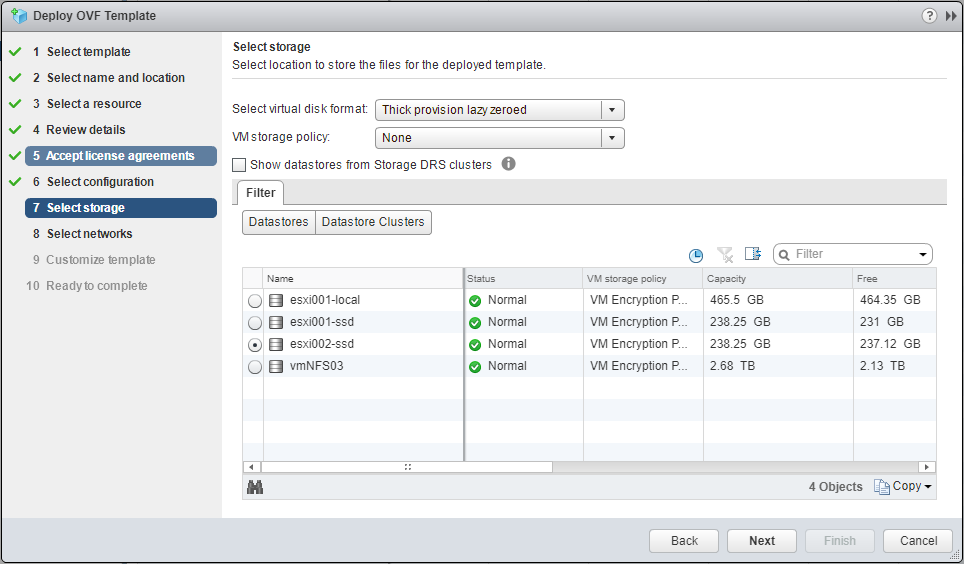
- Select the Storage location and click Next.
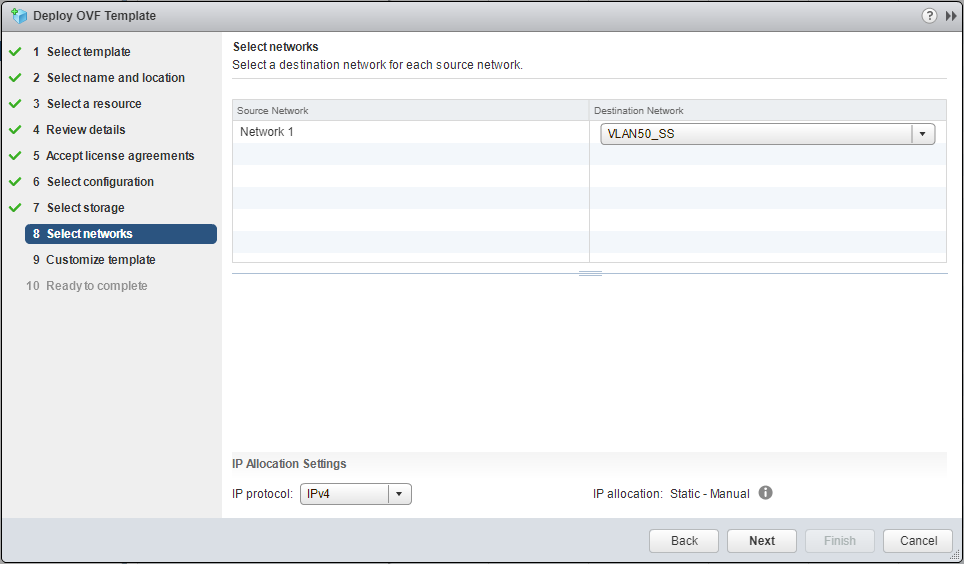
- Select the Destination Network from the dropdown and click Next.
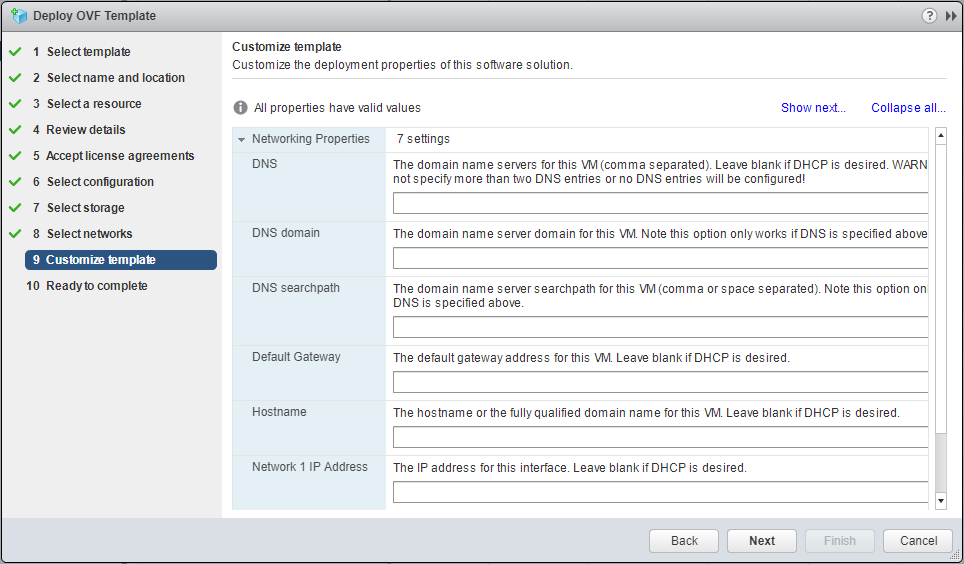
- Type the following Networking information:
- DNS Server IPs (maximum 2)
- DNS domain
- Default Gateway
- Hostname
- IP Address
- Subnet Mask
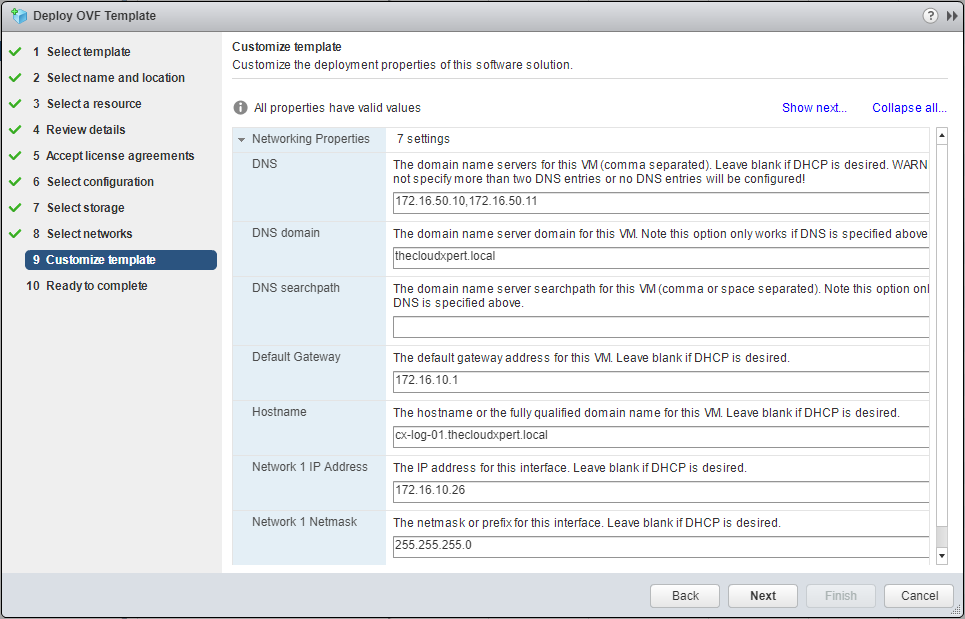
- Click Networking Properties to minimize.
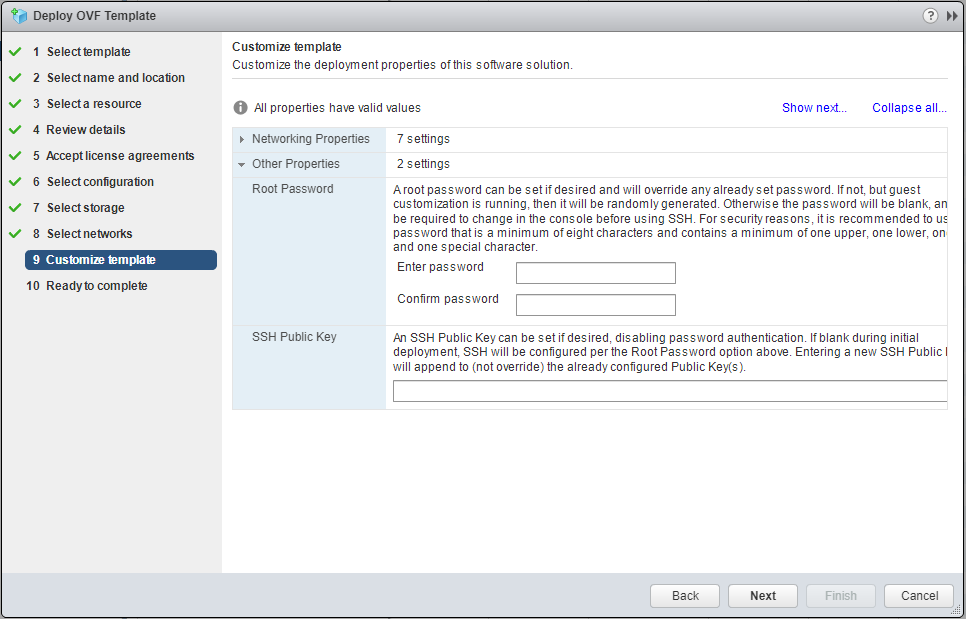
- Type the password for the appliance Root account and click Next.
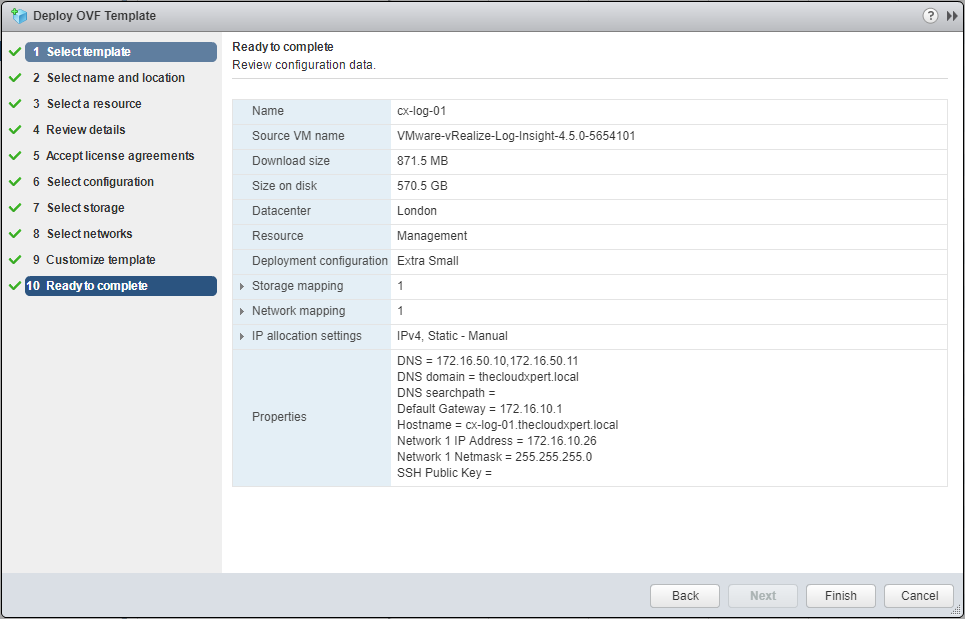
- The VMware vRealize Log Insight Appliance will now be deployed.
Note:
Once deployed the Appliance will need to be powered on before continuing.
Configuring the first vRealize Log Insight Appliance
- Using a web browser, navigate to the VMware vRealize Log Insight page,
https://vli-appliance.fqdn.
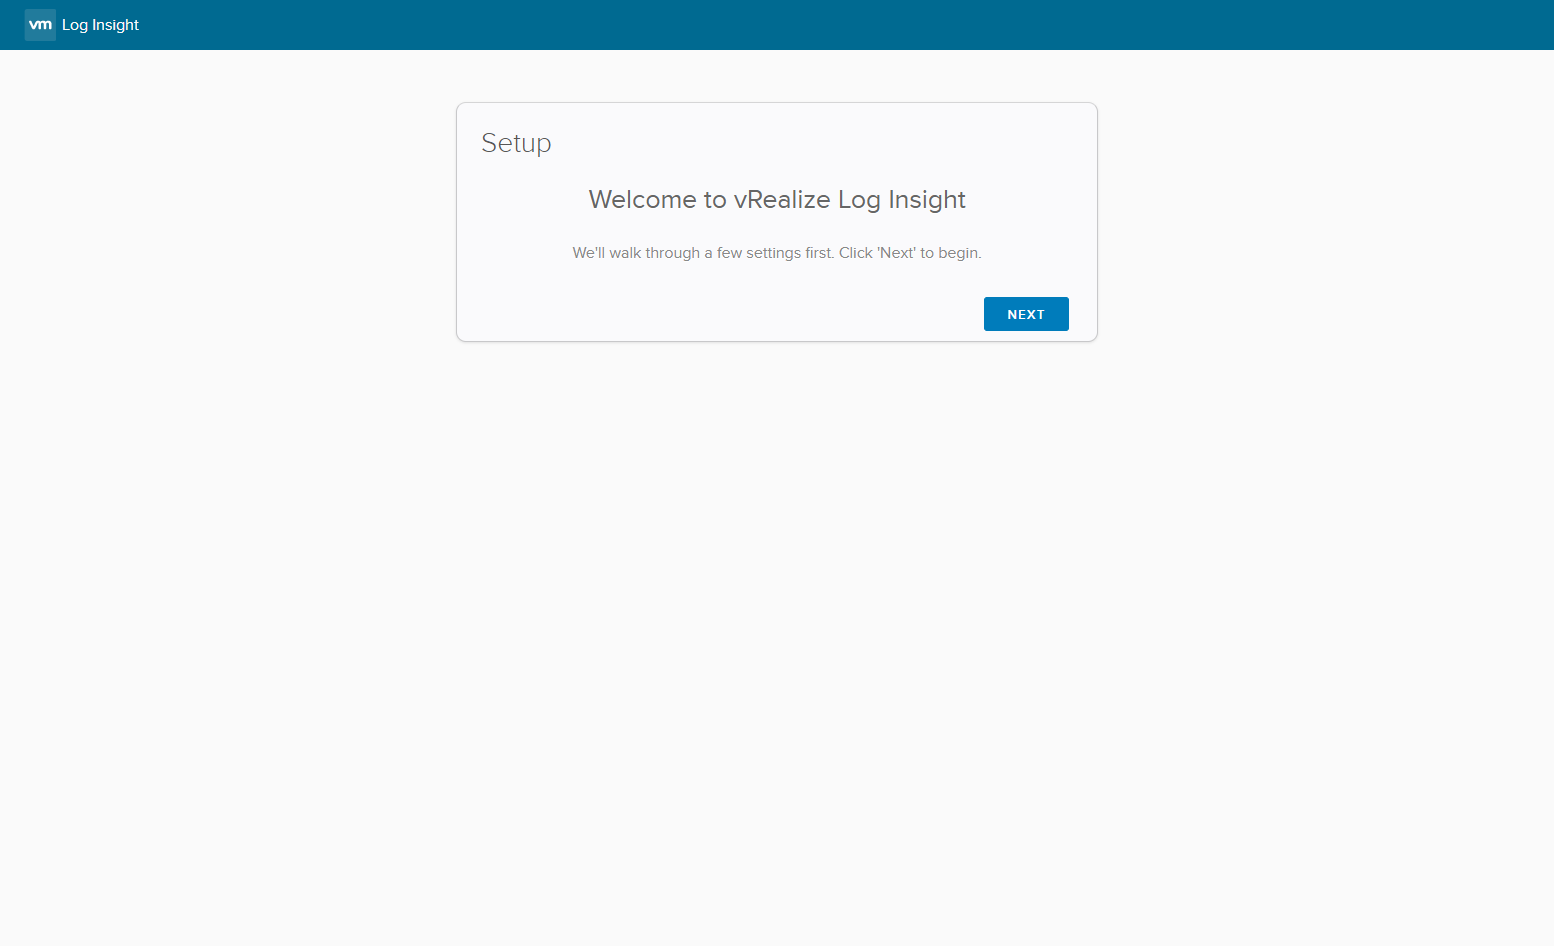
- Click Next.
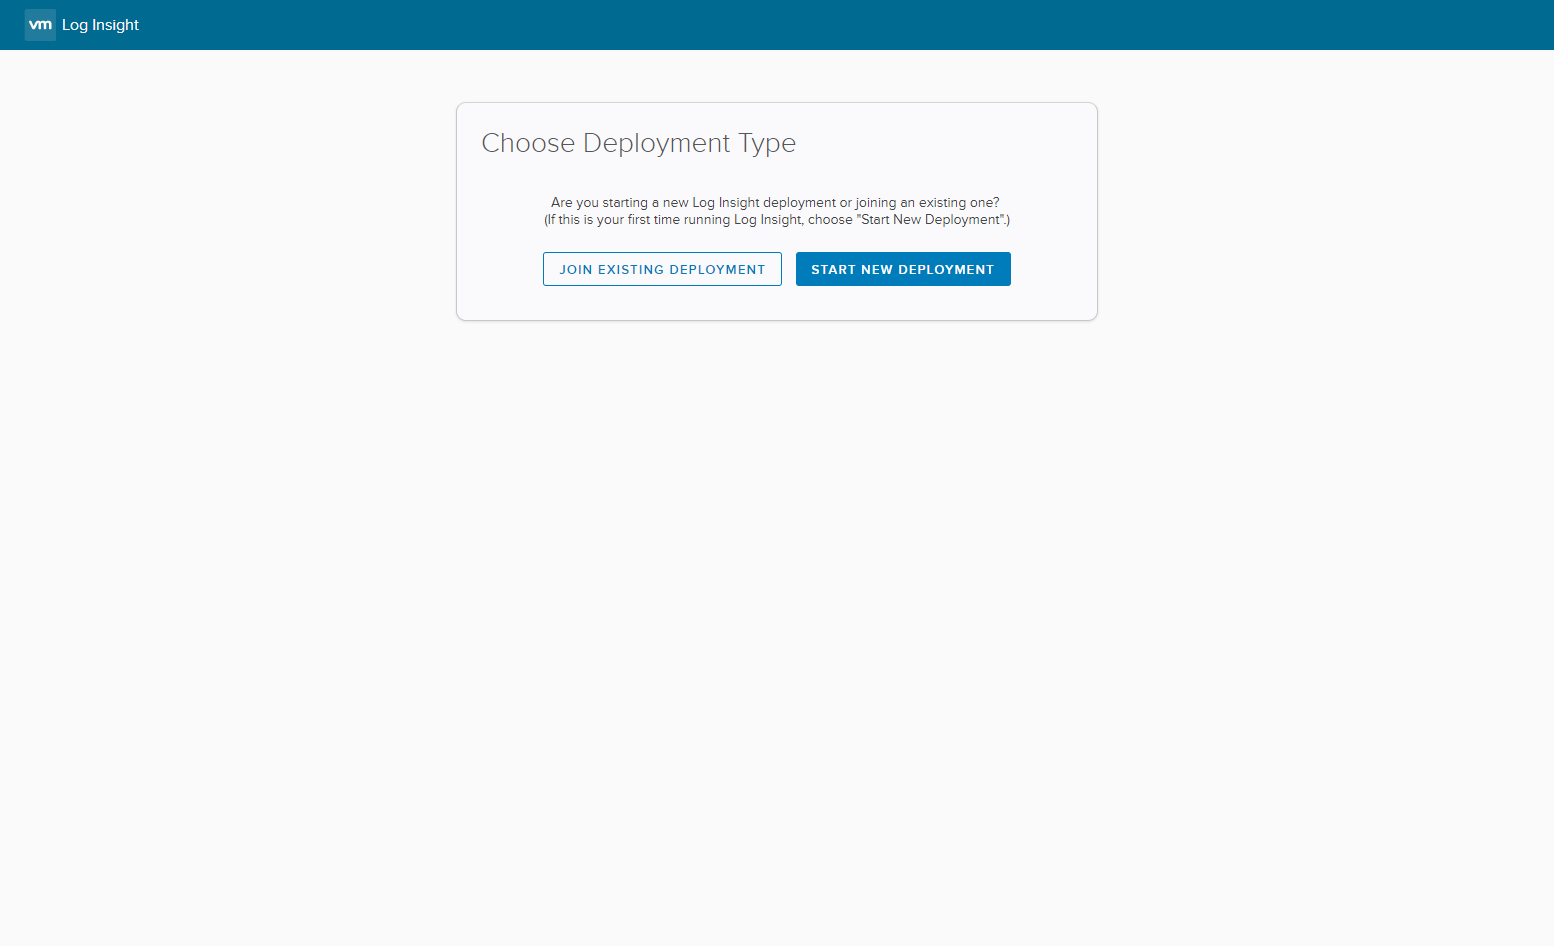
- Click Start New Deployment.
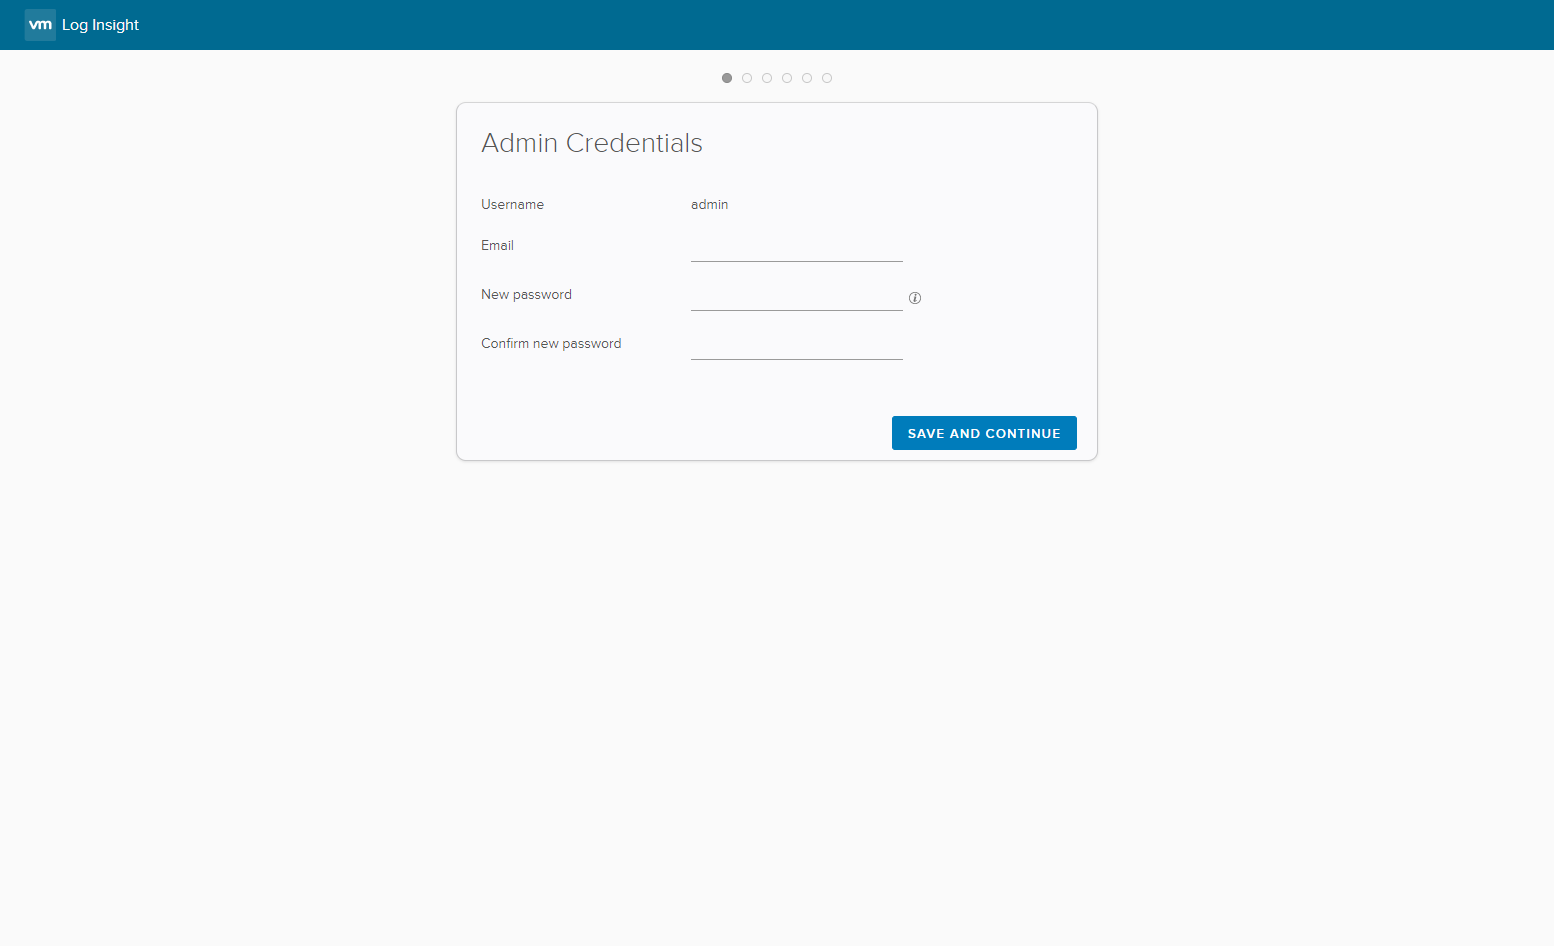
- Type the Email address and the password for the admin user
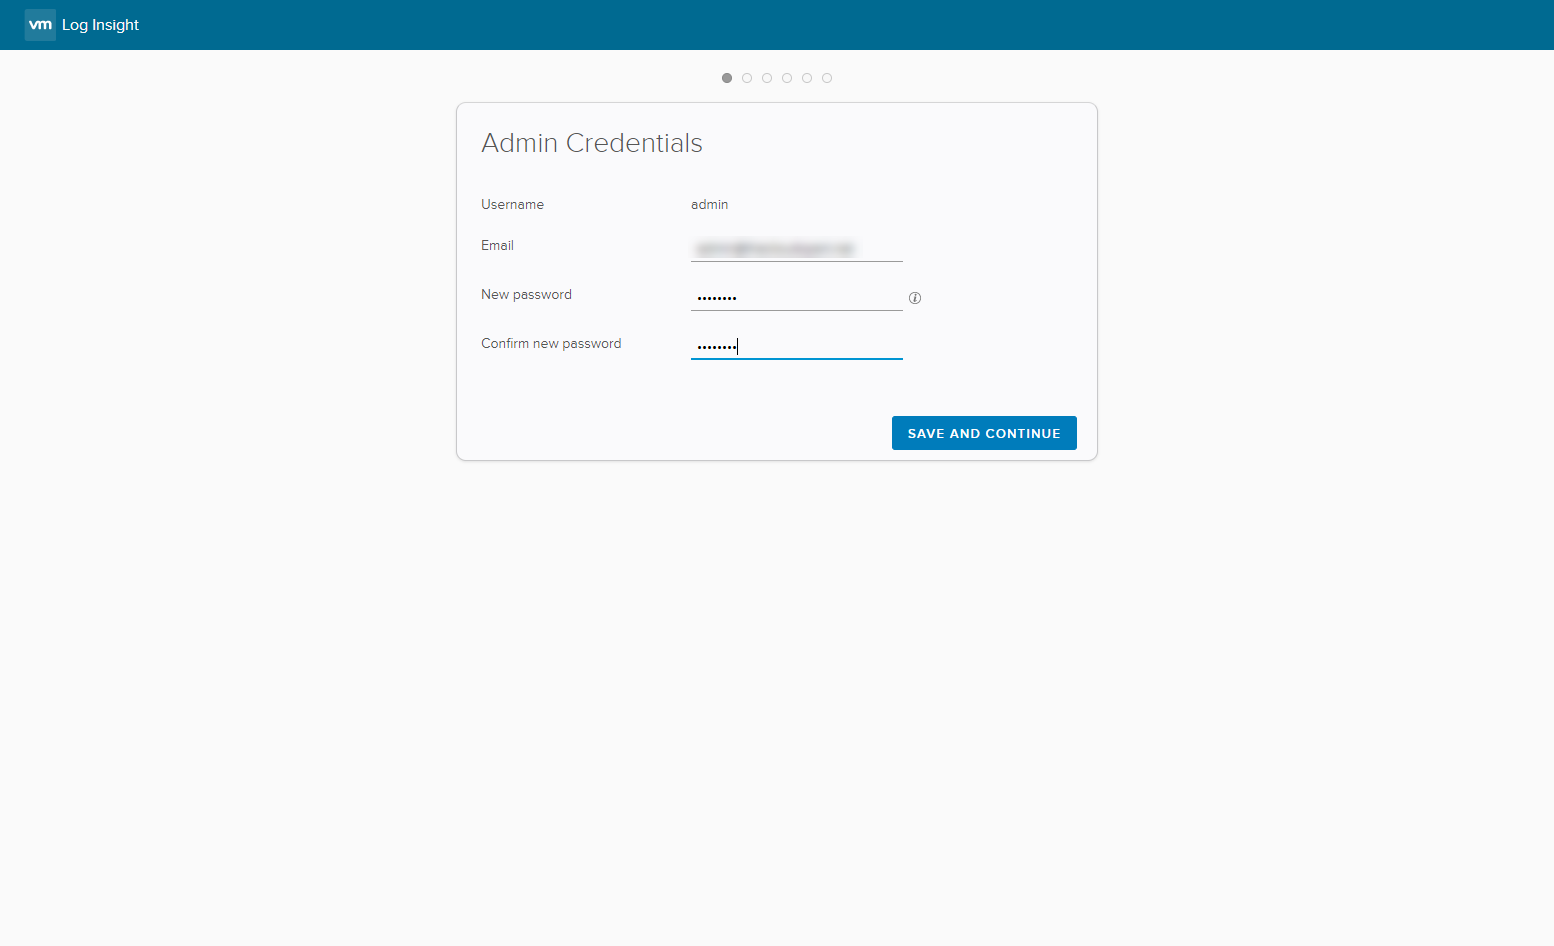
- Click Save and Continue.
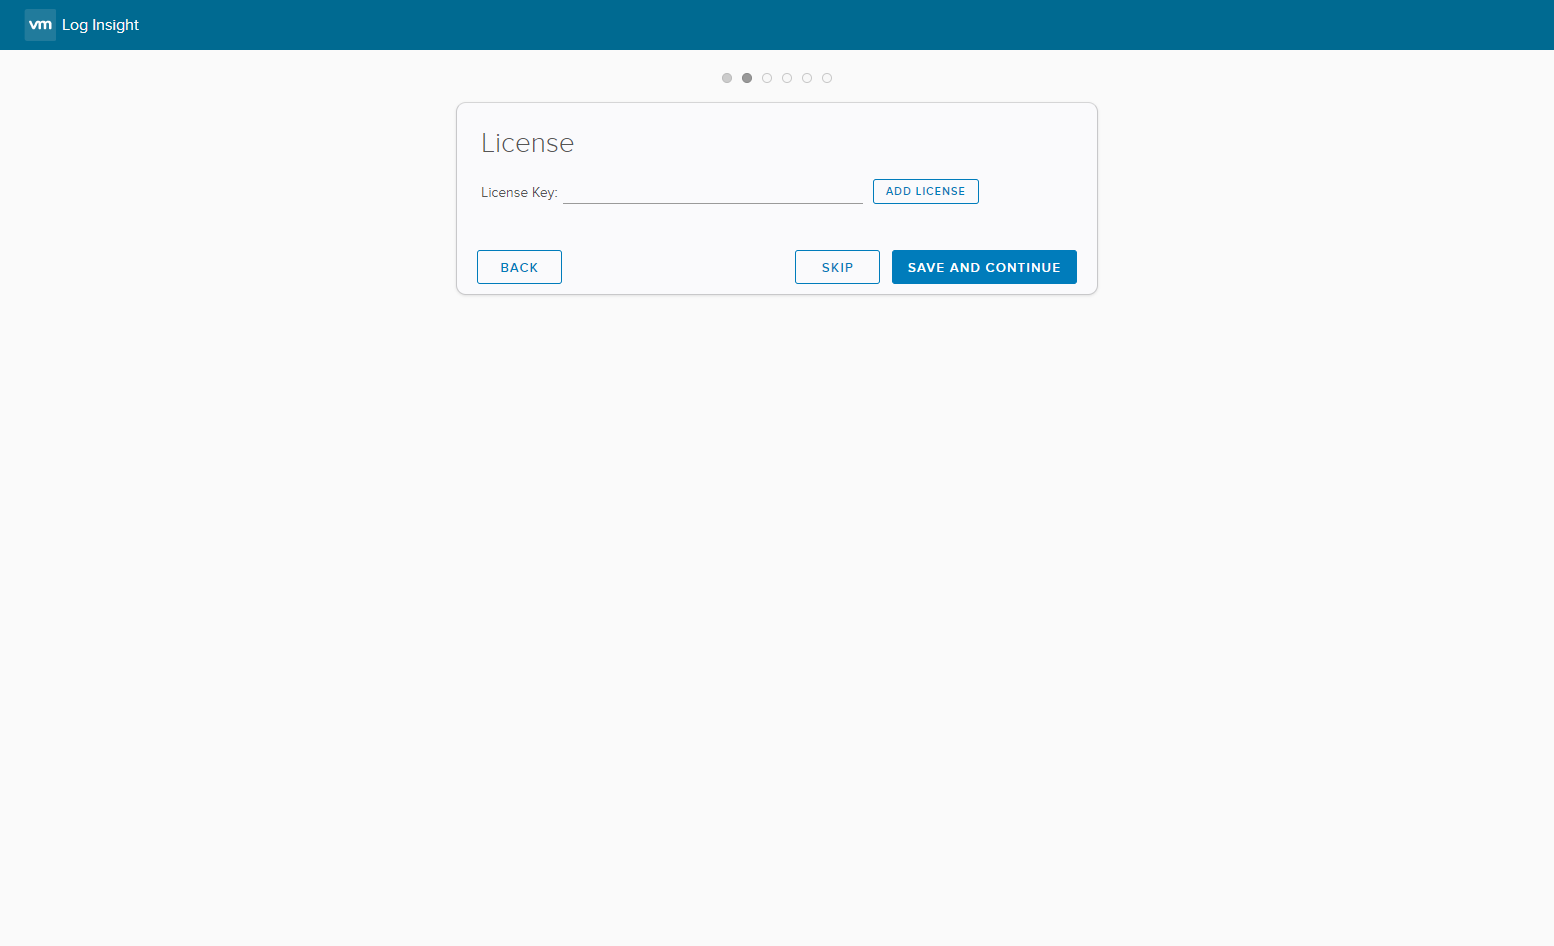
- Type the License Key (or click Skip).
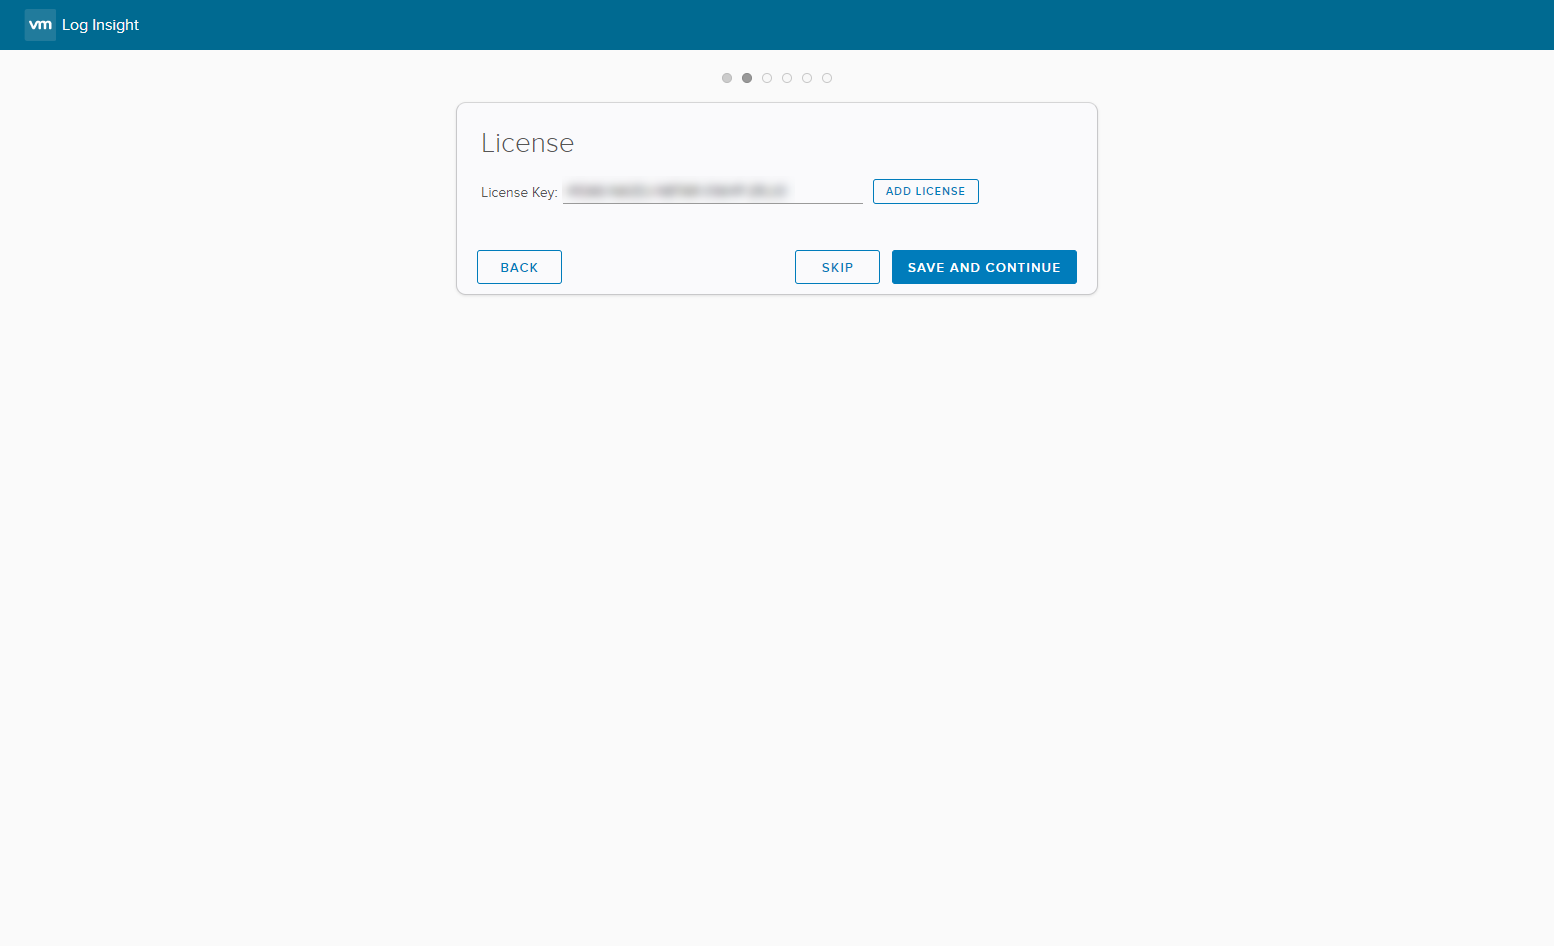
- Click Save and Continue.
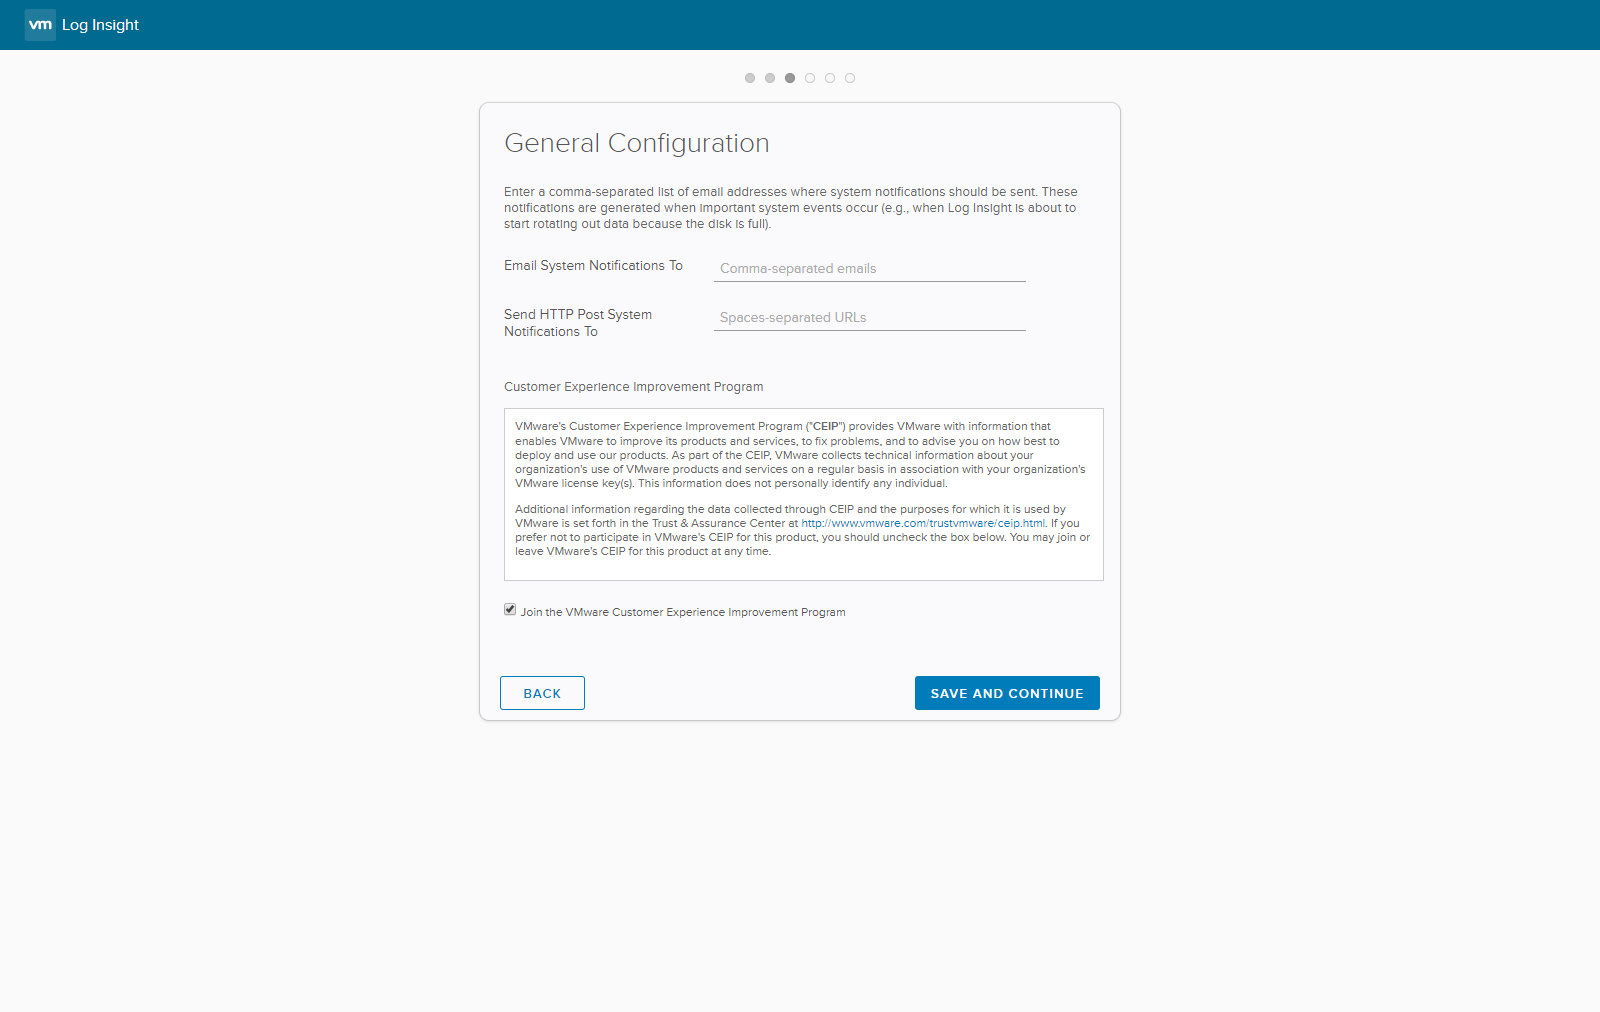
- Type an Email Address into the Email System Notification To textfield and (optional) add the Send HTTPS Post Notification To URL. Then Uncheck the Join the VMware Customer Experience Program checkbox.

- Click Save and Continue.
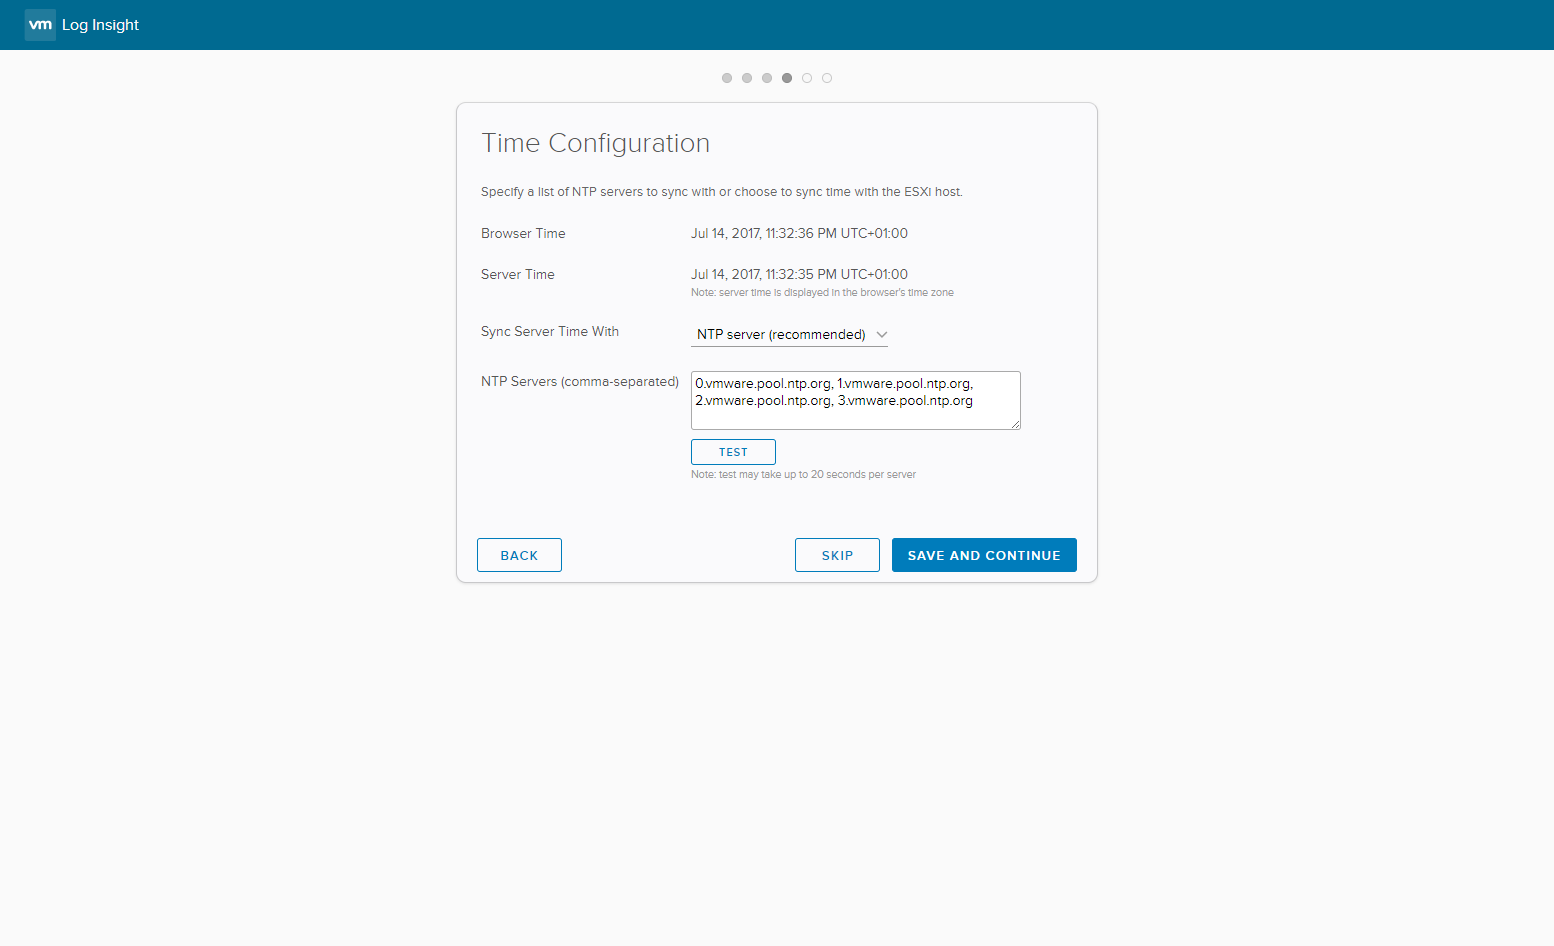
- If required, update the NTP Servers and click Test.
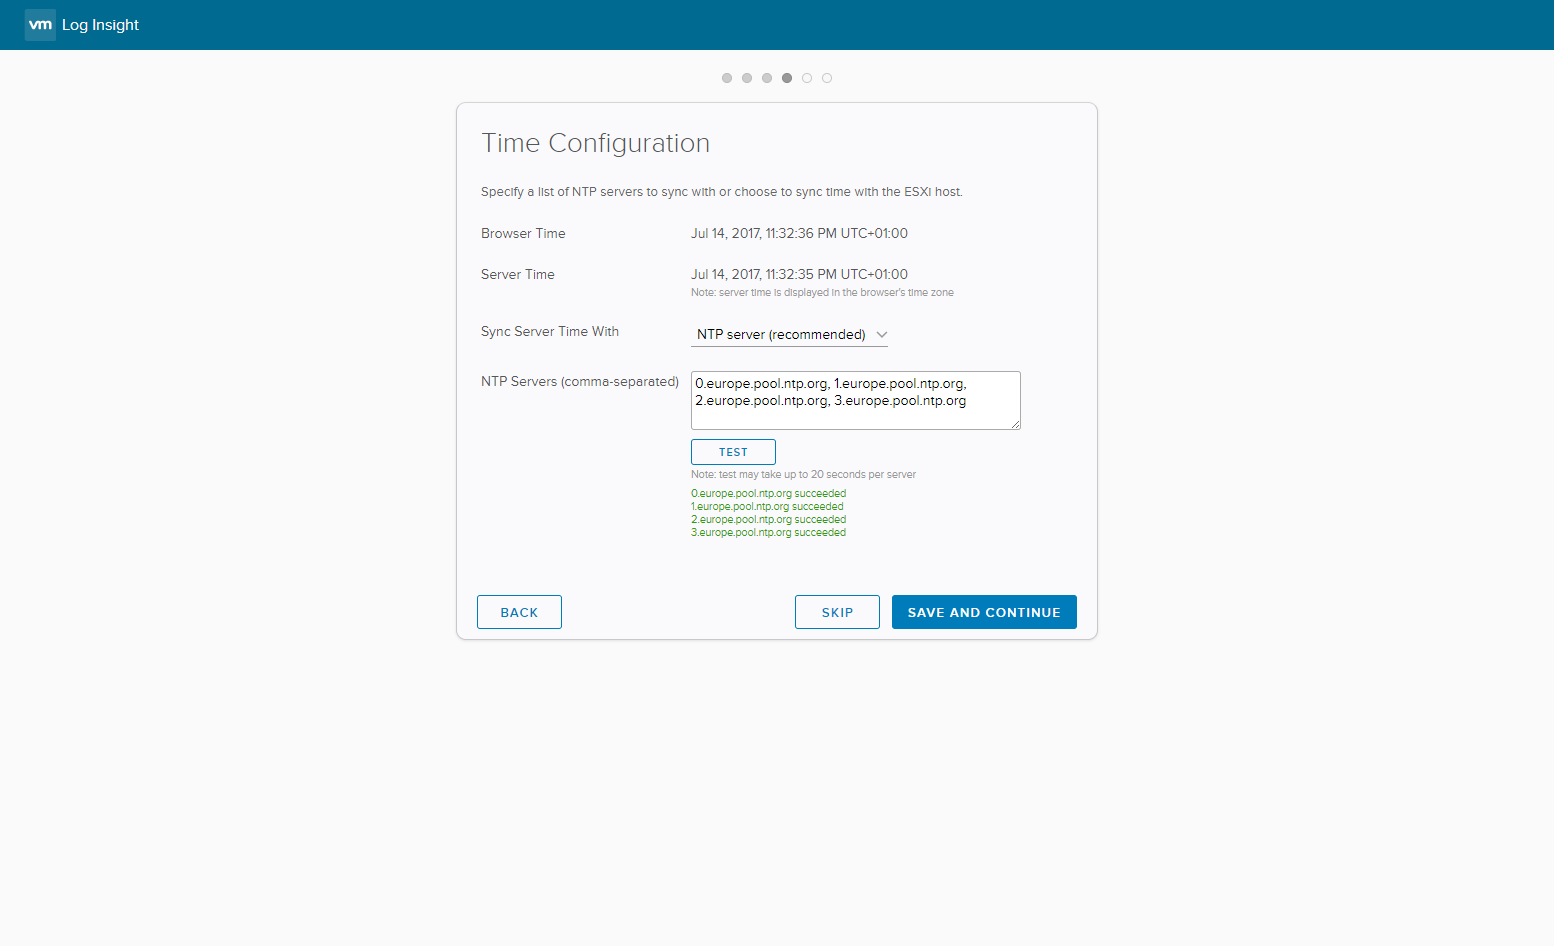
Note:
I’m using the ntp servers from europe.pool.ntp.org but this could also be internal ntp servers.
- Click Save and Continue.
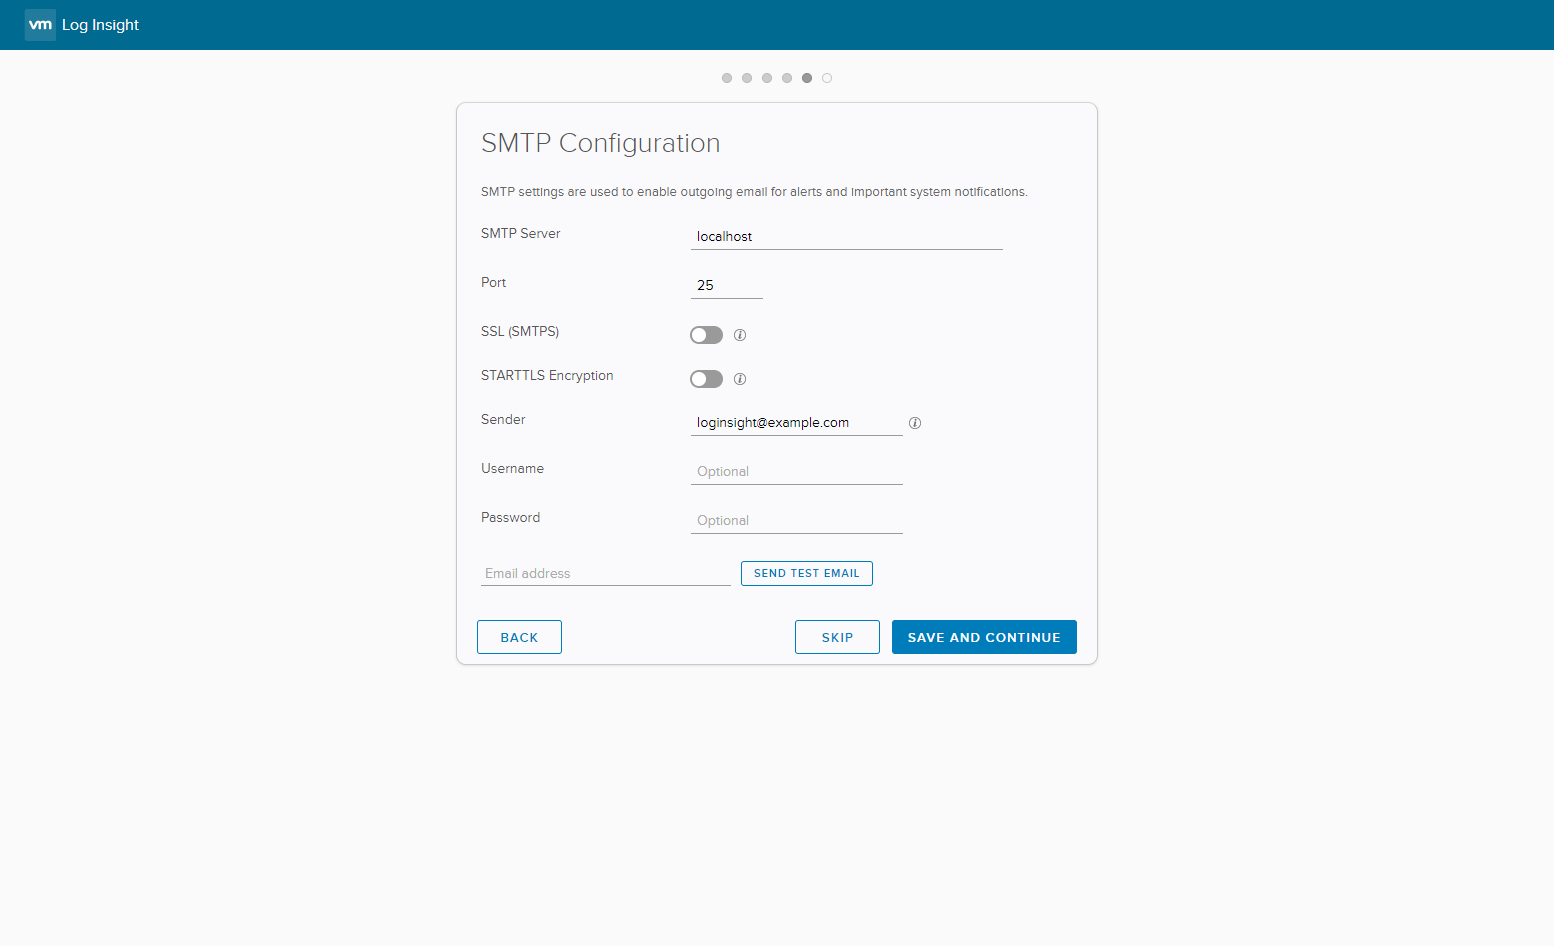
- (if required) Update the SMTP Configuration so that notifications can be sent from vLI (or click Skip).
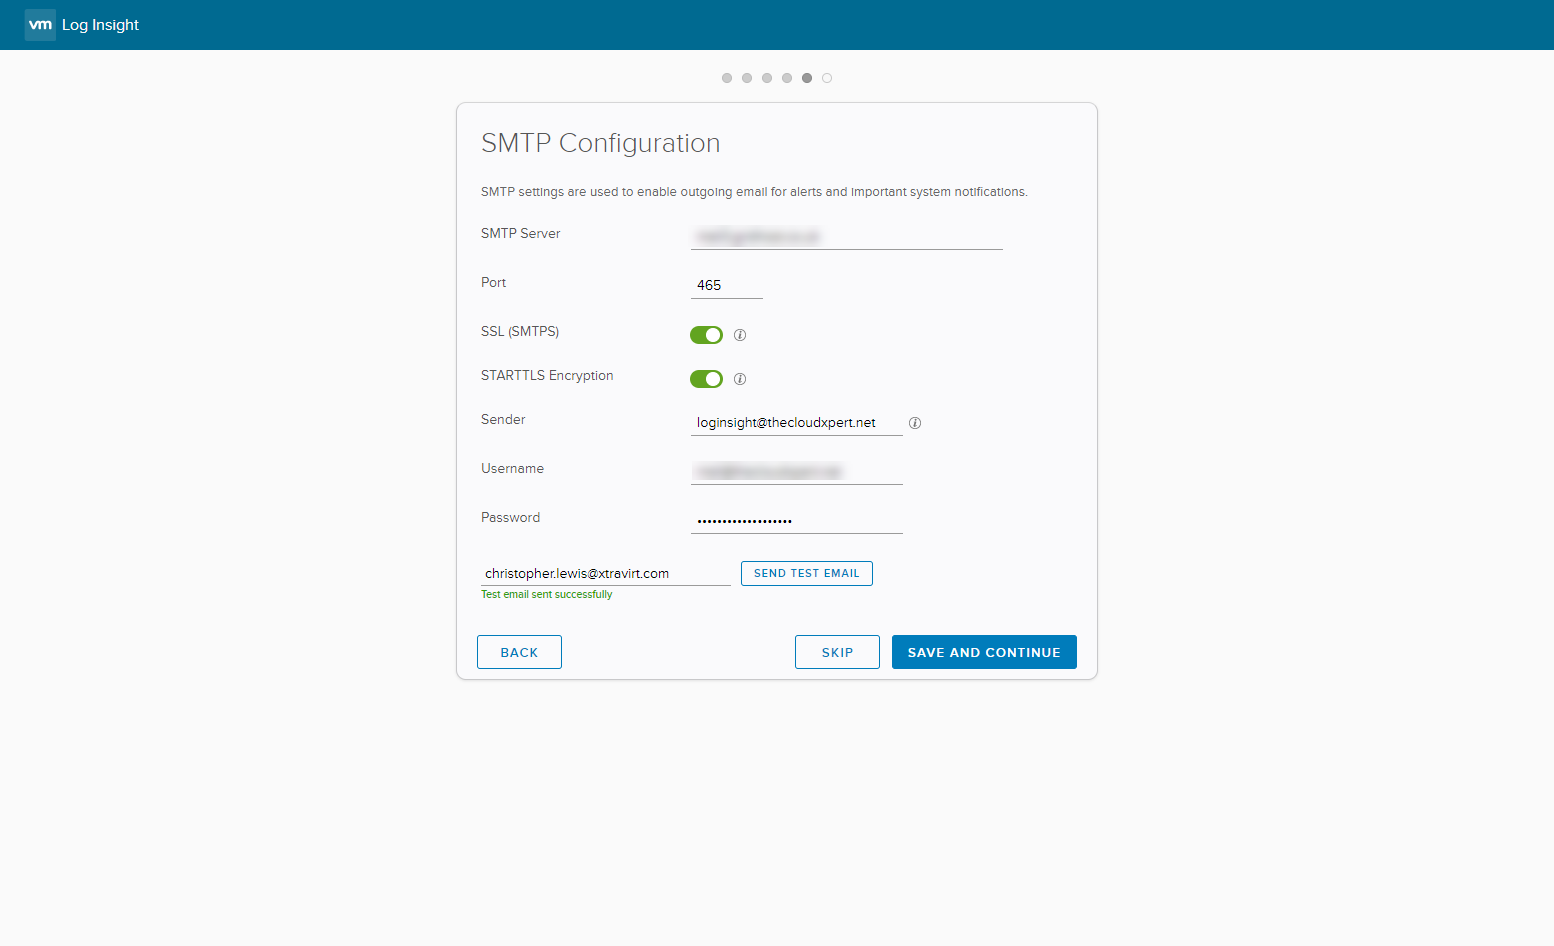
- Click Save and Continue.
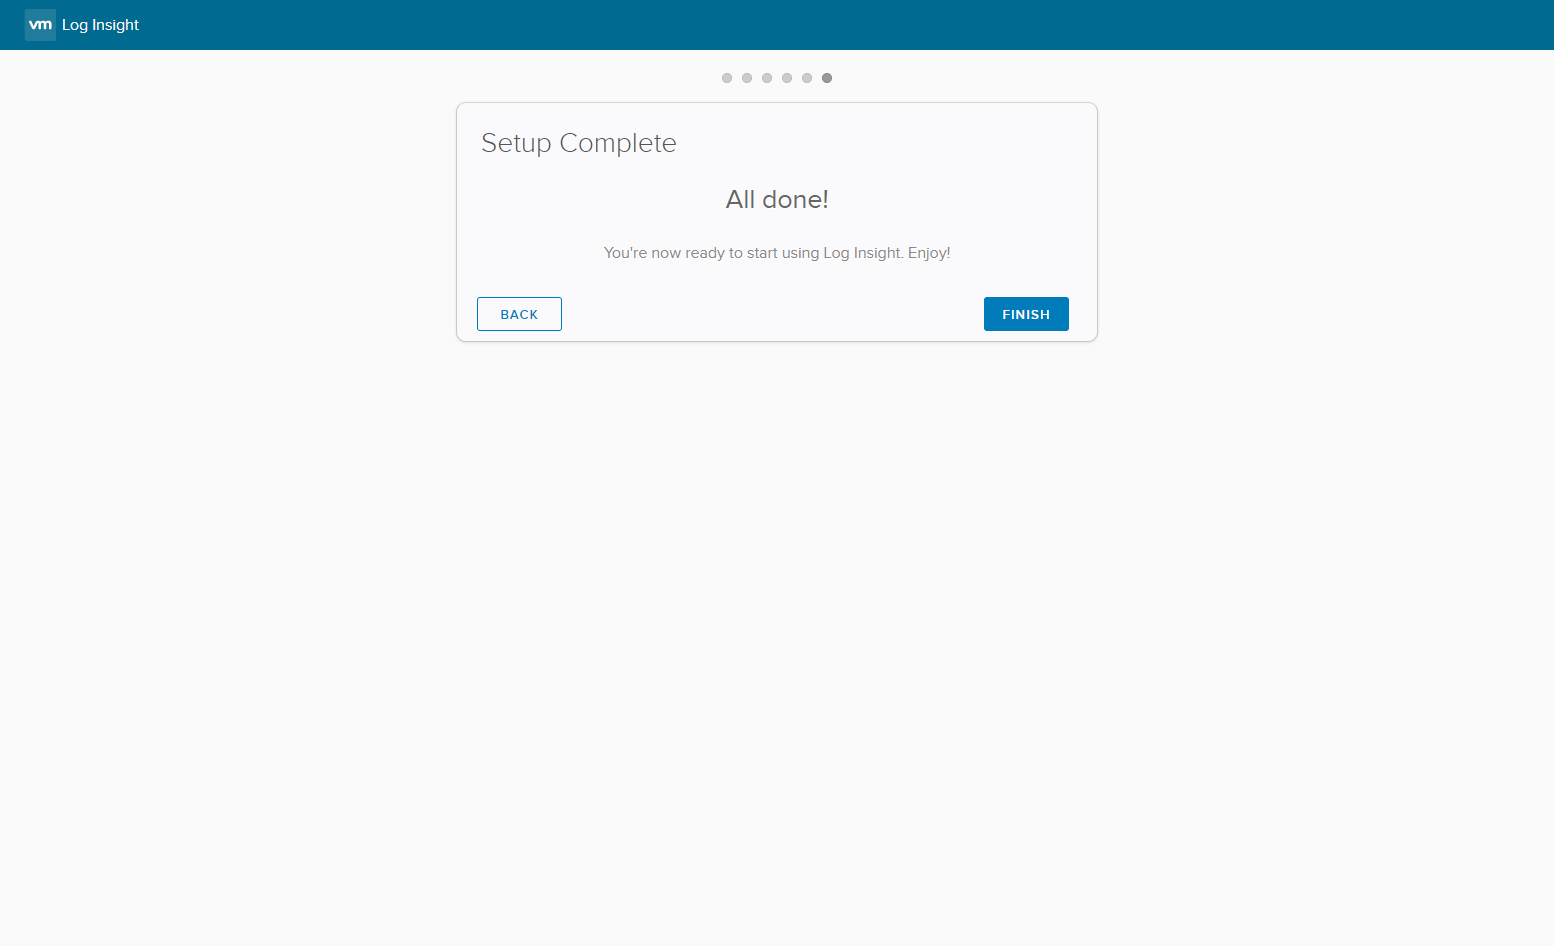
- Click Finished.
- Click Configure vSphere Integration.
Configure vSphere Integration
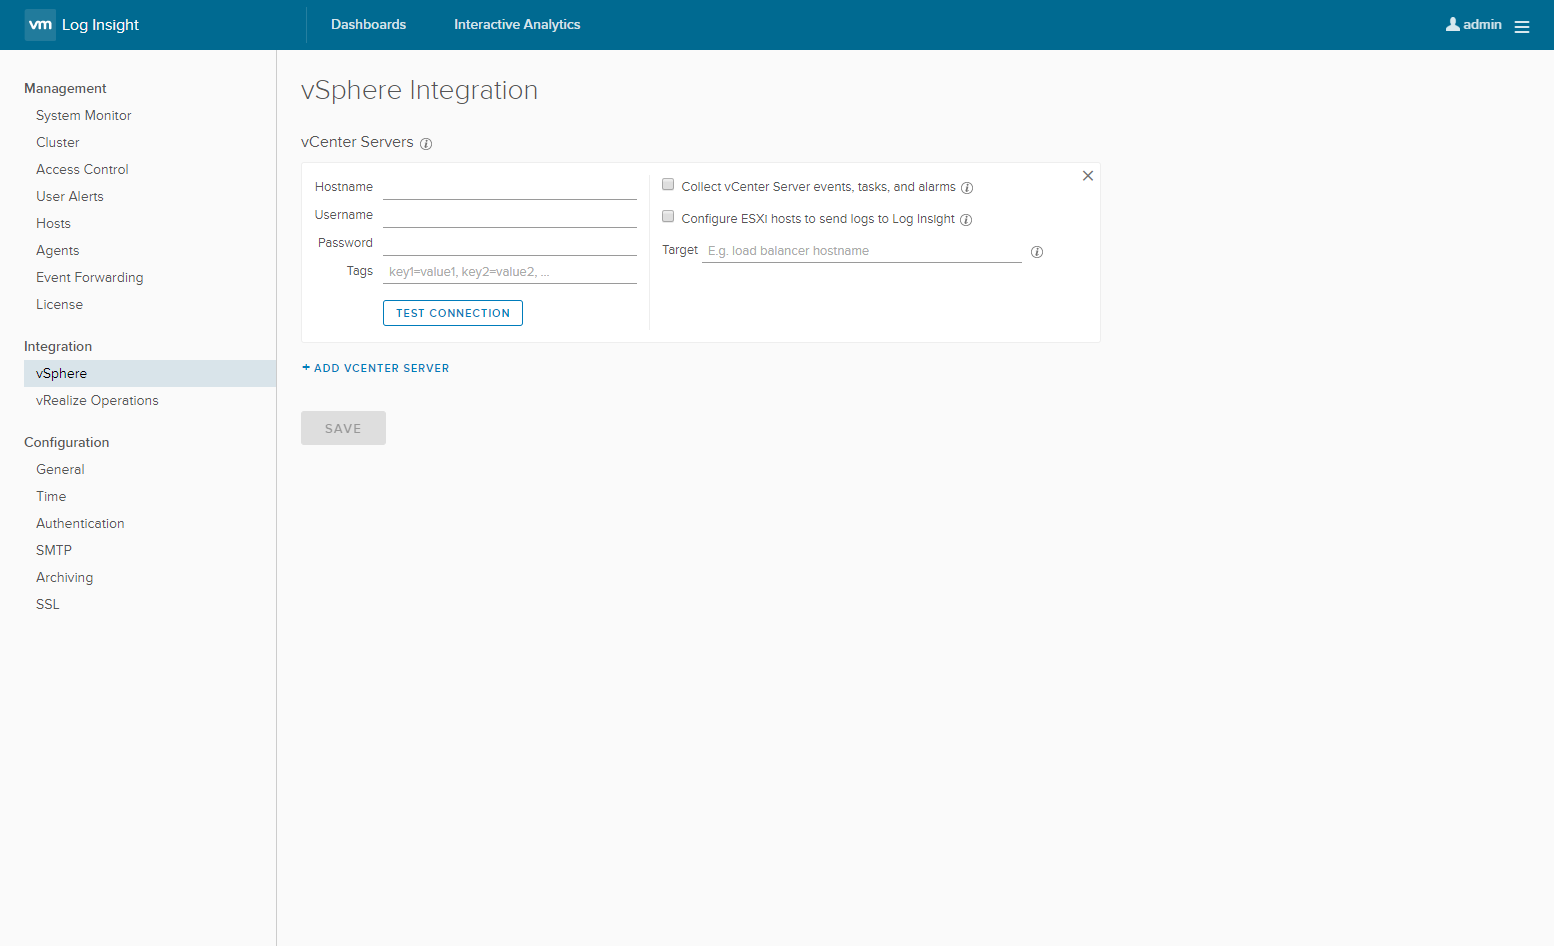
- Type the Hostname (vcenter.fqdn), the Username, the Password. (optionally) Check the Connect vCenter Server events, tasks and alarms checkbox. (optionally) Check the Configure ESXi hosts to send logs to Log Insight checkbox. Click Test Connection.
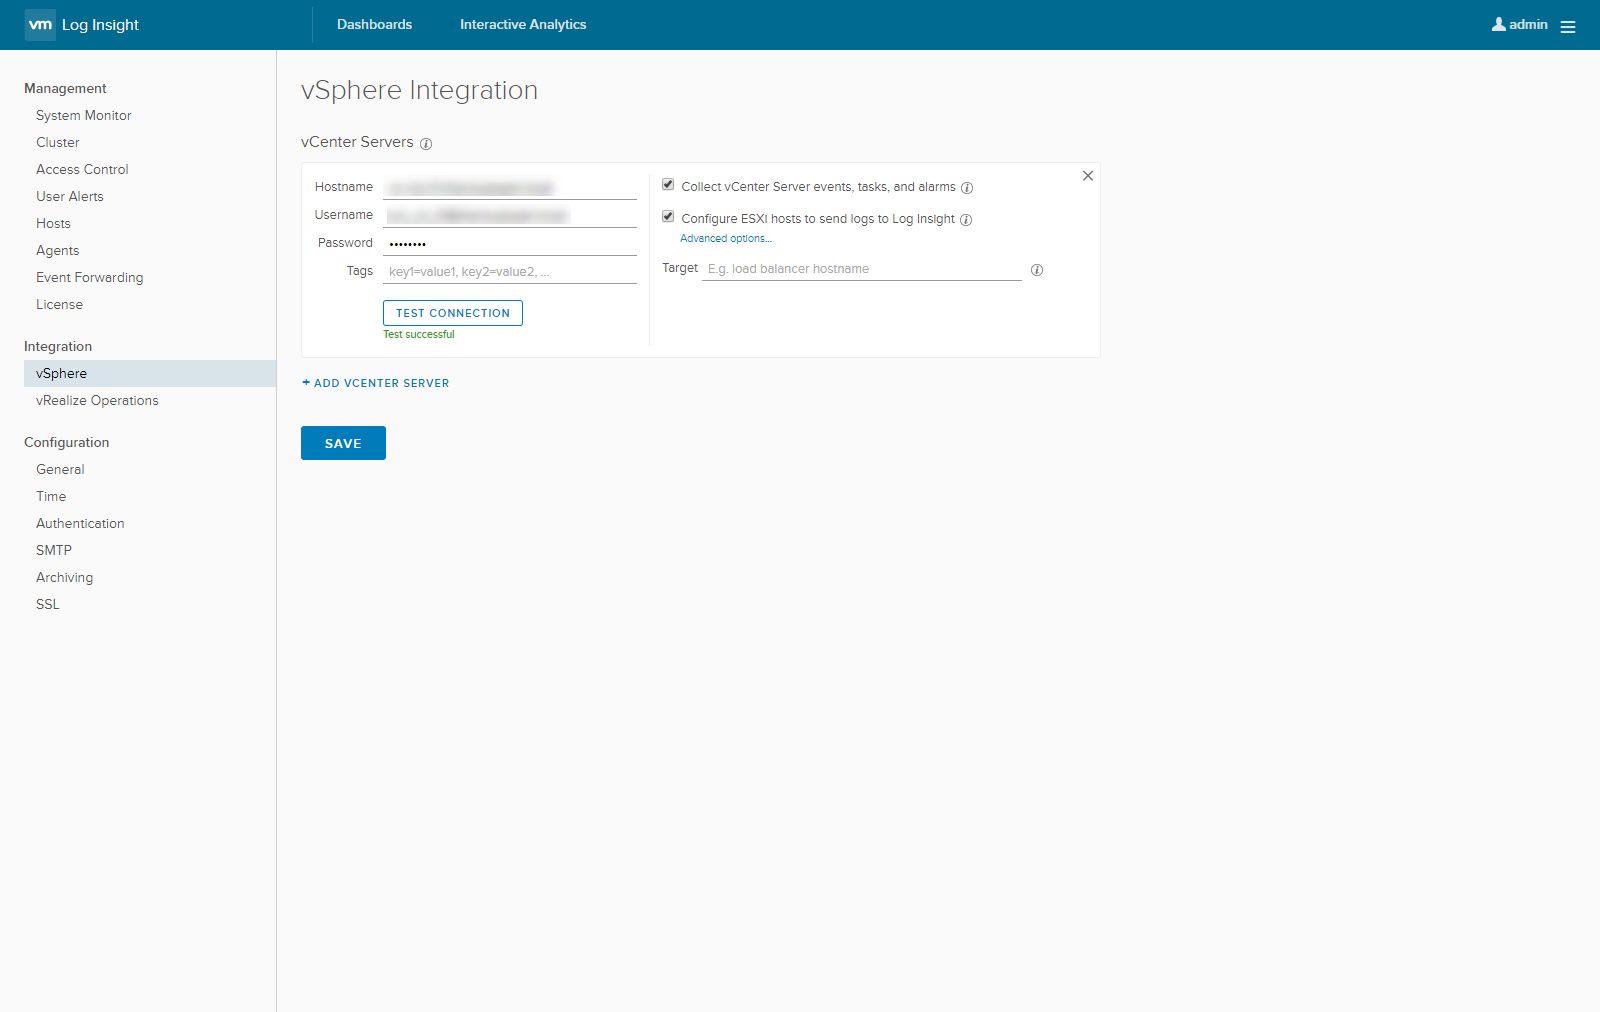
Note:
The user account used for integration with vCenter and ESXi needs to have sufficient permissions allocated at the root (vCenter object):
Host.Configuration.Change settingsHost.Configuration.Network configurationHost.Configuration.Advanced settingsHost.Configuration.Security profile and firewall
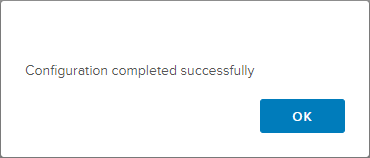
- Click Save.
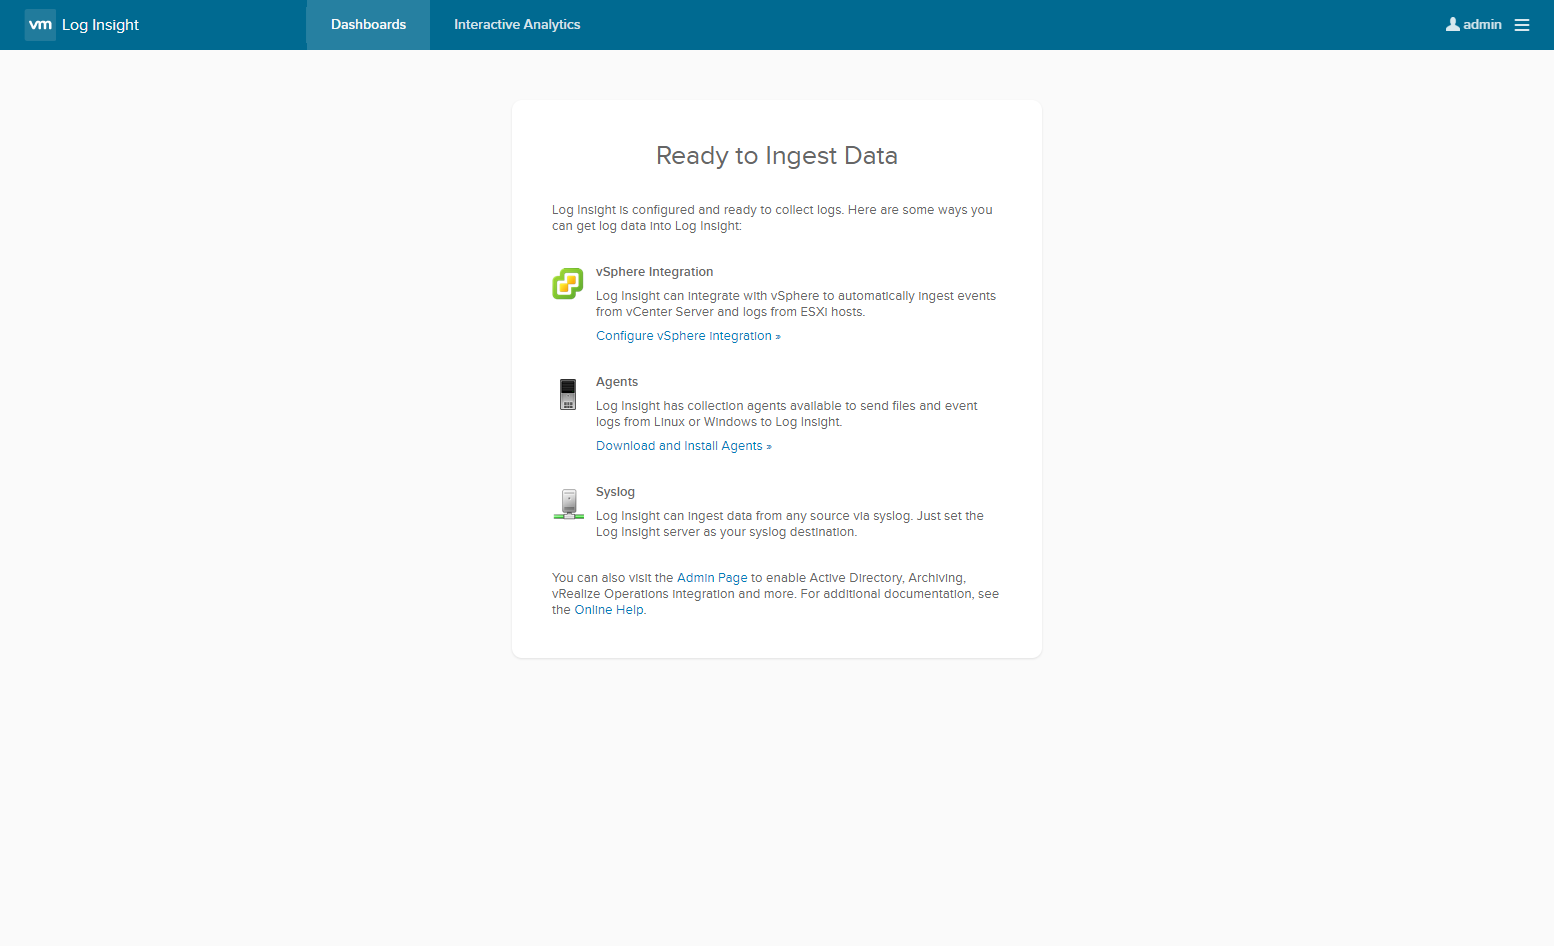
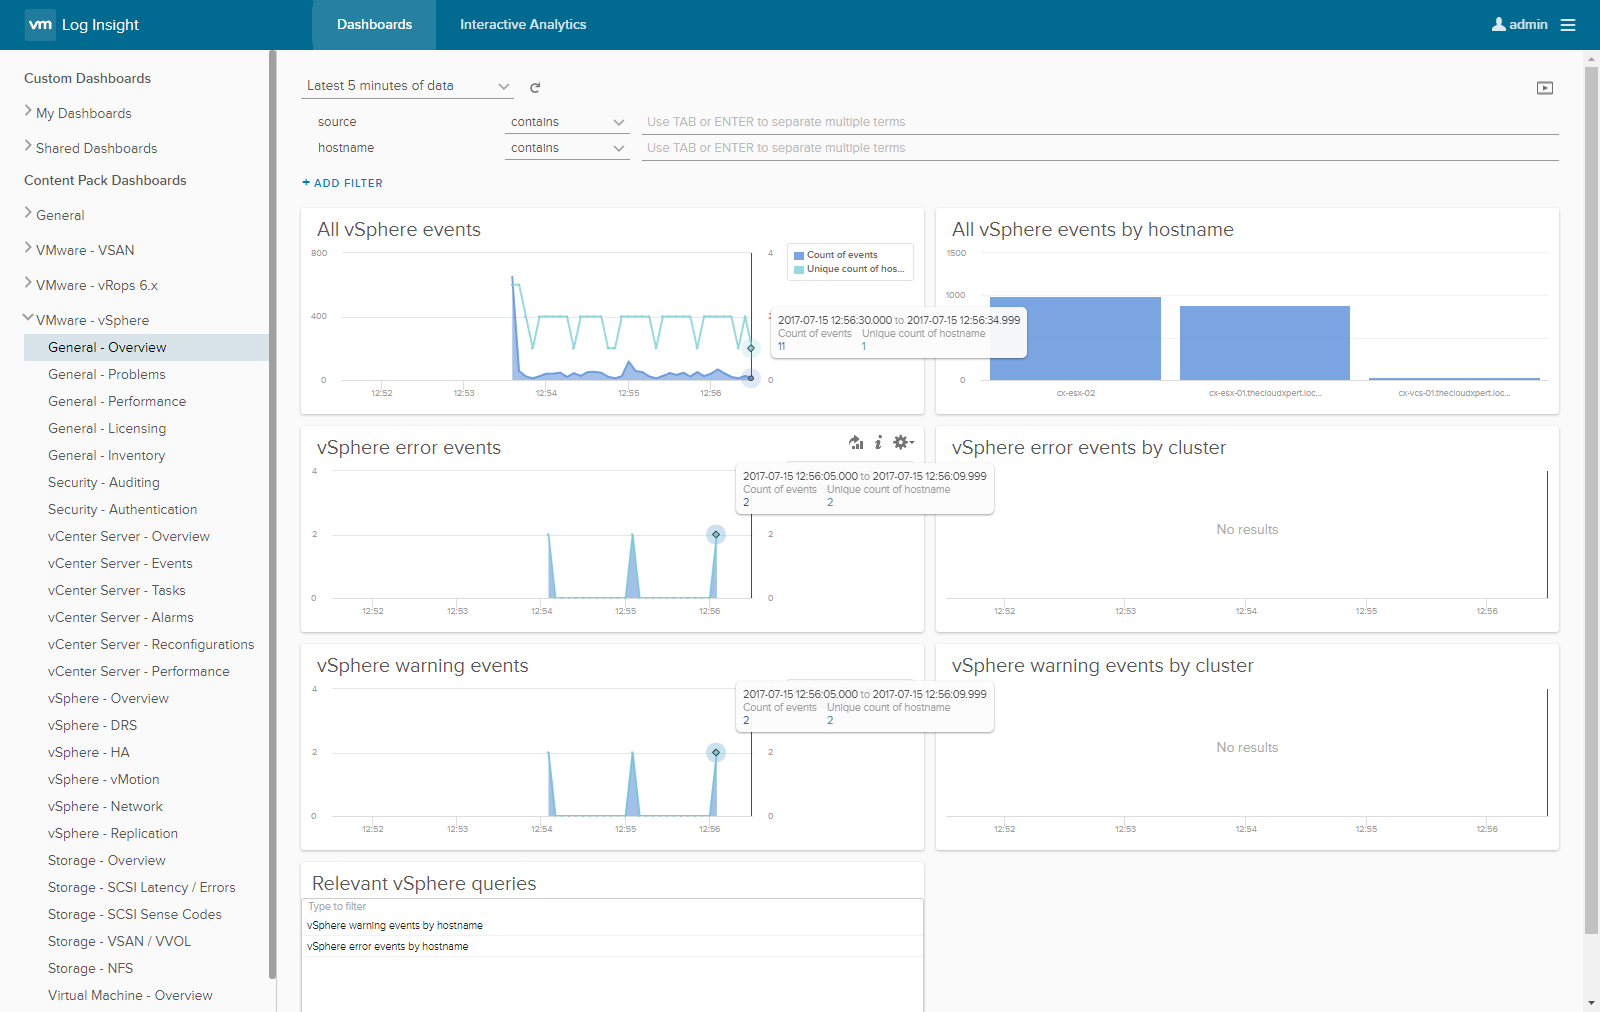
- Click Dashboards and then expand VMware-vSphere to show what is being captured!
Published on 15 July 2017 by Christopher Lewis. Words: 462. Reading Time: 3 mins.
Share this article on:
Related Post(s):
- HOWTO: Configure Role Based Access Management in vRealize Orchestrator 7.3 Control Center ()
- HOWTO: Configure a Standalone vRealize Orchestrator 7.3 Appliance ()
- Introducing the vRealize Automation 7.3 - Health Service ()
- PRO TIP: Knowing when to install vRealize Automation 7.x IaaS Prerequisites manually ()
- Troubleshooting a hanging Blueprint Issue in vRealize Automation 7.x ()
About the Author:

Name: Christopher Lewis
Twitter/X: thecloudxpert
Role: Domain Expert - VCF Automation & VCF Operations
Company: Broadcom
Recent Posts by Christopher Lewis:
Blog Categories:
active directory 6
aria automation 9
aria operations 2
aws 2
certificate authority 5
certificates 5
certification 91
general 9
home lab 2
microsoft 7
nsx 45
nsx v 41
powercli 8
powershell 6
vcap 48
vcap6 2
vcenter 4
vcf 5
vcix 2
vexpert 9
vmug 5
vmware 99+
vmware aria automation 9
vmware aria operations 5
vmware cloud 3
vmware explore 2
vmware identity manager 2
vmworld 36
vrealize automation 80
vrealize business 2
vrealize operations manager 5
vrealize orchestrator 13
vrealize suite 14
vrealize suite lifecycle manager 20
vsan 5
vsphere 9
windows 6
Top Tags:
active directory 6
api 18
barcelona 24
certificates 11
certification 7
howto 33
microsoft 7
multi tenancy 9
nsx v 43
platform services controller 8
powercli 8
powershell 7
psc 6
vcap 9
vcap6 45
vcap6 cma 48
vcap6 nv 37
vcix6 nv 36
vexpert 19
vmug 8
vmware 99+
vmware aria 12
vmware aria automation 9
vmworld 35
vmworld 2016 13
vmworld 2017 9
vra 13
vrealize automation 74
vrealize operations 8
vrealize orchestrator 21
vrealize suite lifecycle manager 11
vrslcm 20
vsan 7
vsphere 12