Warning! The content within this article is over 36 months old and, therefore, may be out of date.
HOWTO: Configure a Standalone vRealize Orchestrator 7.3 Appliance
Share this article on:


VMware vRealize Suite vRealize Orchestrator HOWTO
Published on 23 May 2017 by Christopher Lewis. Words: 376. Reading Time: 2 mins.
Introduction
VMware vRealize Orchestrator 7.3 is out! ( Release Notes ) and the deployment process is now a lot slicker and easier to complete. In this post, we look at the process that can be followed for the configuration of a single standalone Orchestrator Appliance.
Step By Step Walkthrough
Prerequisites
- Successful deployment of the VMware vRealize Orchestrator 7.3 Appliance.
- (optional) A DNS CNAME record for vro.fqdn to replace vro.app.fqdn.
Configuration Steps
- Using a web browser, navigate to
https://vro.app.fqdn:8281/vco/.

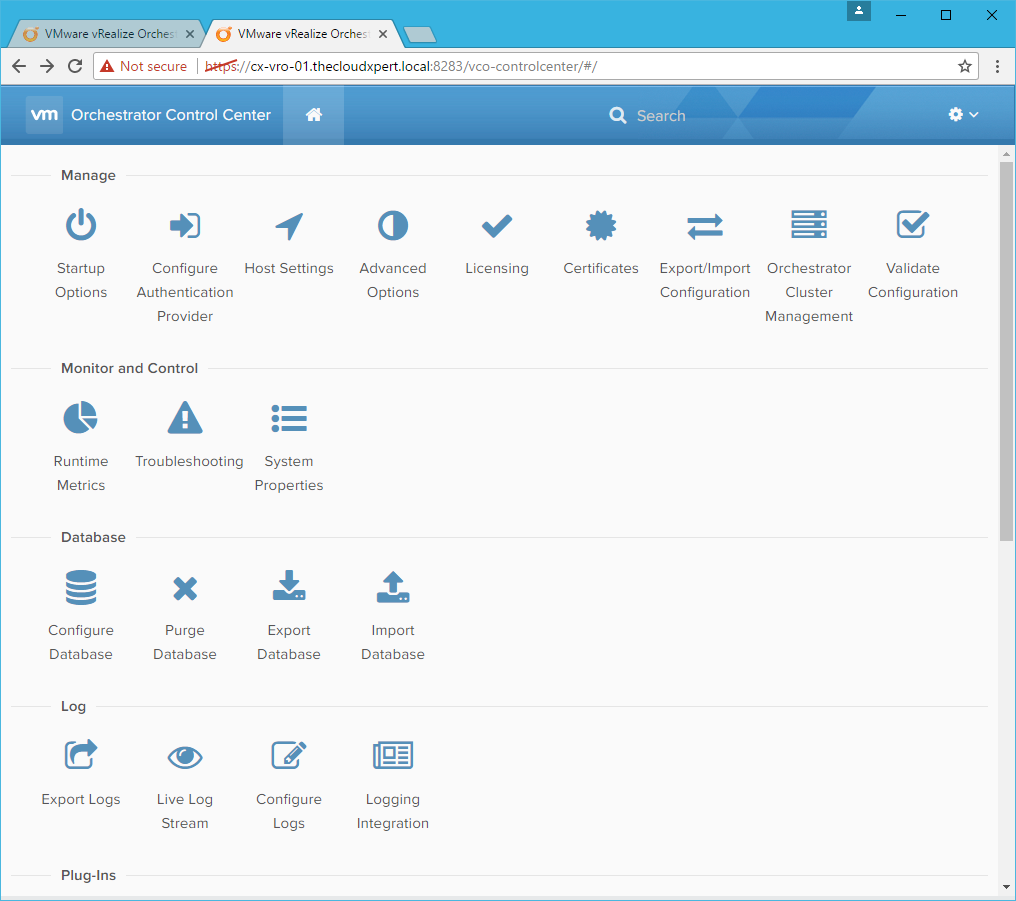
- Click Orchestrator Control Center.
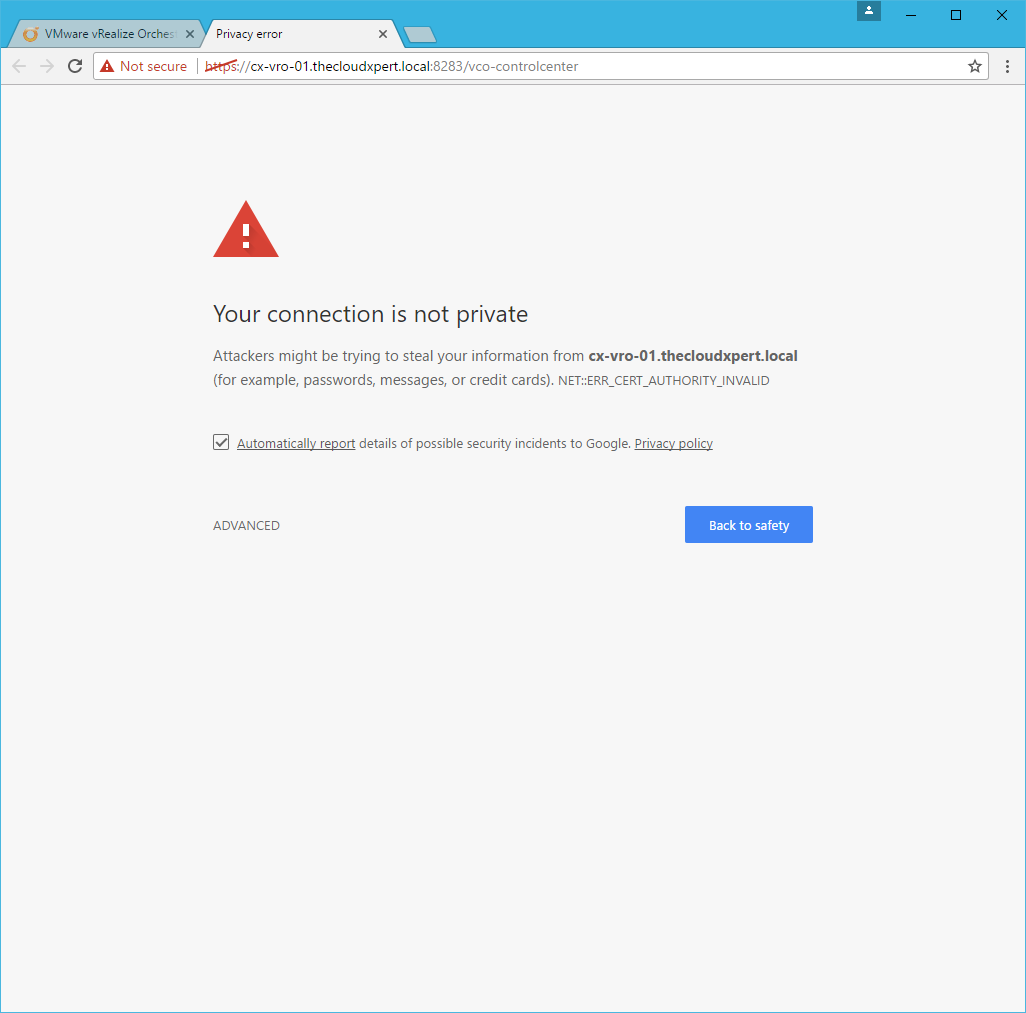
- Click Advanced and then click Proceed to vro.fqdn (unsafe).
Note:
You can navigate directly to
https://vro.app.fqdn:8283/vco-controlcenter in your browser.
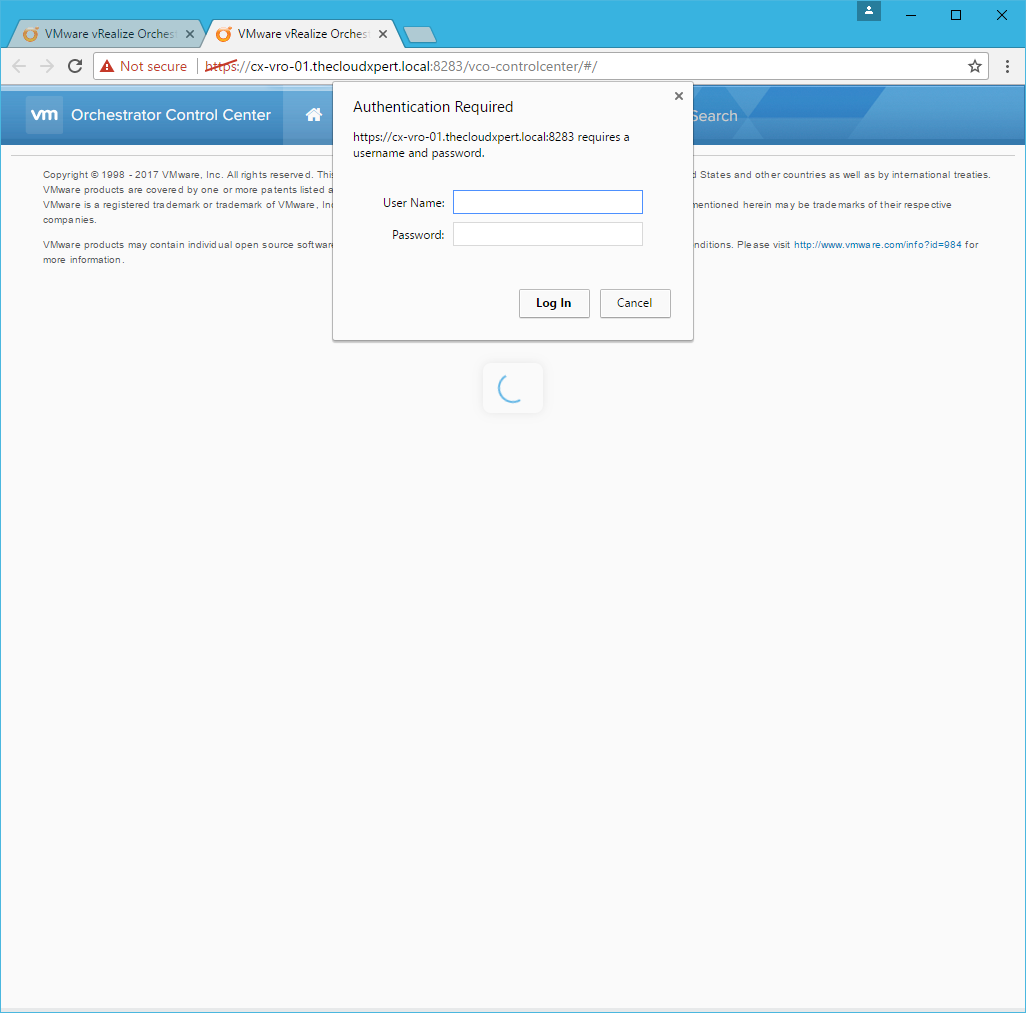
- Type
rootas the User Name and the root user password as the Password, then click Log In.
Note:
The root user password would have been set as part of the deployment of the appliance.
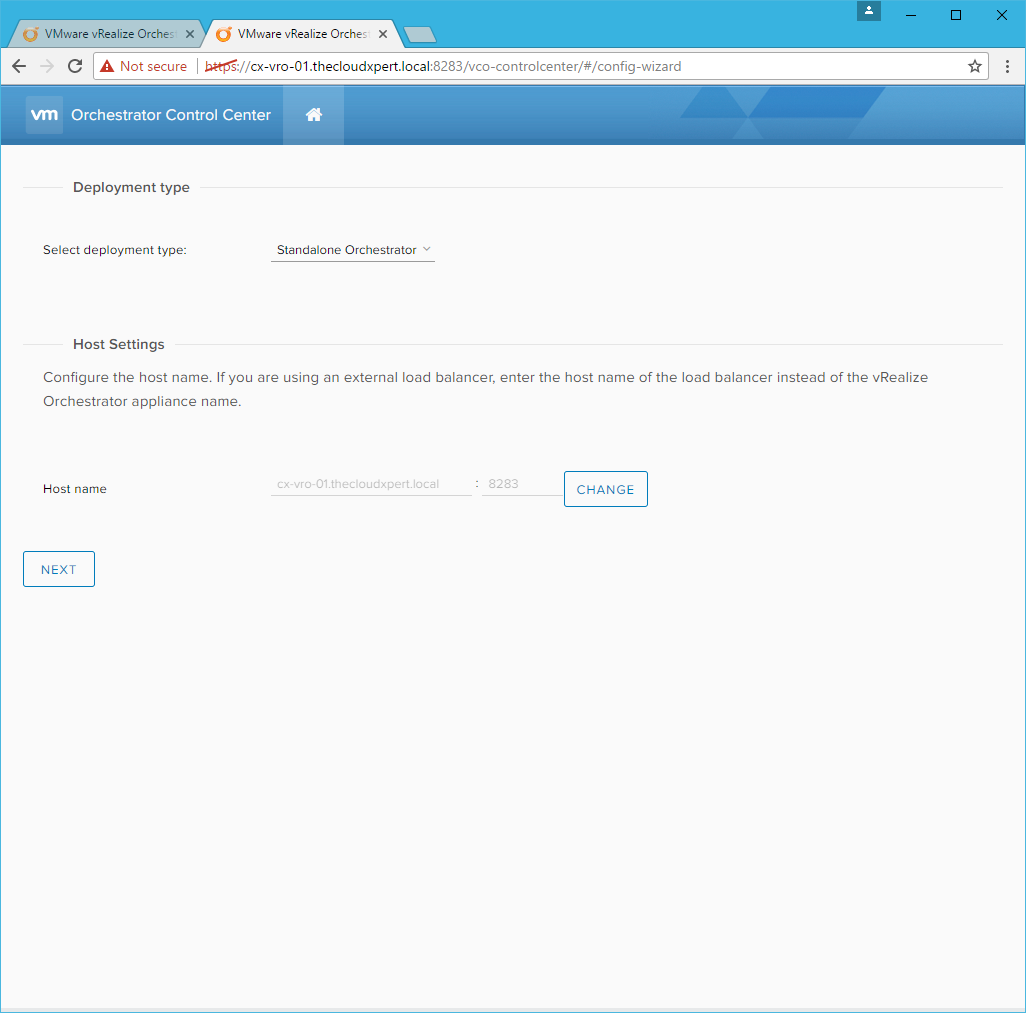
- Under Deployment type, ensure that Standalone Orchestrator is selected from the Select the deployment type dropdown.
- Under Host Settings, click Change.
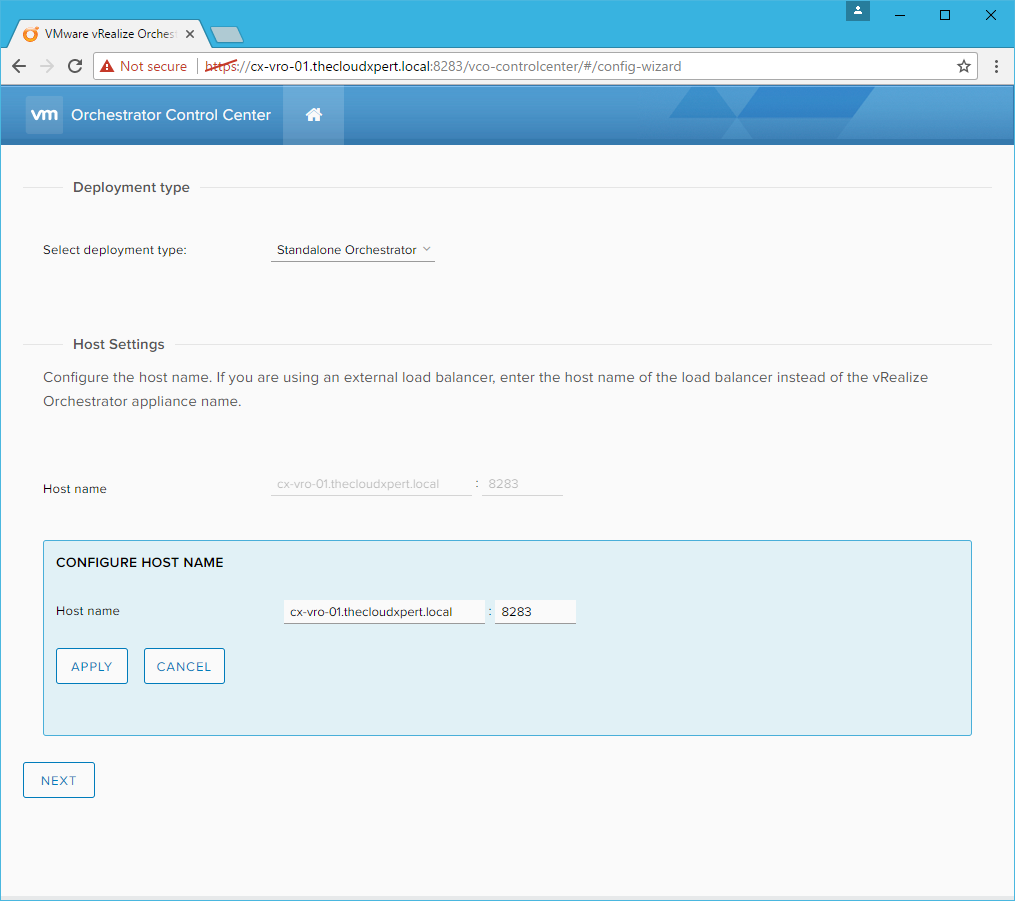
- (optional) Replace the
vro.app.fqdnin the Host name text box with the DNS CNAME forvro.fqdnand click Apply.
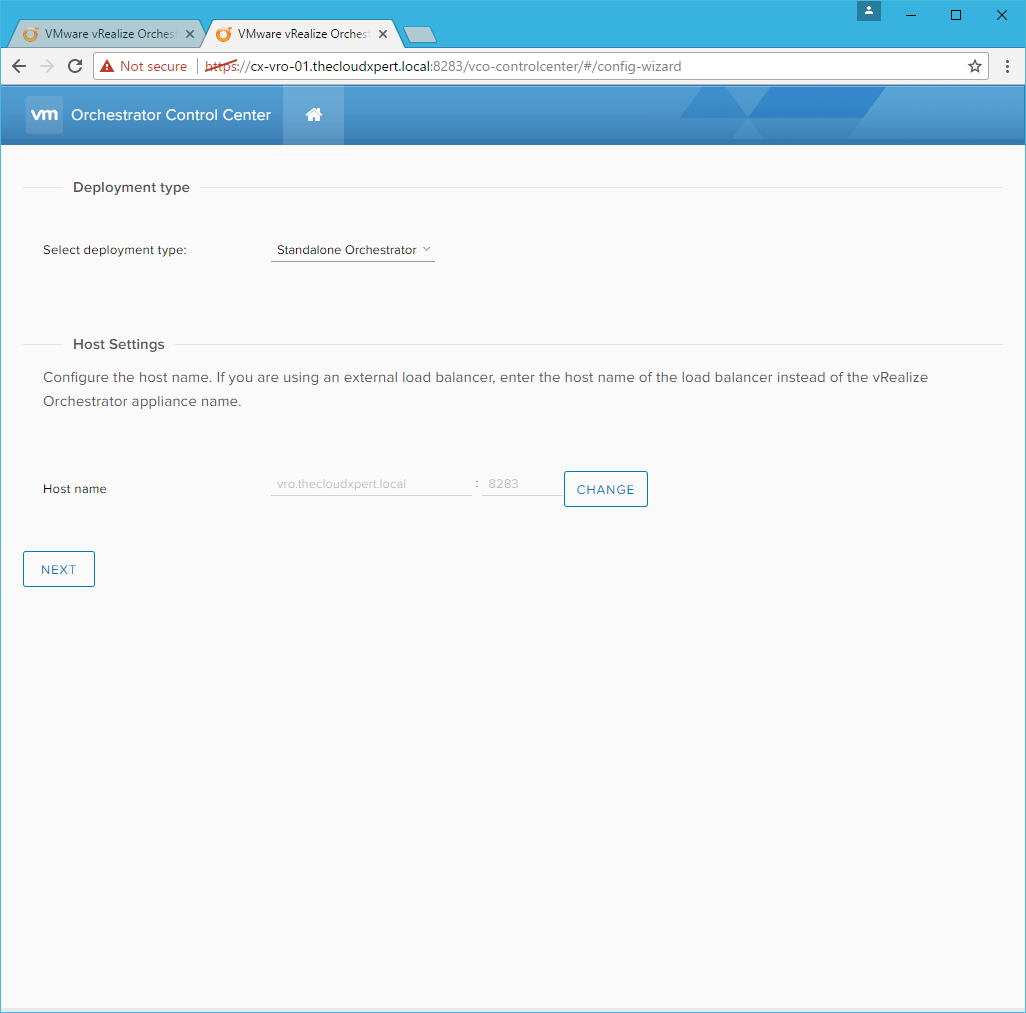
- Click Next.
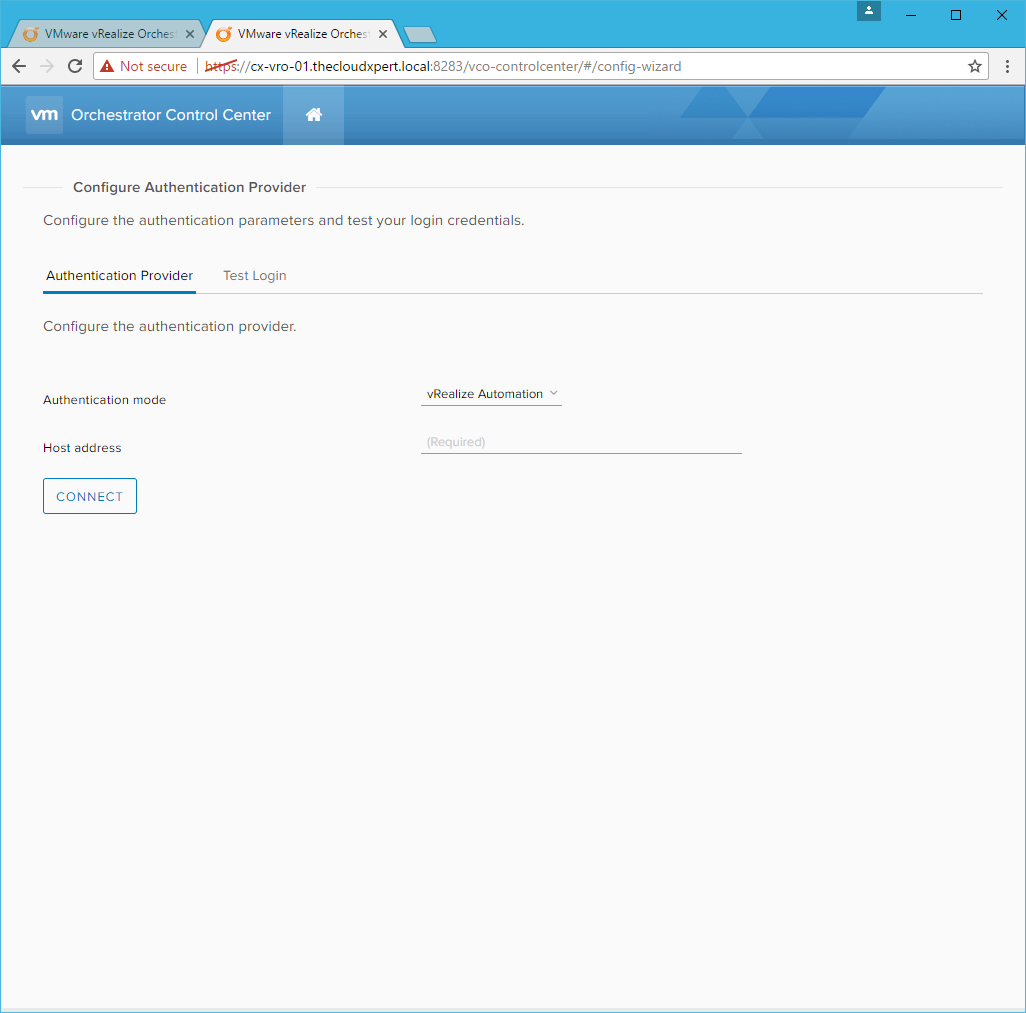
- Under Authentication Provider, select vSphere from the Authentication mode dropdown.

Note:
From vRealize Orchestrator 7.3 onwards, LDAP authentication is deprecated.
- Under Authentication Provider, enter the FQDN of the Platform Services Controller into the Host address text box and click Connect.
Note:
If the PSC is embedded into the vCenter Server then enter the FQDN of the vCenter Server.
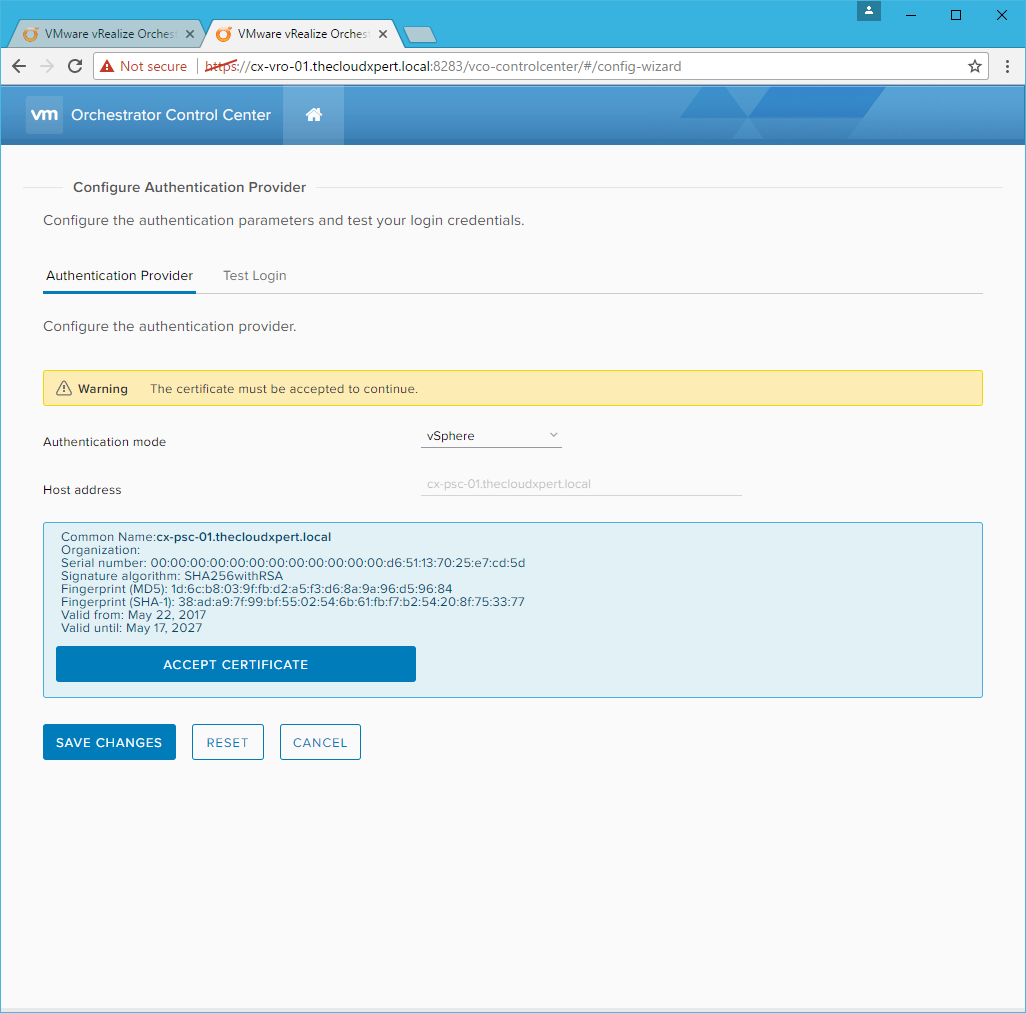
- Confirm the information on the certificate is correct and then click Accept Certificate.
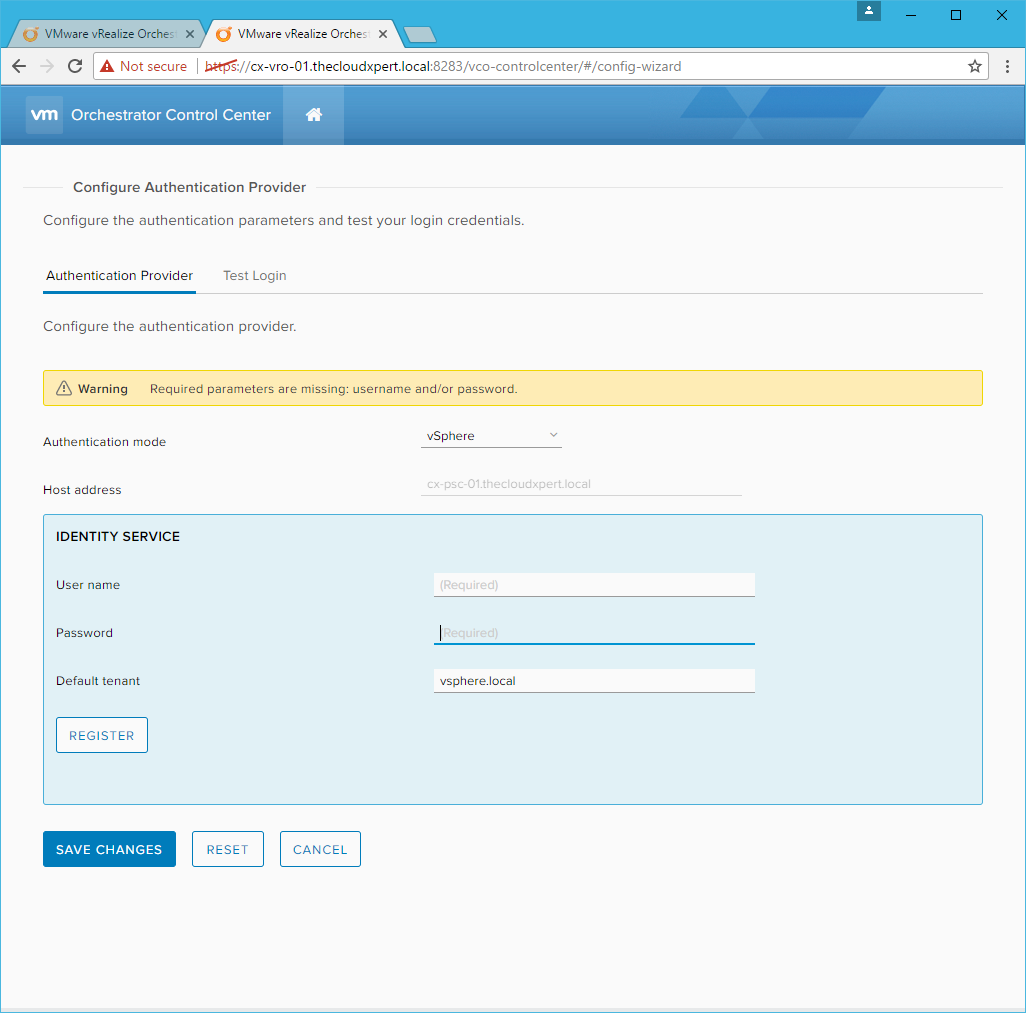
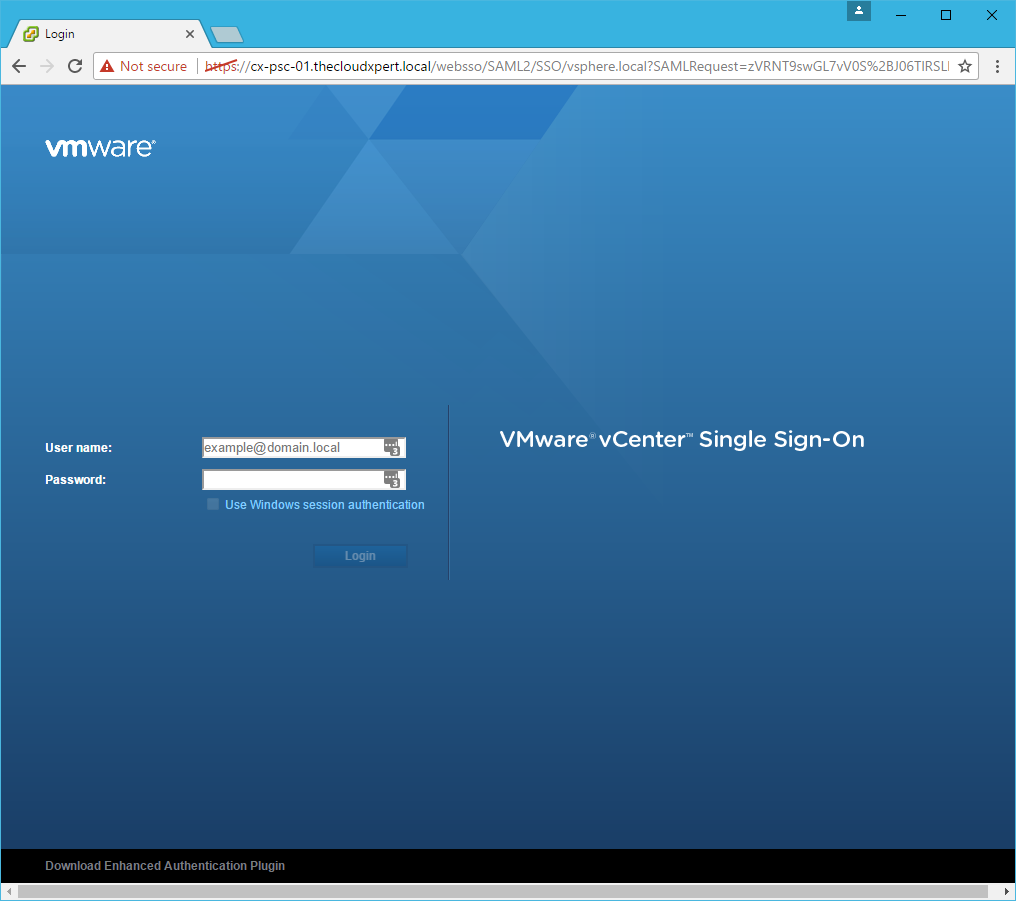
- Under Identity Service, enter the** User name** as
administrator@vsphere.localand enter the Password and click Register.
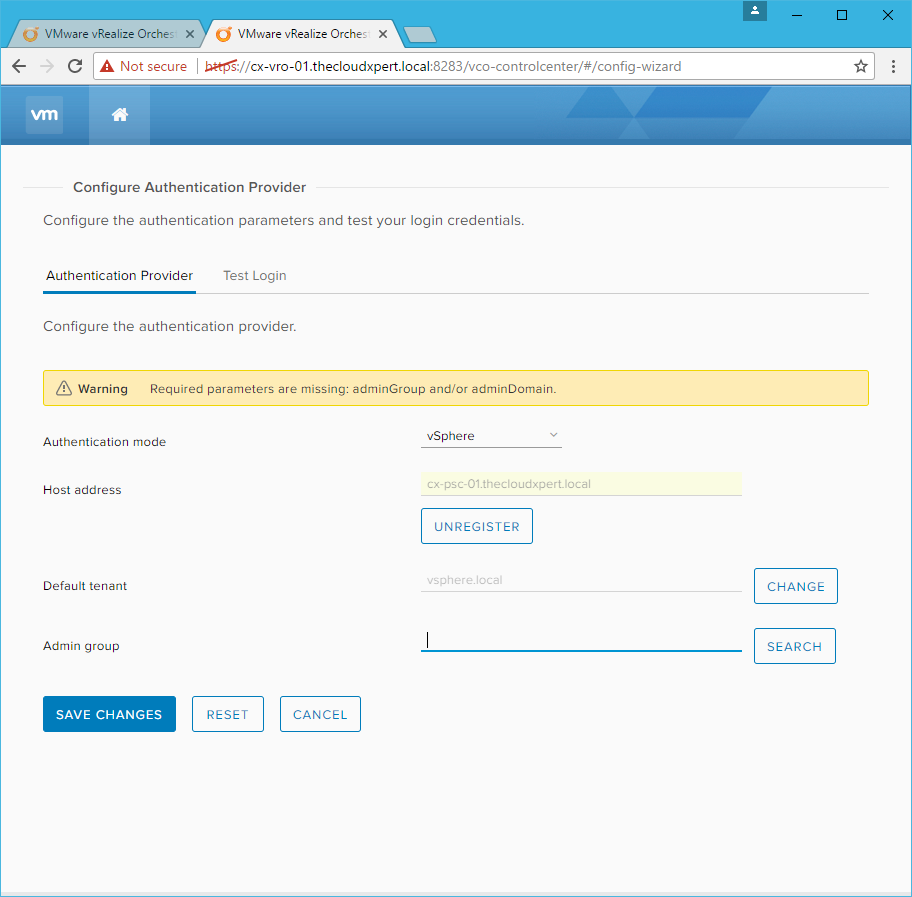
- Type
vsphere.local\administratorsfor the Admin group and click Search.

- Select the Admin group from the results of the search and click Save Changes.
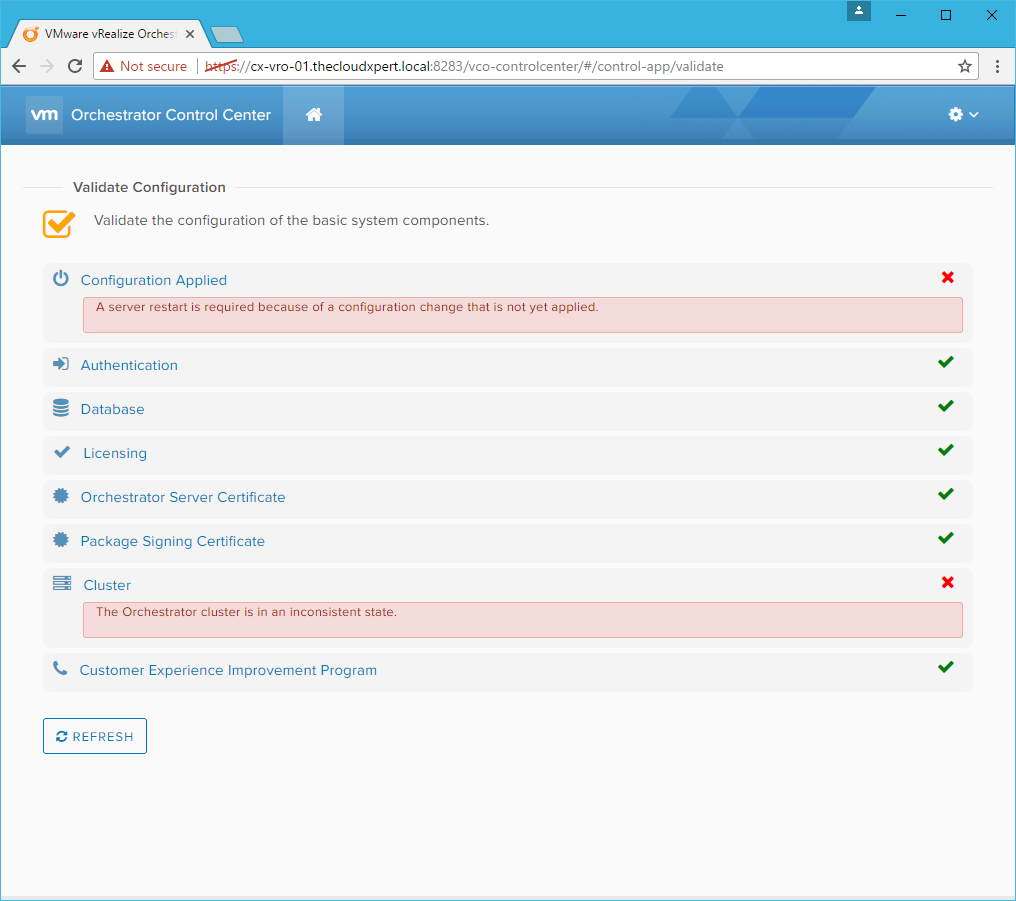
- Click Validate Configuration.
- Click Sign out.
- Close the Browser window.
- Within vCenter Web Client, right-click on the VRO Virtual Machine and select Power > Restart the Guest OS.
- Wait for the appliance to reboot.
- Navigate to
https://vro.fqdn:8283/vco-controlcenterand sign-in withadministrator@vsphere.localcredentials.
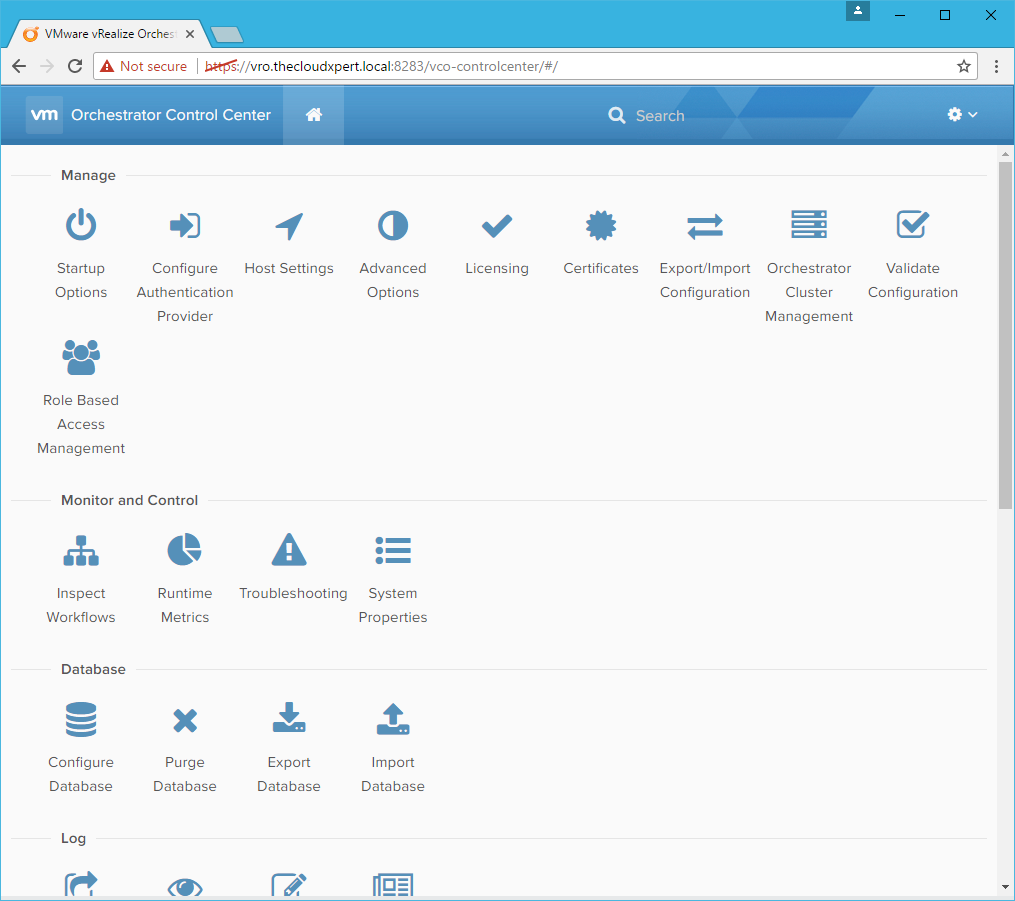
Note:
The additional (new) Role Based Access Management and Inspect Workflows icons have appeared.
- Click Validate Configuration.
There you have it! You have successfully configured a basic deployment of a standalone Orchestrator 7.3 Appliance that uses vSphere SSO for user authentication and the embedded PostgreSQL Database.
Published on 23 May 2017 by Christopher Lewis. Words: 376. Reading Time: 2 mins.
Share this article on:
Related Post(s):
- vRealize Automation and Orchestrator 7.3 Released! ()
- HOWTO: Configure a vRealize Automation 6 Advanced Services Endpoint for vCenter Server ()
- VCAP6-CMA Deploy - Objective 6.1: Configure Advanced Service Designer ()
- HOWTO: Configure a vRealize Automation 6 Advanced Services Endpoint for Active Directory ()
- HOWTO: Deploy the vRealize Orchestrator 6.x Appliance for vRealize Automation ()
About the Author:

Name: Christopher Lewis
Twitter/X: thecloudxpert
Role: Domain Expert - VCF Automation & VCF Operations
Company: Broadcom
Recent Posts by Christopher Lewis:
Blog Categories:
active directory 6
aria automation 9
aria operations 2
aws 2
certificate authority 5
certificates 5
certification 91
general 9
home lab 2
microsoft 7
nsx 45
nsx v 41
powercli 8
powershell 6
vcap 48
vcap6 2
vcenter 4
vcf 5
vcix 2
vexpert 9
vmug 5
vmware 99+
vmware aria automation 9
vmware aria operations 5
vmware cloud 3
vmware explore 2
vmware identity manager 2
vmworld 36
vrealize automation 80
vrealize business 2
vrealize operations manager 5
vrealize orchestrator 13
vrealize suite 14
vrealize suite lifecycle manager 20
vsan 5
vsphere 9
windows 6
Top Tags:
active directory 6
api 18
barcelona 24
certificates 11
certification 7
howto 33
microsoft 7
multi tenancy 9
nsx v 43
platform services controller 8
powercli 8
powershell 7
psc 6
vcap 9
vcap6 45
vcap6 cma 48
vcap6 nv 37
vcix6 nv 36
vexpert 19
vmug 8
vmware 99+
vmware aria 12
vmware aria automation 9
vmworld 35
vmworld 2016 13
vmworld 2017 9
vra 13
vrealize automation 74
vrealize operations 8
vrealize orchestrator 21
vrealize suite lifecycle manager 11
vrslcm 20
vsan 7
vsphere 12