VCAP6-NV Deploy - Objective 8.1 - Administer and Execute calls using the VMware NSX vSphere API
VMware NSX-V VCAP6-NV VCIX6-NV
Published on 30 July 2017 by Christopher Lewis. Words: 811. Reading Time: 4 mins.
Objective 8.1 - Administer and Execute calls using the VMware NSX vSphere API
Objective Overview
- Construct and execute an API call using correct syntax and formatting
- Programmatically configure system parameters including:
- NSX controller syslog
- Modify DLR declared dead time
- Analyze, modify, and successfully retrieve configuration data using an existing API call.
Objective Prerequisites
The following prerequisites are assumed for this Objective:
- A working VMware vSphere 6.x environment.
- A working VMware NSX 6.x implementation.
Objective Breakdown
Construct and execute an API call using correct syntax and formatting
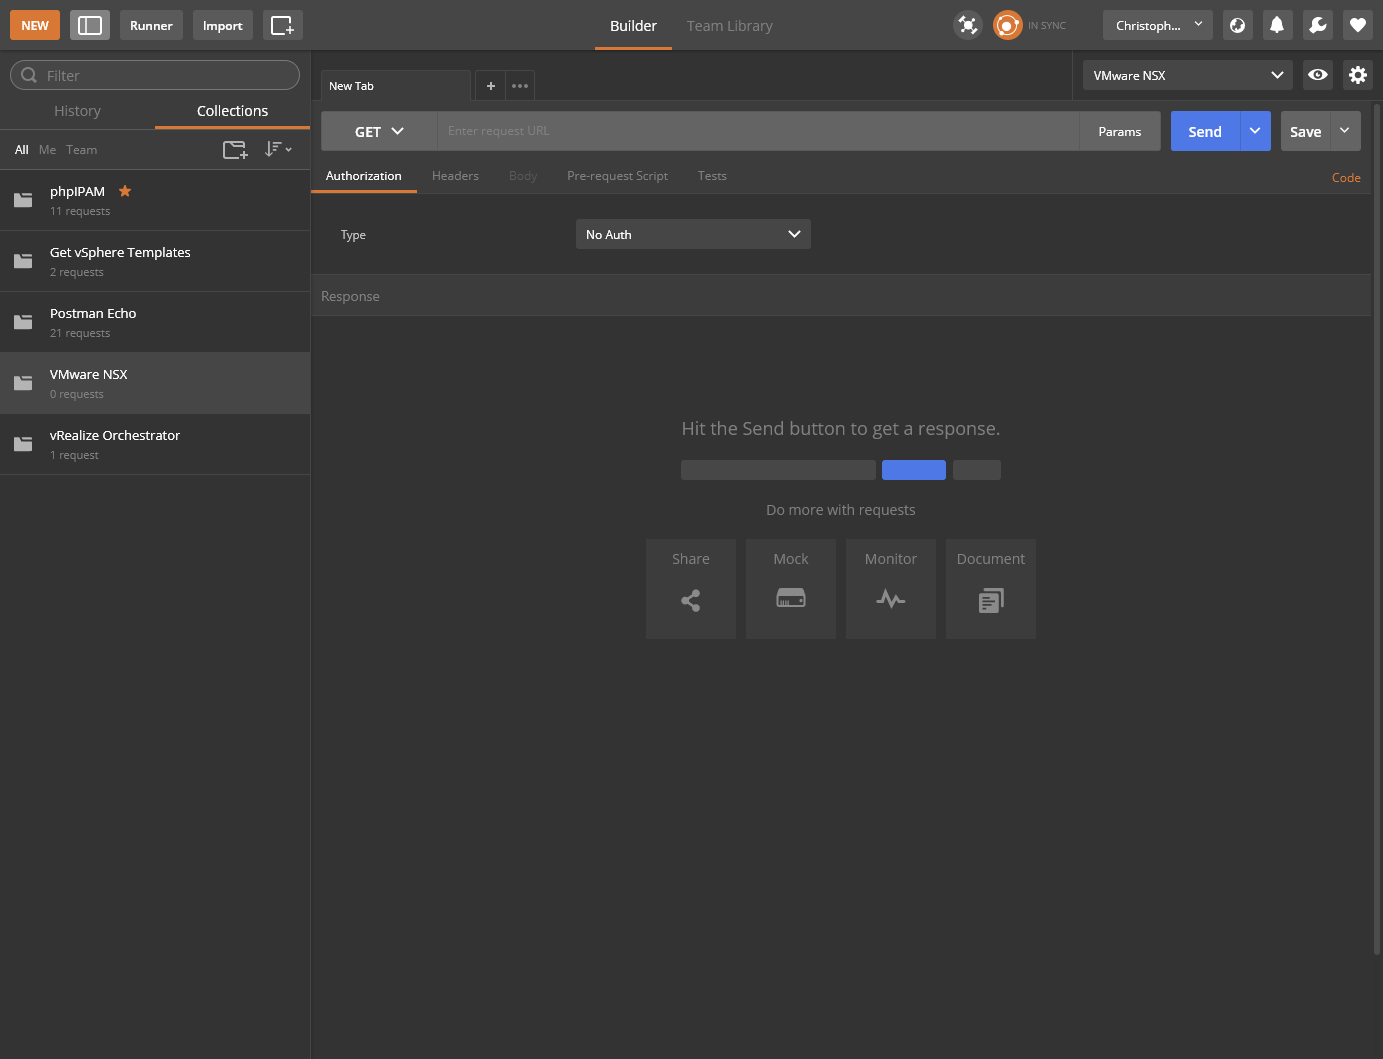
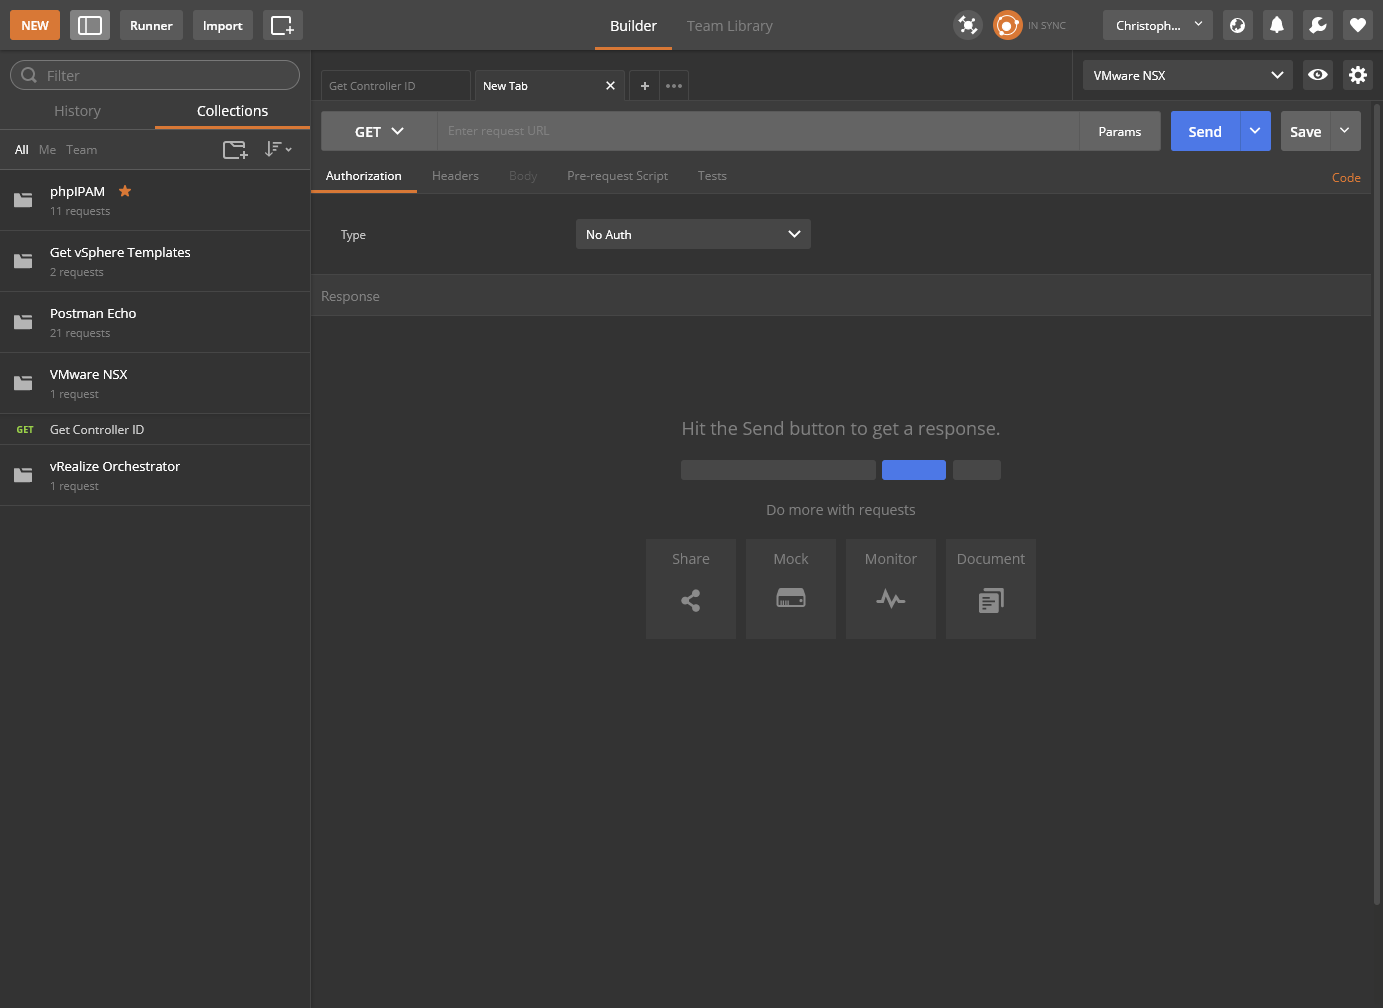
For API calls I tend to use Postman. I’m not sure how you can get the incorrect syntax when using the API guide from VMware. Within Postman, you choose the Request Type (i.e. GET, POST, DELETE, etc) and then enter the full URL of the API call.
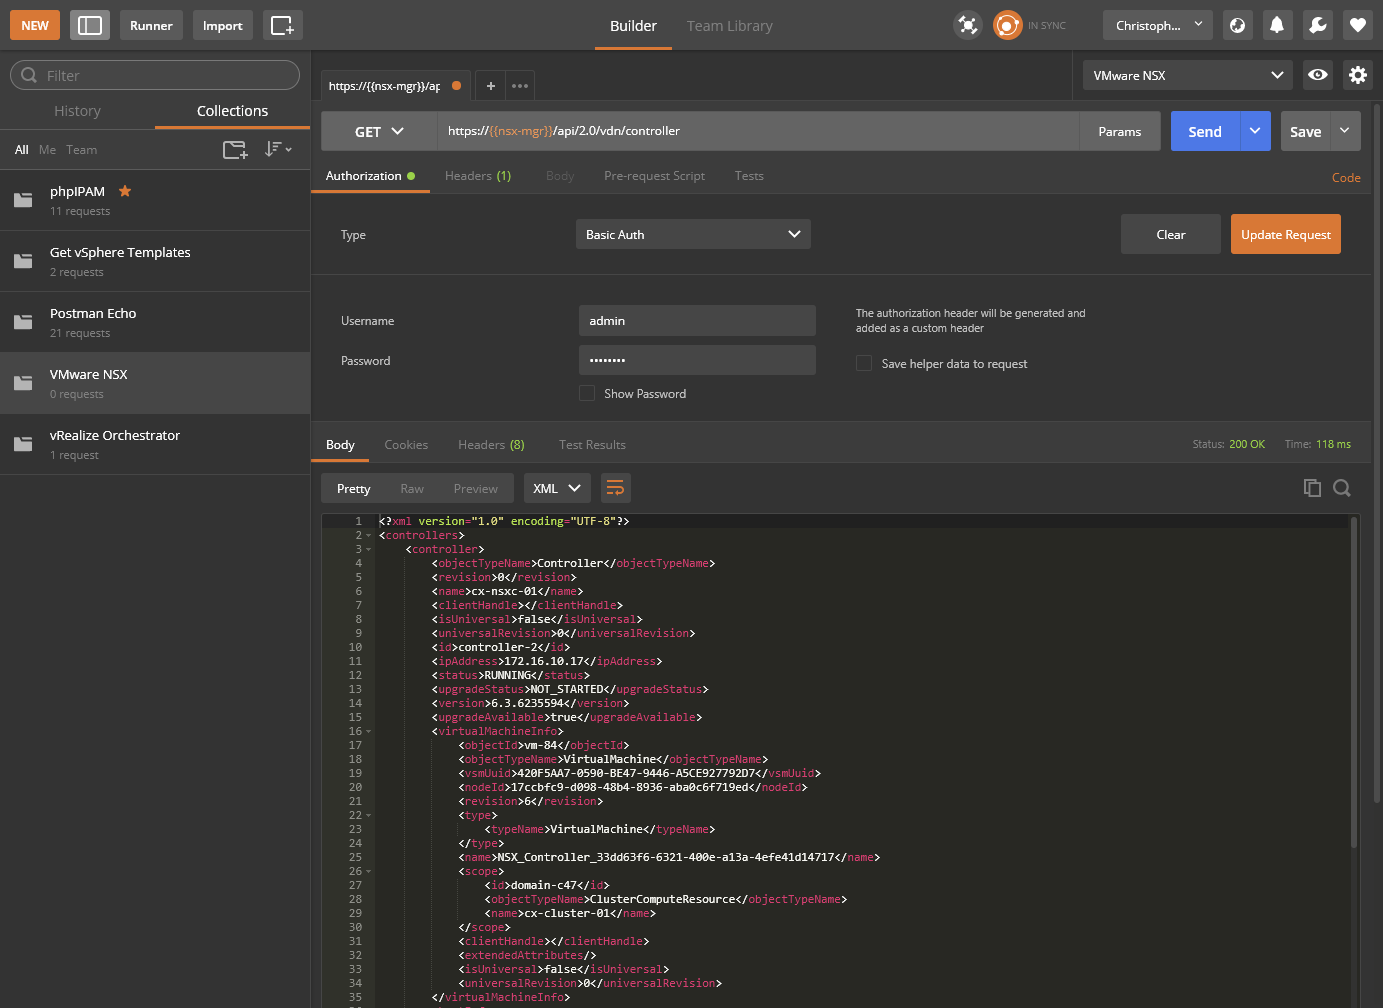
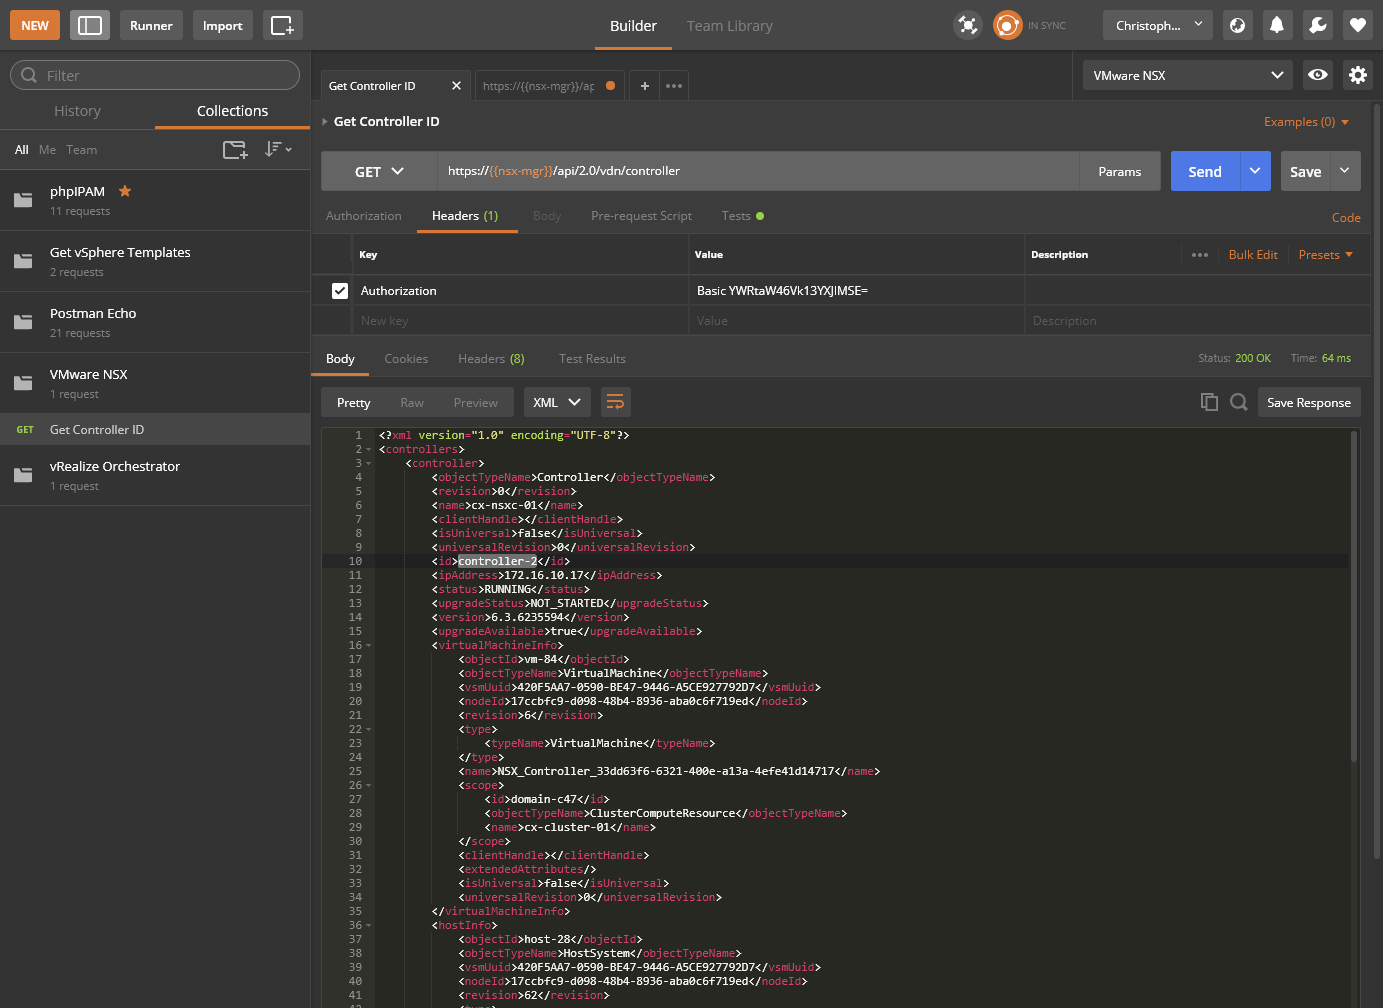
In this example we are going to use Postman query the NSX API for the ID of the NSX Controller’s.
cx-nsxc-01.thecloudxpert.local.
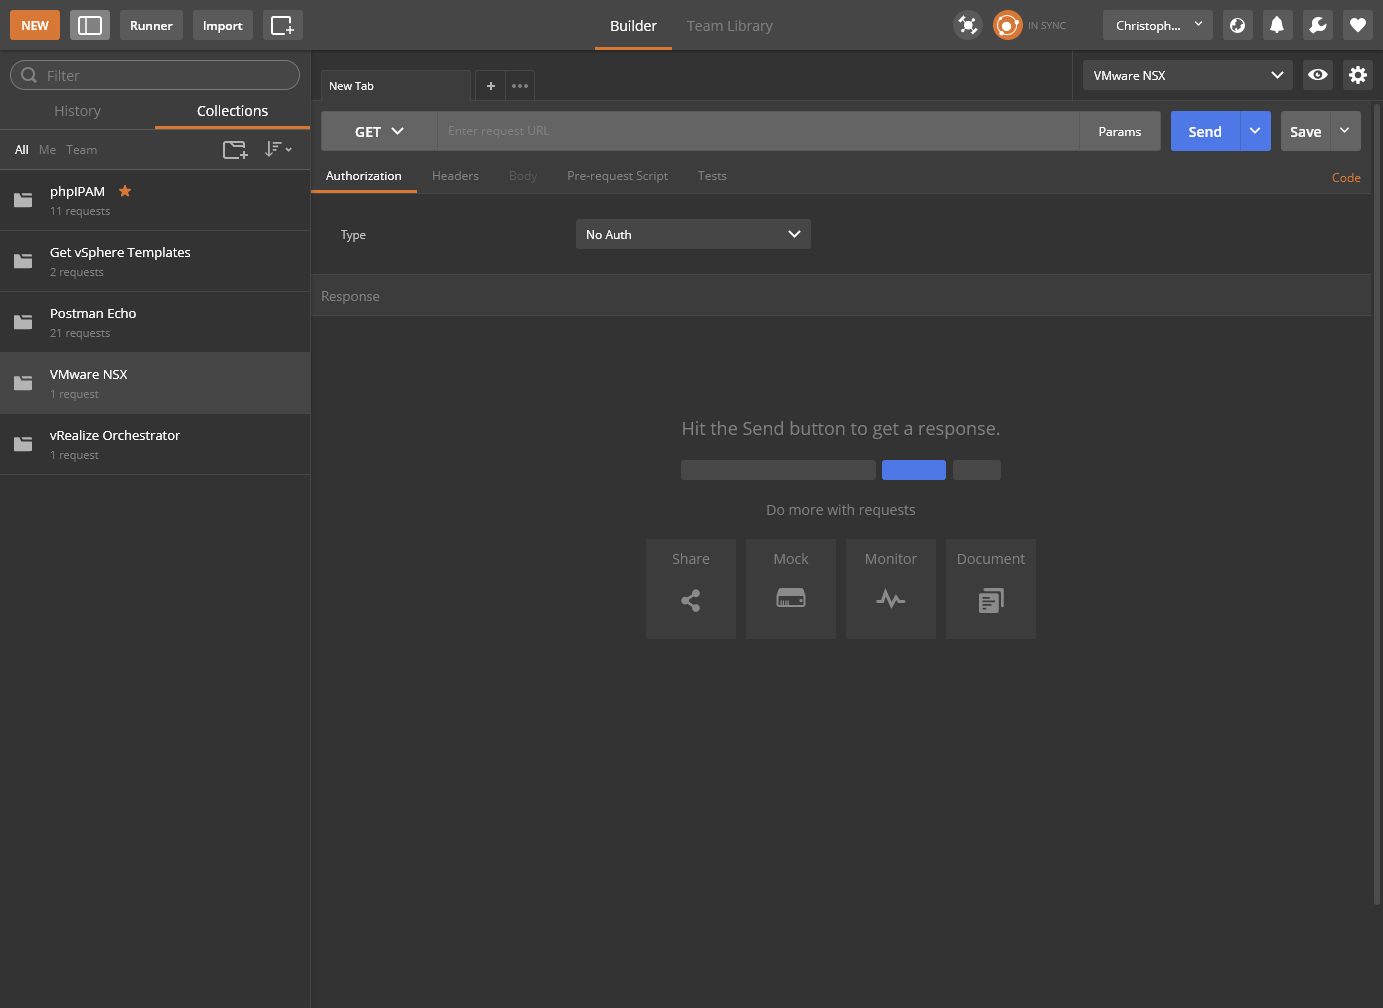
- Launch Postman.
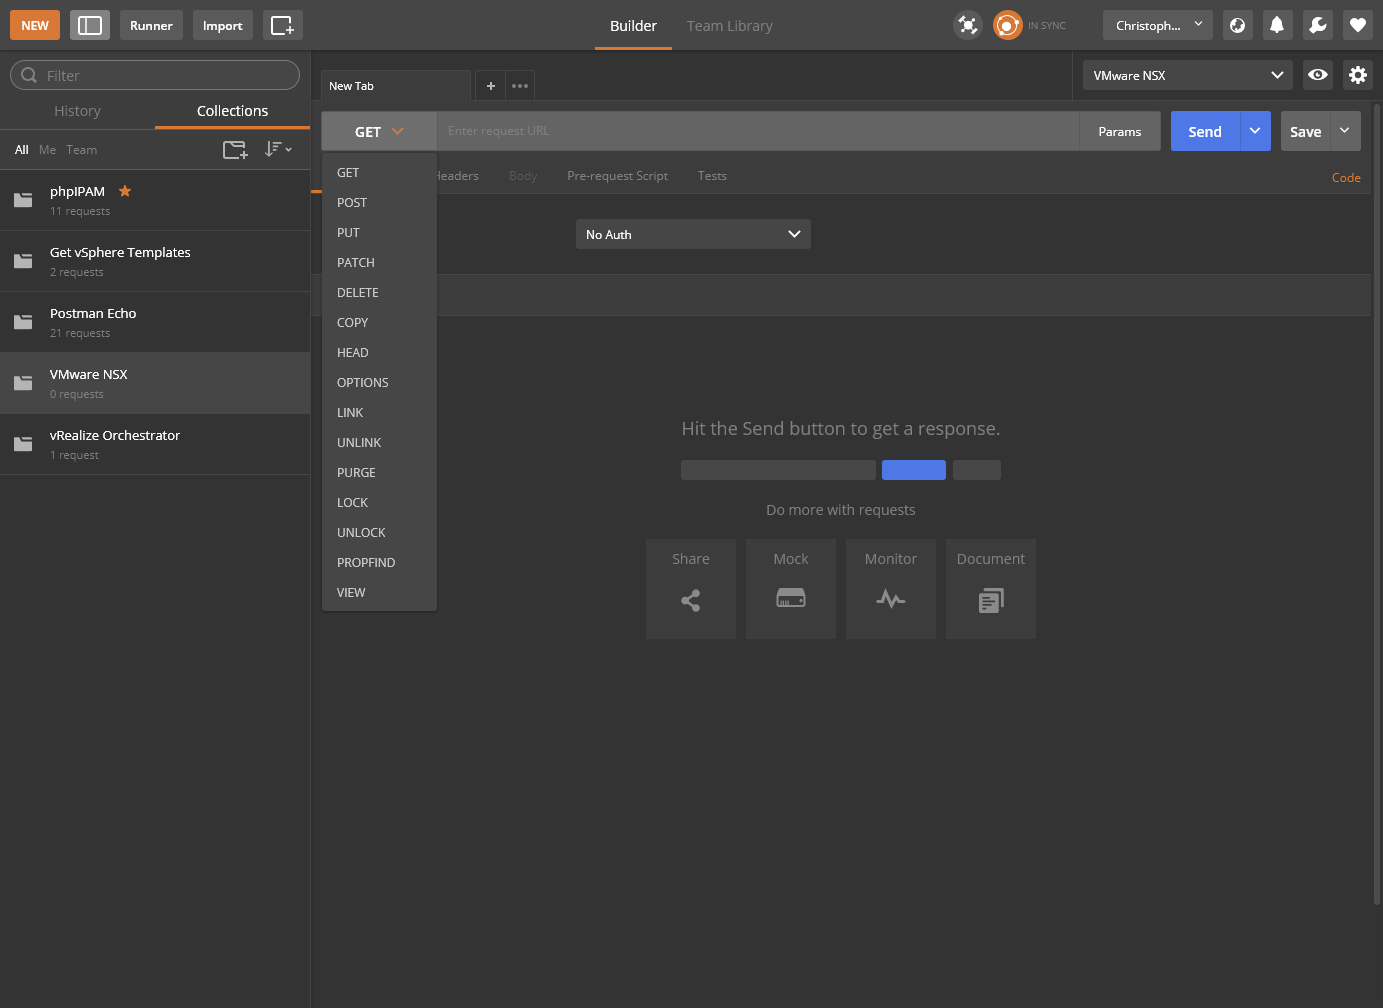
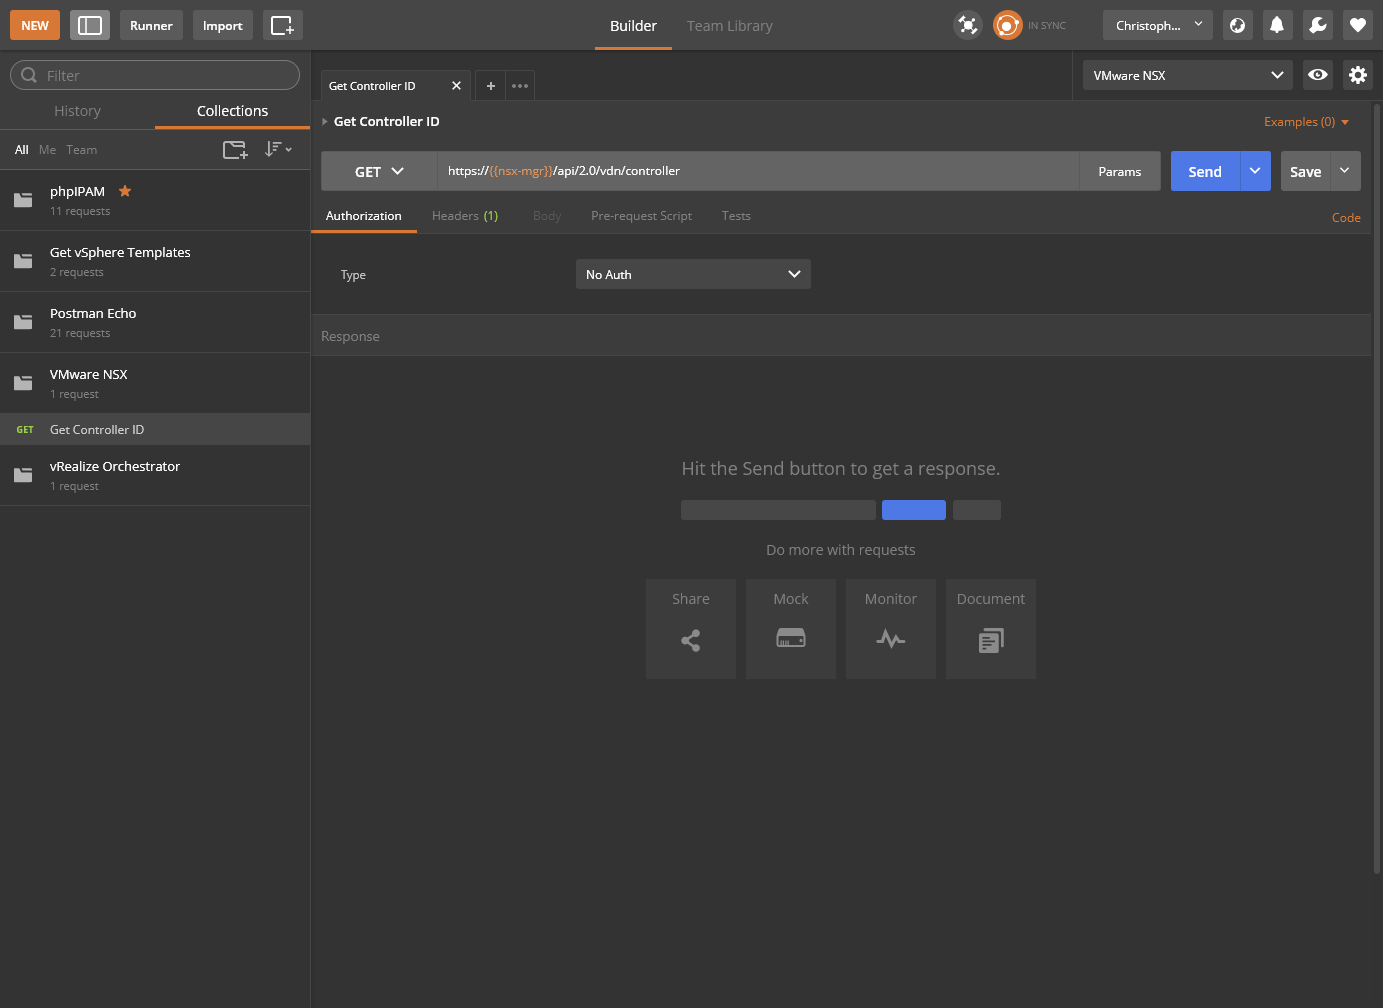
- Within the Builder, select GET from the dropdown.
- Enter the API request URL into the text field.
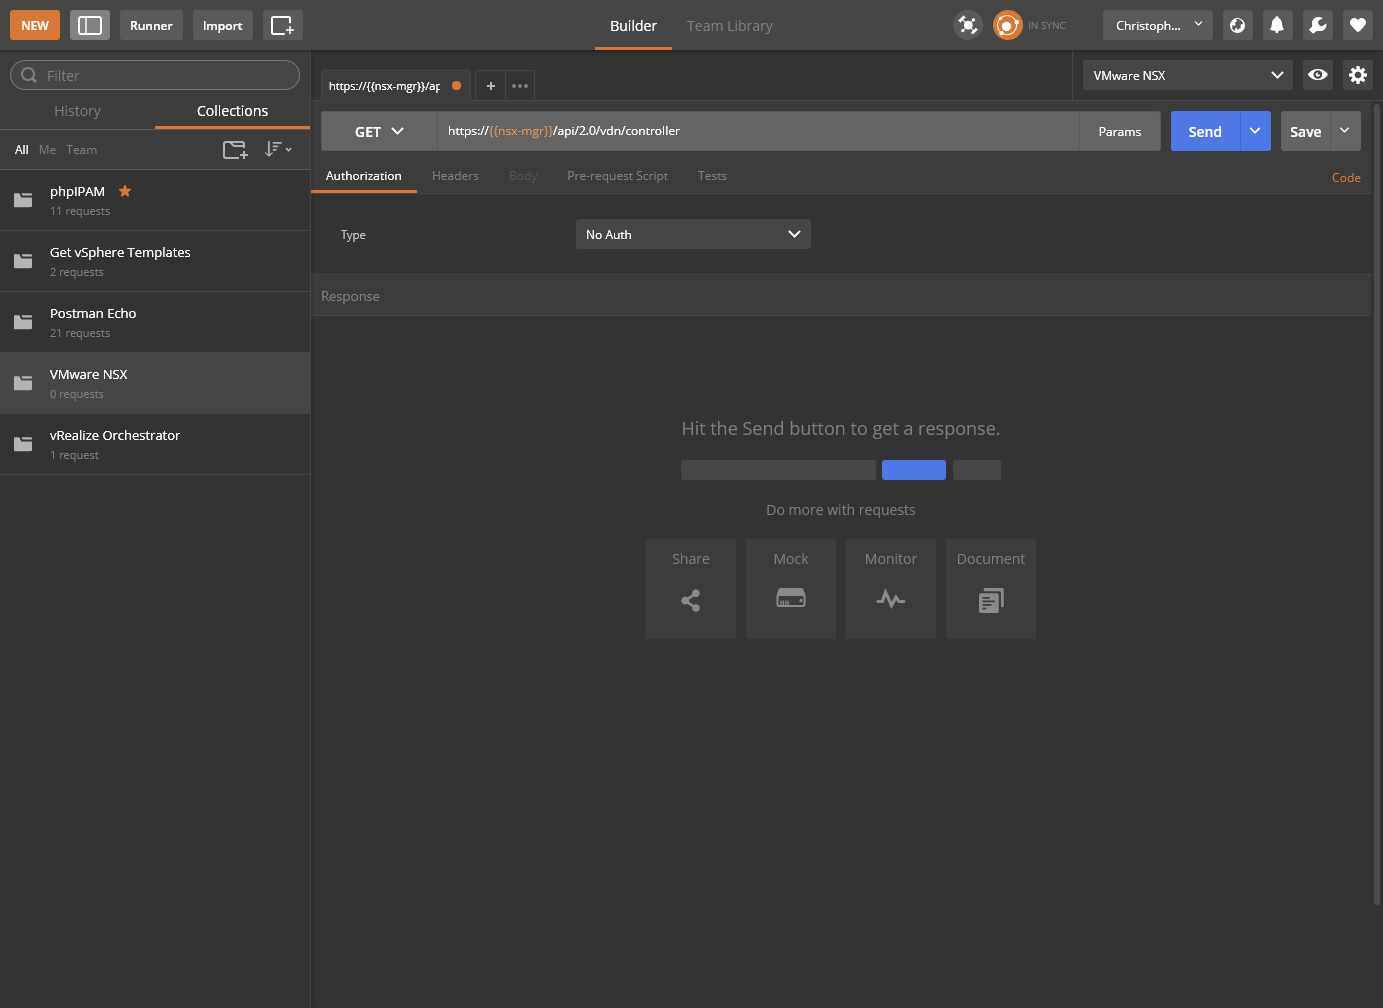
https://{{nsx-mgr}}/api/2.0/vdn/controller.
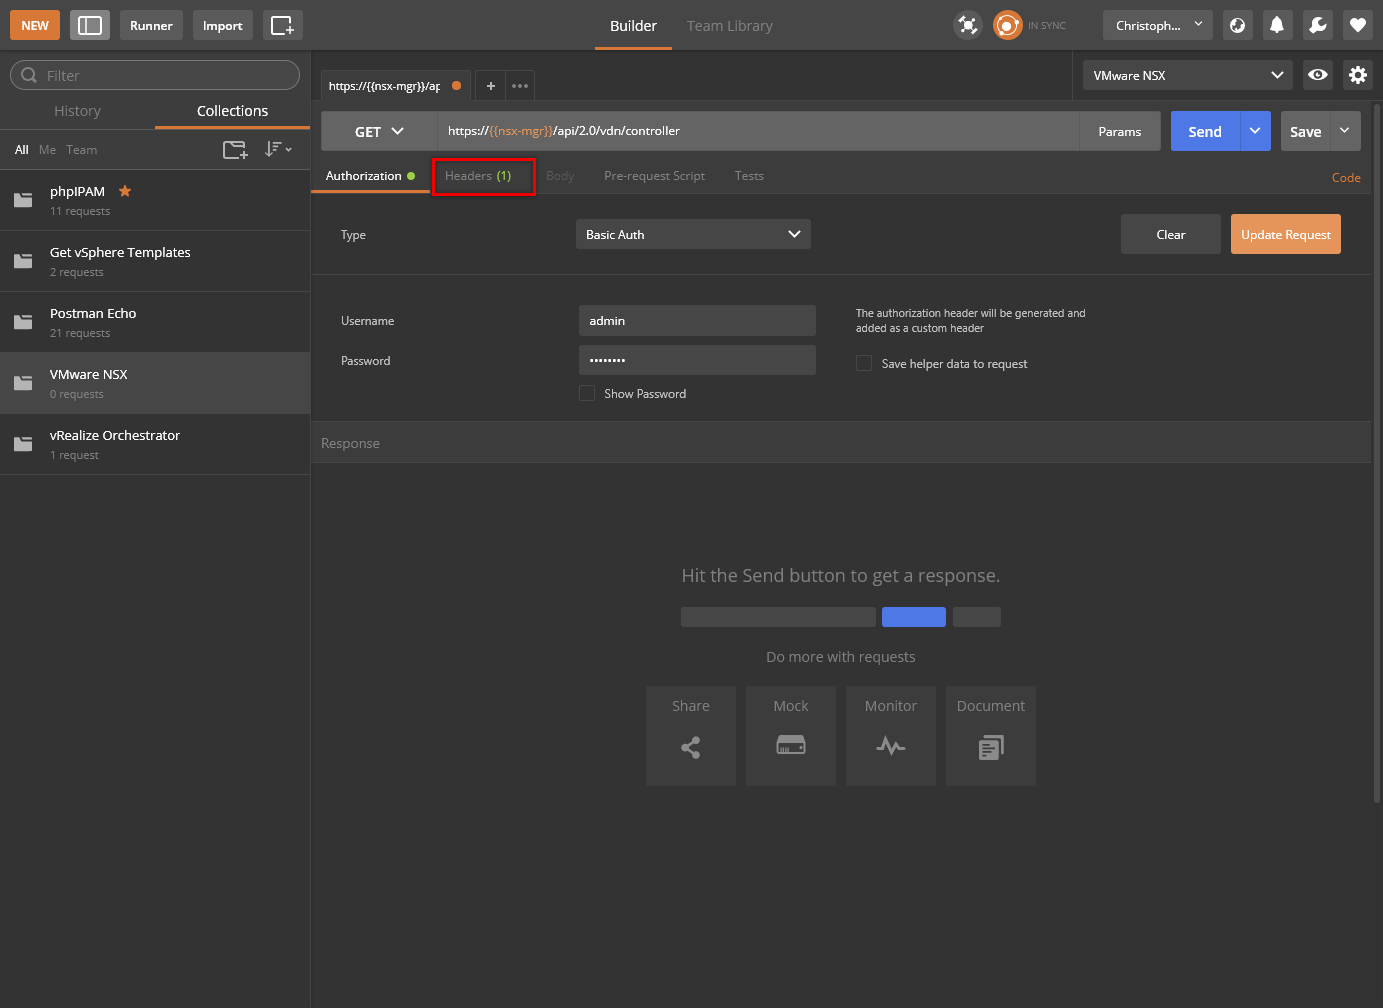
- Click Authorization and select Basic Auth from the Type dropdown.
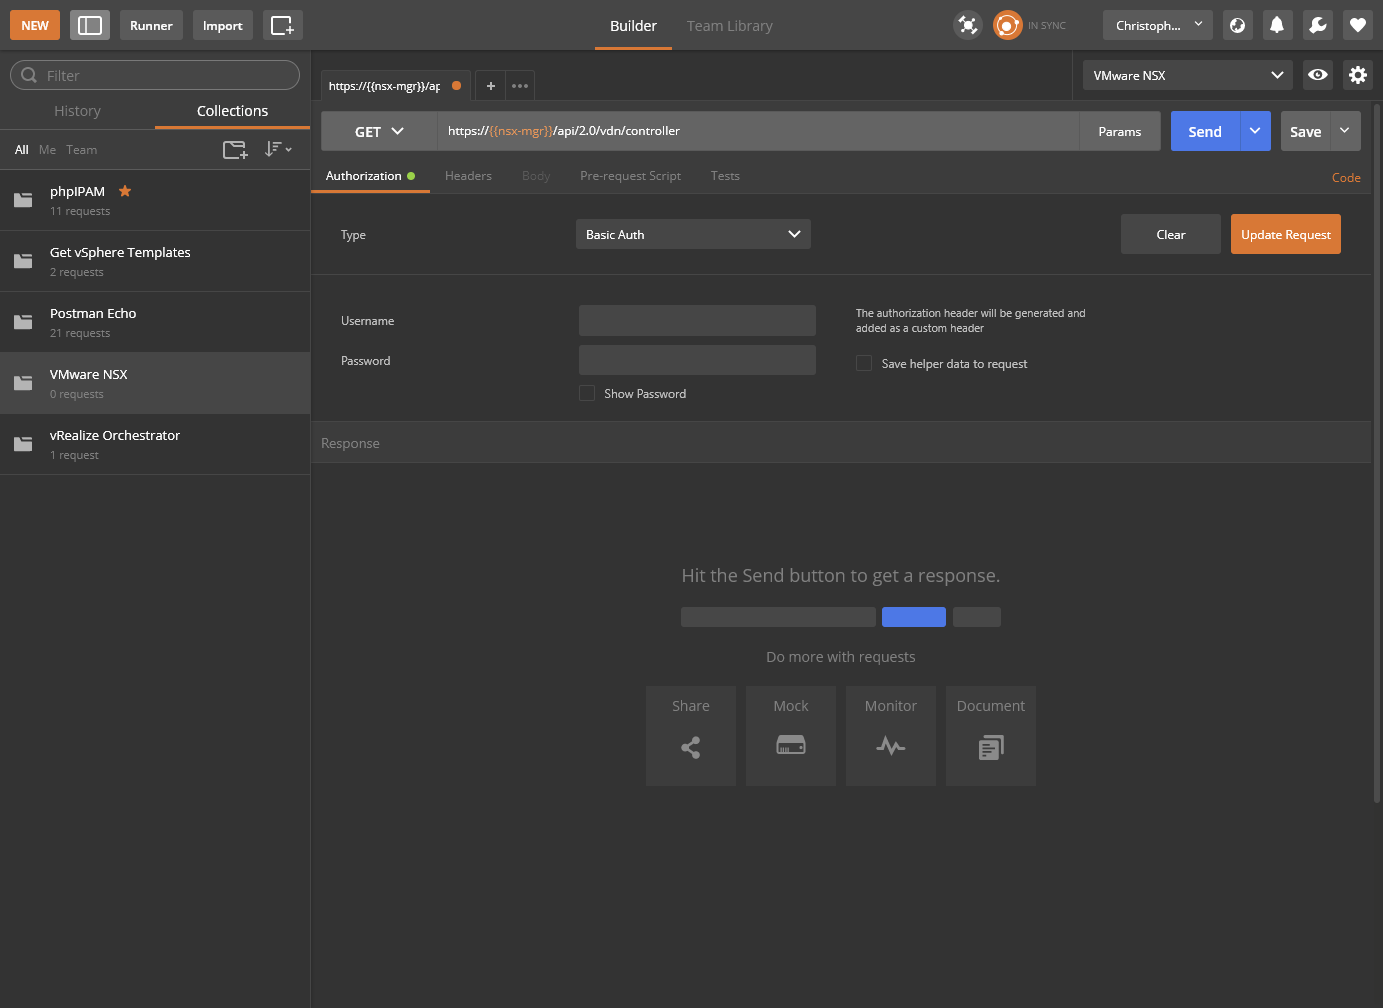
- Enter the Username and Password of the NSX Manager and click Update Request.
- Click Send.
- (Optionally) Click Save.
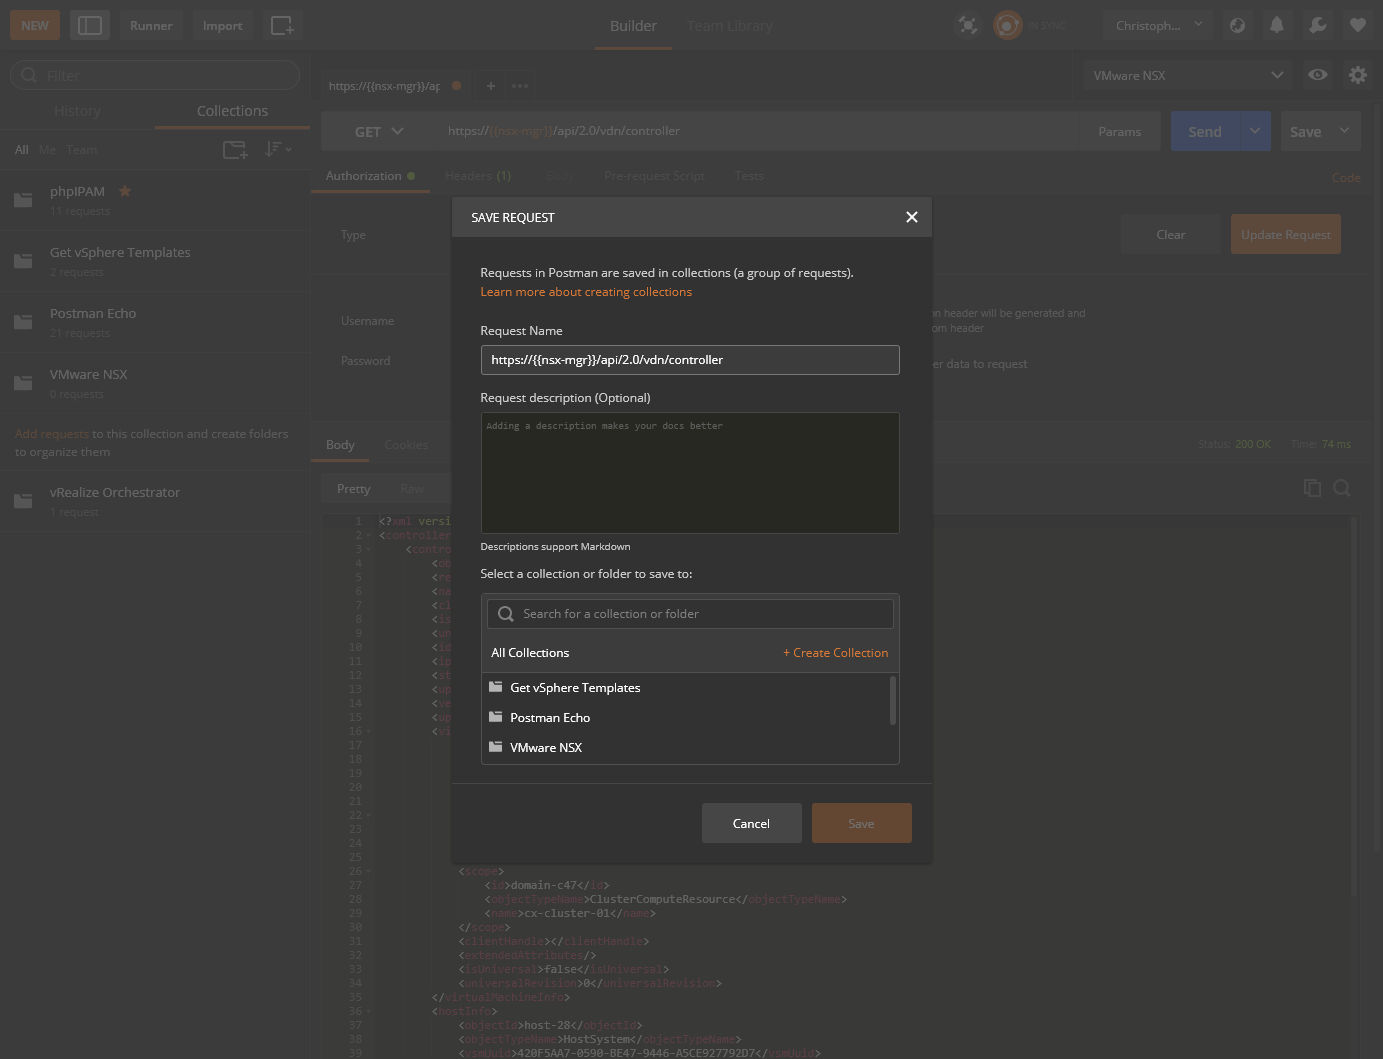
- Enter a suitable name within the Request Name text box, select which collection to add this Request too and click Save to
<Collection Name>.
- We added the following as a Test to be completed after the request:
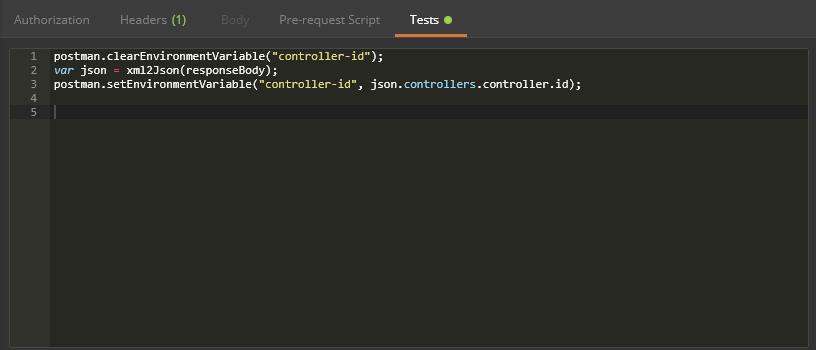
Programmatically configure system parameters including: NSX controller syslog
In this example, we’ll use the Controller ID from the previous example to update the NSX Controller SYSLOG settings via the API.
- Open Postman.
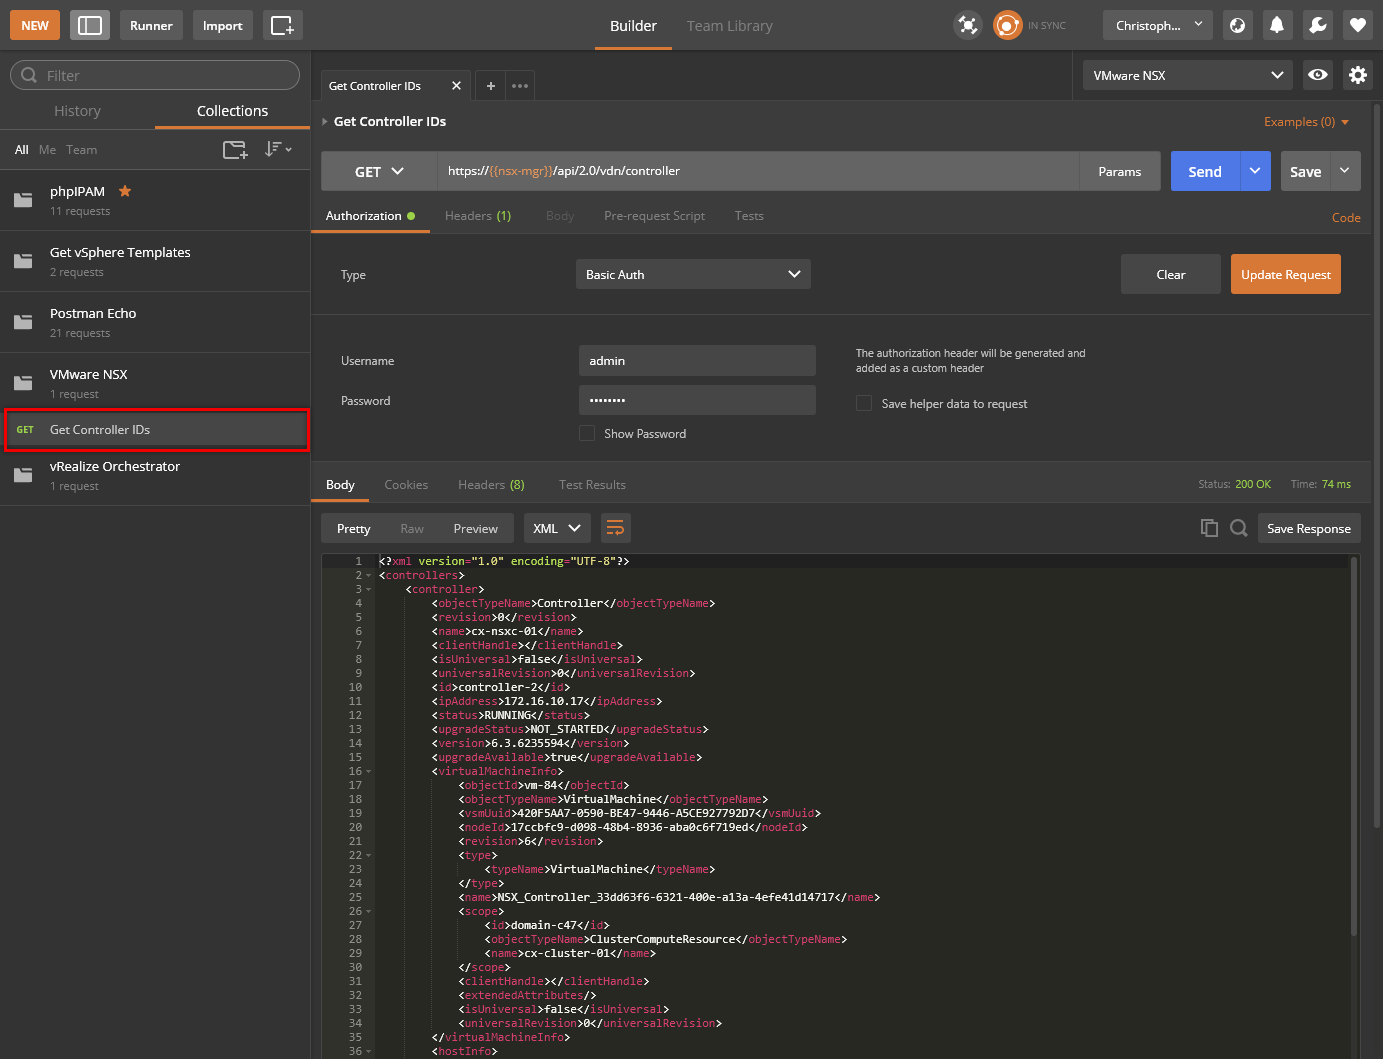
Get the NSX Controller ID
- Expand the VMware NSX collection and select Get Controller ID.
- Click Send.
Check the existing SYSLOG configuration
- Click Add (+) to create a new Request.
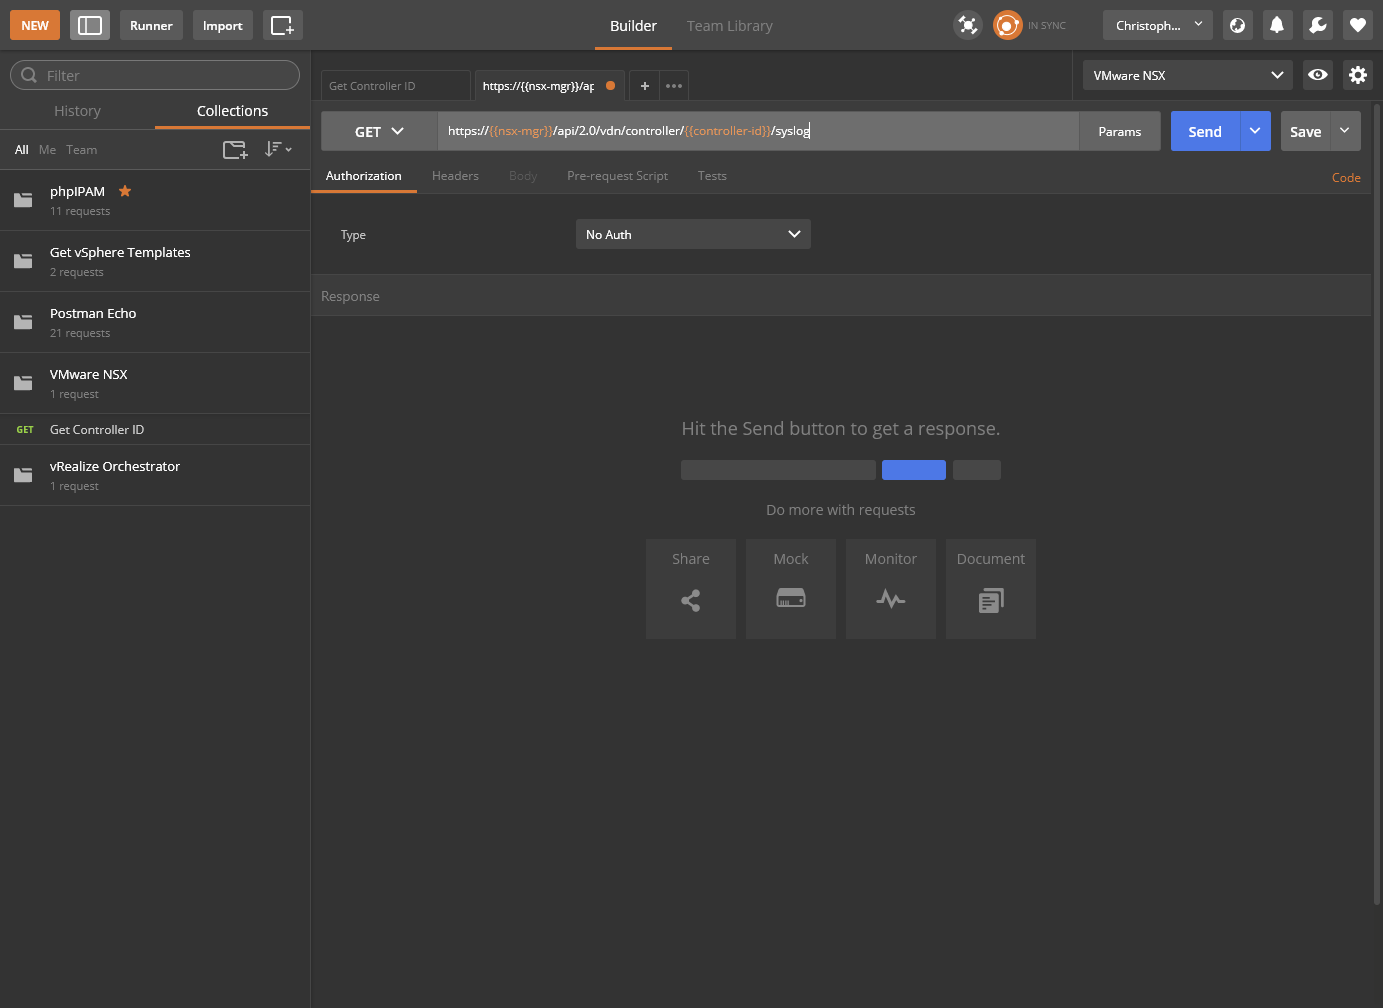
- Select GET from the drop down and type
https://{{nsx-mgr}}/api/2.0/vdn/controller/{{controller-id}}/sysloginto the API request URL text box.
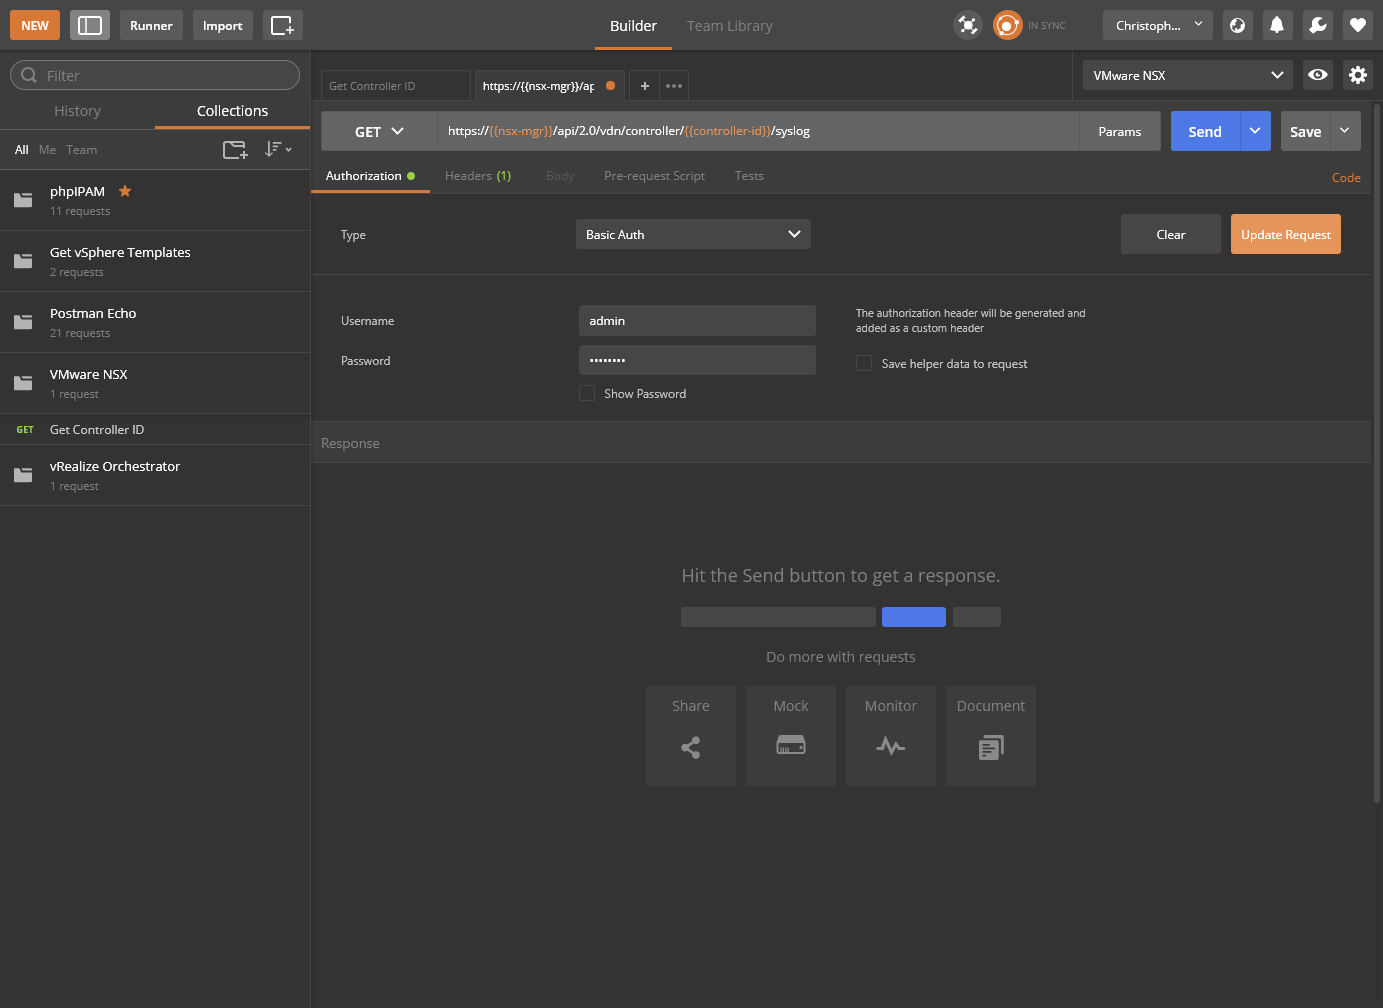
- Click Authorization and select Basic Auth from the Type dropdown.
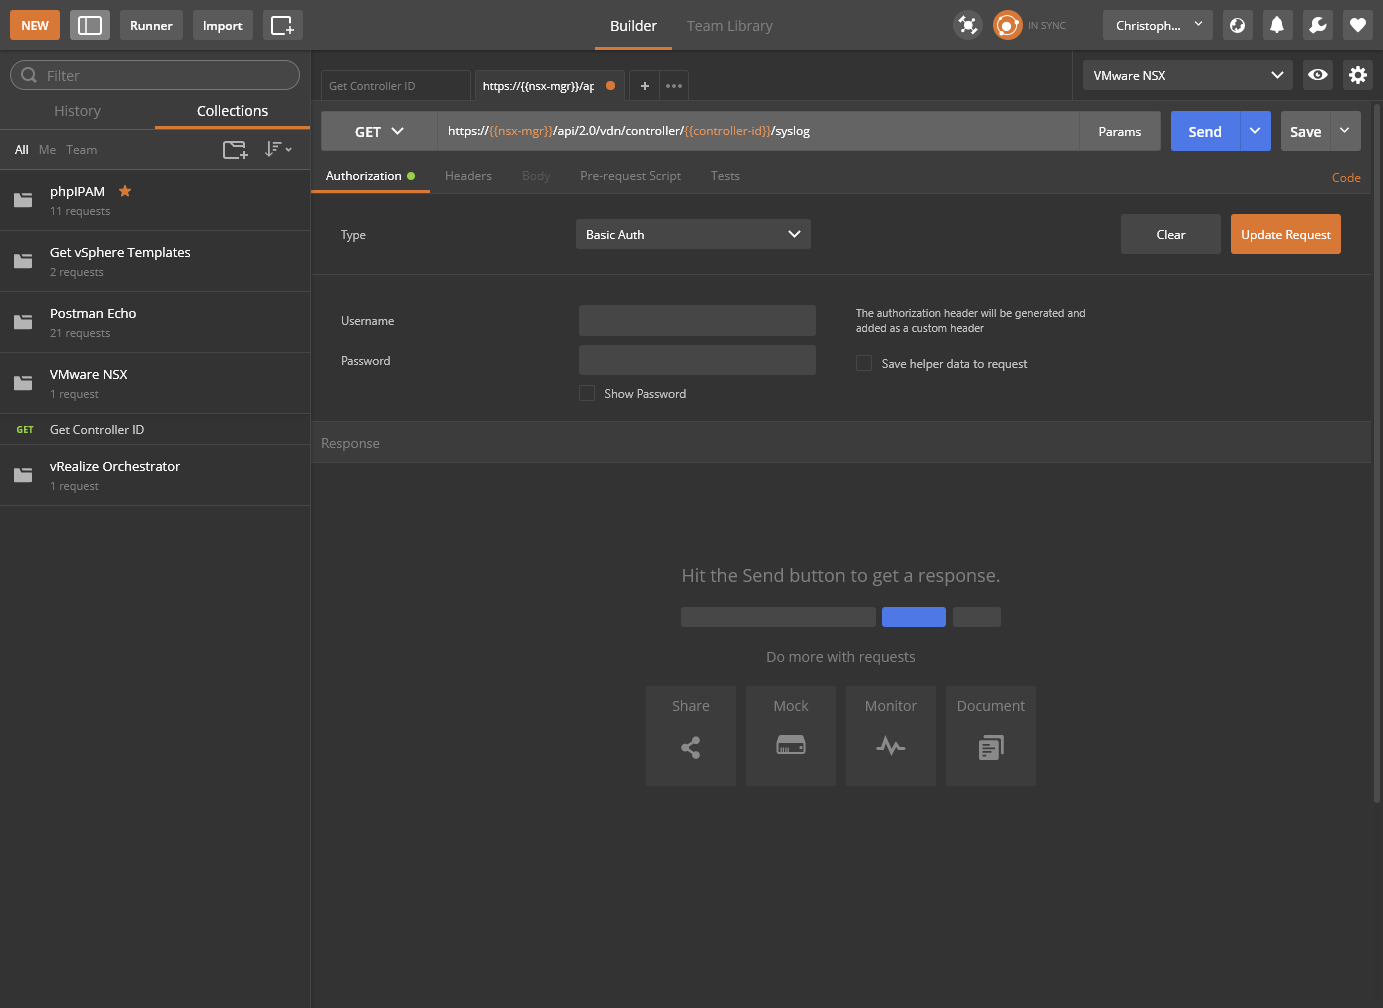
- Type the Username and Password of the NSX Manager and click Update Request.
- Click Send.
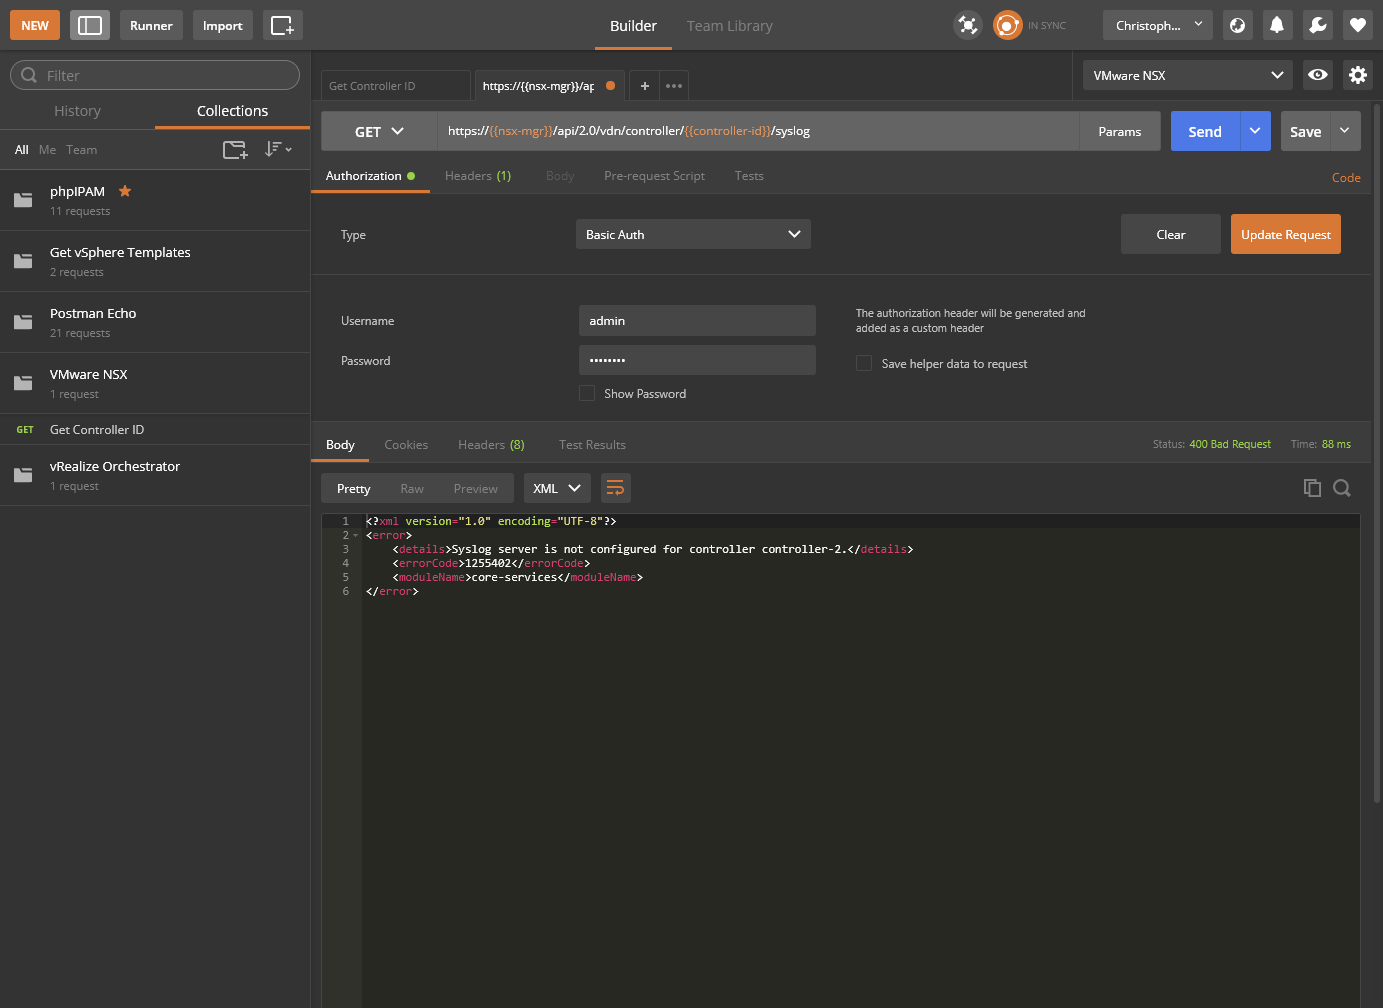
- As you can see, the SYSLOG configuration hasn’t been completed yet.

- Click Save.
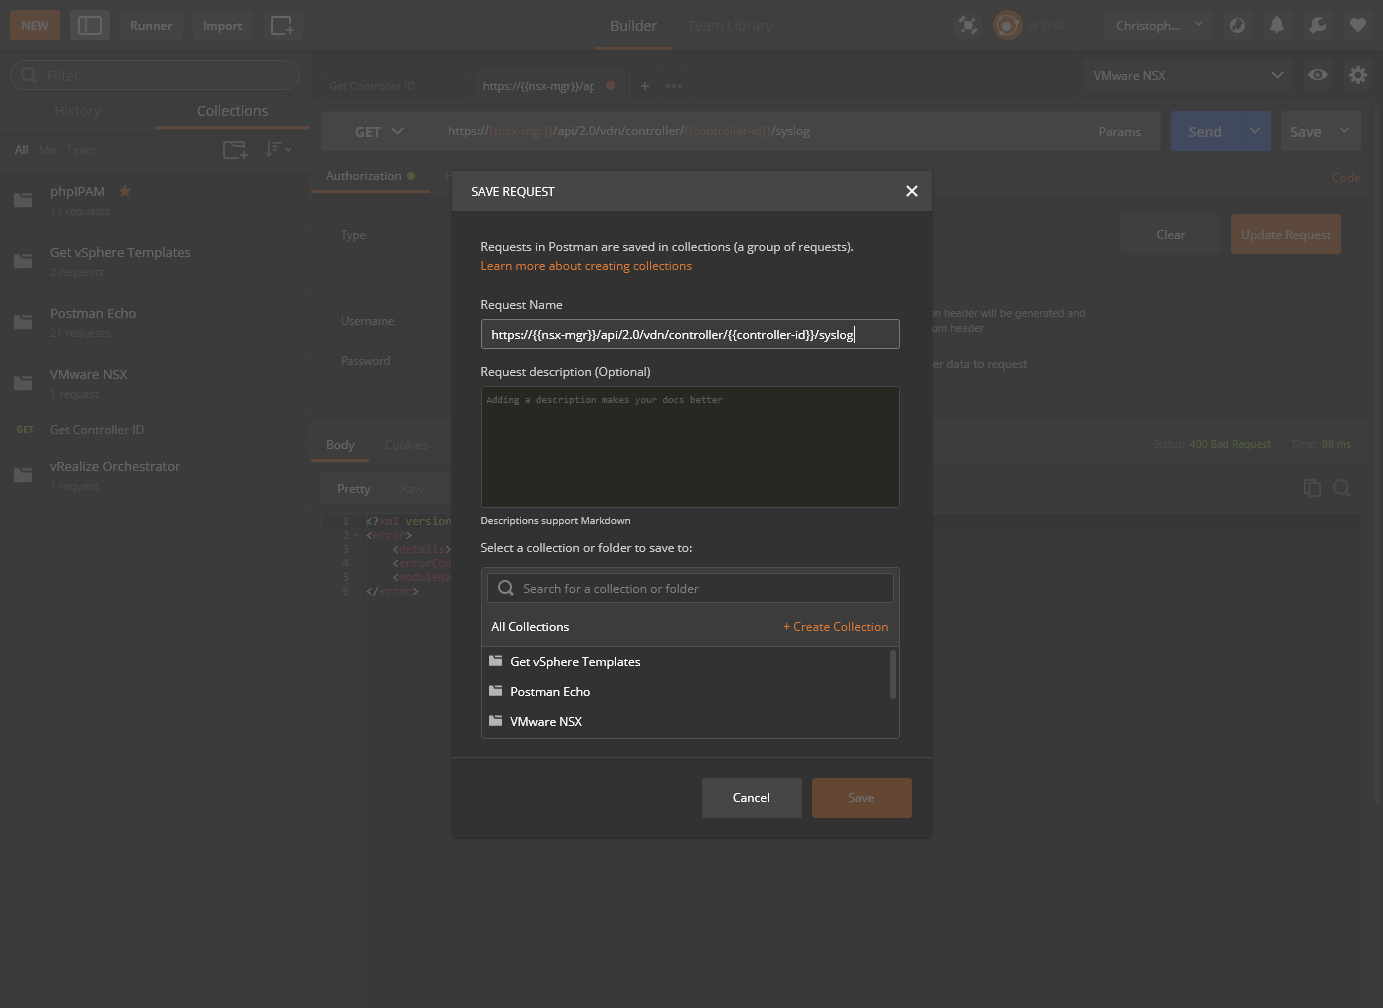
- Type a suitable name within the Request Name text box, select which collection to add this Request too and click Save to
<Collection Name>.

Update the SYSLOG configuration
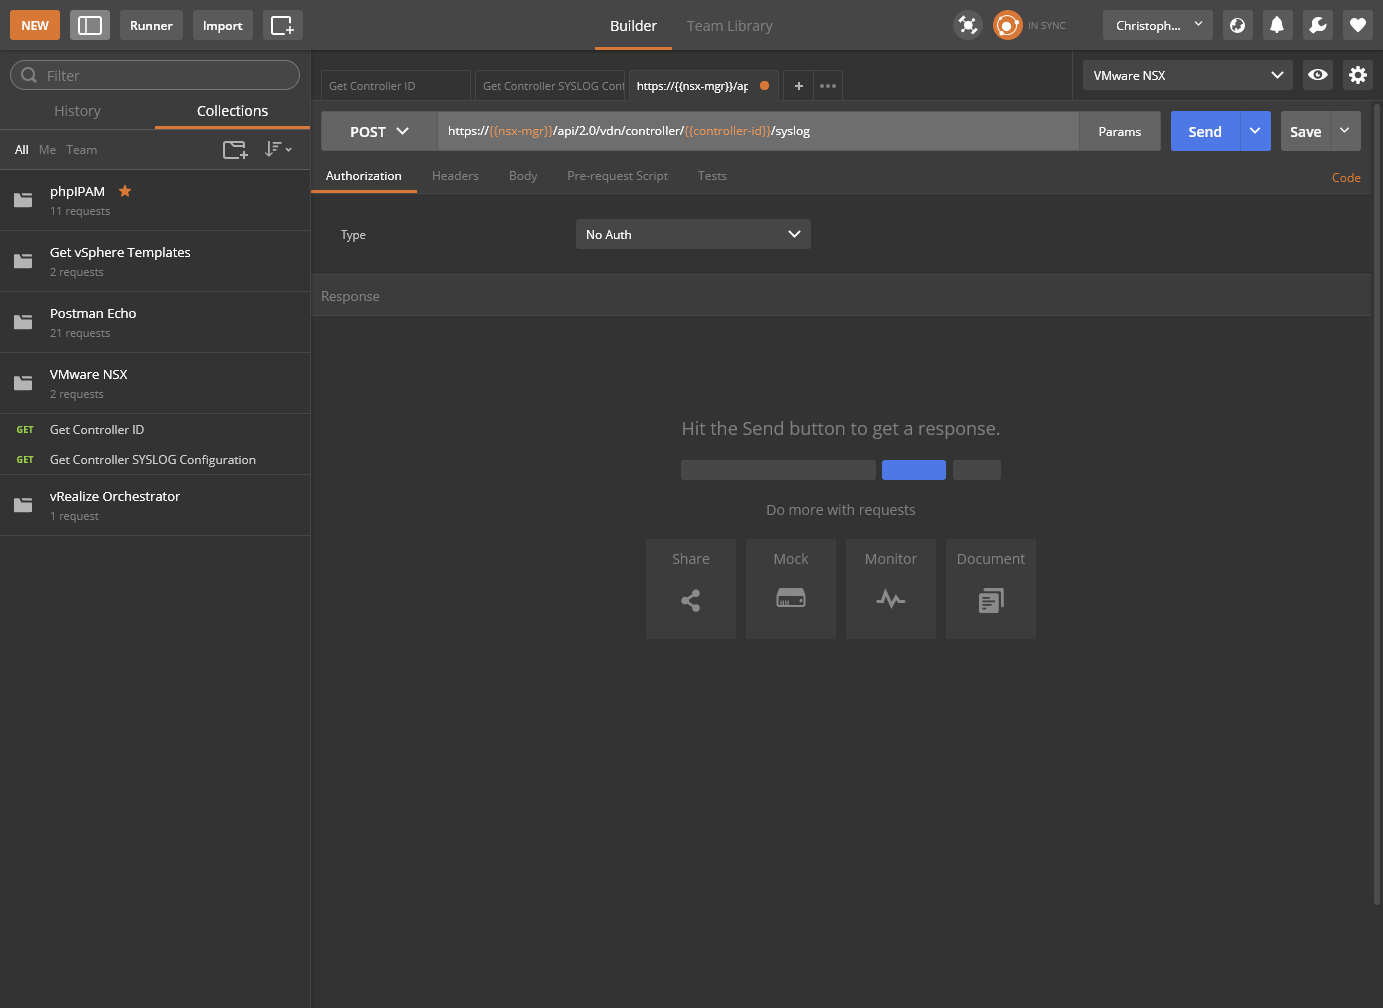
- Click Add (+) to create a new Request.

- Select POST from the Request type dropdown.

- Type
https://{{nsx-mgr}}/api/2.0/vdn/controller/{{controller-id}}/sysloginto the Enter Request URL textbox.
https://cx-nsxc-01.thecloudxpert.local/api/2.0/vdn/controller/controller-2/syslog
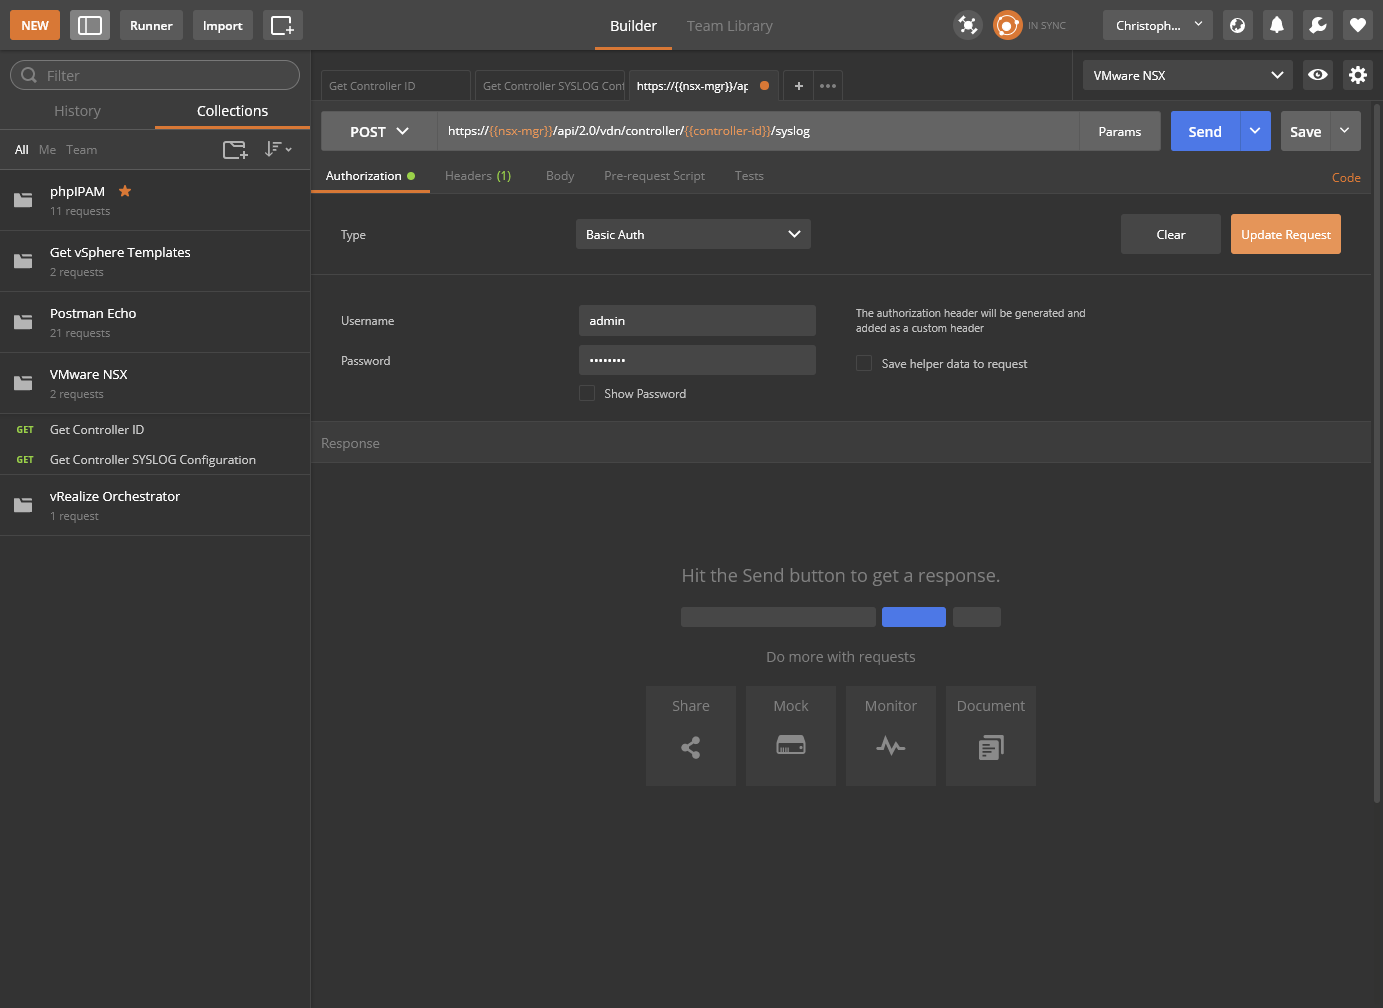
- Click Authorization and select Basic Auth from the Type dropdown.
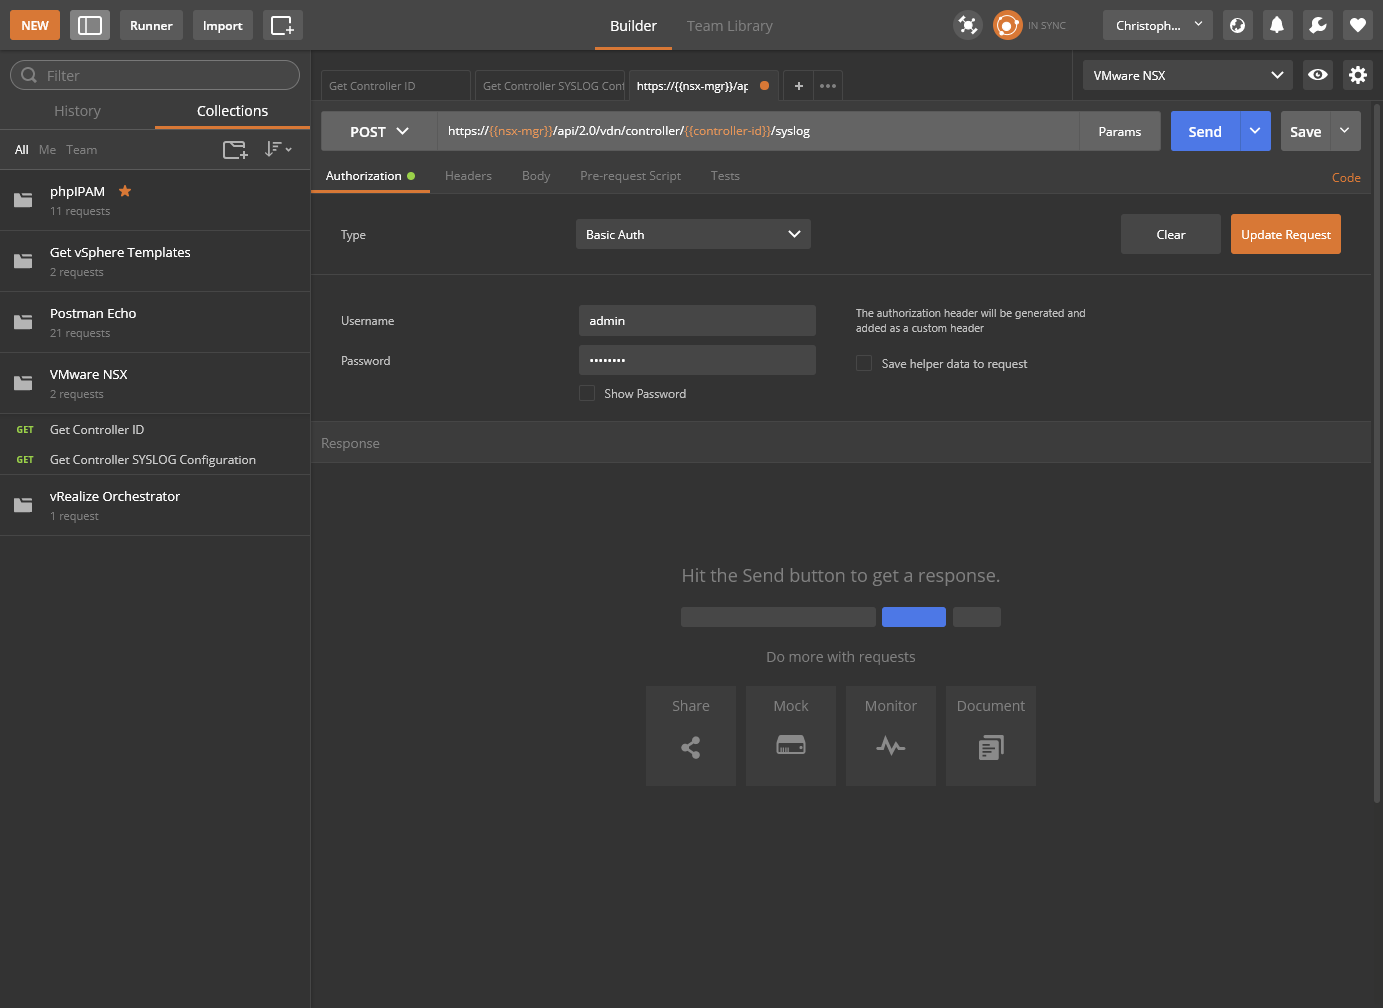
- Confirm the correct Username and Password and click Update Request.
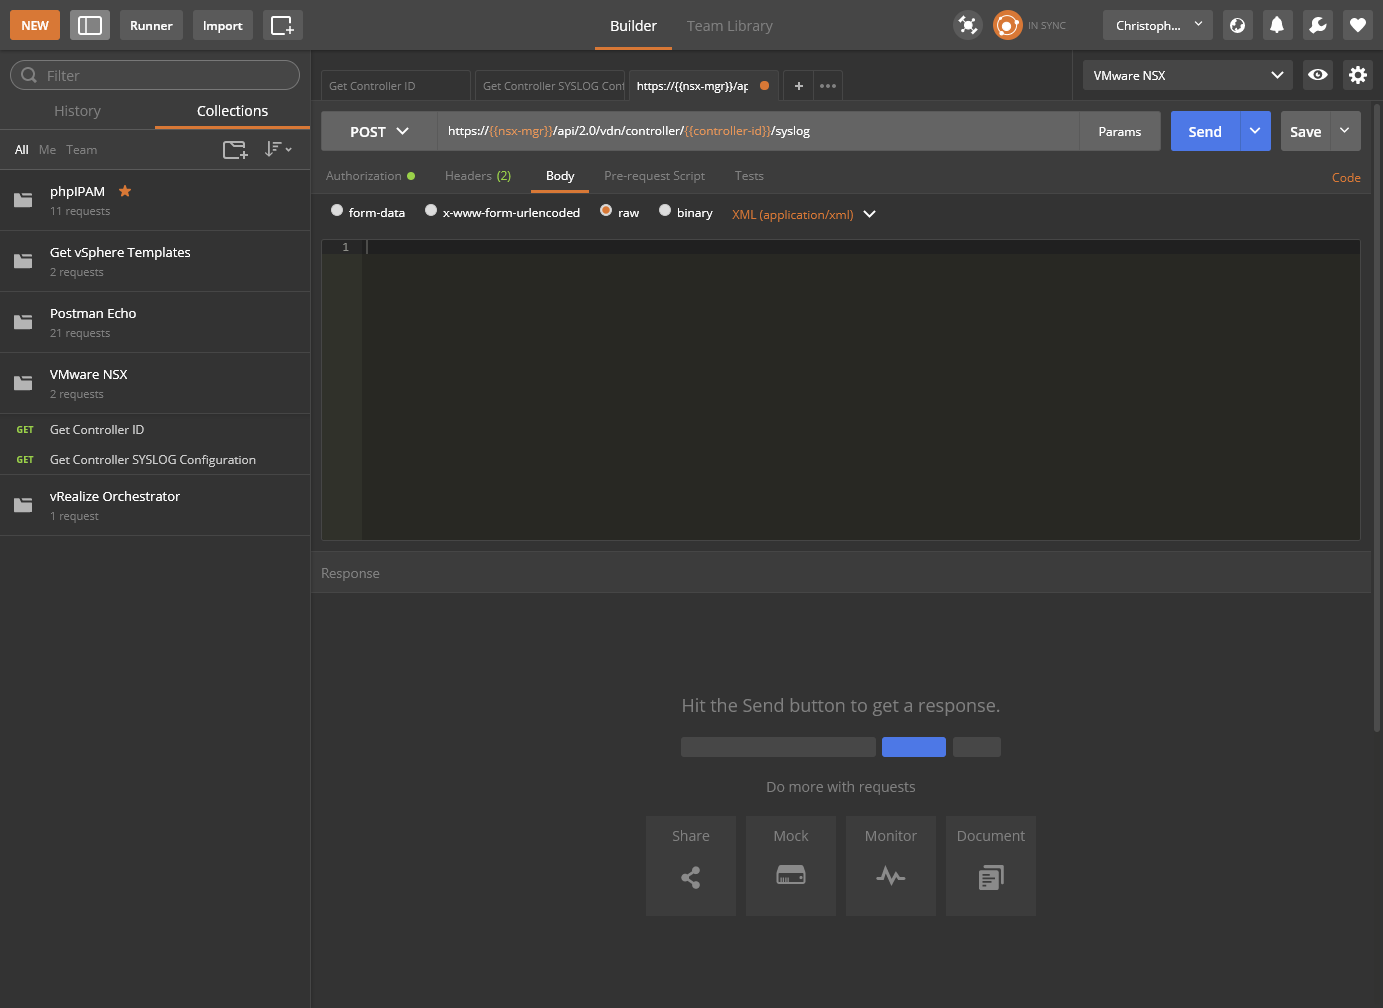
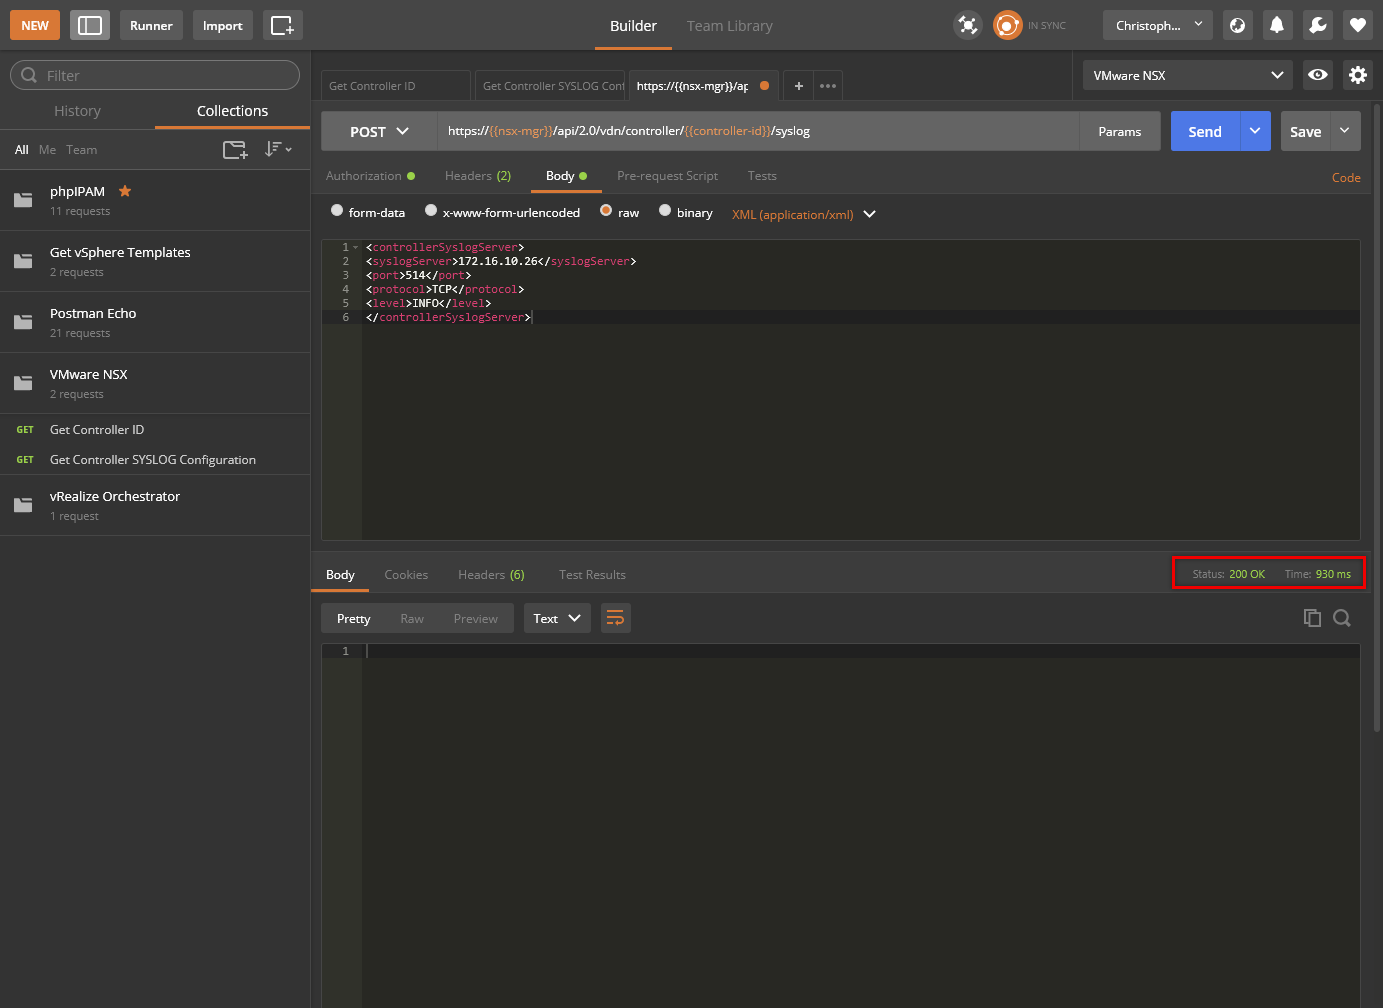
- Click Body.
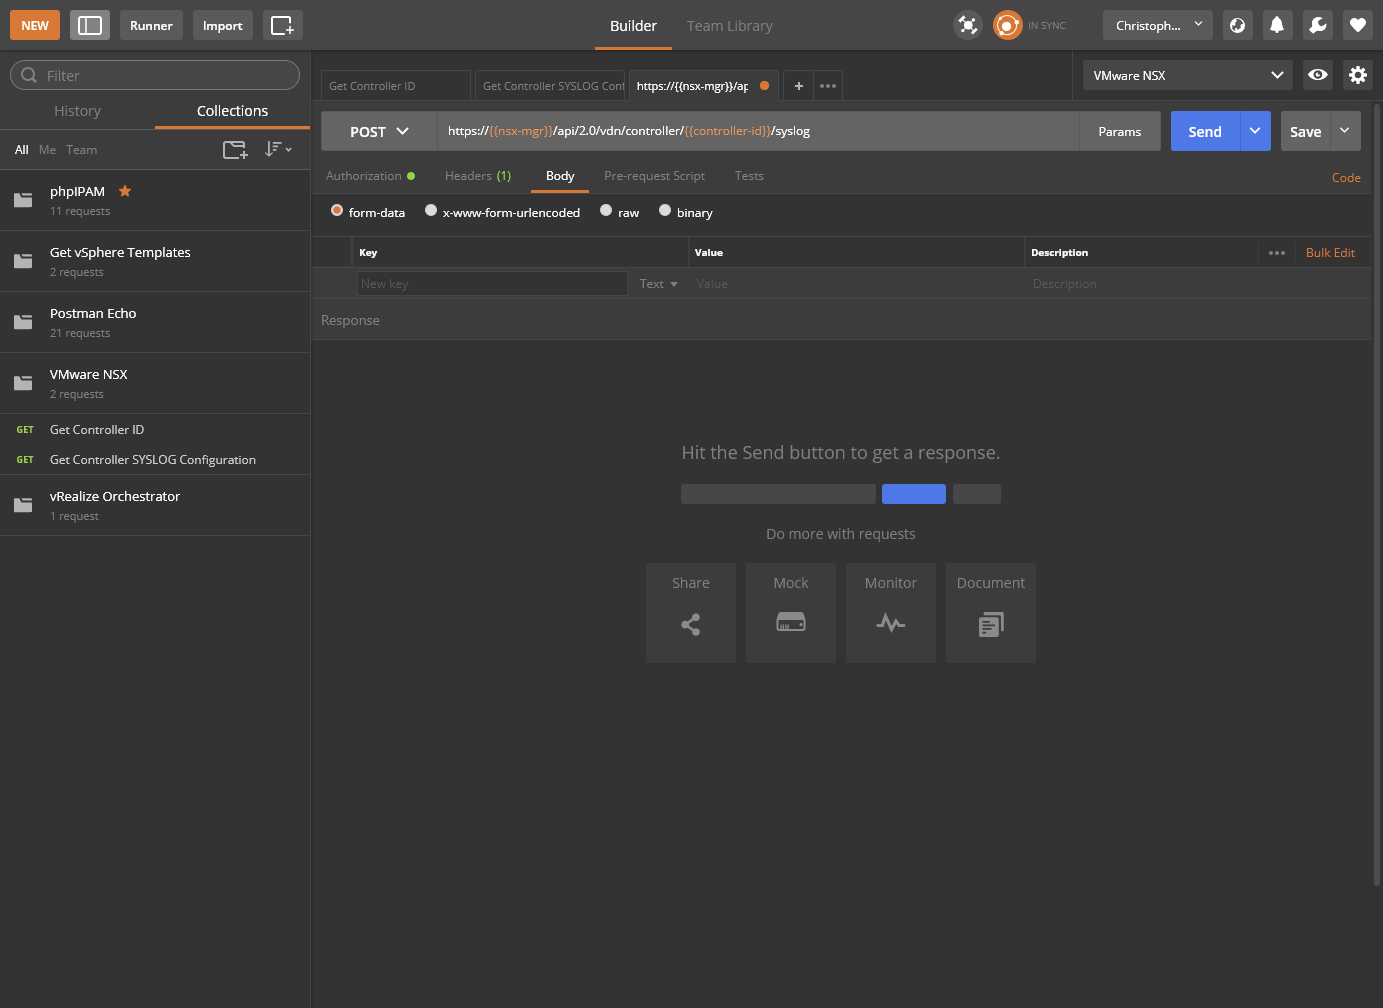
- Select the raw option and then select appplication/xml from the dropdown.
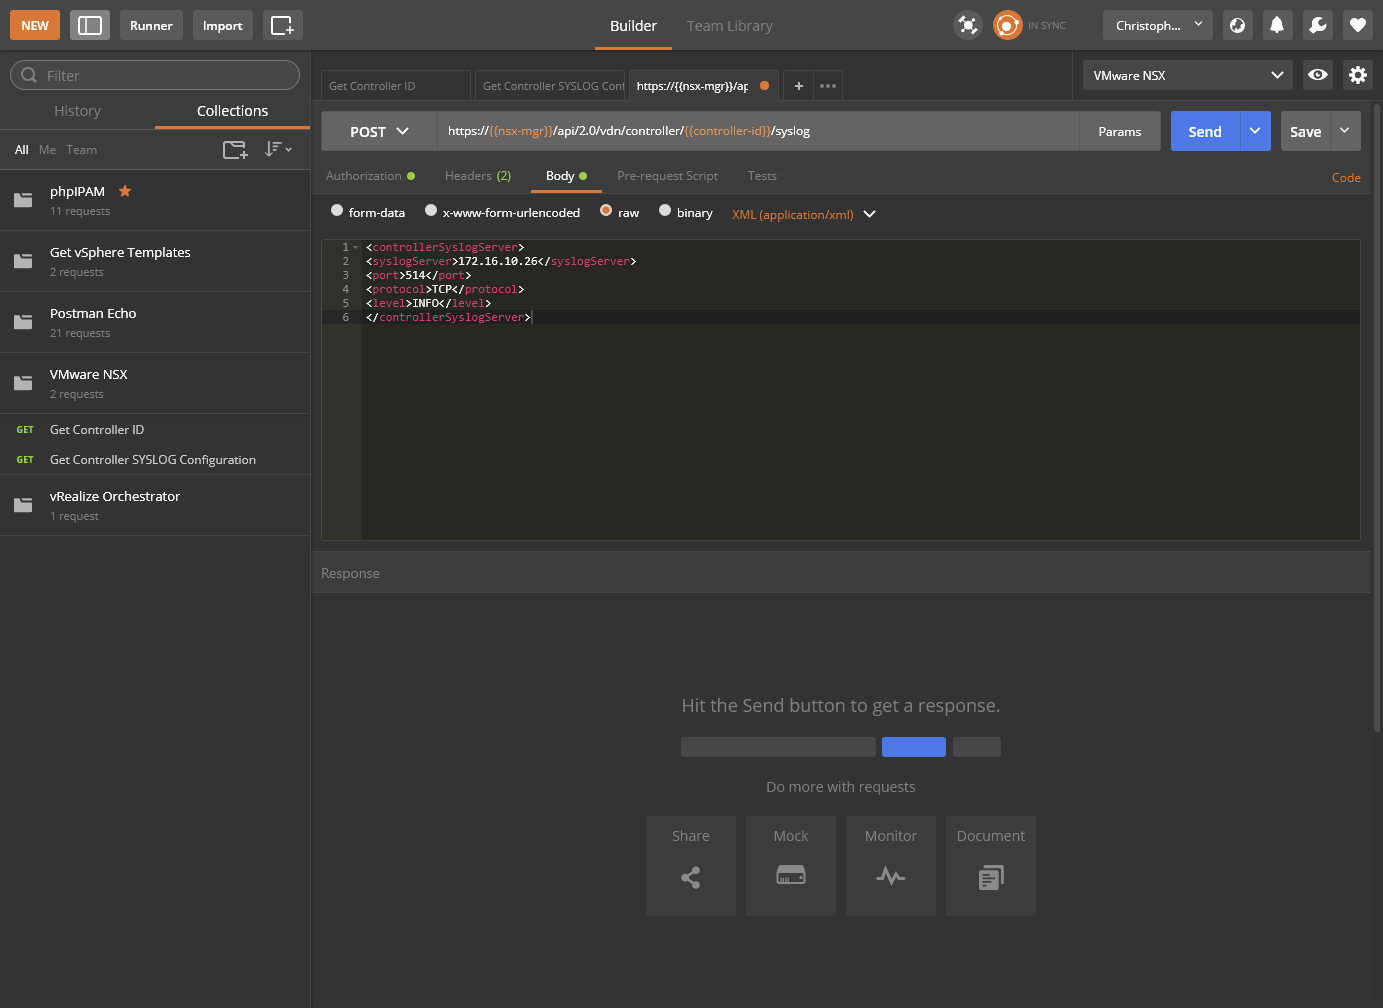
- Type (or copy and paste) the following into the body:
<controllerSyslogServer>
<syslogServer>**172.16.10.26**</syslogServer>
<port>**514**</port>
<protocol>**TCP**</protocol>
<level>**INFO**</level>
</controllerSyslogServer>
- Click Send.
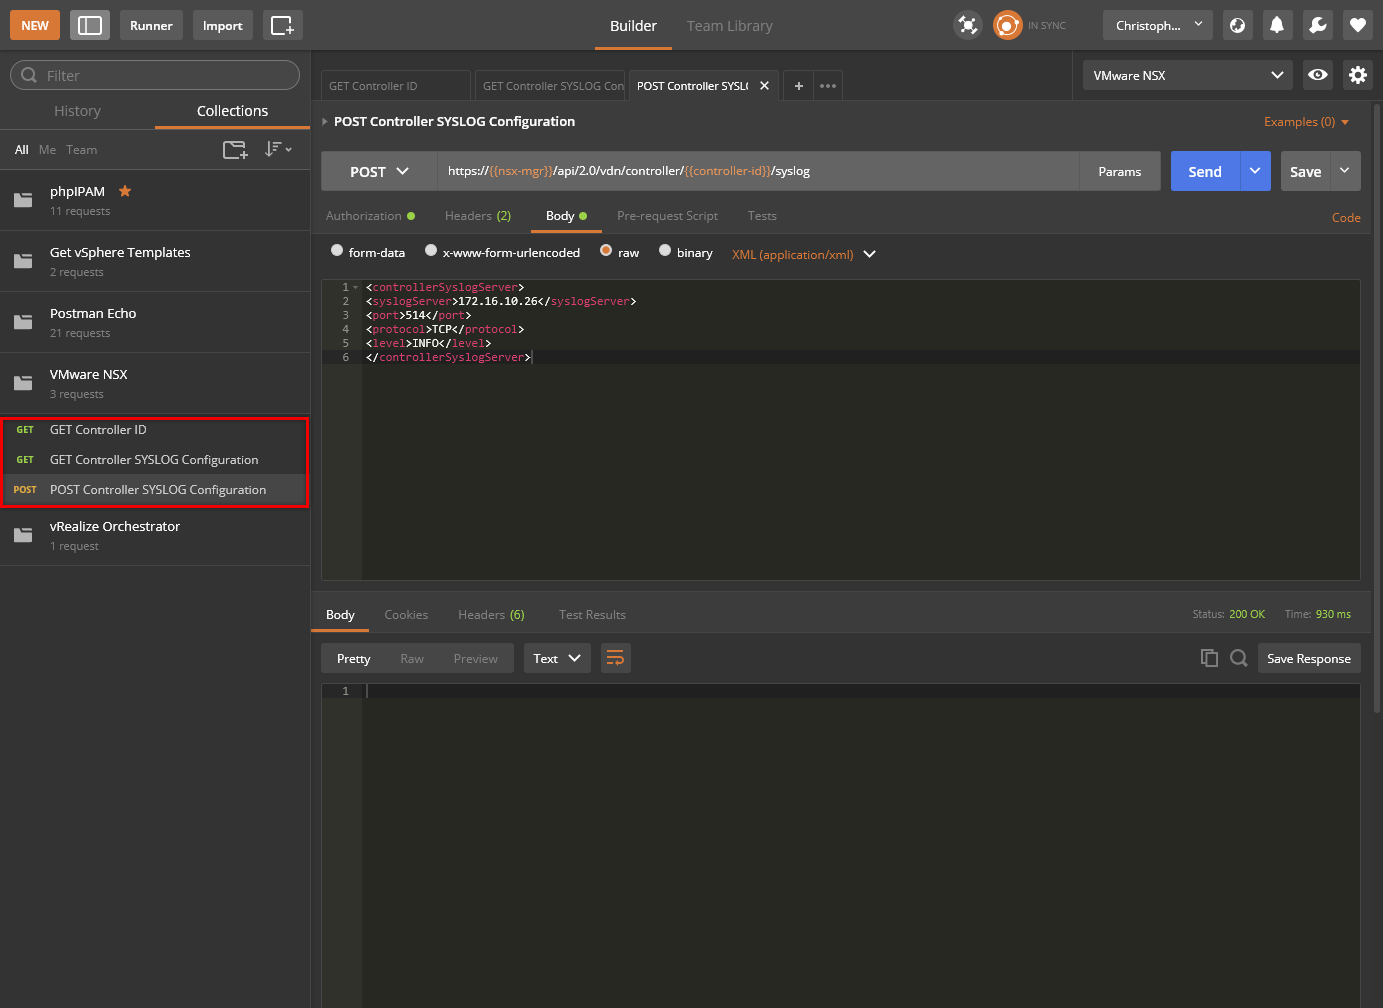
- Click Save.
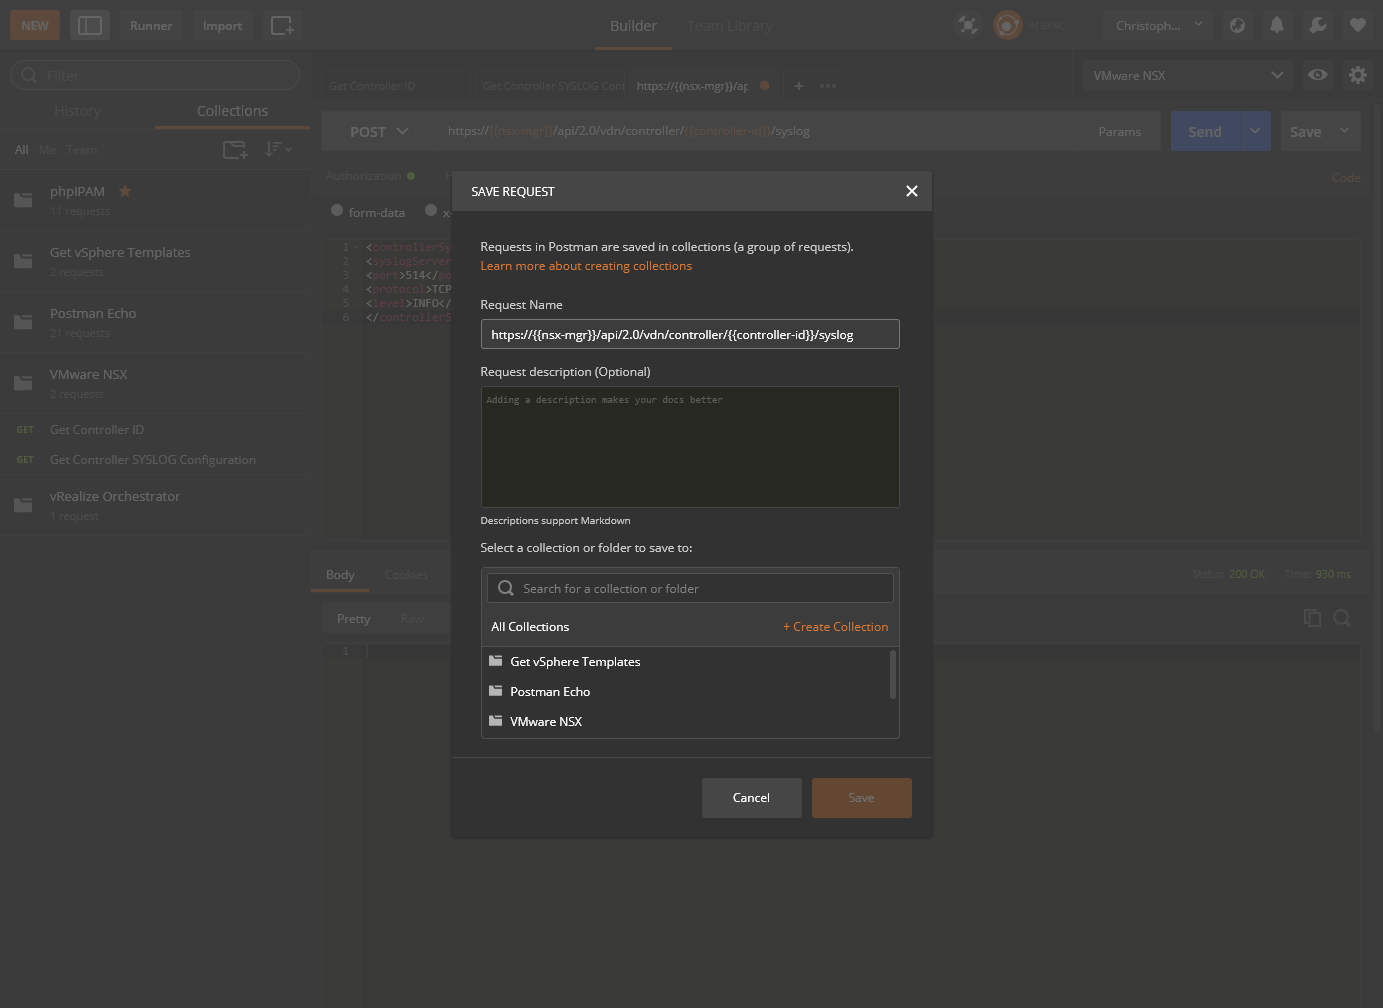
- Type a suitable name within the Request Name text box, select which collection to add this Request too and click Save to
<Collection Name>.
Confirm SYSLOG Configuration
We can confirm the SYSLOG configuration by running the GET Controller SYSLOG Configuration request we saved earlier. The resultant screenshot is:
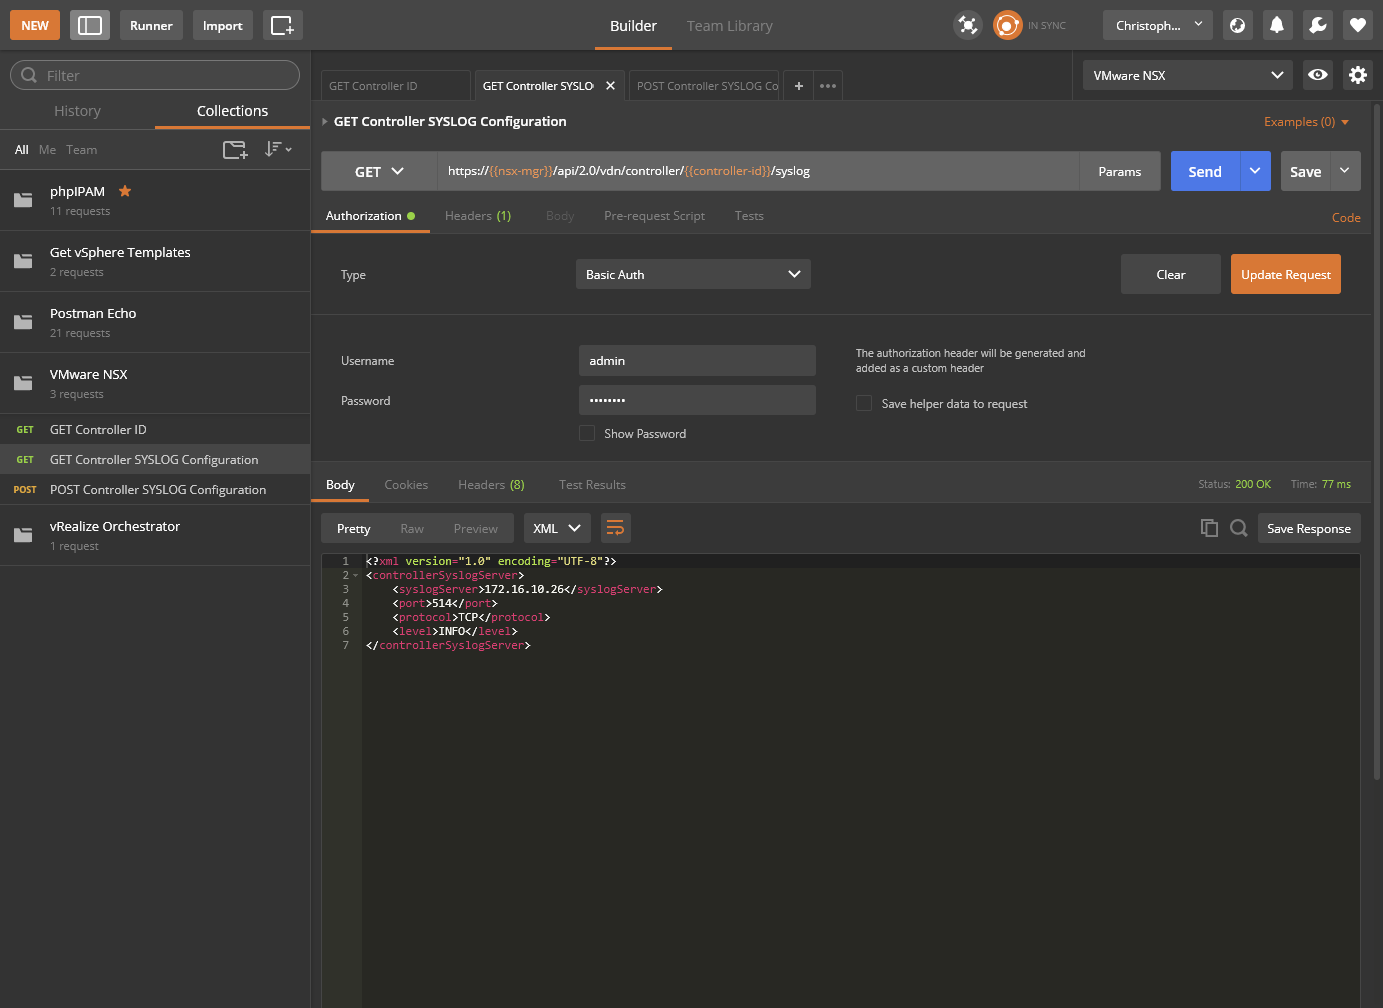
With request detail of:
<?xml version=1.0 encoding="UTF-8"?>
  <controllerSyslogServer>
    <syslogServer>172.16.10.26</syslogServer>
    <port>514</port>
    <protocol>TCP</protocol>
    <level>INFO</level>
  </controllerSyslogServer>
And that is it!
Programmatically configure system parameters including: Modify DLR declared dead time
From the previous example, I believe I have demonstrated the skills needed to run a REST API call for a particular scenario. The process would be:
- Use GET to check what is set.
- If nothing is set, then configure as required and upload using POST.
- If a configuration exists, update the configuration (obtained via GET) and POST/PUT the changes required.
For this example, you could:
- Use GET
https://{{nsx-mgr}}/api/4.0/edgesto provide a list of ALL Edges that exist. - Identify the ID of the edge and then use GET
https://{{nsx-mgr}}/api/4.0/edges/{edgeId}to work with that specific edge. - Copy the body of the GET request and create a request using the XML with an amended
declareDeadTime. - Use a PUT Request for
https://{{nsx-mgr}}/api/4.0/edges/{edgeId}with the XML to update the Declare Dead Time.
Analyze, modify, and successfully retrieve configuration data using an existing API call
Whilst not explicitly called out, this topic is covered though out this post.
Further Study
For more information on additional objectives in the exam, see VCAP6 - Network Virtualisation (NSX-V) Deployment Study Guide .
Published on 30 July 2017 by Christopher Lewis. Words: 811. Reading Time: 4 mins.
- VCAP6-NV Deploy - Objective 2.1 - Create and Manage Logical Switches ()
- VCAP6-NV Deploy - Objective 1.3 - Configure and Manage Transport Zones ()
- VCAP6-NV Deploy - Objective 1.2 - Prepare Host Clusters for Network Virtualization ()
- VCAP6-NV Deploy - Objective 1.1 - Deploy VMware NSX Infrastructure components ()
- HOWTO: Add a Host to a VMware NSX-V enabled vSphere Cluster ()
