VCAP6-NV Deploy - Objective 2.1 - Create and Manage Logical Switches
VMware NSX-V VCAP6-NV VCIX6-NV
Published on 30 July 2017 by Christopher Lewis. Words: 1025. Reading Time: 5 mins.
Objective 2.1 - Create and Manage Logical Switches
Objective Overview
- Create/Delete Logical Switches
- Assign and configure IP addresses
- Connect a Logical Switch to an NSX Edge
- Deploy services on a Logical Switch
- Connect/Disconnect virtual machines to/from a Logical Switch
- Test Logical Switch connectivity
Objective Prerequisites
The following prerequisites are assumed for this Objective:
- A working VMware vSphere 6.x environment.
- A working VMware NSX-V 6.x environment.
The following are additional prerequisites for creating a NSX Logical Switch:
- vSphere distributed switches must be configured.
- NSX Manager must be installed.
- Controllers must be deployed.
- Host clusters must be prepared for NSX.
- VXLAN must be configured.
- A segment ID pool must be configured.
- A transport zone must be created.
The following are additional prerequisites for creating a NSX Universal Logical Switch:
- vSphere distributed switches must be configured.
- NSX Manager must be installed.
- Controllers must be deployed.
- Host clusters must be prepared for NSX.
- VXLAN must be configured.
- A primary NSX Manager must be assigned.
- A universal segment ID pool must be configured.
- A universal transport zone must be created.
Objective Breakdown
Create a NSX Logical Switch
- Using your favourite web browser, navigate to the vCenter Server login page (
https://vcenter.fqdn).
- Type the administrator User name and Password and click Login.
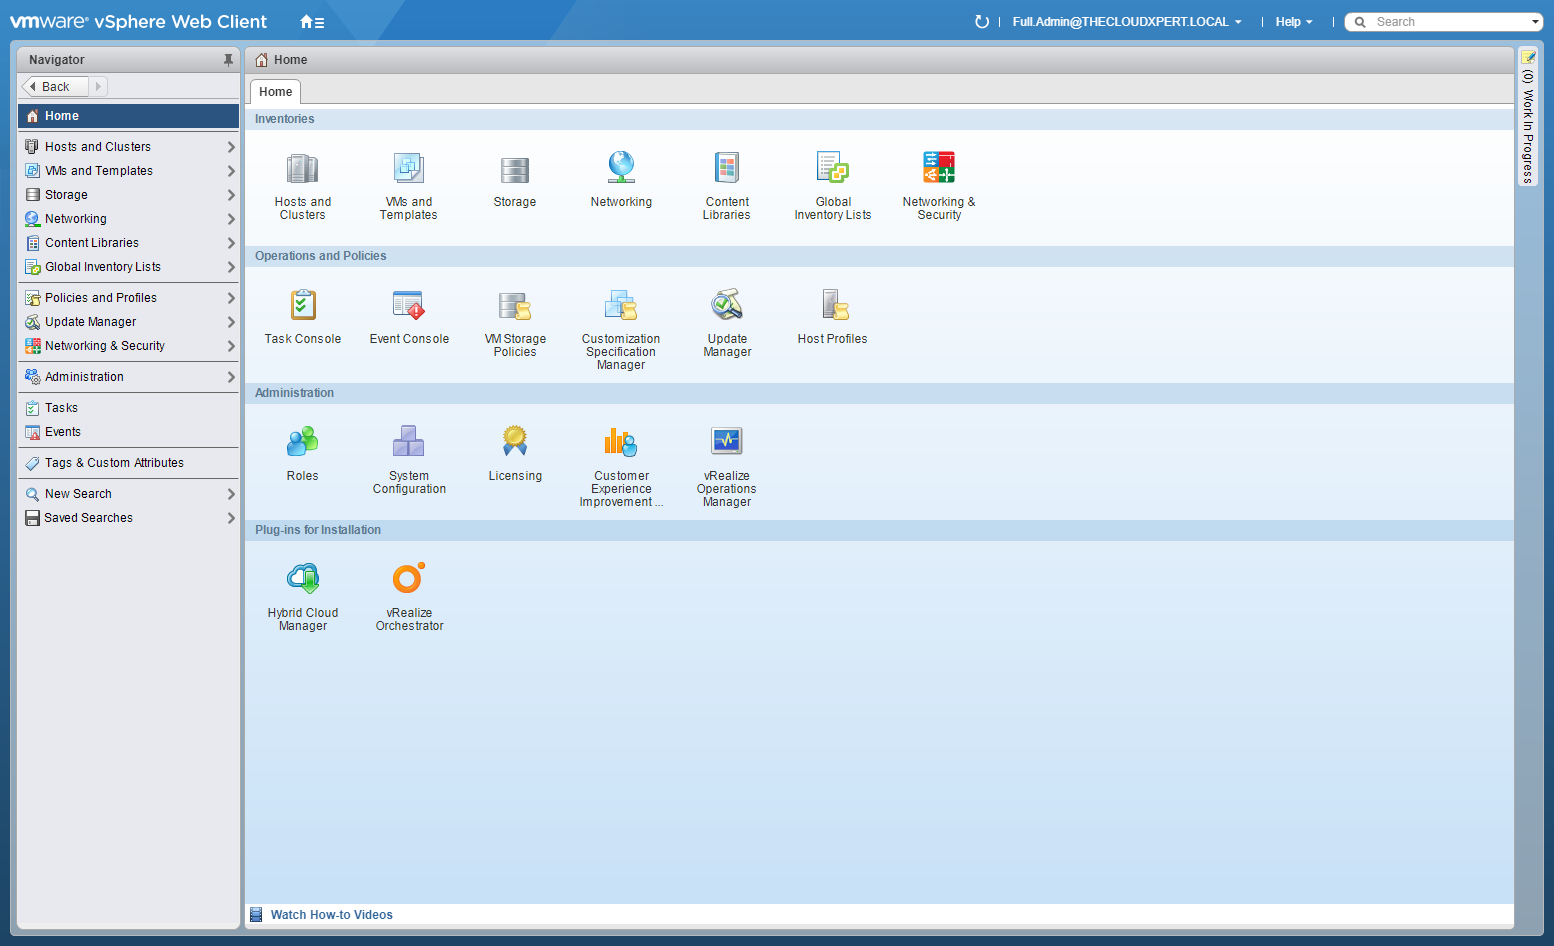
- Click Network and Security.
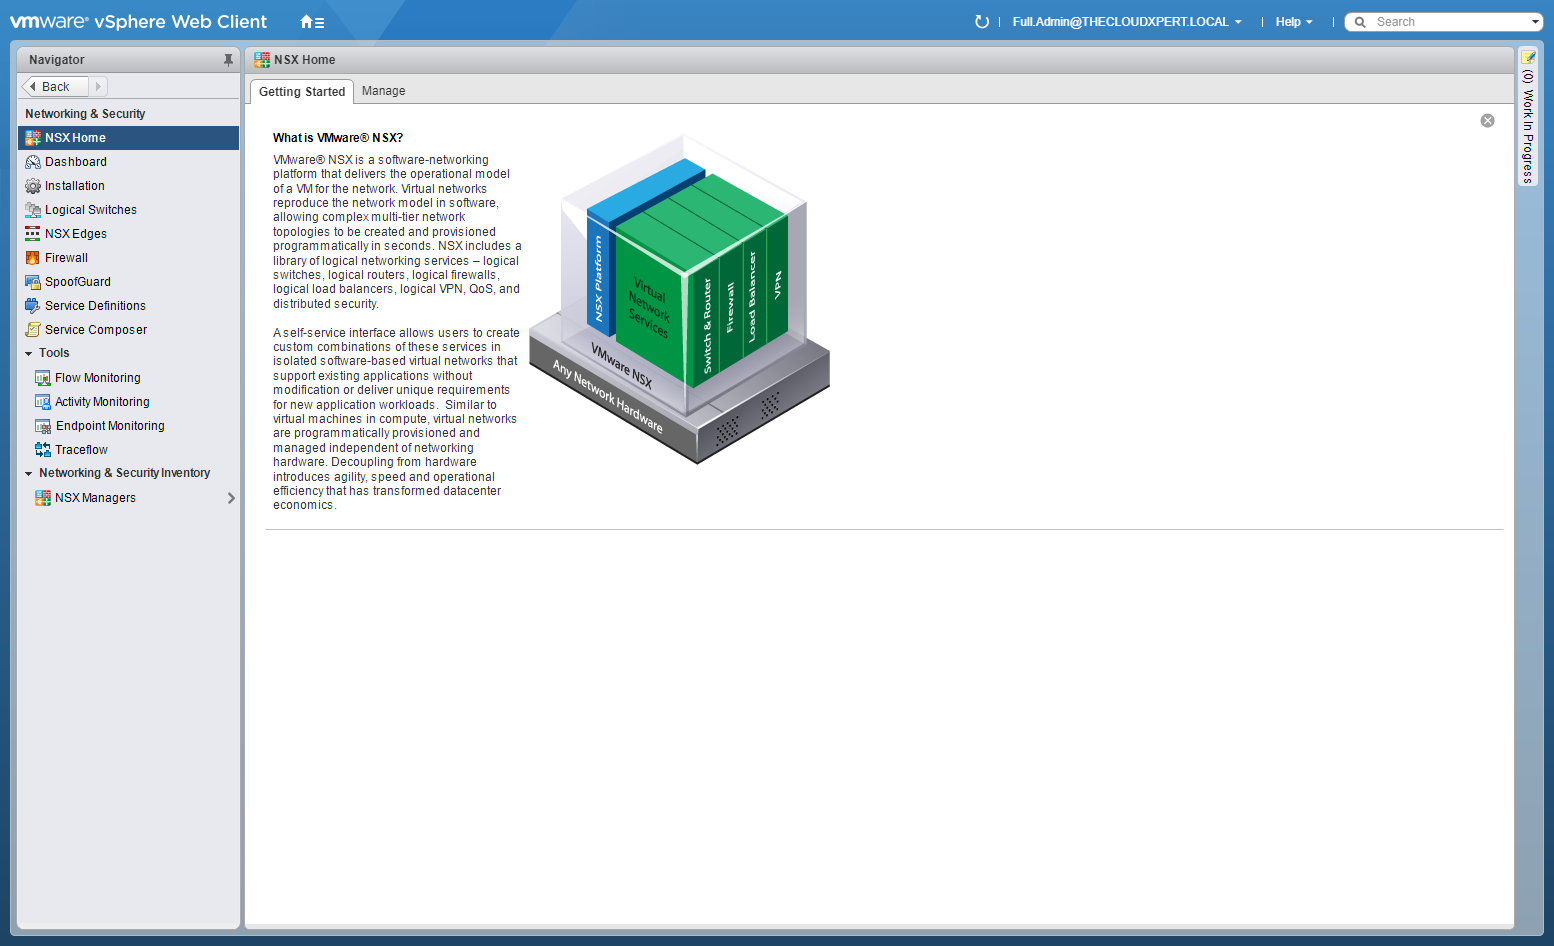
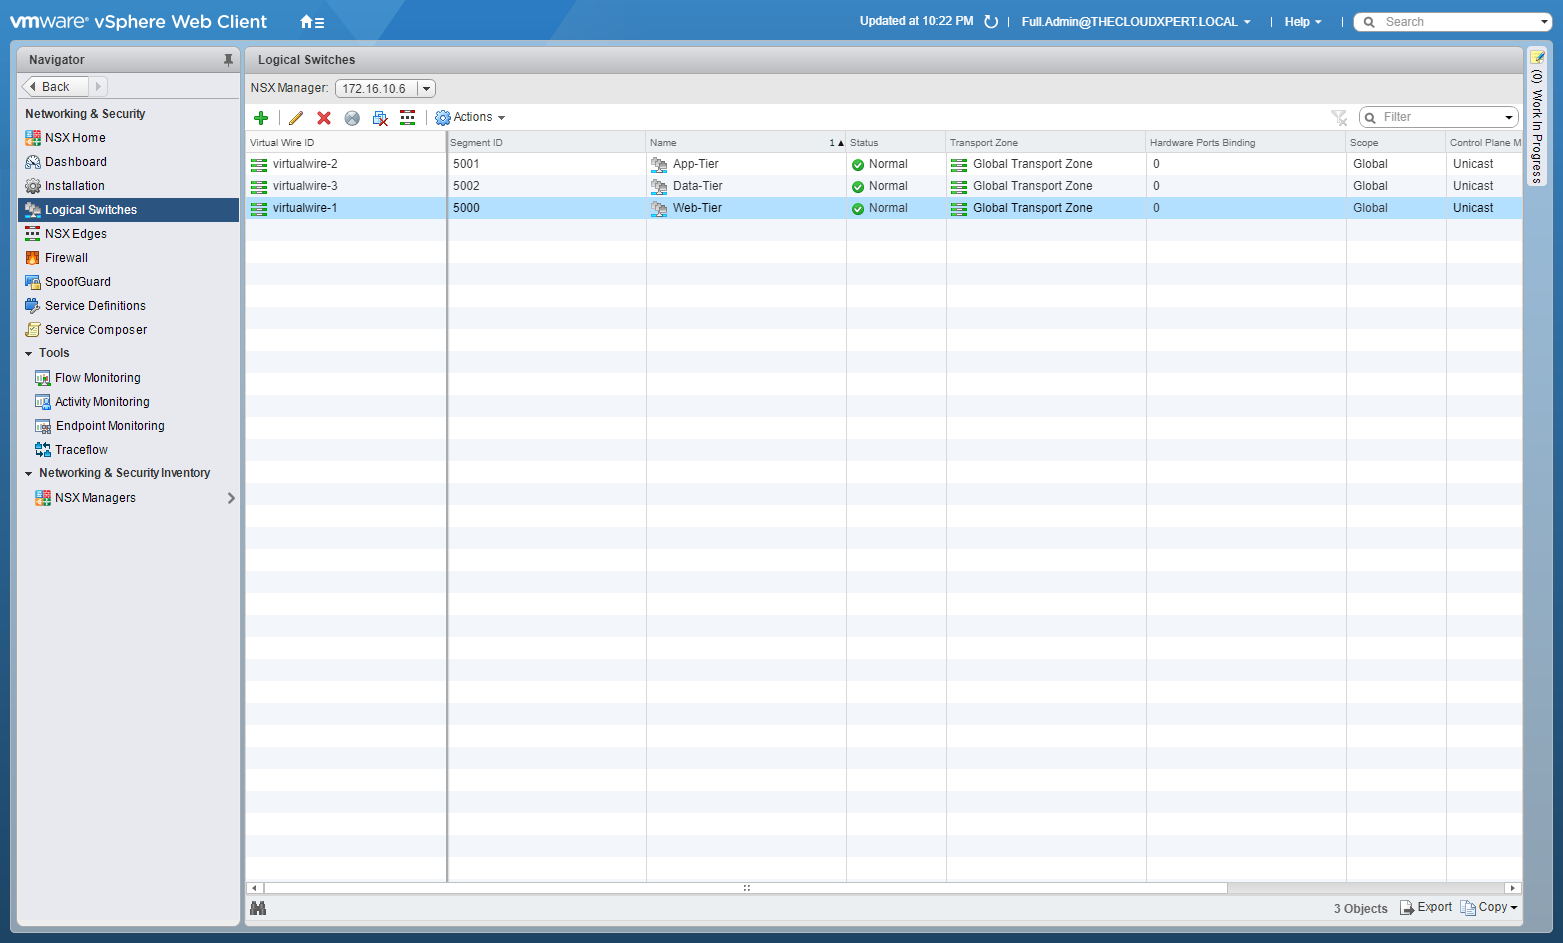
- Click Logical Switches.
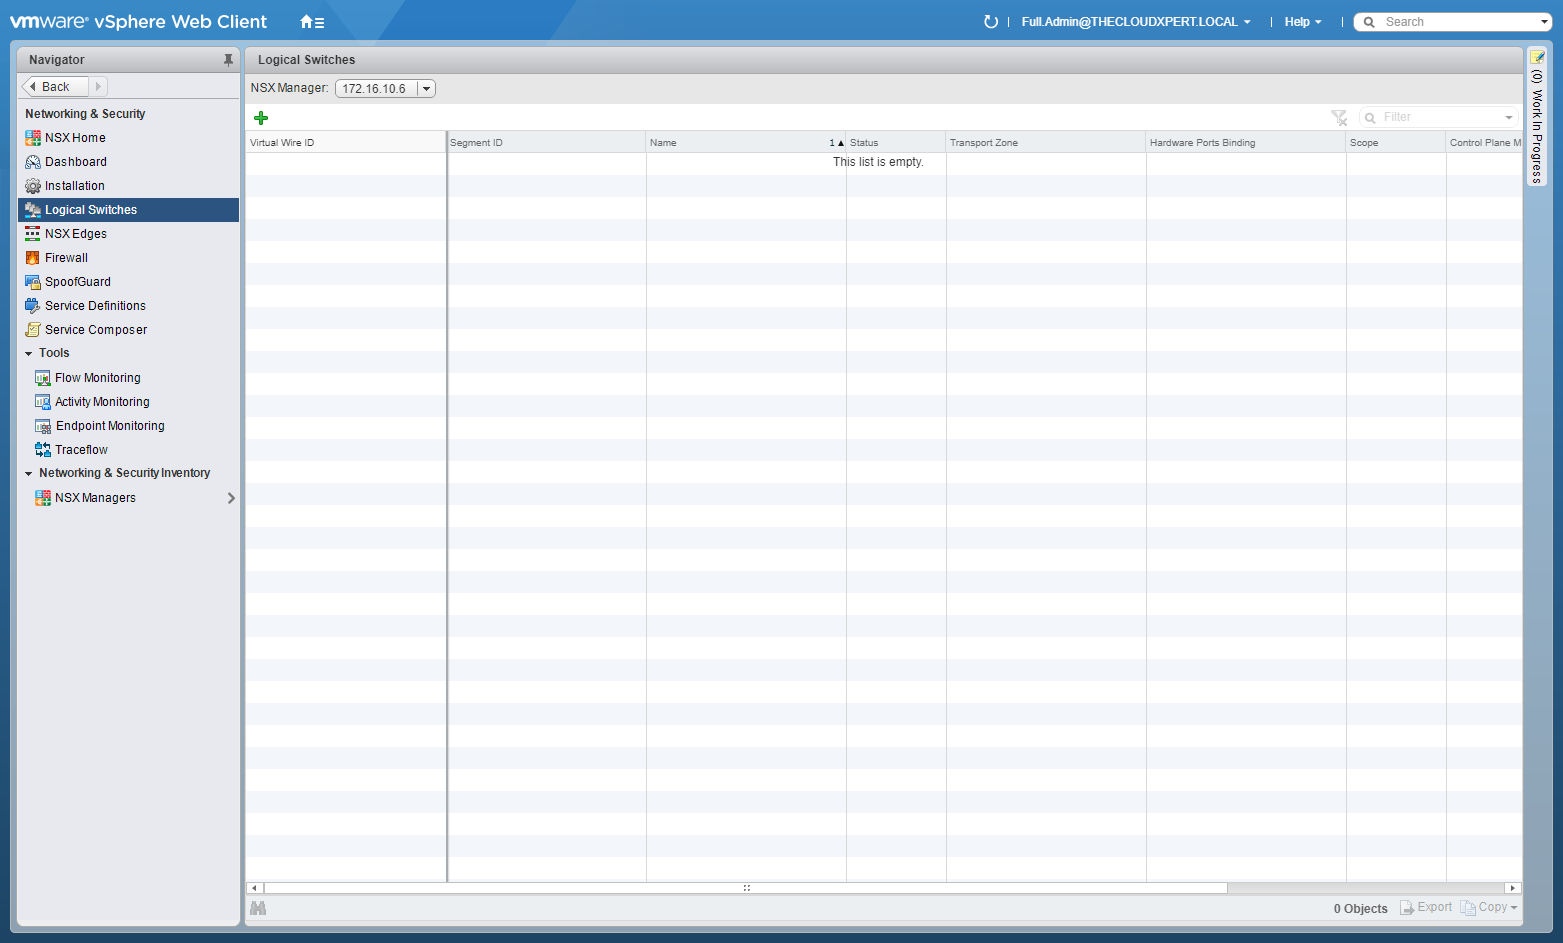
- Click Add(+).
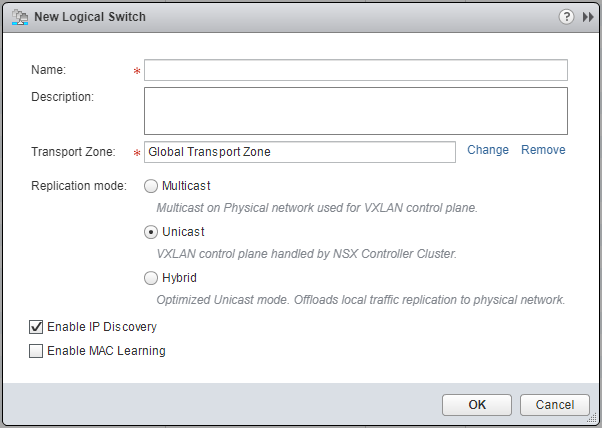
- Type the Name for the new Logical Switch, select a Transport Zone (click Change to change the default one), select a Replication mode option, (optional) uncheck the Enable IP Discovery and/or the Enable MAC Learning checkboxes.
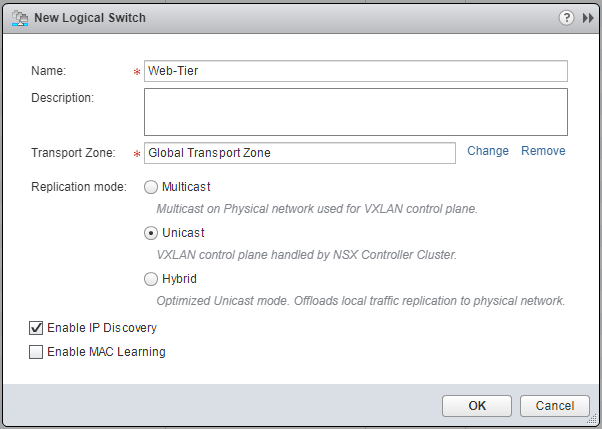
- Checking the Enable IP Discovery checkbox, enables ARP suppression.
- Checking the Enable MAC Learning checkbox if your VMs have multiple MAC addresses or are using virtual NICs that are trunking VLANs.
- Click OK.
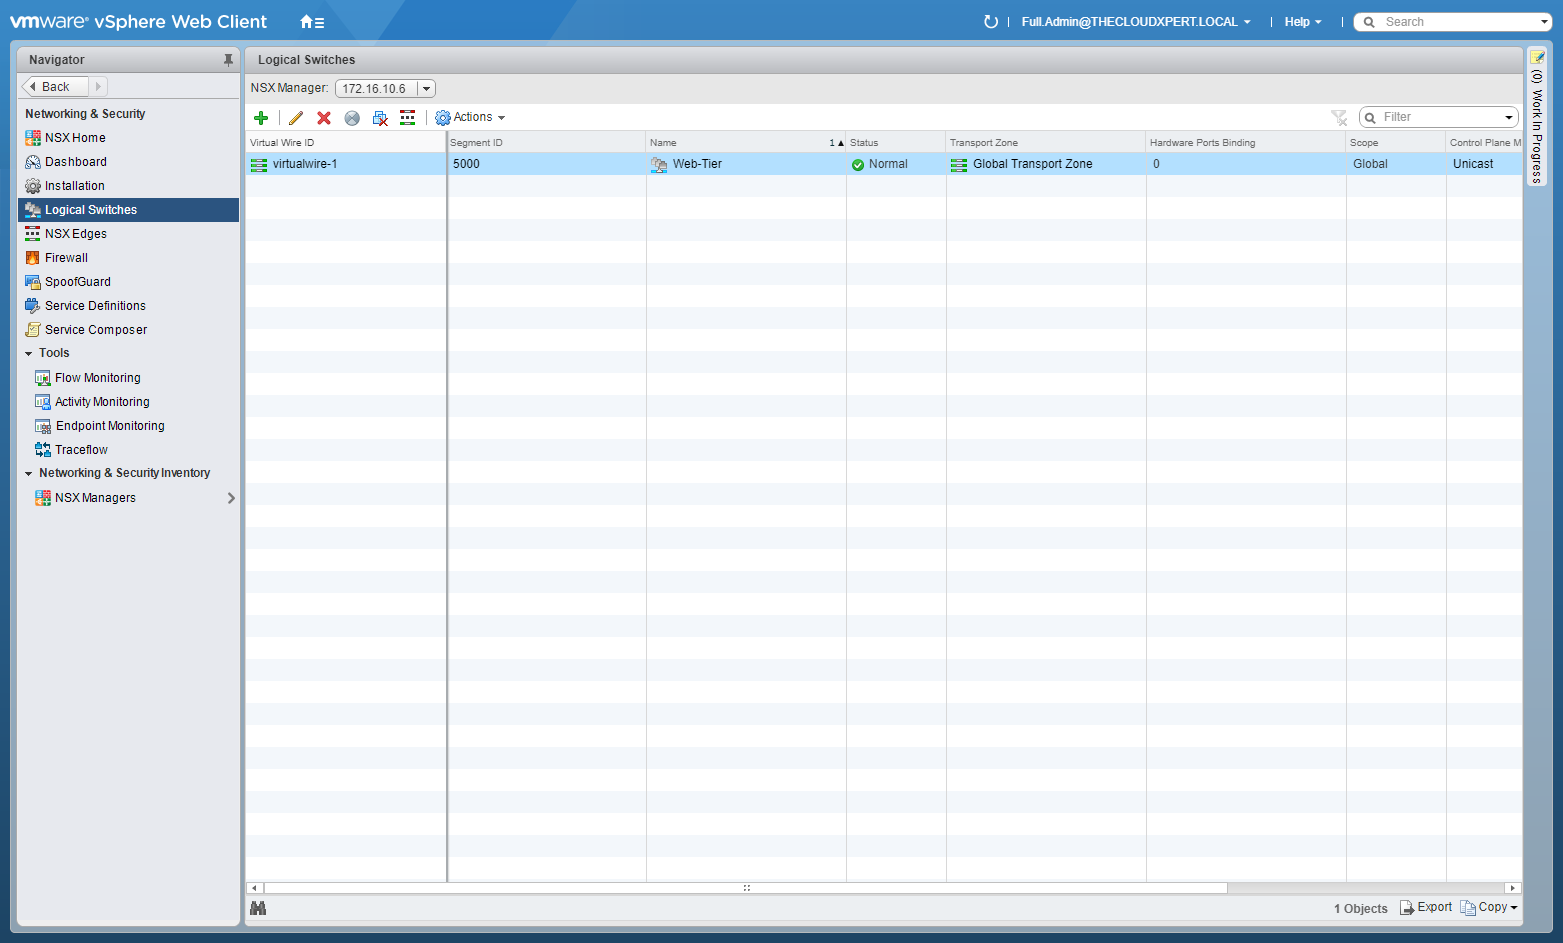
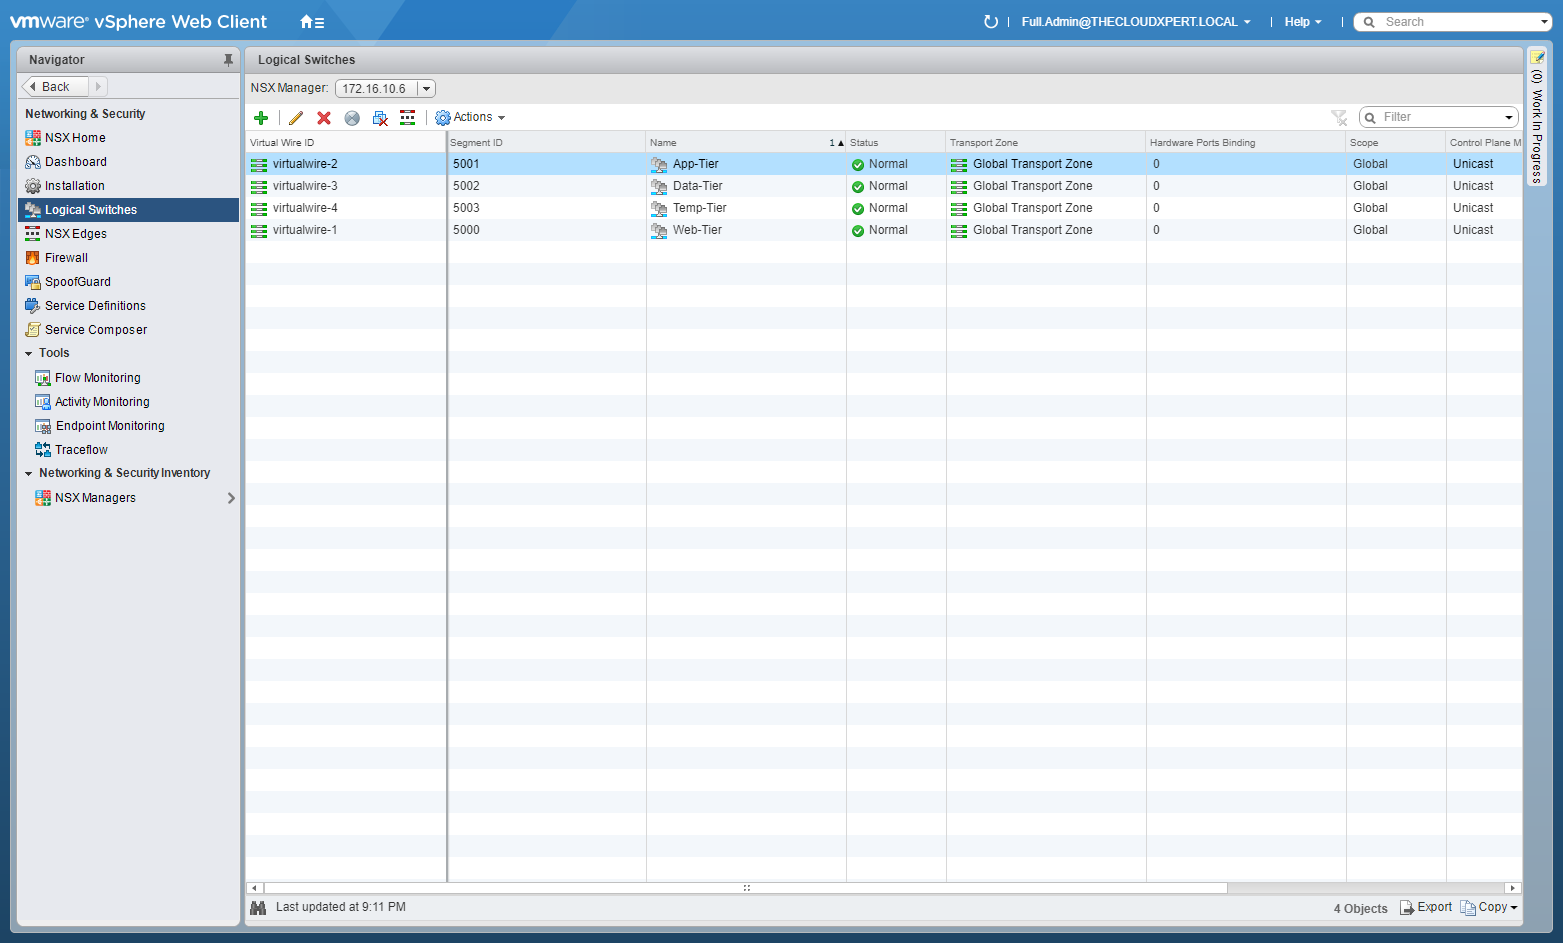
We can follow the same process to create as many NSX Logical switches are required.
Delete a NSX Logical Switch
- Using your favourite web browser, navigate to the vCenter Server login page (
https://vcenter.fqdn).
- Type the appropriate User name and Password and click Login.
- Click Network and Security.
- Click Logical Switches.
- Select the Logical Switch to be removed and click the Remove (x) icon.
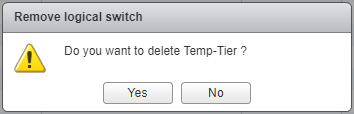
- Click Yes.
Assign and Configure IP Addresses
I’m not sure what is required here. A NSX Logical Switch doesn’t have an IP Address assigned to it (as far as I am aware), I can only assume it means when connecting to an Edge which is covered below.
Connect a Logical Switch to an NSX Edge
- Using your favourite web browser, navigate to the vCenter Server login page (
https://vcenter.fqdn).
- Type the administrator User name and Password and click Login.
- Click Network and Security.
- Click Logical Switches.
- Click the Connect Edge icon.

- Select the target ESG/DLR.
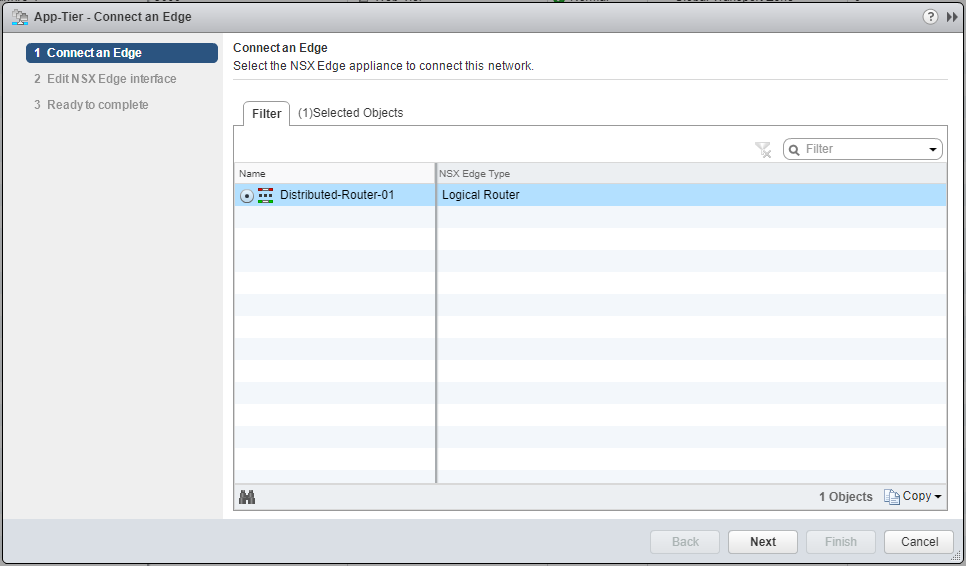
- Click Next.
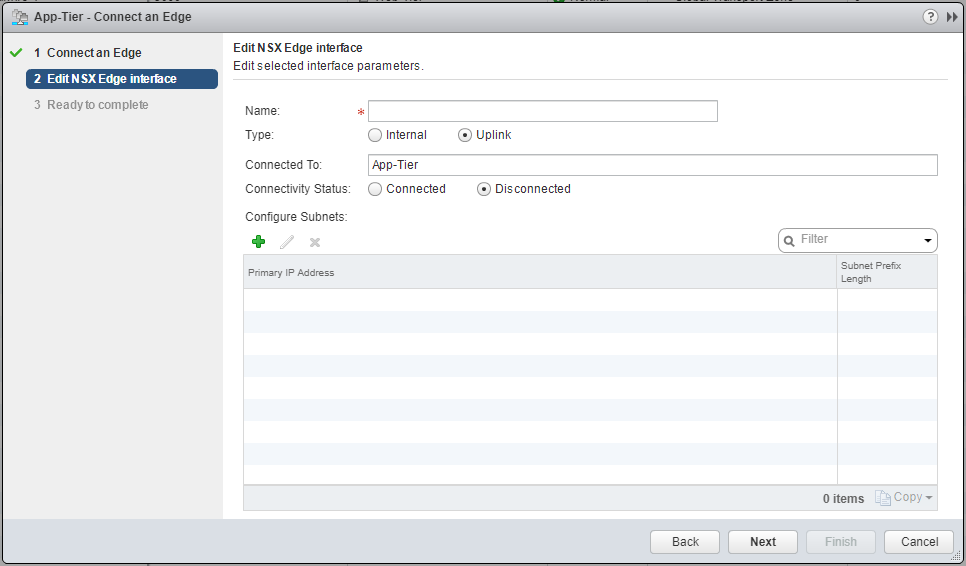
- Type the Name for the Edge interface, select the appropriate Type of interface, select the appropriate Connectivity Status option.

- Under Configure Subnets, click Add(+). and enter the Primary (gateway) IP Address and Subnet Prefix Length.
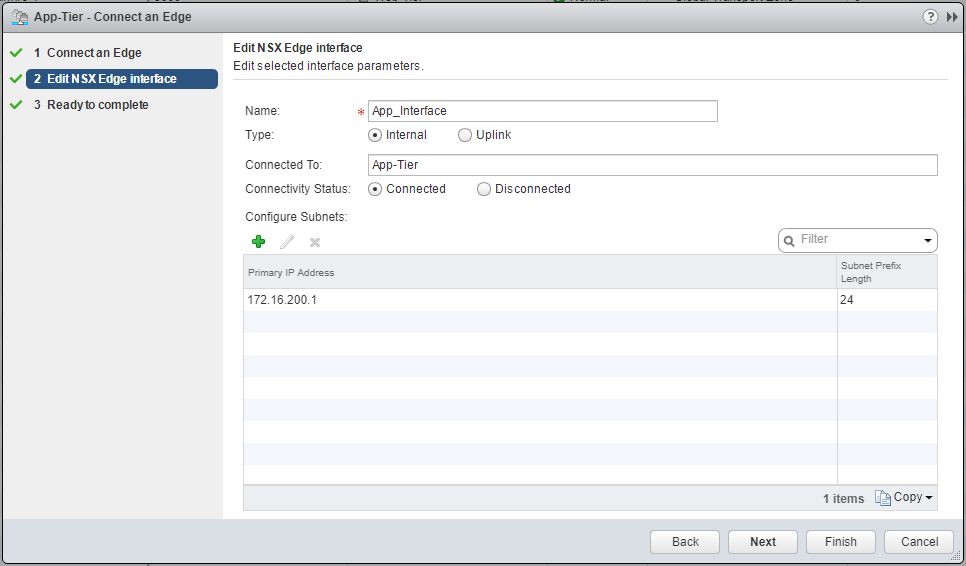
- Click Next.
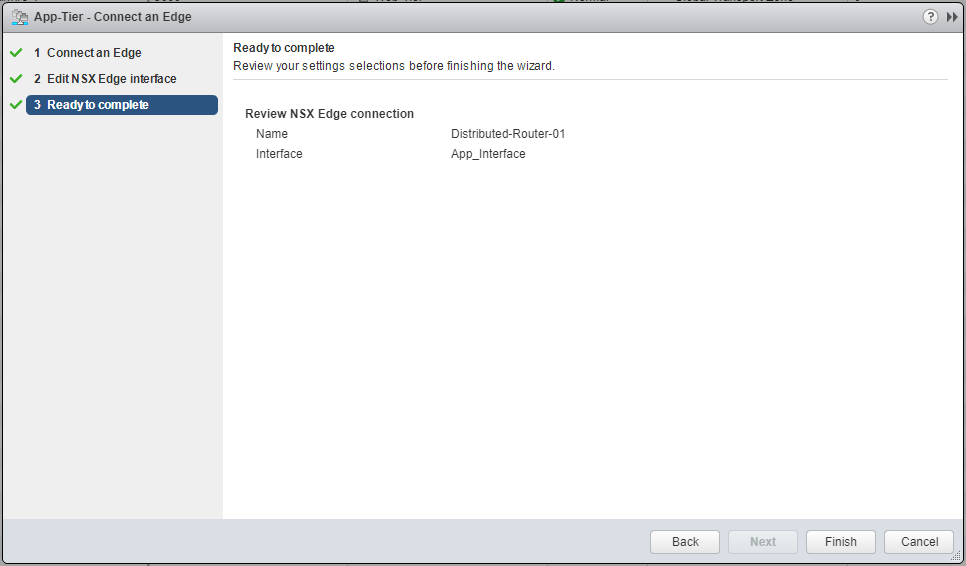
- Click Finish.
Deploy Services on a Logical Switch
This enables you to deploy 3rd Party Services to your logical switch. I do not have any 3rd party services installed so the icon does not appear. The following is taken from the VMware NSX 6.2 Administration Guide.
- In Logical Switches, select the logical switch on which you want to deploy services.
- Click the Add Service Profile icon.
- Select the service and service profile that you want to apply.
- Click OK.
Connect Virtual Machines to a Logical Switch
- Using your favourite web browser, navigate to the vCenter Server login page (
https://vcenter.fqdn).
- Type the administrator User name and Password and click Login.
- Click Network and Security.
- Click Logical Switches.

- Highlight the target Logical Switch and click Add Virtual Machine.
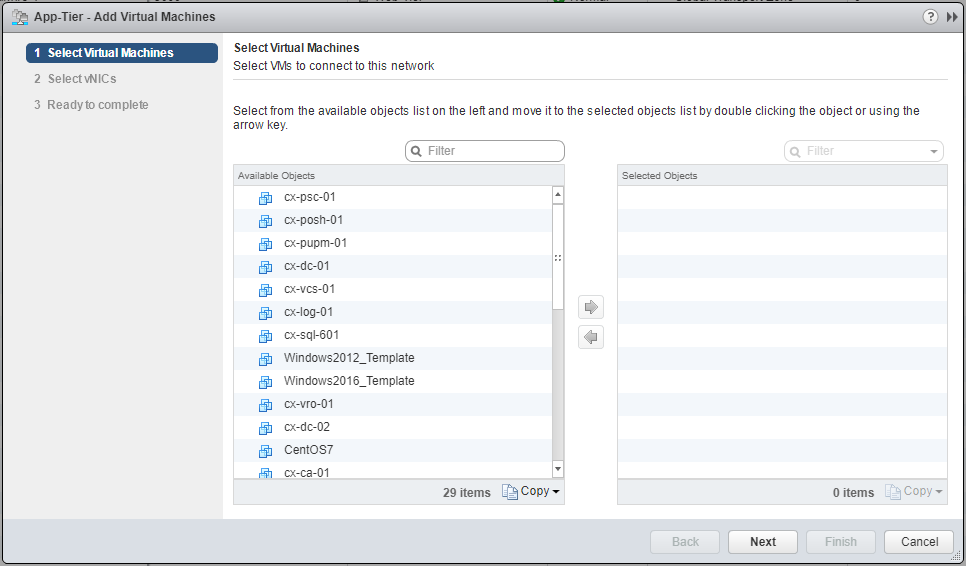
- Locate the VMs to be added and click the arrow key to add them to the Selected Objects list.
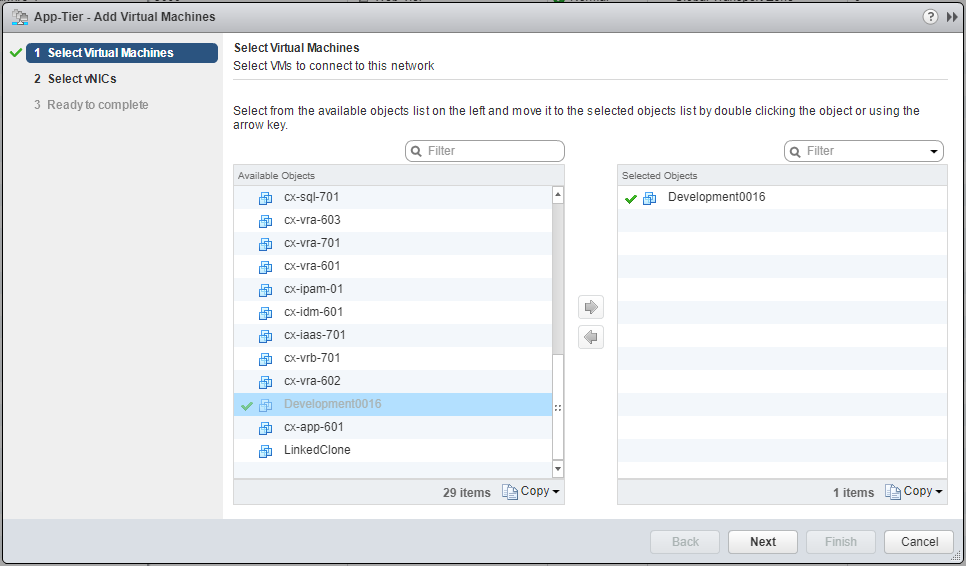
- Click Next.
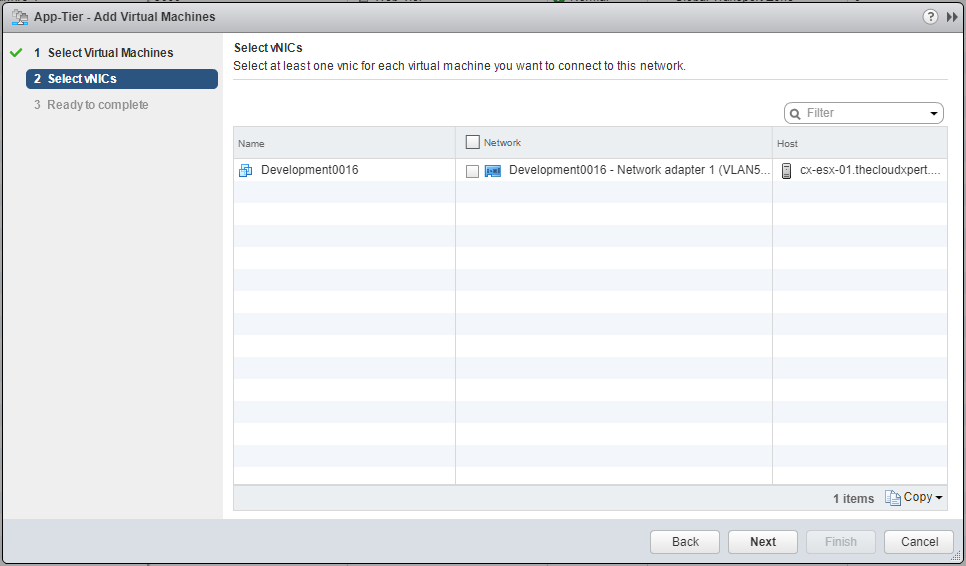
- Check the checkbox of the correct Network adapter for the Virtual Machine.
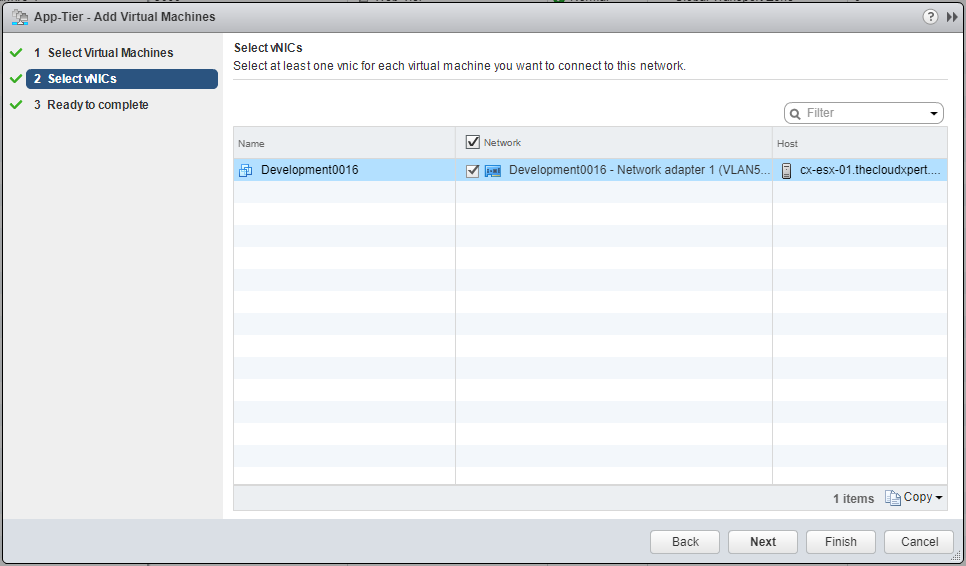
- Click Next.
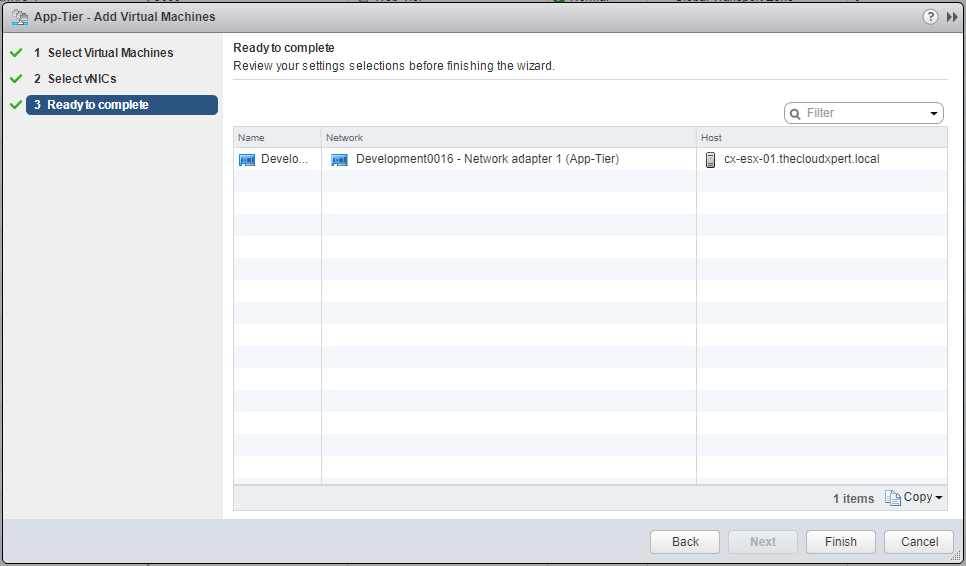
- Click Finish.
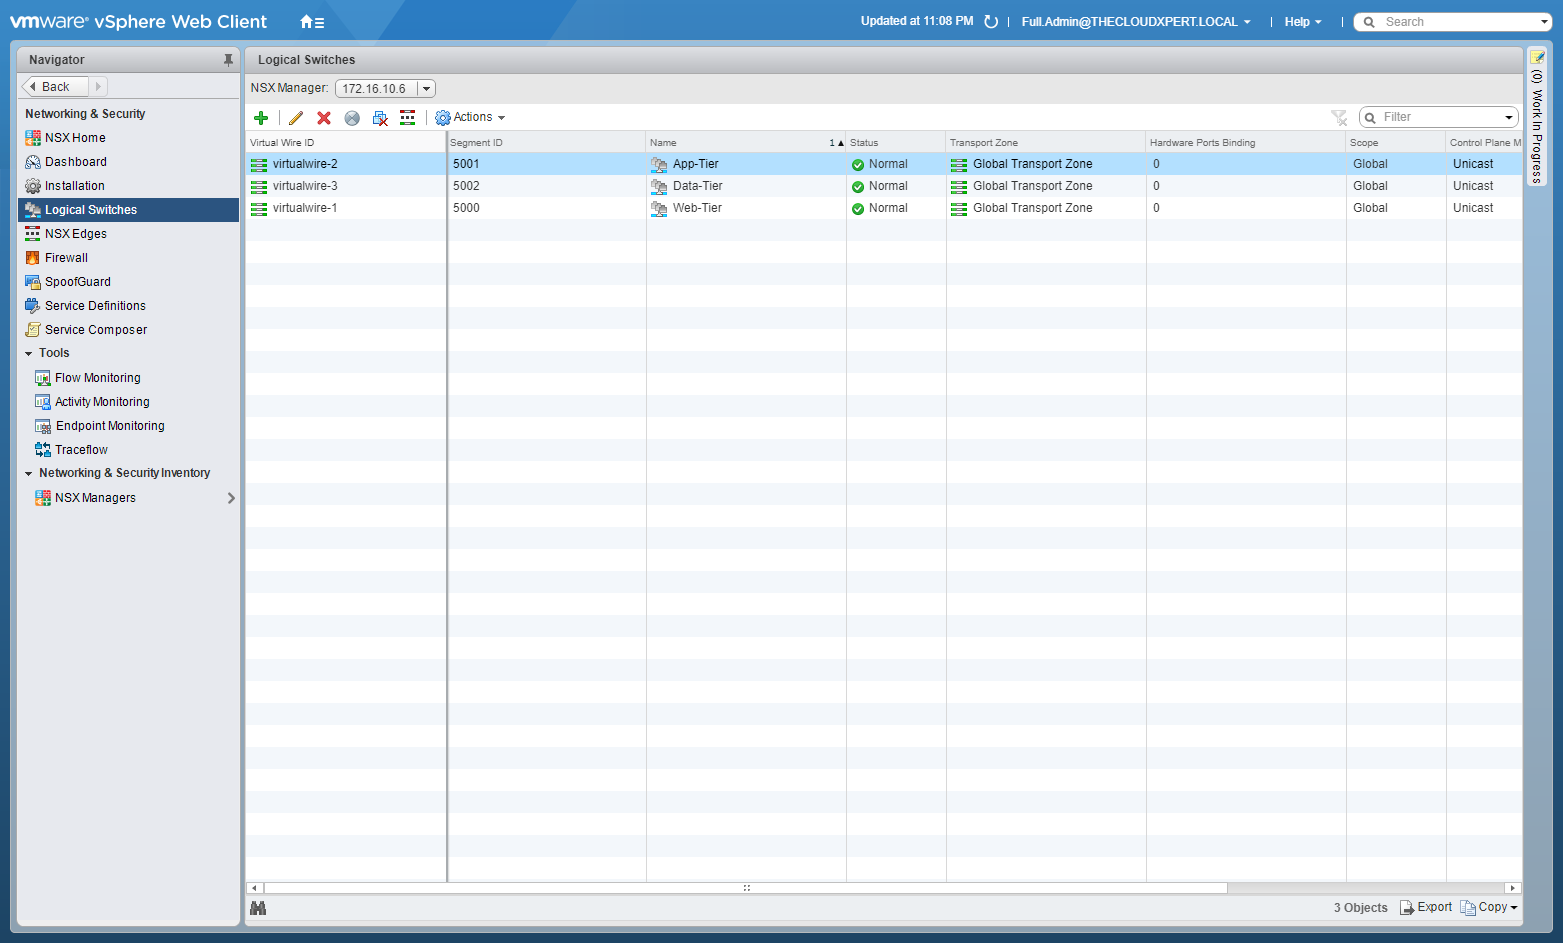
- Double-click on the target Logical Switch.
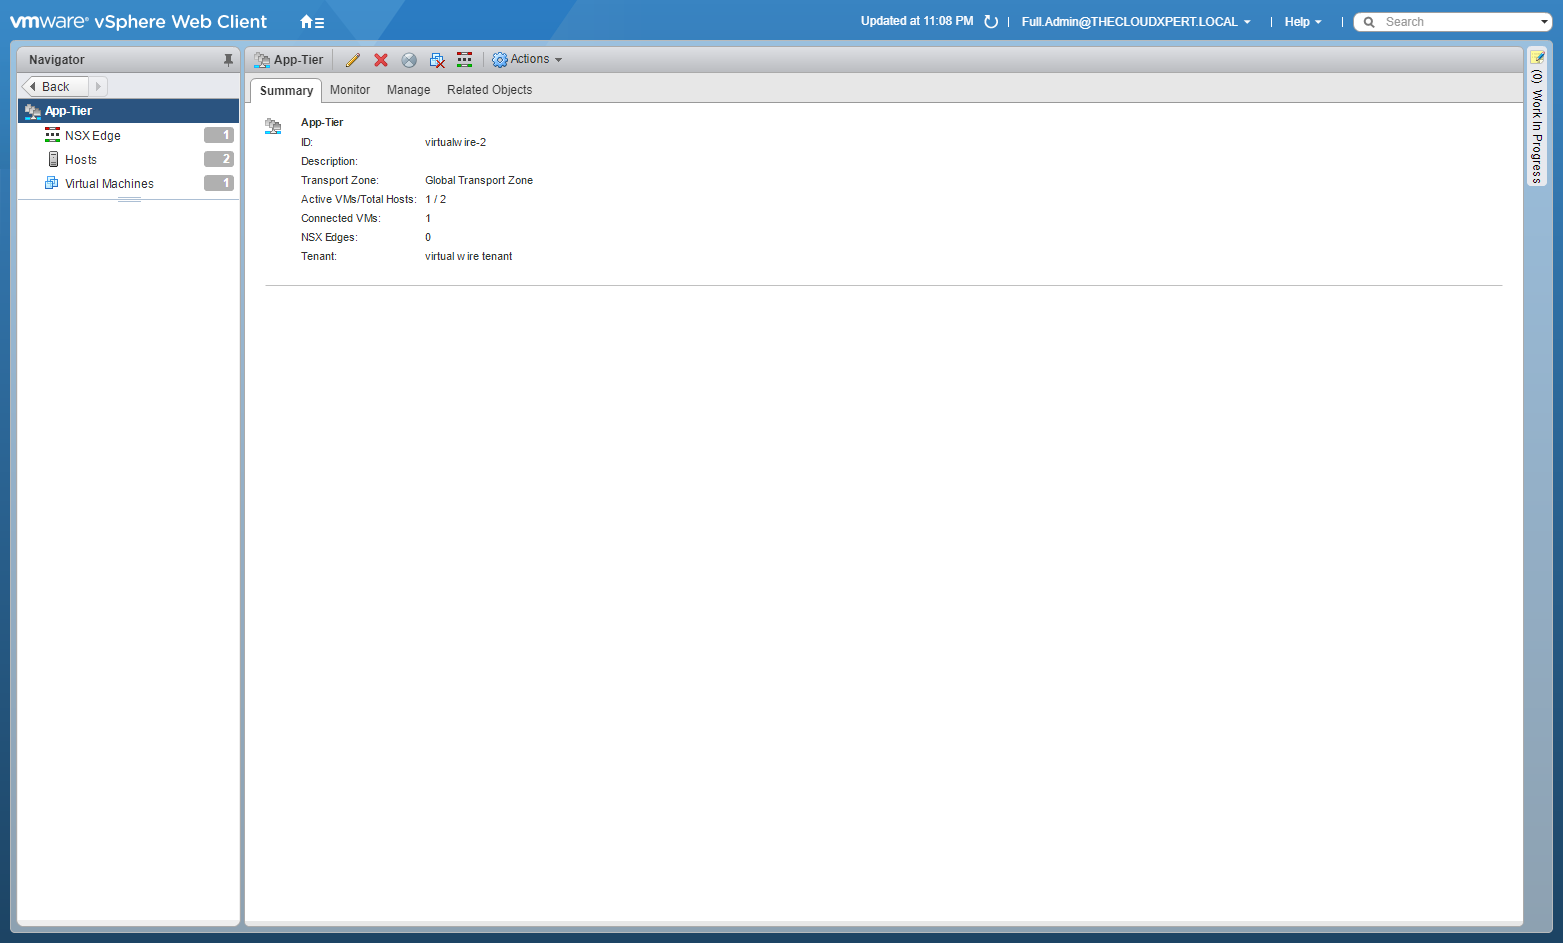
- Click on Virtual Machines from the Navigation menu.
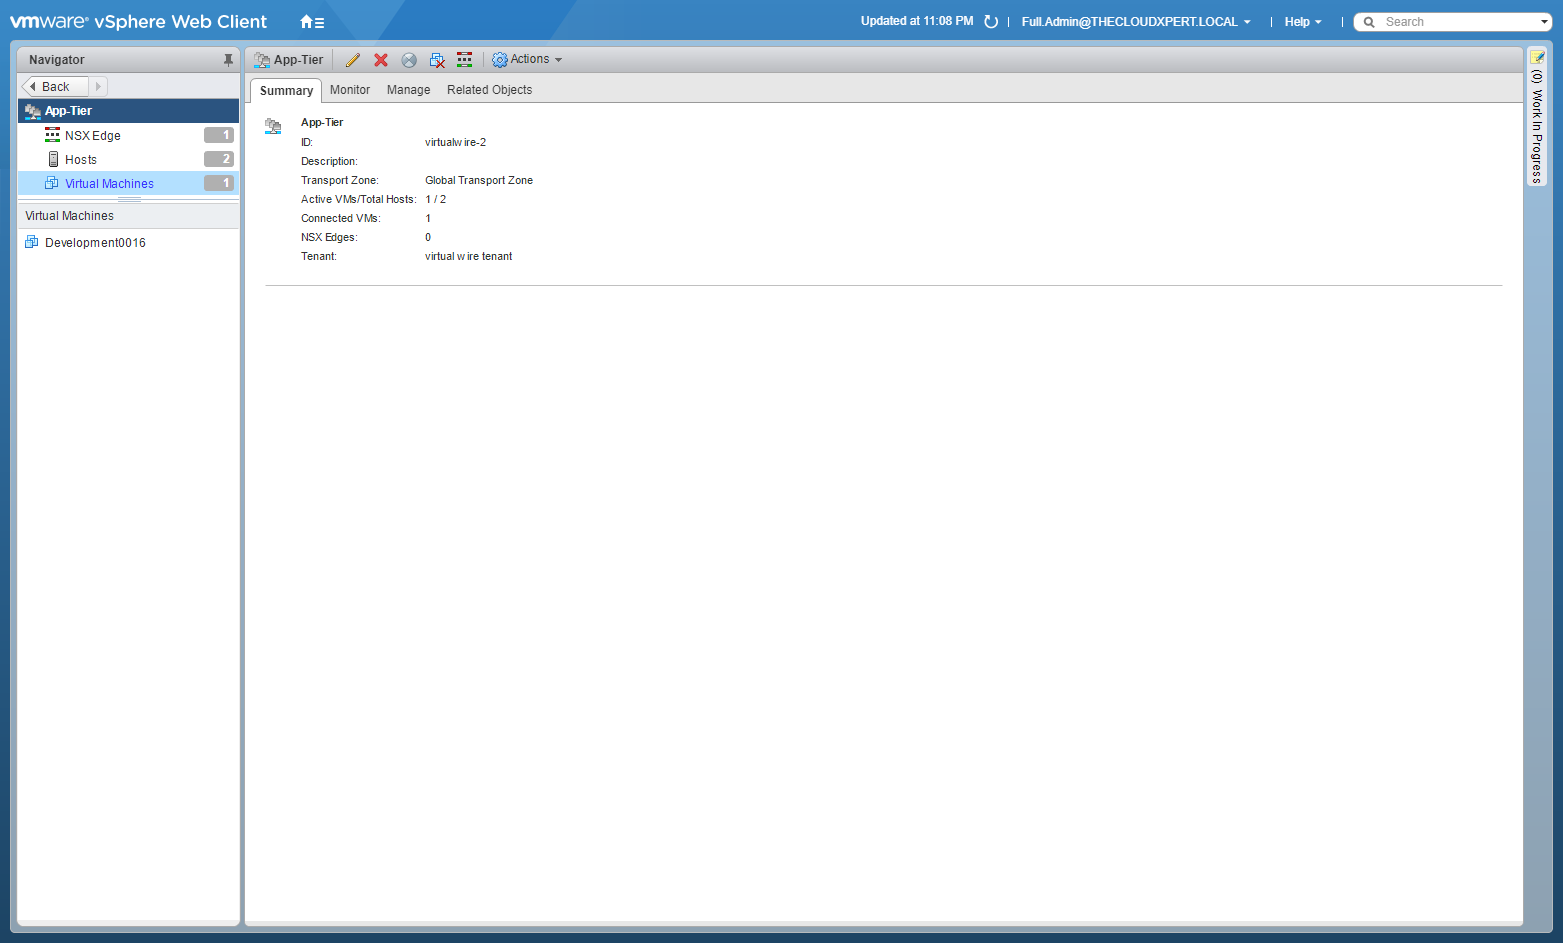
The VIrtual Machine is listed as connected to the logical switch.
Disconnect Virtual Machines from a Logical Switch
- Using your favourite web browser, navigate to the vCenter Server login page (
https://vcenter.fqdn).
- Type the administrator User name and Password and click Login.
- Click Network and Security.
- Click Logical Switches.
- Highlight the target Logical Switch and click Remove Virtual Machine.
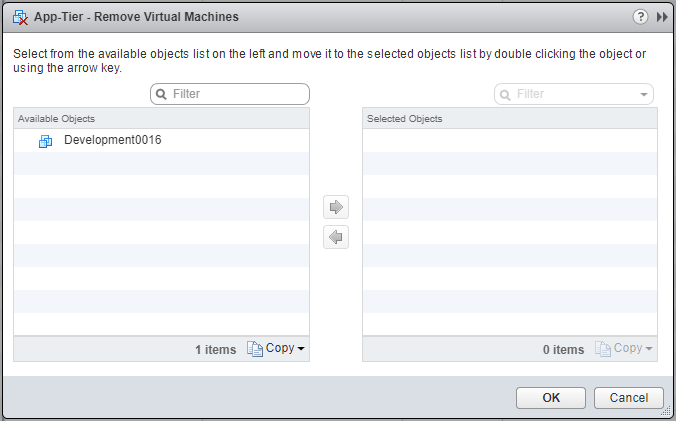
- Select the target Virtual Machine(s) and click the arrow to move them to the Selected Objects list.
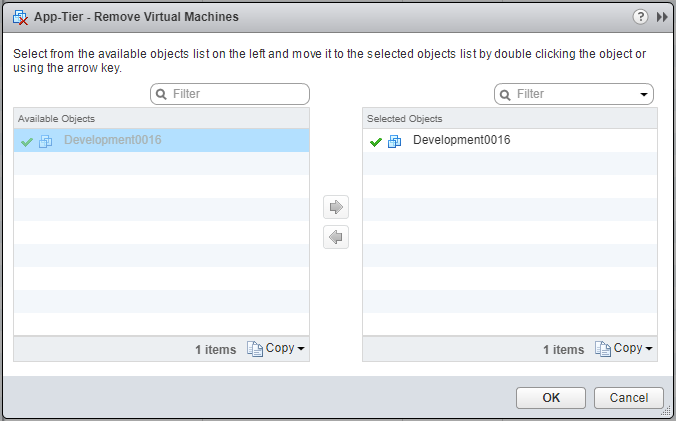
- Click OK.
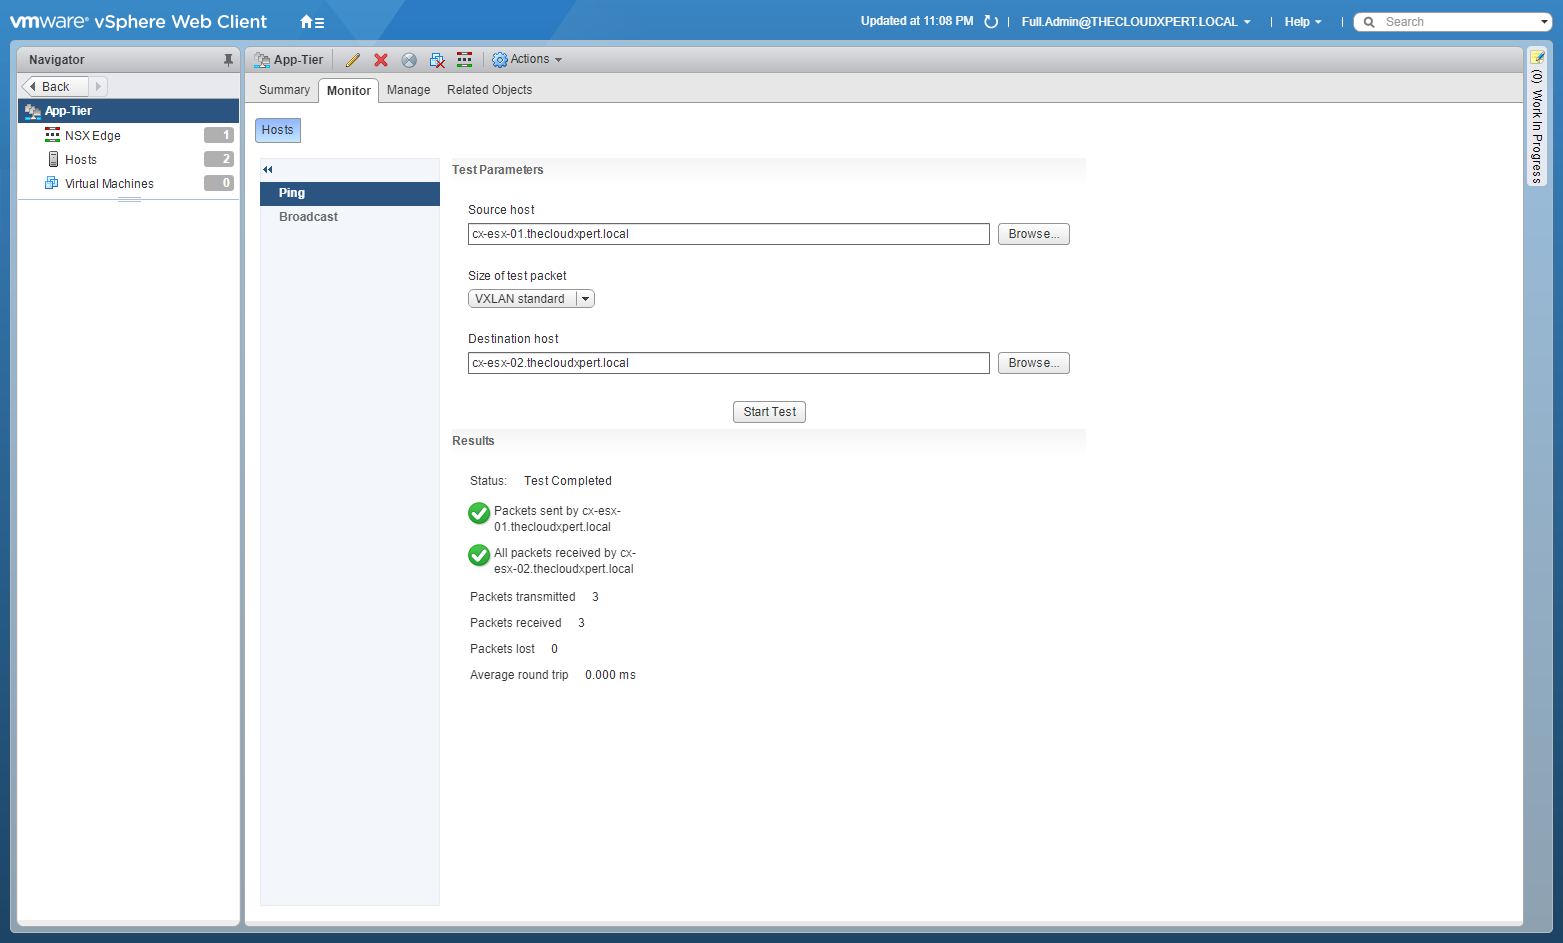
Test Logical Switch connectivity
- Using your favourite web browser, navigate to the vCenter Server login page (
https://vcenter.fqdn).
- Type the administrator User name and Password and click Login.
- Click Network and Security.
- Click Logical Switches.
- Double-click the logical switch that you want to test.

- Click the Monitor tab.

- Click the Hosts tab.
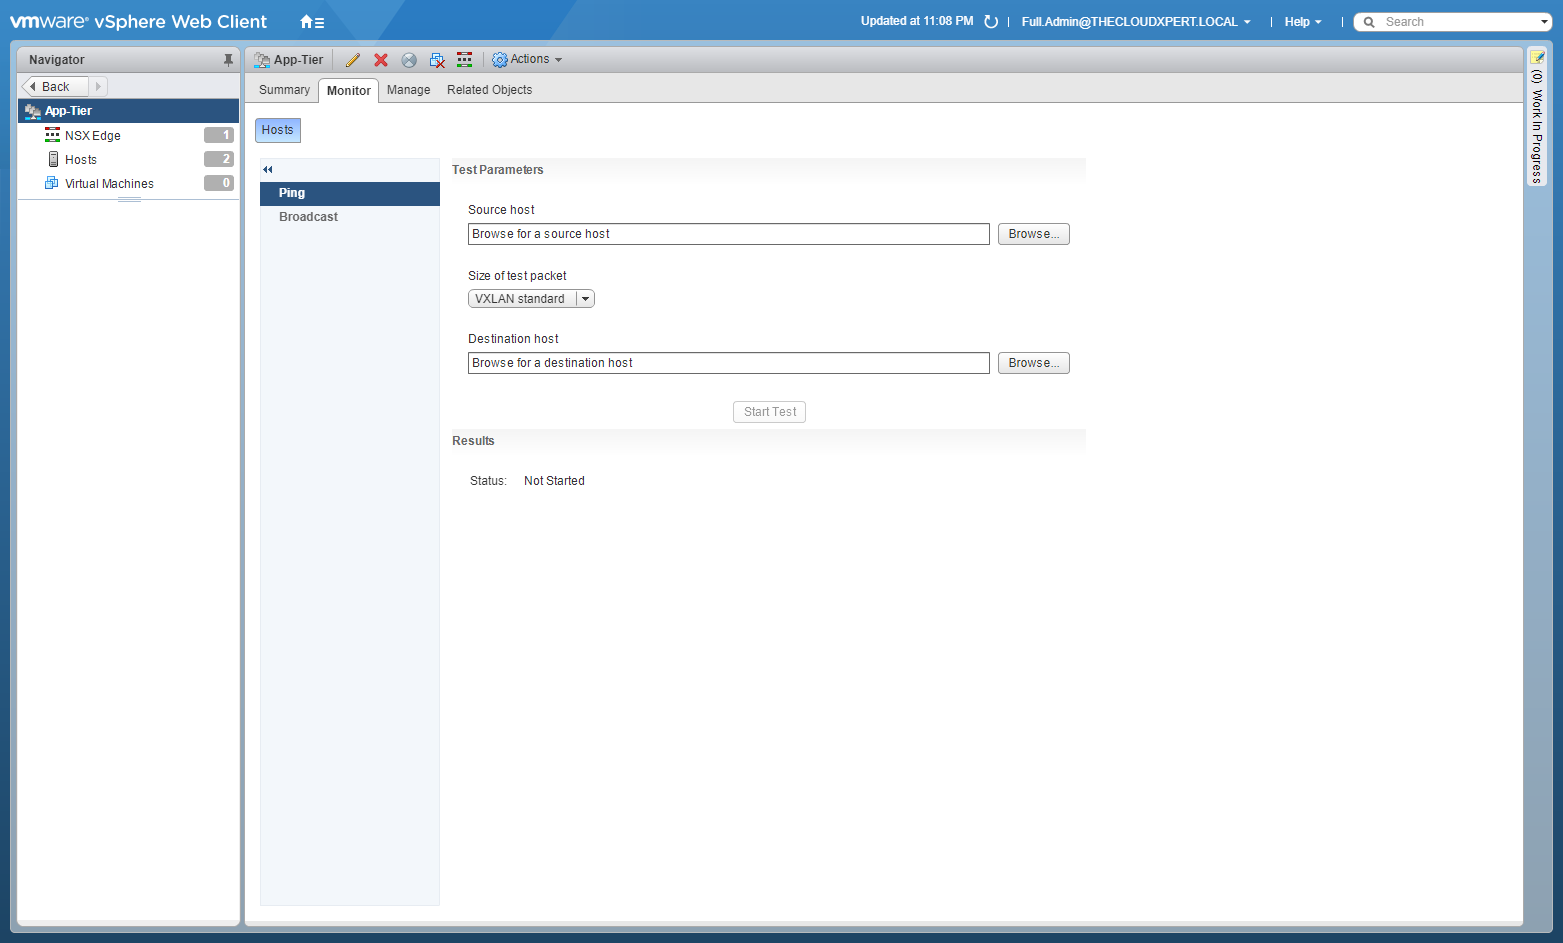
- Click Browse in the Source Host section.
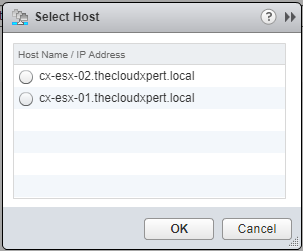
- Select the Source host and click OK.

- (Optional) Select the Size of the test packet from the dropdown.
- VXLAN standard size is 1550 bytes (should match the physical infrastructure MTU) without fragmentation. This allows NSX to check connectivity and verify that the infrastructure is prepared for VXLAN traffic.
- Minimum packet size allows fragmentation. Hence, with packet size minimized, NSX can check connectivity but not whether the infrastructure is ready for the larger frame size.
- Click Browse in the Destination Host section.
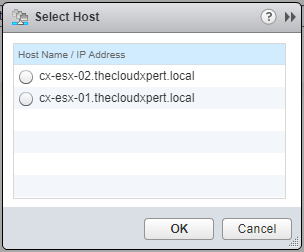
- Select the Destination host and click OK.
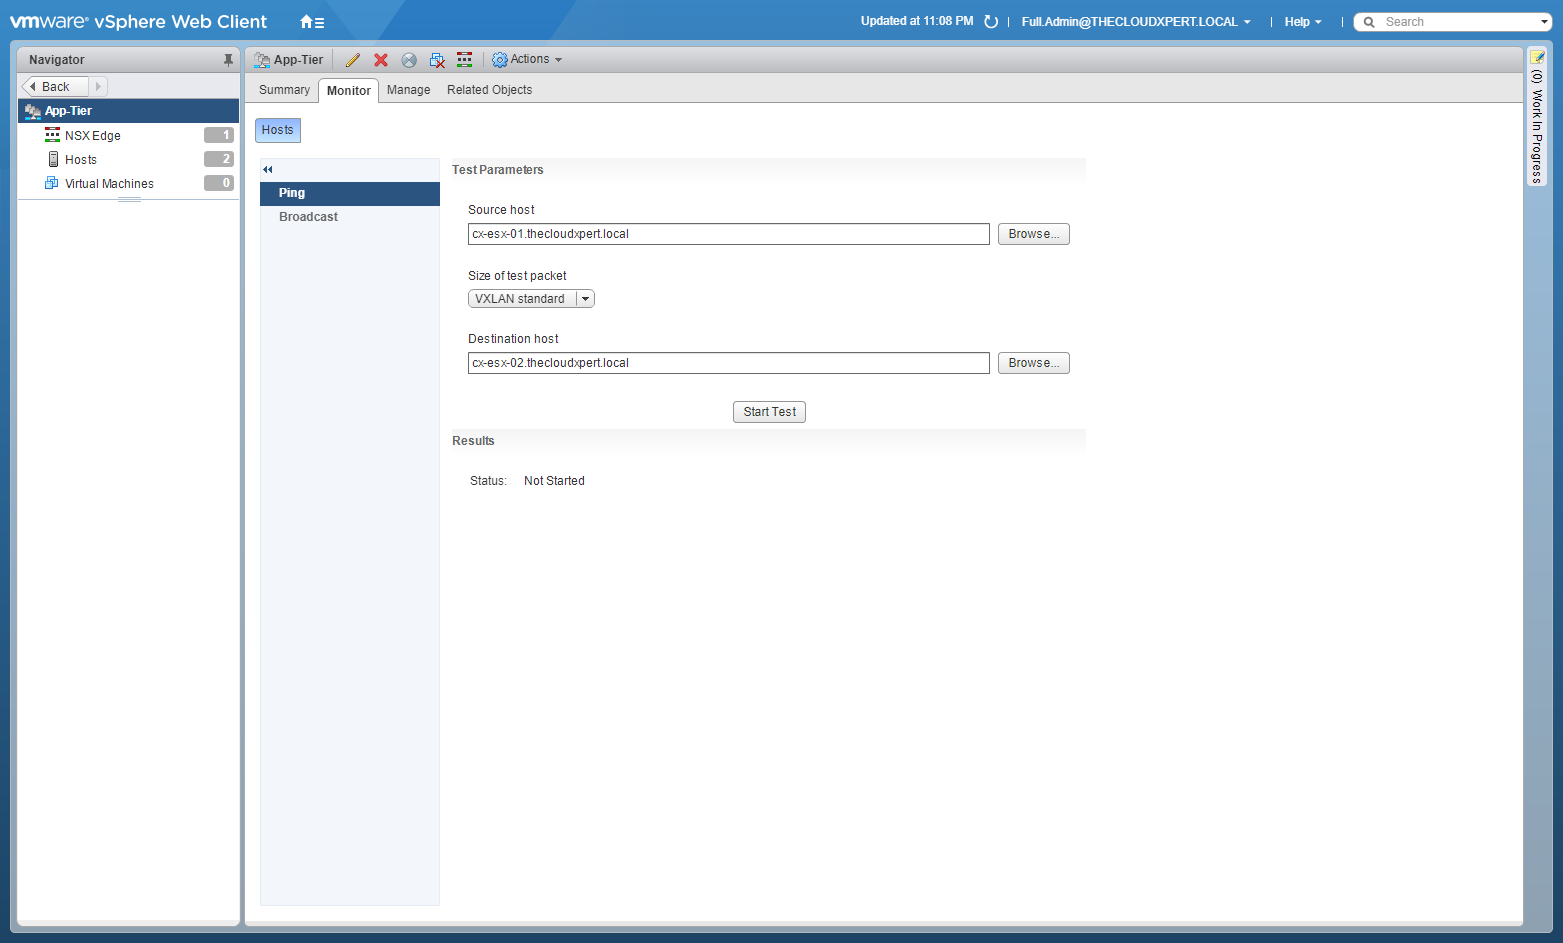
- Click Start Test.
Further Study
For more information on additional objectives in the exam, see VCAP6 - Network Virtualisation (NSX-V) Deployment Study Guide .
Published on 30 July 2017 by Christopher Lewis. Words: 1025. Reading Time: 5 mins.
- VCAP6-NV Deploy - Objective 1.3 - Configure and Manage Transport Zones ()
- VCAP6-NV Deploy - Objective 1.2 - Prepare Host Clusters for Network Virtualization ()
- VCAP6-NV Deploy - Objective 1.1 - Deploy VMware NSX Infrastructure components ()
- HOWTO: Add a Host to a VMware NSX-V enabled vSphere Cluster ()
- HOWTO: Remove a Host from a VMware NSX-V enabled vSphere Cluster ()
