Warning! The content within this article is over 36 months old and, therefore, may be out of date.
HOWTO: Deploy the VMware vRealize Automation 6.x Appliance (OVA)
Share this article on:


VMware vRealize Automation VCAP6 VCAP6-CMA
Published on 9 January 2017 by Christopher Lewis. Words: 276. Reading Time: 2 mins.
Introduction
This post is a part of a series of posts for preparation for the VCAP6-CMA Deploy exam. For the full exam prep resources check here .
Step by Step Instructions
Deploying the VMware vRealize Automation Appliance
- Within the VMware vSphere Web Client, right click and select Deploy OVF Template.
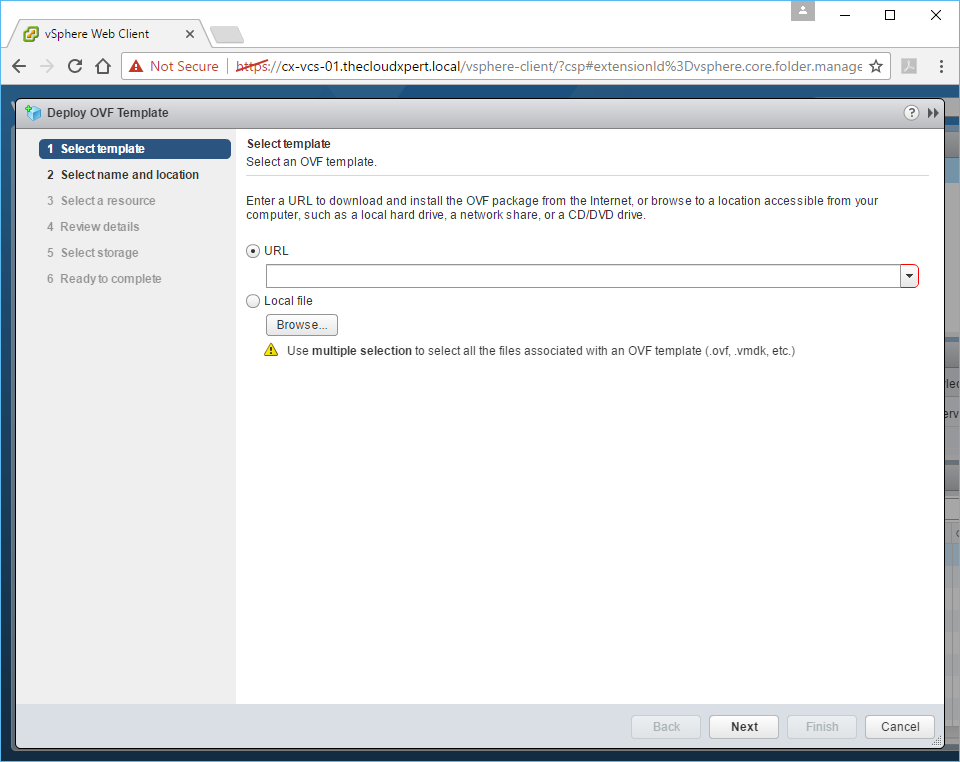
- Click Browse, navigate to the location of the vRealize Automation OVA, select it and then click Open.
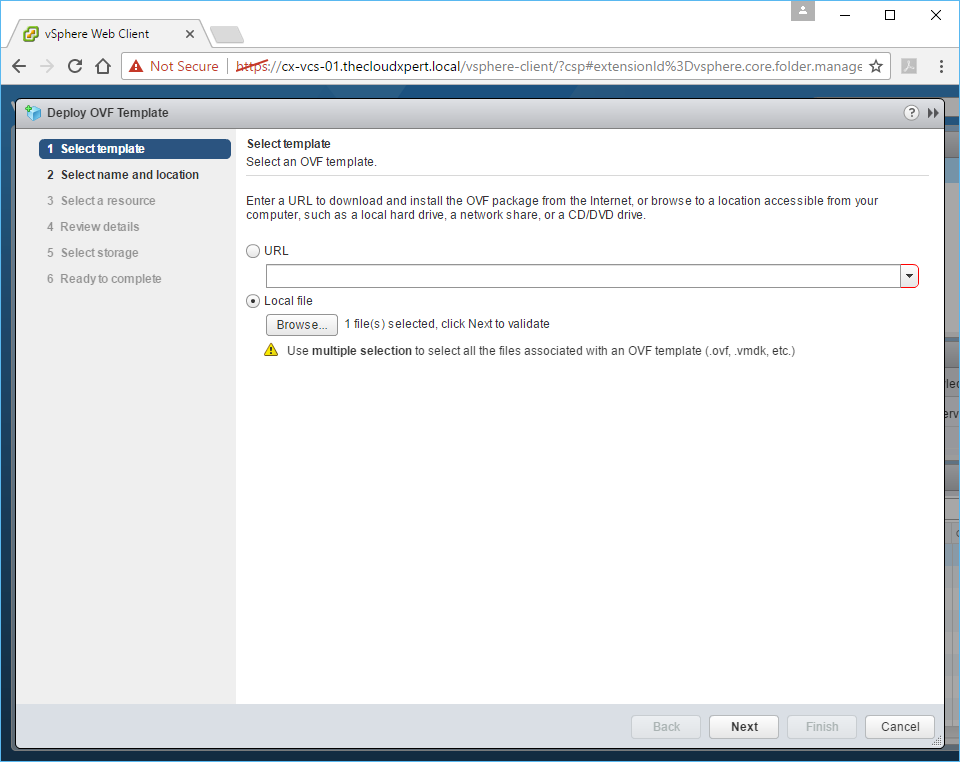
- Click Next.
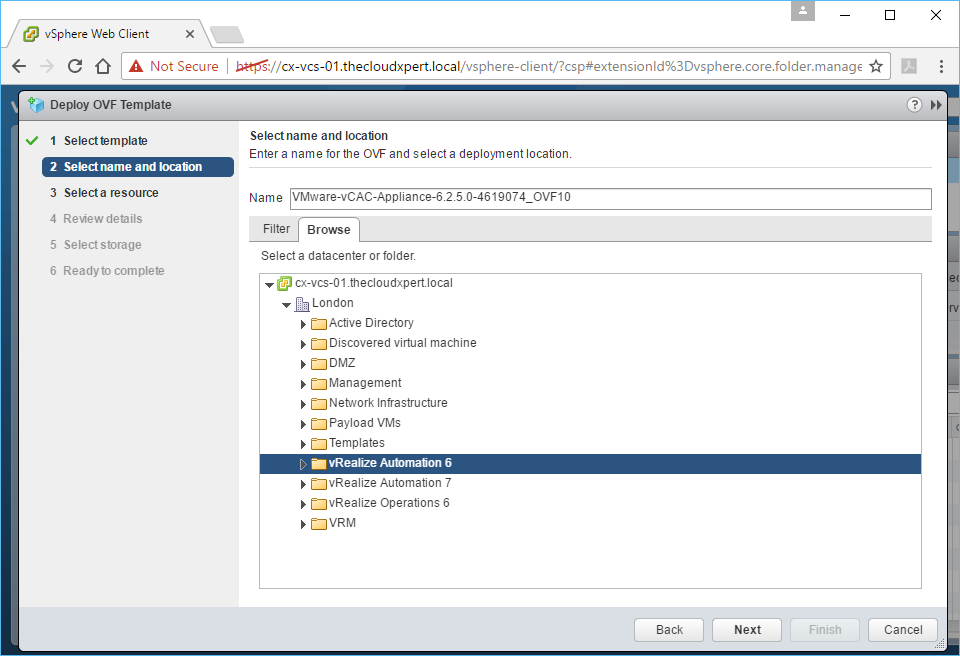
- Enter the vRealize Automation Appliance name into the the Name text field and then select the Datacentre or folder location to deploy the Appliance.
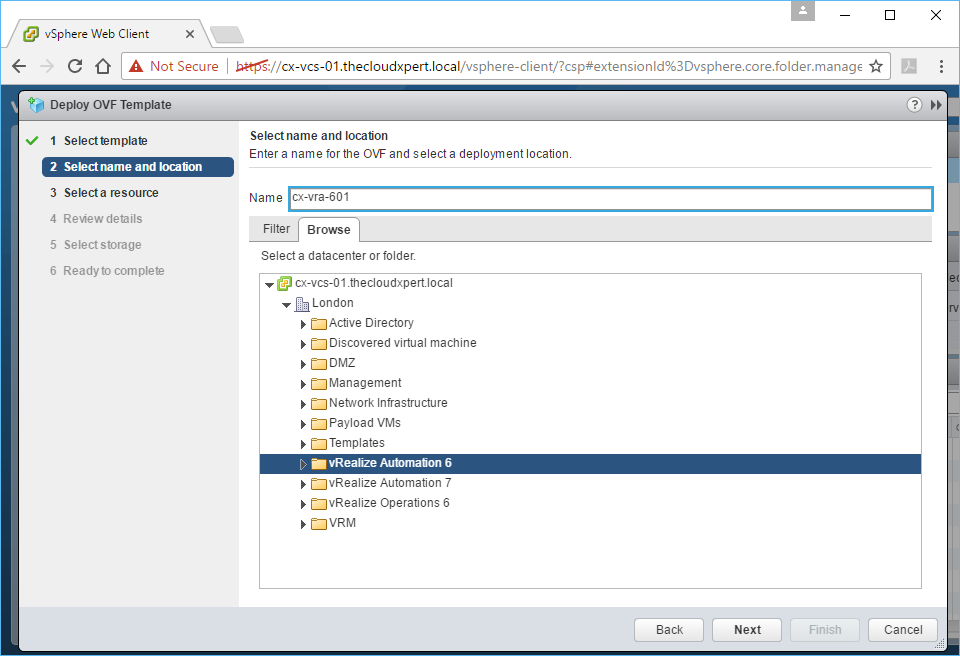
- Click Next.
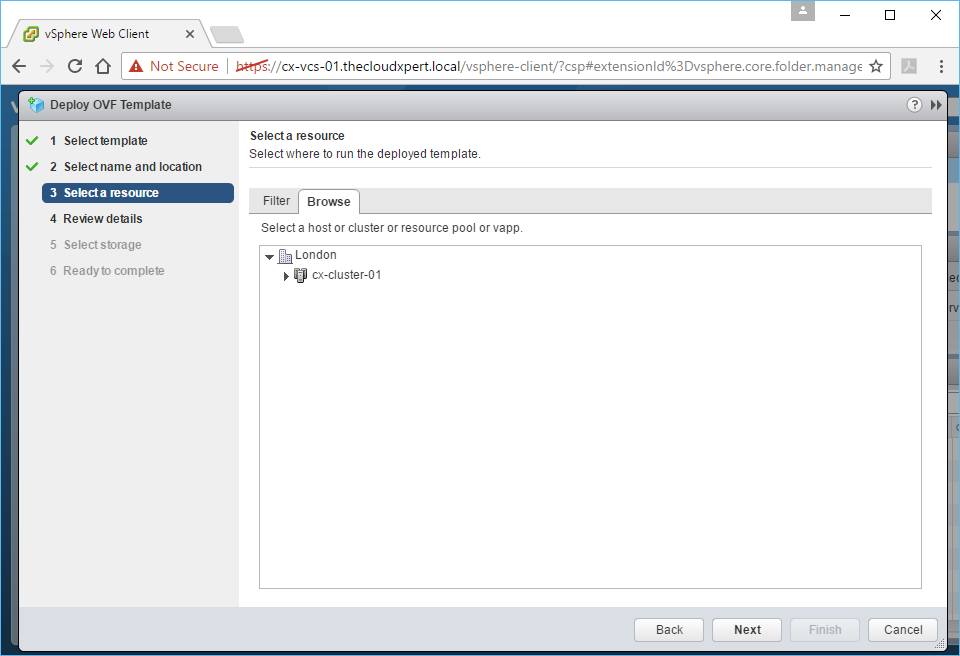
- Select the appropriate cluster, host or resource pool and then click Next.
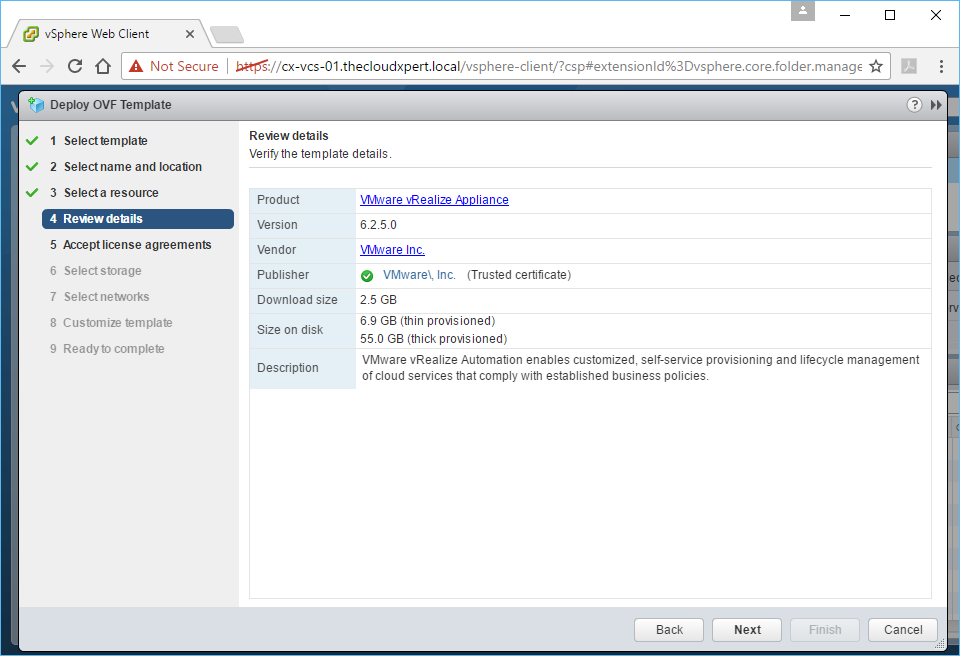
- Click Next.
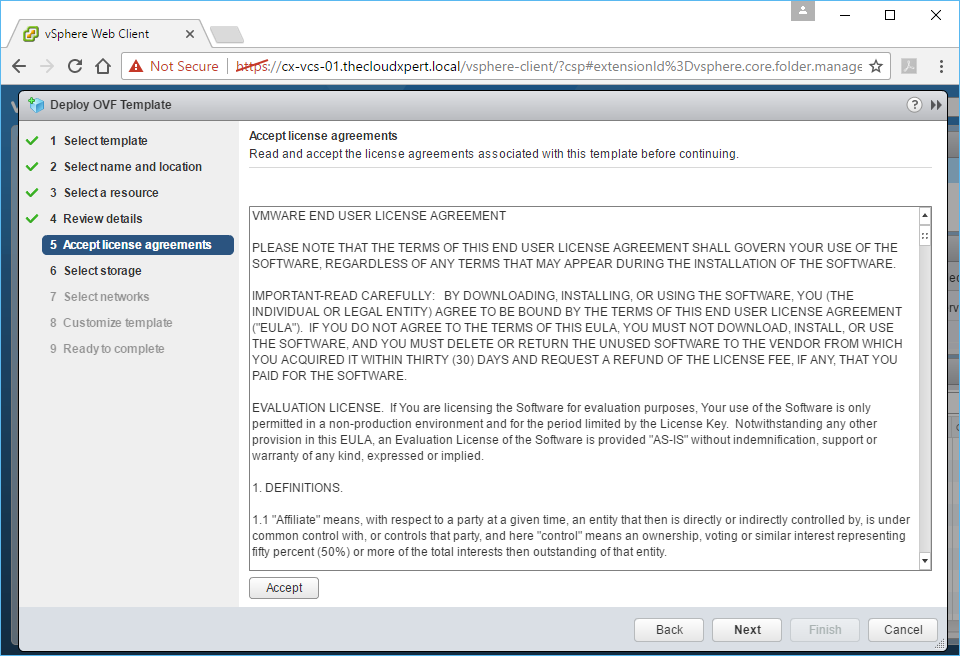
- Click Accept and then Next.
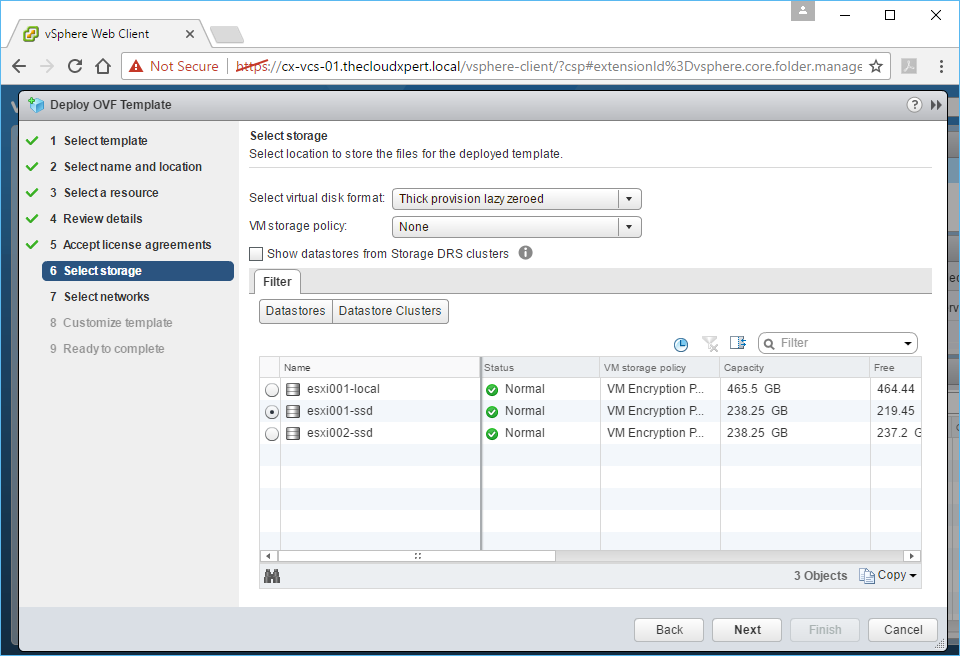
- Select the appropriate storage format and location and then click Next.
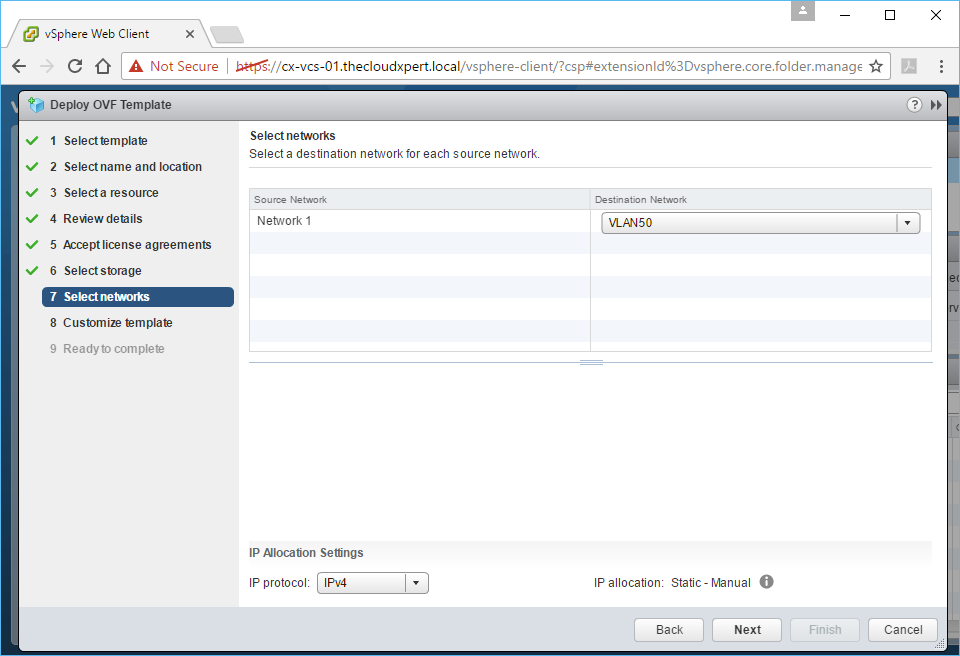
- Choose the correct Port Group from the Destination Network dropdown and click Next.
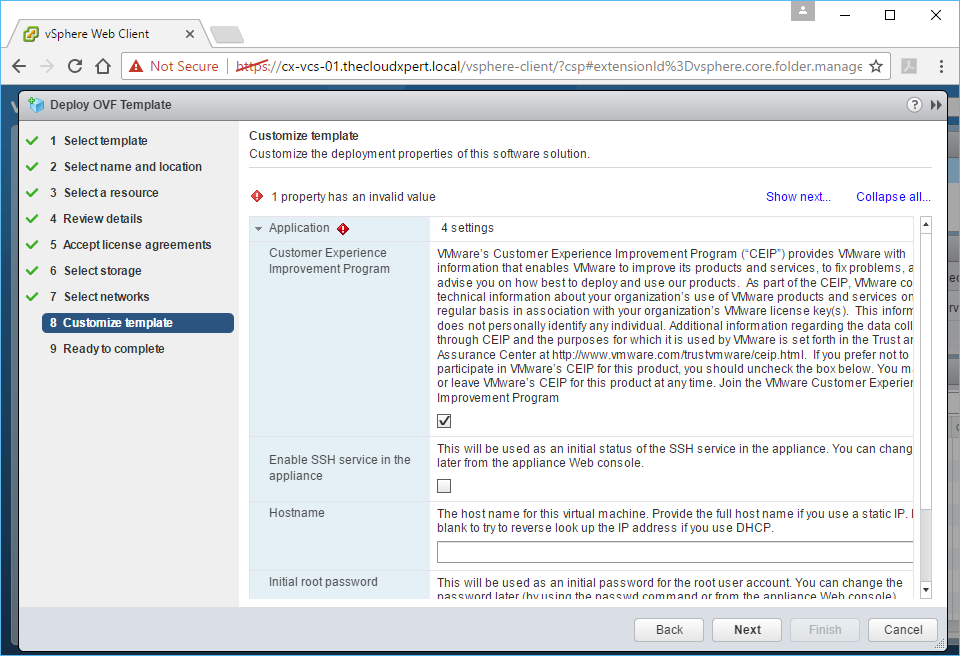
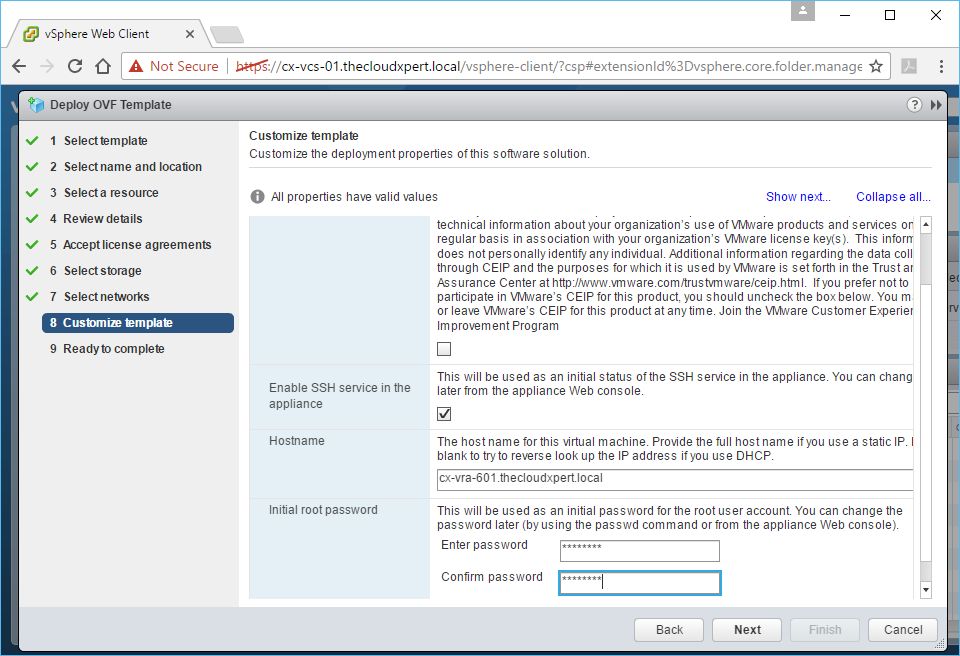
- Uncheck the Customer Experience Improvement Program checkbox, check the Enable SSH service in the appliance checkbox (this can be disabled later), enter the FQDN of the Identity Appliance into the Hostname text field and enter (then confirm) the root password in the Enter password and Confirm password text fields.
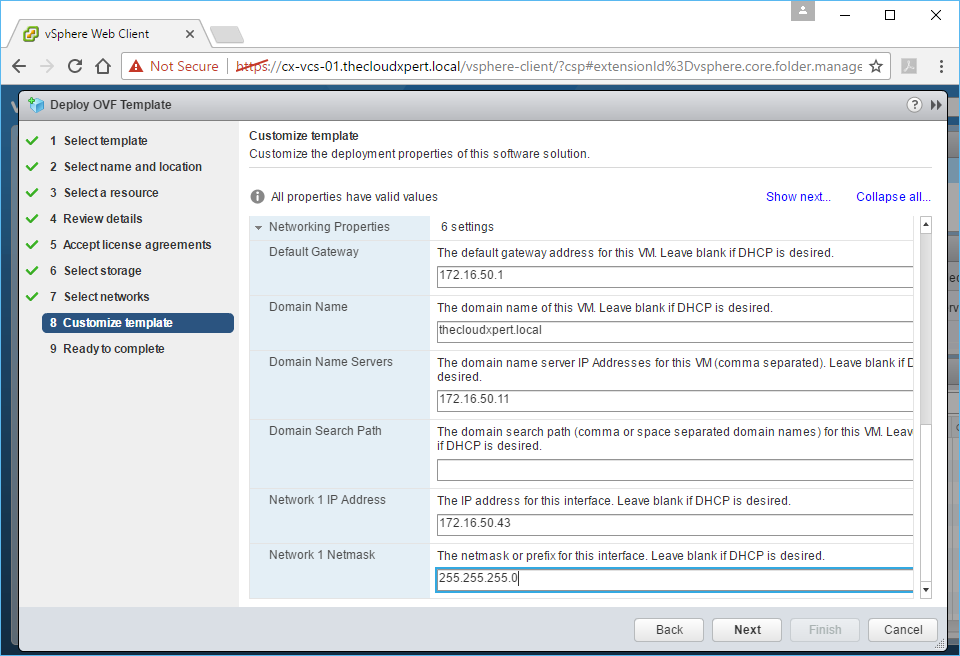
- Click on Networking Properties to expand the options and scroll down to expose the new fields to complete.
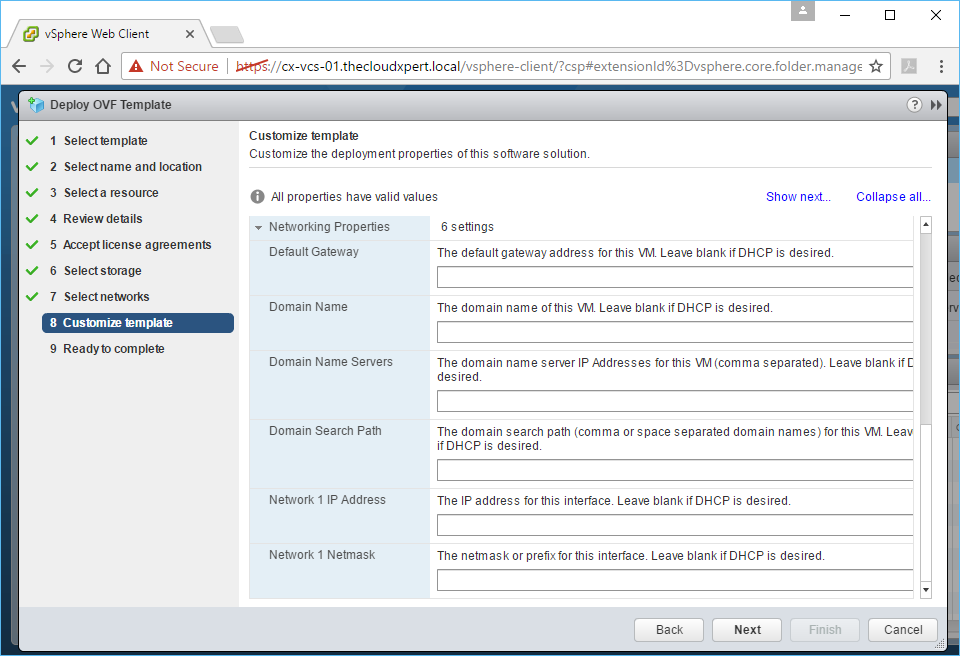
- Enter the Gateway IP Address into the Default Gateway text box, enter the domain into the Domain Name text box, enter the IP Address(es) of the DNS Server(s) into the DNS text box, enter the Appliance IP Address into the Network 1 IP Address text field and finally add the Netmask into the Network 1 Netmask text field.
- Click Next.
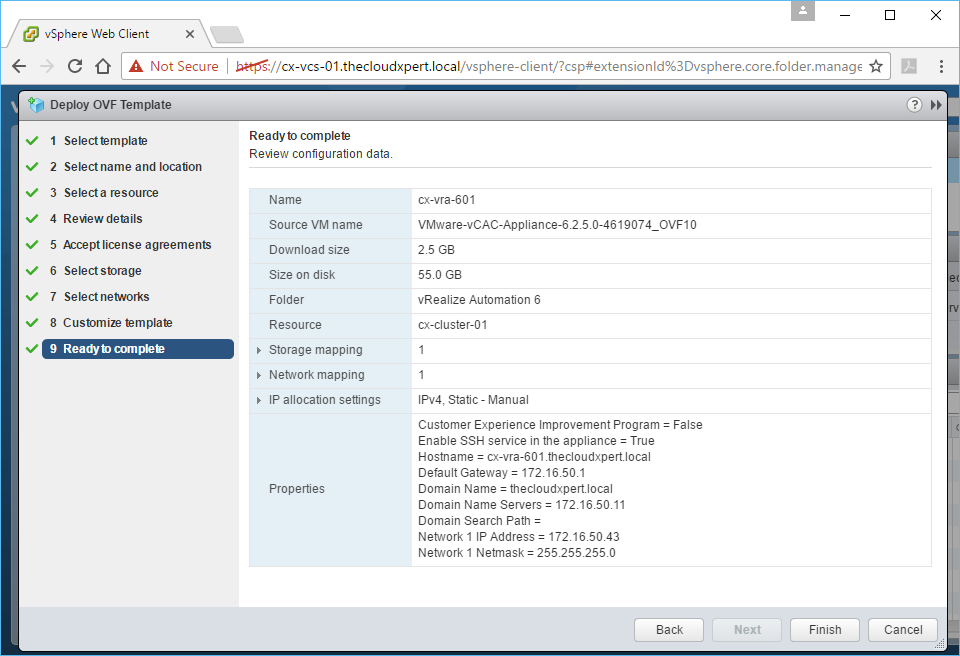
- Click Finish.
(The vRealize Automation 6 Appliance will now be deployed.)
Published on 9 January 2017 by Christopher Lewis. Words: 276. Reading Time: 2 mins.
Share this article on:
Related Post(s):
- VCAP6-CMA Deploy - Objective 3.2: Deploy and Manage Certificates and Access Control ()
- Achievement Unlocked: VMware Certified Implementation Expert 6: Data Center Virtualization ()
- Achievement Unlocked: VMware Certified Advanced Professional 6 - Data Center Virtualization Design ()
- Achievement Unlocked: VMware Certified Advanced Professional - Data Center Virtualization Deploy ()
- VMware vRealize Automation 7.2 Available! ()
About the Author:

Name: Christopher Lewis
Twitter/X: thecloudxpert
Role: Domain Expert - VCF Automation & VCF Operations
Company: Broadcom
Recent Posts by Christopher Lewis:
Blog Categories:
active directory 6
aria automation 9
aria operations 2
aws 2
certificate authority 5
certificates 5
certification 91
general 9
home lab 2
microsoft 7
nsx 45
nsx v 41
powercli 8
powershell 6
vcap 48
vcap6 2
vcenter 4
vcf 5
vcix 2
vexpert 9
vmug 5
vmware 99+
vmware aria automation 9
vmware aria operations 5
vmware cloud 3
vmware explore 2
vmware identity manager 2
vmworld 36
vrealize automation 80
vrealize business 2
vrealize operations manager 5
vrealize orchestrator 13
vrealize suite 14
vrealize suite lifecycle manager 20
vsan 5
vsphere 9
windows 6
Top Tags:
active directory 6
api 18
barcelona 24
certificates 11
certification 7
howto 33
microsoft 7
multi tenancy 9
nsx v 43
platform services controller 8
powercli 8
powershell 7
psc 6
vcap 9
vcap6 45
vcap6 cma 48
vcap6 nv 37
vcix6 nv 36
vexpert 19
vmug 8
vmware 99+
vmware aria 12
vmware aria automation 9
vmworld 35
vmworld 2016 13
vmworld 2017 9
vra 13
vrealize automation 74
vrealize operations 8
vrealize orchestrator 21
vrealize suite lifecycle manager 11
vrslcm 20
vsan 7
vsphere 12