HOWTO: Configure the VMware vRealize Automation 6.x Appliance (Minimal Deployment)
VMware vRealize Automation VCAP6 VCAP6-CMA
Published on 10 January 2017 by Christopher Lewis. Words: 577. Reading Time: 3 mins.
Introduction
This post is a part of a series of posts for preparation for the VCAP6-CMA Deploy exam. For the full exam prep resources check here .
Prerequisites
- Deploy the VMware vRealize Automation Appliance from OVA.
- Power On the vRealize Automation Appliance.
Configuration Overview
The high level configuration steps for this appliance are:
- Connect to the Automation Appliance VAMI
- Configure the Time/NTP settings
- Confirm the Network Settings
- Configure the Host Settings
- Configure the SSO Settings
- Configure Licensing
- Confirm vRealize Automation Services Status
- Logon to the vRealize Automation Portal
Step by Step Walkthrough
Connect to the Identity Appliance VAMI
- Using a web browser, navigate to VAMI of the Automation Appliance (
https://automation-appliance.fqdn:5480)
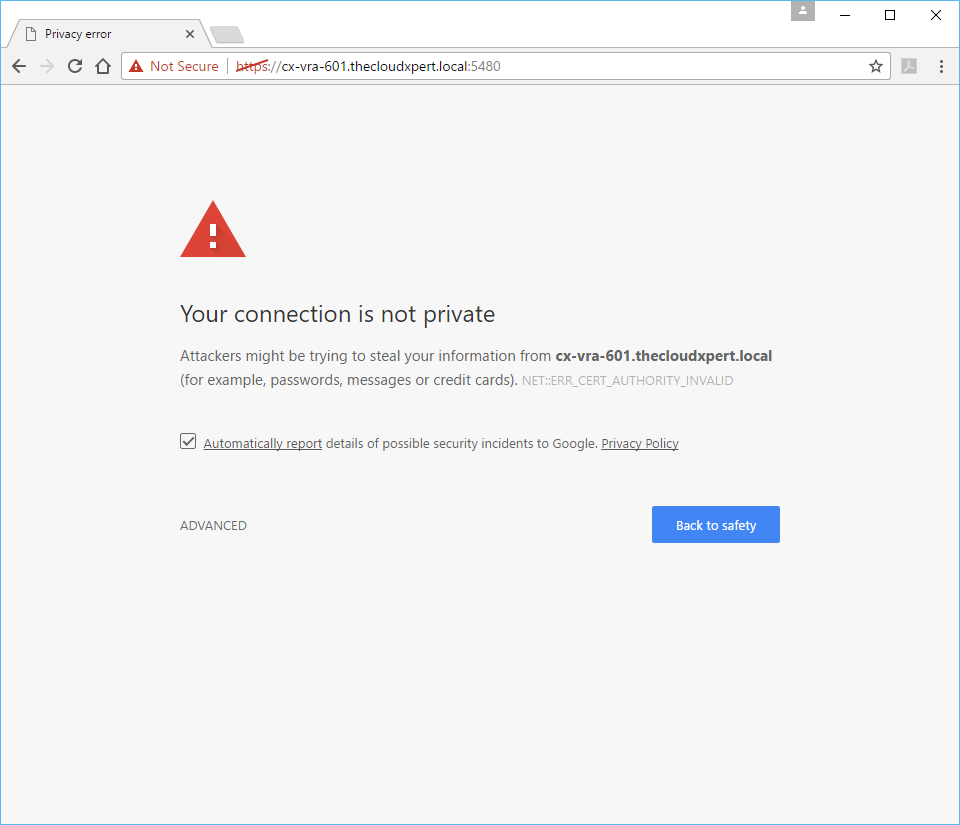
- Click Advanced and then click Proceed to automation-appliance.fqdn (unsafe).
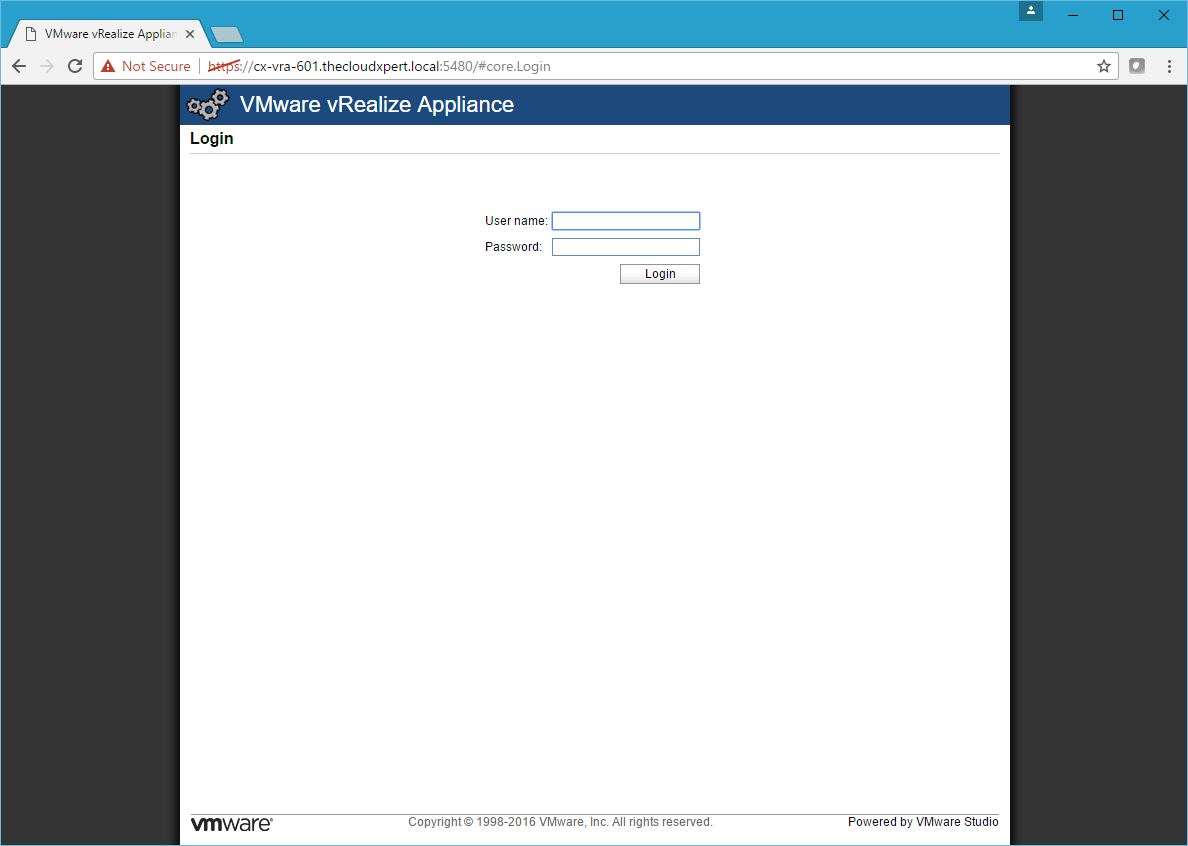
- Enter root into the User name text field and the password for the root account into the Password text field. Click Login.
Configure the Time / NTP Settings
- Click the Admin Tab and then the Time Settings Tab.
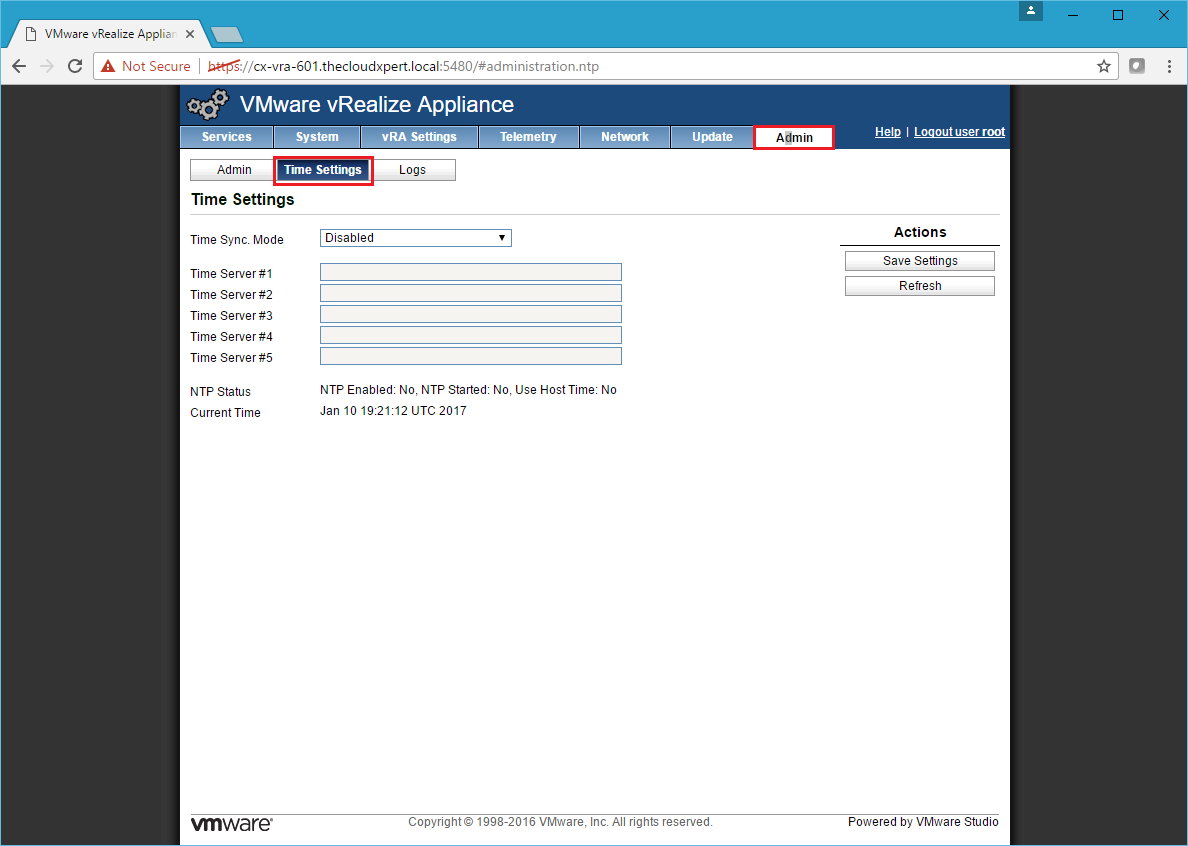
- Select Use Time Server from the Time Sync. Mode dropdown and enter the time server(s) in the text field(s) and click Save Settings.
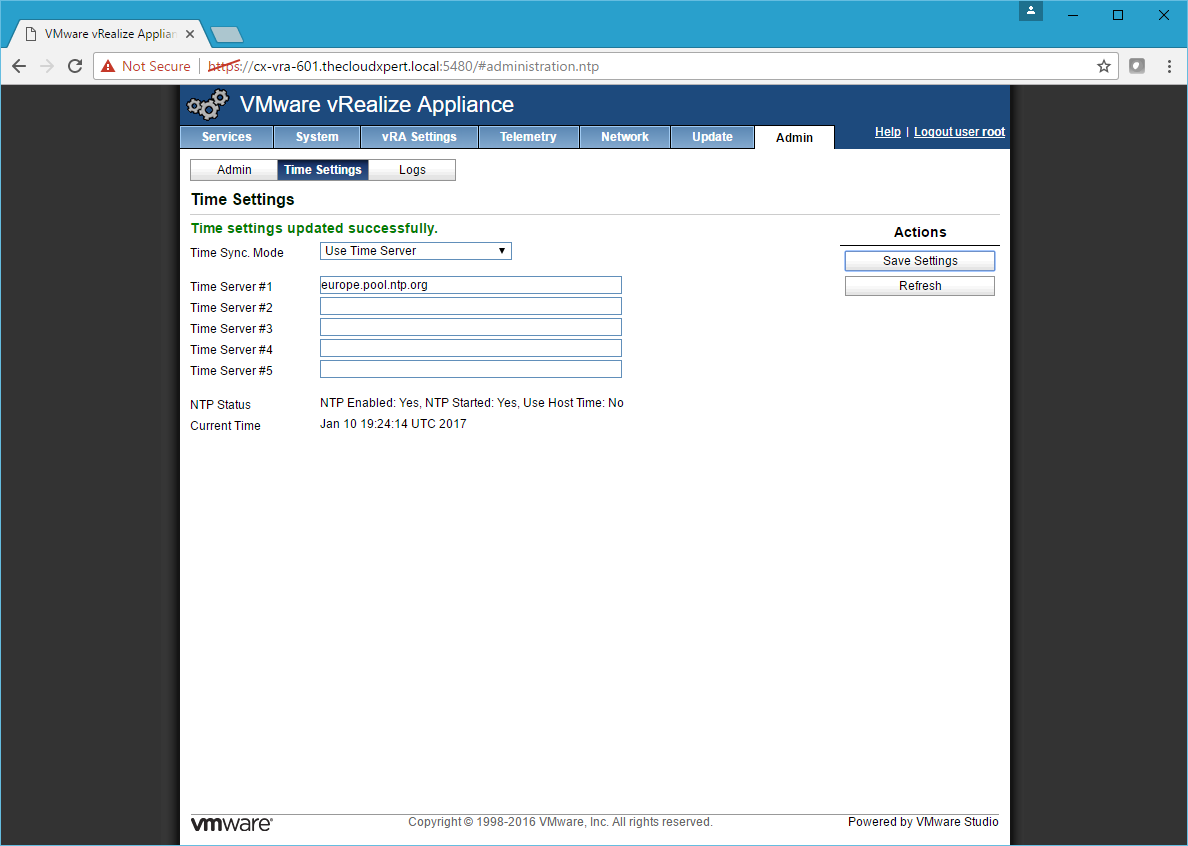
Note:
It is important to use the same consistent time source throughout the implementation of vRealize Automation.
Confirm the Network Settings
- Click the Network Tab and then click the Status Tab to confirm the network settings of the Automation Appliance are correct.
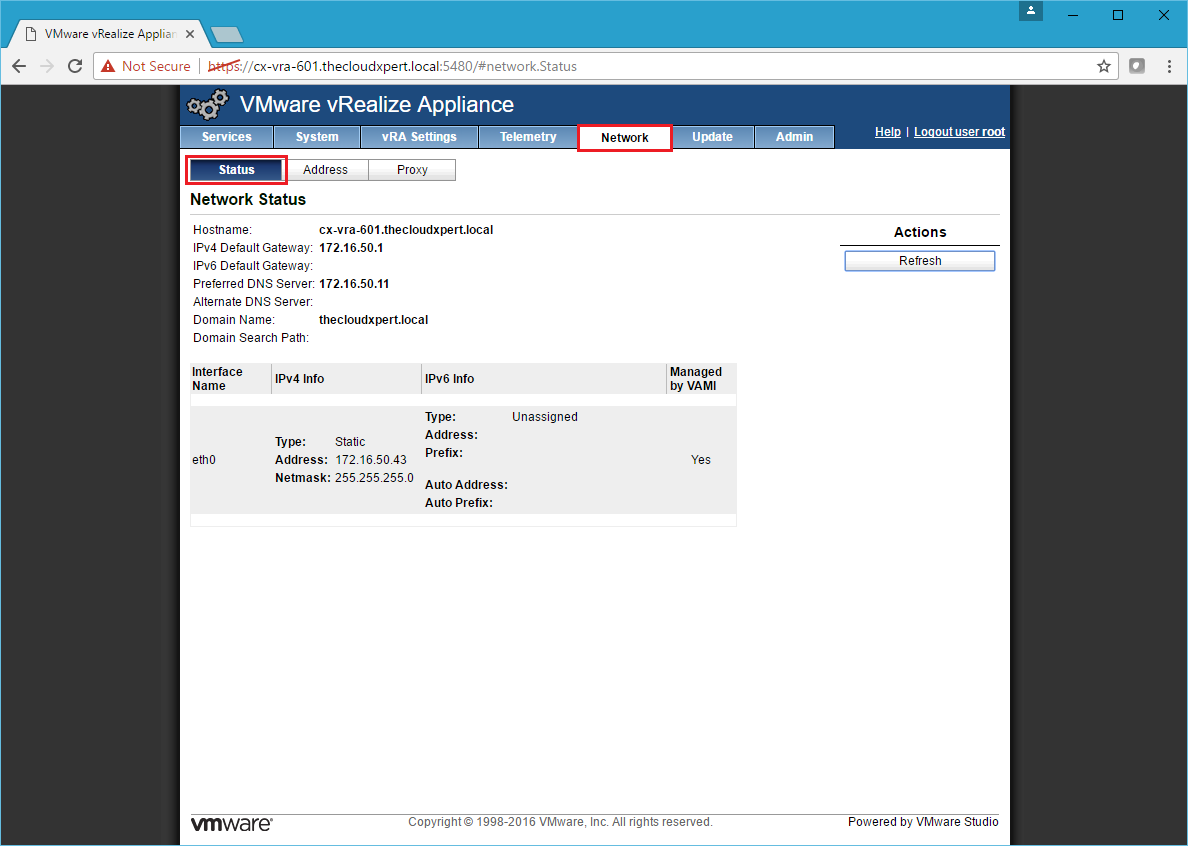
Note:
If the settings are incorrect, click the Address Tab, update the relevant settings, click Save Settings and then reboot the appliance.
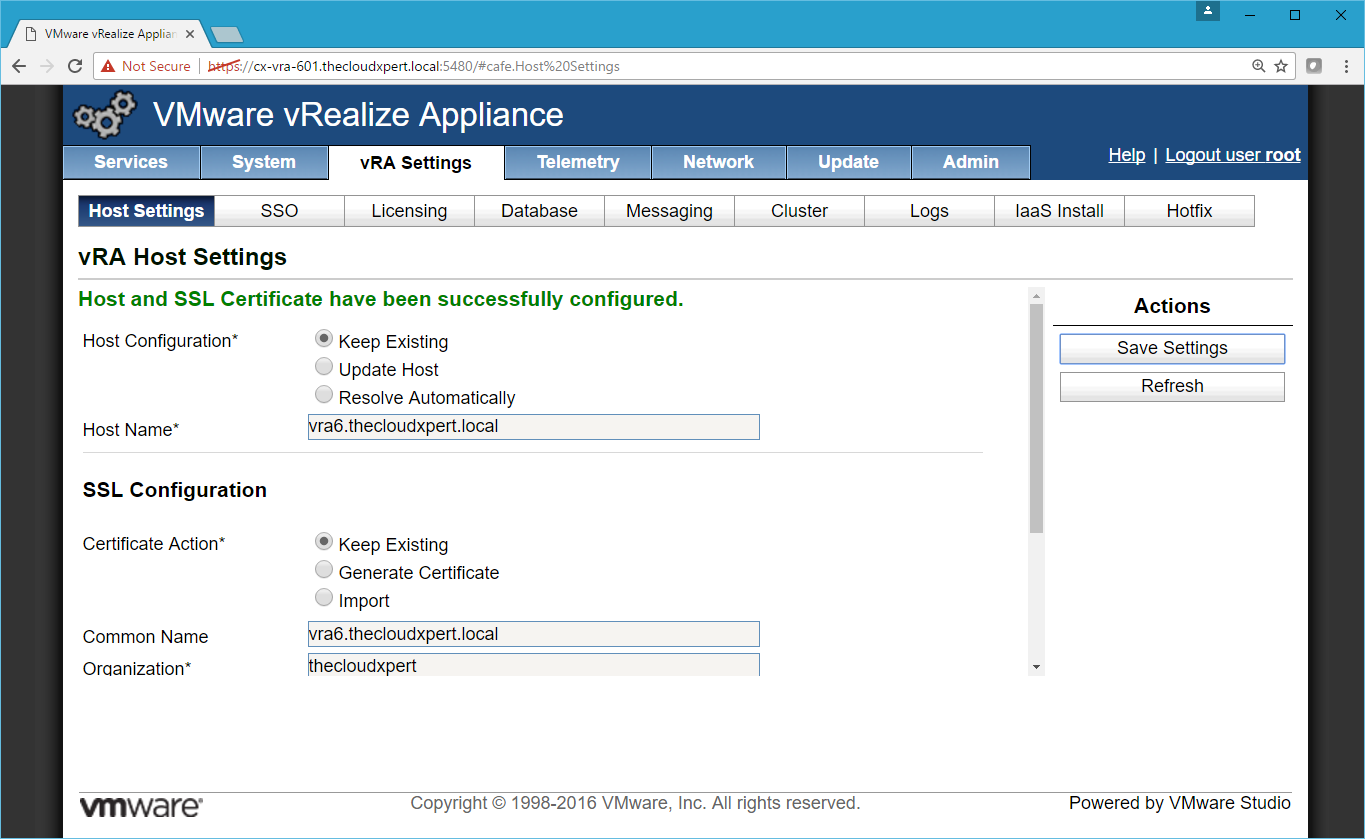
Configure the Host Settings
- Select the vRA Settings Tab and then select **Host Settings **Tab.
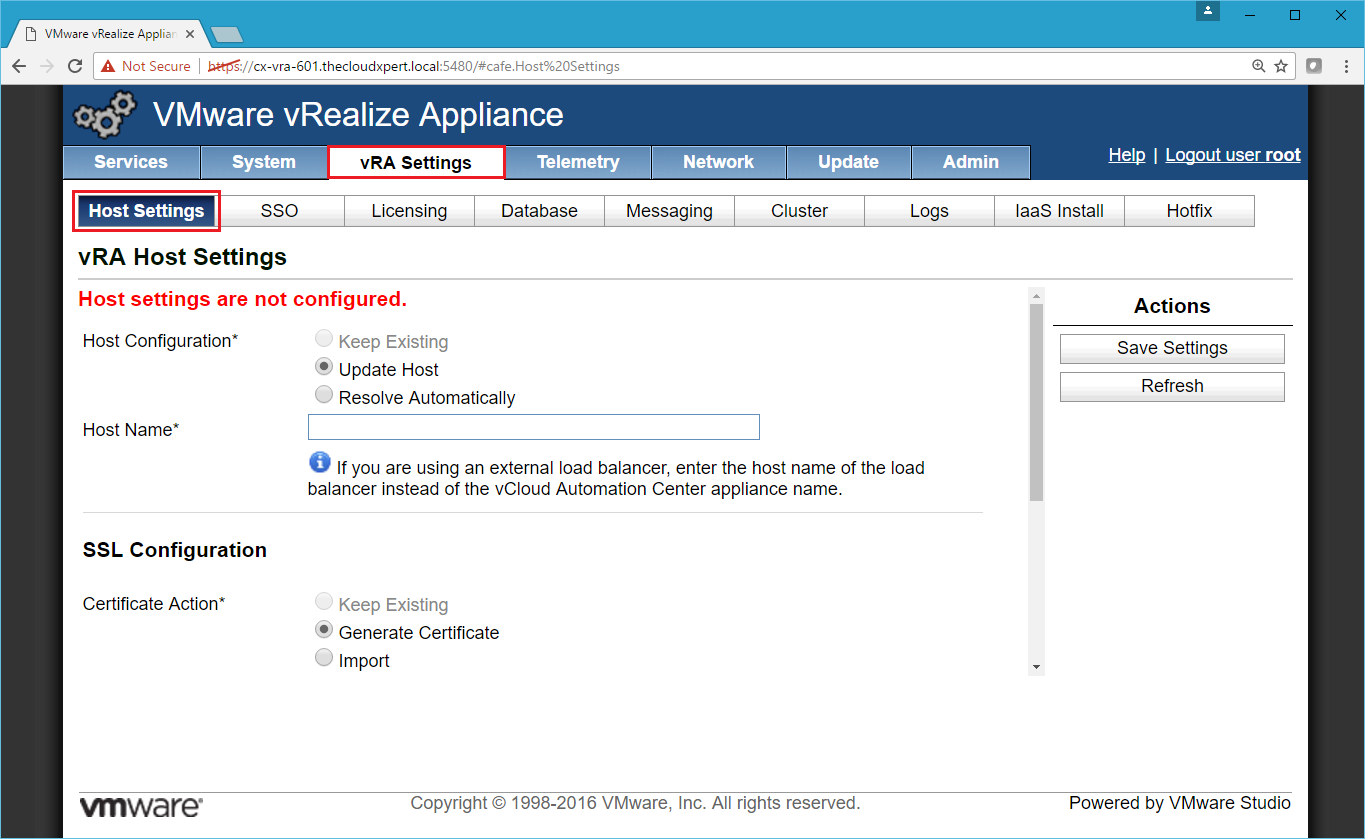
- Enter the FQDN of the appliance (or, if in a distributed installation, the external load balancer or a DNS entry if you’re using that as a service name) into the Host Name text field.
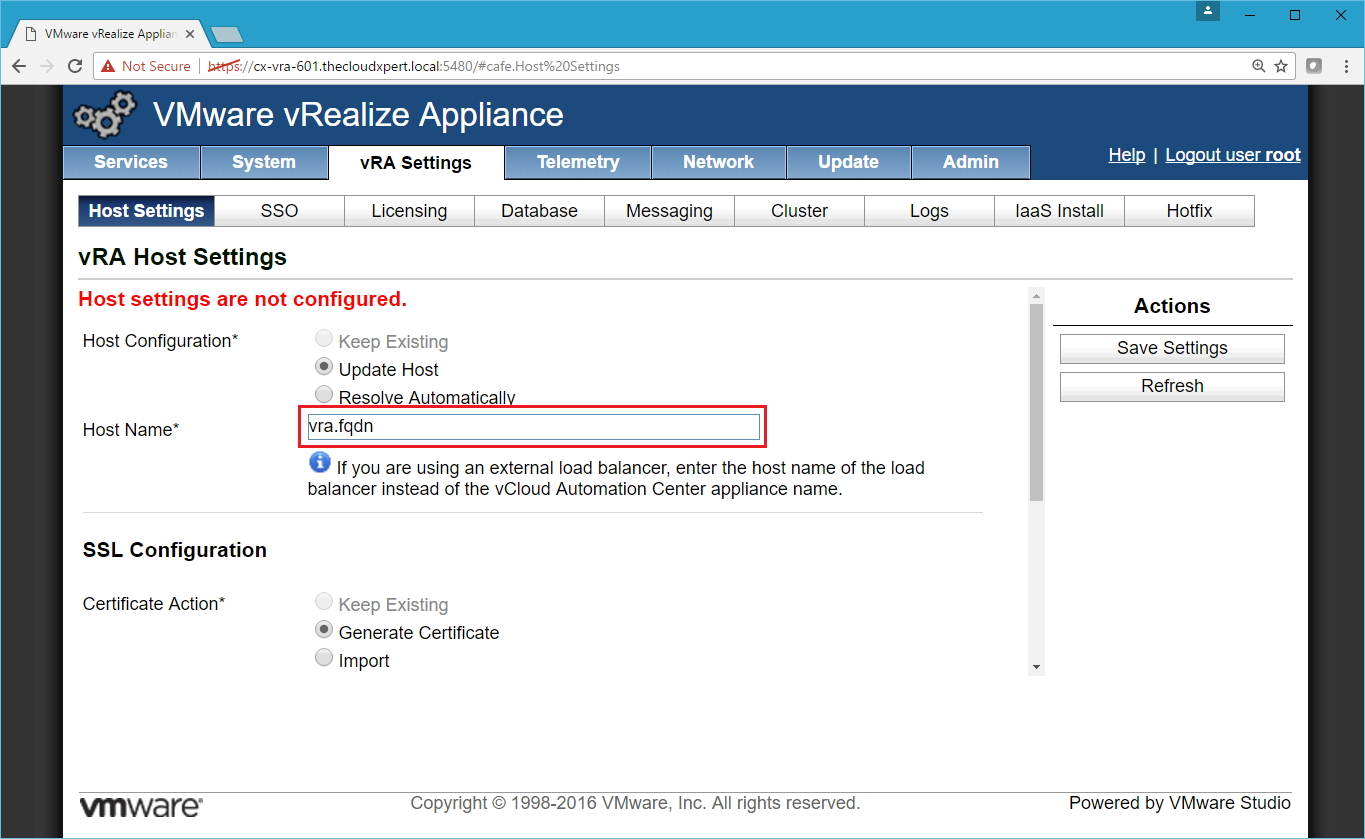
- Under SSL Configuration, select Import from the Certificate Action options and then scroll down.
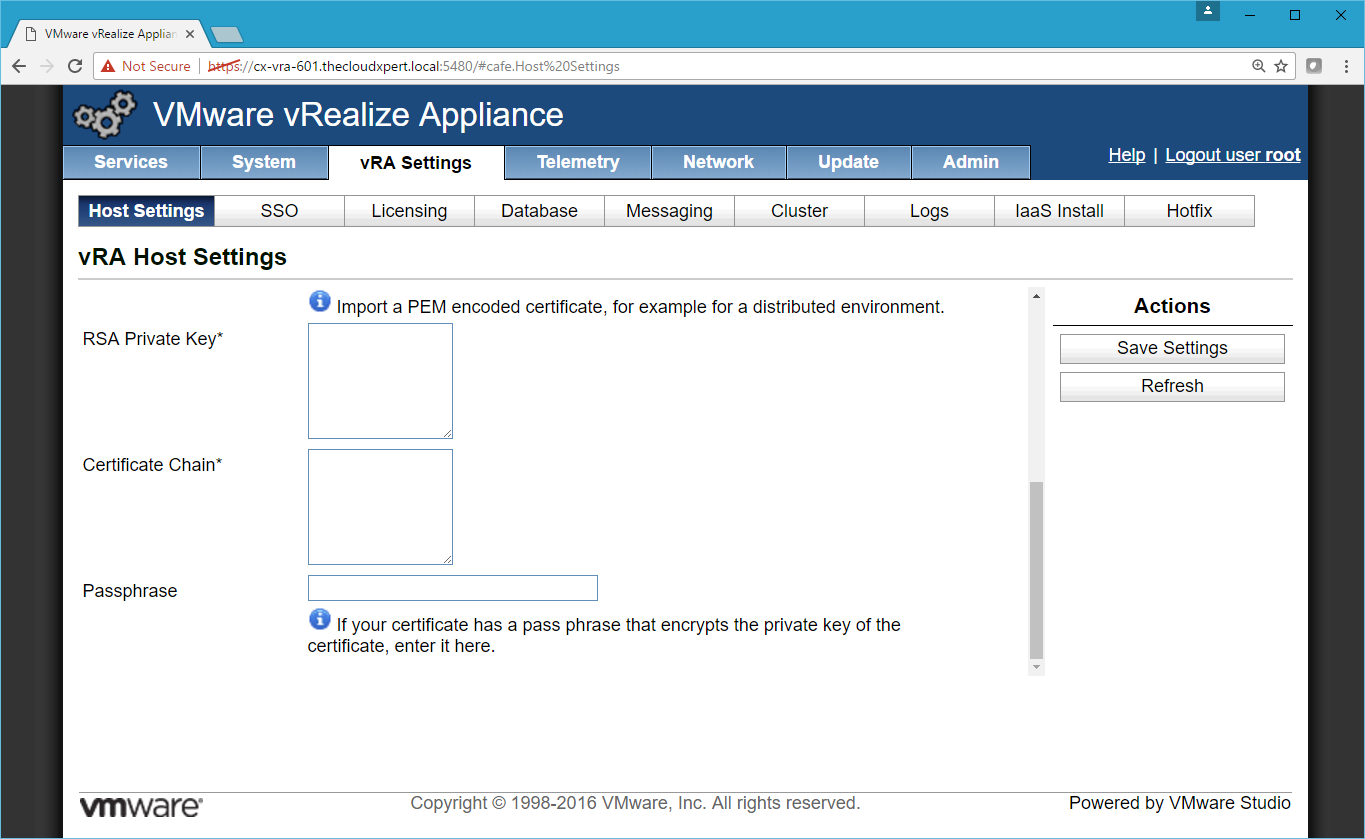
- Copy the entire contents of the Private Key File (including the
-----BEGIN RSA PRIVATE KEY-----and-----END RSA PRIVATE KEY-----text) into the RSA Private Key text field.

- Copy the entire contents of the SSL Certificate (including the
-----BEGIN CERTIFICATE-----and-----END CERTIFICATE-----text) and the contents of each Subordinate Root CA Certificate and finally the Root CA certificate into the **Certificate Chain **text field.
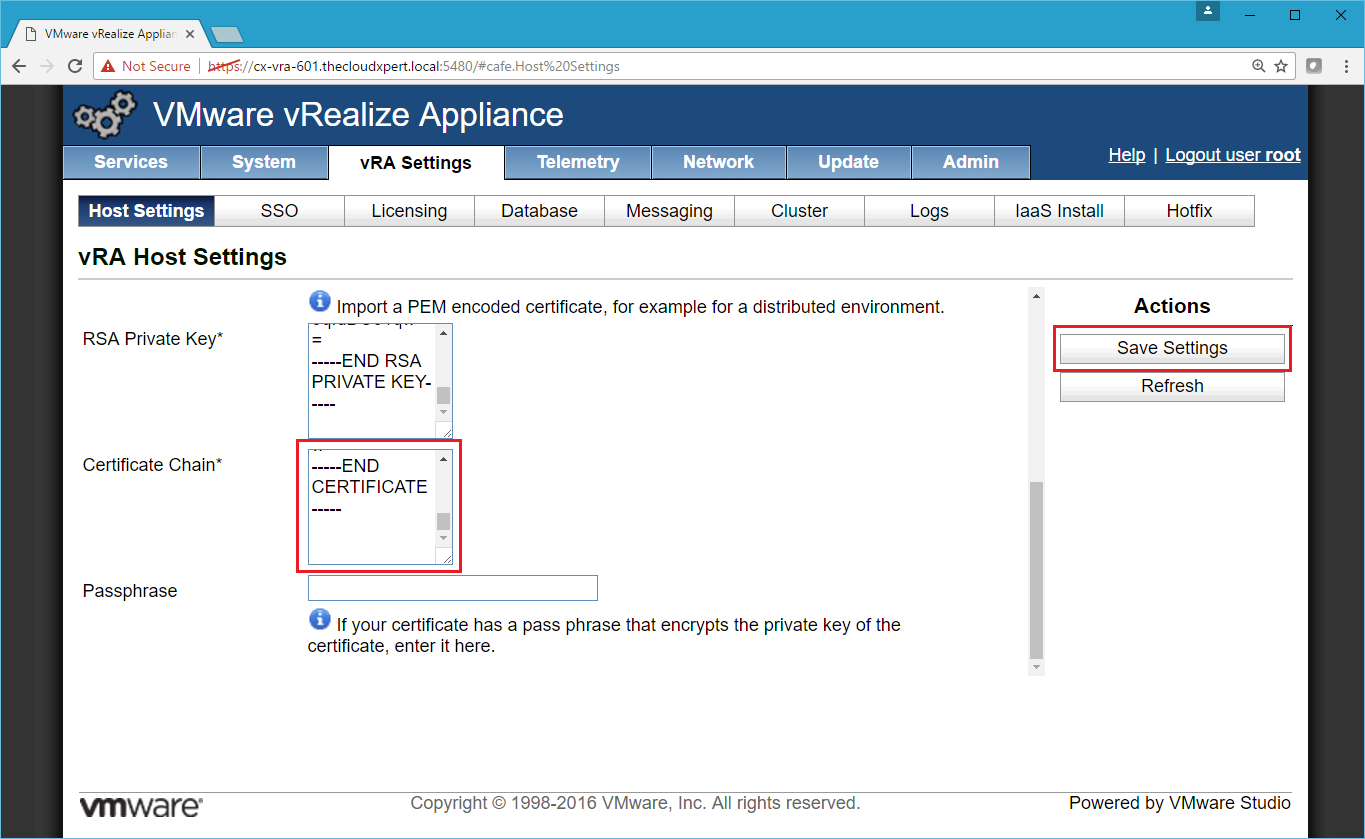
- Click Save Settings.
Configure the SSO Settings
- Click the SSO Tab.
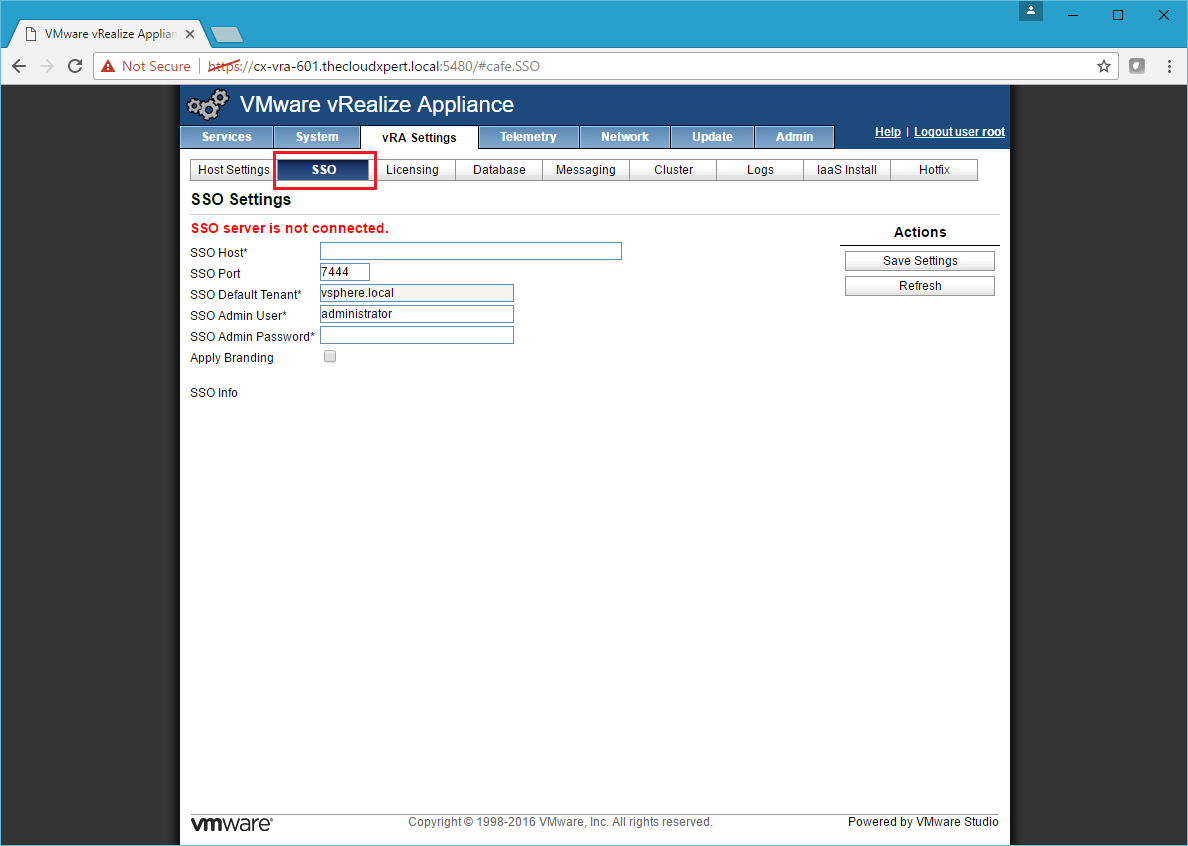
- Enter the FQDN of the previously deployed Identity Appliance into the SSO Host text box, leave the value in the SSO Port text box as the default 7444, enter the SSO administrator password into the SSO Admin Password text box and then check the Apply Branding checkbox. Then click Save Settings.
Note:
When prompted with a Certificate Warning / Confirmation for the Identity Appliance, confirm the certificate is valid and click OK.
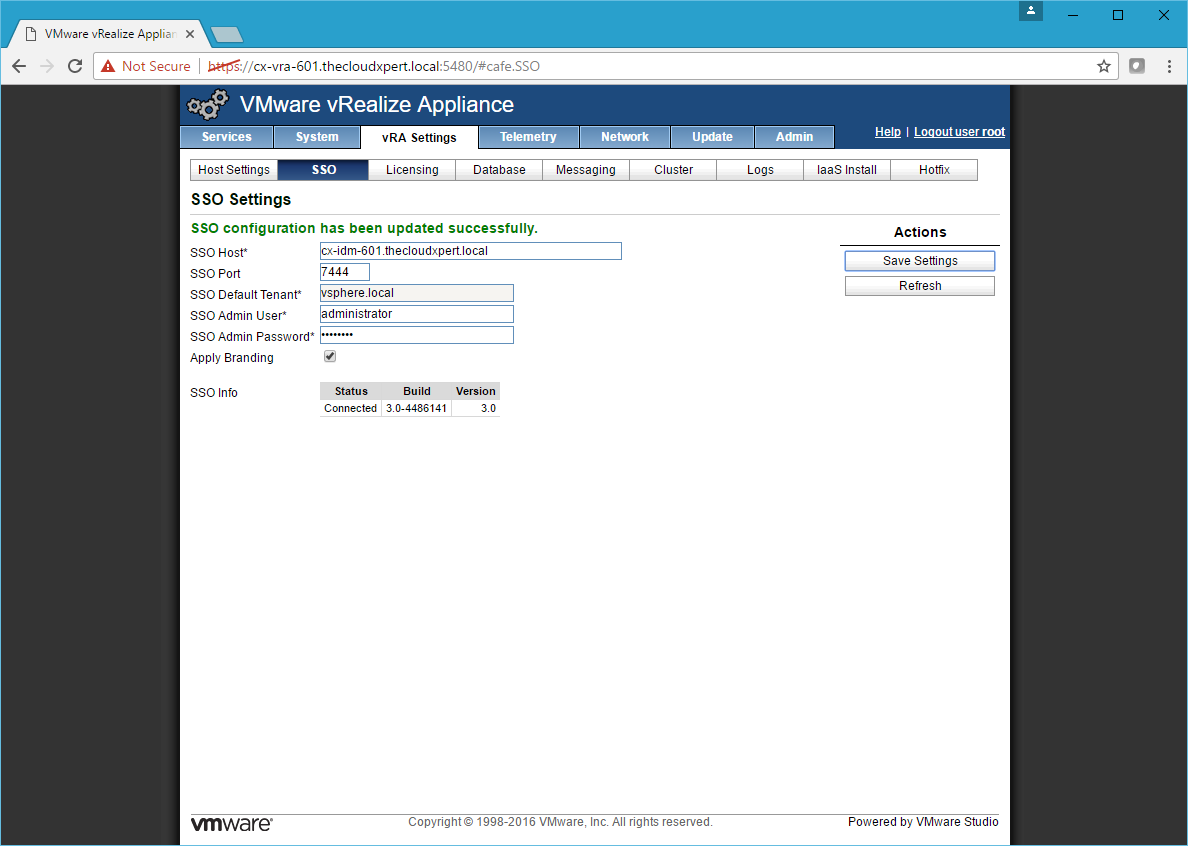
Note:
If we were using VMware vSphere 5.5 SSO or vSphere 6.0 Platform Services Controllers as our identity source, we would need to amend the SSO Port number to 443.
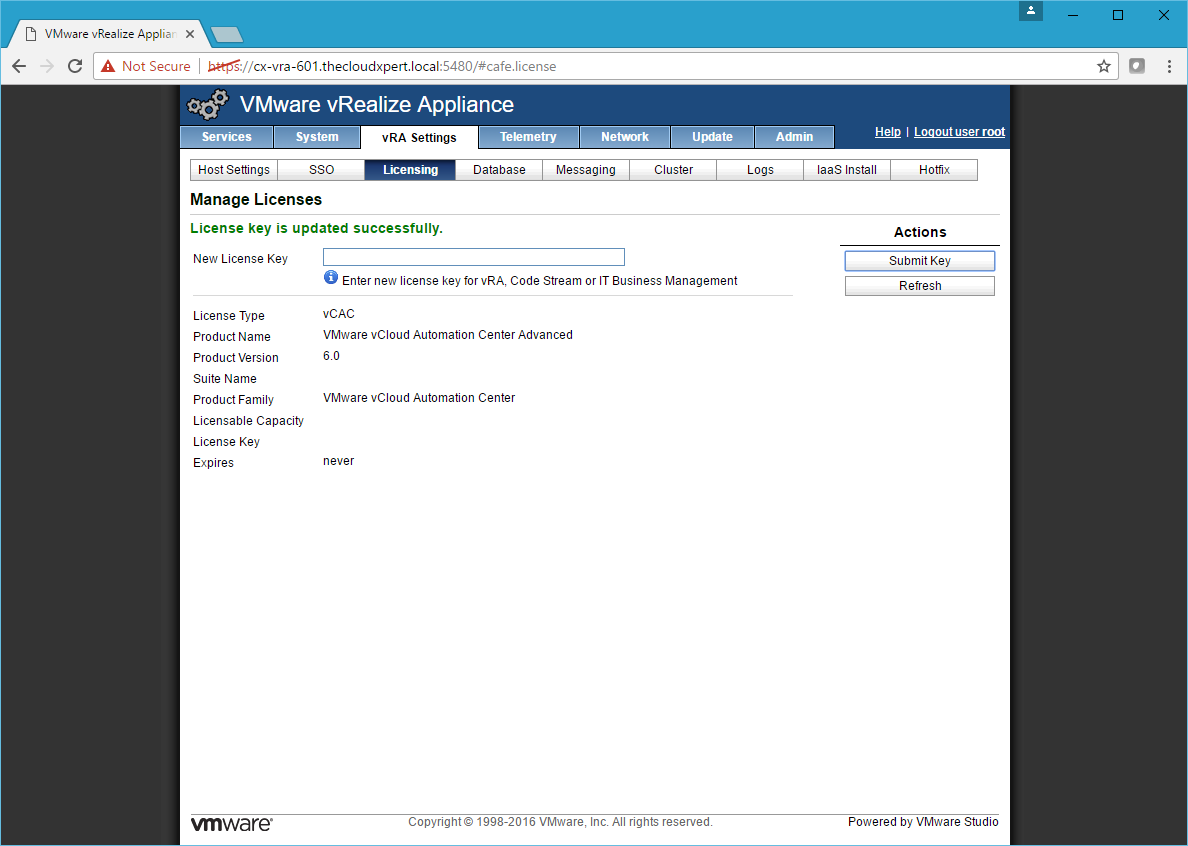
Configure Licensing (Optional)
- Click the Licensing Tab.
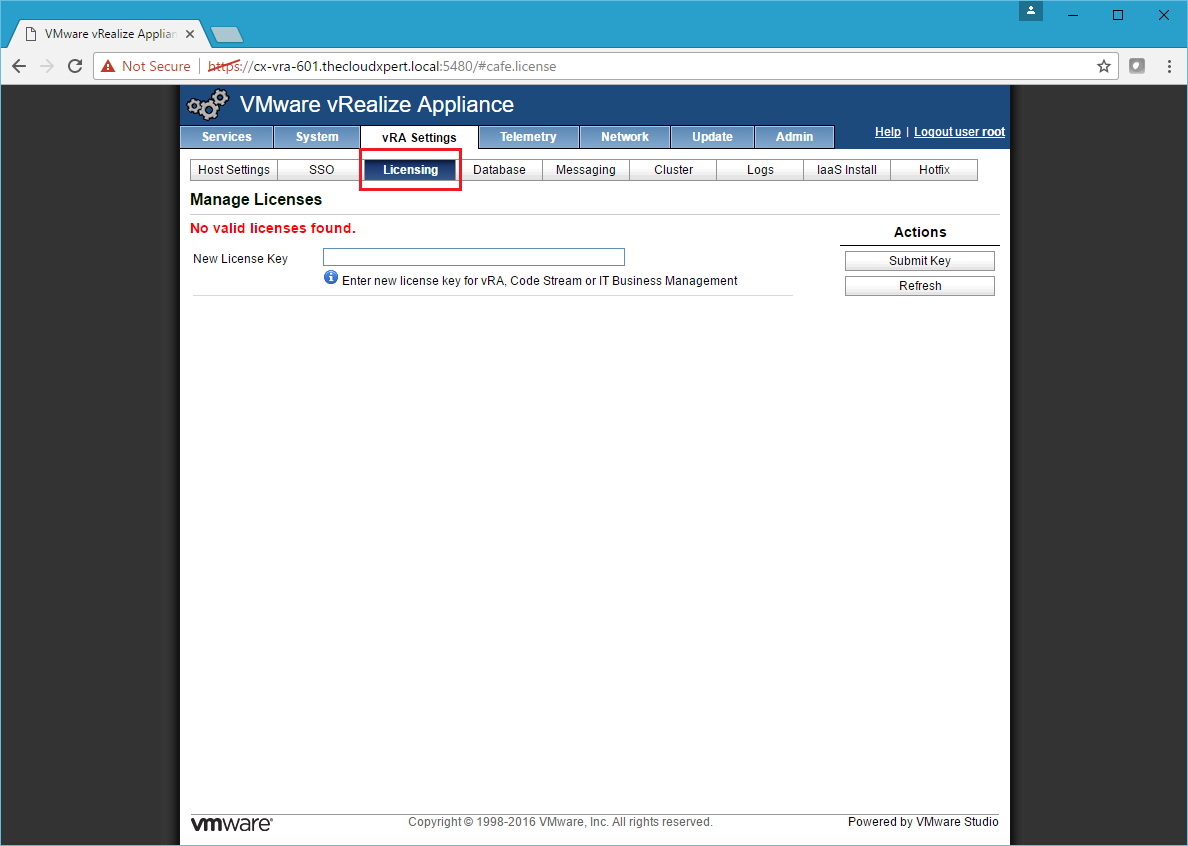
- Enter the vRealize Automation 6 key into the New License Key text box, then click Submit Key.
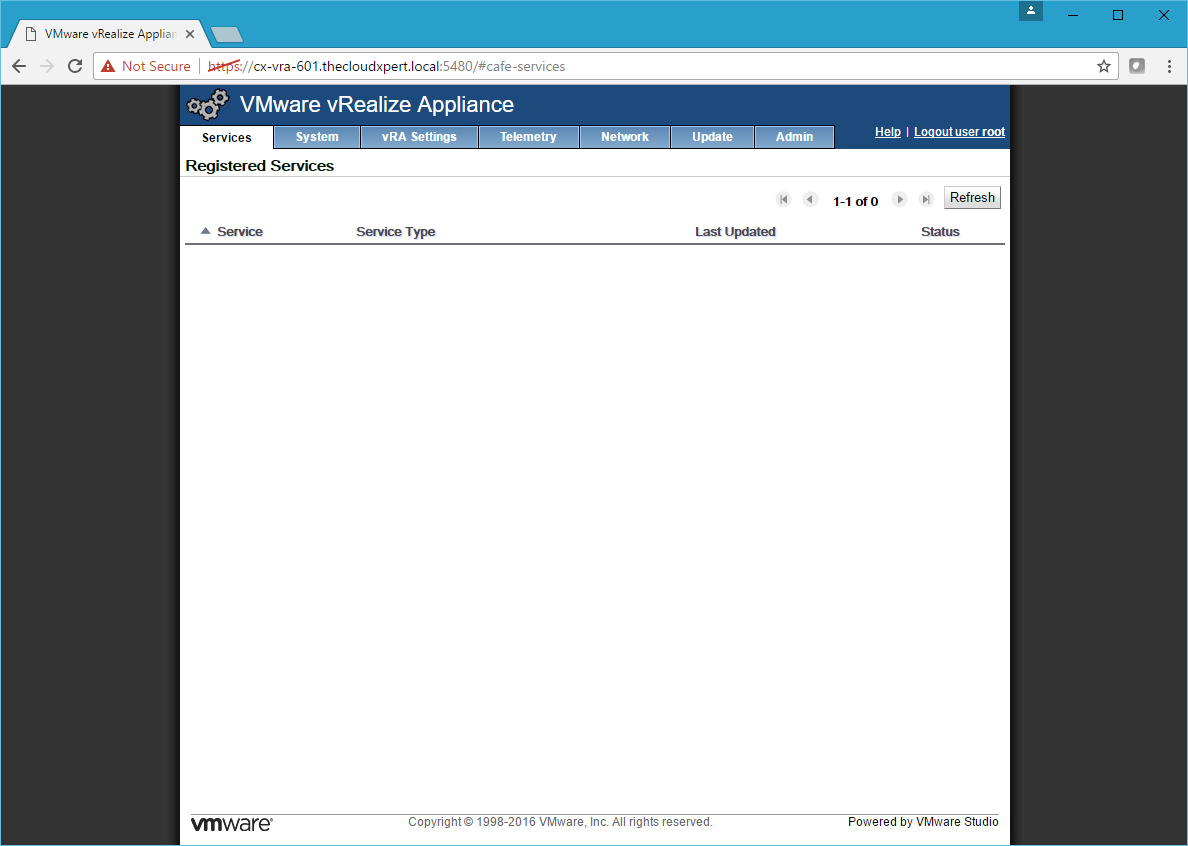
Confirm vRealize Automation Services Status
- Click the Services Tab
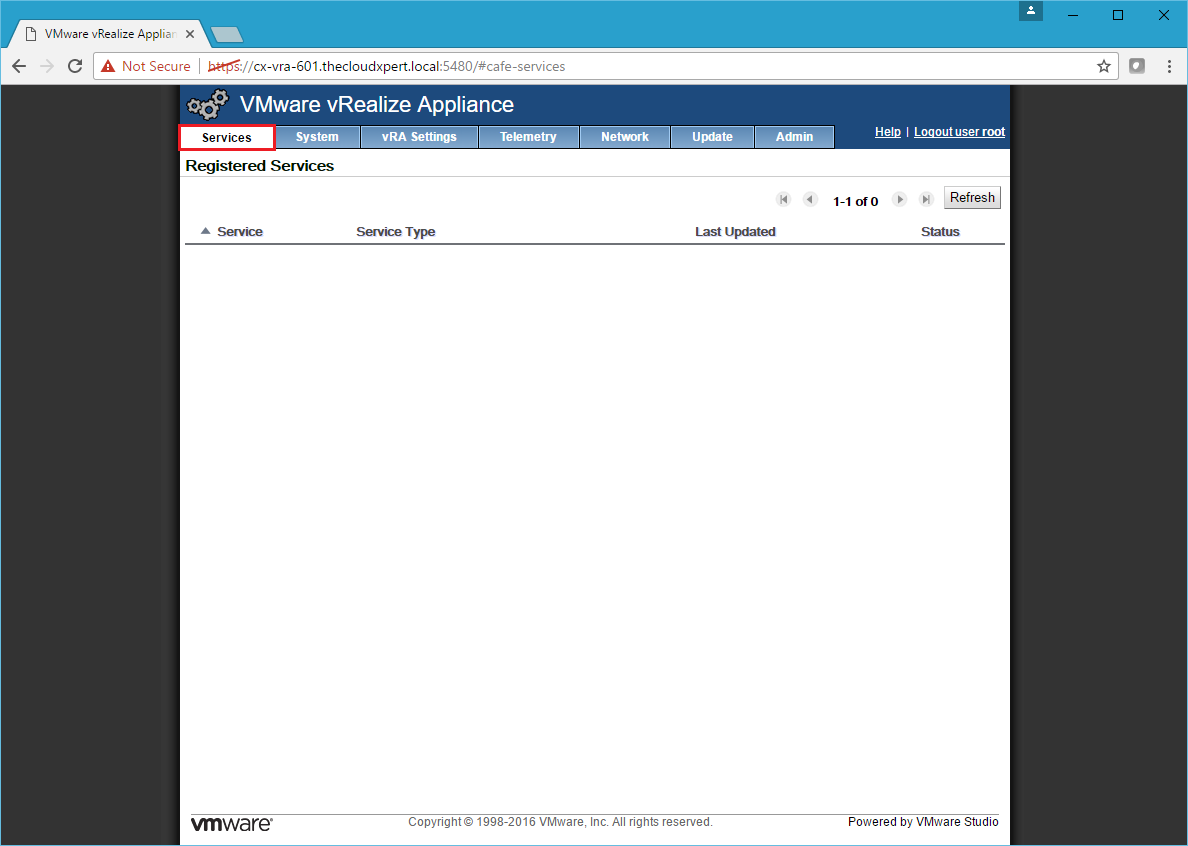
- Click Refresh to confirm the status of all services is REGISTERED.
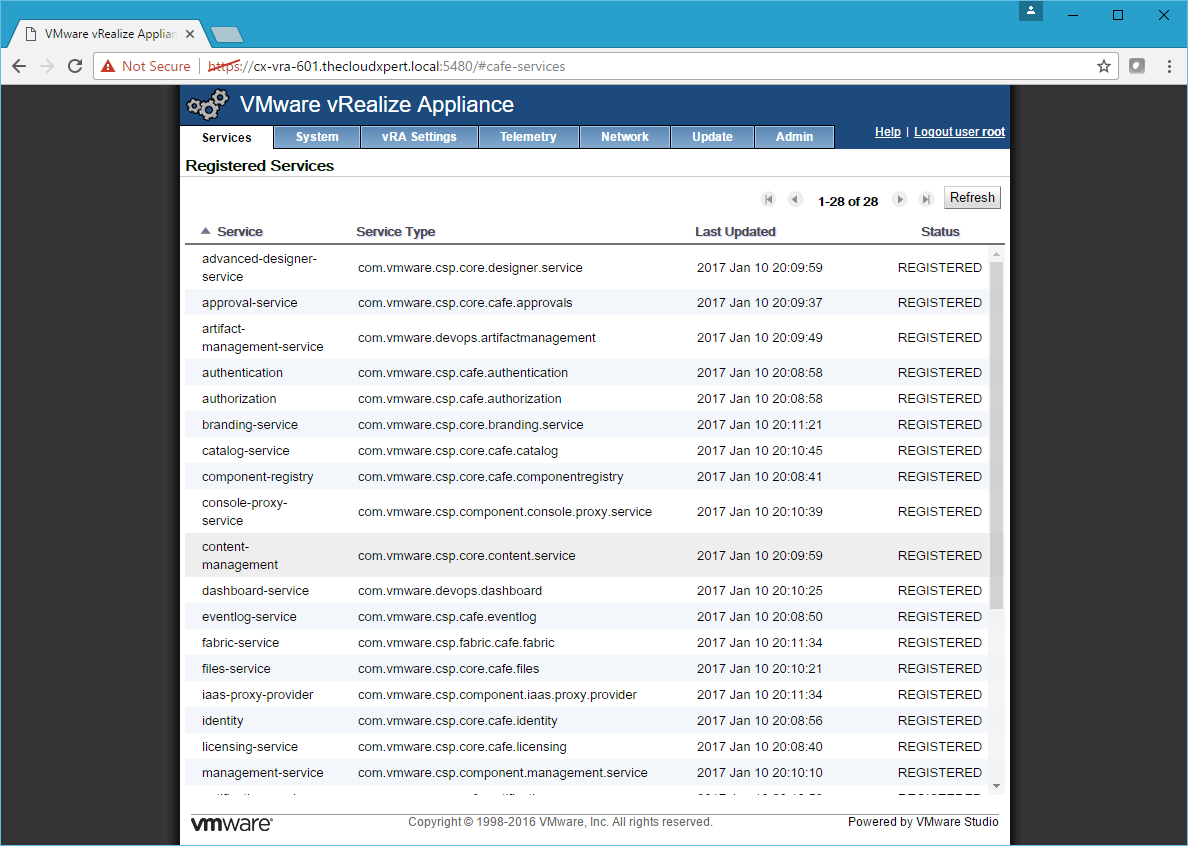
- Click Logout user root.
Logon to the vRealize Automation Portal
- Navigate to the** VMware vRealize Automation Portal** ( https://vra-appliance.fqdn/vcac )
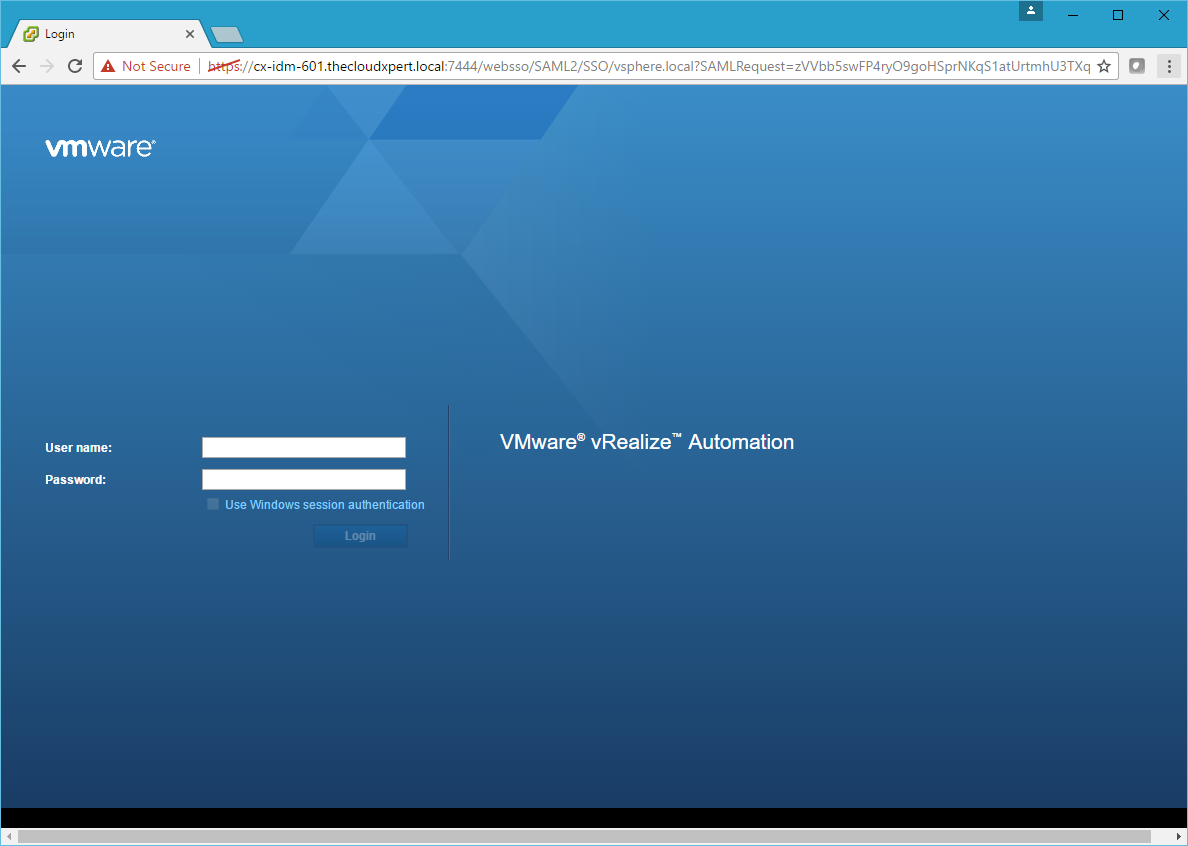
- Enter the vRealize Automation SSO administrator ( Administrator@vsphere.local ) into the User name text box, enter the relevant password into the Password text box and then click Login.
Published on 10 January 2017 by Christopher Lewis. Words: 577. Reading Time: 3 mins.
- HOWTO: Deploy the Identity Appliance for vRealize Automation 6.x ()
- HOWTO: Configure the VMware Identity Appliance for vRealize Automation 6.x ()
- HOWTO: Deploy the VMware vRealize Automation 6.x Appliance (OVA) ()
- VCAP6-CMA Deploy - Objective 3.2: Deploy and Manage Certificates and Access Control ()
- Achievement Unlocked: VMware Certified Implementation Expert 6: Data Center Virtualization ()
