HOWTO: Configure the vRealize Automation 6.x Appliance(s) (Distributed Install)
VMware vRealize Automation VCAP6 VCAP6-CMA
Published on 24 January 2017 by Christopher Lewis. Words: 721. Reading Time: 4 mins.
Introduction
This post is a part of a series of posts for preparation for the VCAP6-CMA Deploy exam. For the full exam prep resources check here .
Prerequisite Steps
- Deploy a supported Highly Available SSO Solution
- Create DNS A and PTR Records for:
- vRealize Automation VIP
- vRealize Automation Database VIP
- vRealize Automation Appliance 1
- vRealize Automation Appliance 2
- Create a Subject Alternative Name Certificate containing the following FQDNs:
- vRealize Automation VIP
- vRealize Automation Appliance 1
- vRealize Automation Appliance 2
- Deploy 2 x vRealize Automation Appliances ( HOWTO )
- Configure a Load Balanced VIP for the vRA Appliance ( DOC ).
- Configure a Load Balanced VIP for the vRA Database ( DOC ).
- Download
2108923_dbCluster.zipand extract2108923_dbCluster.tarfrom KB2108923
Overview
- Add a 20GB Disk to each vRealize Automation Appliance.
- Configure each vRealize Automation Appliance Database for replication.
- Enable Postgres Database Replication
- Configure the Primary vRealize Automation Appliance
- Configure the Secondary vRealize Automation Appliance
Step by Step Instructions
Add a 20GB Disk to each vRealize Automation Appliance
-
Log into the vSphere Web Client and navigate to the vRA Appliance.
-
Select Action > Edit Settings…
-
Select New Hard Disk from the New Device dropdown and click Add.
-
Amend the disk space of the New hard disk to 20GB and then click OK.
-
Power On the vRealize Automation Appliance.
Configure each vRealize Automation Appliance Database for replication
-
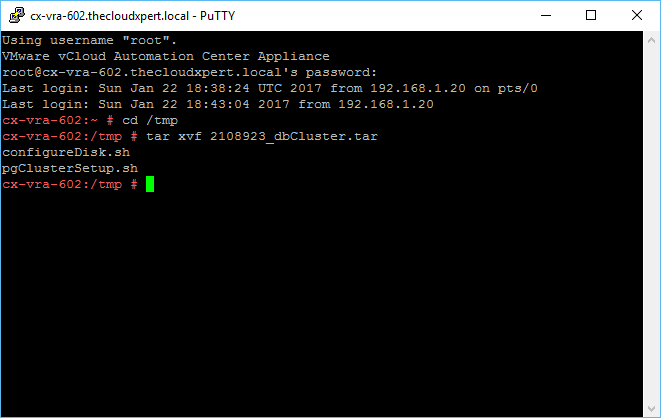
Using your SCP tool of choice, copy 2108923_dbCluster.tar into the /tmp folder of the appliance.
-
Open a SSH/PuTTy Session to the vRealize Automation Appliance.
- Enter the root username and password, then press Enter.
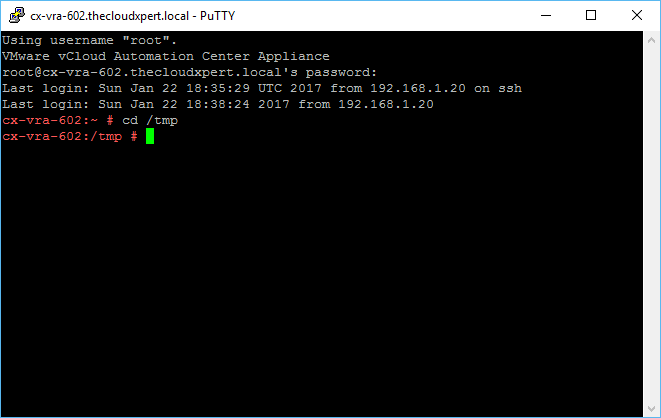
- Type
cd /tmpand pressing Enter.
- Unpack the tar file by typing
tar xvf 2108923_dbCluster.tarand press Enter.
- Type
parted -land press Enter.

- Type
./configureDisk.sh /dev/sddand press Enter.
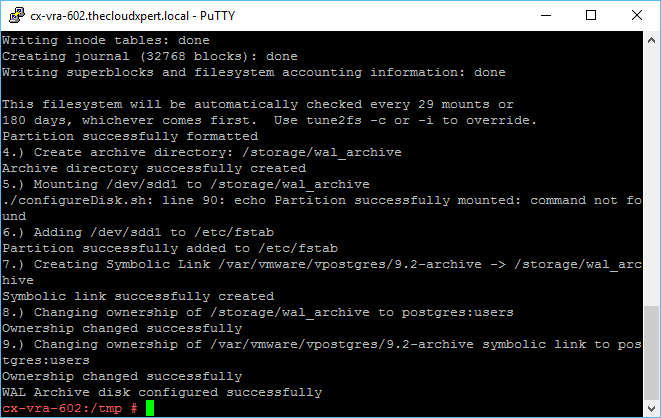
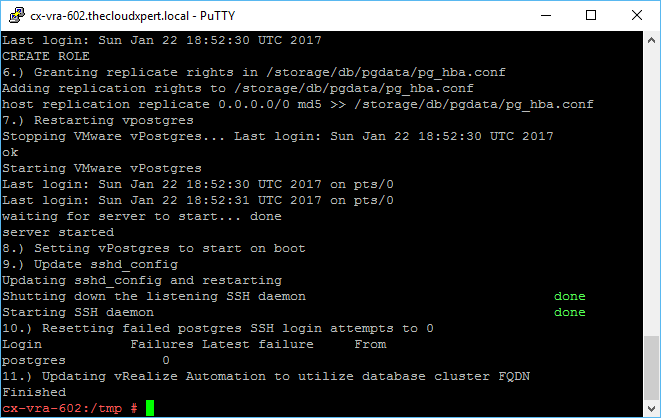
- Type
./pgClusterSetup.sh -d <VRA DB FQDN> -w <VRA DB PASSWORD> -r <VRA REPL PASSWORD> -p <VRA POSTGRES PASSWORD>and press Enter.
-
Type
echo 127.0.0.1 <VRA LB FQDN> >> /etc/hostsand press Enter. -
Type Exit to close the PuTTy session.
Enable Postgres Database Replication
-
(if needed) Log into the “second” appliance via PuTTy as root.
-
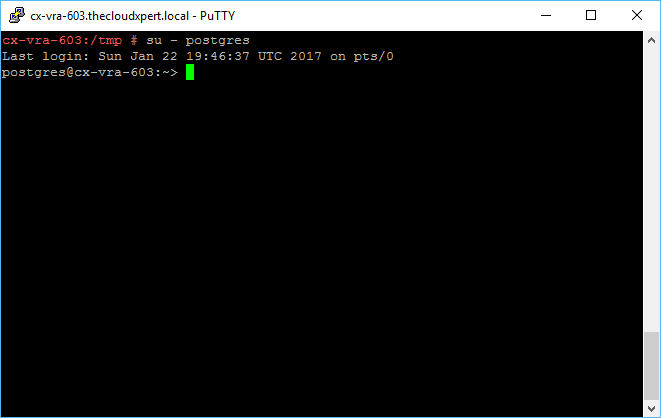
Type
su - postgresand press Enter.
- Type
/opt/vmware/vpostgres/current/share/run_as_replica -h <VRA FQDN> -b -W -U replicateand press Enter.
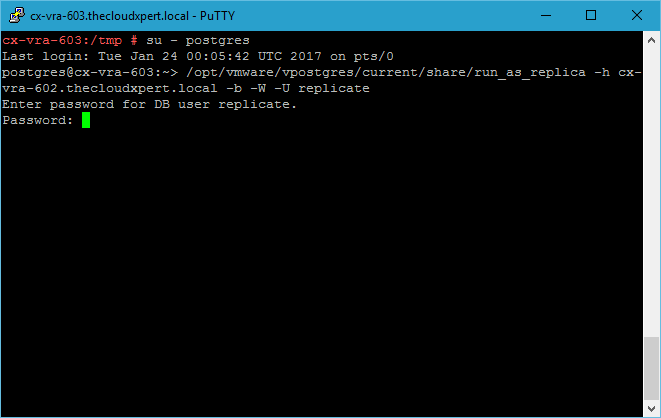
- Type the replicate password and press Enter.
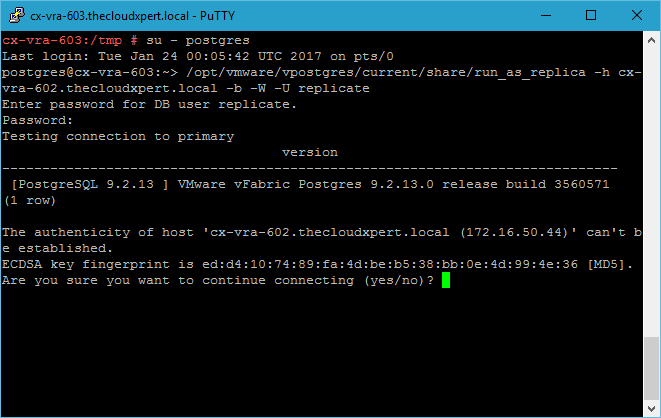
- Type
yesand press Enter.
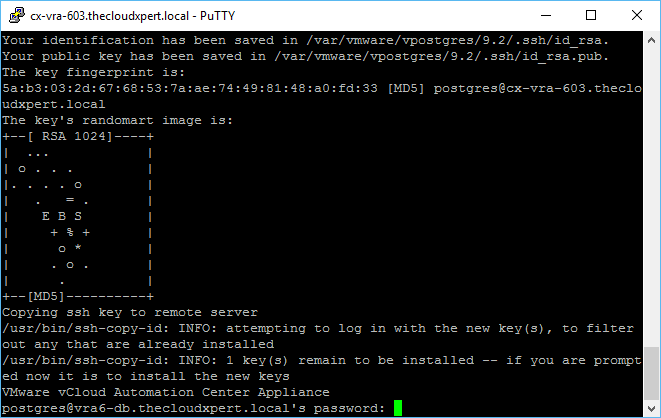
- Type the password for the Postgres User and press Enter.
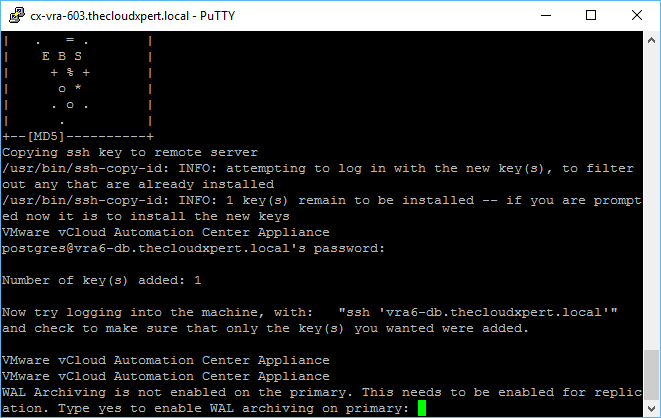
- Type
yesand press Enter.
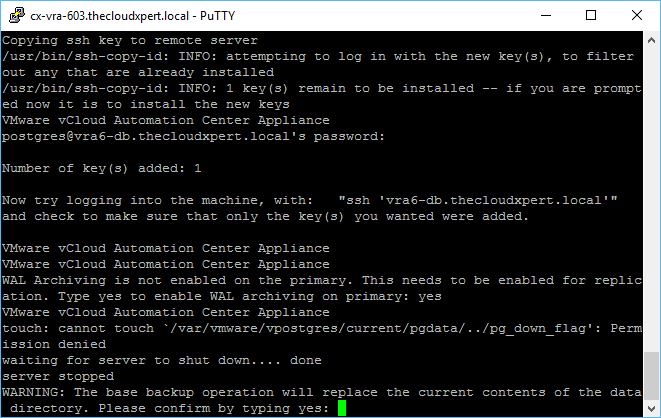
- Type
yesand press Enter.
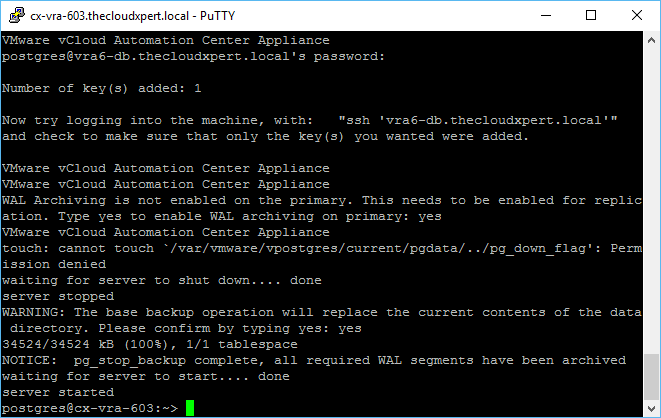
-
Type
exitand press Enter. -
Type
exitand Enter again to close the Putty Session.
Configure the Primary vRealize Automation Appliance
I have covered this in my previous post HOWTO: Configure the VMware vRealize Automation 6.x Appliance (Minimal Deployment) .
However, remember to:
- Use the VRA VIP FQDN for the Appliance Host Name.
- Use the SSO VIP FQDN for the SSO Host.
- Use the 443 for the SSO port (rather than 7444) if you’re using a vSphere 6.0 PSC.
Configure the Secondary vRealize Automation Appliance
The good news is once you have met all the prerequisites and have the first appliance configured, configuring the cluster is extremely simple! (isn’t it always!)
- Using a web browser, navigate to VAMI of the Automation Appliance (
https://automation-appliance.fqdn:5480)
- Click Advanced and then click Proceed to automation-appliance.fqdn (unsafe).
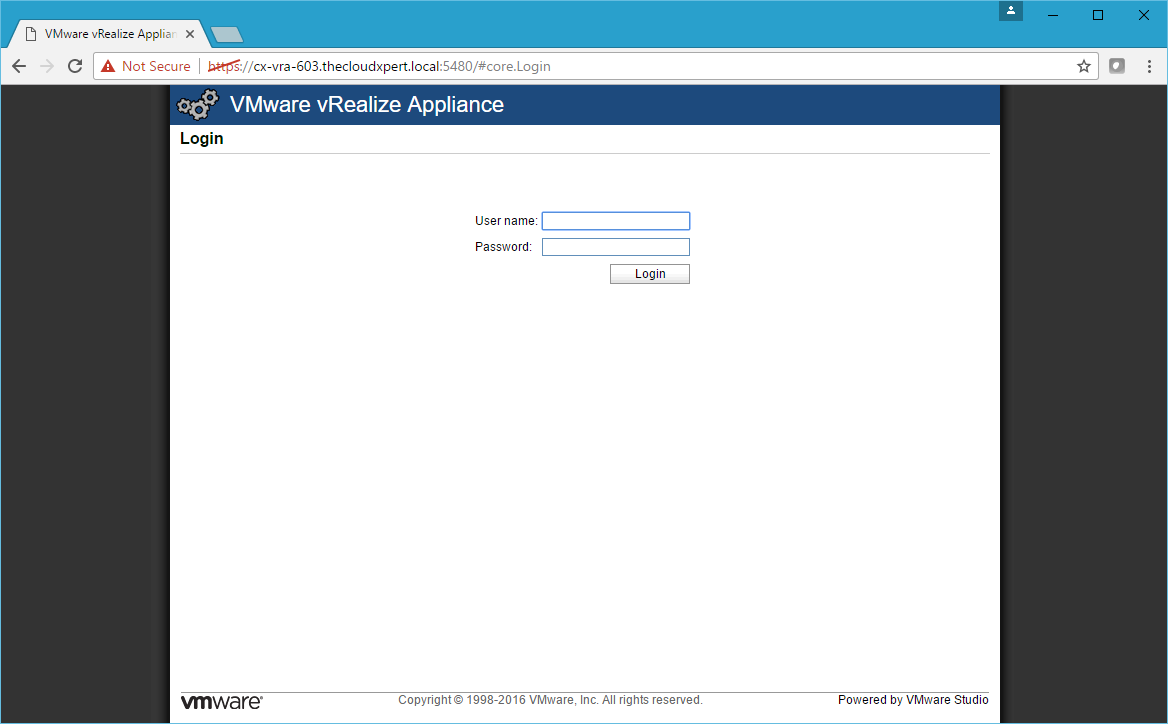
- Type
rootinto the User name text field and the password for the root account into the Password text field. Click Login.
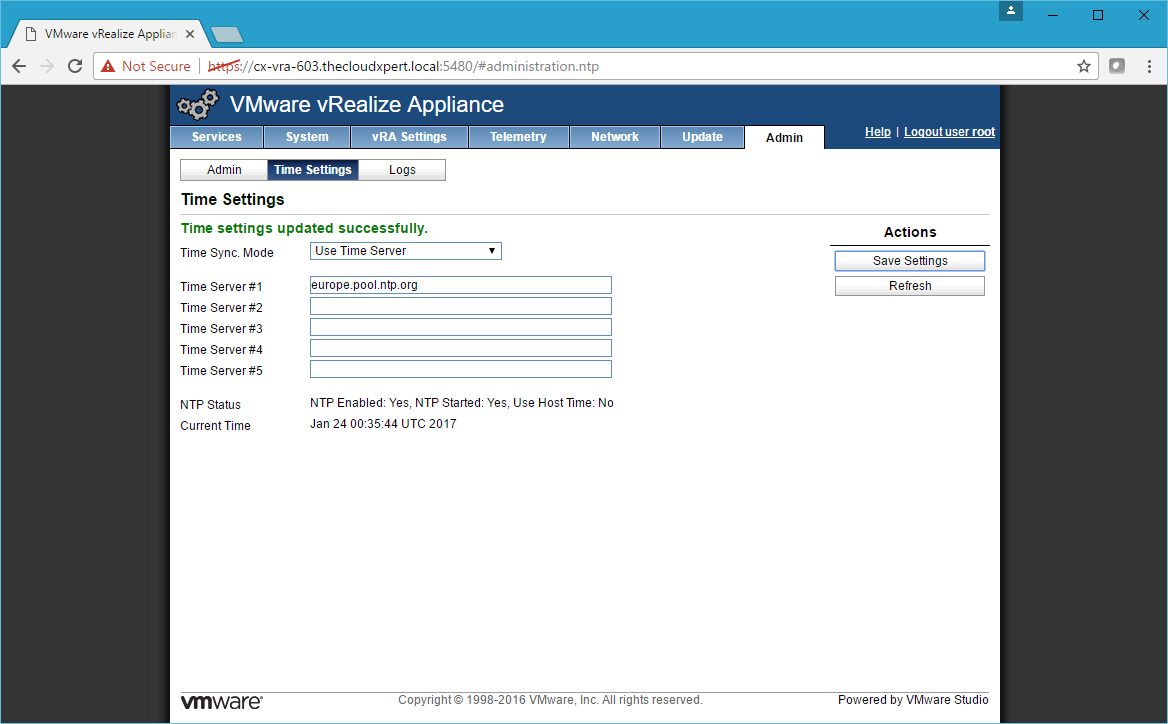
Configure the Time / NTP Settings
- Click the Admin Tab and then the Time Settings Tab.
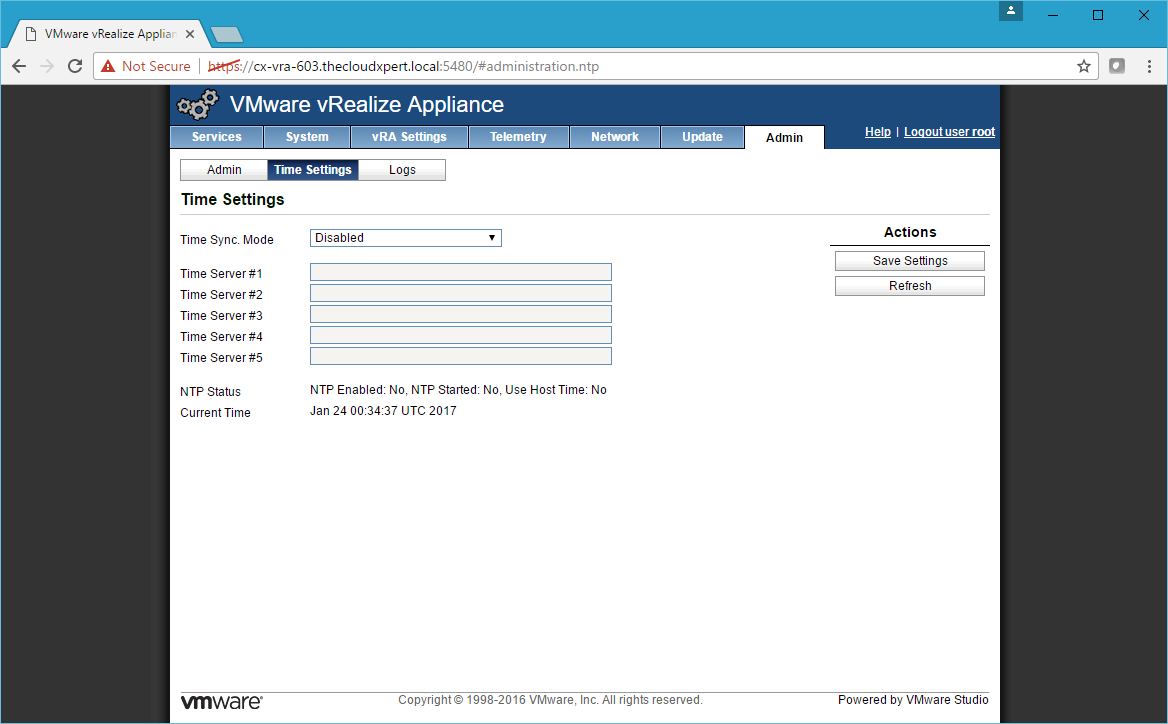
- Select Use Time Server from the Time Sync. Mode dropdown and enter the time server(s) in the text field(s) and click Save Settings.
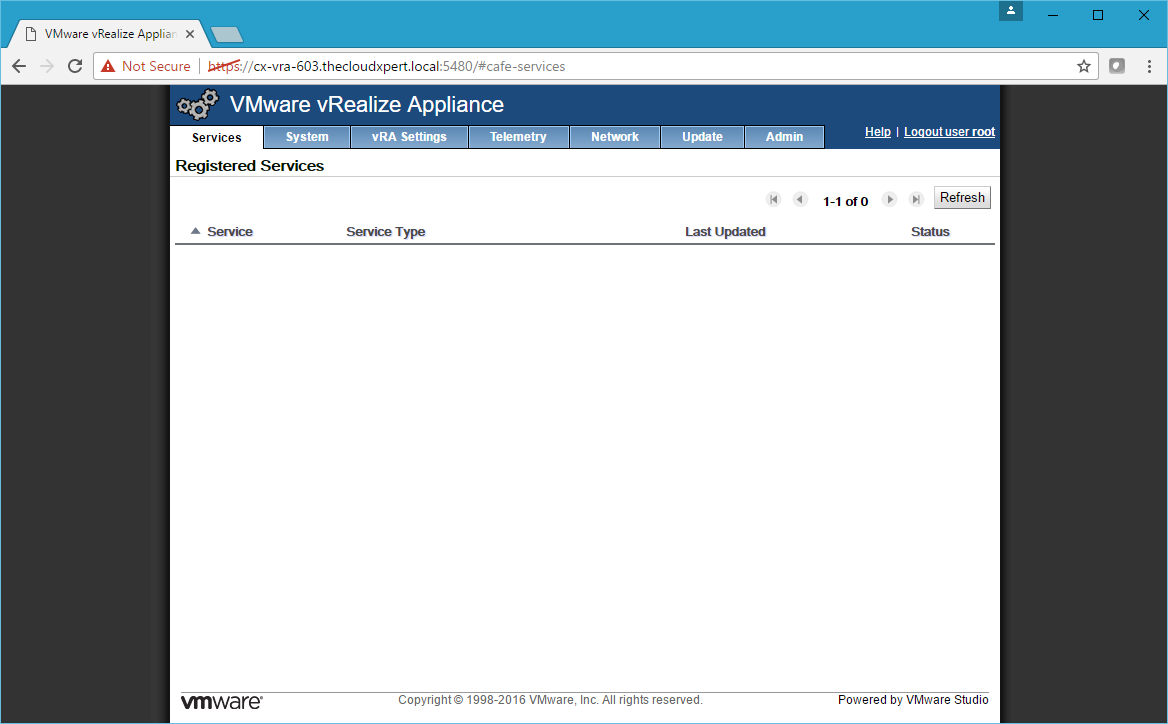
Configure the vRA Cluster
- Click the vRA Settings Tab.
- Click Cluster.
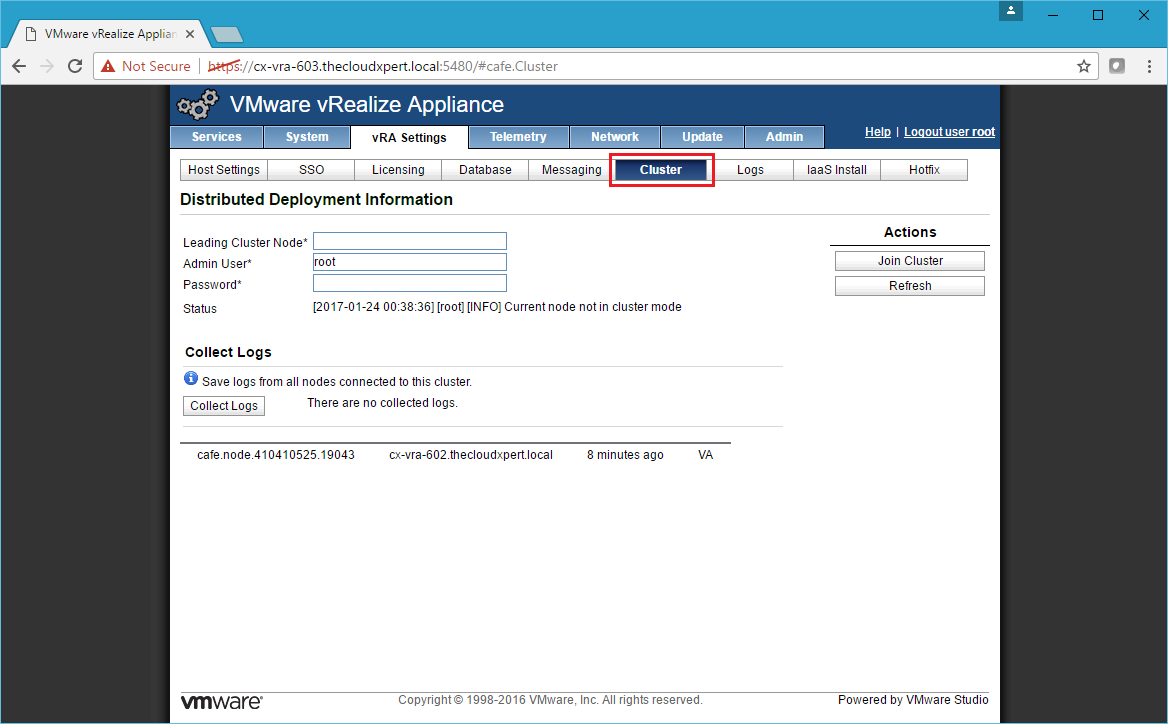
- Type the name of the primary vRealize Automation node into the Leading Cluster Node text box and type the password for the root account (of the primary node) into the Password text box.

- Click Join Cluster.

- Click Logout User root.
And there you have it! a pair of vRealize Automation 6.x Appliances configured in a HA pair with a Load Balancer.
If you navigate to https://vra6-vip.fqdn/vcac you should be automagically redirected to the SSO solution so you can login!
Published on 24 January 2017 by Christopher Lewis. Words: 721. Reading Time: 4 mins.
- HOWTO: Create a vRealize Automation 6.x vSphere Linked-Clone Blueprint ()
- VCAP6-CMA Deploy - Objective 1.5: Create Fabric Groups utilizing Reservations and Reservation Policies ()
- VCAP6-CMA Deploy - Objective 2.2: Create/Modify a Business Group ()
- VCAP6-CMA Deploy - Objective 1.4: Configure Infrastructure/Cloud-based Endpoints ()
- HOWTO: Create a vSphere Endpoint in VMware vRealize Automation 6.x ()
