VCAP6-CMA Deploy - Objective 4.2: Publish a Machine Blueprint to a Service Catalog
VMware vRealize Automation VCAP6 VCAP6-CMA
Published on 6 February 2017 by Christopher Lewis. Words: 1352. Reading Time: 7 mins.
Objective 4.2: Publish a Machine Blueprint to a Service Catalog
Objective Overview
- Publish Machine blueprints
- Add/Remove catalog items to/from a service
- Create/Configure an Approval Policy
- Create an Entitlement
- Manage entitlements for specific users or groups
- Entitle a user to a Service
- Entitle a user to a Catalog item
- Entitle a user to a Resource Action
- Prioritize Entitlements according to a deployment plan
- Attach an Approval Policy for specific entitled Catalog Items
Objective Prerequisites
The following prerequisites are assumed for this Objective:
- A fully deployed vRealize Automation Solution (See Objective 1 ).
Objective Breakdown
Publish Machine blueprints
This task can be completed either by a Tenant Administrator or as a Business Group Manager.
- Navigate to the vRealize Automation Tenant Portal (
https://vra.fqdn/vcac)
- Log in as a user with the Tenant Administrator (or Business Group Manager) role and click Infrastructure > Blueprints > Blueprints.
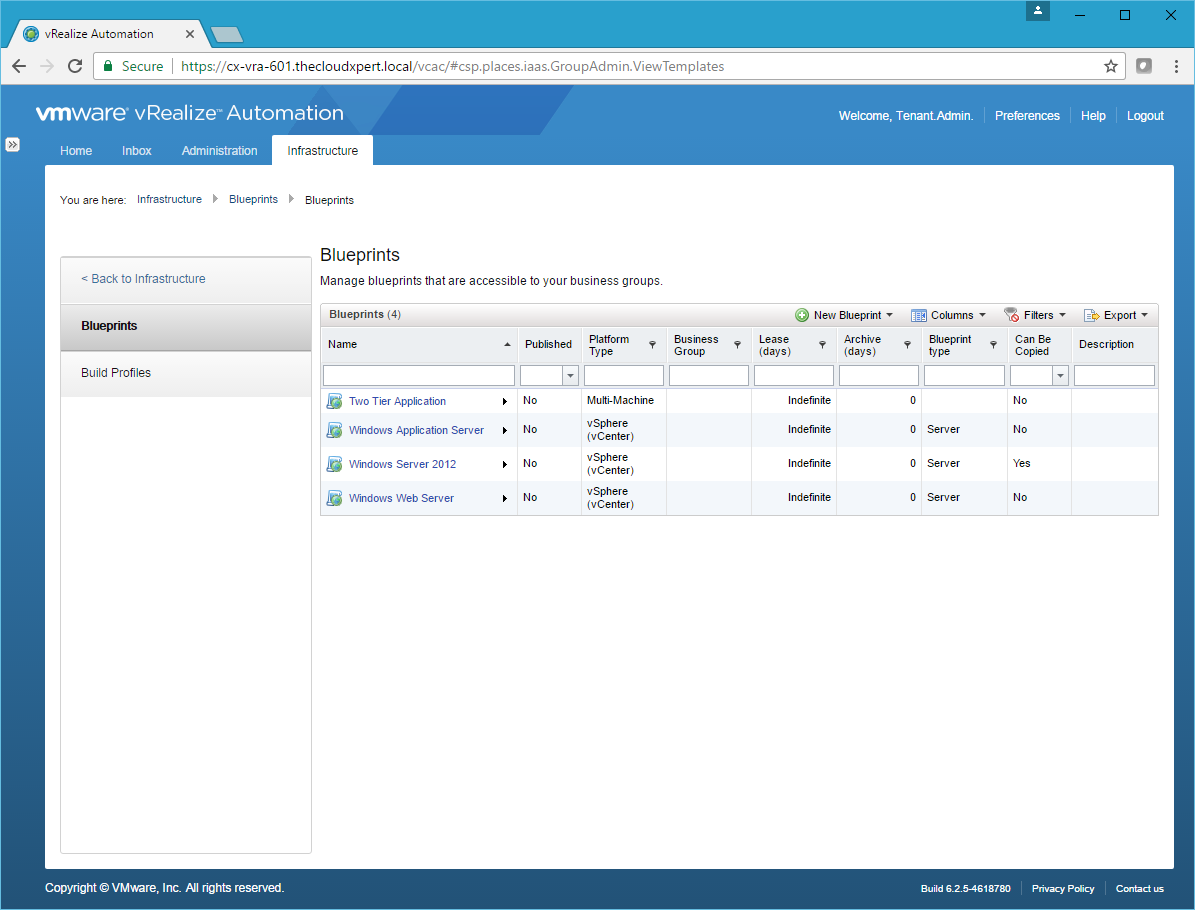
- Hover over the Blueprint and then click Publish.
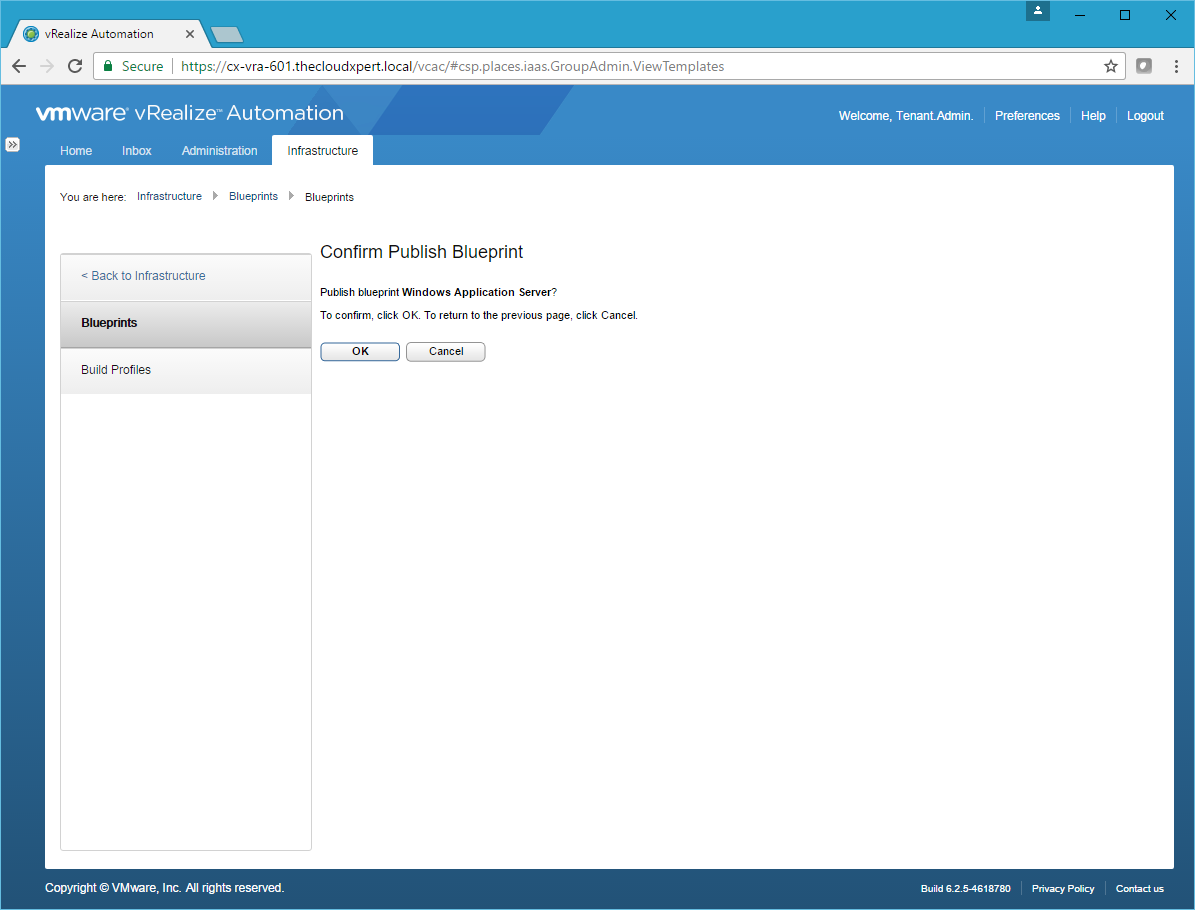
- Click OK.
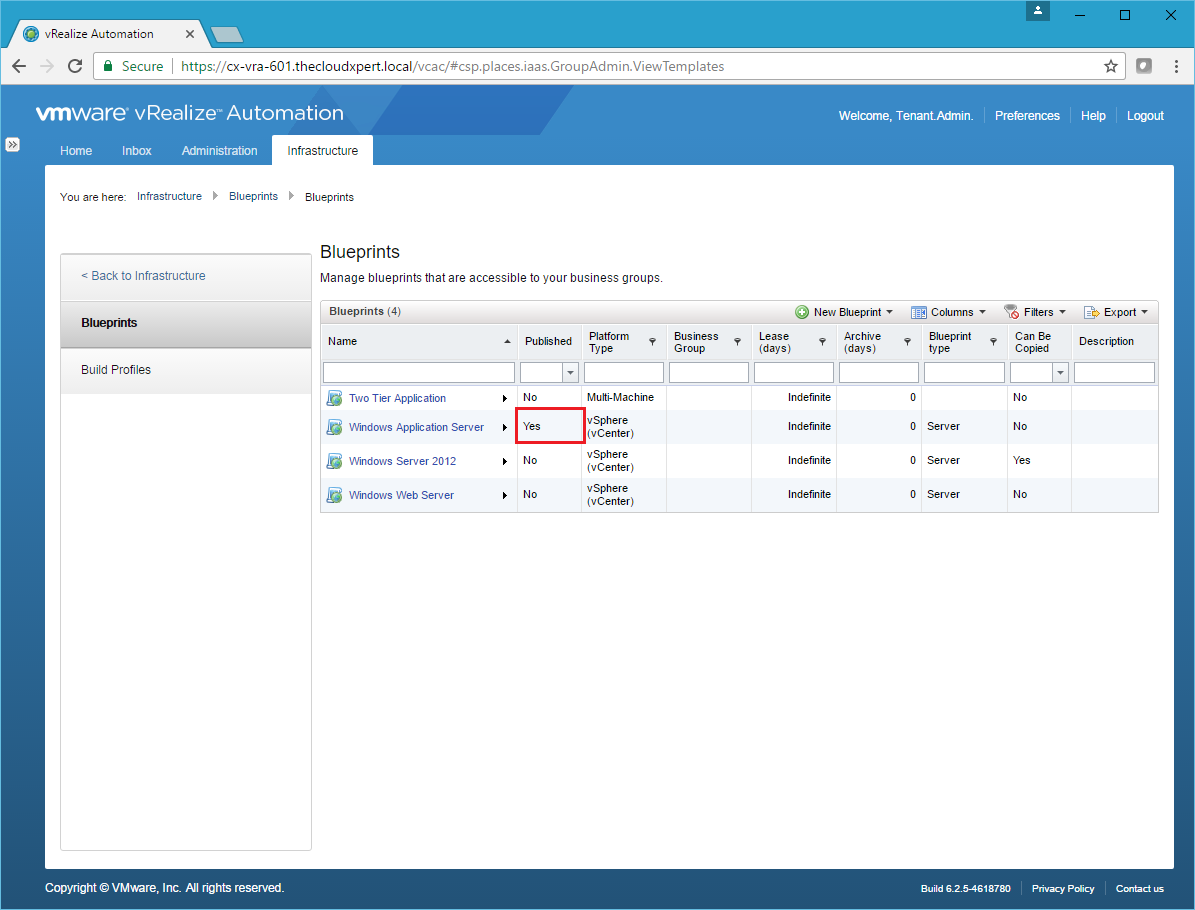
The Blueprint has now been published as a Catalog Item.
Add/Remove Catalog Items to/from a Service
A Service is a way of grouping/organising Catalog Items within the Catalog.
In the example below, we’ll create a Service and then Add a Catalog Item to it.
- Navigate to the vRealize Automation Tenant Portal (
https://vra.fqdn/vcac)
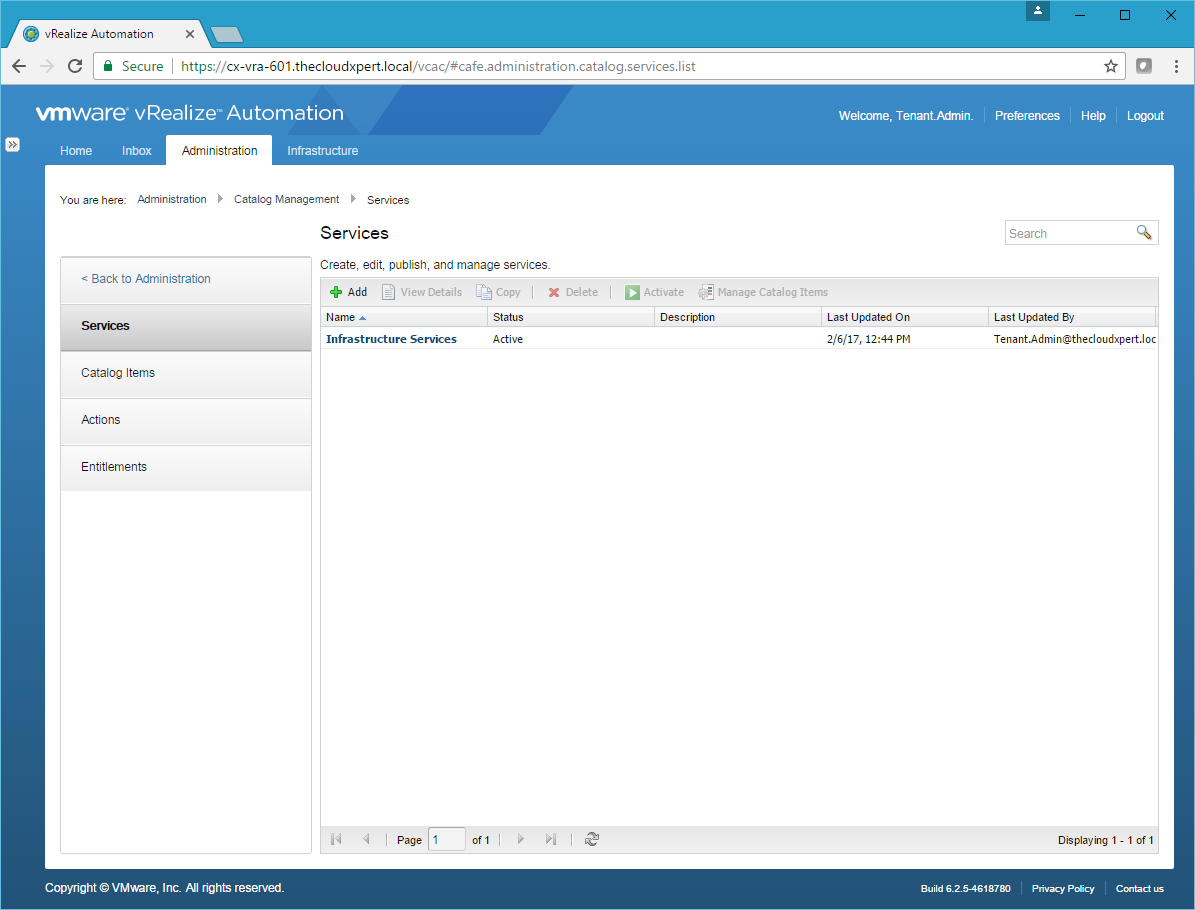
- Log in as a user with the Tenant Administrator (or Service Architect) role and click Administration > Catalog Management > Services.

- Click Add.
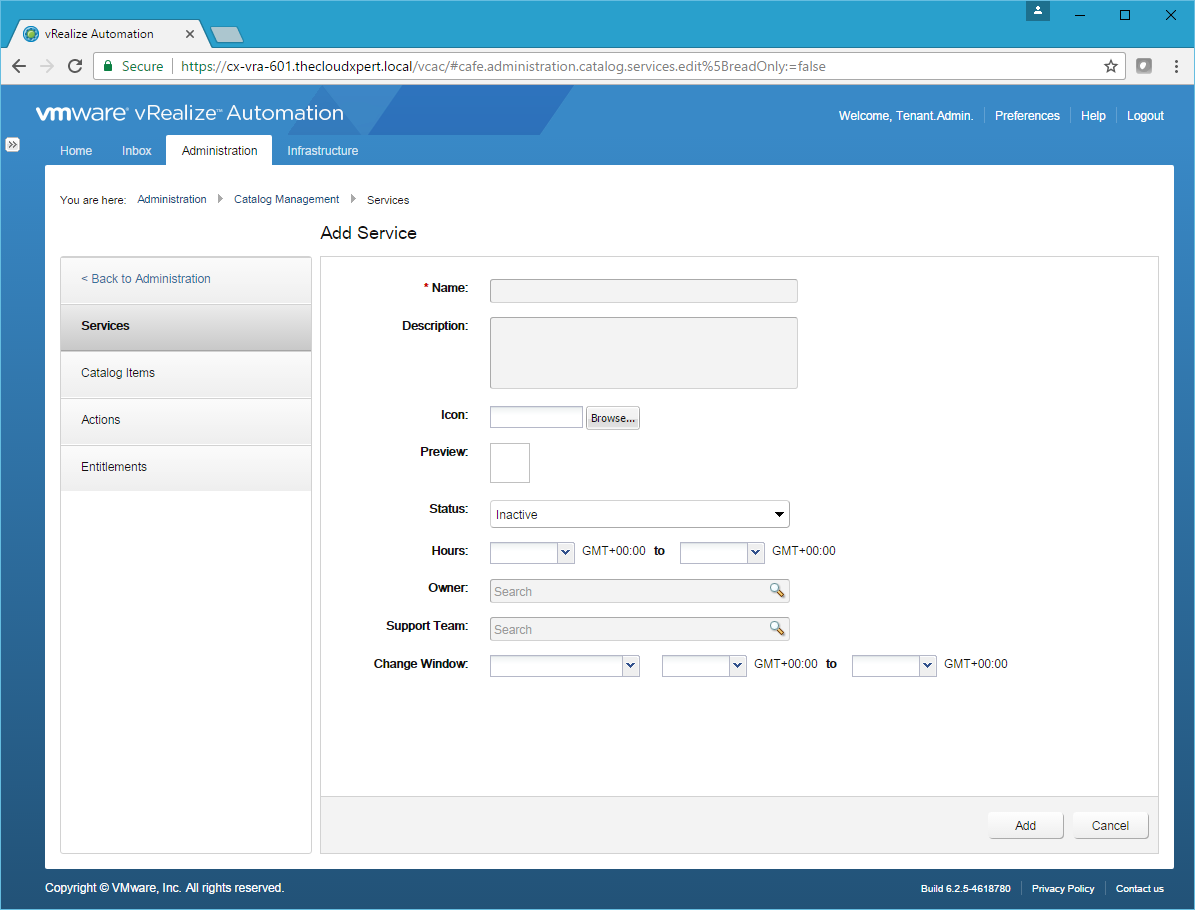
- Enter the name of the Service into the Name text box and click Add.

- Select the Service and click Activate.
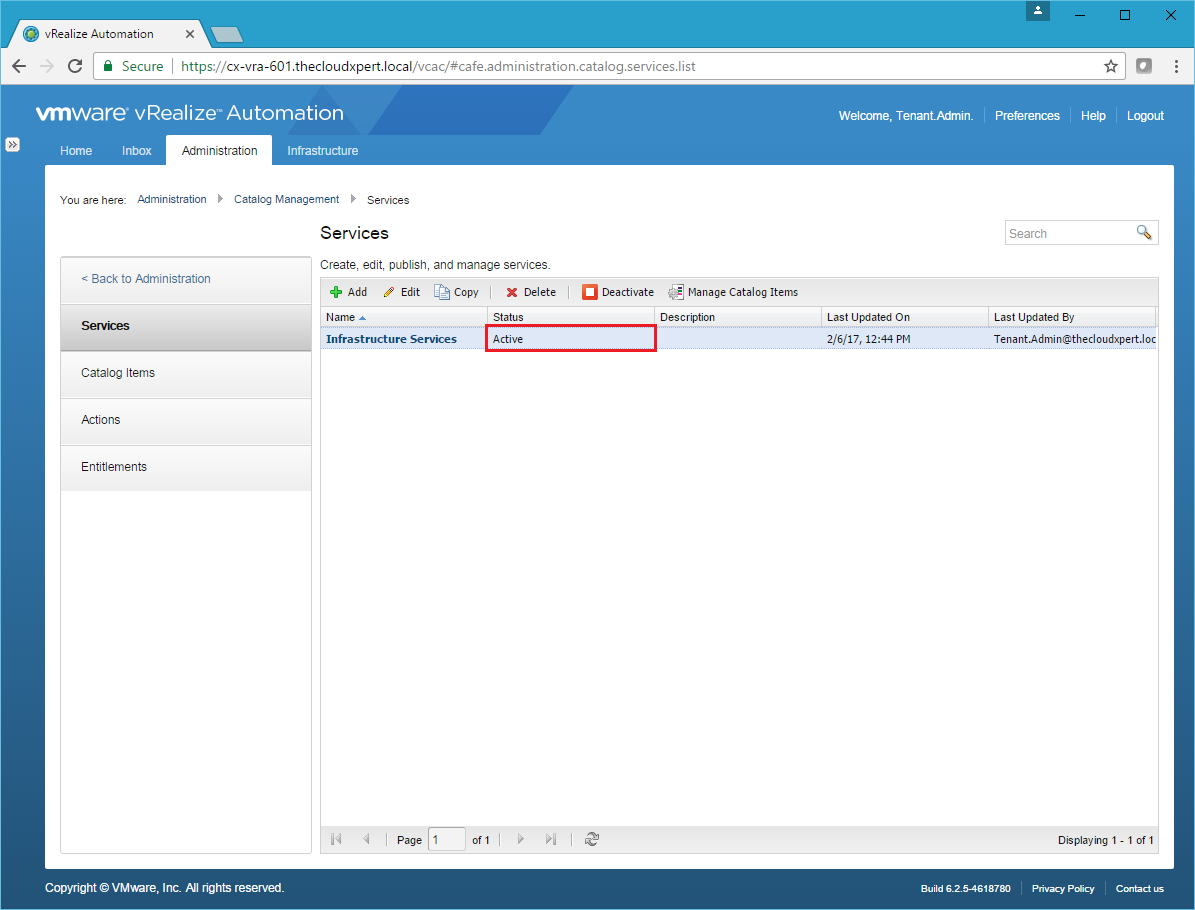
- Select the Service and click Manage Catalog Items.

- Click Add (+).
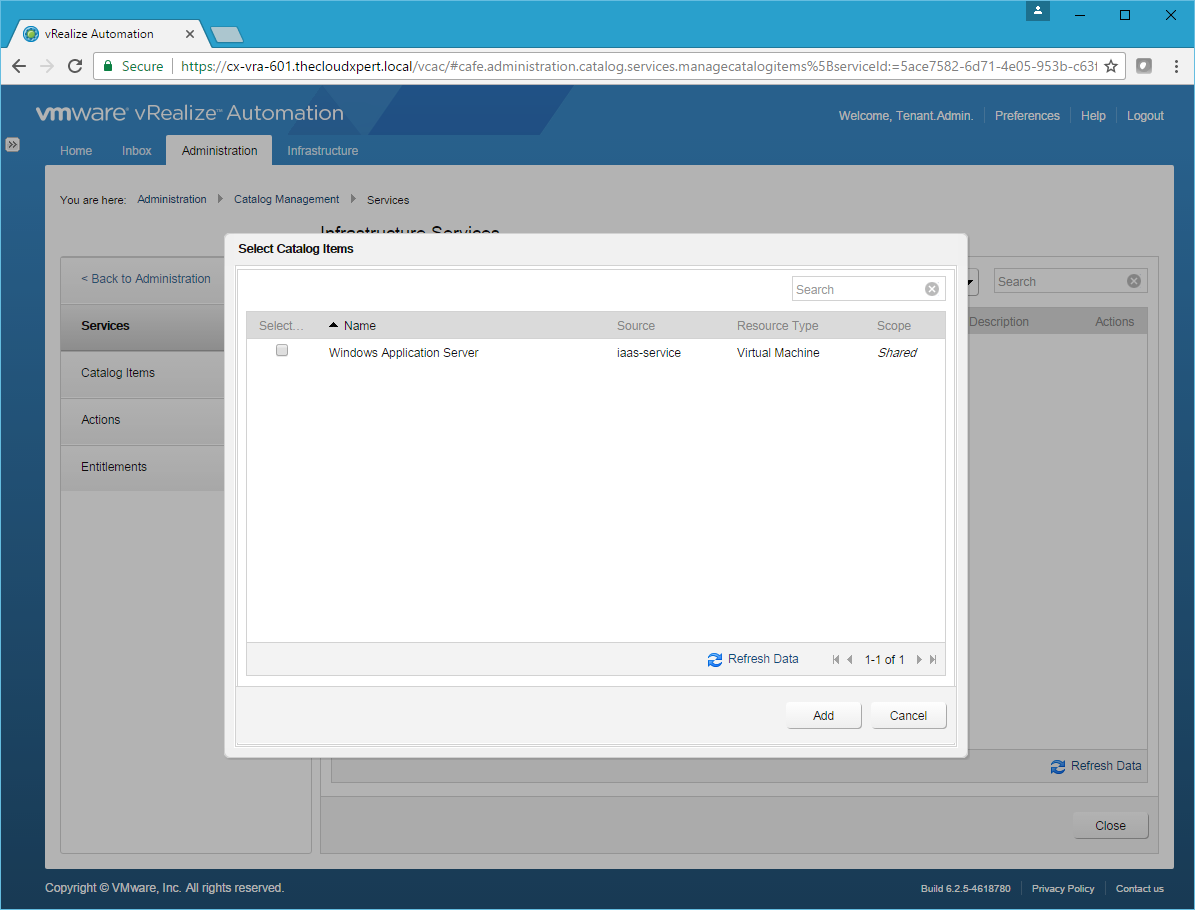
- Check the checkbox of the Catalog Item(s) you want to include and then click Add.
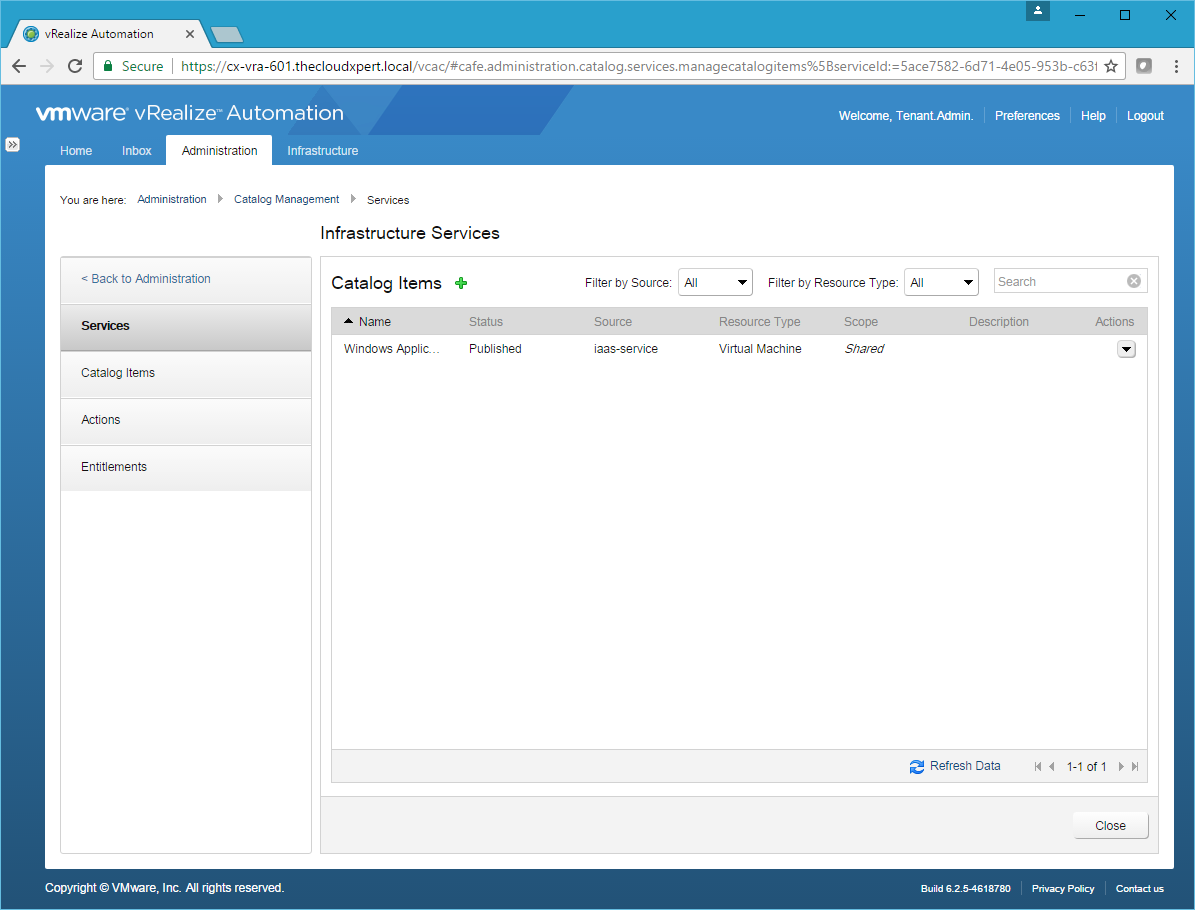
- Click Close.
Ok - so we have published a Blueprint as a Catalog Item and added that Catalog Item to a Service within the Service Catalog. Now let us log into the Portal with a Business User and navigate to Catalog.
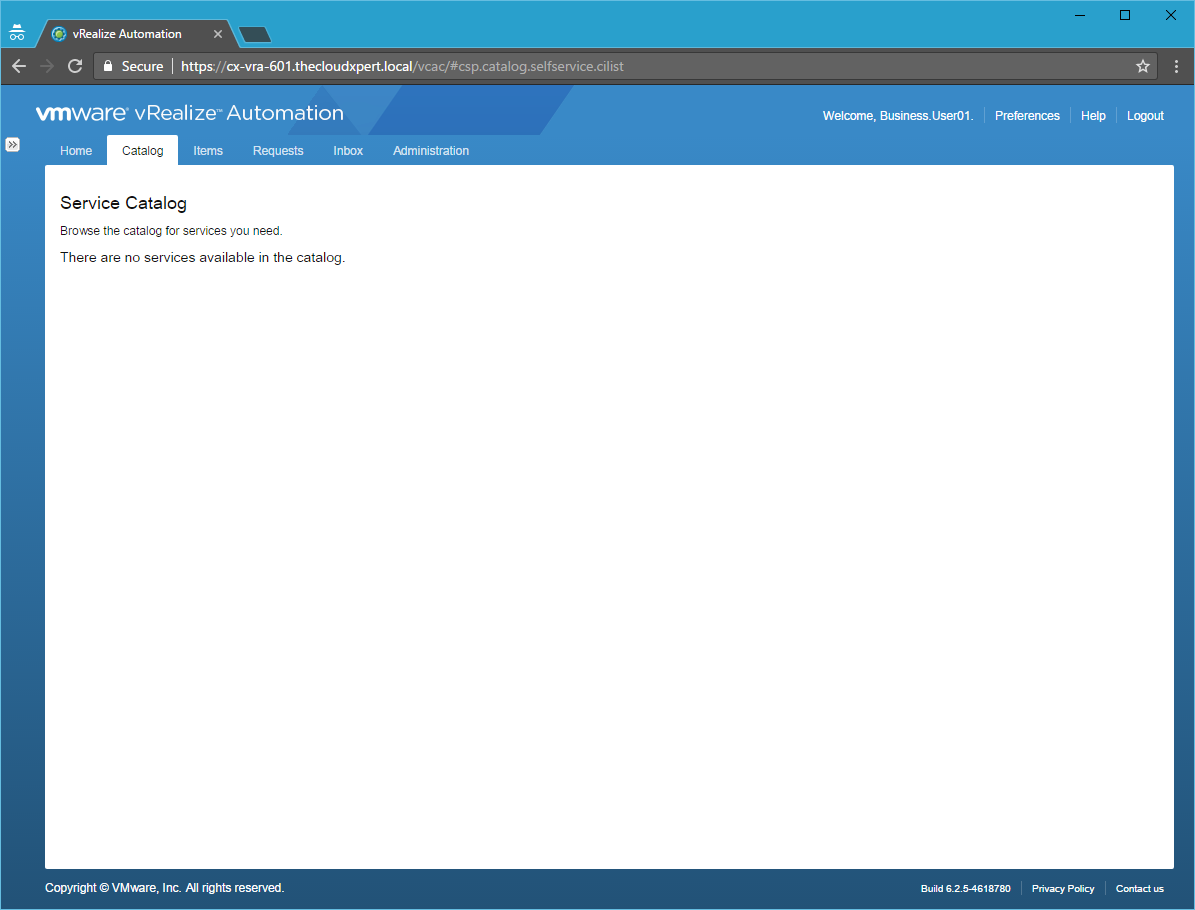
It seems we’re not Entitled so any of the Blueprints or Services… let’s fix that by (optionally) creating Approval Policies and then configuring Entitlements!
Create/Configure an Approval Policy
An Approval Policy allows for control within a Cloud environment. Approval Policies are classified into two categories, Pre-Approval and Post-Approval.
- A Pre-Approval happens after the Request but before the Machine/Service is deployed (such as approval of costs by a manager).
- A Post-Approval happens after the machine is deployed but before it is returned to the requestor to use (such as Acceptance into Support checking).
In this example, we are going to create an Pre-Approval Policy for requesting a Virtual Machine and allow the approver to override the hostname and amount of memory allocated to the Virtual Machine.
- Navigate to the vRealize Automation Tenant Portal (
https://vra.fqdn/vcac)
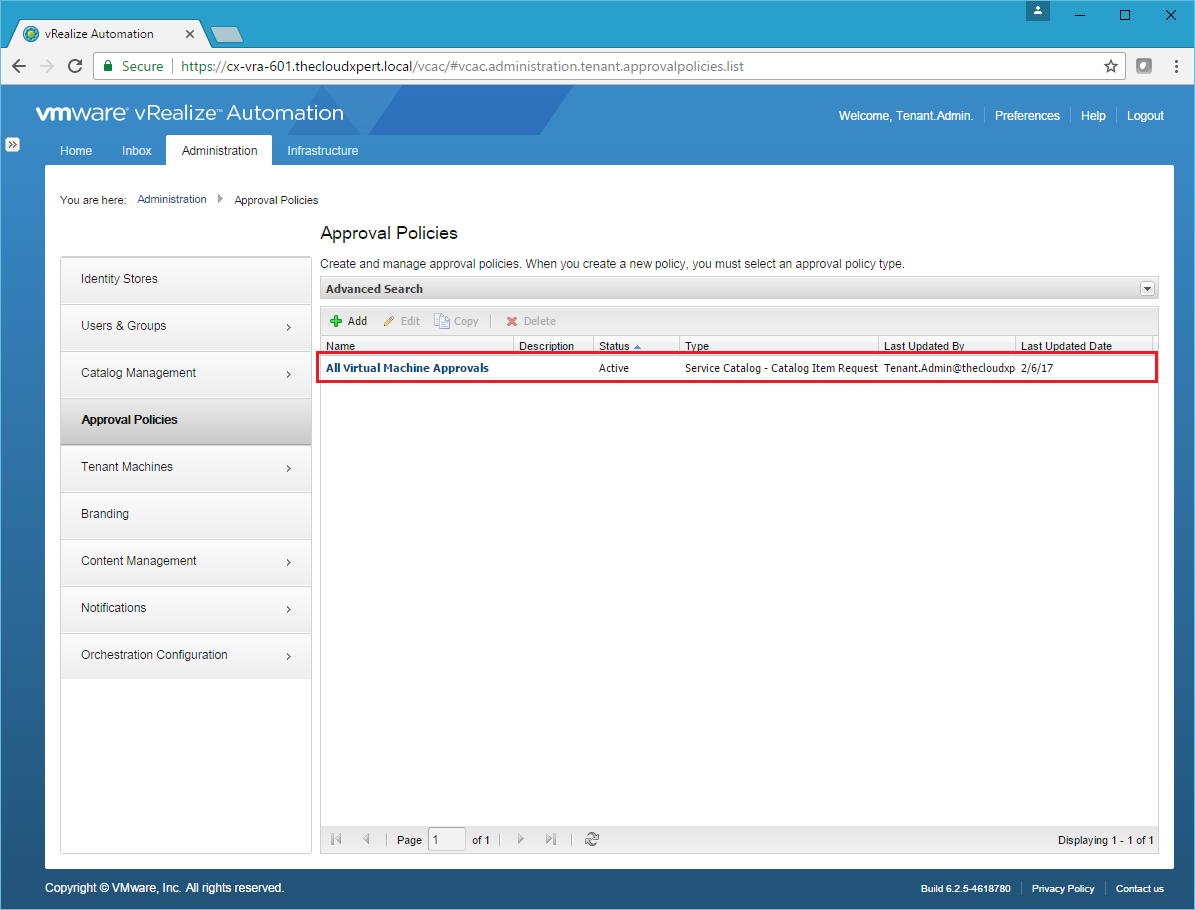
- Log in as a user with the Tenant Administrator (or Approval Administrator) role and click Administration > Approval Policies.
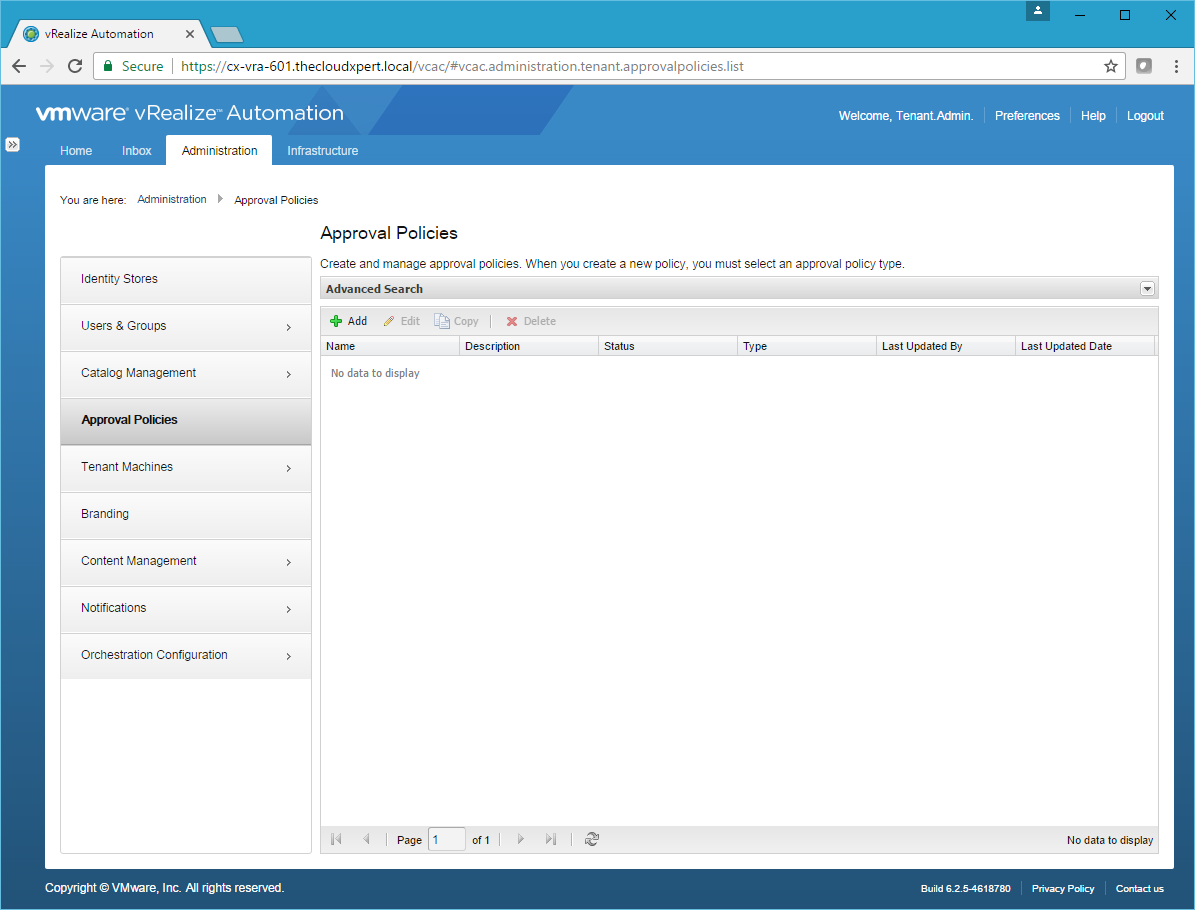
- Click Add.
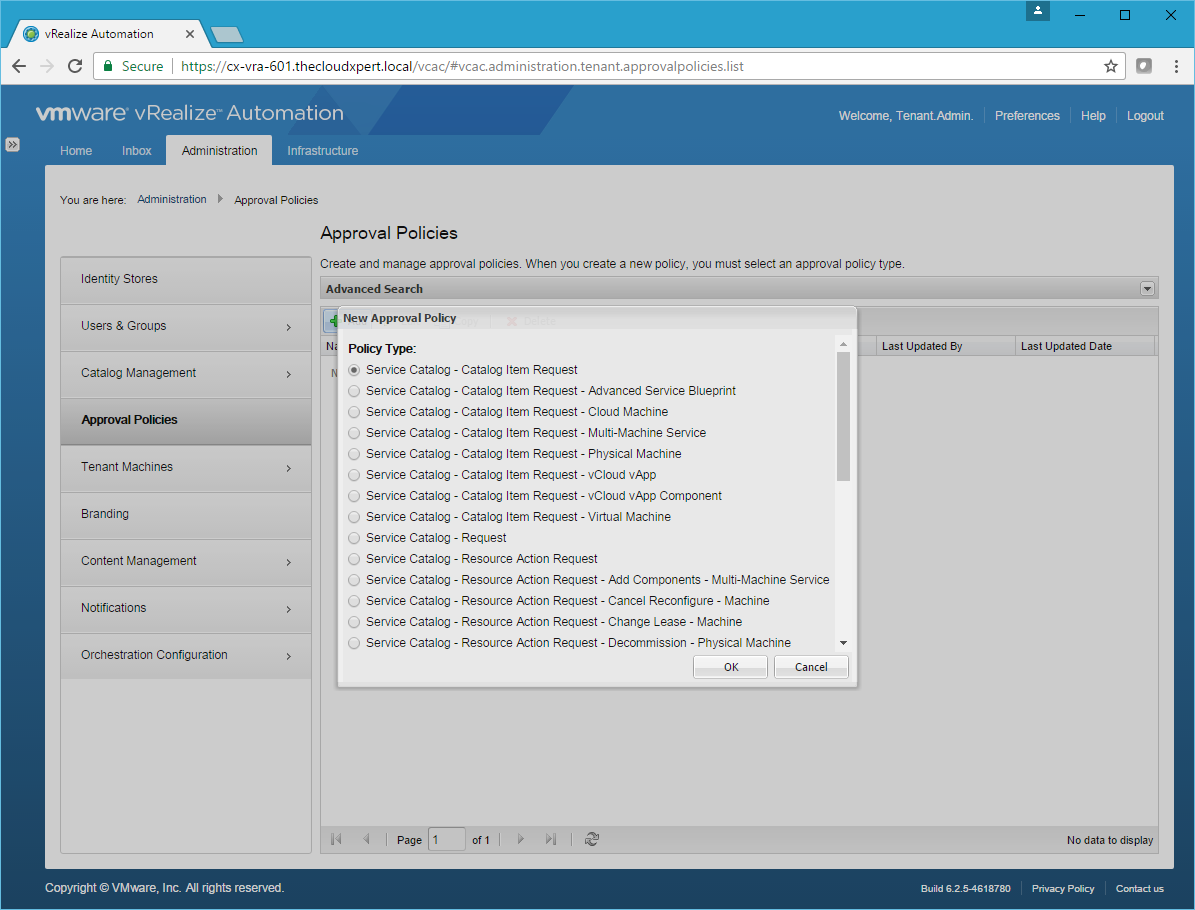
- Select the Service Catalog - Catalog Item Request - Virtual Machine option and click OK.

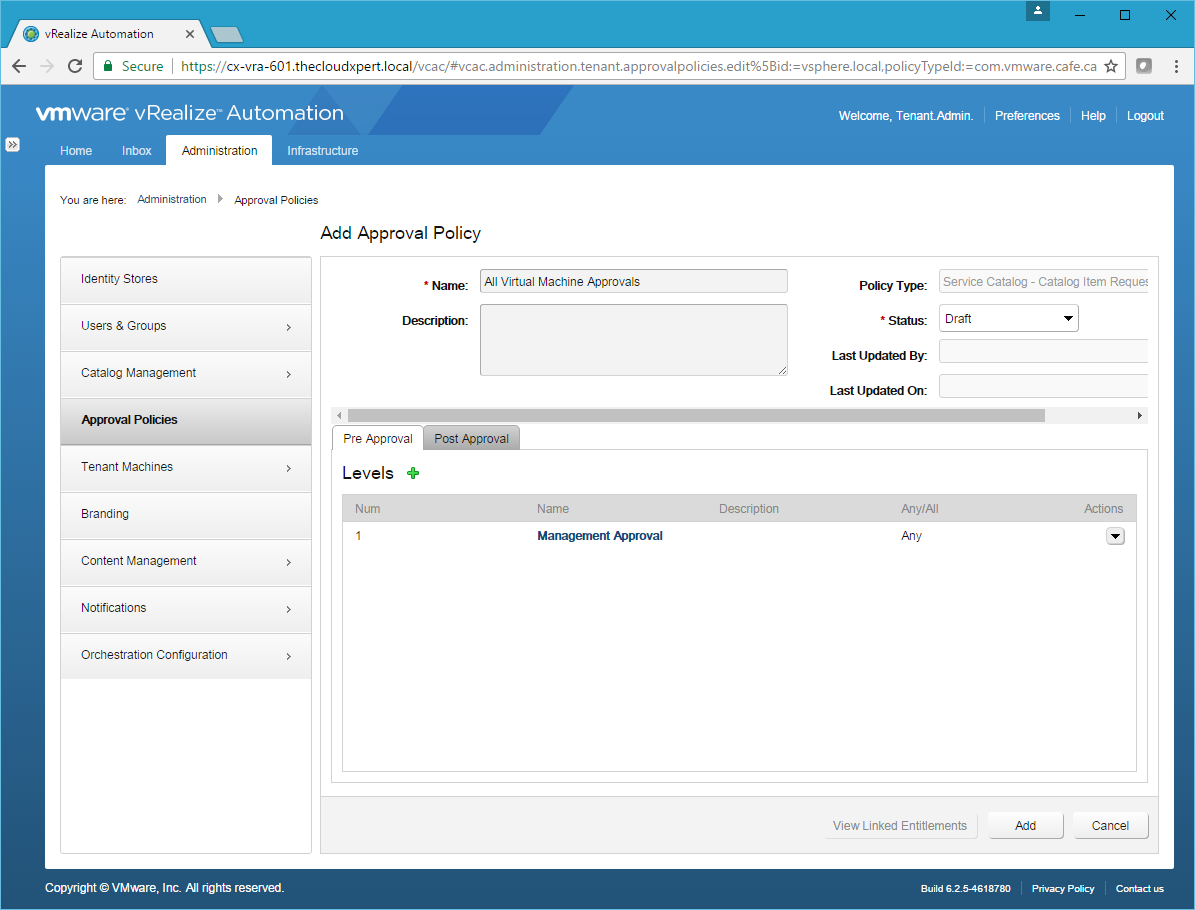
- Enter a title for the Approval Policy into the Name text box and then select the Pre Approval tab and click Add (+).
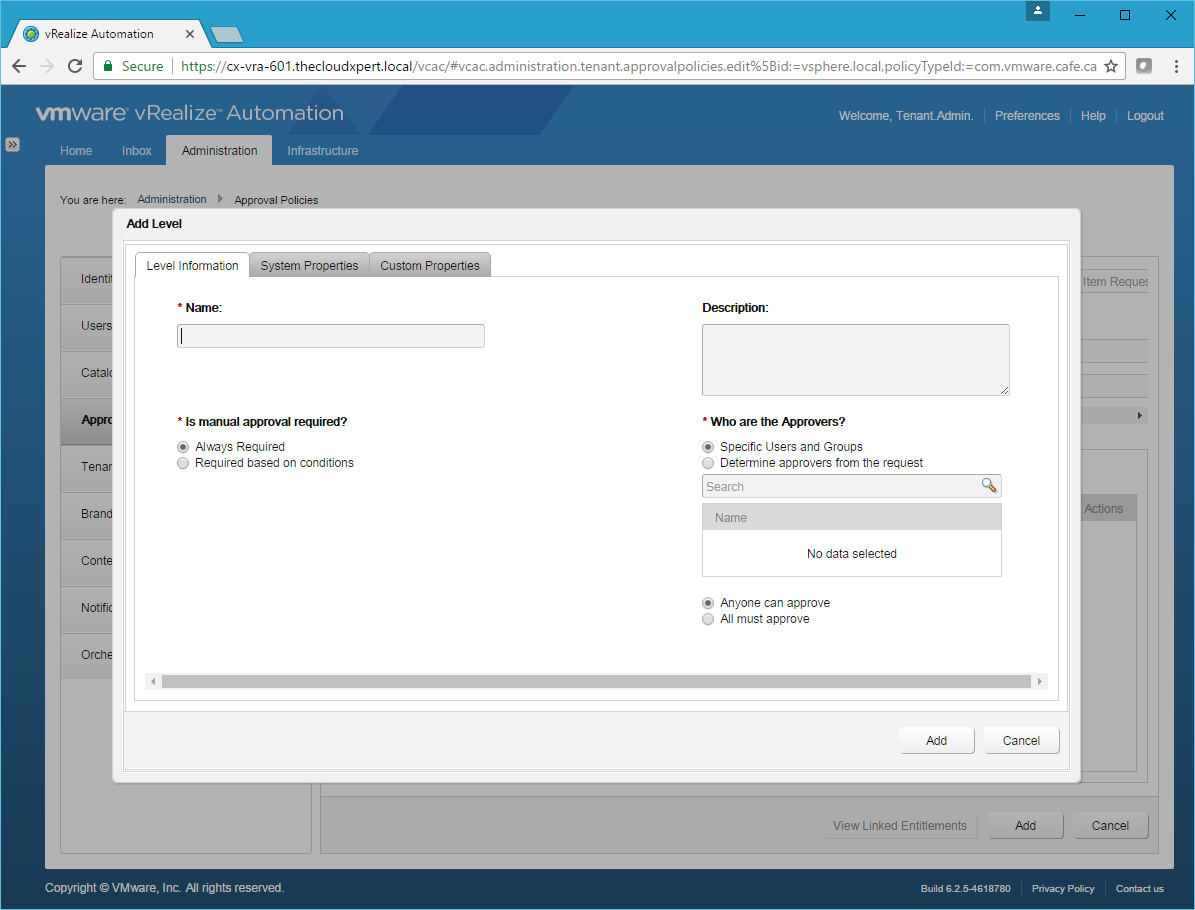
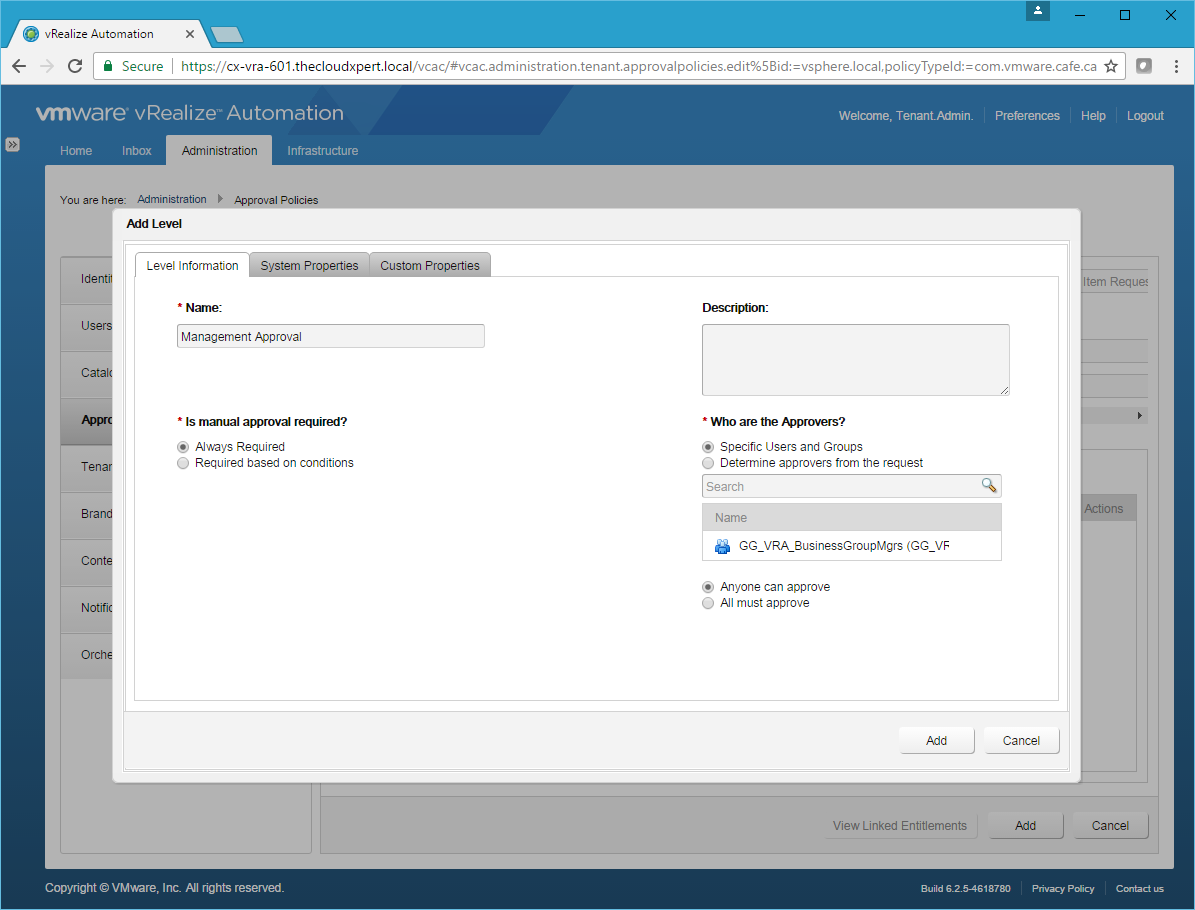
- Enter a title for the Approval Level into the Name field, under Who are the Approvers? select the Specific Users and Groups option, add the name of User/Group responsible for the approval, and select the Anyone can approve option.
- Click the System Properties tab.
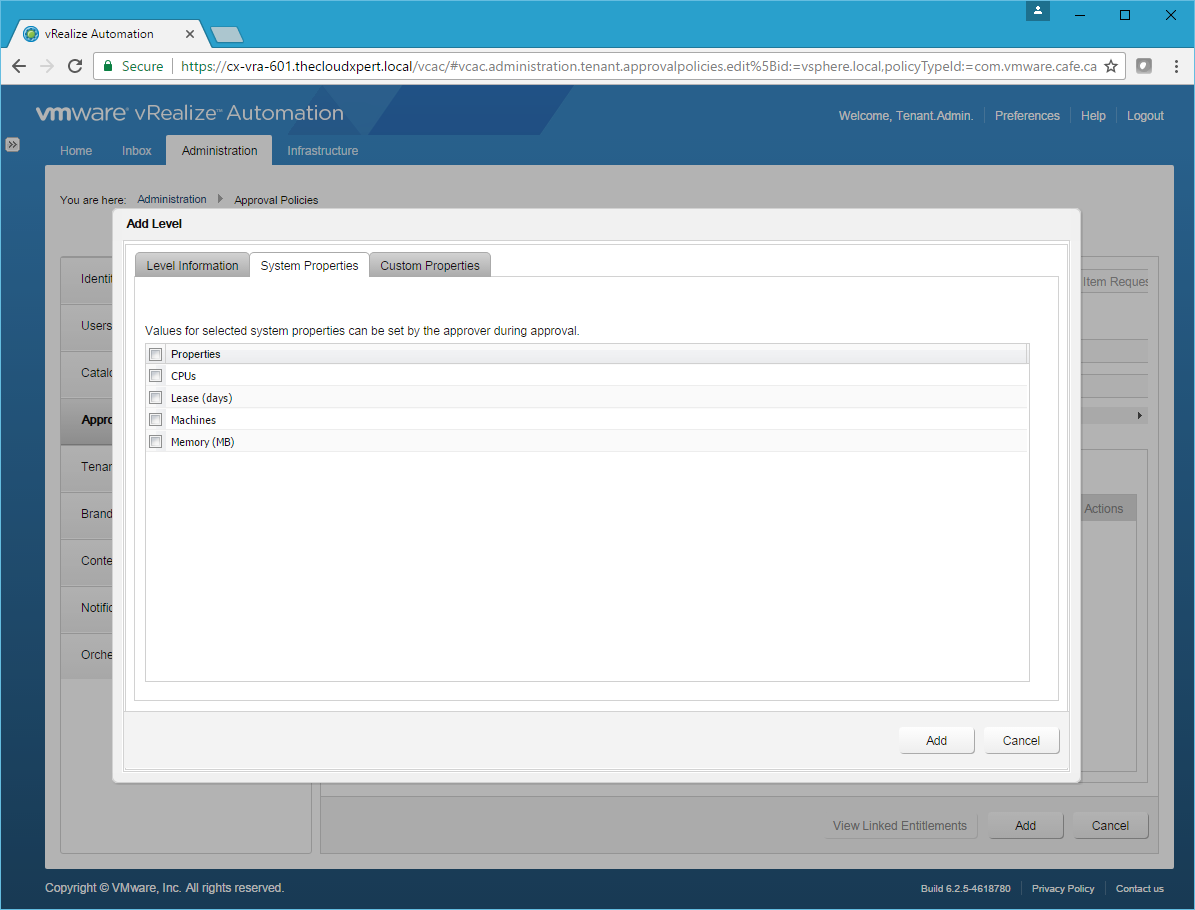
- Check the Memory (MB) checkbox and then click the Custom Properties tab.
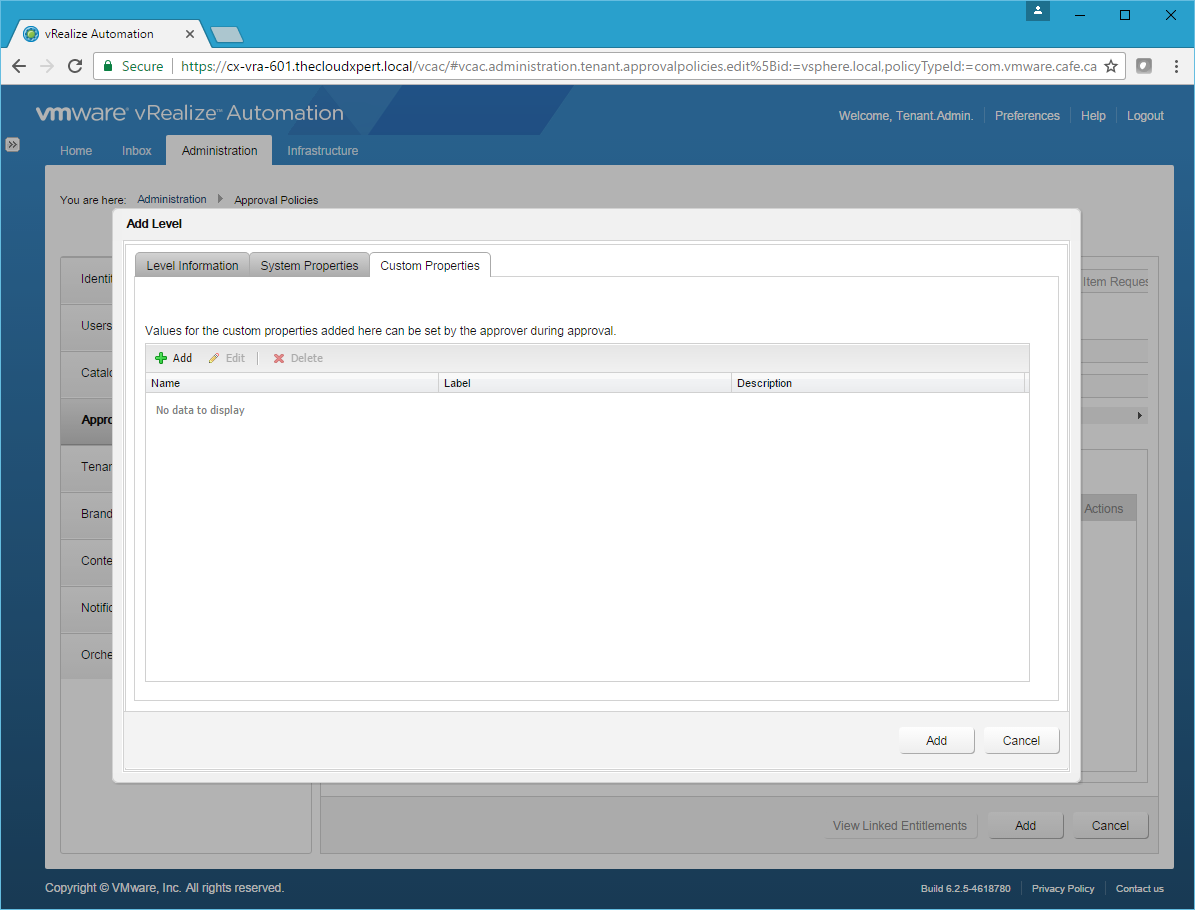
- Click Add.
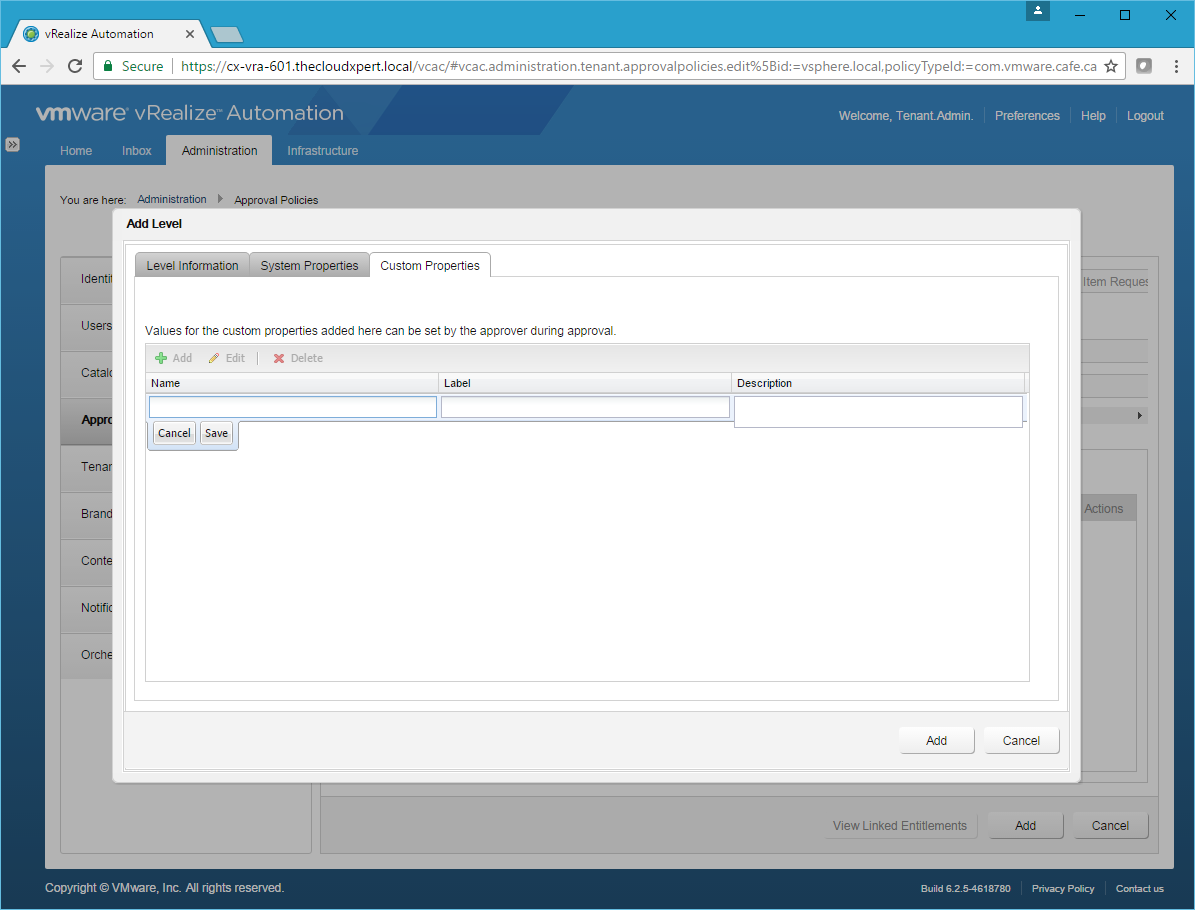
- Enter
hostnameinto the Name field andComputer Nameinto the Label field and click Save.
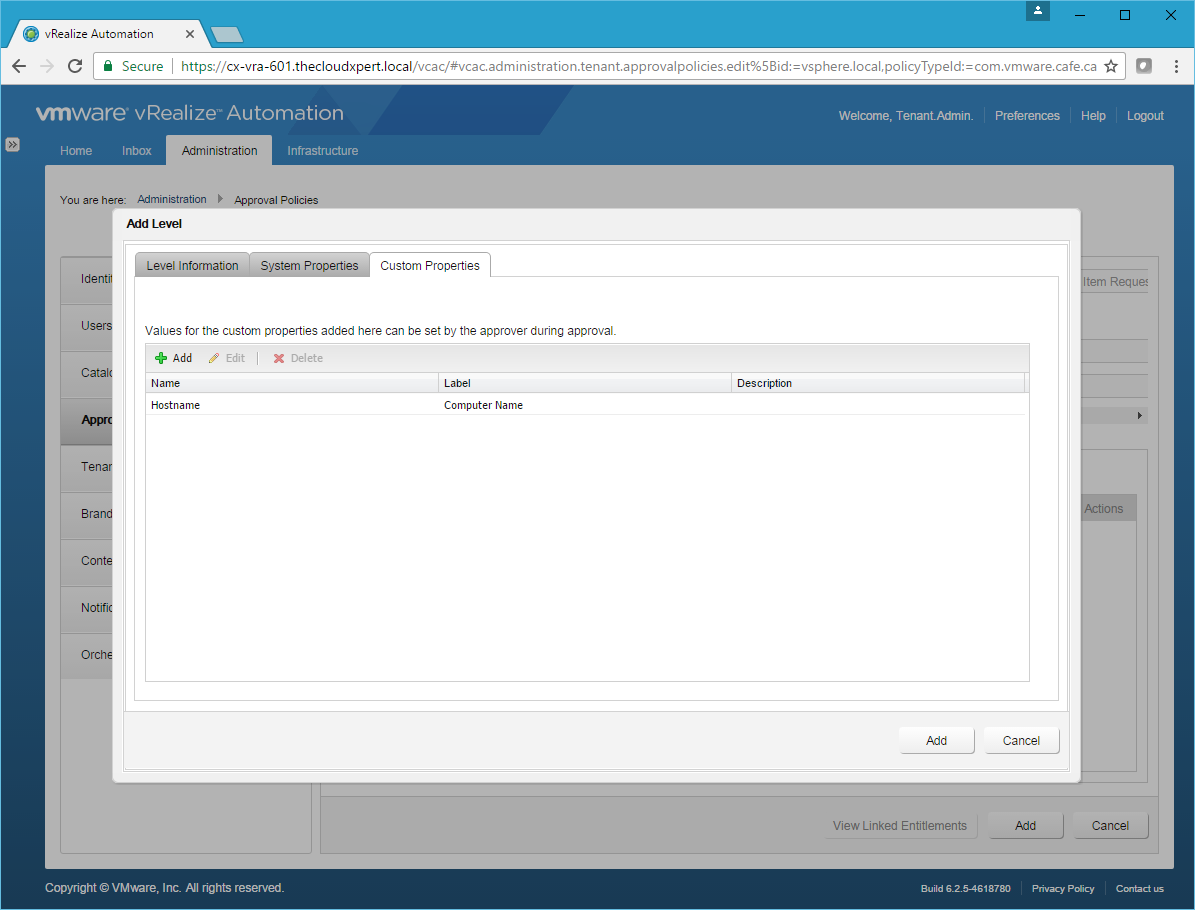
- Click Add.
- Change the value of the Status dropdown to Active.
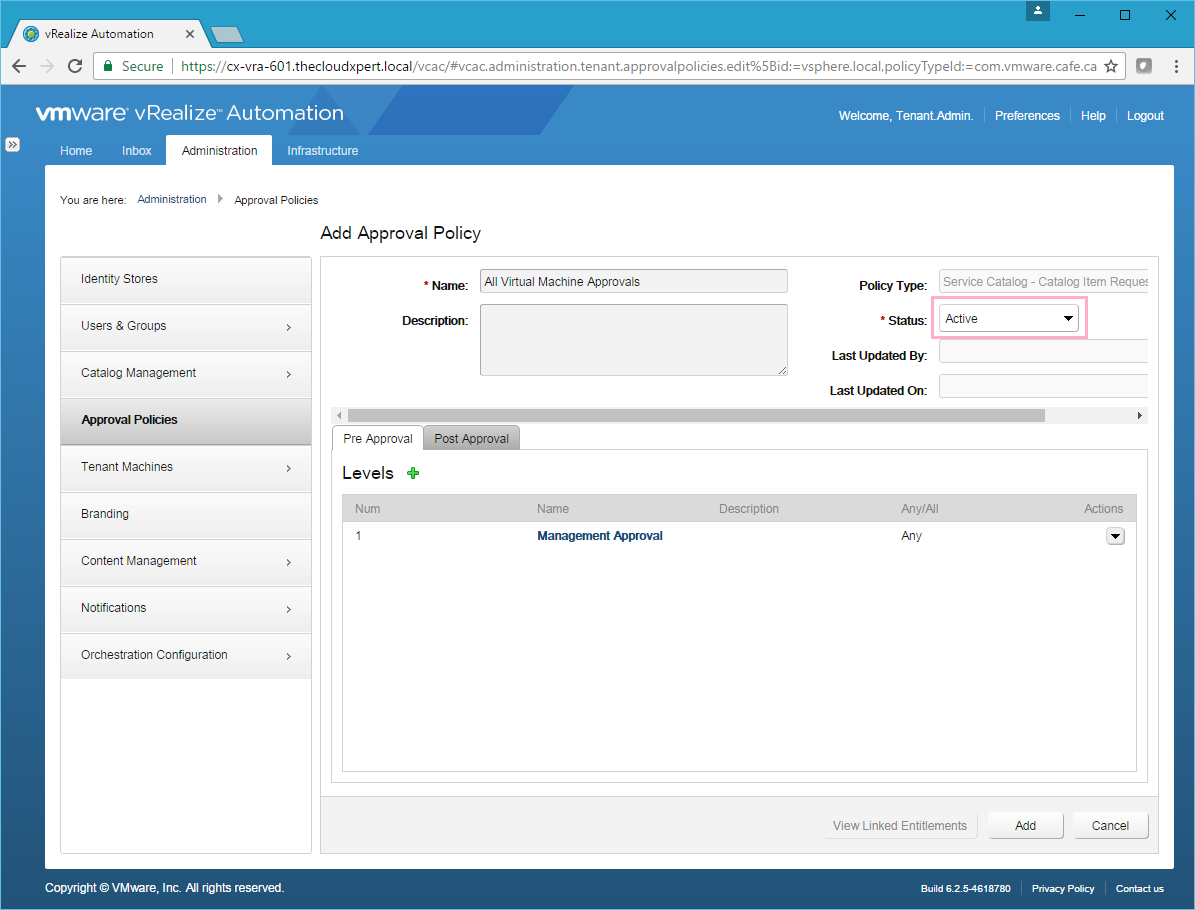
- Click Add.
Create an Entitlement
An Entitlement determines which Business Users can request which Blueprints and defines what Actions can be performed on the resultant Machine/Service.
A Business Group Manager can create Entitlements for their Business Group(s) and a Tenant Administrator can create Entitlements for any Business Group within the Tenant.
- Navigate to the vRealize Automation Tenant Portal (
https://vra.fqdn/vcac)
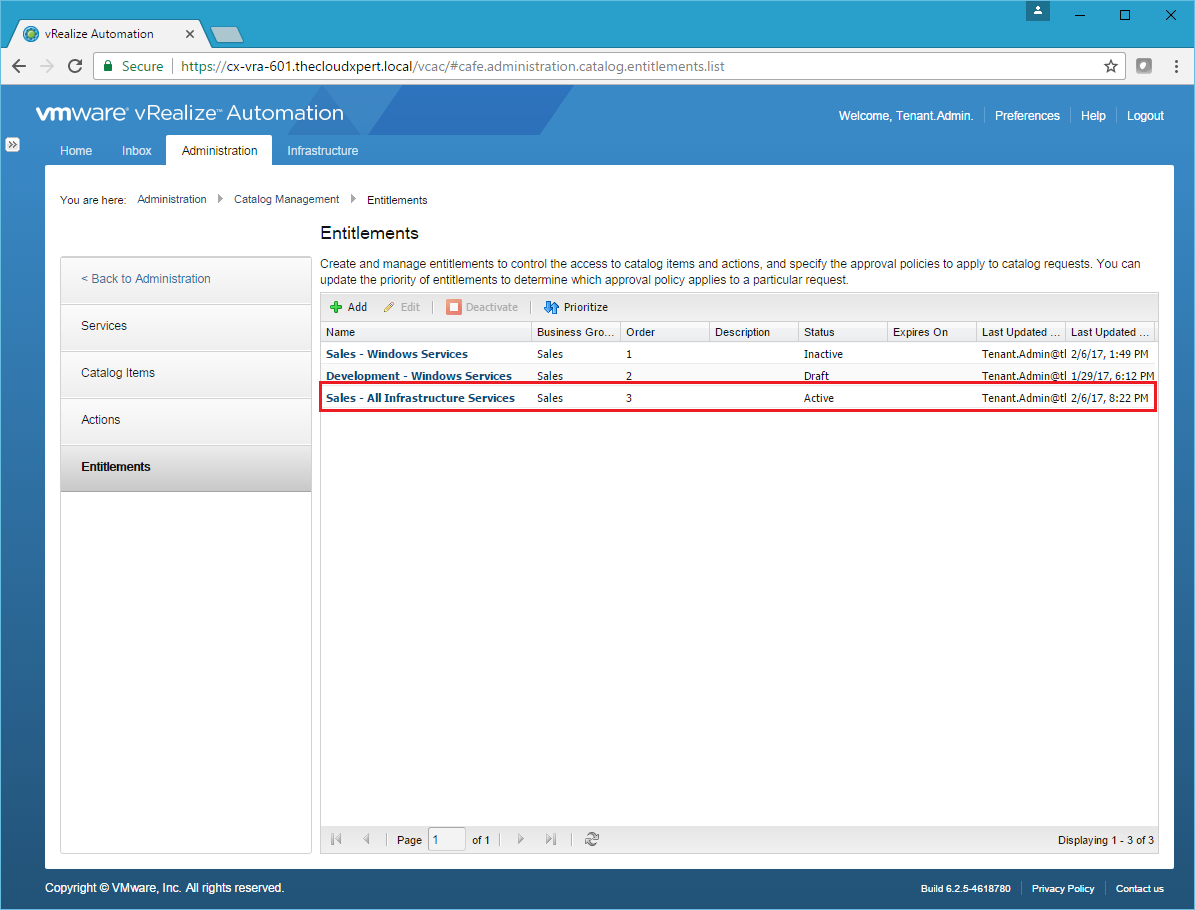
- Log in as a user with the Tenant Administrator (or Business Group Manager) role and click Administration > Catalog Management > Entitlements.
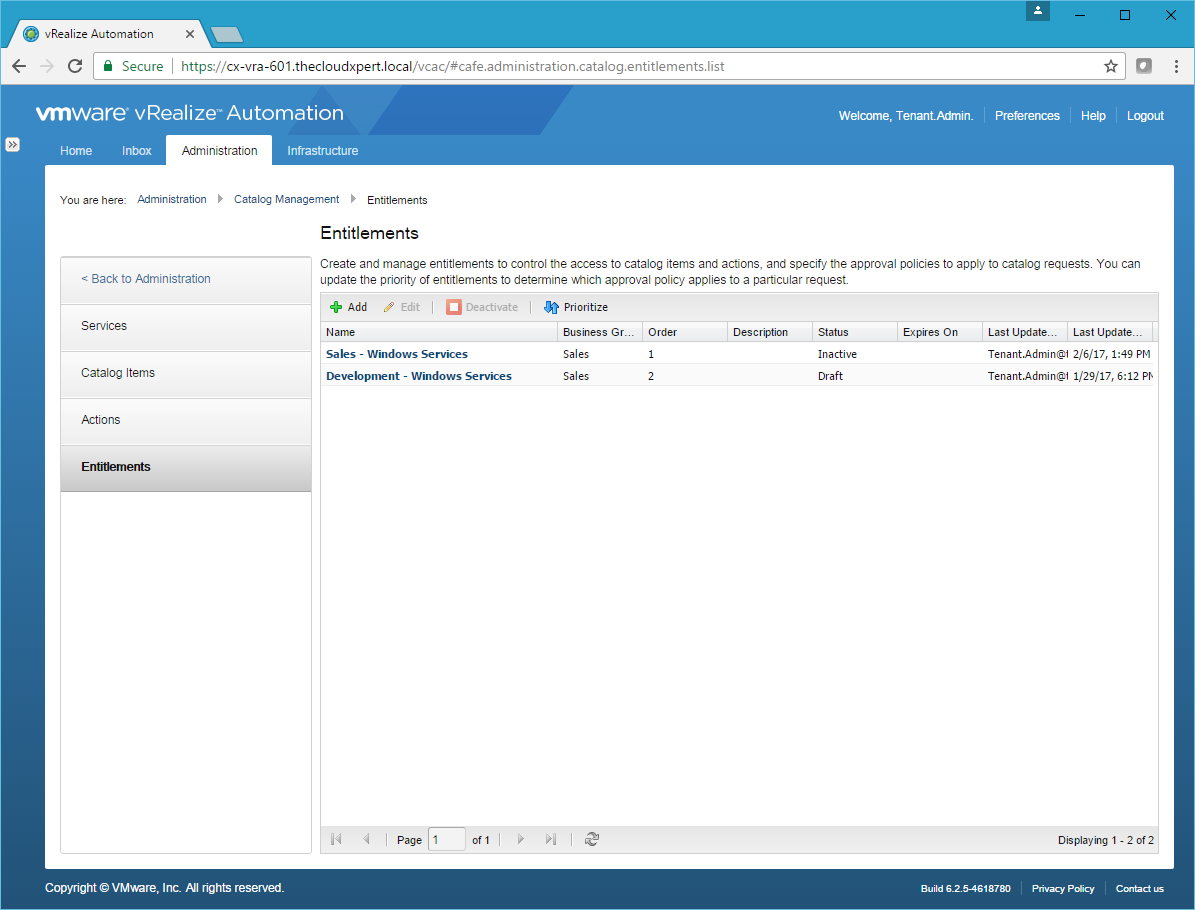
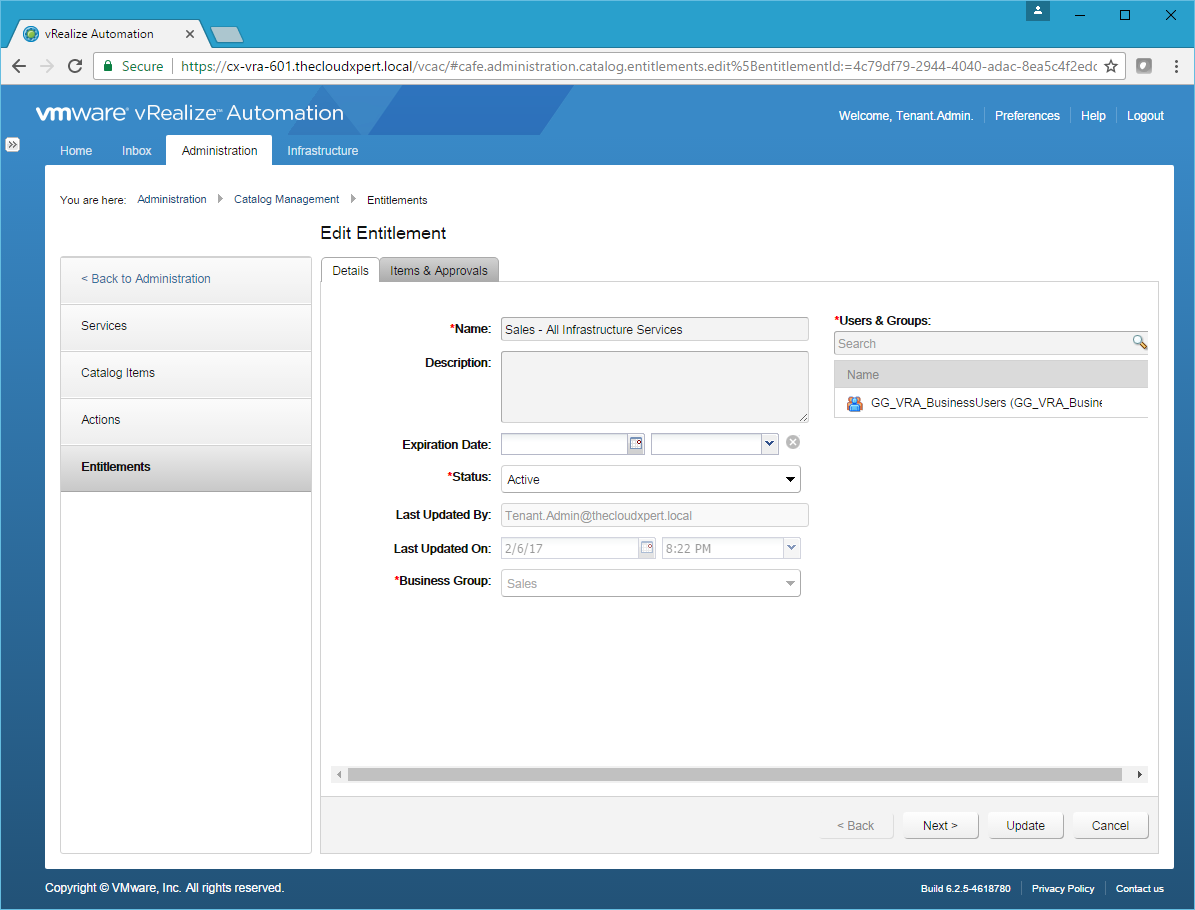
- Click Add.
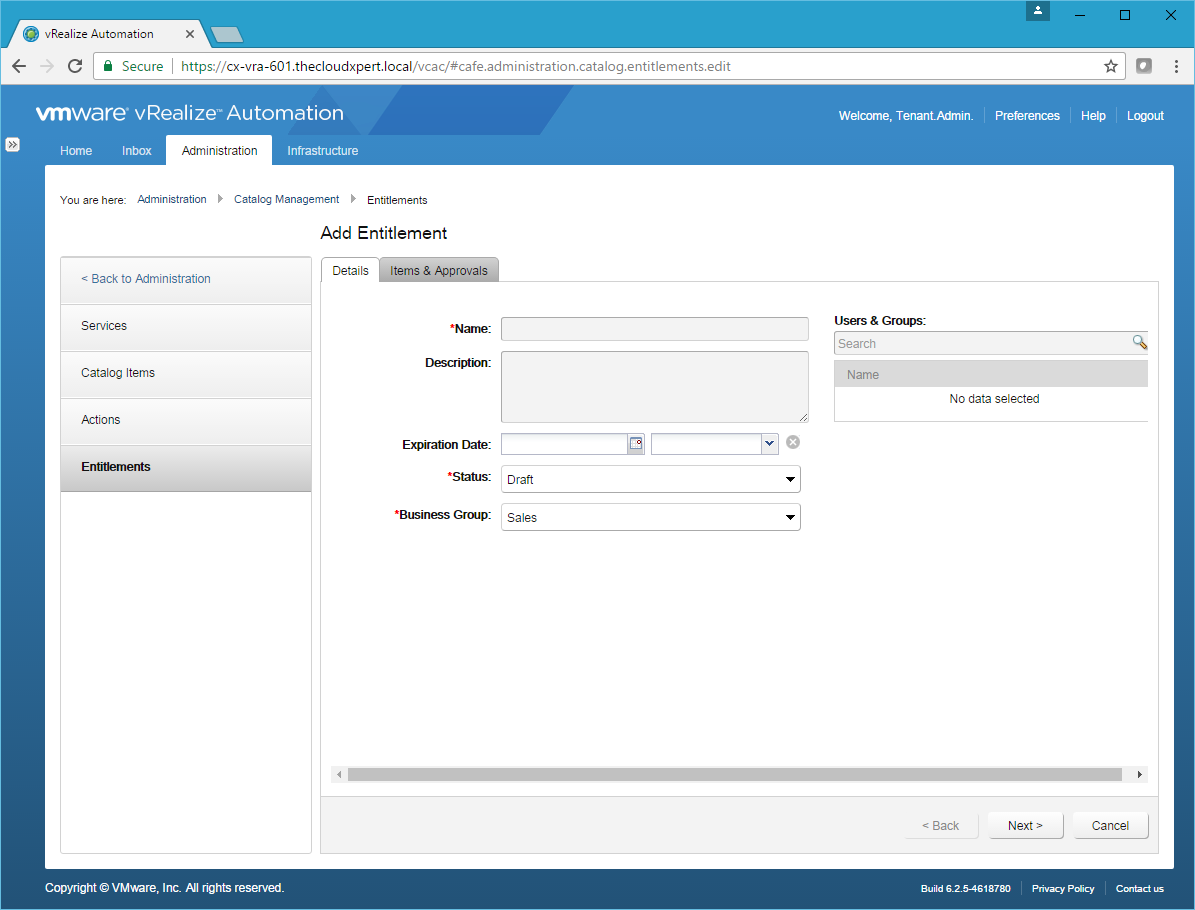
- Enter the title of the Entitlement into the Name field and then select the correct Business Group.
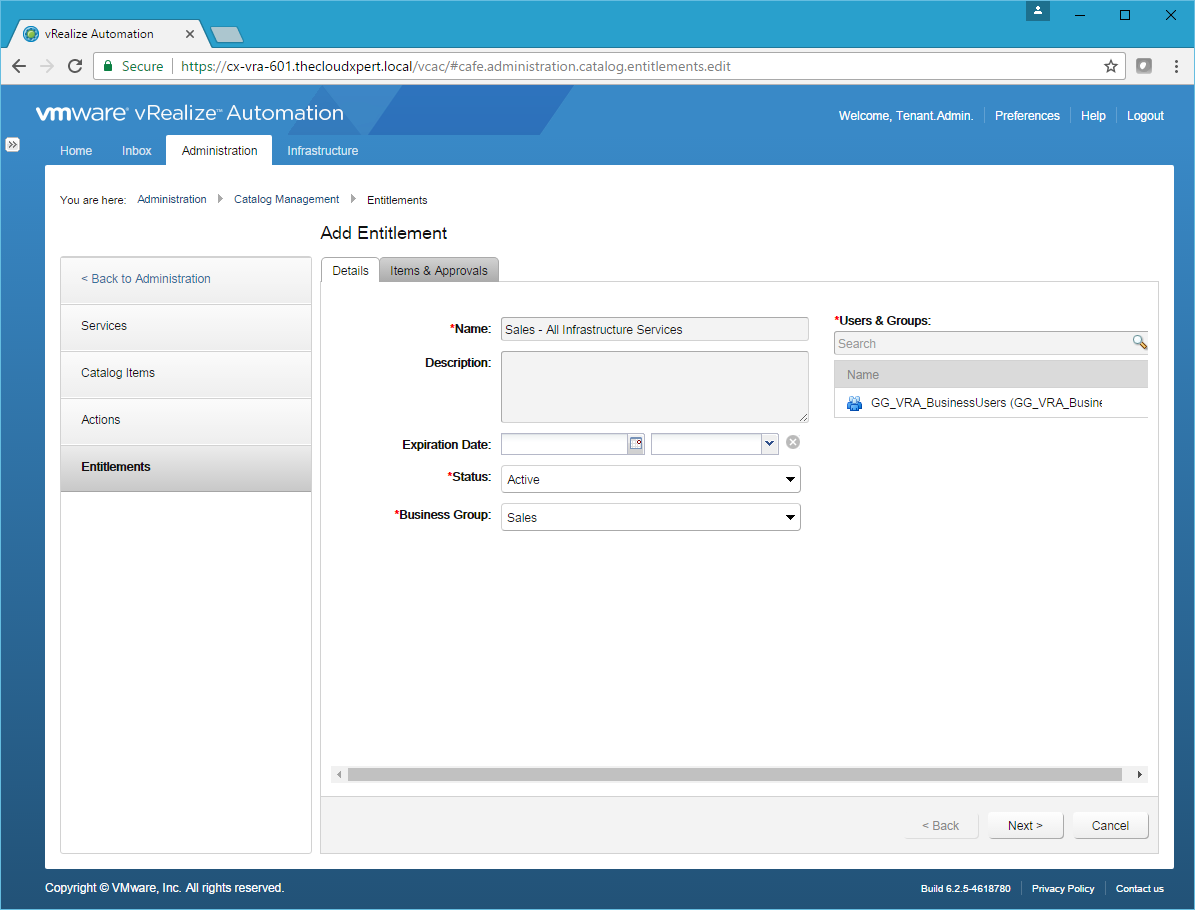
- Click Next.

- Click Add.
Now - you’re probably asking why we didn’t change anything from default or add any services, that’s because we’re going to cover that next!
Manage Entitlements for specific Users or Groups
- Navigate to the vRealize Automation Tenant Portal (
https://vra.fqdn/vcac)
- Log in as a user with the Tenant Administrator (or Business Group Manager) role and click Administration > Catalog Management > Entitlements.
Entitle a User/Group to a Service
- Click the Entitlement you want to change.
- Click the Items & Approval tab.
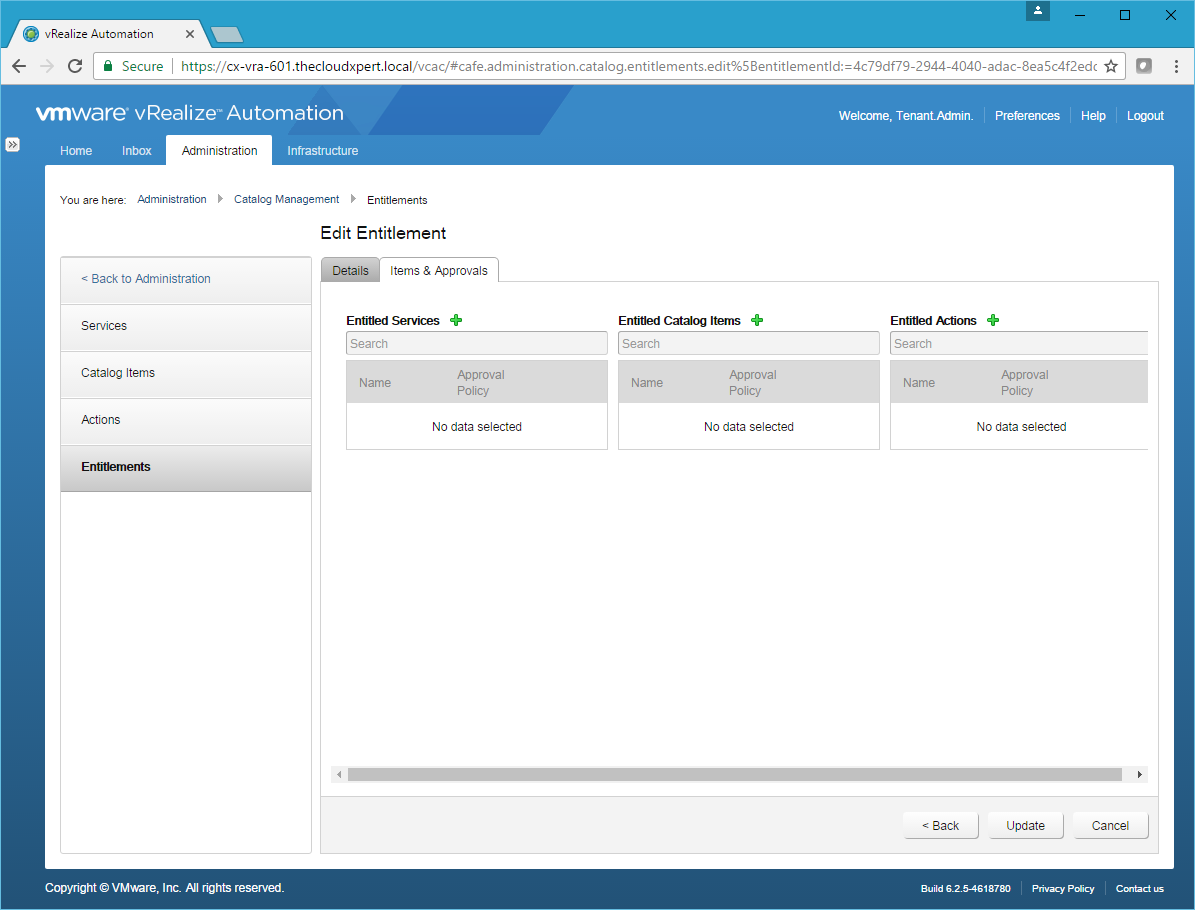
- Next to Entitled Services click Add (+).
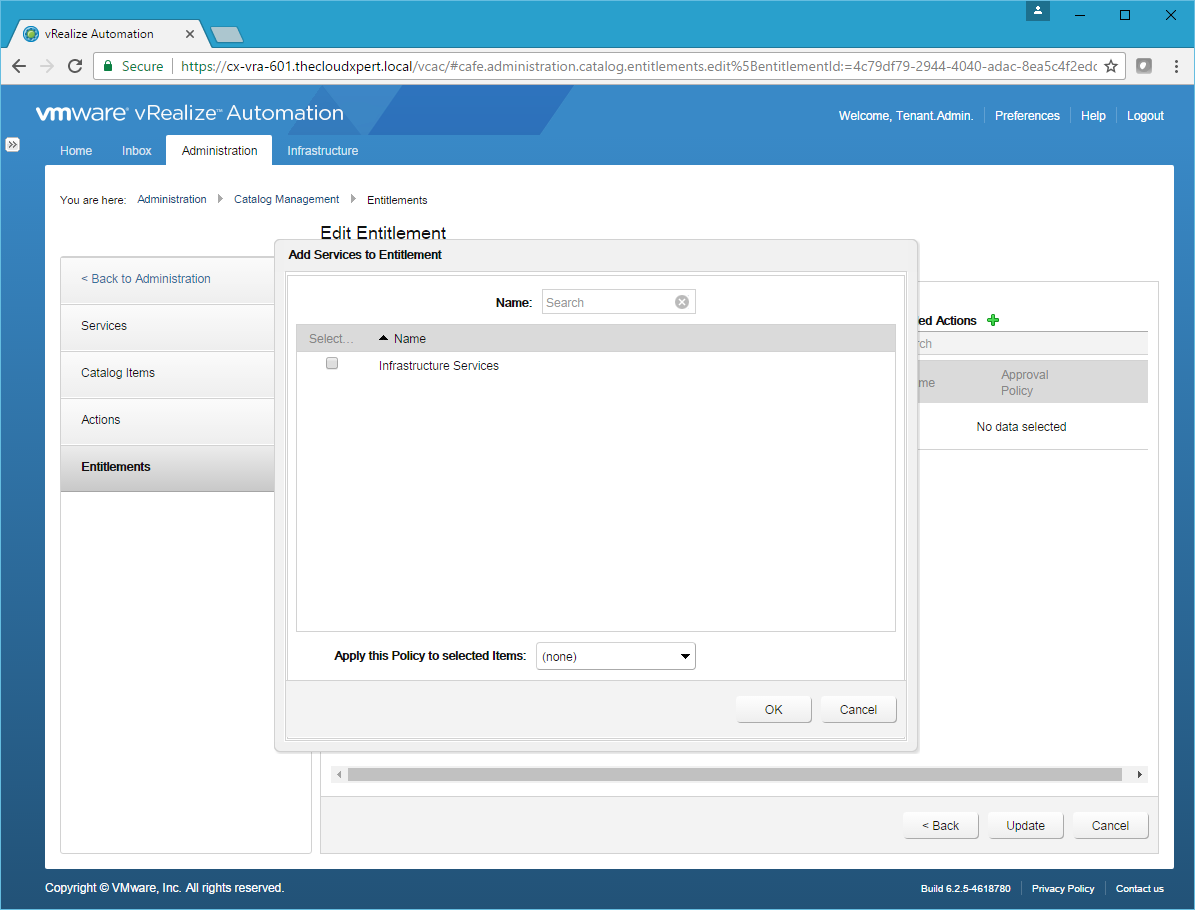
- Select the Service(s) you want to entitle, (optionally) select an Approval Policy from the Apply this Policy to select Items dropdown and click OK.

- Click Update.
Now let’s take another look at the Service Catalog as the Business User…
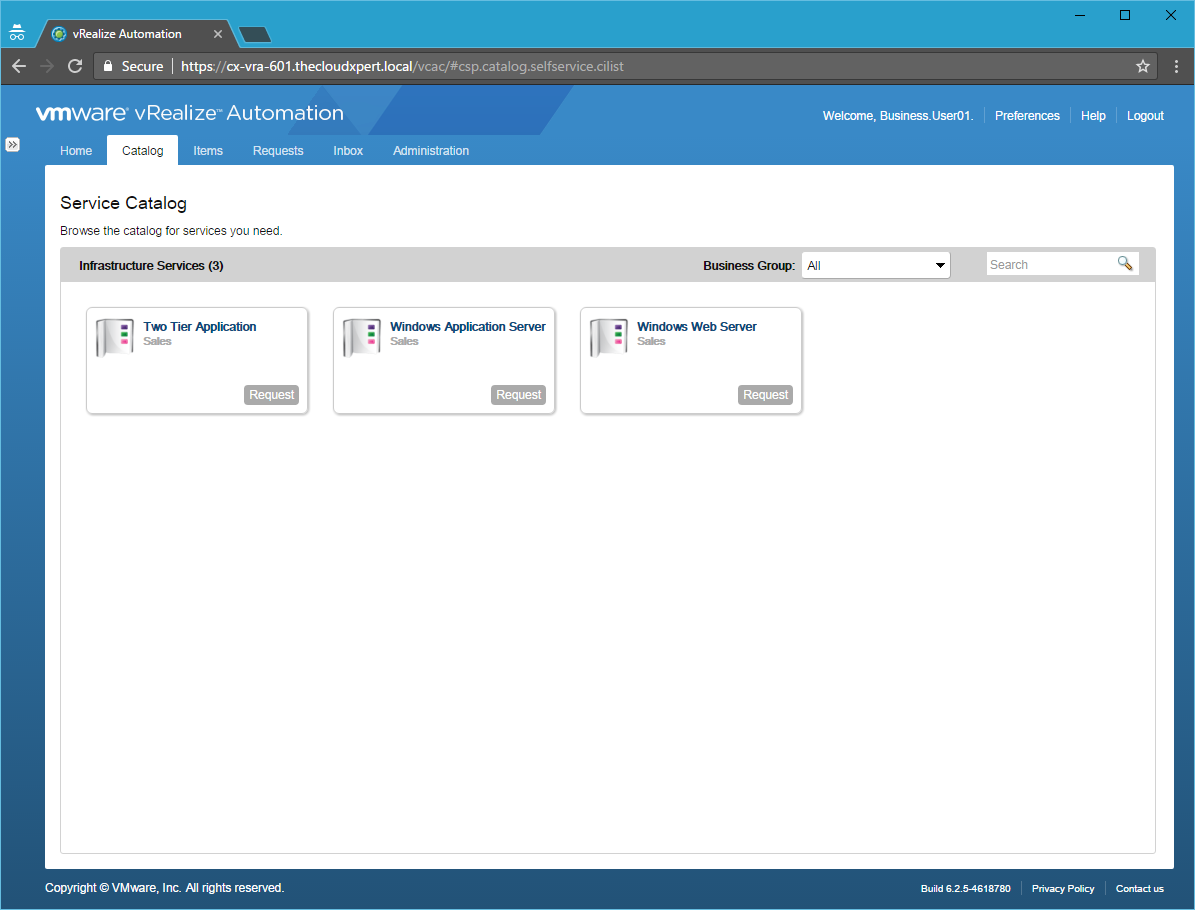
The Business User can now see all of the Catalog Items belonging to the Service Category!
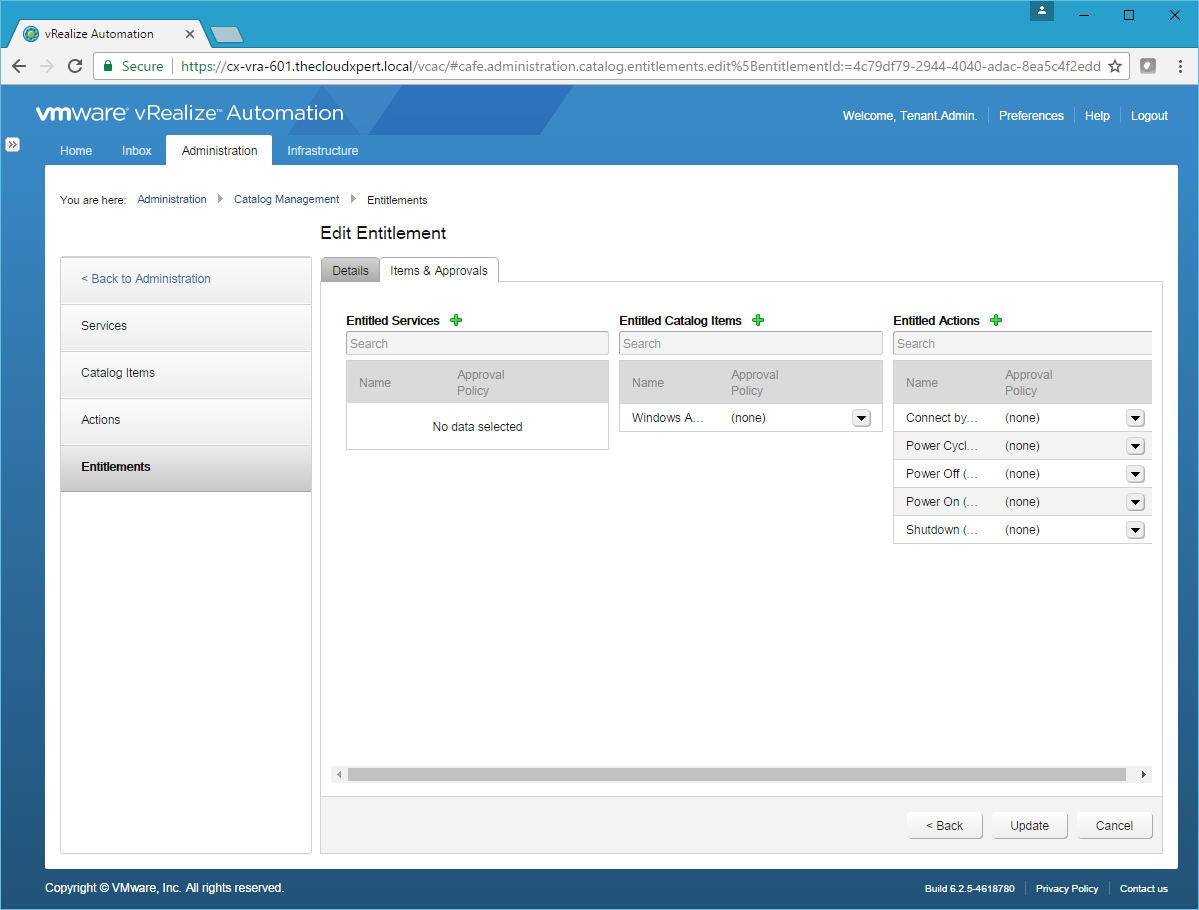
Entitle a User/Group to a Catalog Item
But what if we only want to show specific Catalog Items rather than the whole Service? We can do that by removing the Service and assigning just Catalog Items.
- Click the Entitlement you want to change.
- Click the Items & Approval tab.

- Under Entitled Services, click the down arrow next to the currently entitled Service.
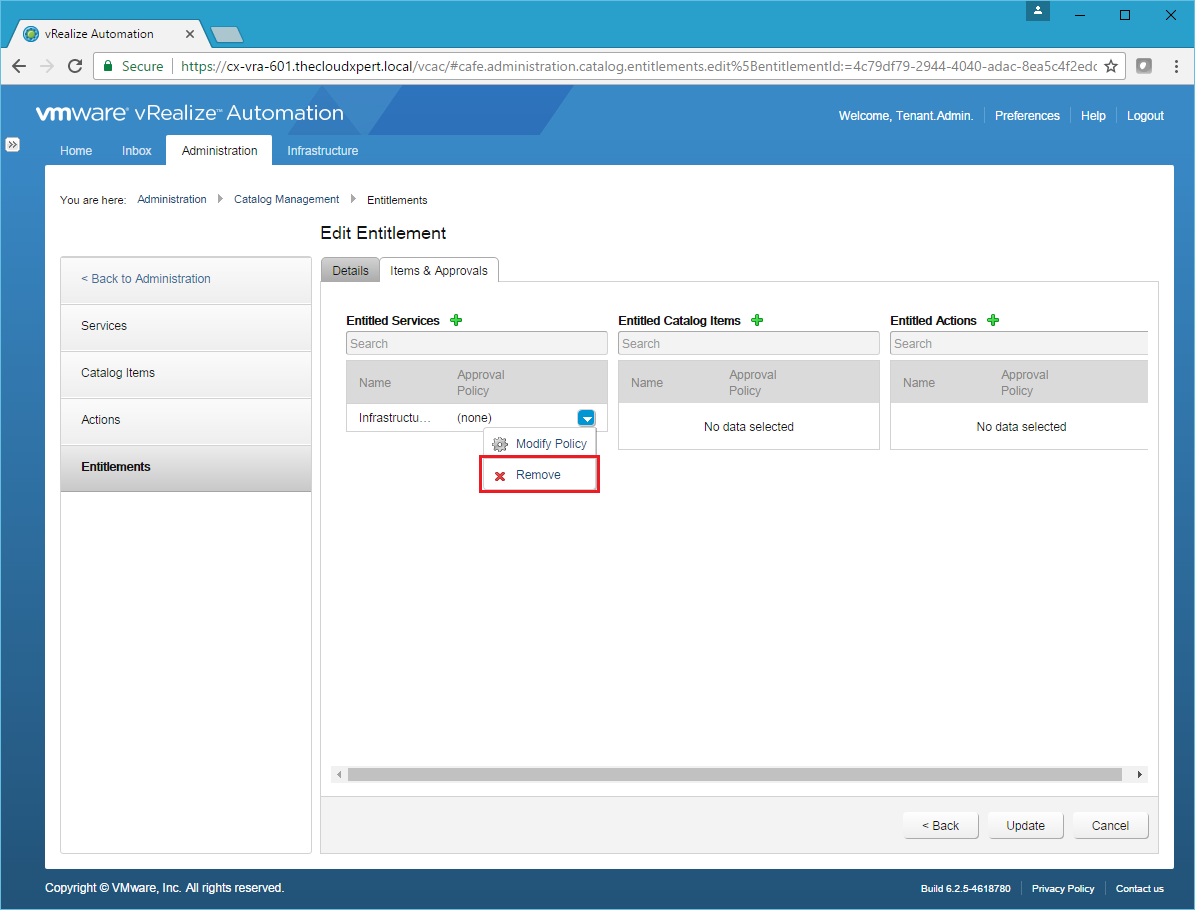
- Click Remove.
- Next to Entitled Catalog Items click Add (+)
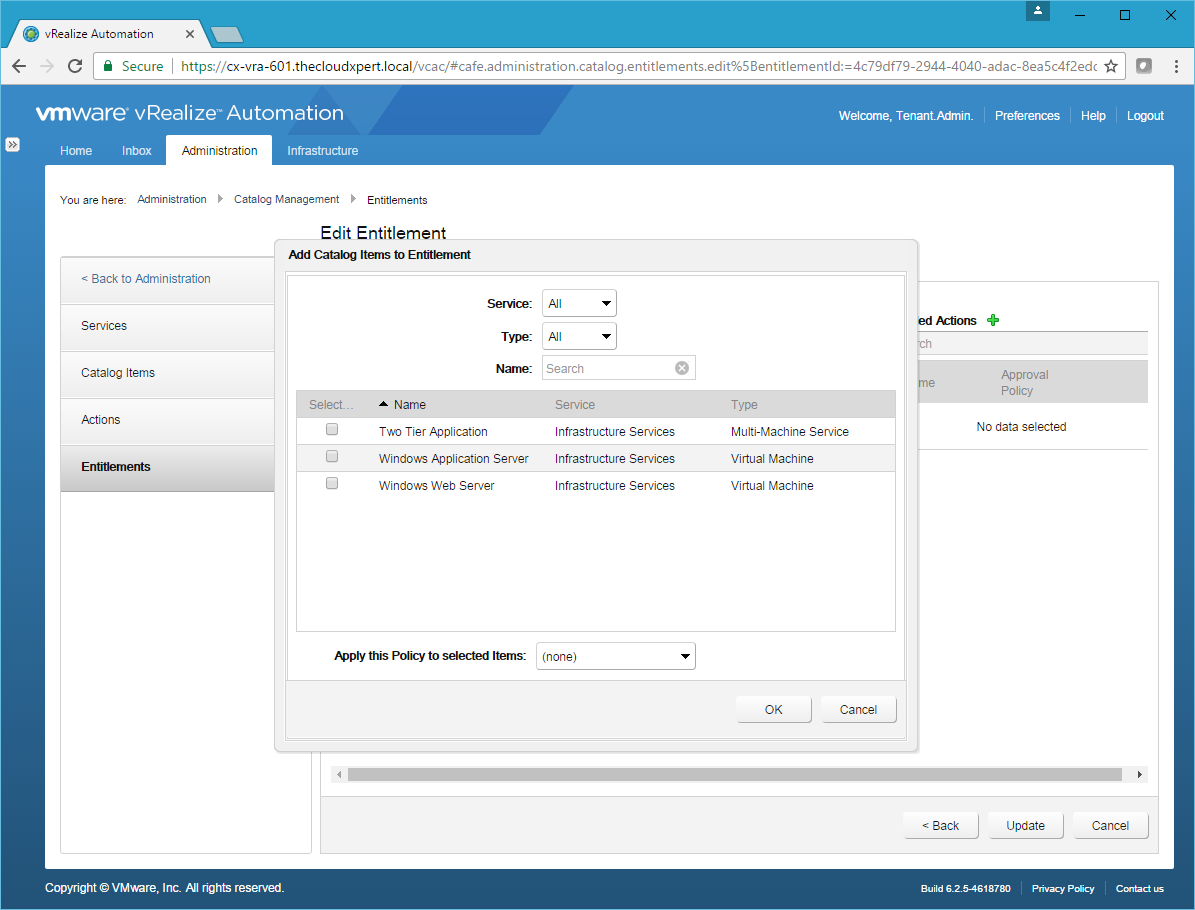
- Select the Catalog Item(s) you want to entitle, (optionally) select an Approval Policy from the Apply this Policy to select Items dropdown and click OK.

- Click Update.
Now let’s take another look at the Service Catalog as the Business User…
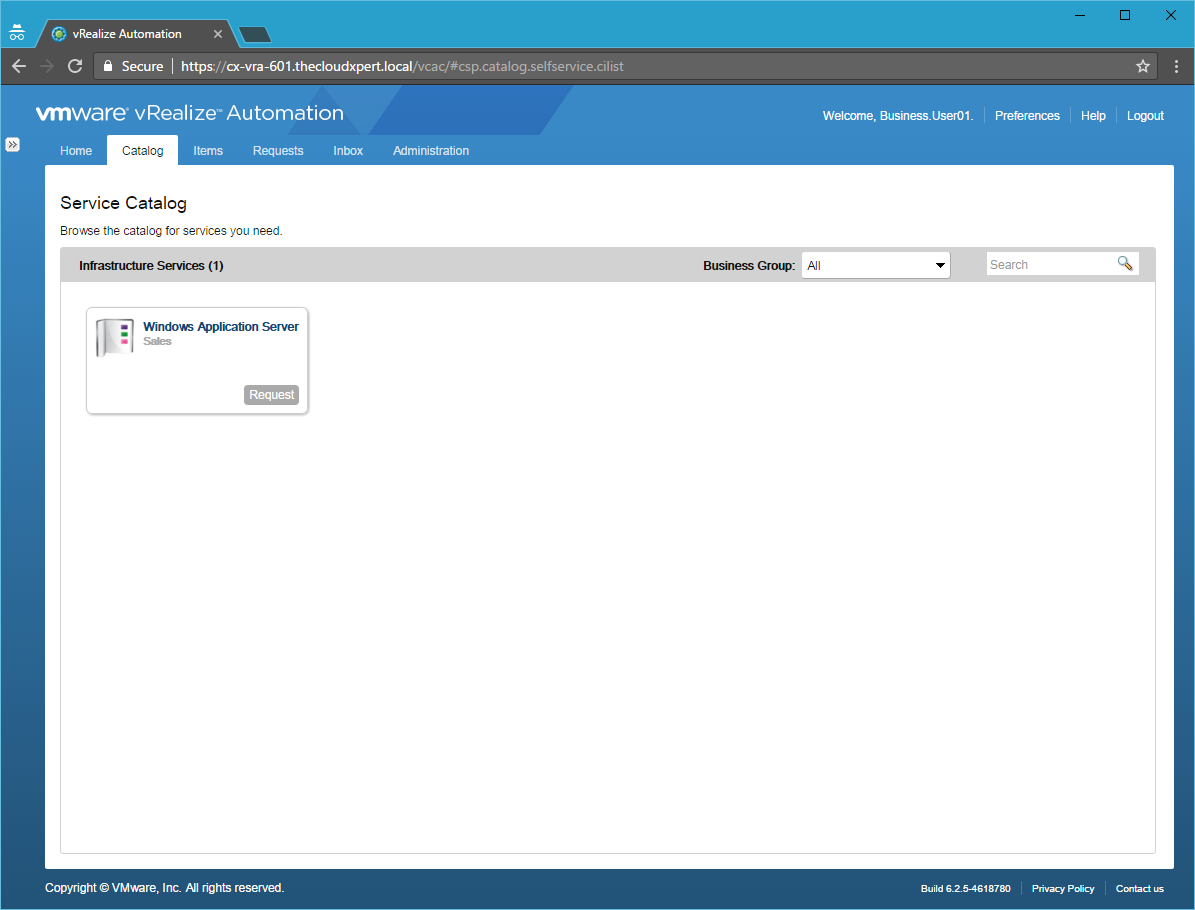
Now you can see only the Catalog Item(s) selected in the Entitlement have been displayed rather than all of them from the Service!
Entitle a User/Group to a Resource Action
- Click the Entitlement you want to change and click on the Items & Approval tab.

- Next to Entitled Actions click Add (+).
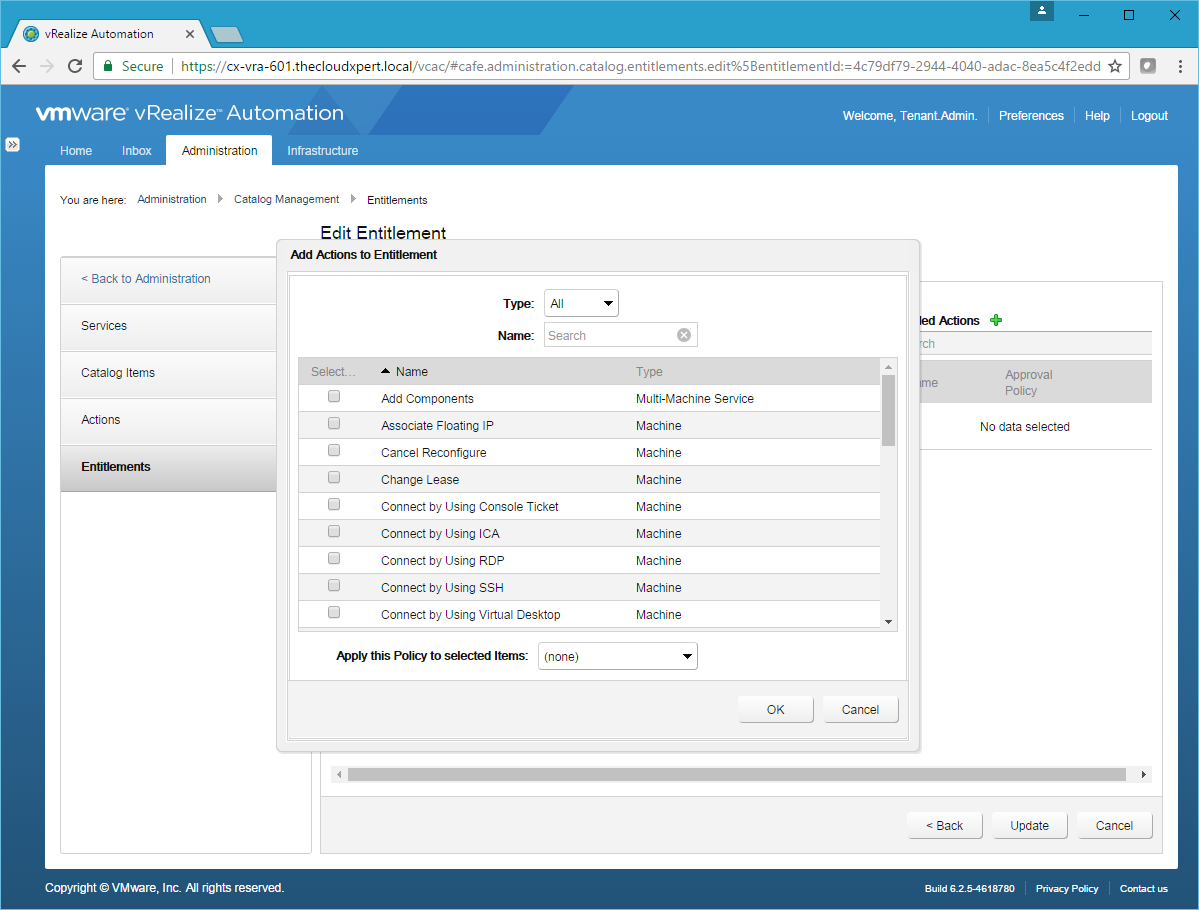
- Select the required Resource Actions and click OK.
- You can filter the list using the Type dropdown.
- You can decide whether or not to apply an Approval Policy to the Resource Action.
- Click Update.
Prioritize entitlements according to a deployment plan
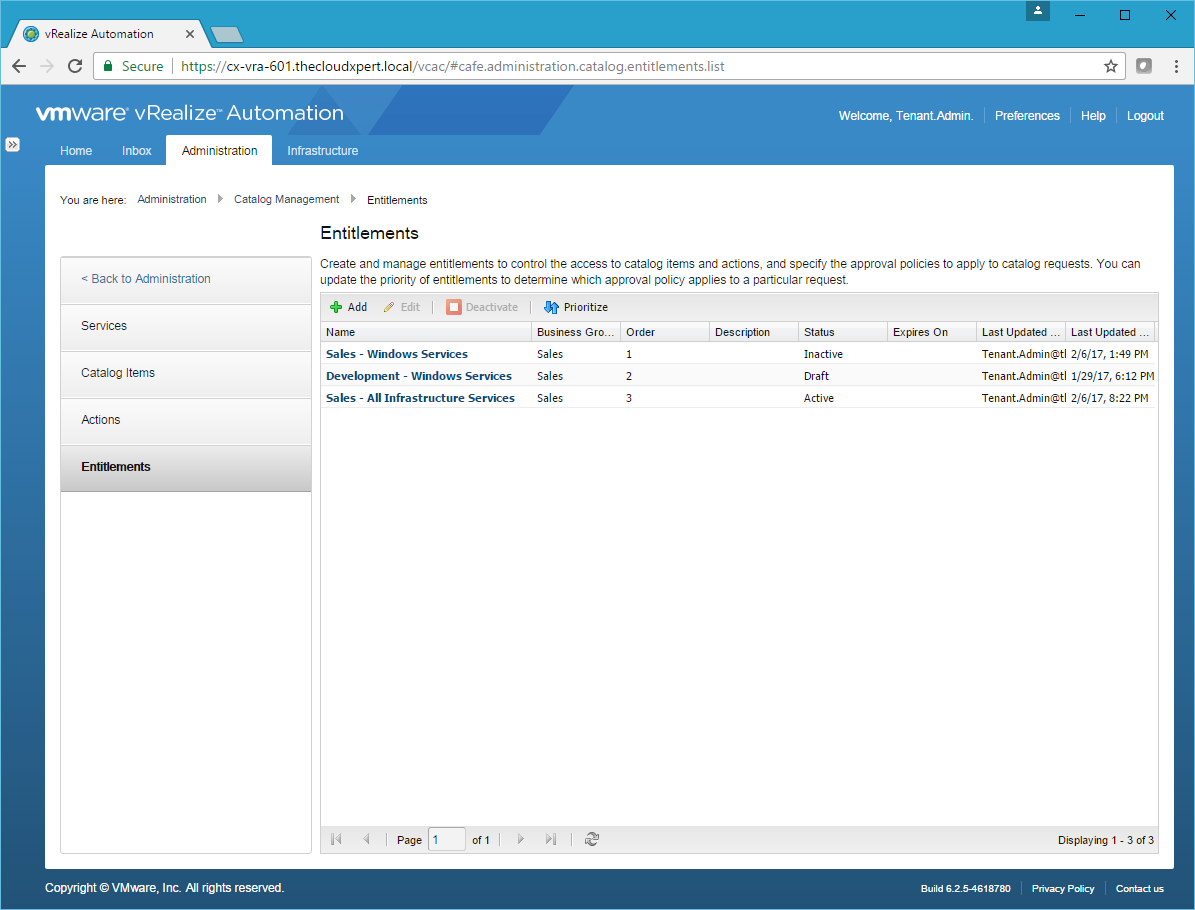
- Log into the vRealize Automation Portal, and navigate to Administration > Catalog Management > Entitlements.

- To prioritize an Entitlement, click Prioritize.
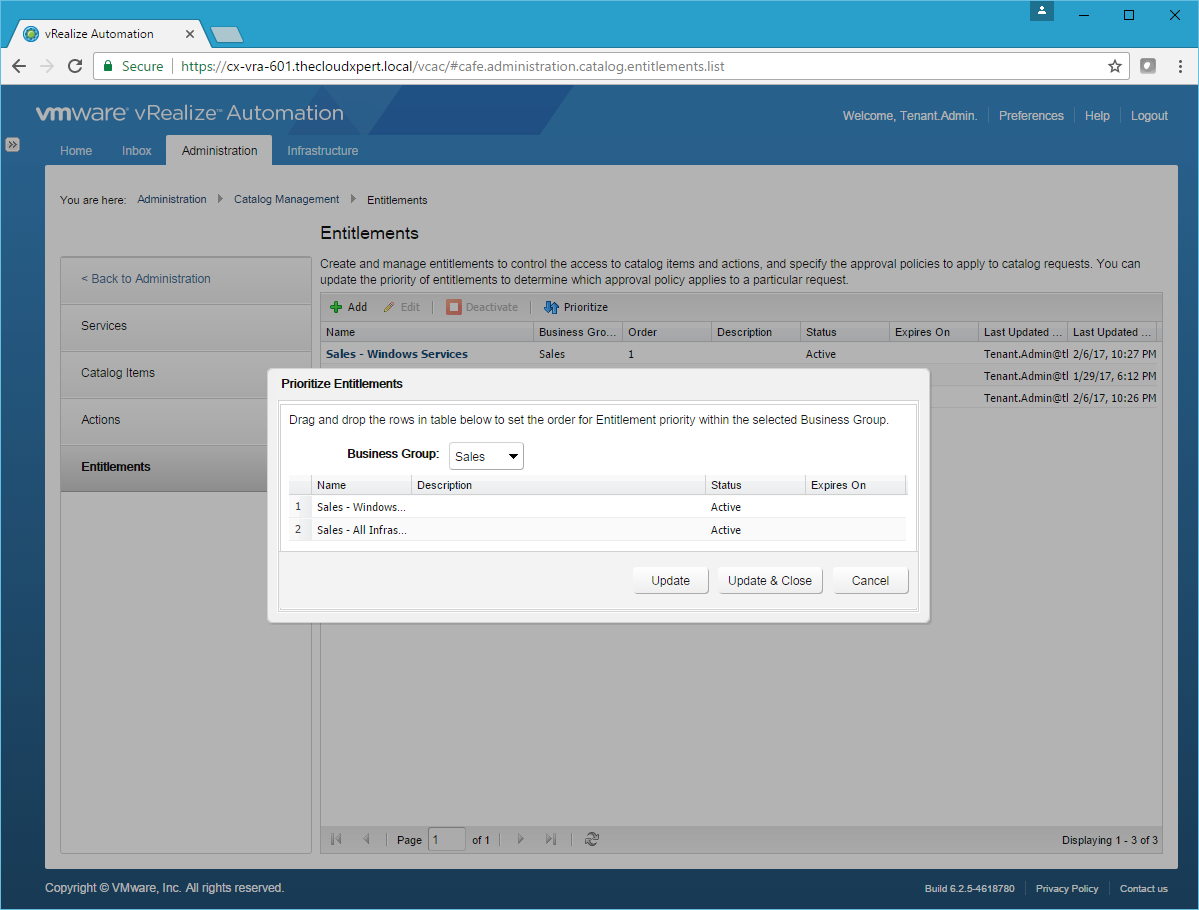
- Select the Business Group from the drop down and drag and drop the Entitlements into the order required then click Update & Close.
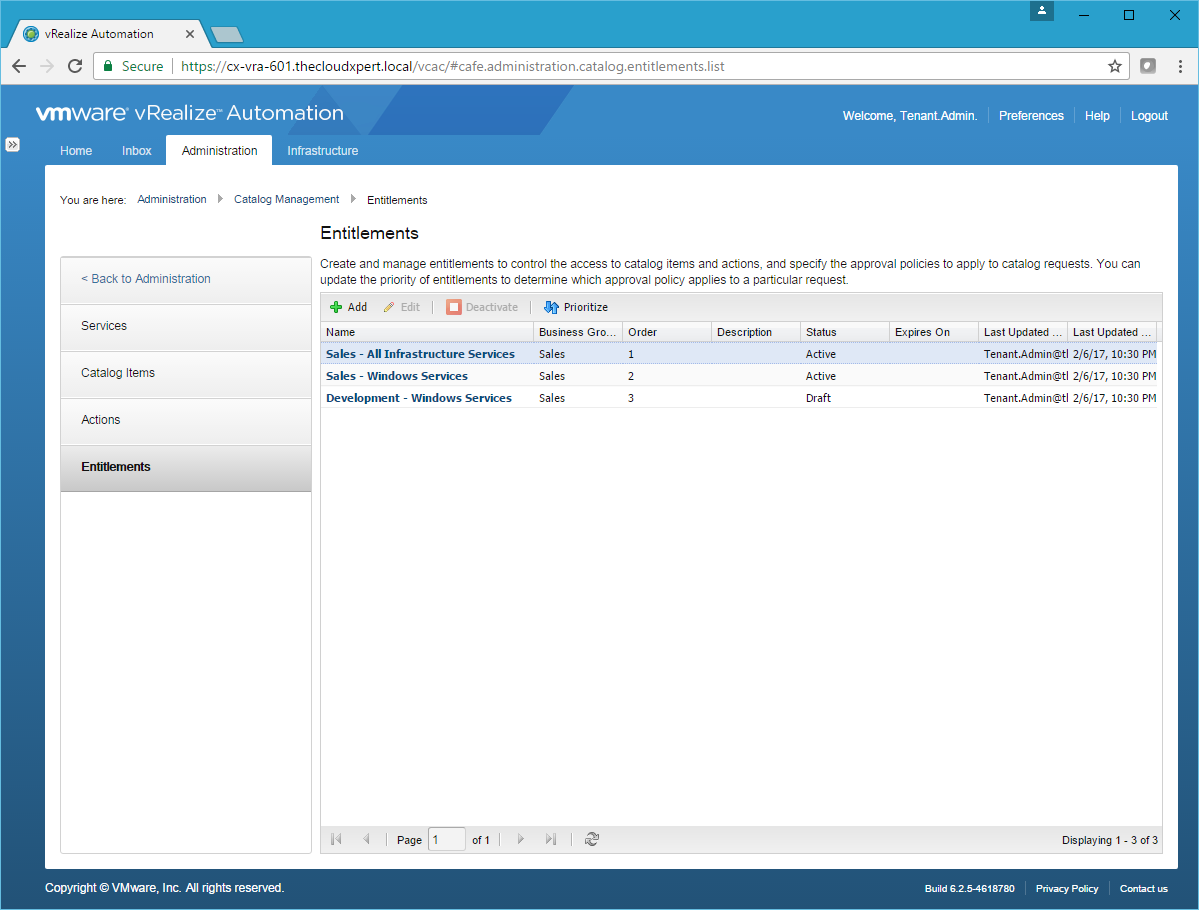
- You will notice that the Entitlements are now in Priority Order.
Attach an Approval Policy for specific Entitled Catalog Items
We have shown previously how (as a Tenant Administrator) to add an Approval Policy to a Catalog Item when adding it to an Entitlement. You can also add/amend Approval Policies in the following way from within the Entitlement:
- Click on the Items & Approvals Tab.

- Click on the down arrow next to a Catalog Item.
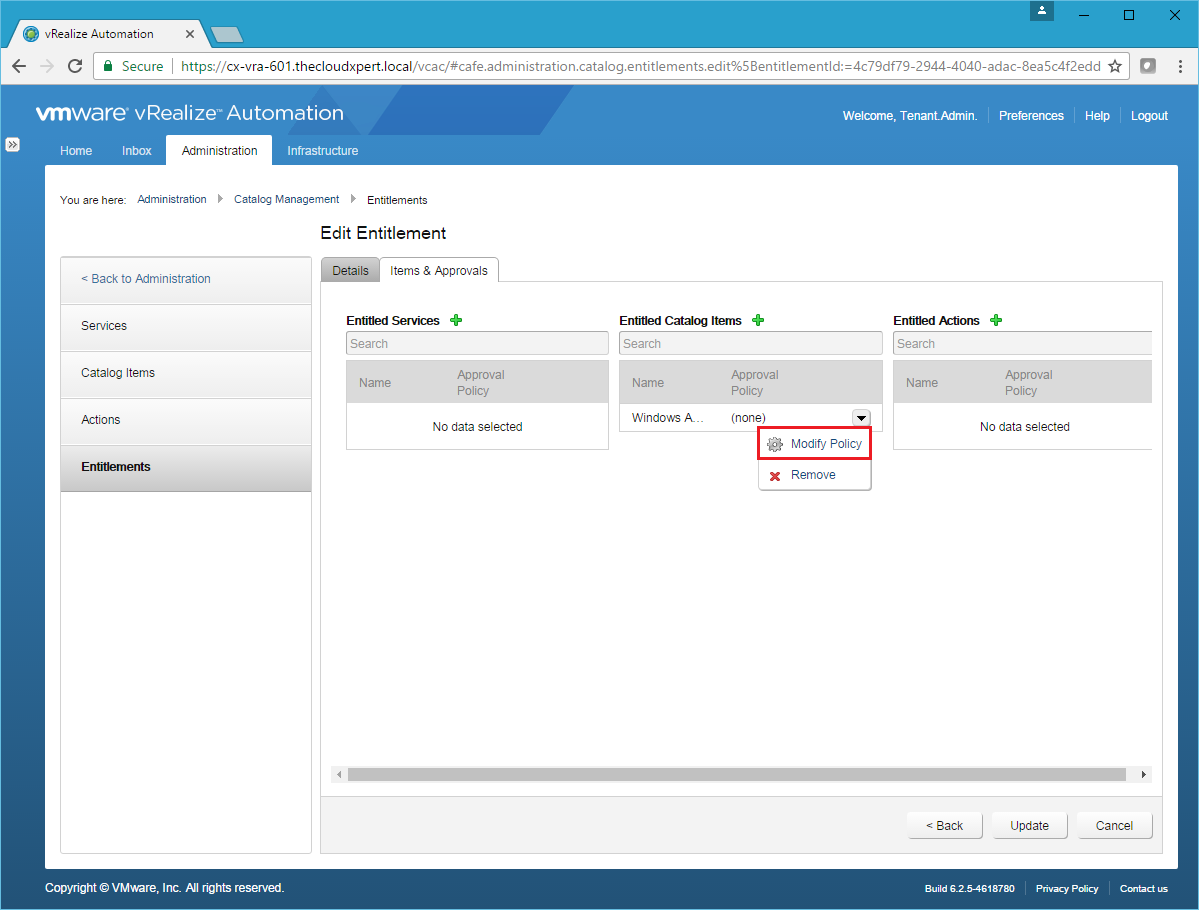
- Select Modify Policy.
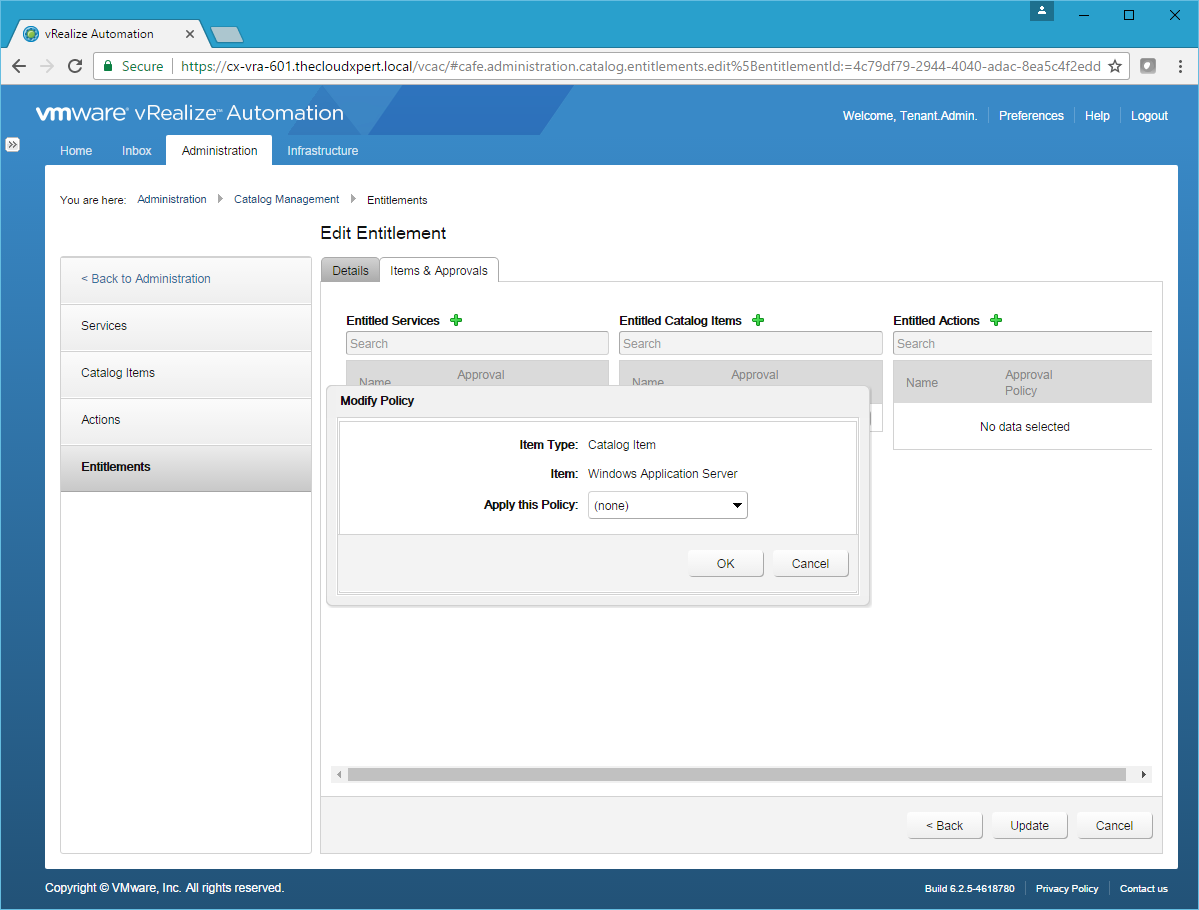
- If no Approval Policy has been assigned (or to change an assigned Approval Policy), select a value from the Apply this Policy dropdown. To remove the Approval Policy, select (none) from the Apply this Policy dropdown.
Click Update.
Published on 6 February 2017 by Christopher Lewis. Words: 1352. Reading Time: 7 mins.
- VCAP6-CMA Deploy - Objective 4.1: Create and Configure vRealize Automation Machine Blueprints ()
- VCAP6-CMA Deploy - Objective 5.1: Configure vRO for vRA ()
- HOWTO: Deploy the vRealize Orchestrator 6.x Appliance for vRealize Automation ()
- VCAP6-CMA Deploy - Objective 1.3: Deploy and Manage vRealize Automation Center Infrastructure Components ()
- HOWTO: Deploy VMware vRealize Automation 6.x IaaS Proxy Agent (Distributed Install) ()
