




Warning! The content within this article is over 36 months old and, therefore, may be out of date.
VCAP6-CMA Deploy - Objective 4.4: Import existing workloads
Share this article on:



VMware vRealize Automation VCAP6 VCAP6-CMA
Published on 11 February 2017 by Christopher Lewis. Words: 301. Reading Time: 2 mins.
Objective 4.4 - Import existing workloads
NOTE: I’M IGNORING THE BLUEPRINT HERE AS THE CRITERIA DOESN’T MATCH THE OBJECTIVE.
Objective Overview
- Set Global Properties according to a deployment plan
- Locate log files for the appropriate user
- Generate a log support bundle for all vRealize Automation components
- View and export log data for further analysis
- Configure database log file rollover
Objective Prerequisites
The following prerequisites are assumed for this Objective:
- A fully deployed vRealize Automation Solution (simple or distributed)
- A Blueprint is available to Import the VMs against.
Objective Breakdown
Manual Import
- Navigate to the vRealize Automation Tenant Portal.
- Log in as the Fabric Administrator (or Business Group Manager) and then navigate to Infrastructure > Infrastructure Organizer
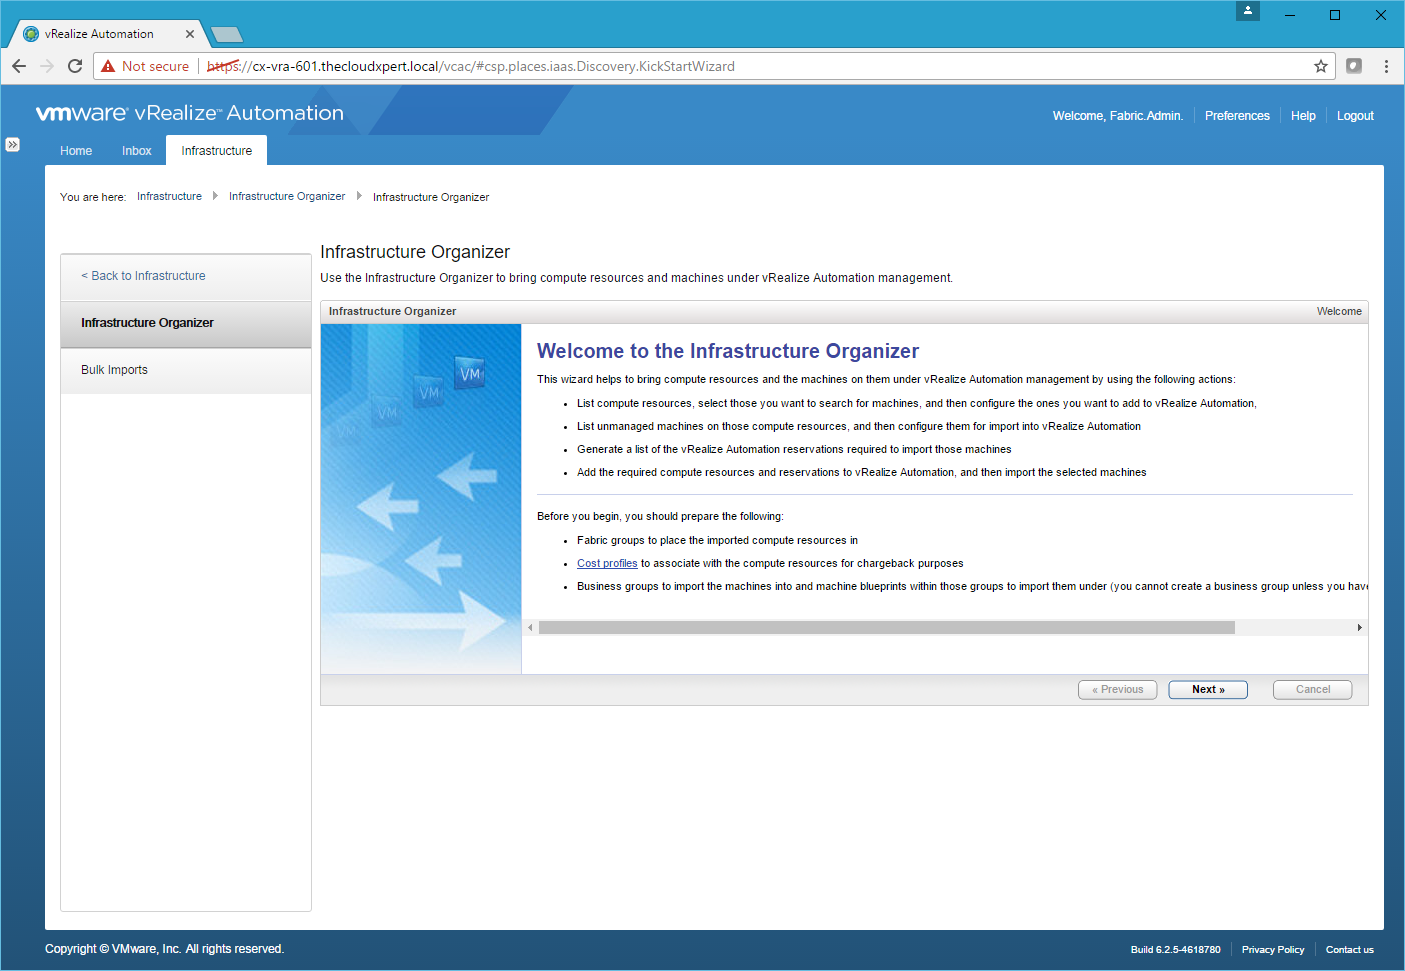
- Click Next.
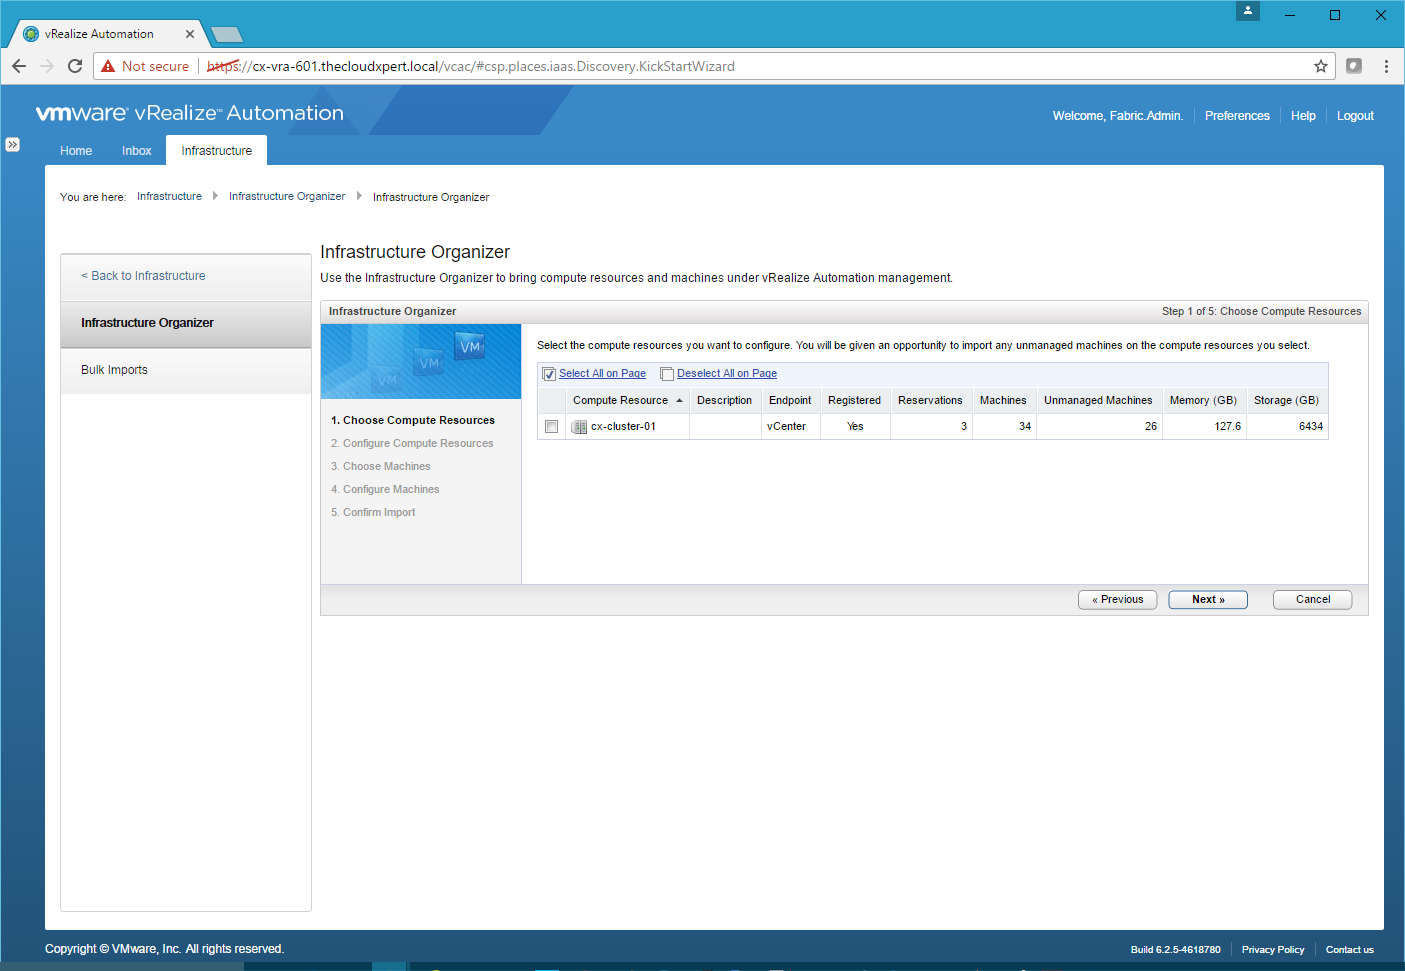
- Check the checkbox of the target Compute Resource and click Next.
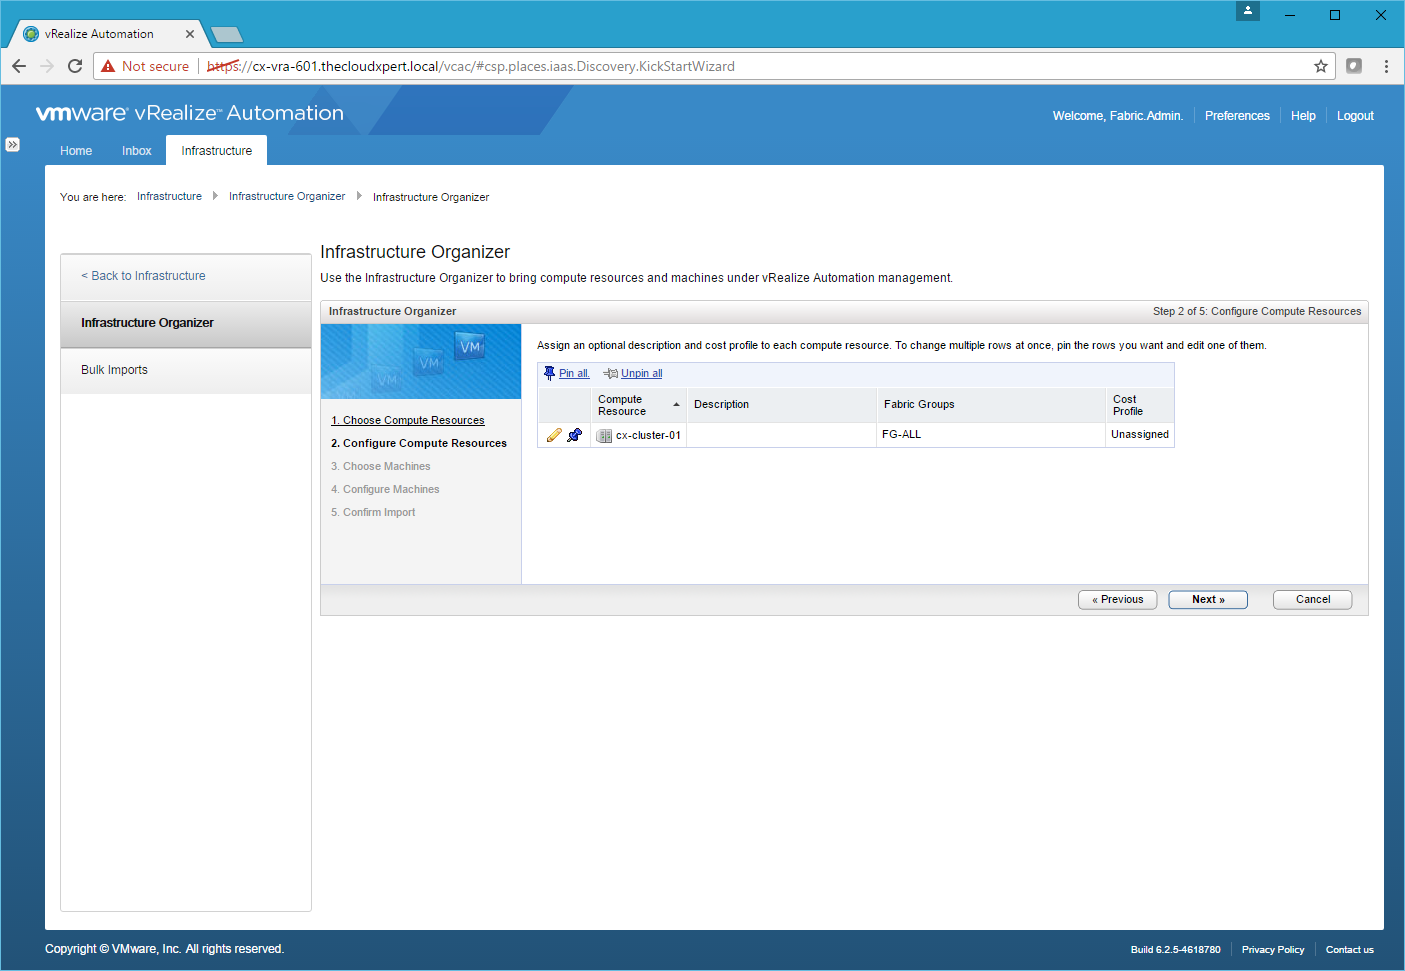
Note:
You can edit to the Fabric group or add a Cost Profile.
- Click Next.
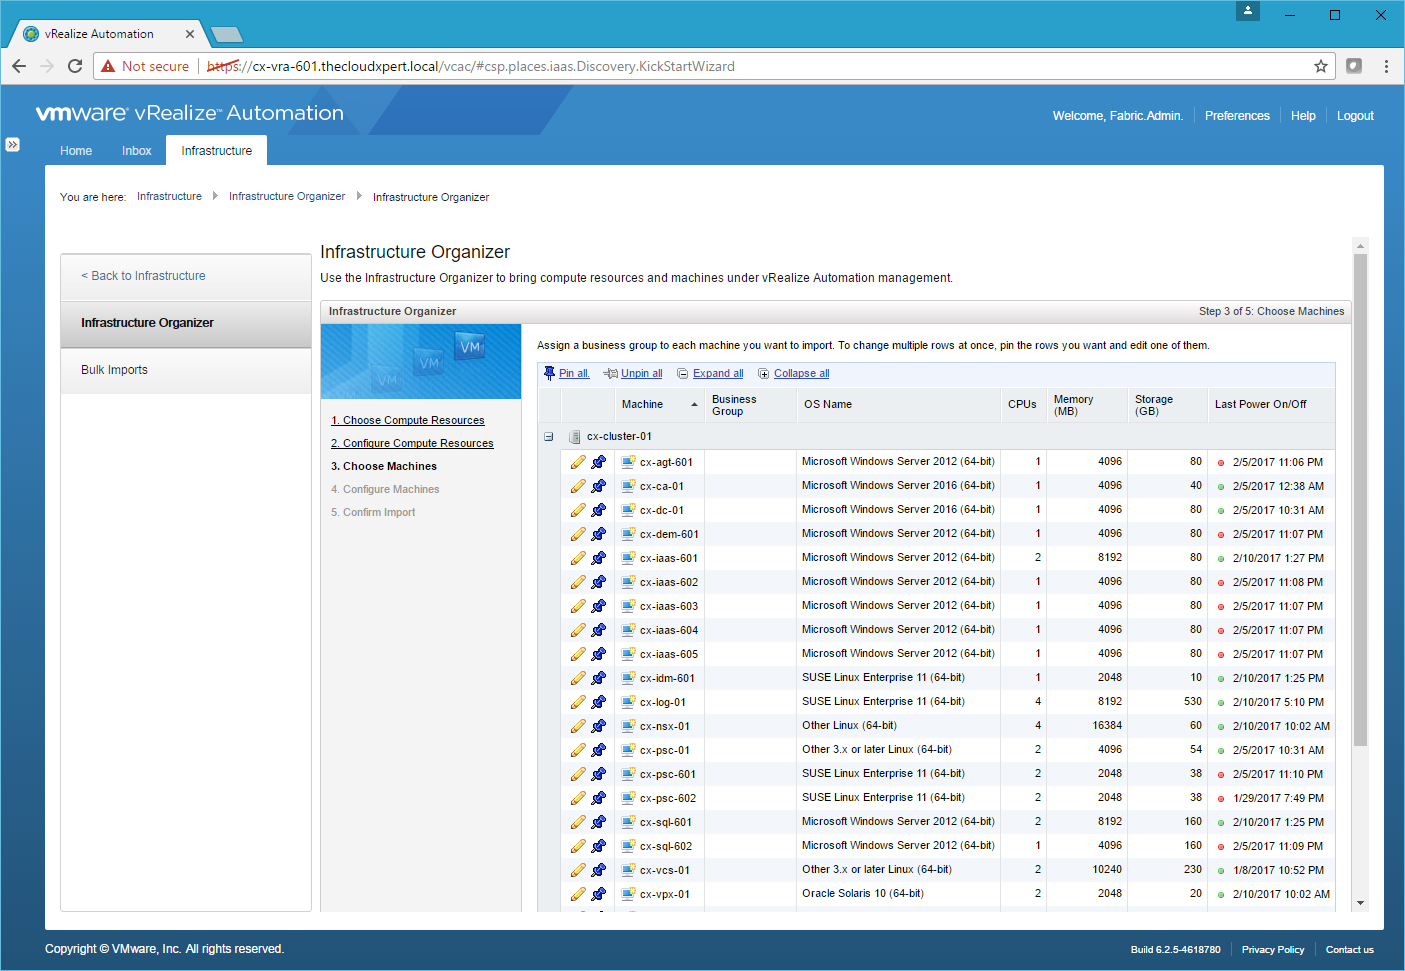
- Identify the machines to import, click Edit and assign them to a Business Group.
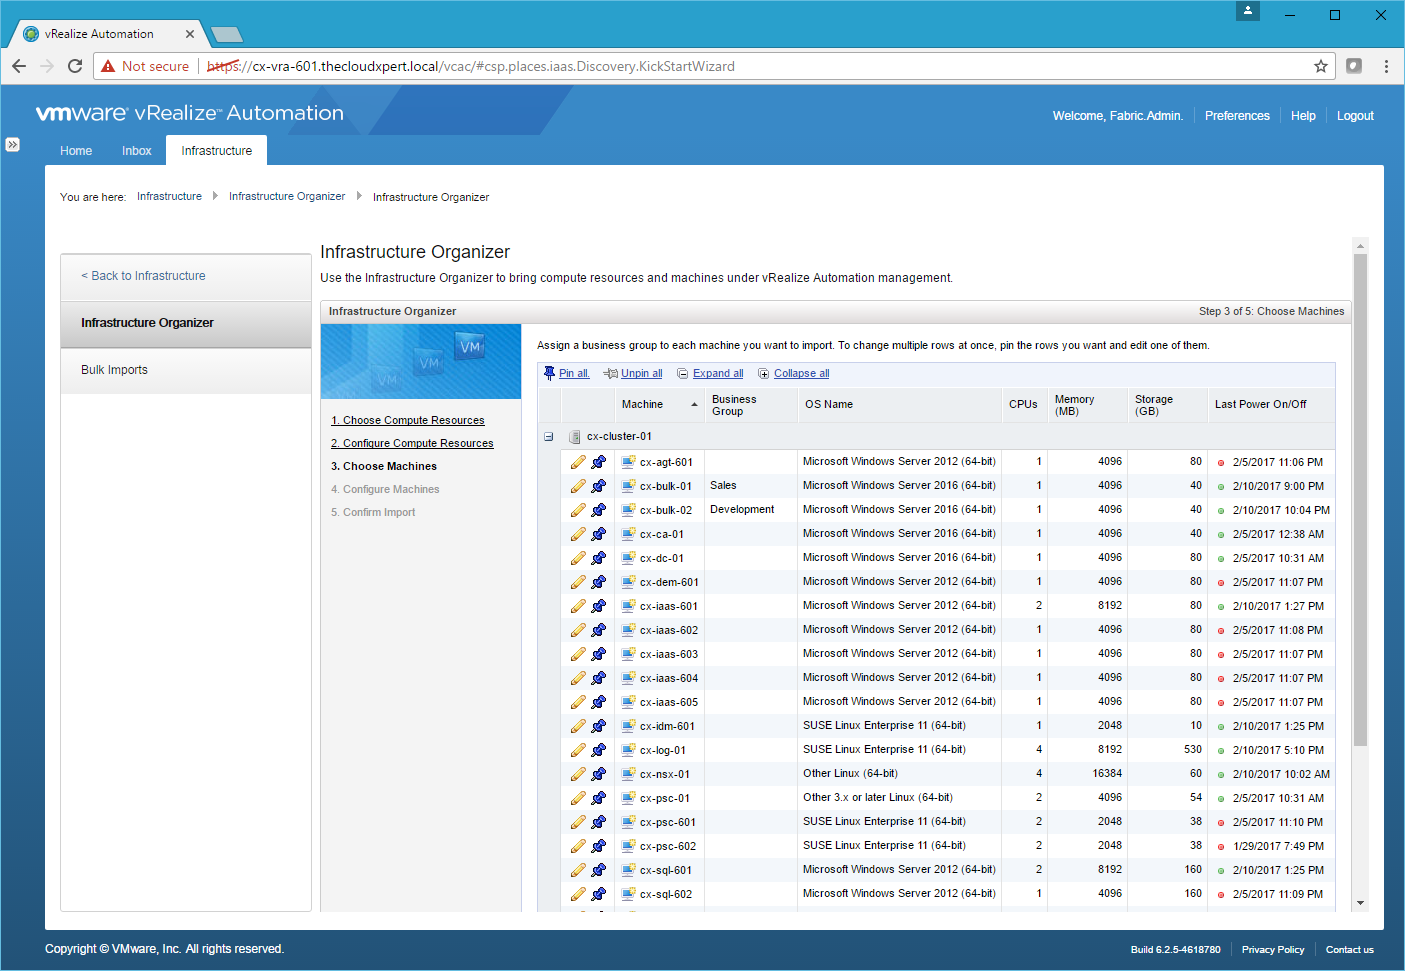
- Click Next.
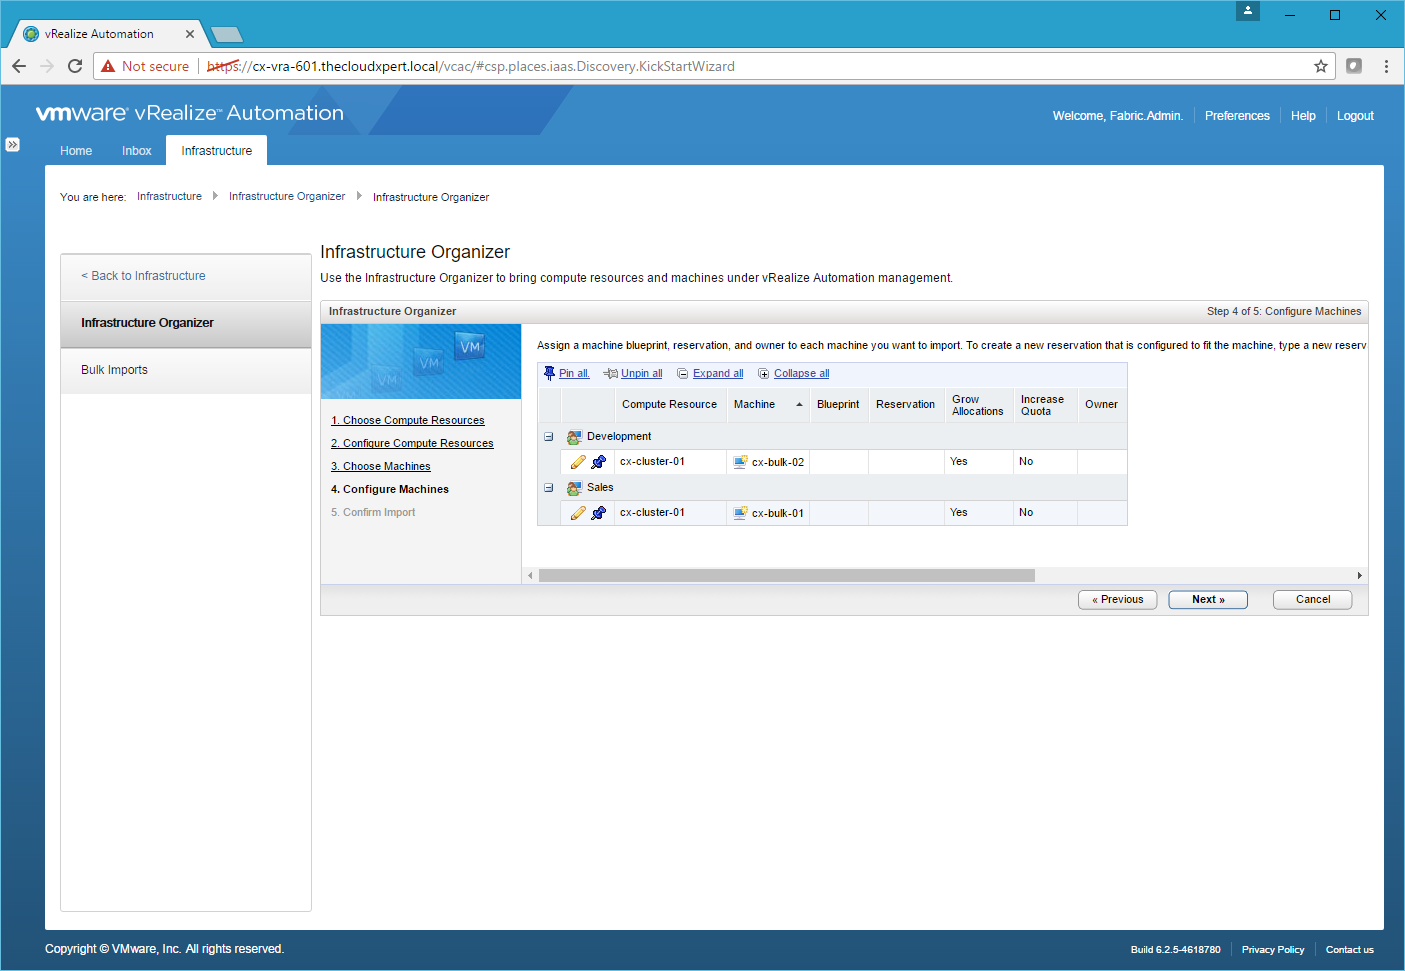
- For each Virtual Machine, click Edit and then select a Blueprint from the Dropdown, select a Reservation from the drop down and finally assign an Owner and click Save.
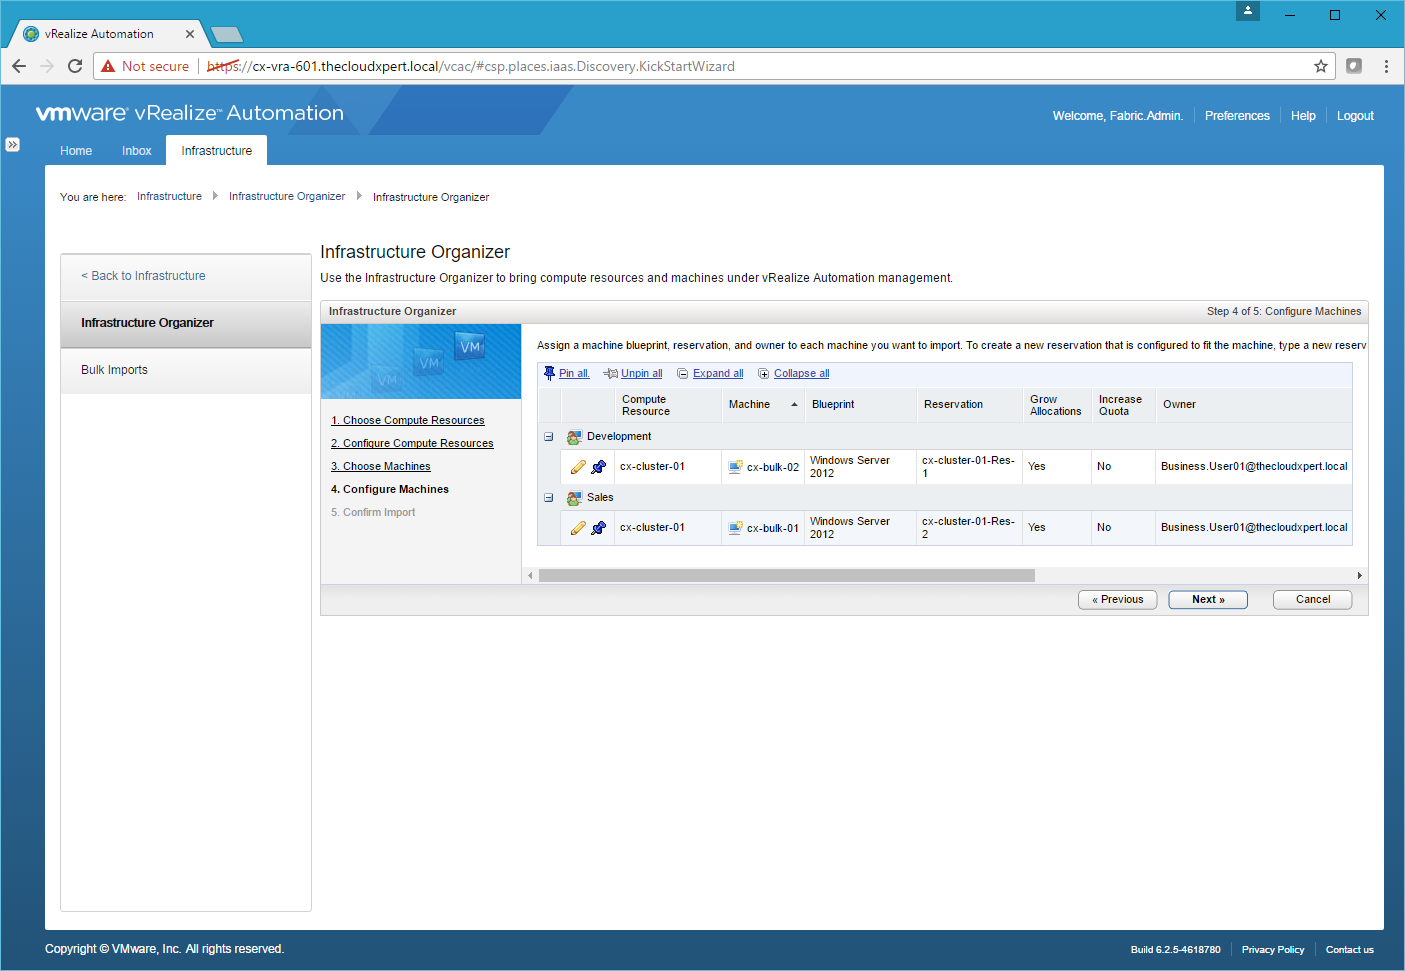
- Click Next.
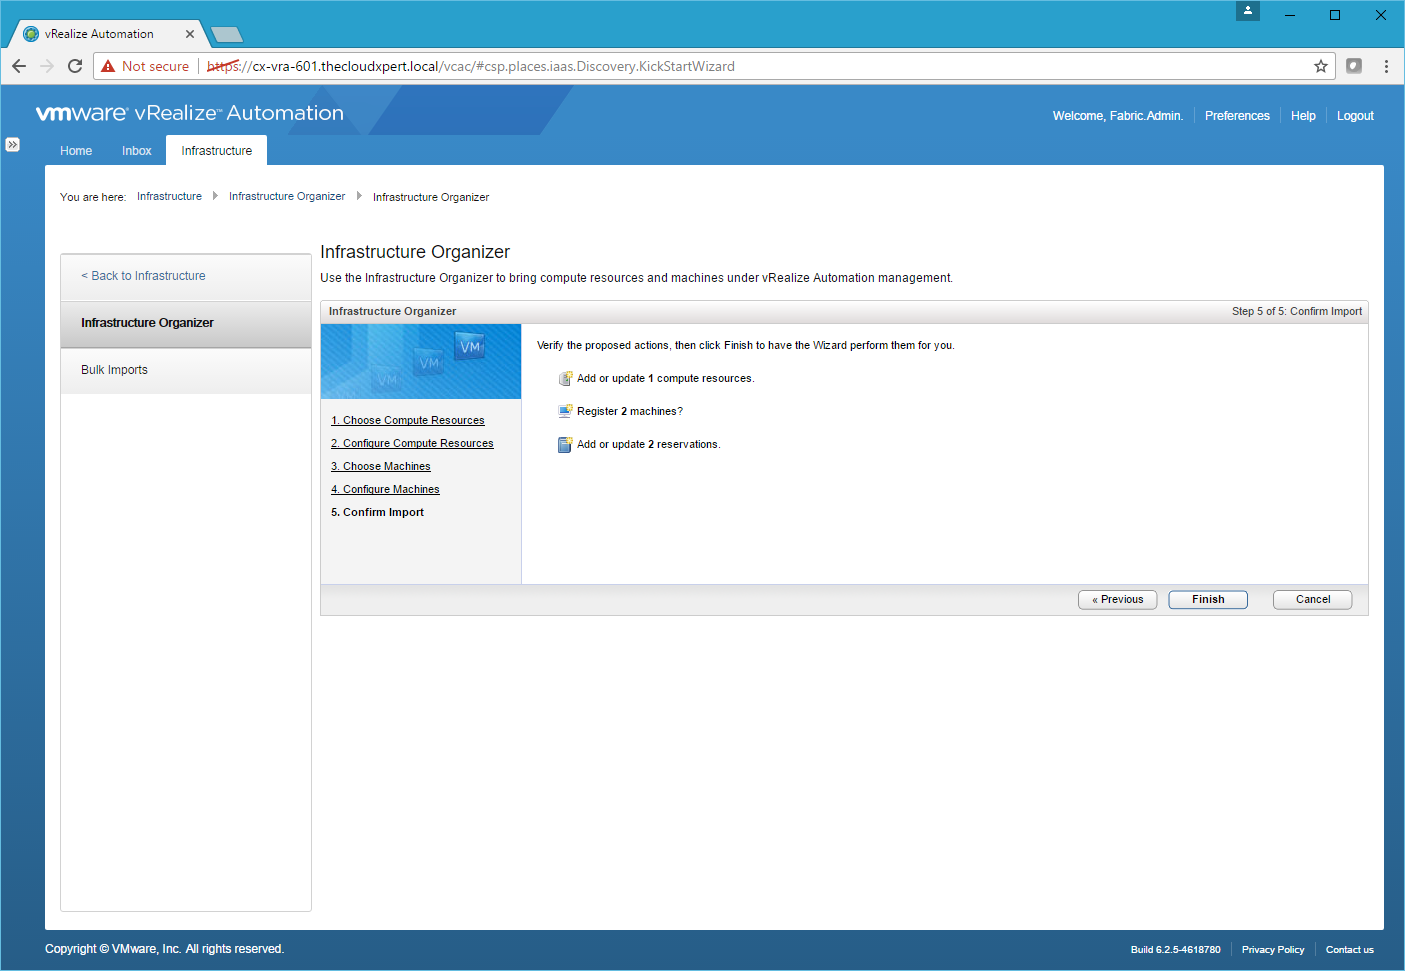
Click Finish.
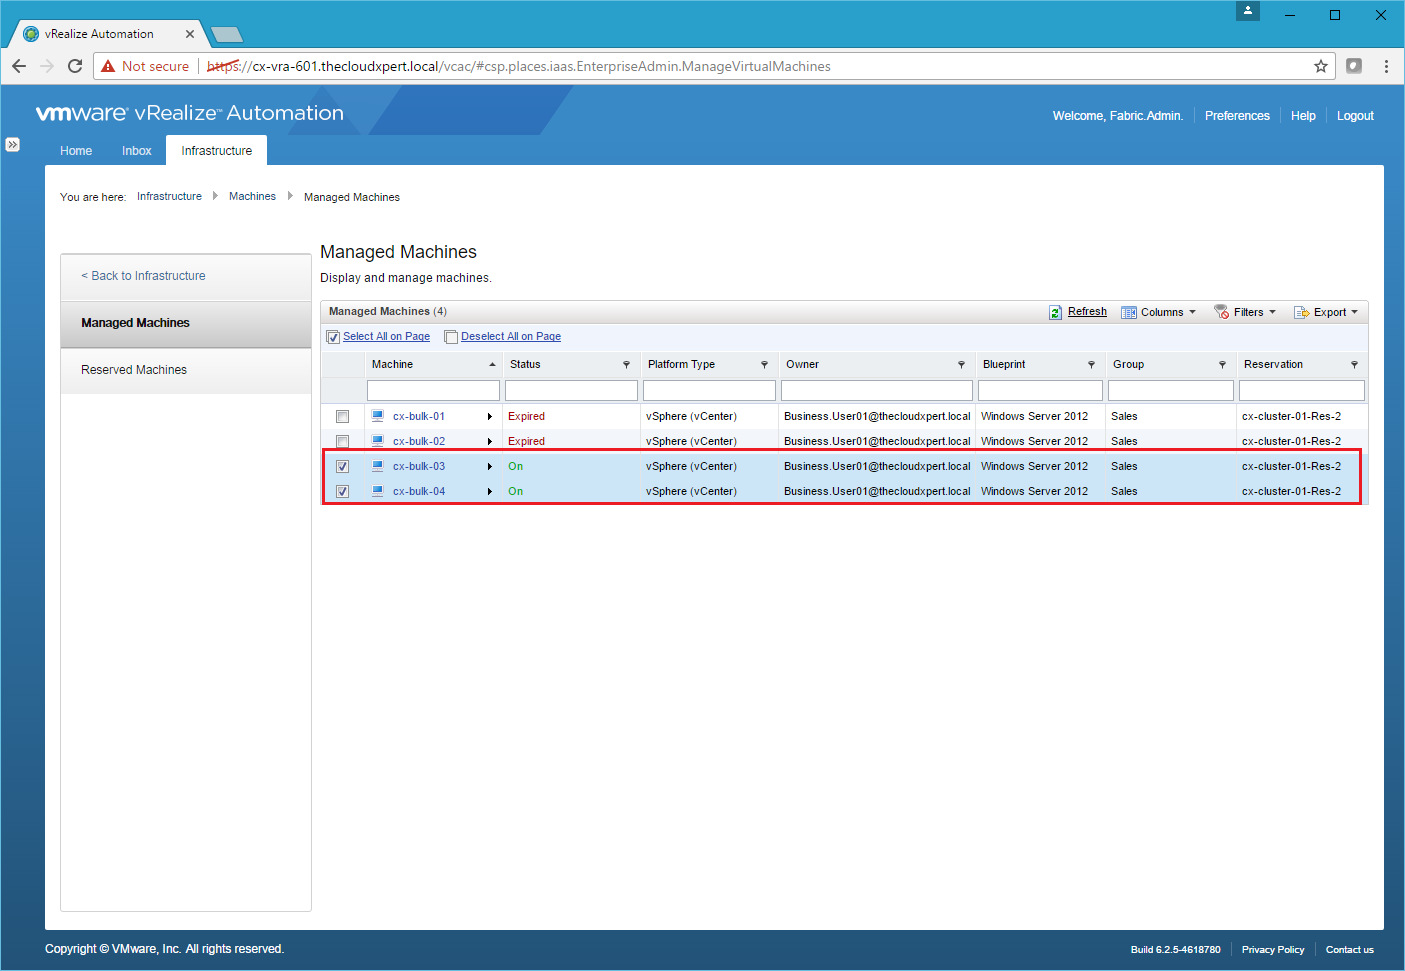
Navigate to Infrastructure > Machines > Managed Machines to confirm the VMs have been imported.
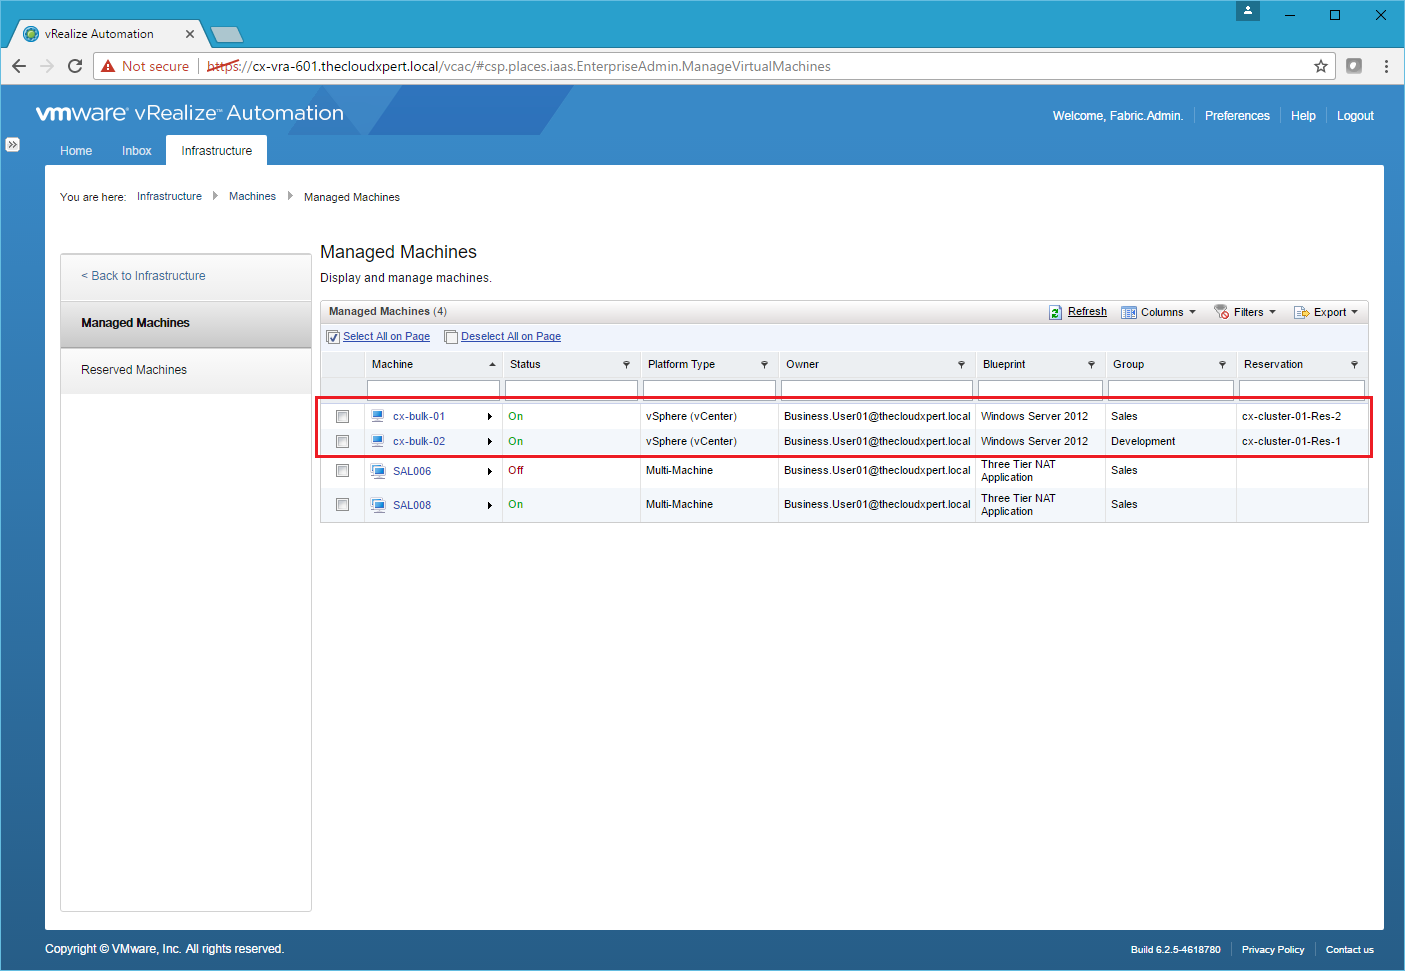
Bulk Machine Import
- Navigate to the vRealize Automation Tenant Portal and Log in as the Fabric Administrator (or Business Group Manager) and then navigate to Infrastructure > Bulk Imports.
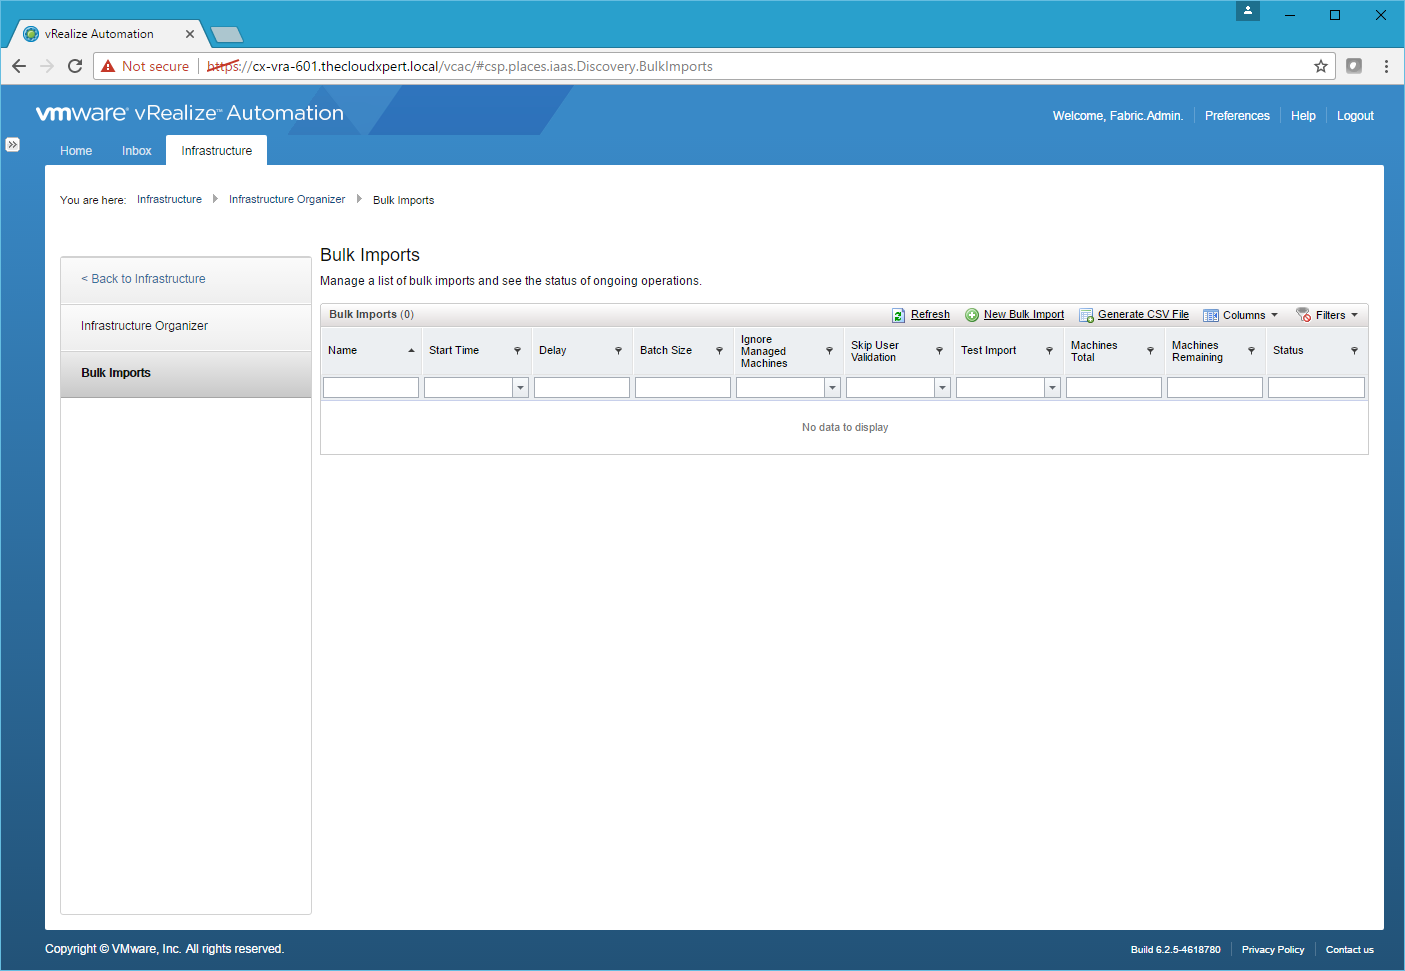
- Click Generate CSV File.
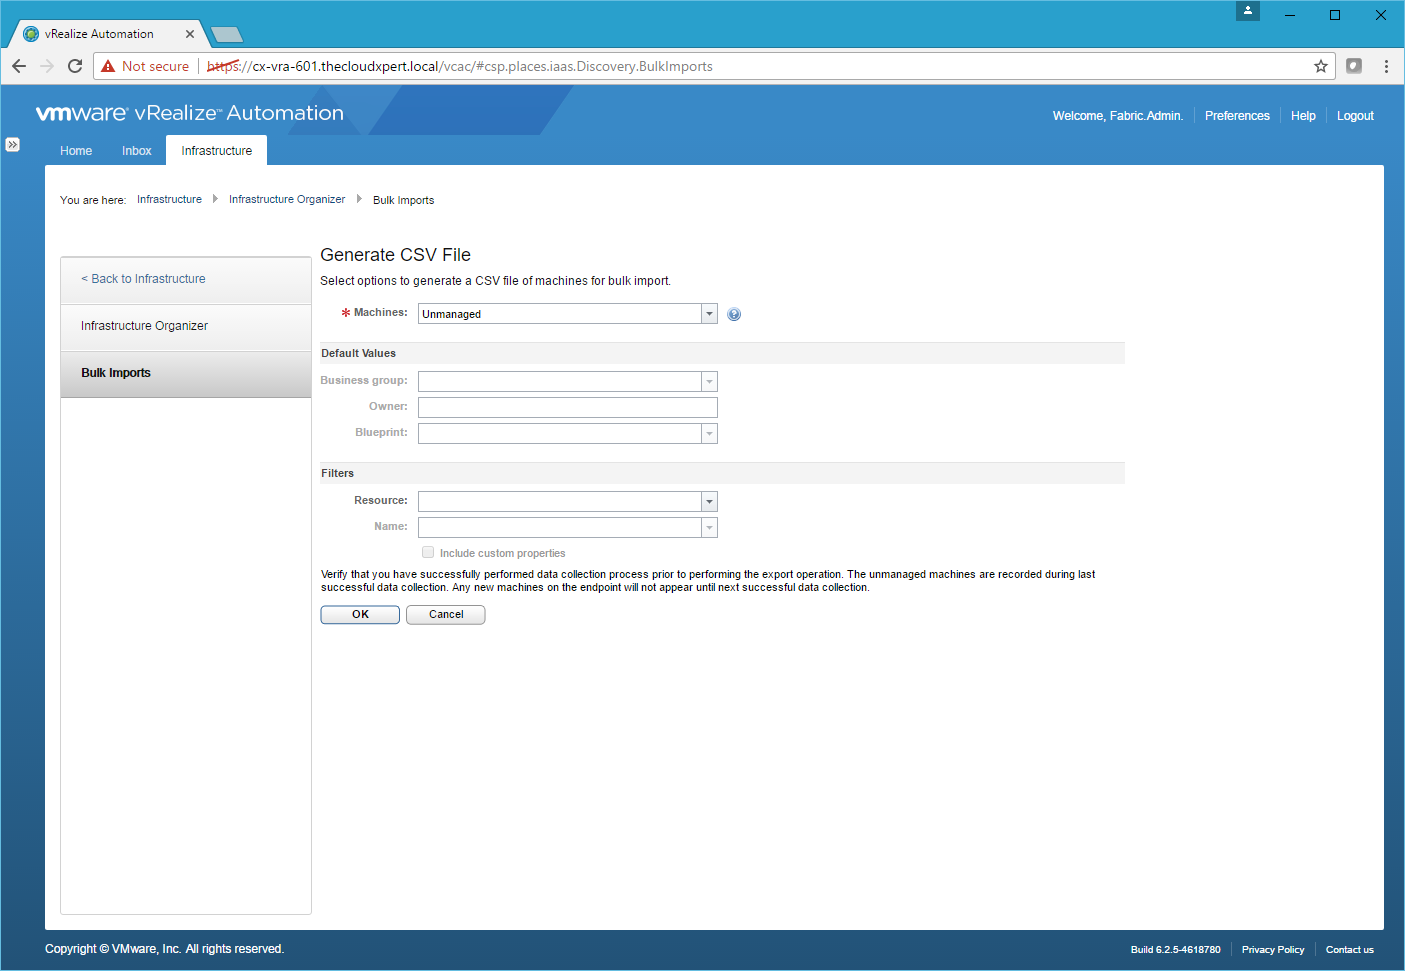
- Click OK.
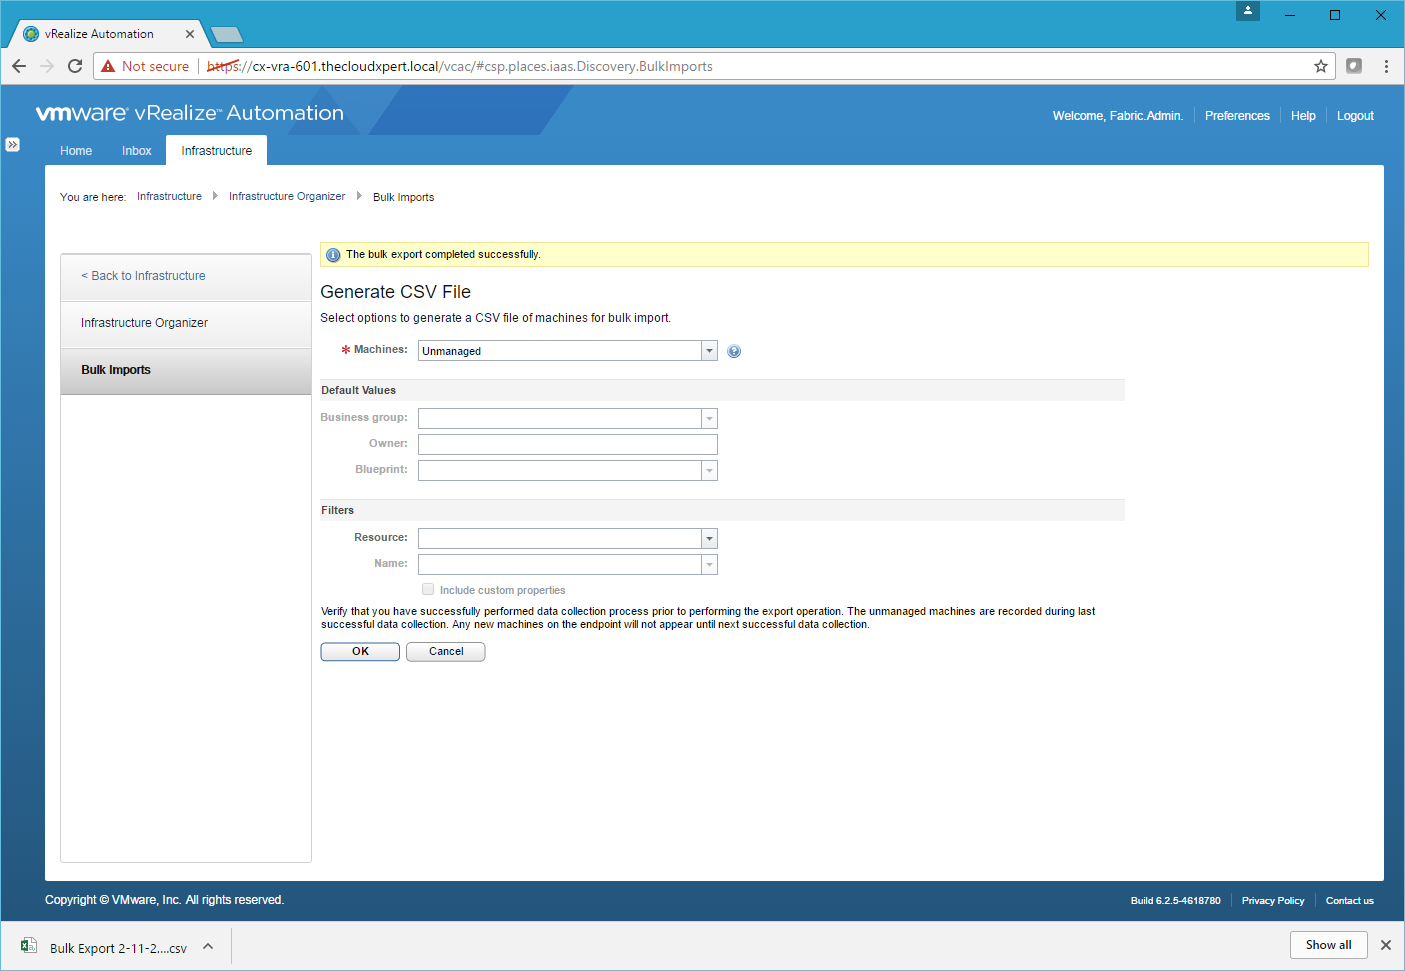
Click OK.
Open and Update the CSV file with the correct information for Blueprint , Reservatons and Owner.
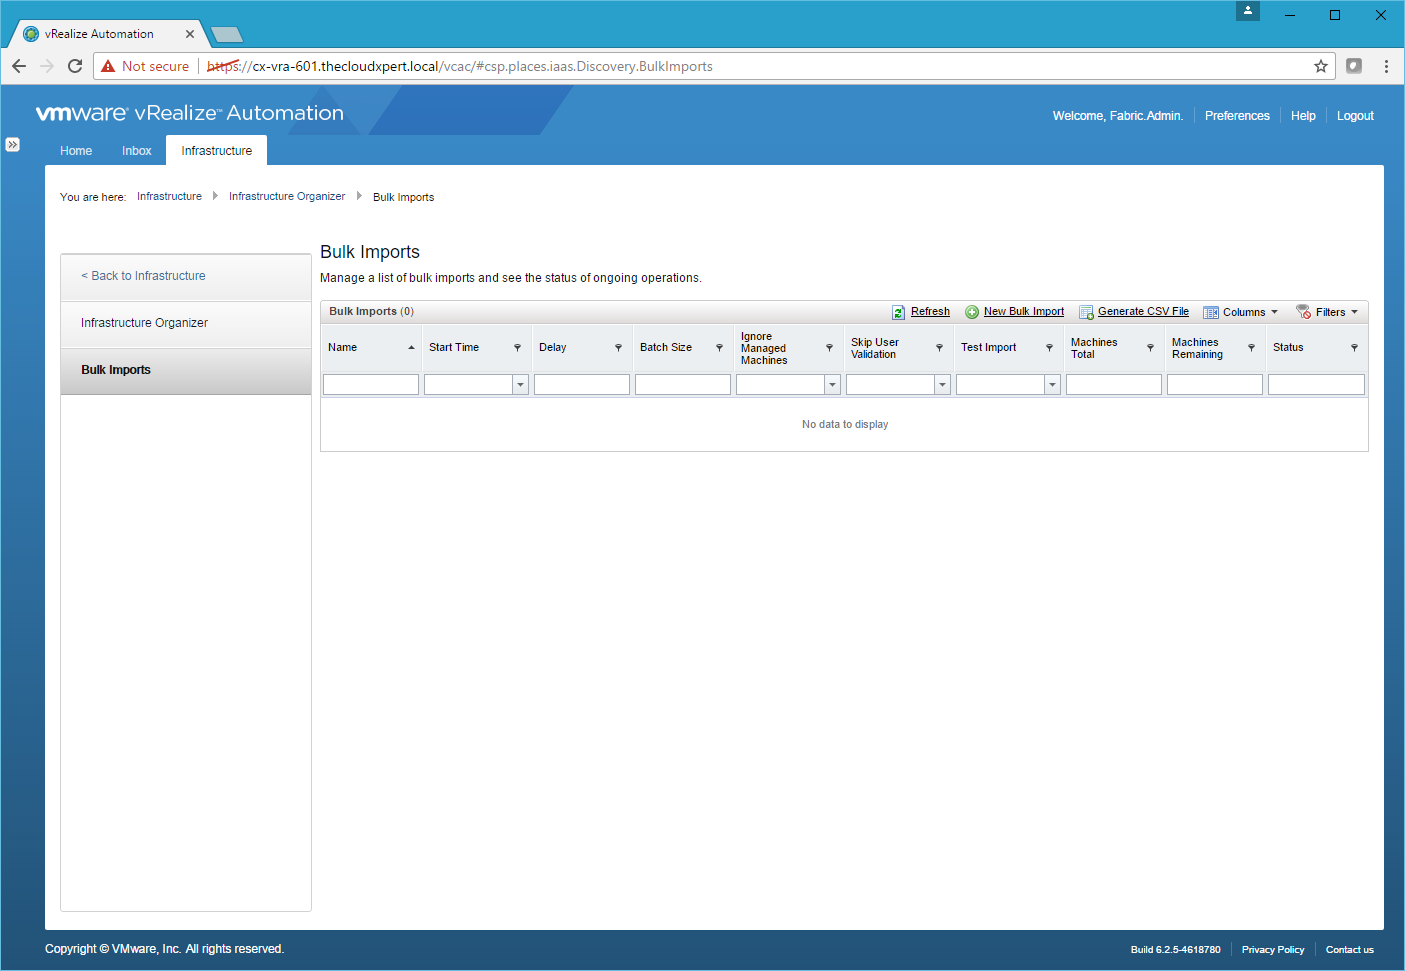
- Click New Bulk Import.
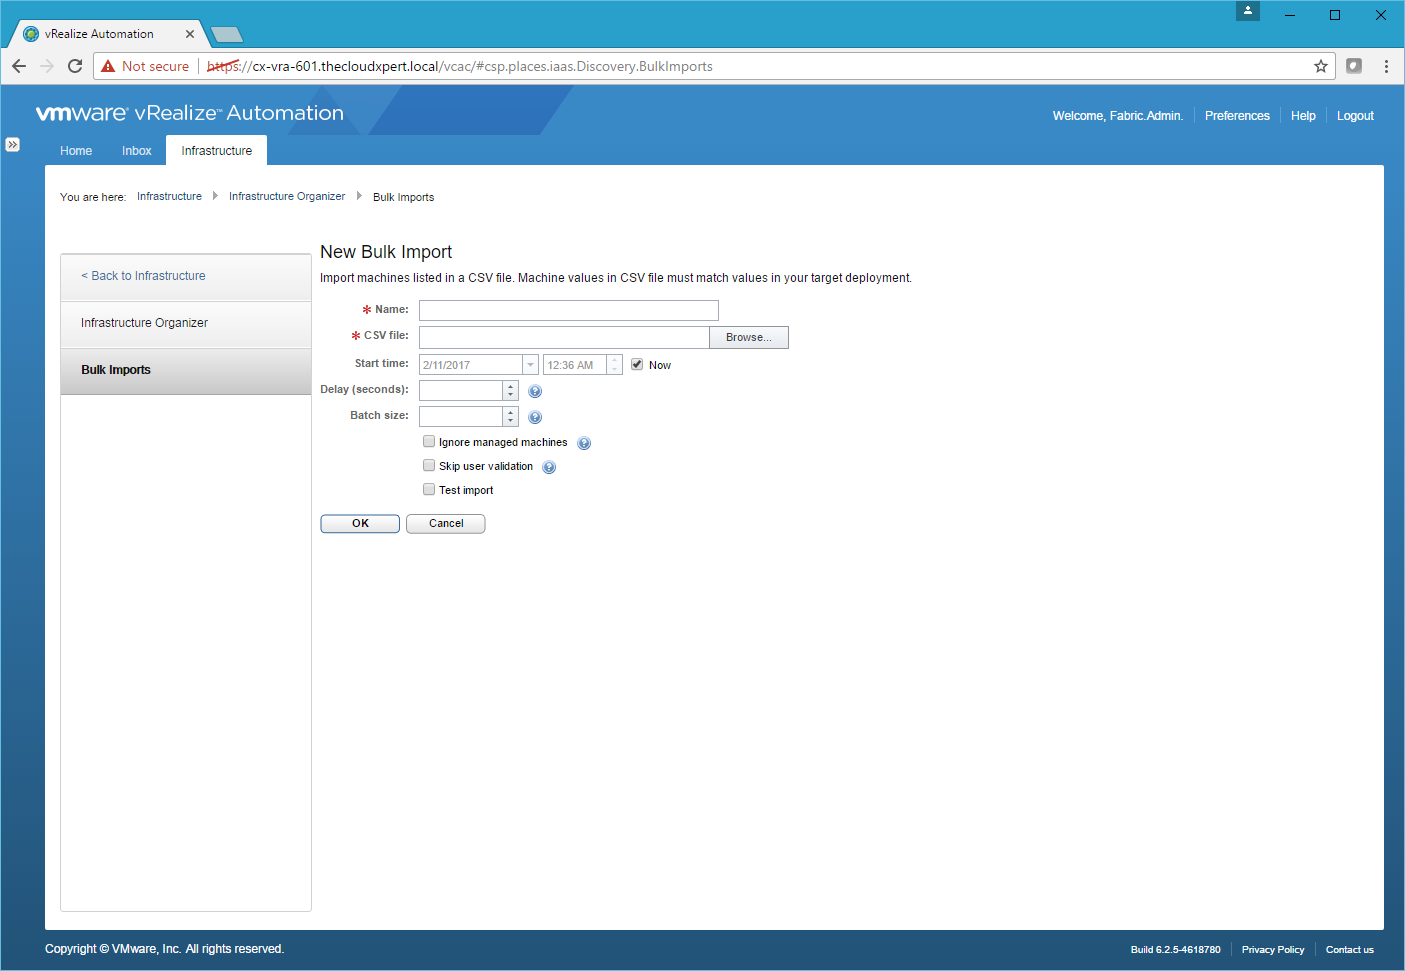
- Enter the title to complete the import under into the Name field, click browse and locate the amended CSV.
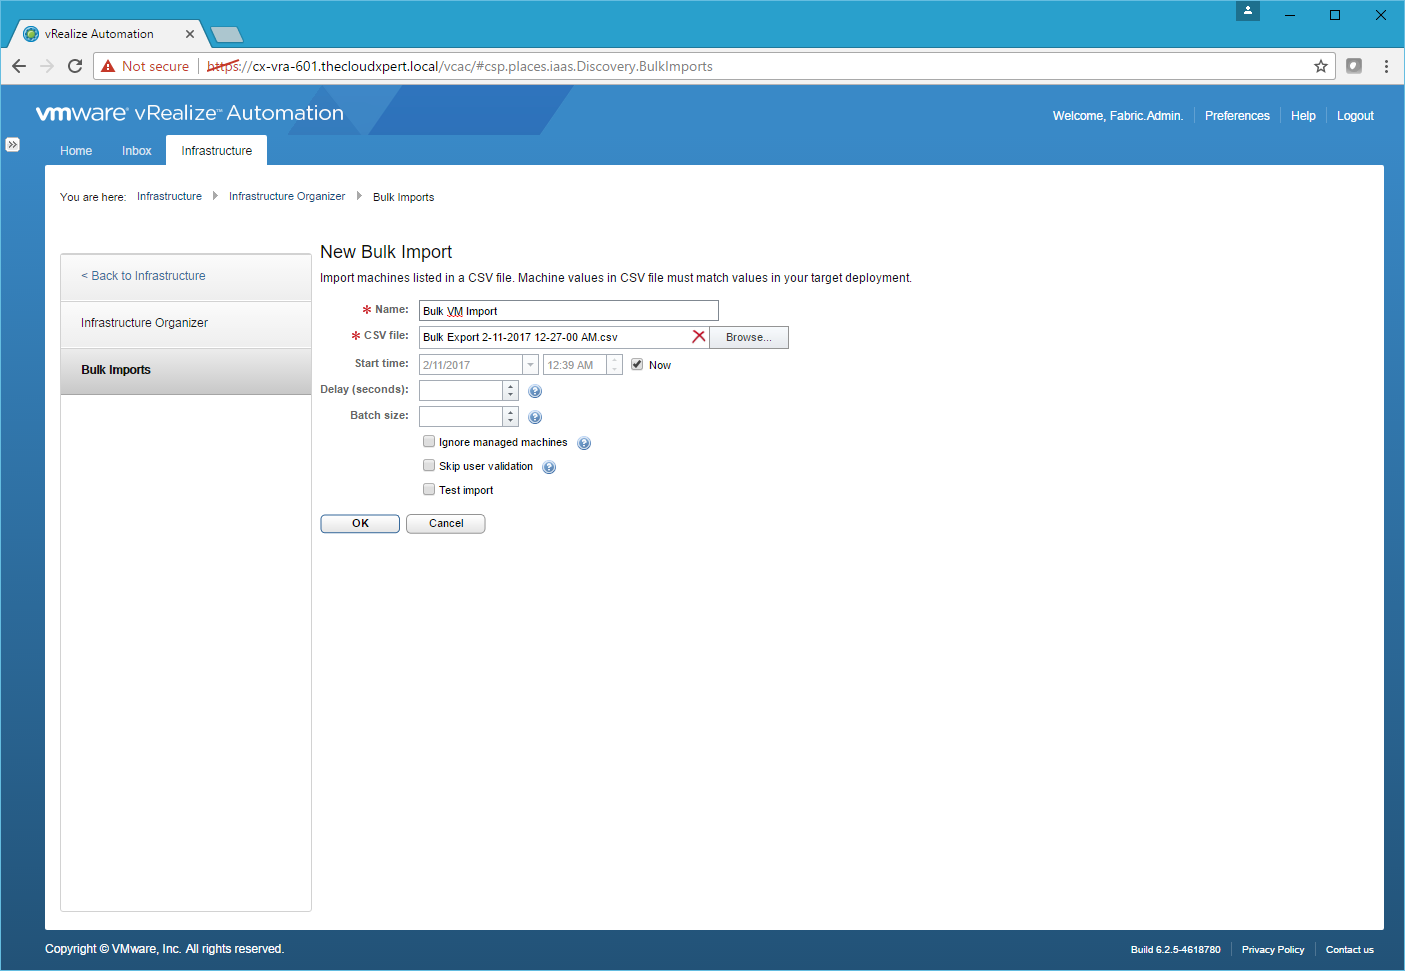
- Click OK.
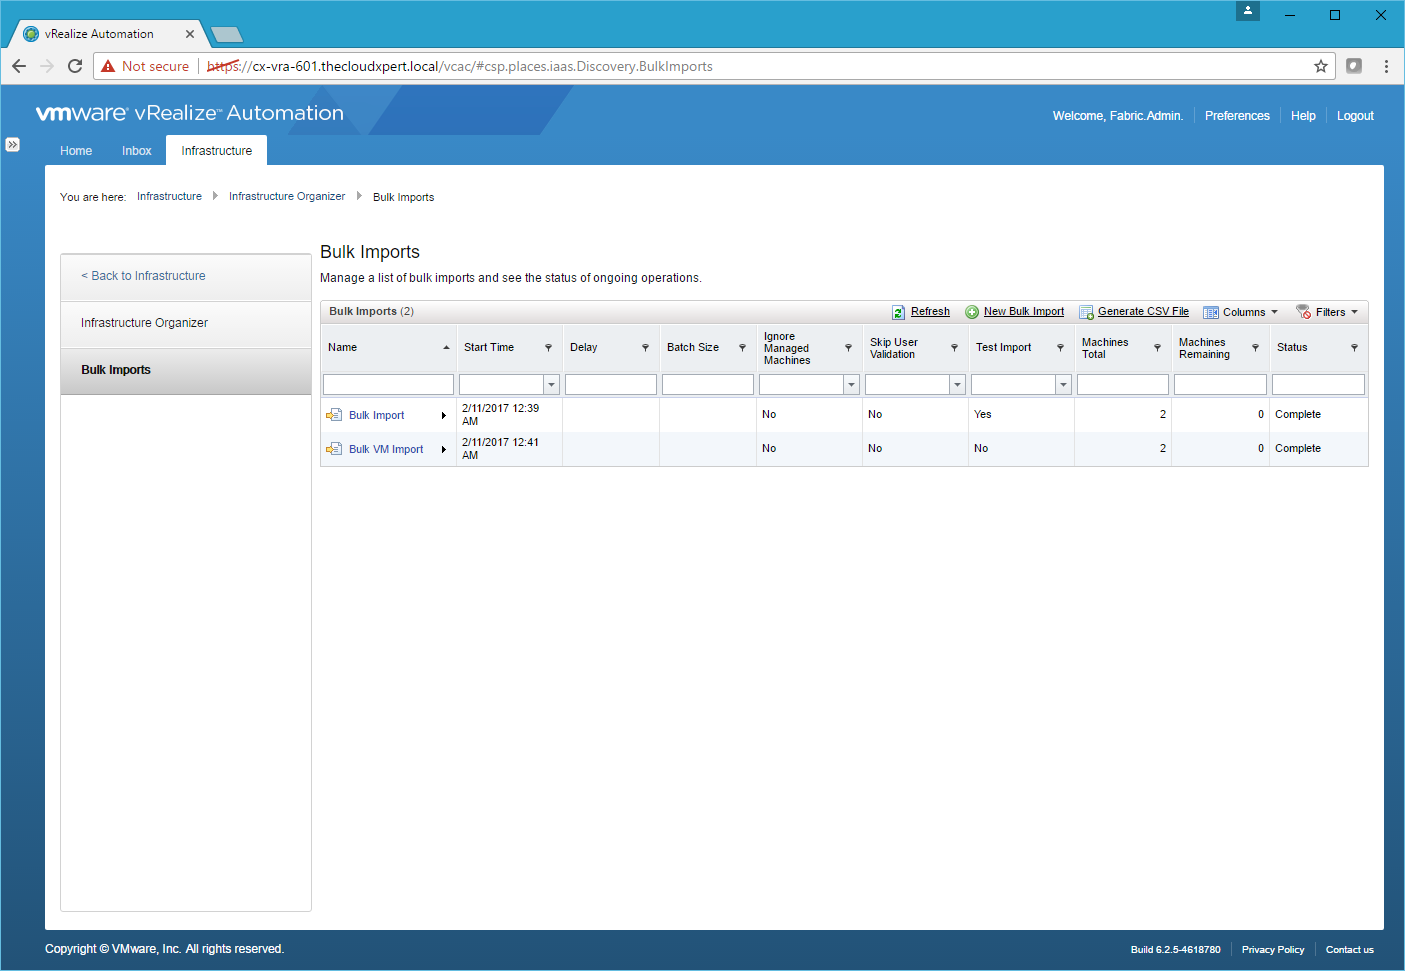
- Navigate to Infrastructure > Machines > Managed Machines to confirm the VMs have been imported.
Published on 11 February 2017 by Christopher Lewis. Words: 301. Reading Time: 2 mins.
Share this article on:
Related Post(s):
- HOWTO: Configure a vRealize Automation 6 Advanced Services Endpoint for vCenter Server ()
- VCAP6-CMA Deploy - Objective 6.1: Configure Advanced Service Designer ()
- HOWTO: Configure a vRealize Automation 6 Advanced Services Endpoint for Active Directory ()
- VCAP6-CMA Deploy - Objective 5.2 - Modify a Blueprint to invoke a Workflow during a Lifecycle Change ()
- VCAP6-CMA Deploy - Objective 4.3: Manage Custom Properties and Build Profiles ()
About the Author:

Name: Christopher Lewis
Twitter/X: thecloudxpert
Role: Domain Expert - VCF Automation & VCF Operations
Company: Broadcom
Recent Posts by Christopher Lewis:
Blog Categories:
vmware260
certification91
vrealize automation80
vcap48
nsx45
nsx v41
vmworld36
vrealize suite lifecycle manager20
vrealize suite14
vrealize orchestrator13
aria automation9
general9
vexpert9
vmware aria automation9
vsphere9
powercli8
microsoft7
active directory6
powershell6
windows6
certificate authority5
certificates5
vcf5
vmug5
vmware aria operations5
vrealize operations manager5
vsan5
vcenter4
vmware cloud3
aria operations2
aws2
home lab2
vcap62
vcix2
vmware explore2
vmware identity manager2
vrealize business2
Top Tags:
vmware 99+
vrealize automation 74
vcap6 cma 48
vcap6 45
nsx v 43
vcap6 nv 37
vcix6 nv 36
vmworld 35
howto 33
barcelona 24
vrealize orchestrator 21
vrslcm 20
vexpert 19
api 18
vmworld 2016 13
vra 13
certificates 12
vmware aria 12
vsphere 12
vrealize suite lifecycle manager 11
multi tenancy 9
vcap 9
vmware aria automation 9
vmworld 2017 9
platform services controller 8
powercli 8
vmug 8
vrealize operations 8
certification 7
microsoft 7
powershell 7
vsan 7
active directory 6
psc 6