HOWTO: Configure VMware NSX-V Load Balancing
VMware NSX-V VCAP6-NV VCIX6-NV HOWTO
Published on 2 August 2017 by Christopher Lewis. Words: 903. Reading Time: 5 mins.
Introduction
This post is one of a number of posts created as part of the VCAP6-NV Deployment Study Guide . In this post we will cover how to configure VMware NSX-V Load Balancing.
Step By Step Guide
Overview
There are multiple component steps in configuring NSX Load Balancing:
- Deployment of an VMware NSX Edge Service Gateway (ESG).
- Enabling Load Balancing on the ESG.
- Creating Application Profile(s)
- (optional) Create Service Monitors
- Creating Server Pool(s).
- (optional) Create Application Rules.
- Creating Virtual Server(s).
In this example, we’re going to use the Load Balancer configuration for deploying VMware vRealize Automation following the Load Balancing Guide .
Deploying a VMware NSX Edge Services Gateway (ESG)
See Deploy a VMware NSX Edge Services Gateway (ESG) HOWTO .
Enabling Load Balancing on the VMware NSX ESG
- Using your favourite web browser, navigate to the vCenter Server login page (
https://vcenter.fqdn).
- Type the administrator User name and Password and click Login.
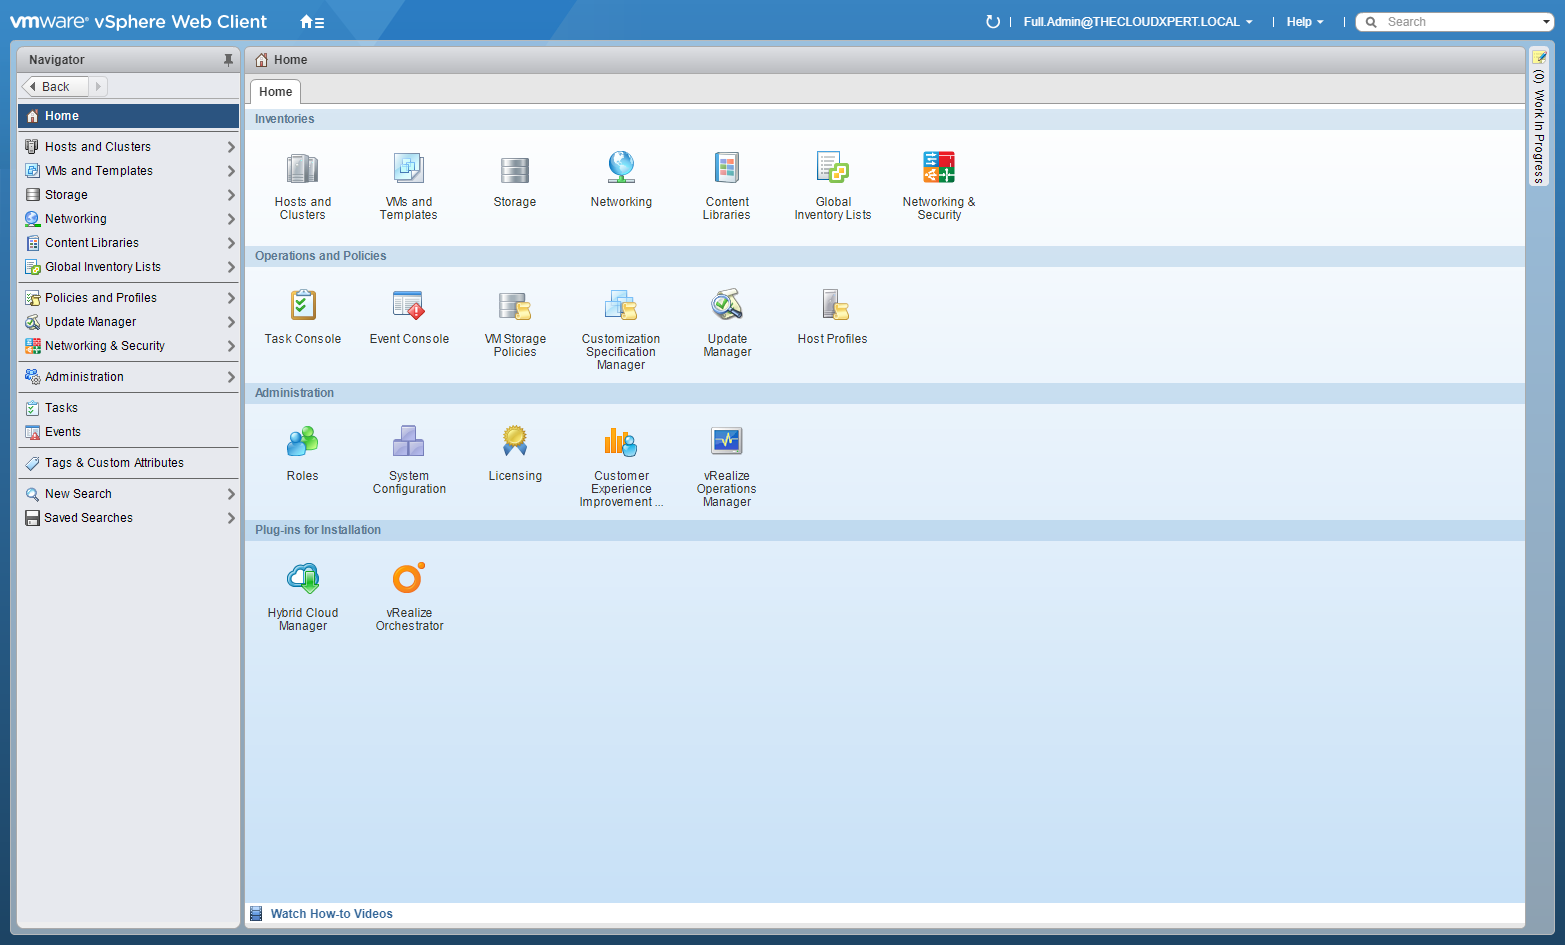
- Click Networking and Security.
- Click NSX Edges.
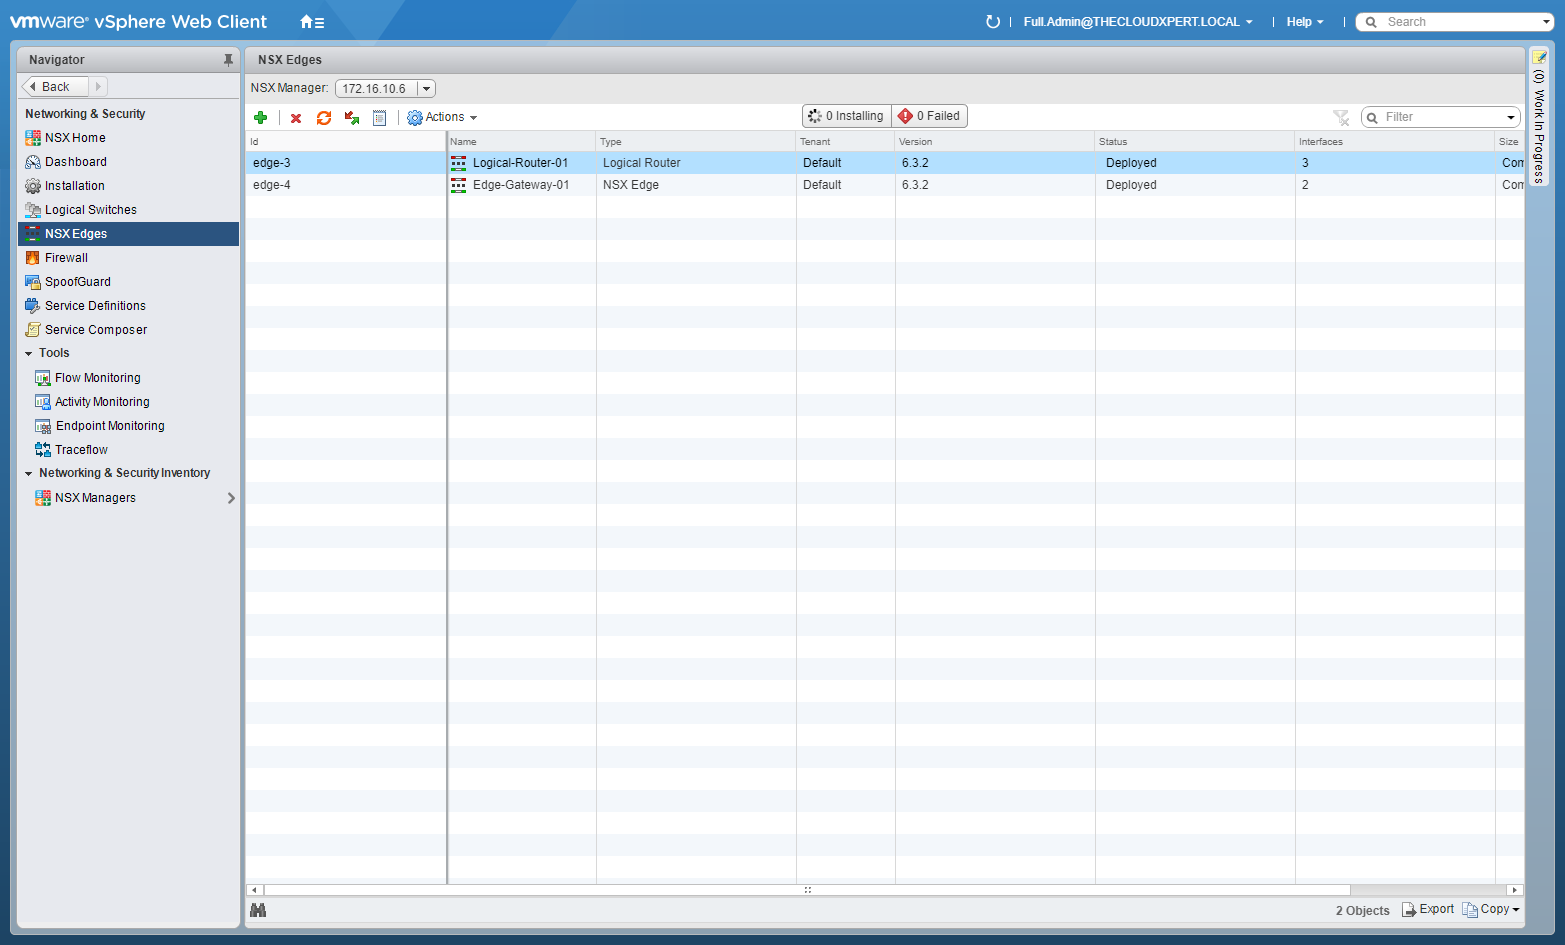
- Double-Click on the target Edge Services Gateway (ESG).
- Select the Manage tab (if not automatically selected), then click Load Balancer, and select Global Configuration.
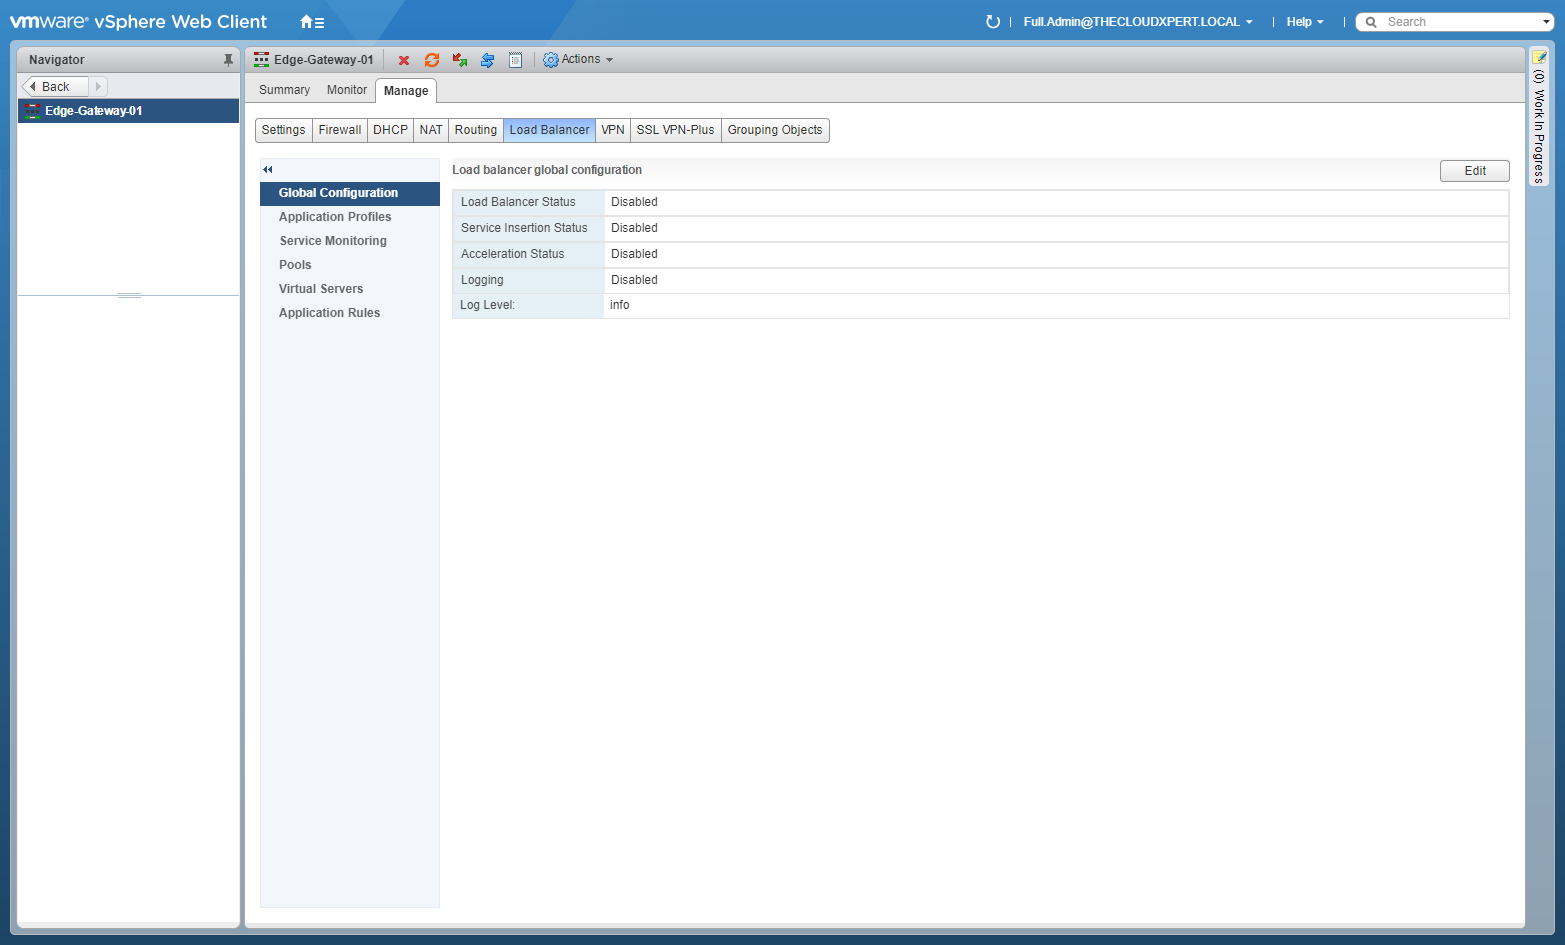
- At Load balancer global configuration, click Edit.
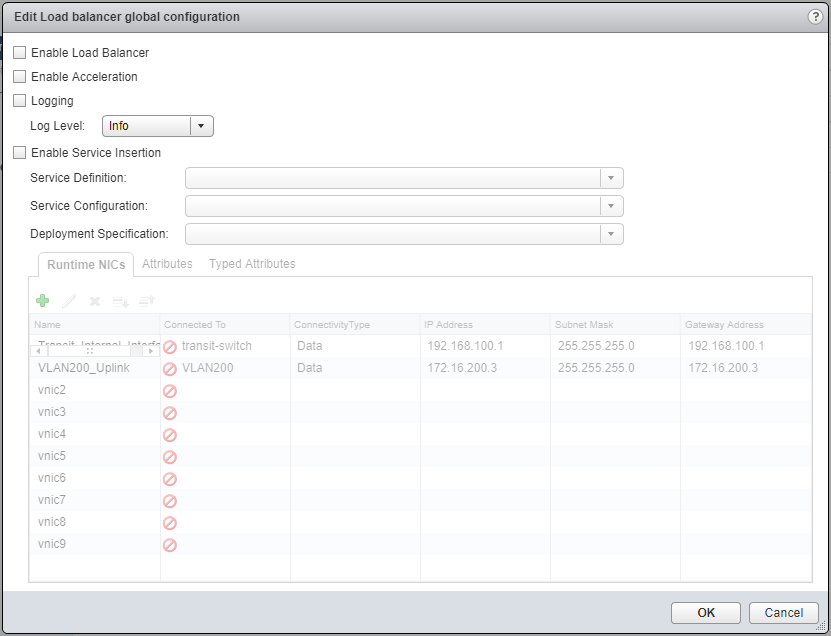
- Check the Enable Load Balancer checkbox, (optionally) check the Enable Acceleration checkbox (for L4 Load Balancing) and (optionally) check the Logging checkbox (to enable logging to SYSLOG for the Load Balancer logs). When choosing a Log Level, Debug and Info options log end-user requests. Warning, Error, and Critical options do not log end-users requests.
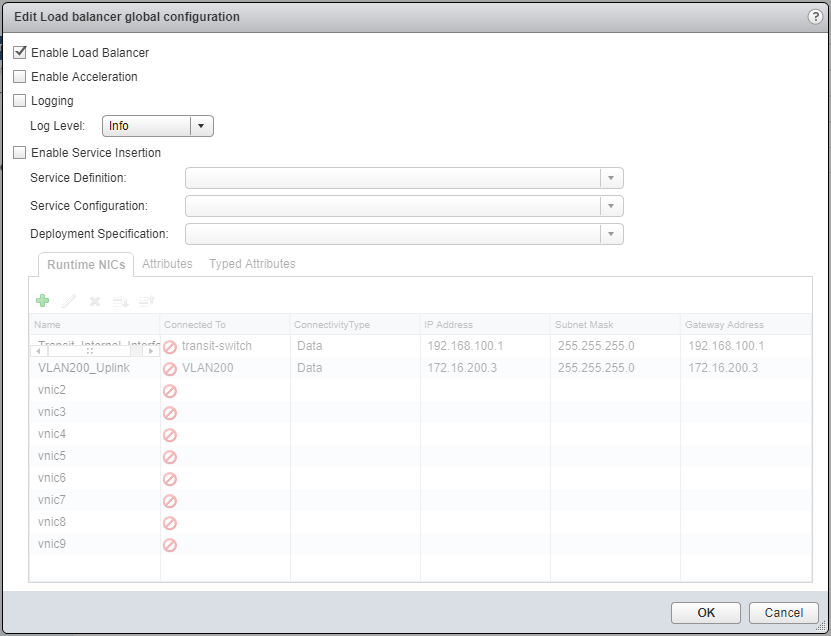
- Click OK.

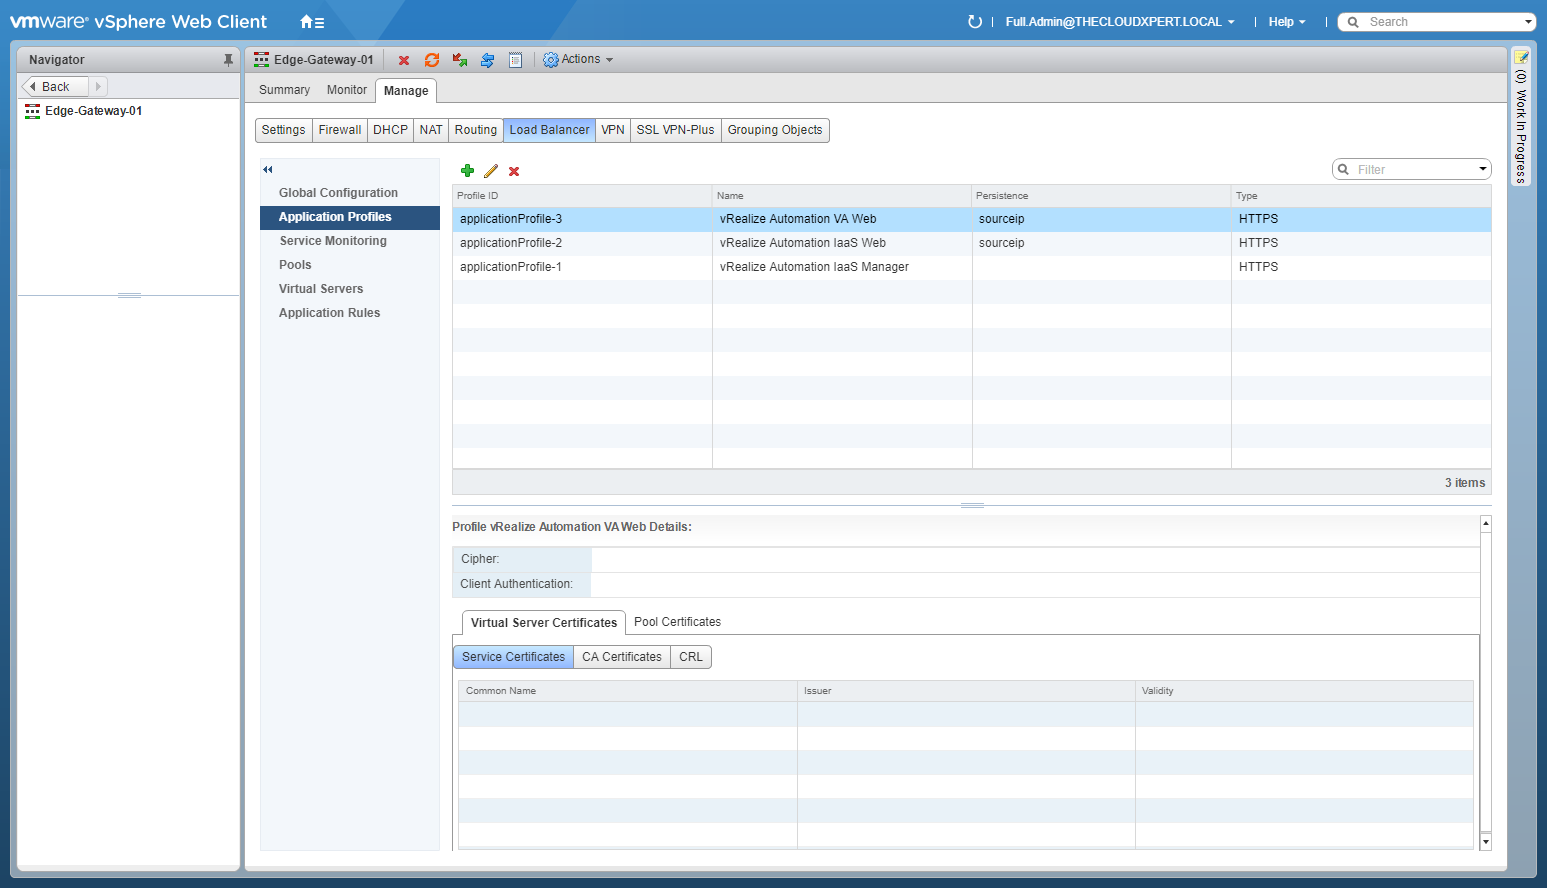
Creating Application Profiles
- Using your favourite web browser, navigate to the vCenter Server login page (
https://vcenter.fqdn).
- Type th administrator User name and Password and click Login.
- Click Networking and Security.
- Click NSX Edges.
- Double-Click on the target Edge Services Gateway (ESG).
- Select the Manage tab (if not automatically selected), then click Load Balancer, and select Application Profiles.
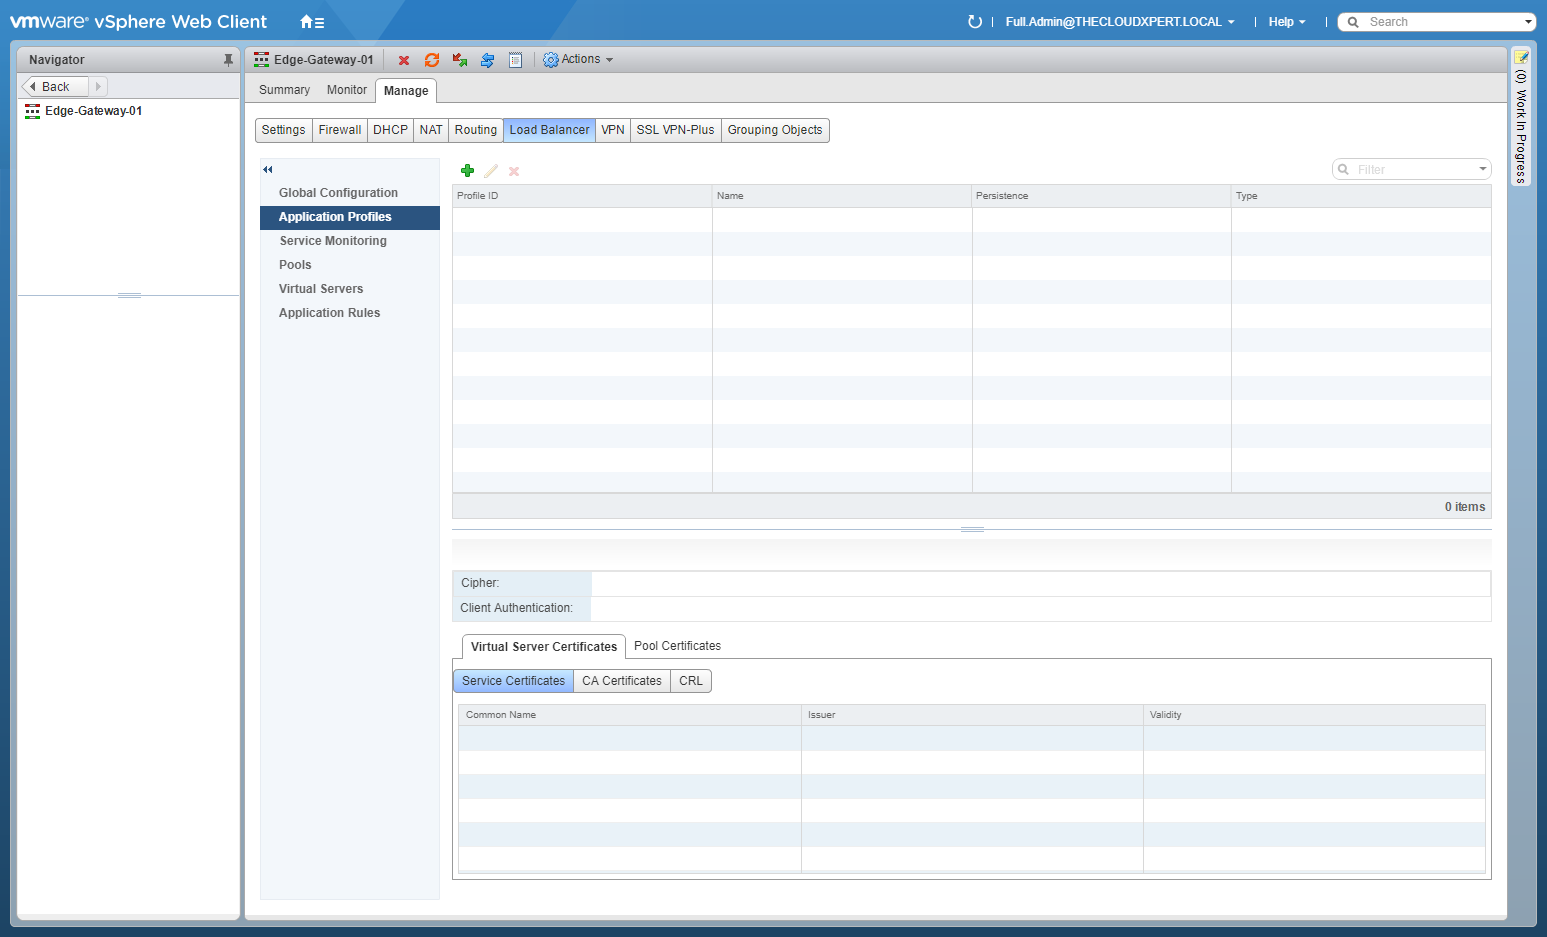
- Click Add(+).

- Type the Name of the new Application Profile and amend settings as required.
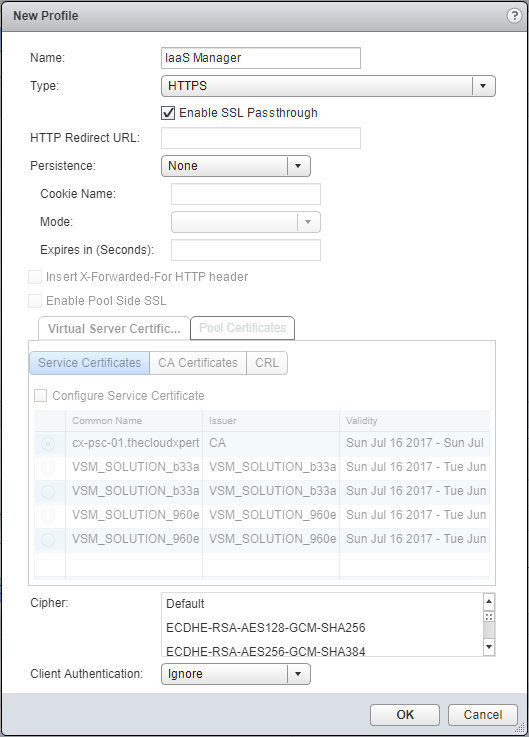
- Click OK.
Create additional Application Profiles as required.
Creating Service Monitor(s)
- Using your favourite web browser, navigate to the vCenter Server login page (
https://vcenter.fqdn).
- Type the administrator User name and Password and click Login.
- Click Networking and Security.
- Click NSX Edges.
- Double-Click on the target Edge Services Gateway (ESG).
- Select the Manage tab (if not automatically selected), then click Load Balancer, and select Service Monitors.
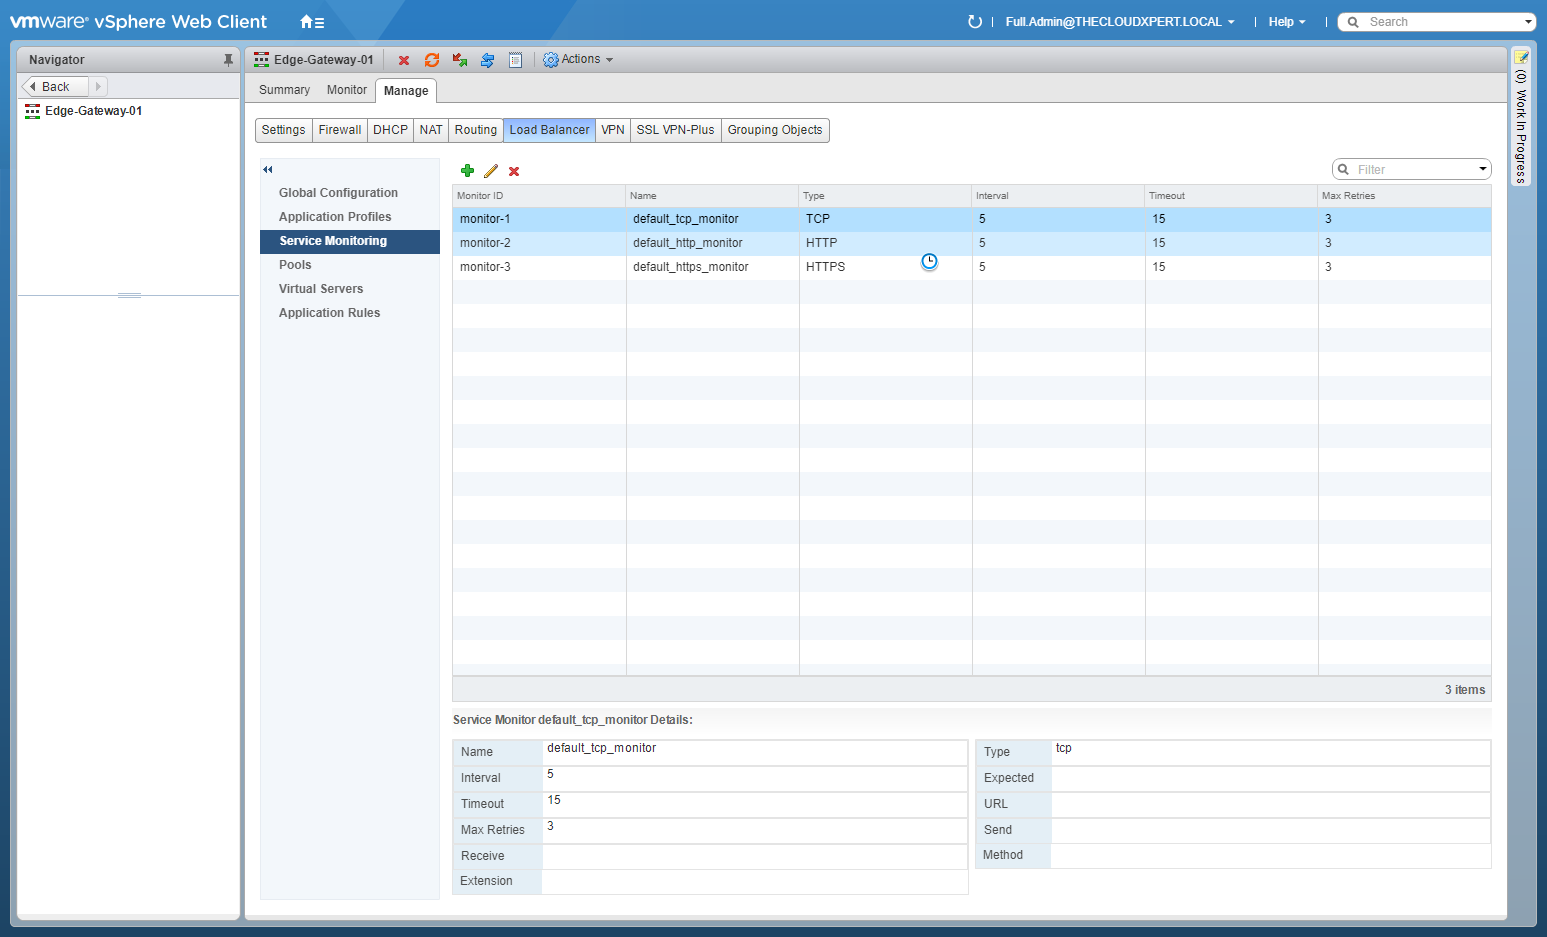
- Click Add(+).
- Type the Name of the monitor, adjust the values for the monitor as required.
- Click OK.
Create additional Service Monitor(s) as required.
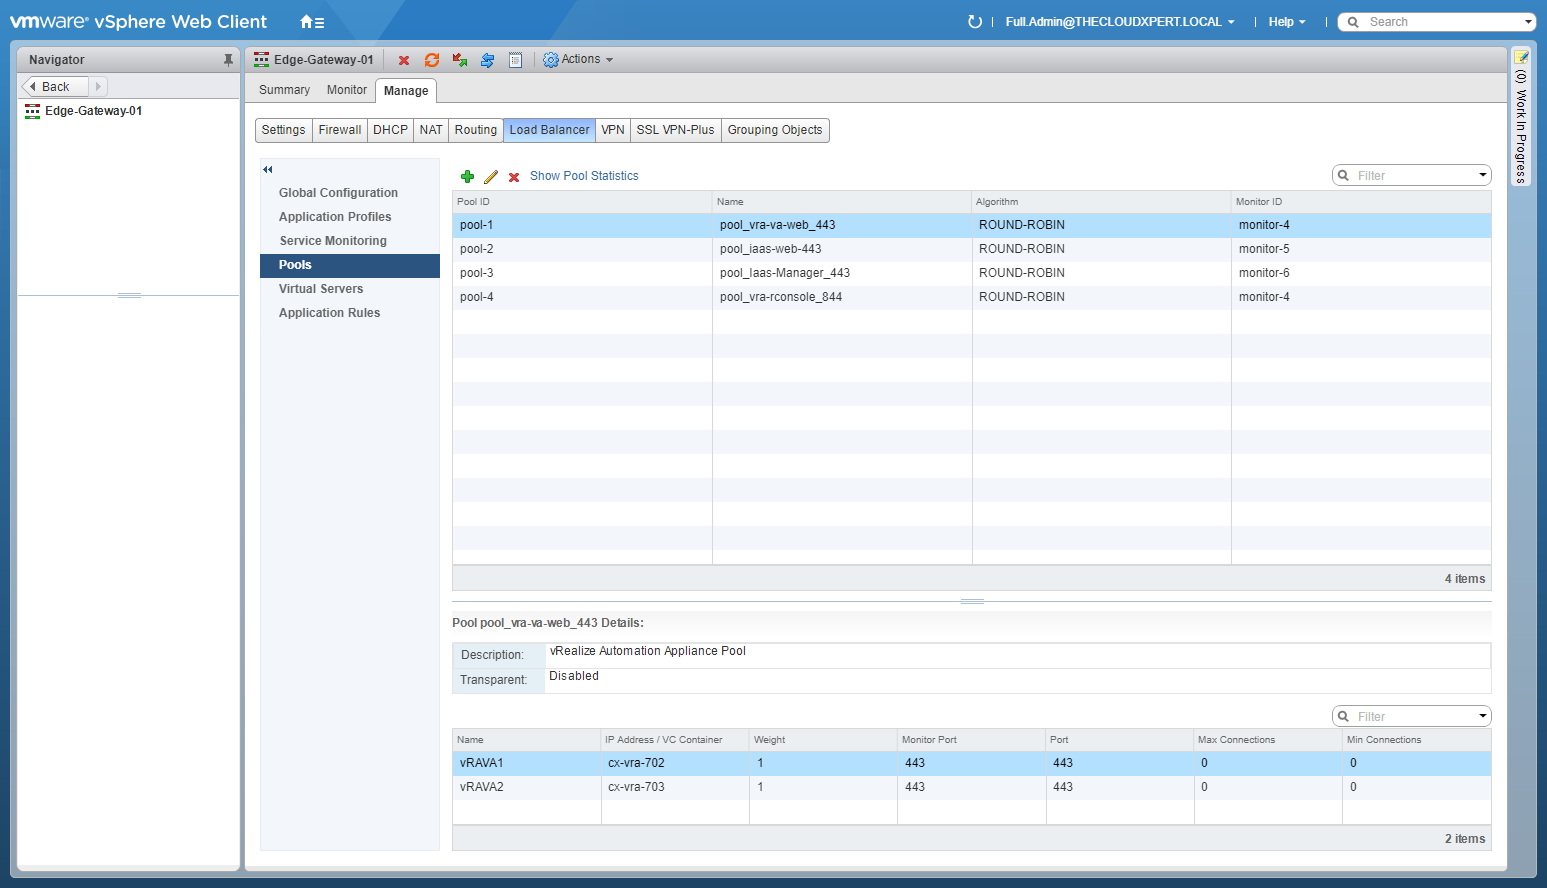
Creating Server Pool(s)
- Using your favourite web browser, navigate to the vCenter Server login page (
https://vcenter.fqdn).
- Type the administrator User name and Password and click Login.
- Click Networking and Security.
- Click NSX Edges.
- Double-Click on the target Edge Services Gateway (ESG).
- Select the Manage tab (if not automatically selected), then click Load Balancer, and select Pools.
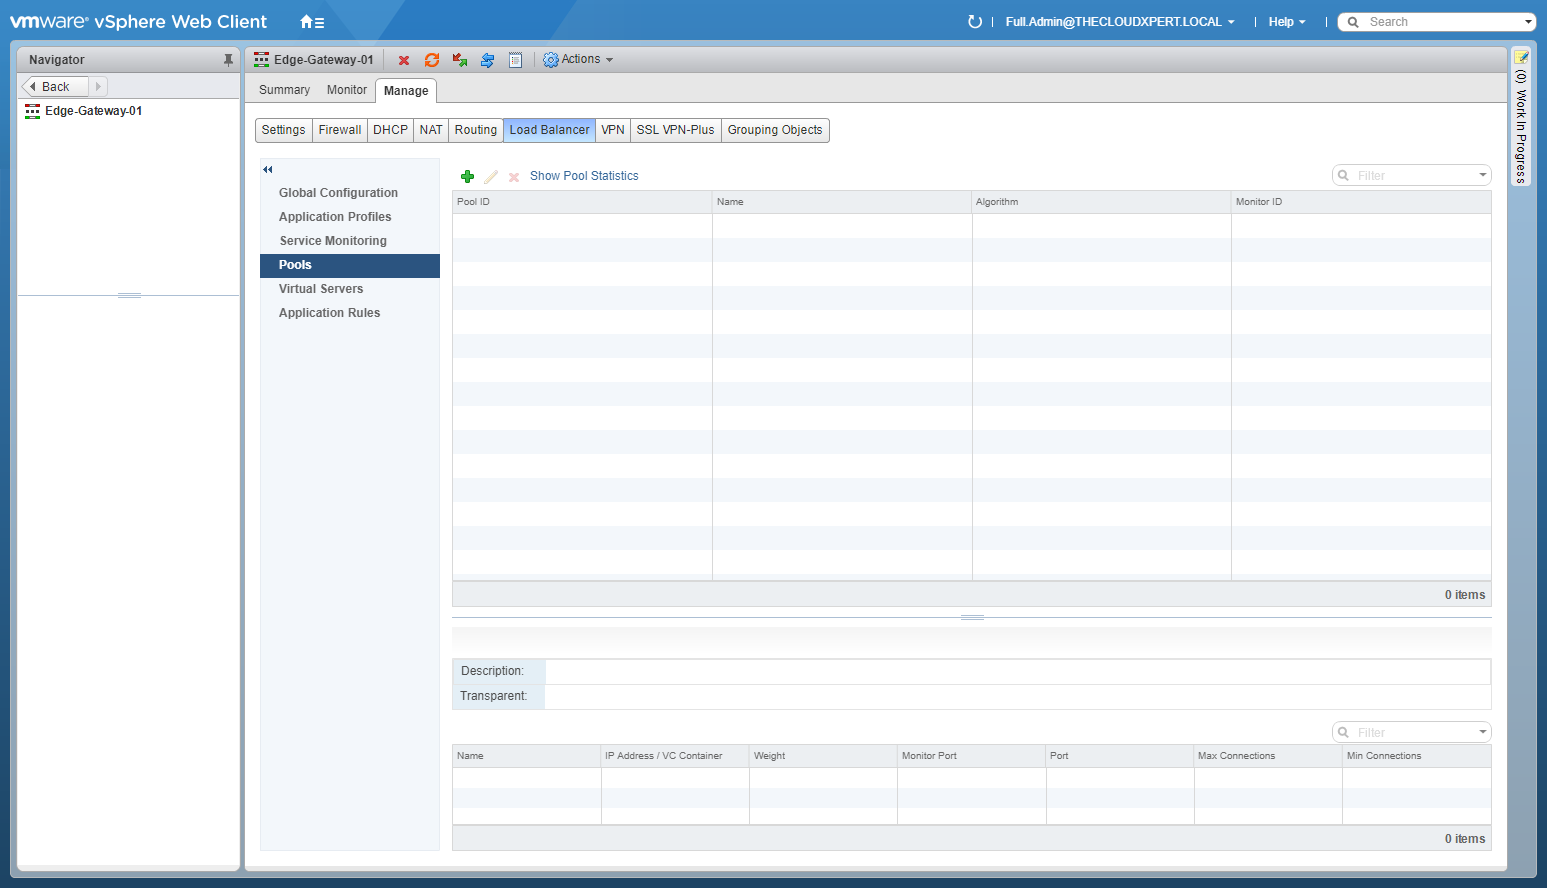
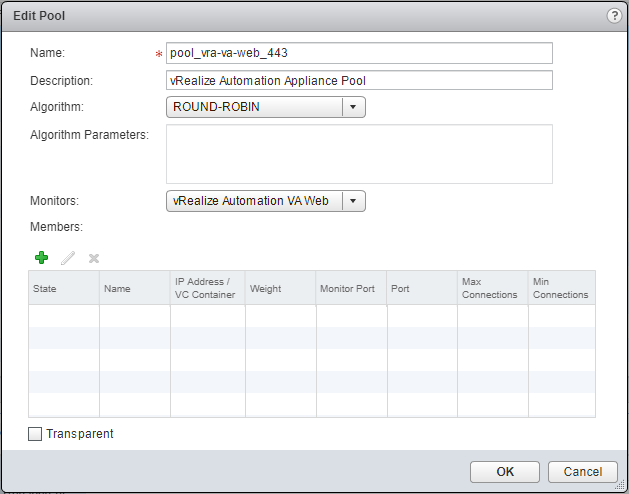
- Click Add(+).
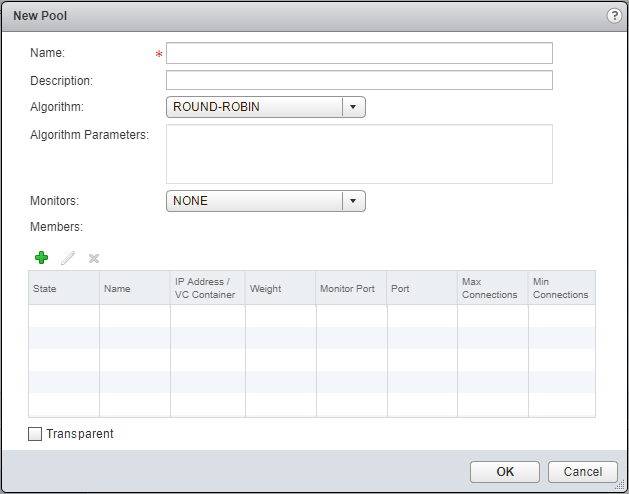
- Type the Name for the new Pool, (optionally) enter a Description, select an Algorithim from the dropdown, and (optionally) select a Monitor from the dropdown.
- Click Add(+) to add a new member to the Server Pool.
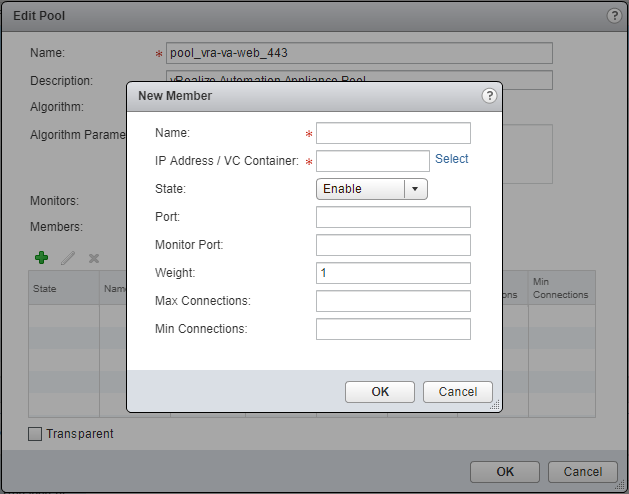
- Type the Name (restrictions on naming conventions apply) and then, at IP Address / VC Container, click Select.
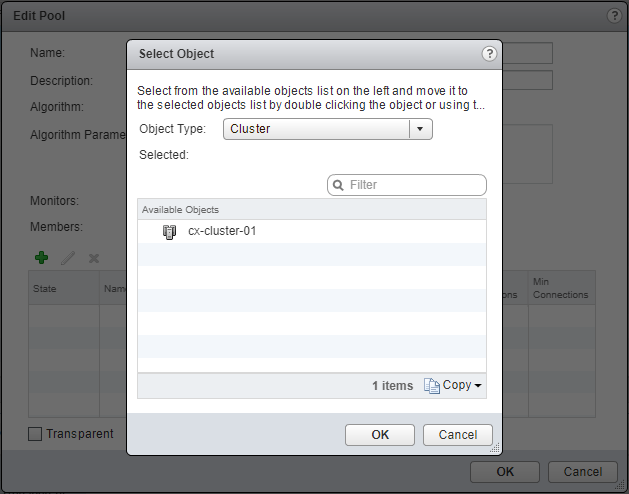
- Select Virtual Machine from the Object Type dropdown.
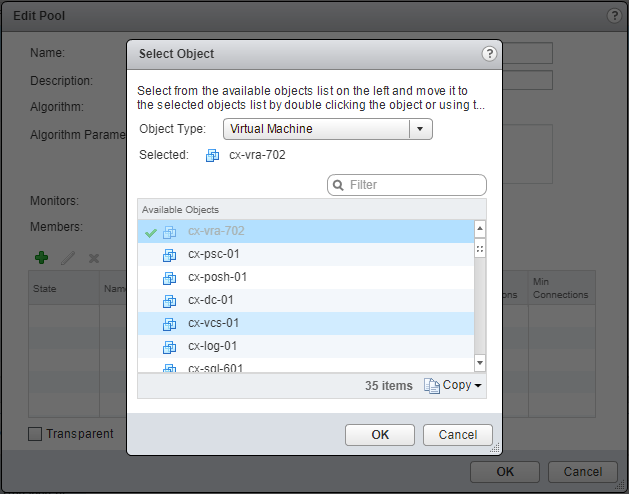
- Locate and highlight the Virtual Machine and click OK.
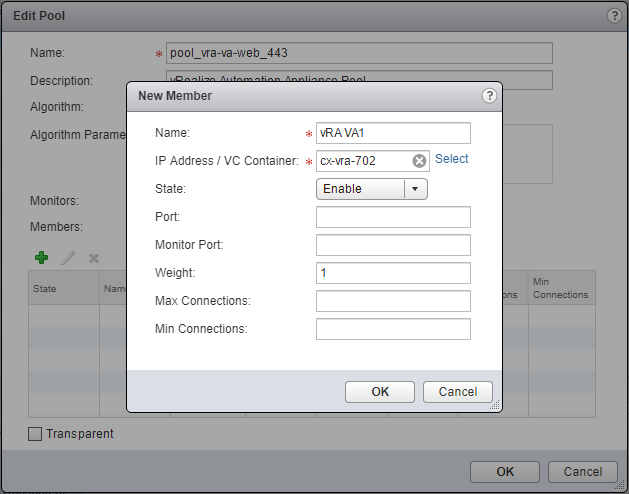
- (Optional) Type a value for Port, Monitor Port, Weight, Max Connections and Min Connections as required.
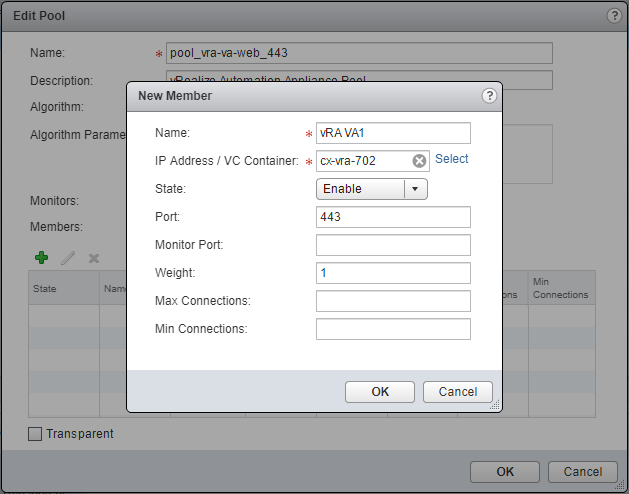
- Click OK.
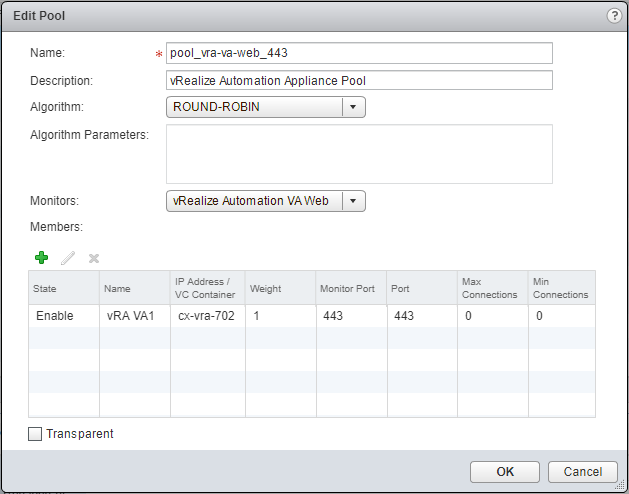
- Add additional Members as required.
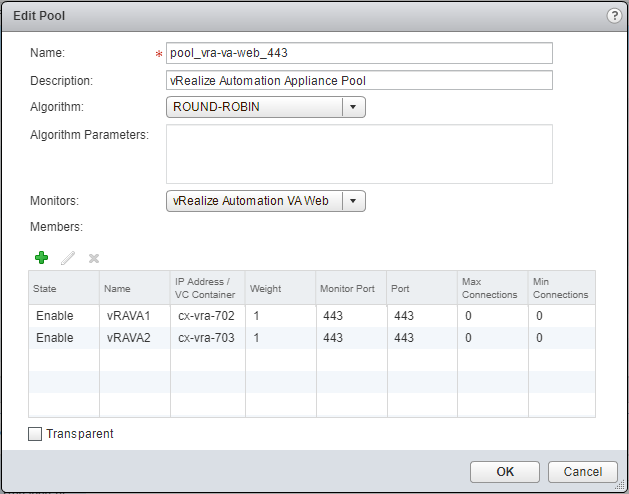
- Click OK.
Create additional Server Pools as required.
Create Application Rules
Whilst not required for the VRA Load Balancing I thought I should still cover the creation of these.
- Using your favourite web browser, navigate to the vCenter Server login page (
https://vcenter.fqdn).
- Type the administrator User name and Password and click Login.
- Click Networking and Security.
- Click NSX Edges.
- Double-Click on the target Edge Services Gateway (ESG).
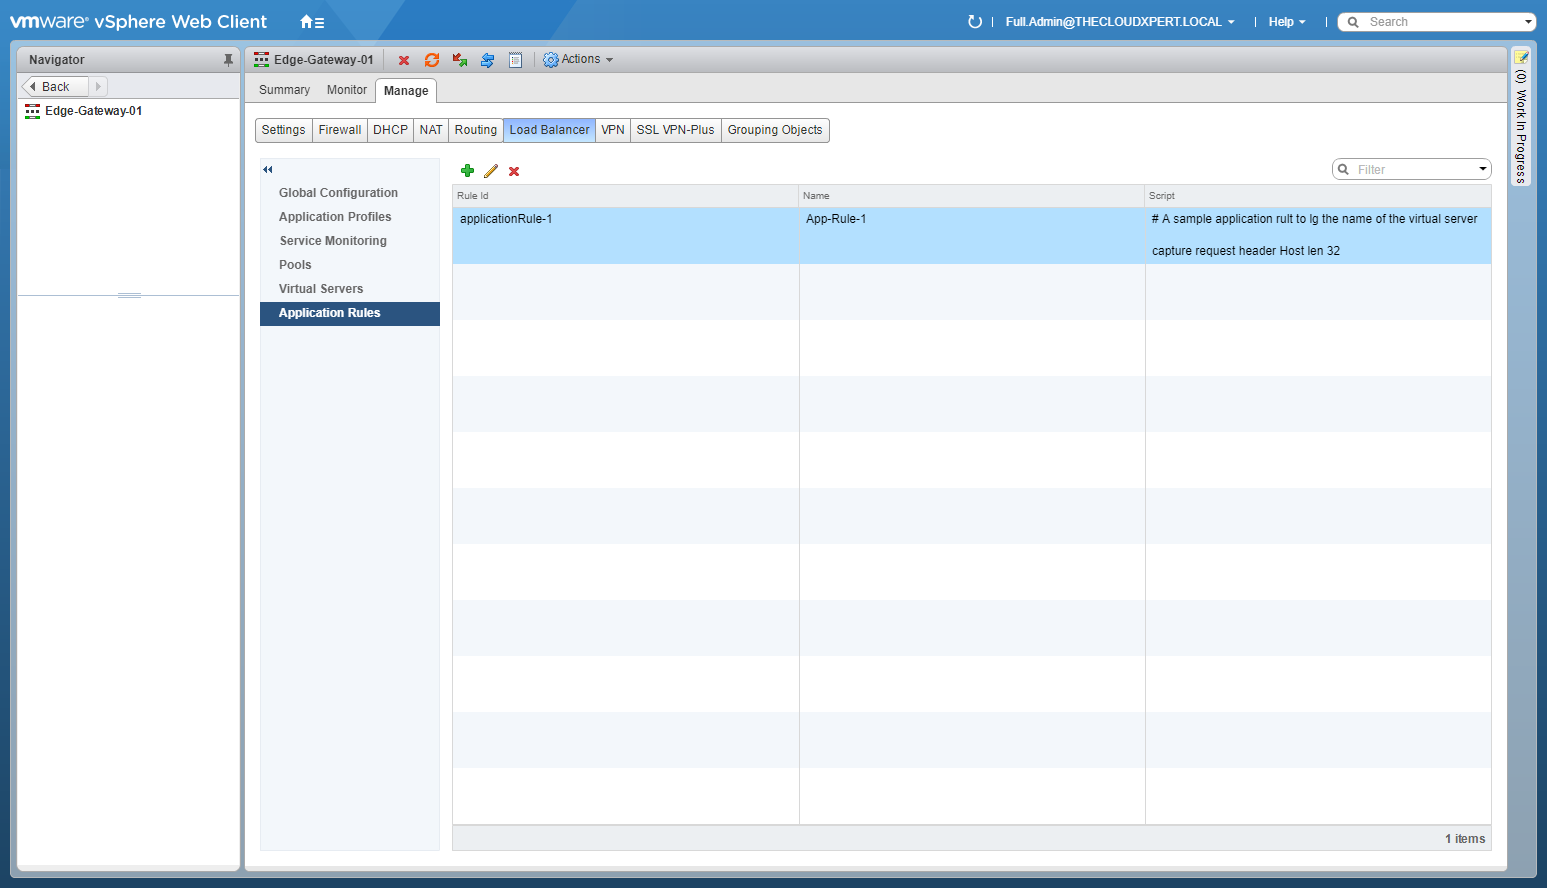
- Select the Manage tab (if not automatically selected), then click Load Balancer, and select Application Rule****s.
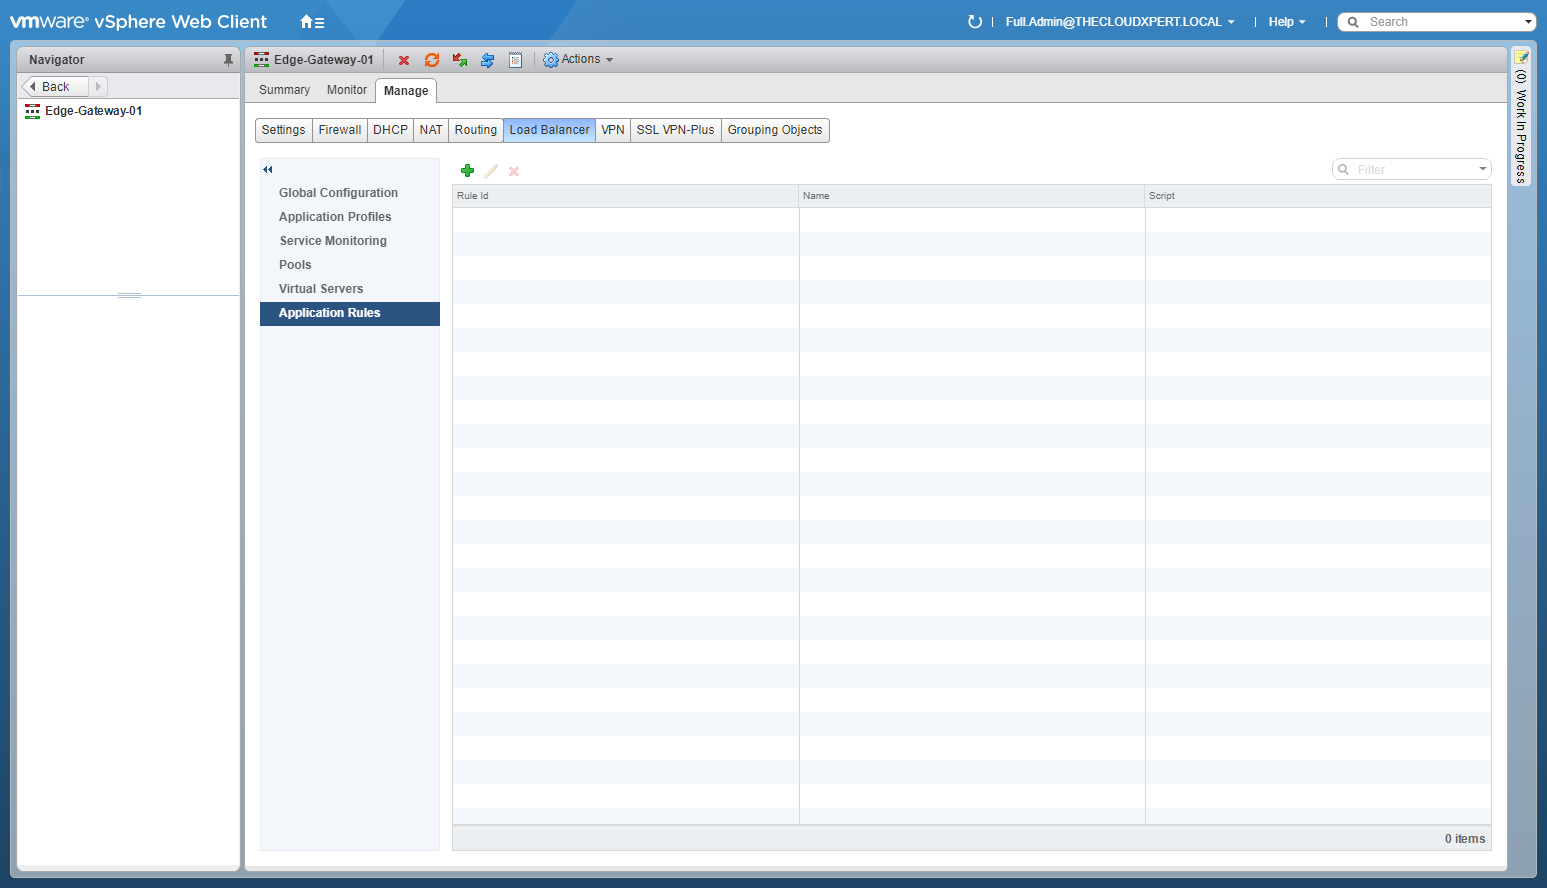
- Click Add(+)
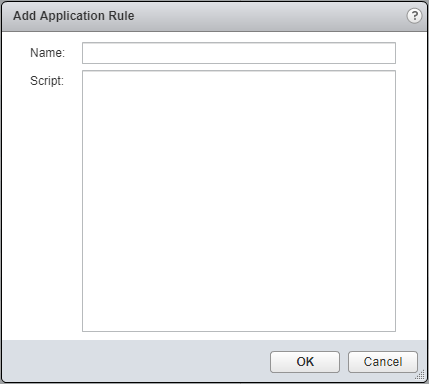
- Enter the Name and the Script.
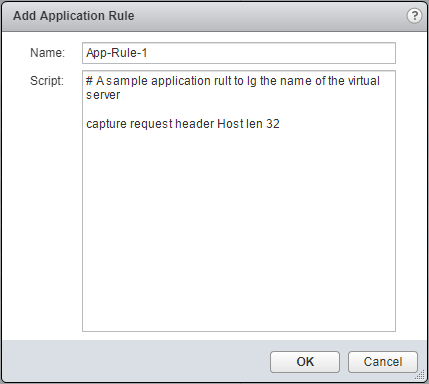
- Click OK.
Create Virtual Server(s)
- Using your favourite web browser, navigate to the vCenter Server login page (
https://vcenter.fqdn).
- Type the administrator User name and Password and click Login.
- Click Networking and Security.
- Click NSX Edges.
- Double-Click on the target Edge Services Gateway (ESG).
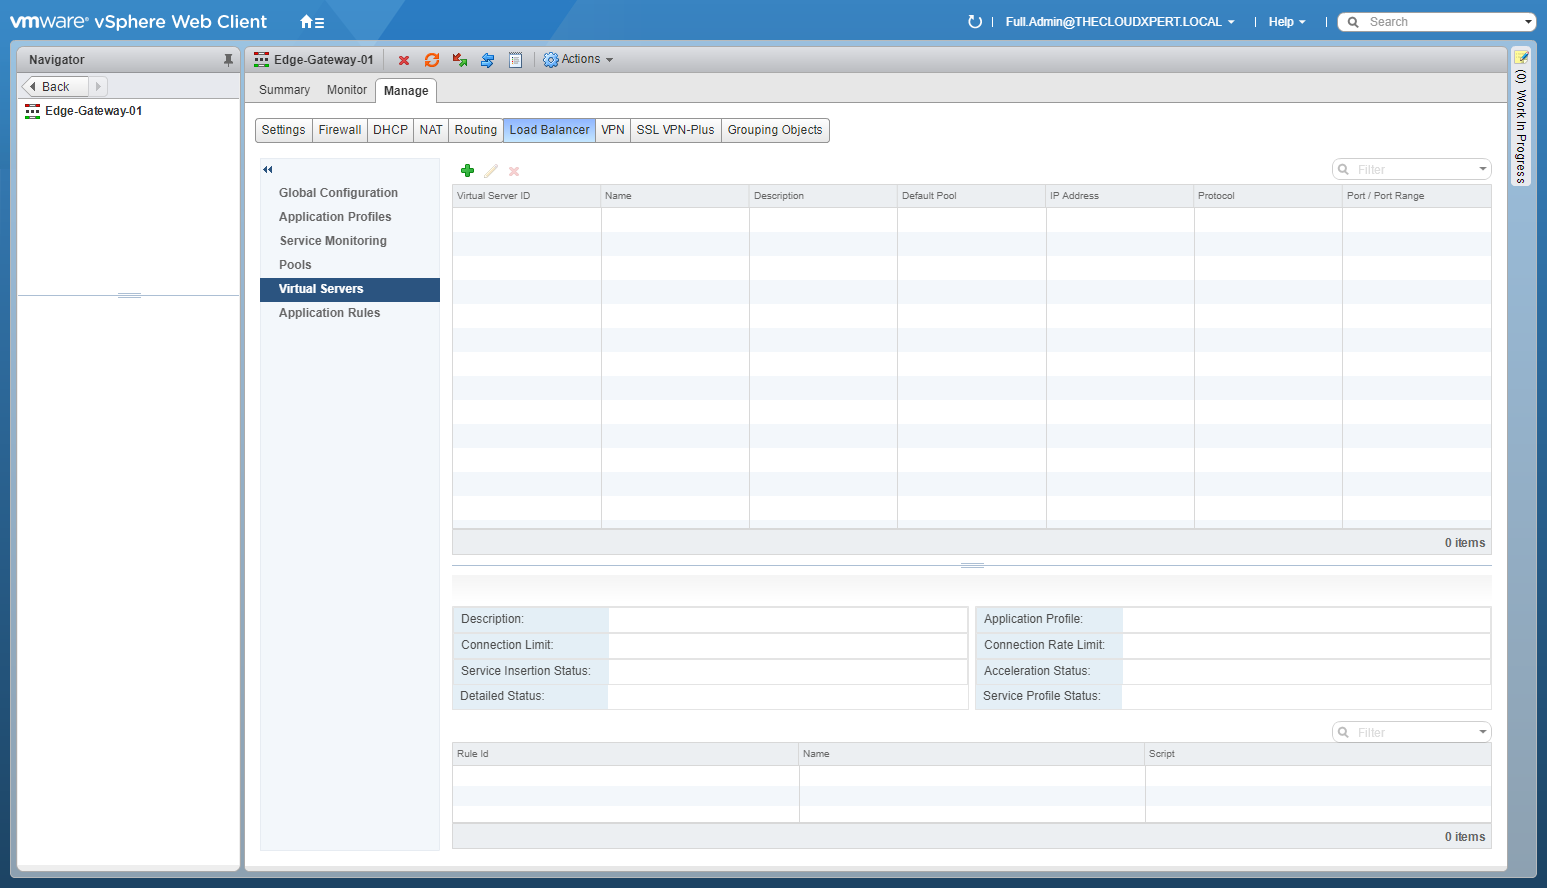
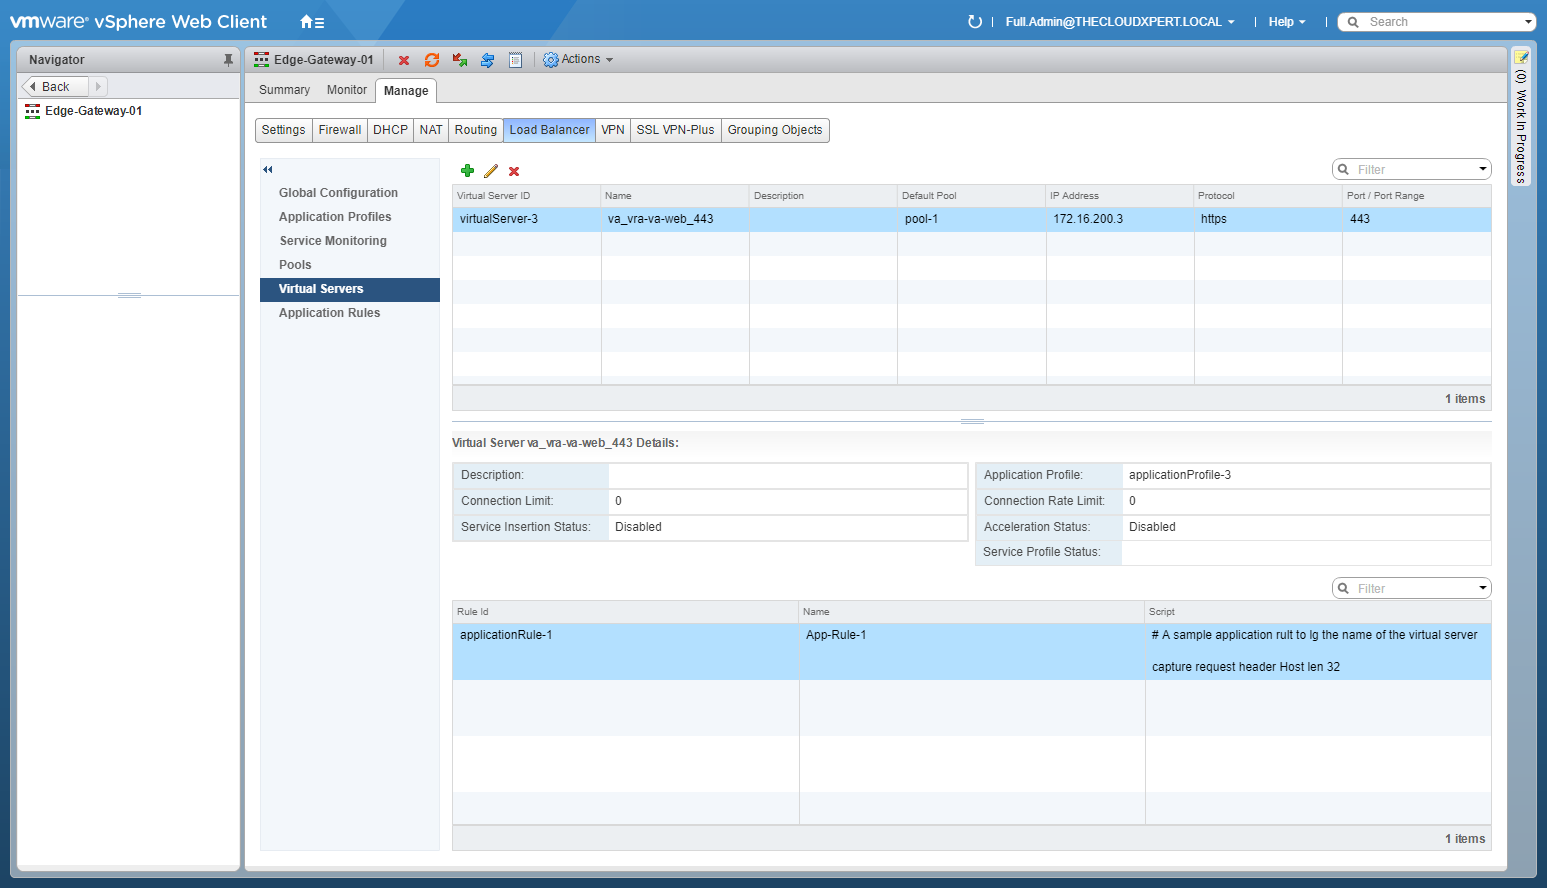
- Select the Manage tab (if not automatically selected), then click Load Balancer, and select Virtual Servers.
- Click Add(+).
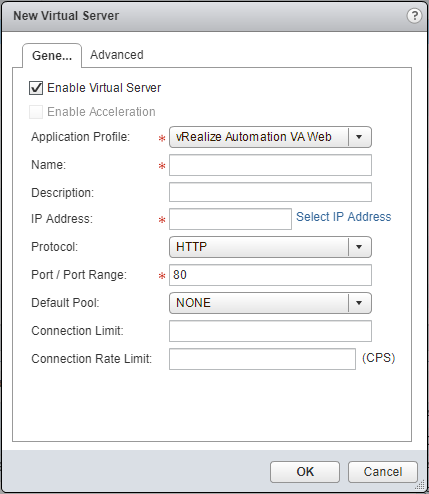
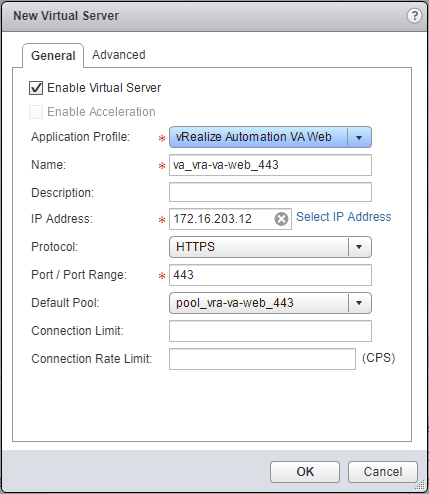
- Select the correct Application Profile (dropdown), enter the Name for the Virtual Server, select the Protocol (dropdown), select the Default Pool (dropdown) and then click Select IP Address.
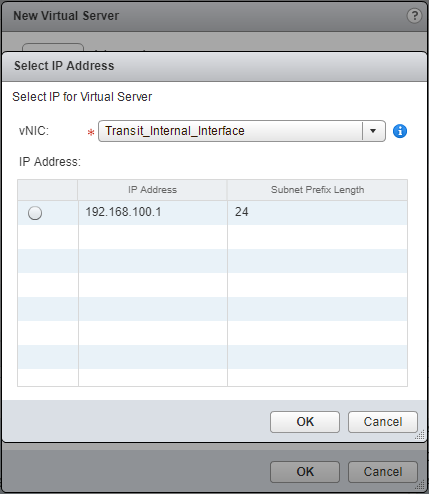
- Select the appropriate vNIC (dropdown), select the IP Address and then click OK.
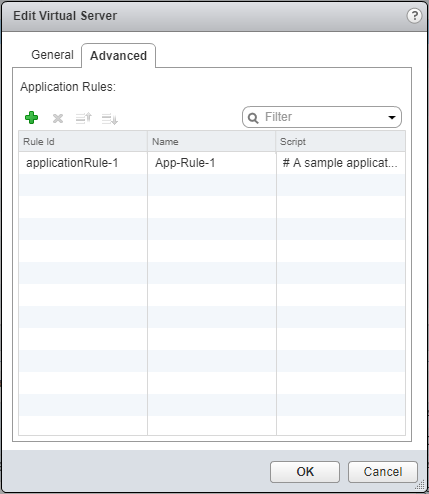
- Click Advanced.
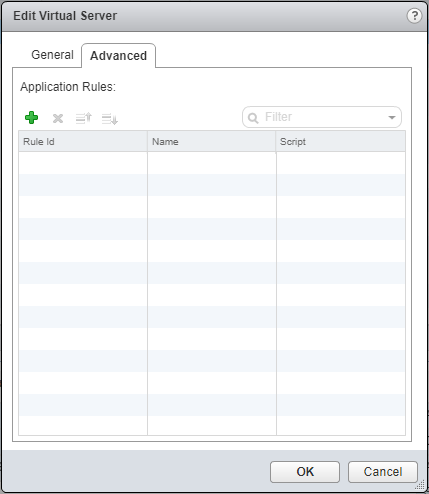
- Click Add(+).
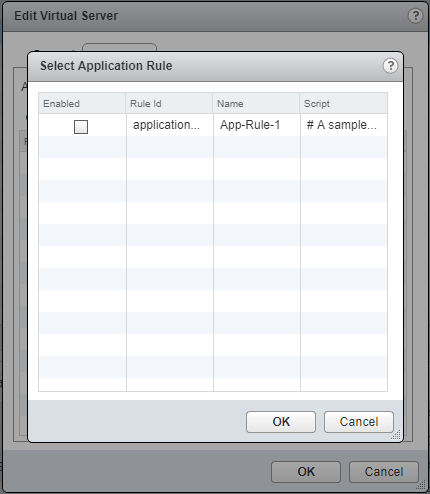
- Check the checkbox for the rules that are required, then click OK.
- Click OK.
Published on 2 August 2017 by Christopher Lewis. Words: 903. Reading Time: 5 mins.
- HOWTO: Configure VMware NSX with Dynamic Routing - BGP ()
- HOWTO: Configure VMware NSX with Dynamic Routing - OSPF ()
- HOWTO: Configure the Router ID for a VMware NSX Edge ()
- VCAP6-NV Deploy - Objective 5.1 - Backup and Restore Network Configurations ()
- HOWTO: Deploy a VMware NSX Edge Services Gateway (ESG) ()
