Warning! The content within this article is over 36 months old and, therefore, may be out of date.
HOWTO: Install the VMware vRealize Automation 6.x IaaS Prerequisites
Share this article on:


VMware vRealize Automation VCAP6 VCAP6-CMA
Published on 11 January 2017 by Christopher Lewis. Words: 1209. Reading Time: 6 mins.
Introduction
This post is a part of a series of posts for preparation for the VCAP6-CMA Deploy exam. For the full exam prep resources check here .
Note:
Let’s be clear everyone tends to use Brian Graf’s vRA6 IaaS Prerequisite script (available via
github
) in real life but we need to understand what the manual process is too so that in the event of a configuration issue, we have a better chance to understand when a configuration is wrong.
Prerequisites
- Deploy a Windows Virtual Machine to be used as a IaaS Server.
- Download Oracle JAVA JRE (supported version)
Configuration Overview
The high level configuration steps for this server are:
- Configure the vRealize Automation Service Account permissions
- Install Microsoft IIS
- Configure Microsoft IIS
- Configure Loopback Check Registry Setting (for Distributed only)
- Configure Secondary Logon Service
- Configure User Rights Assignment
- Configure MS DTC
- Configure the Windows Firewall
- Install and Configure Oracle JRE
- Install the IaaS SSL Certificate
- Reboot the IaaS Server
Step by Step Instructions
Configure the vRealize Automation Service Account permissions
- Connect to the server either via VMware Remote Control or via Microsoft Remote Desktop Services using an account with administrative privileges.
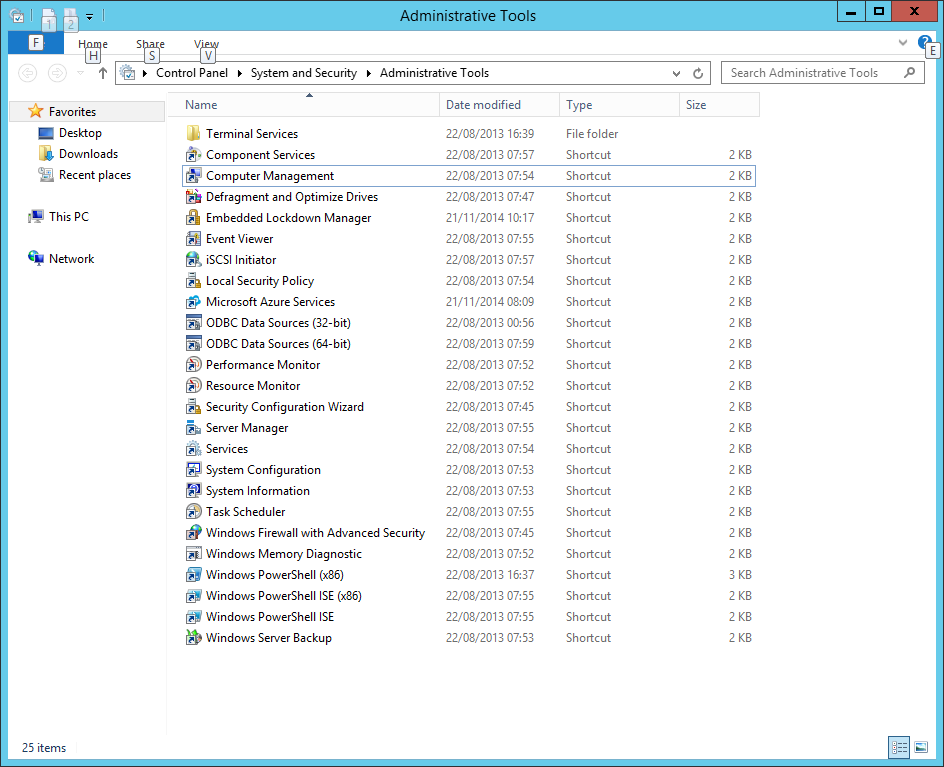
- Click Start and then click Administrative Tools.
- Double click Computer Management.
- Click on Local Users and Groups.

- Double click on Groups.
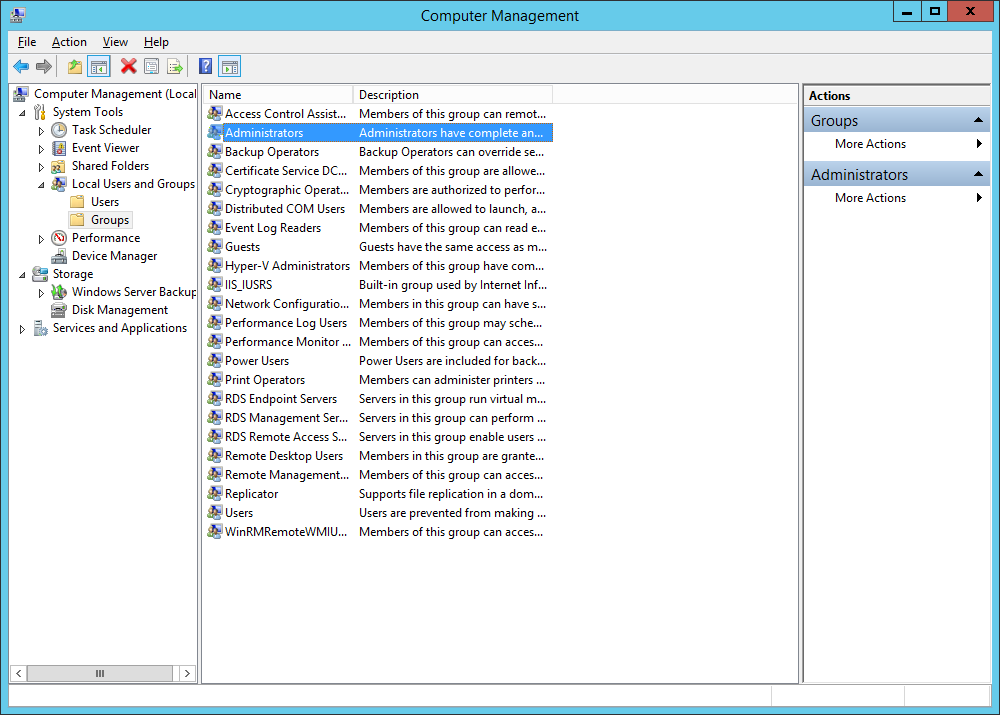
- Double click on Administrators.
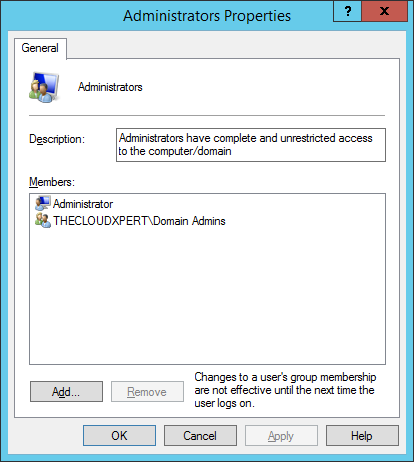
- Click Add.
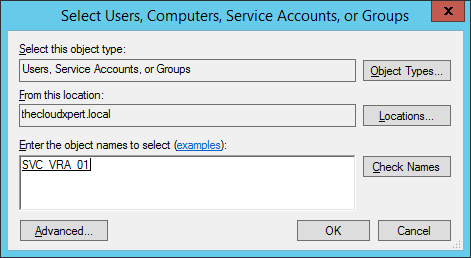
- Type in the VRA Service account name, click Check Names and then click OK.
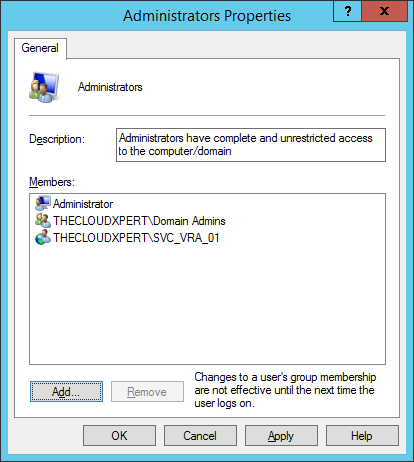
- Click Apply and then click OK.
- Log out of the Administrator account and log back in with the vRealize Automation Service Account.
Install Microsoft Internet Information Services (IIS)
- Open Server Manager, click Manage and then click Add Roles and Features.
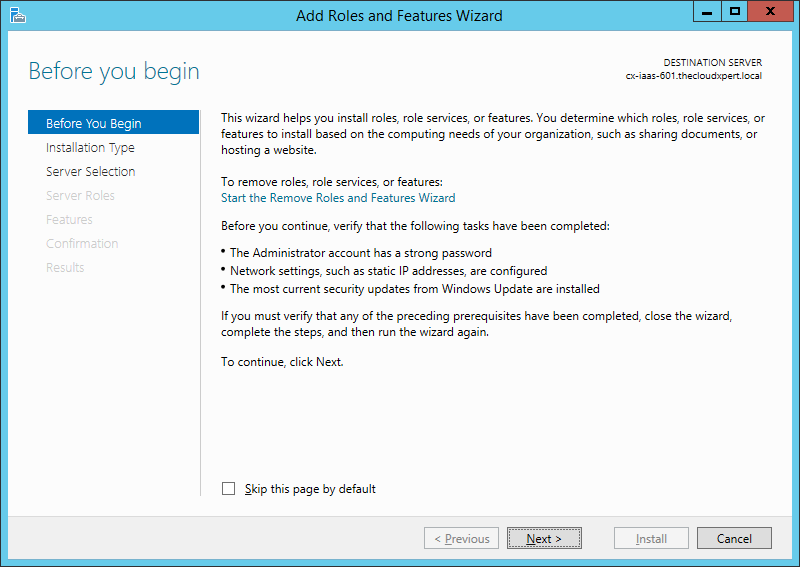
- Click Next.
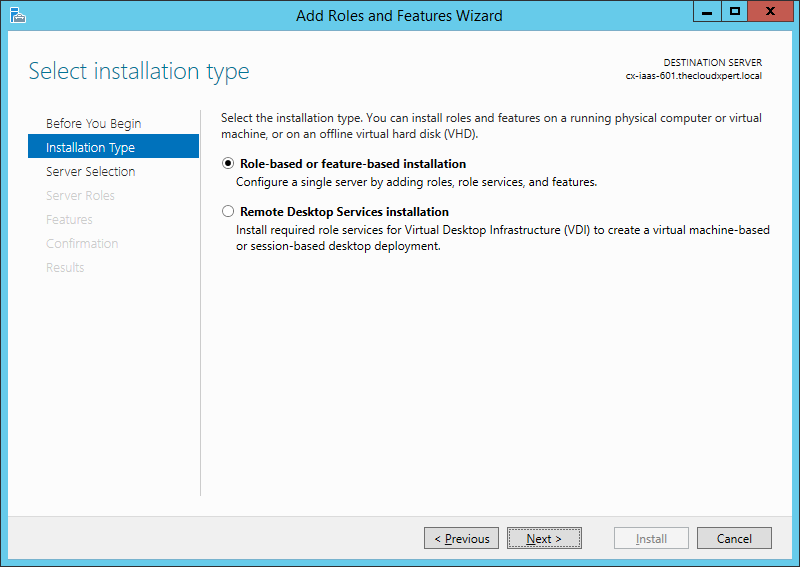
- Click Next.
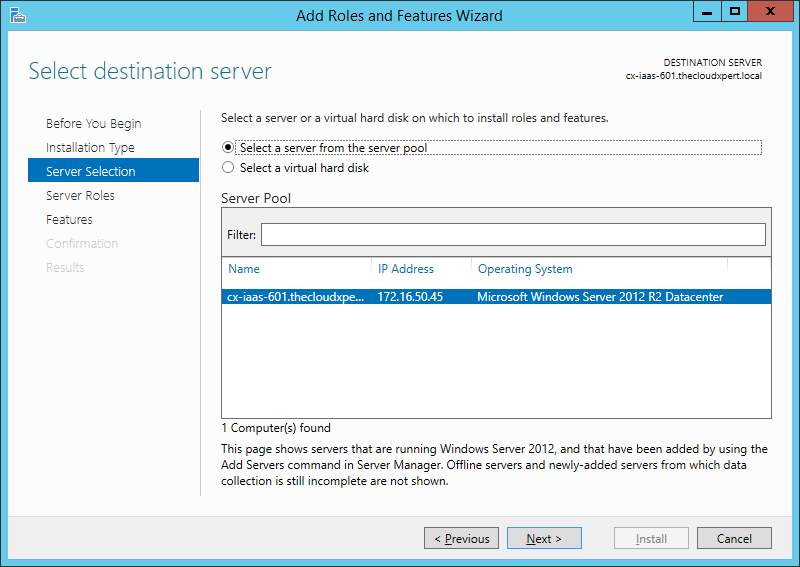
- Click Next.
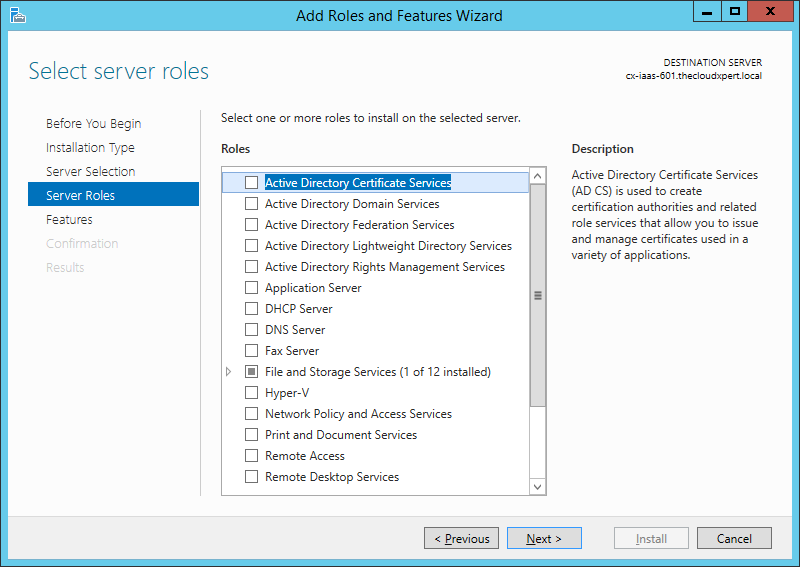
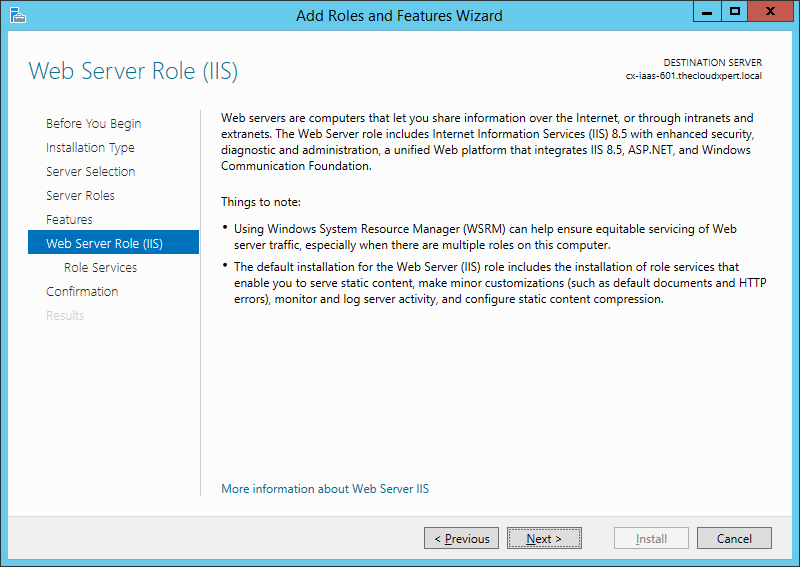
- Check the Web Server (IIS) role.
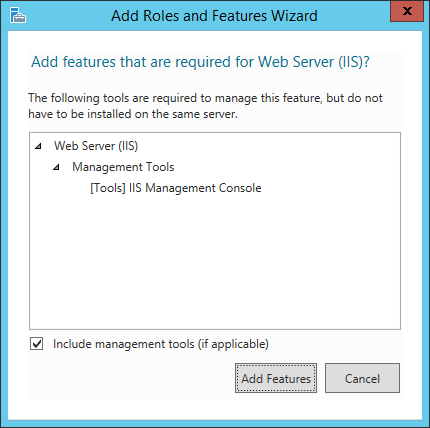
- Click Add Features.
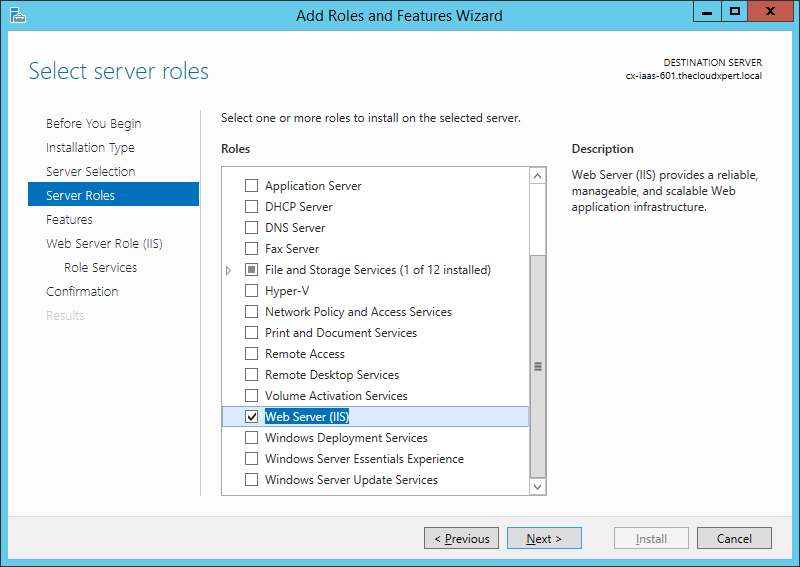
- Click Next.
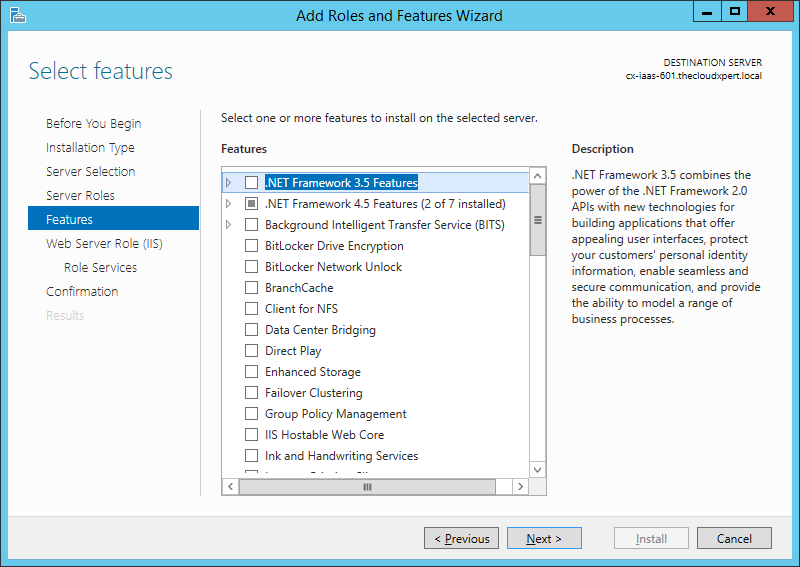
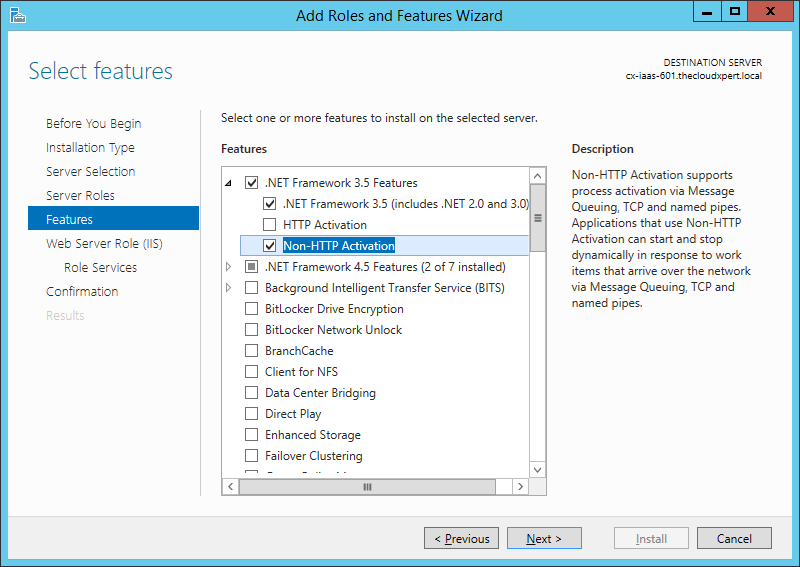
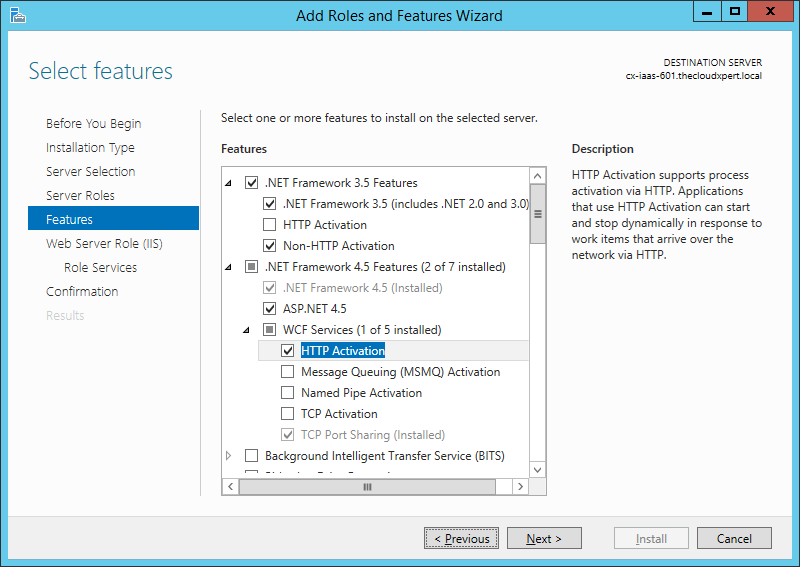
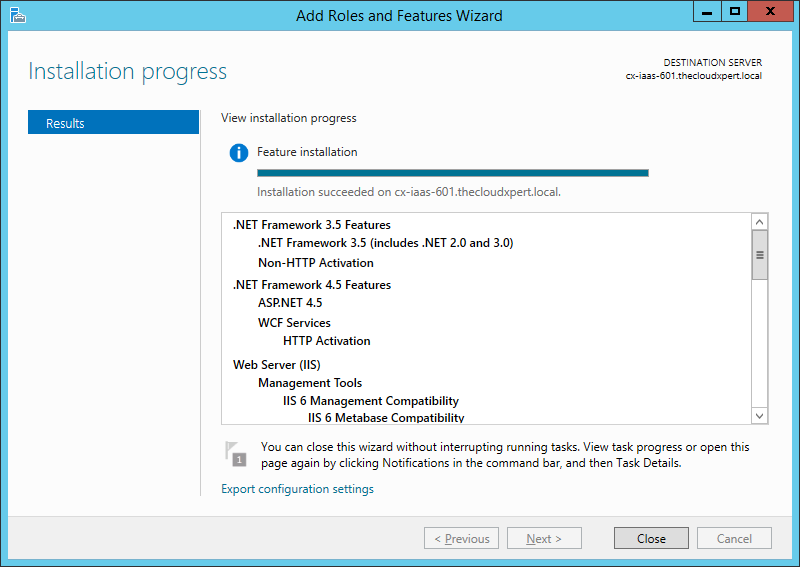
- Expand .NET Framework 3.5 Features and check both the NET Framework 3.5 (includes .NET 2.0 and 3.0) checkbox and Non-HTTP Activation checkbox.
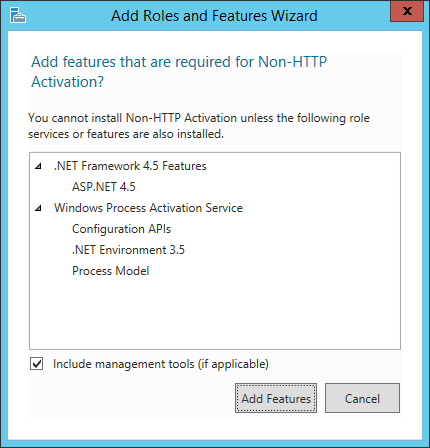
- Click Add Features.
- Expand .NET Framework 4.5 Features and ensure the ASP.NET 4.5 checkbox is checked.
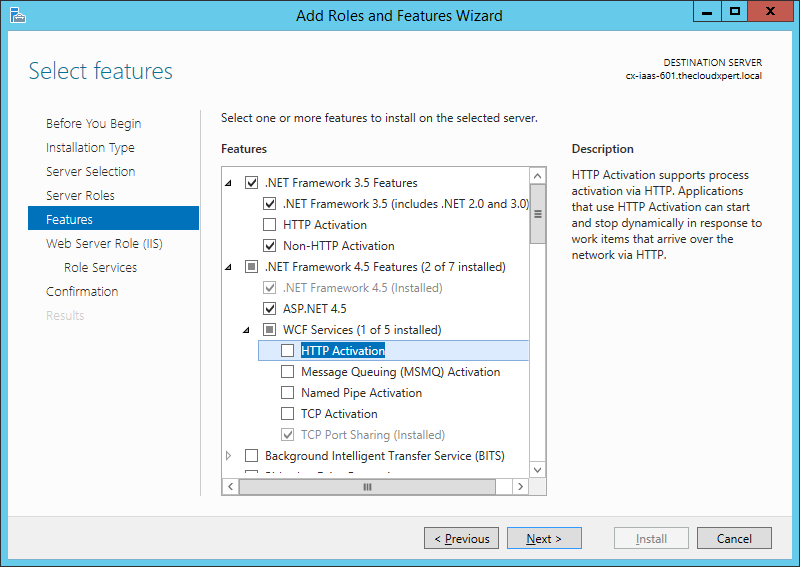
- Expand the WCF Services feature and check the HTTP Activation checkbox.
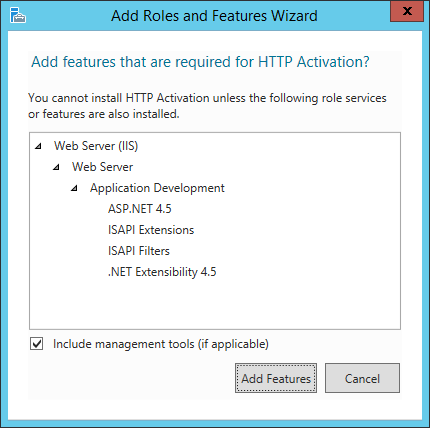
- Click Add Features
- Click Next.
- Click Next.
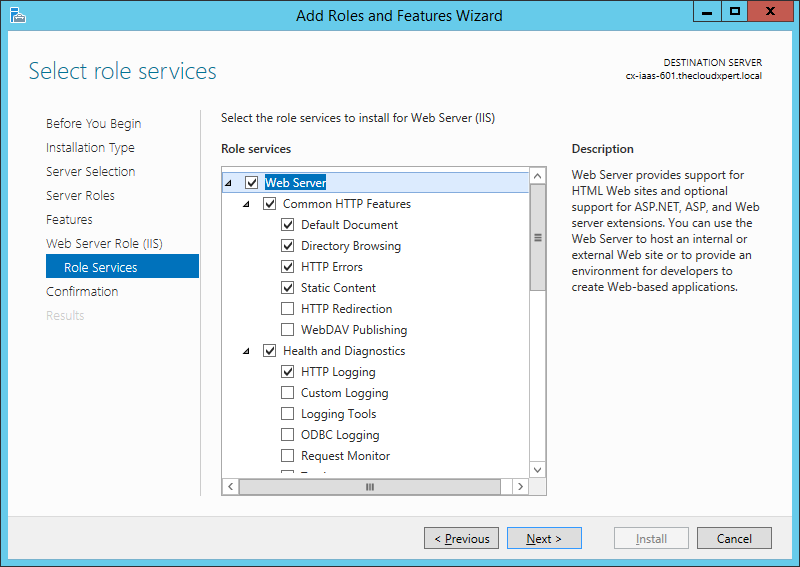
- Check the following additional Role Services check boxes:
- Web Server > Common HTTP Features > HTTP Redirection
- Security > Windows Authentication
- Application Development > .NET Extensibility 3.5
- Application Development > ASP.NET 3.5
- Management Tools > IIS 6 Management Compatibility > IIS 6 Metabase Compatibility

- Click Next.
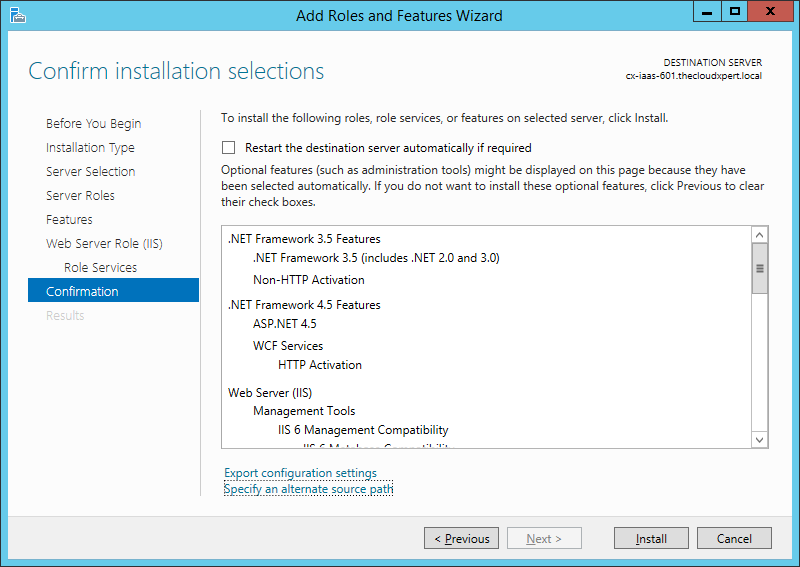
Note:
You may need to specify a new alternate source path if you have changed the drive letter of your cd-rom drive.
- Click Install.
Configure Microsoft IIS
- Navigate to Start > Administrative Tools > Internet Information Services (IIS) Manager.
- Expand <HOSTNAME>, then Sites and select the Default Web Site.
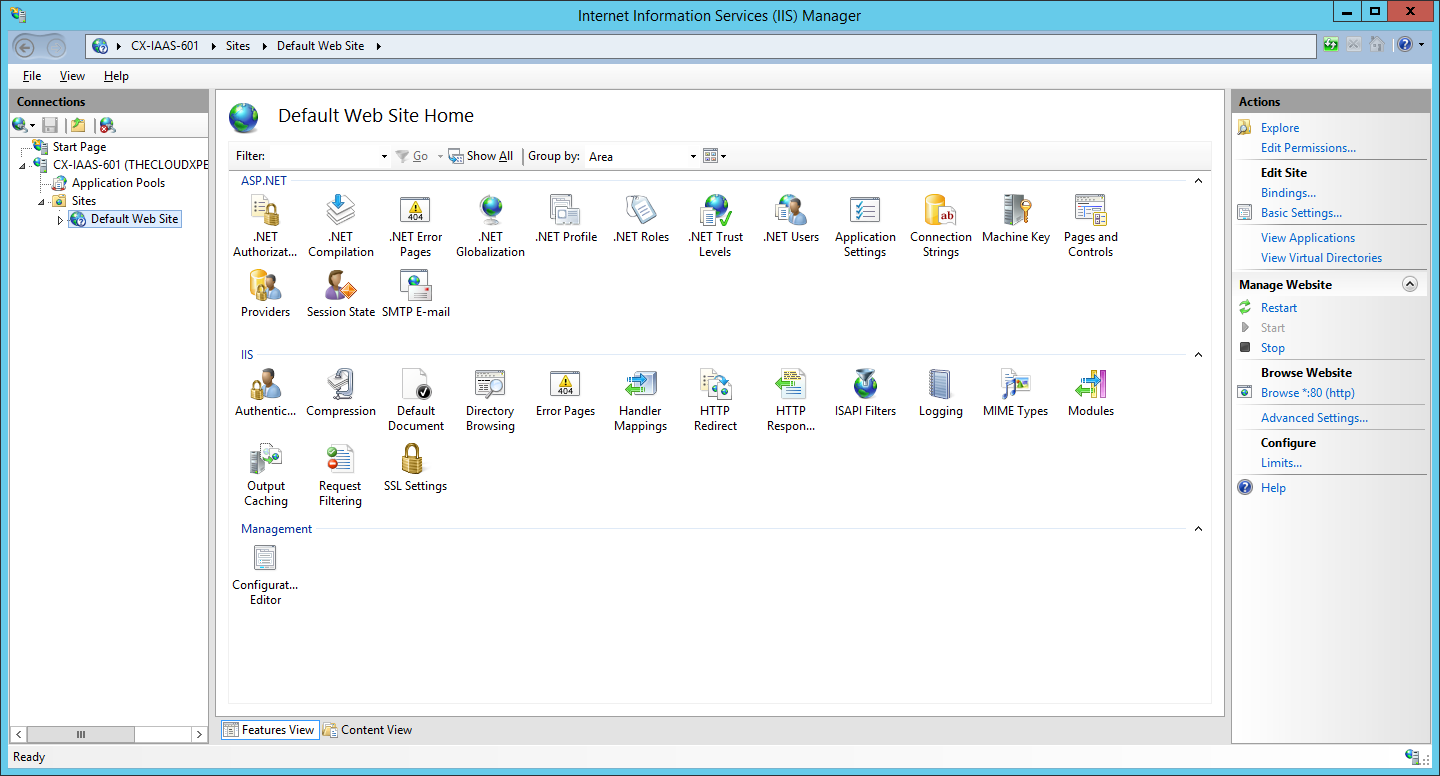
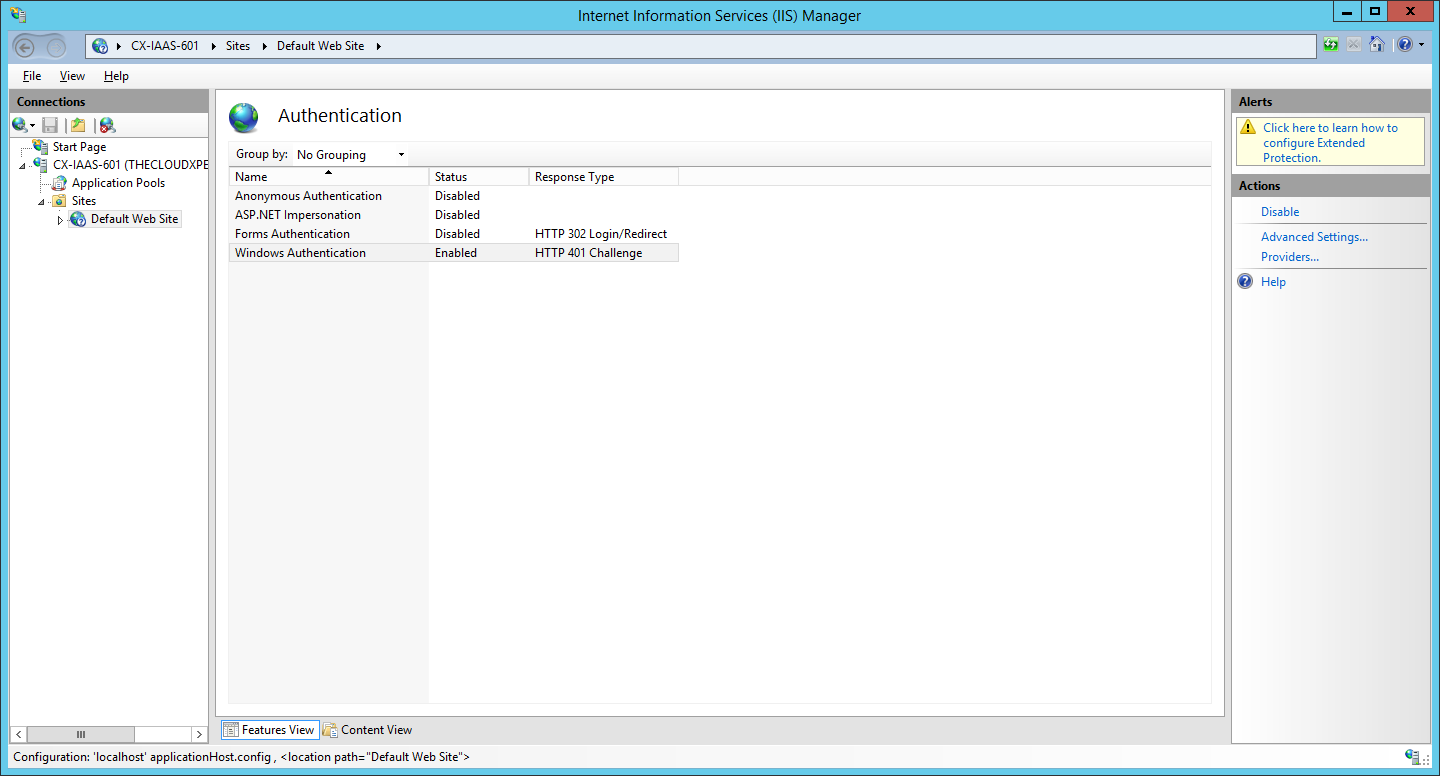
- Under Connections ensure that the Default Web Site is selected and then double click on Authentication.

- Under Authentication highlight Anonymous Authentication and click Disable from the Actions menu.
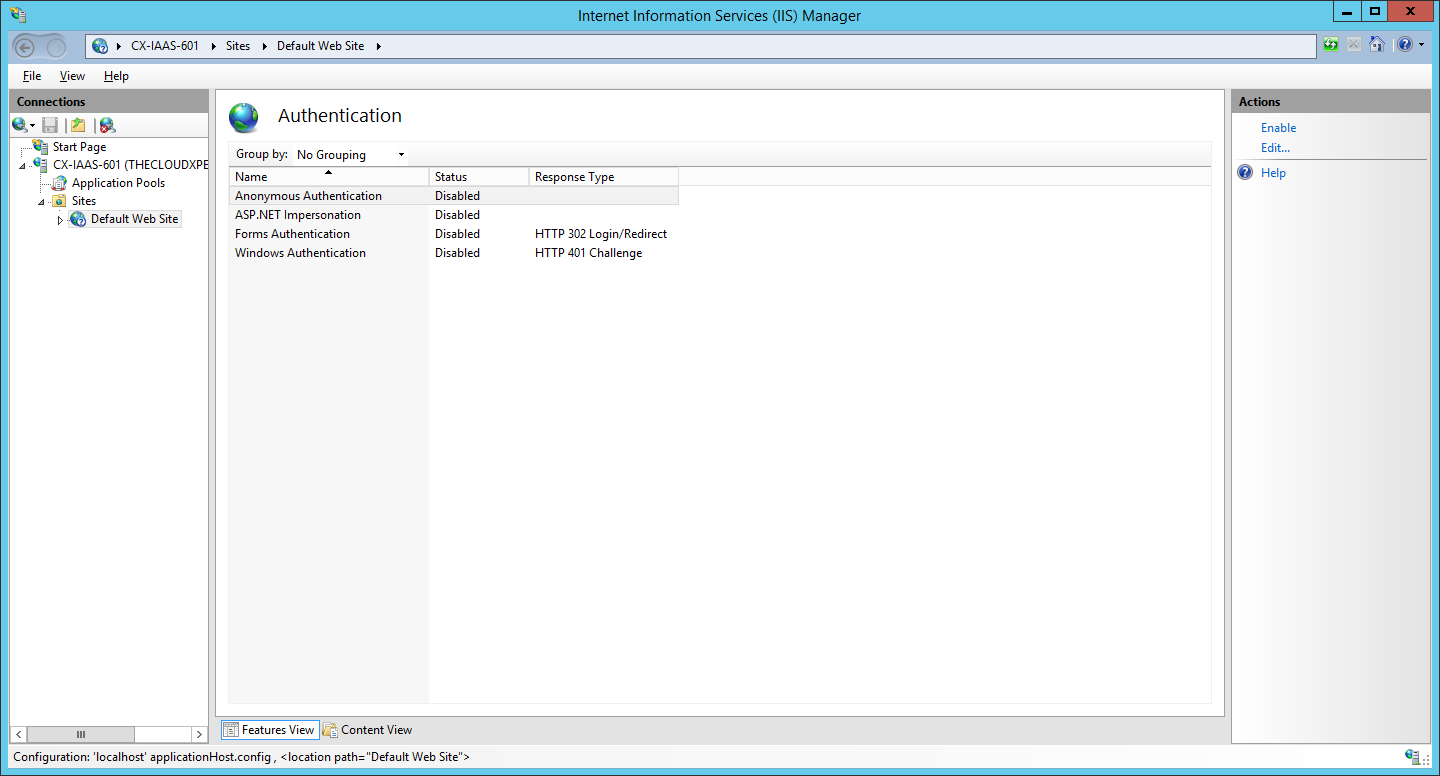
- Under Authentication highlight Windows Authentication and click Enable from the Actions menu.
- Under Authentication highlight Windows Authentication and click Providers from the Actions menu.
- Highlight each provider in turn and click Remove.
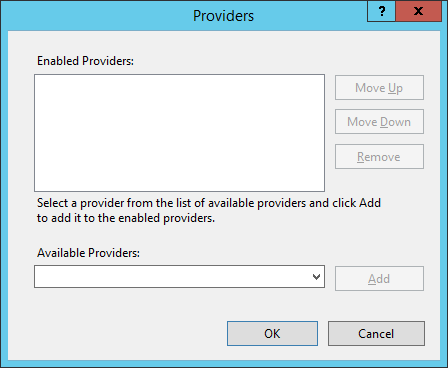
- Click OK.
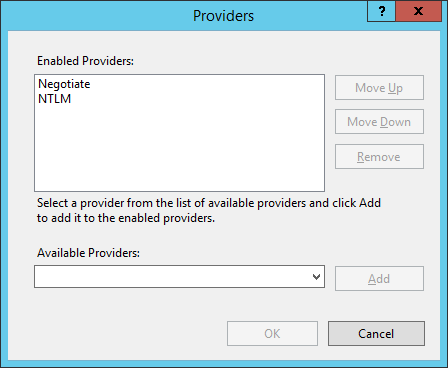
- Under Authentication highlight Windows Authentication and click Providers from the Actions menu.
- From the Available Providers dropdown, select Negotiate and click Add.
- From the Available Providers dropdown, select NTLM and click Add.
- Click OK.
- Under Authentication highlight Windows Authentication and click Advanced Settings from the Actions menu.
- Select Accept from the Extended Protection dropdown, uncheck the Enable Kernel-mode authentication checkbox and then click OK.
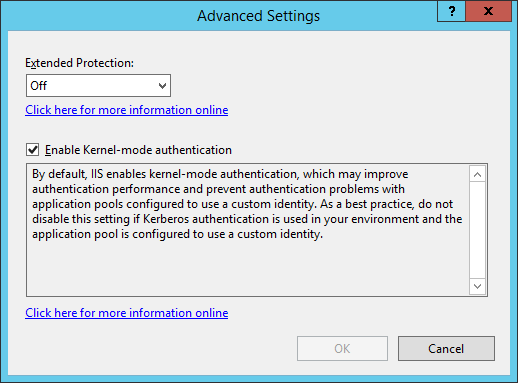
- Under Authentication highlight Windows Authentication and click Advanced Settings from the Actions menu.
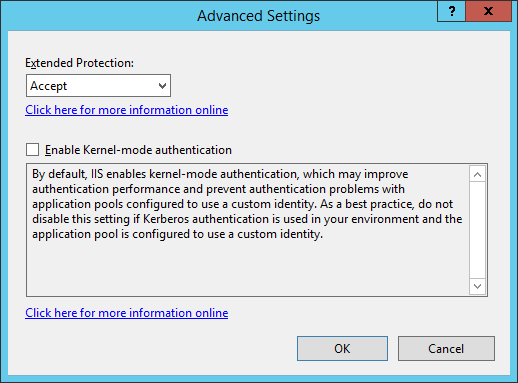
- Select Off from the Extended Protection dropdown, check the Enable Kernel-mode authentication checkbox and then click OK.
- At the Internet Infomation Services (IIS) Manager, right-click on the Default Web Site and select Manage Website > Restart.
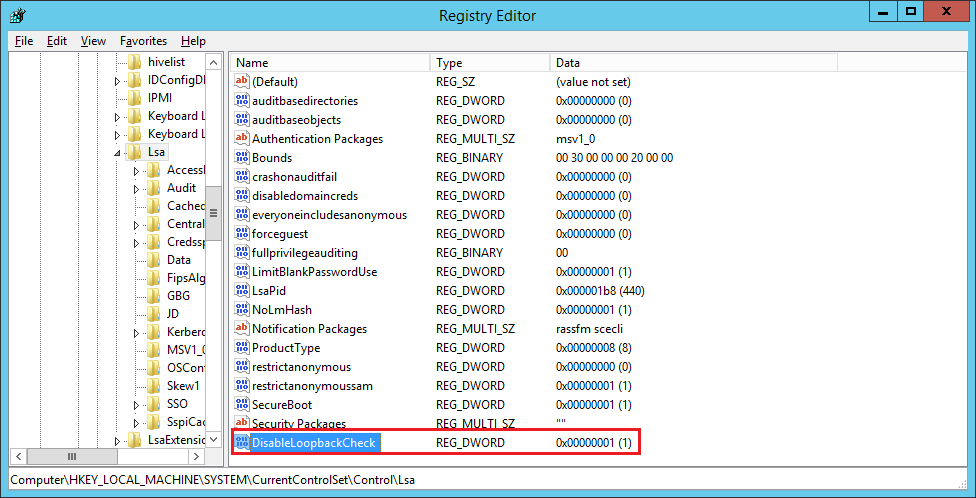
Configure LoopbackCheck Registry Setting(s)
- Right-click on Start and select Run.
- Type into the Open text field
regedt32and click OK.
- Navigate to the
HKEY_LOCAL_MACHINE\SYSTEM\CurrentControlSet\Control\Lsa\registry key.
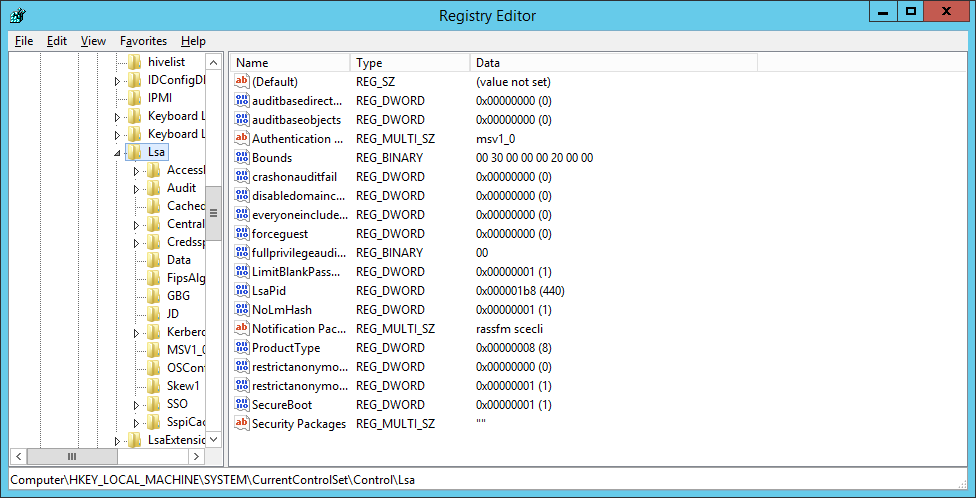
- Right-click on LSA and create a new DWORD named
DisableLoopbackCheck.
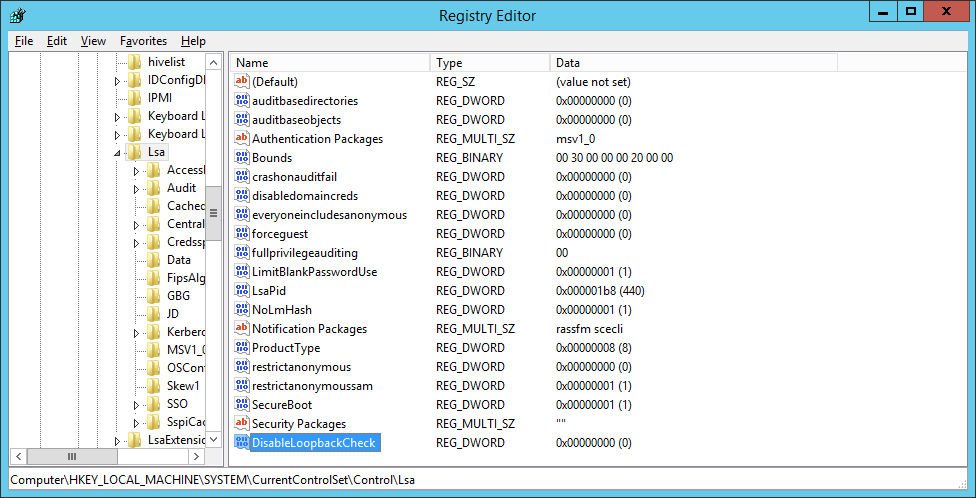
- Right-click on the
DisableLoopbackCheckkey, select Modify and set the value to 1.
- Navigate to the
HKEY_LOCAL_MACHINE\System\CurrentControlSet\Services\LanmanServer\Parametersregistry key.
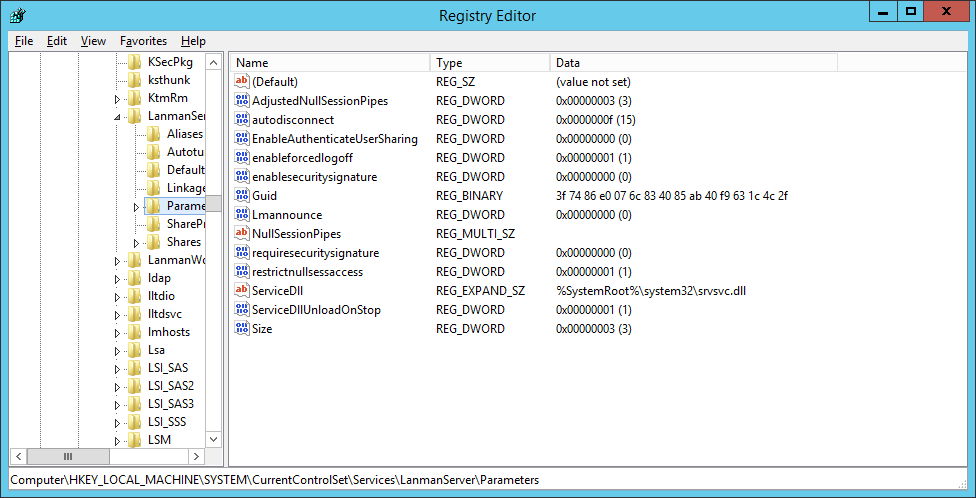
- Right-click on Parameters and select New > DWORD (32-bit) Value called
DisableStrictNameChecking.
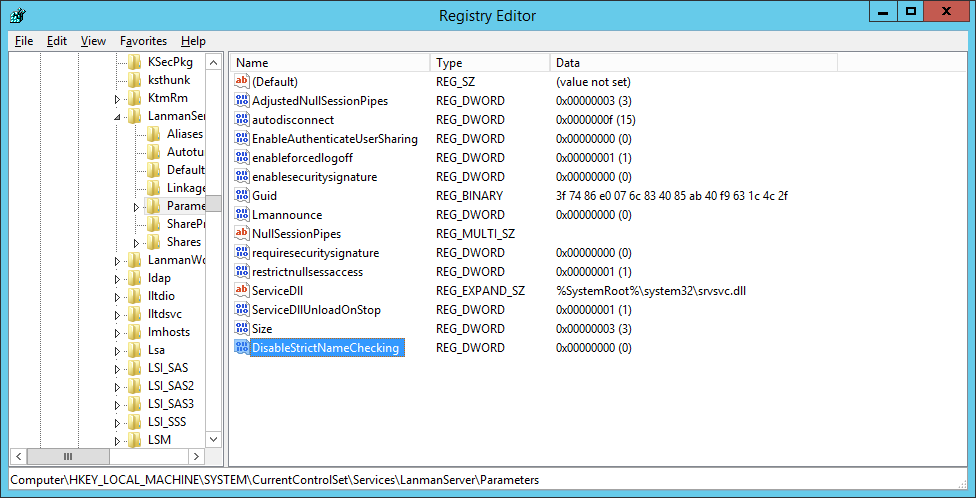
- Right-click on the new
DisableStrictNameChecking, select Modify and set a value of 1.
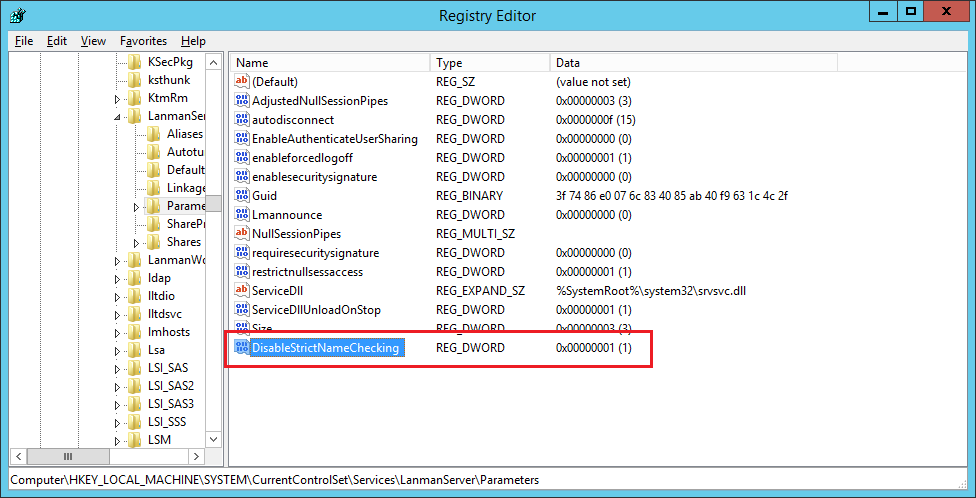
- Close the Registry Editor.
Note:
For these settings to take place we need to reboot the server but we’ll do that at the end.
Configure Secondary Logon Service
- Navigate to Start > Administrative Tools > Services
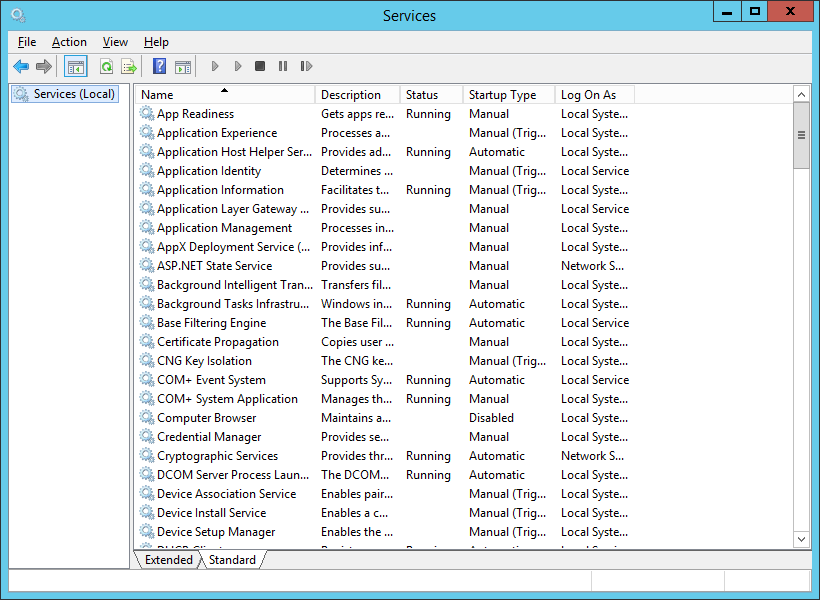
- Locate the Secondary Logon Service, right-click and select Properties.

- Select Automatic from the Startup Type: dropdown and click Apply.
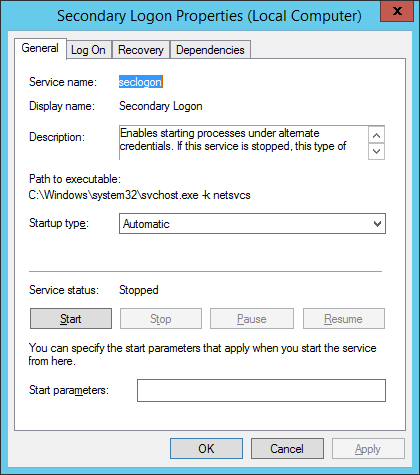
- Click Start and then click OK.
Configure User Rights Assignment
- Navigate to Start > Administrative Tools > Local Security Policy.
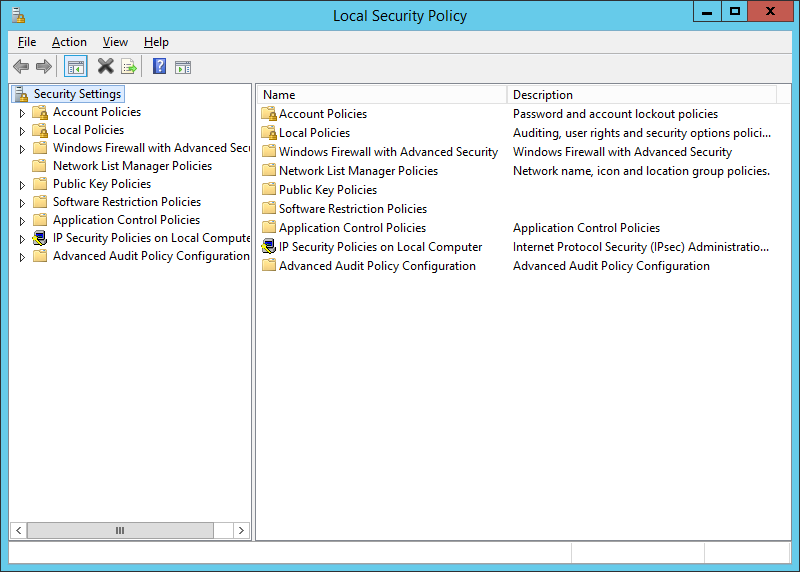
- Expand Local Policies > User Rights Assignment.
- Add the vRealize Automation Service to the following User Rights Assignments:
- Logon as a batch job
- Logon as a service
- Close the Local Security Policy application.
Configure Microsoft Distributed Transaction Coordinator
Microsoft Distributed Transaction Coordinator (MSTDC) is a critical component for the VMware vRealize Automation IaaS components, including the SQL Server and should be configured identically on each of the IaaS Server in the following way:
- Navigate to Start > Administrative Tools.
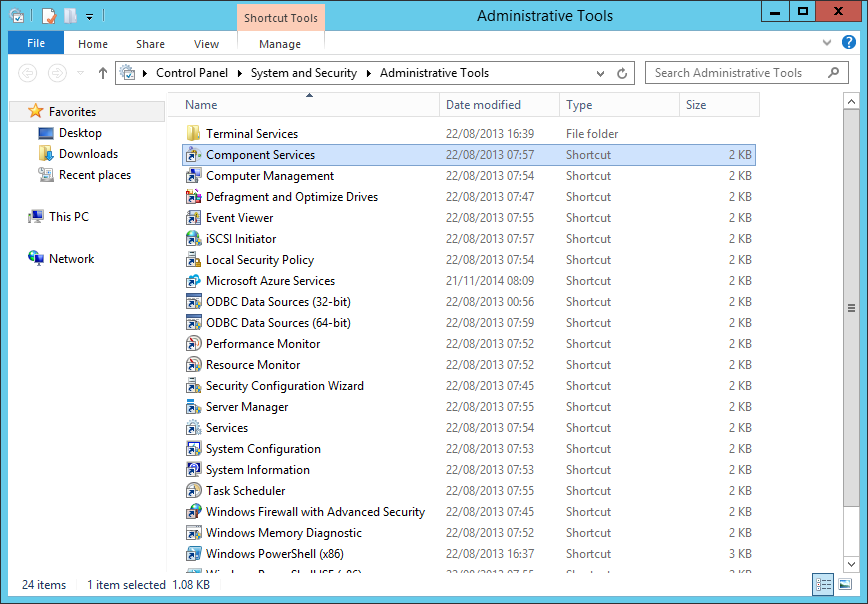
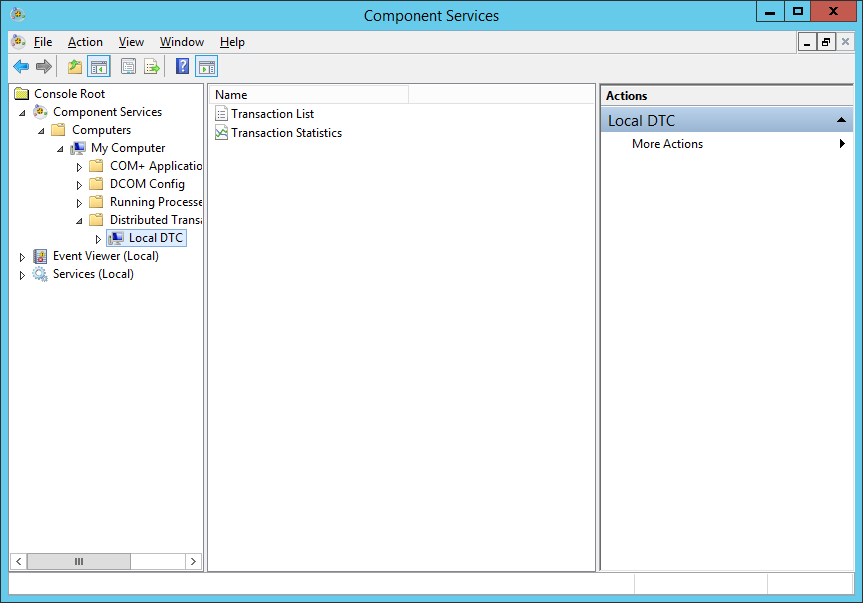
- Double click on Component Services.
- Expand Component Services > Computers > My Computer > Distributed Transaction Coordinator.
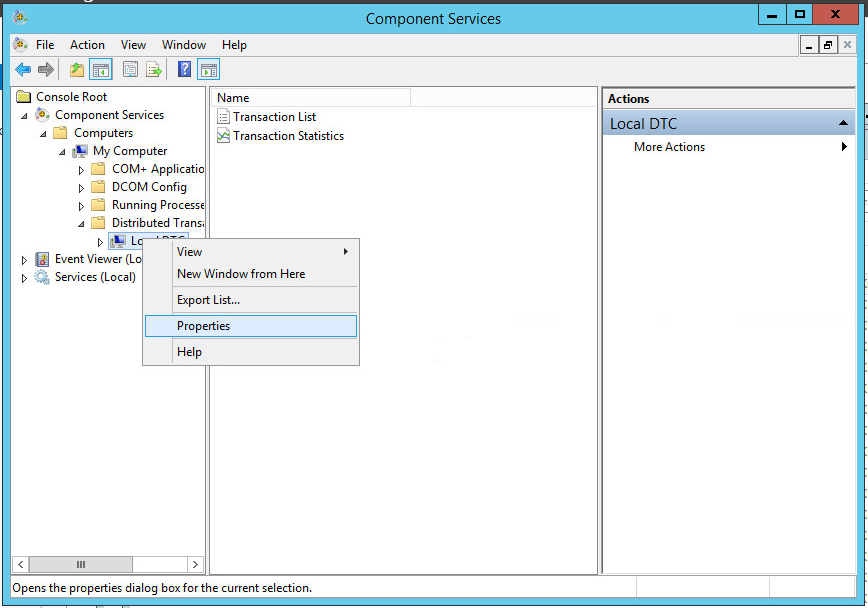
- Right-click Local DTS and select Properties.
- Click the Security
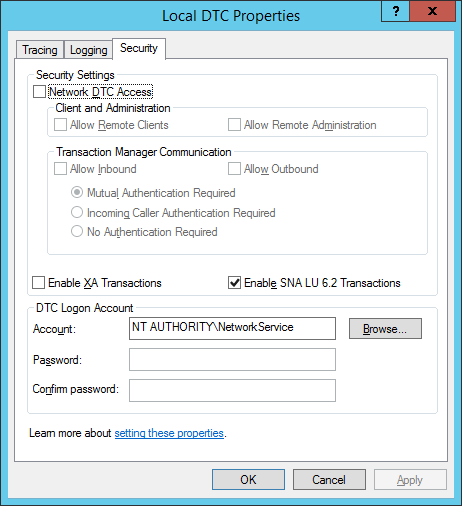
- Make the following changes on the Security Tab:
- Under Security Settings, check the Network DTC Access checkbox
- Under Client and Administration, check the Allow Remote Clients
- Under Transaction Manager Communication, check the Allow Inbound
- Under Transaction Manager Communication, check the Allow Outbound
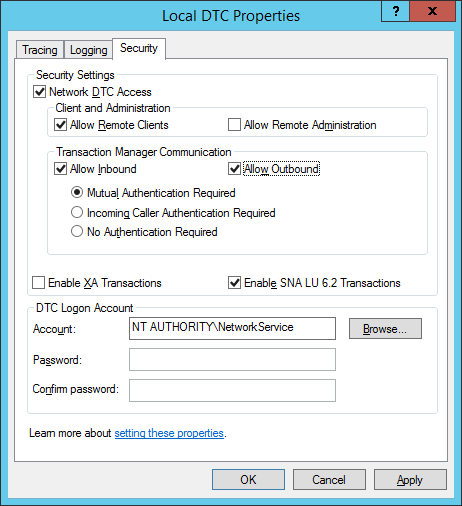
- Click OK.
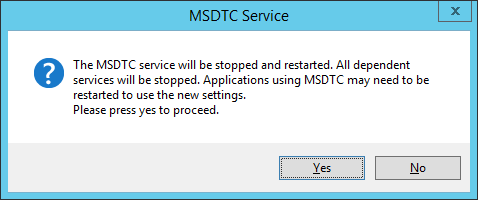
- Click Yes.
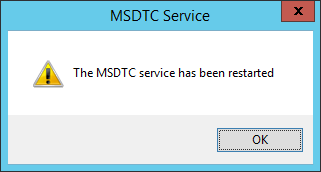
- Click OK.
Note:
If you have built your servers from a cloned Virtual Machine with MSDTC already installed/configured you will need to uninstall (using the
msdtc -uninstall command) and re-install MSDTC (using the msdtc -install) before any configuration can take place.
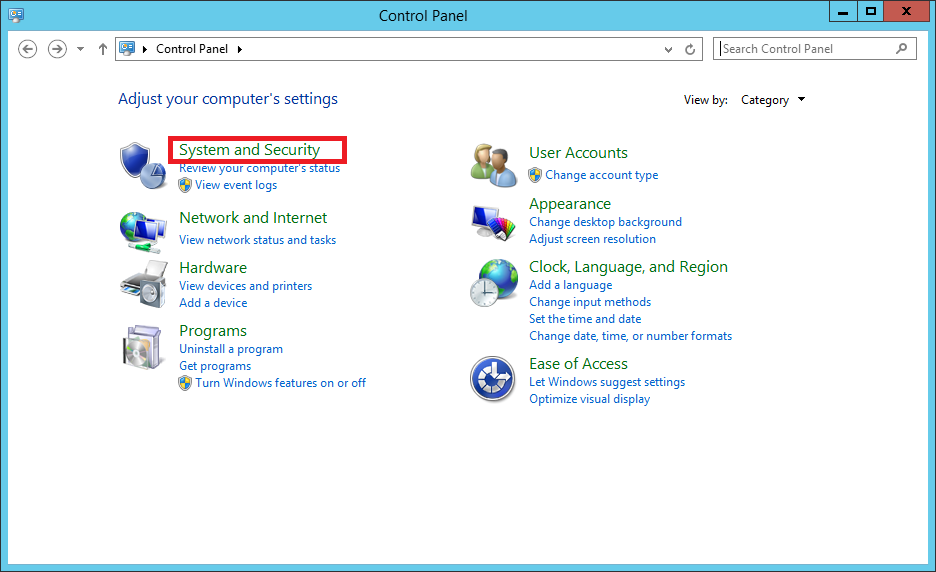
Configure the Windows Firewall
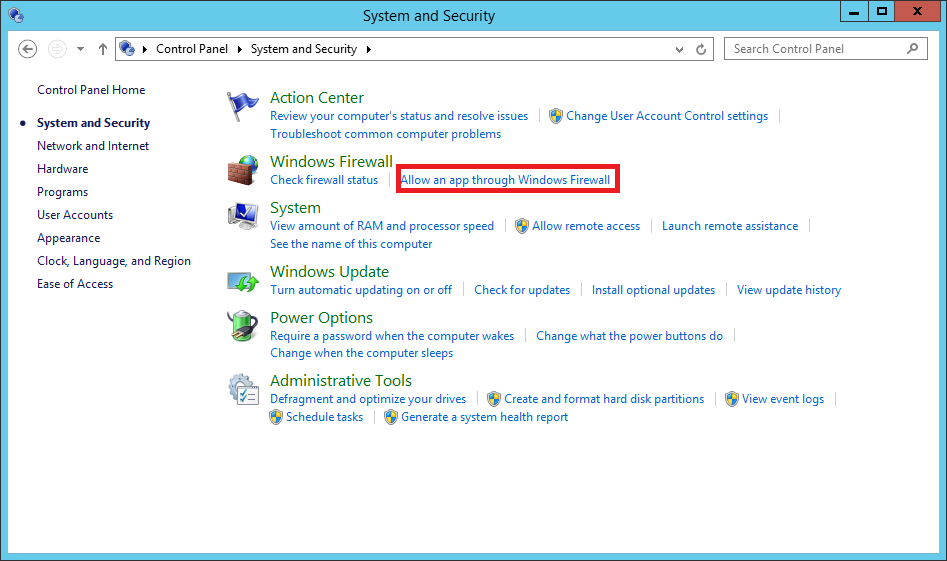
- Navigate to Start > Control Panel
- Click System and Security.
- Under Windows Firewall, Click Allow an app through Windows firewall.
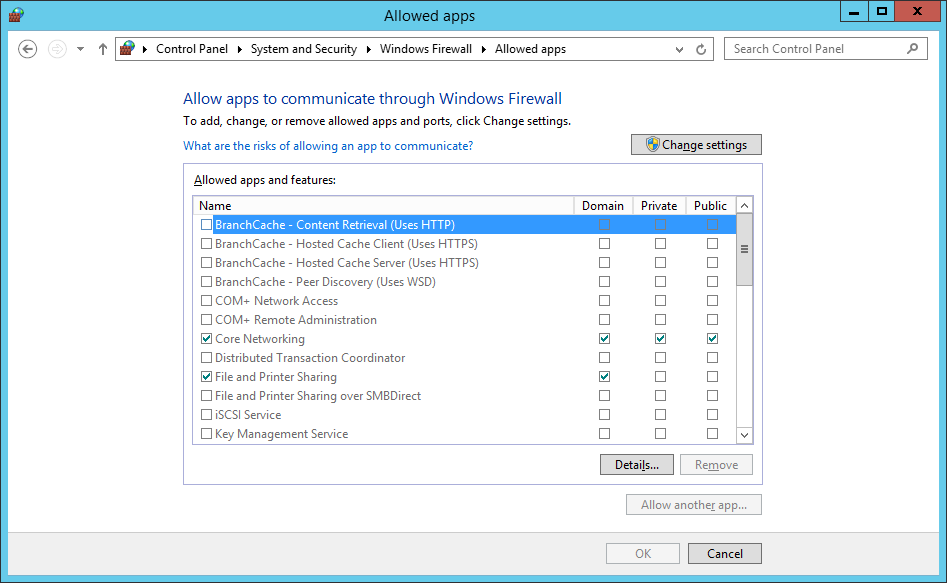
- Click Change Settings
- Check the Domain check box for the Distributed Transaction Coordinator app.
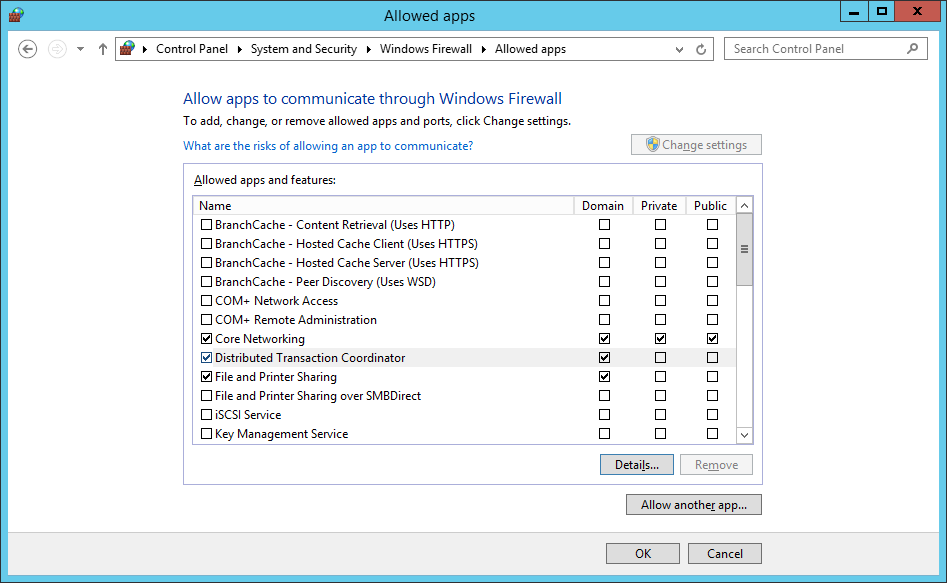
- Click OK.
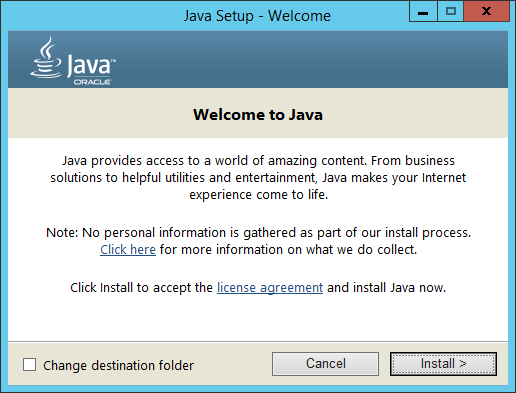
Install and Configure Oracle JRE
For this I have downloaded the latest version of Oracle JAVA 1.8 (jre-8uXX-windows-x64.exe).
- Double-click on the jre-8uXX-windows-x64.exe.
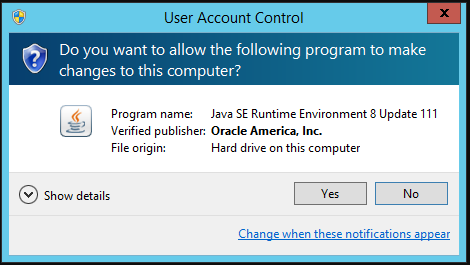
- If prompted with the User Access Control dialog, click Yes.
Note:
In real life, I am a fan of changing the destination folder so that applications are not installed on the C: drive, but for this blog I’ll be using the defaults.
- Click Install.
- Click Close.
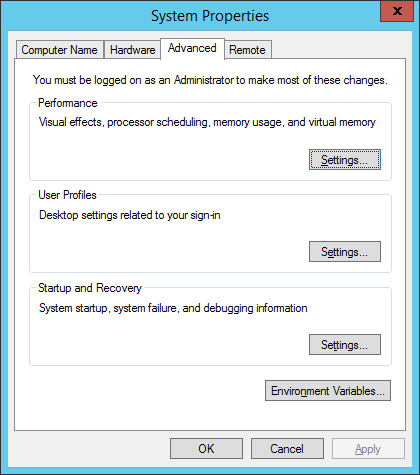
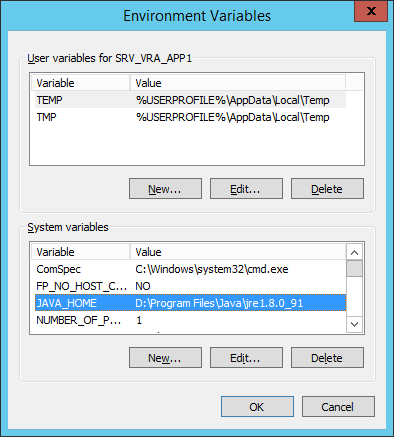
- Navigate to Start, then right click on This PC and select Properties from the context menu.
- At the System screen, click Advanced system settings.
- At the System Properties dialog, click Environment Variables…
- At the Environment Variables dialog, under System variables click New…
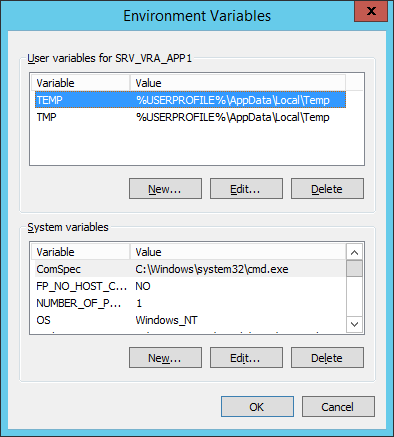
- At the New System Variable dialog, type the following into the text fields:
- Variable name: is
JAVA_HOME - Variable value: is
D:\Program Files\Java\jre1.8.0_XX
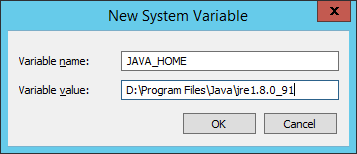
- Click OK.
- Click OK.
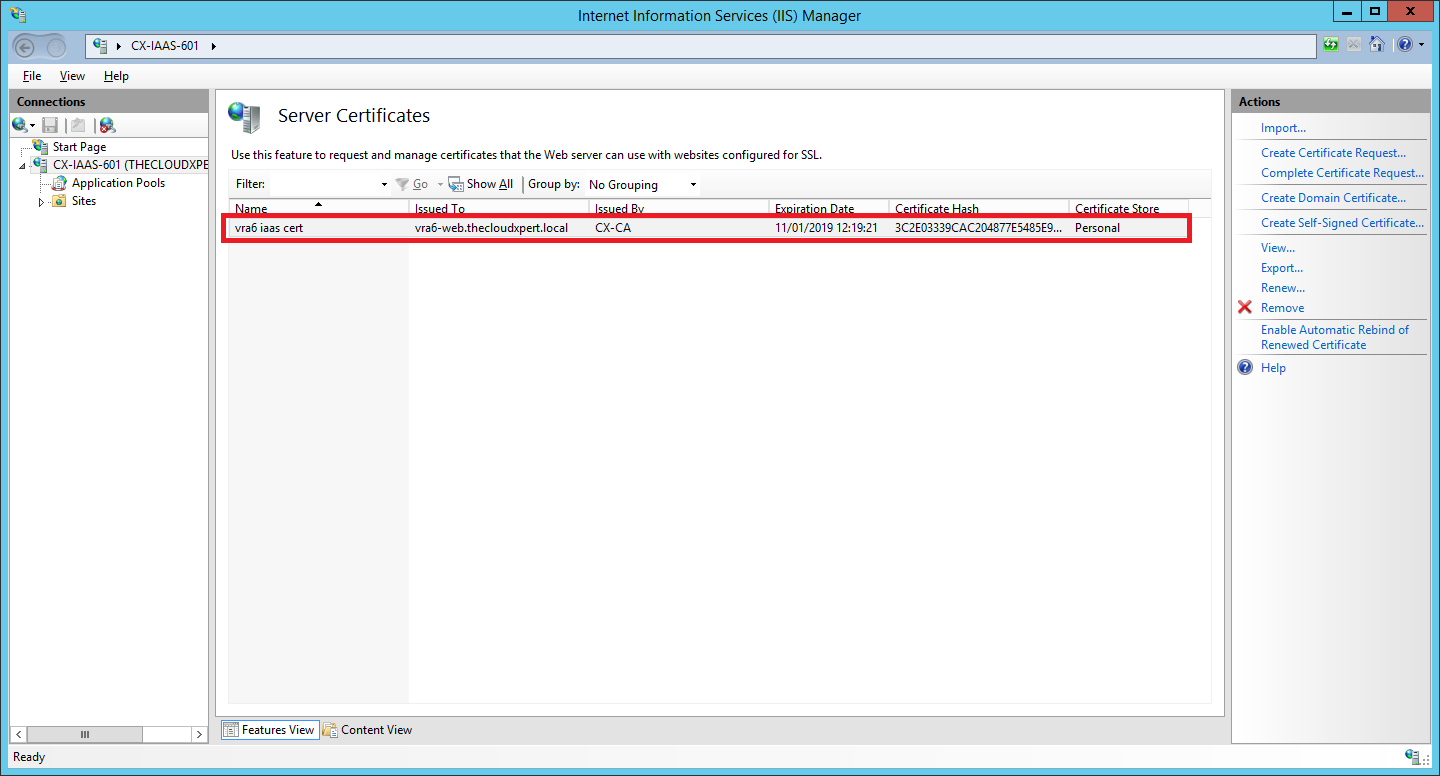
Install the IaaS SSL Certificate
- Navigate to Start > Administrative Tools > Internet Information Services (IIS) Manager.
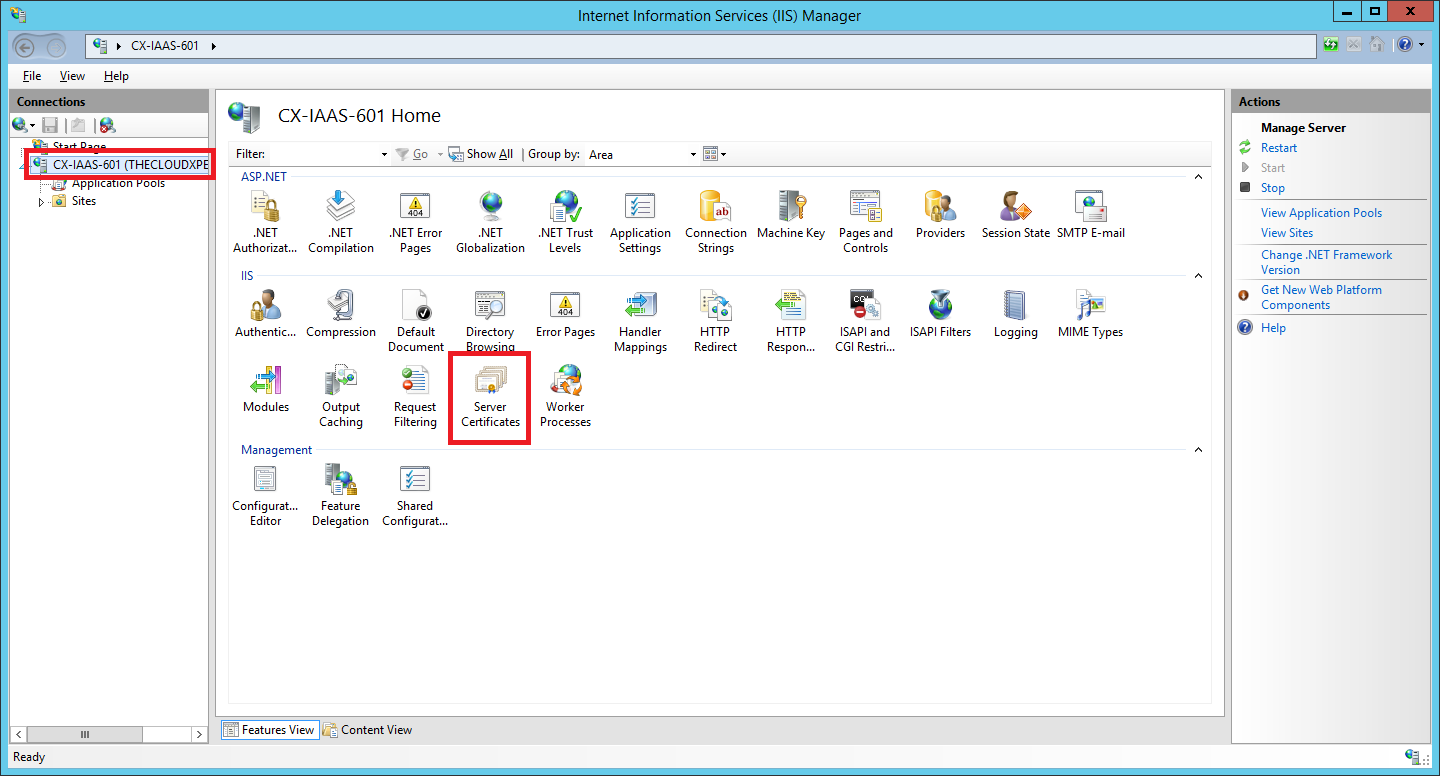
- Select <HOSTNAME> and double click on Server Certificates.
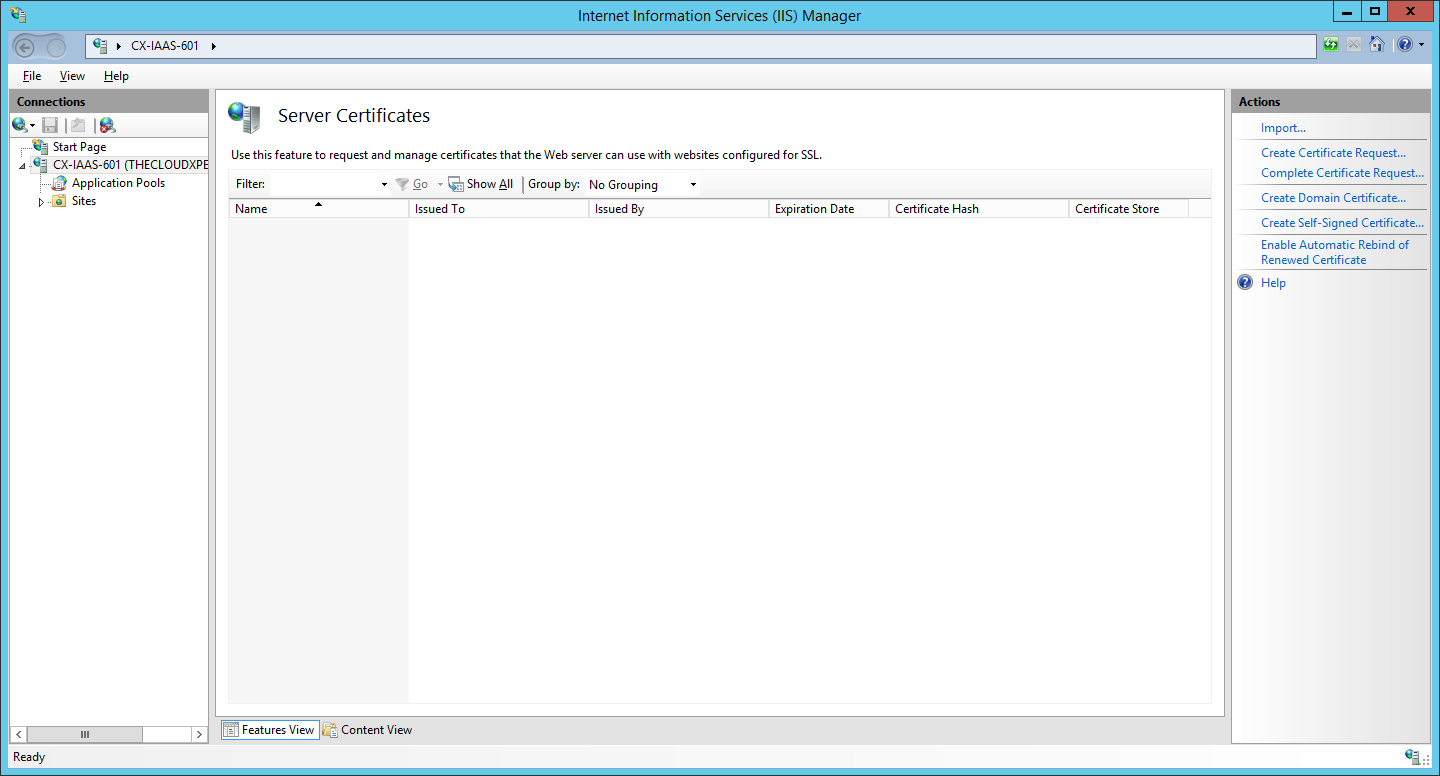
- Click Import from the Actions Menu.
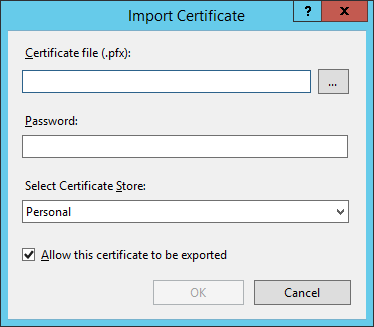
- Enter the location of the pfx version of the SSL certificate for this server into the Certificate file (.pfx) text box (you can click … and search for it), type the export password into the Password textbox.
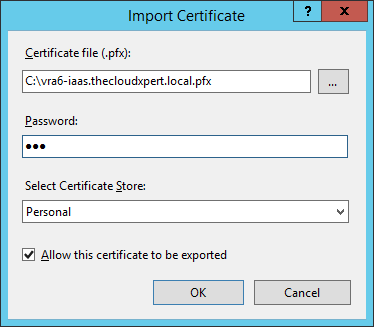
- Click OK.
Published on 11 January 2017 by Christopher Lewis. Words: 1209. Reading Time: 6 mins.
Share this article on:
Related Post(s):
- VCAP6-CMA Deploy - Objective 1.1: Deploy and Manage a vRA Appliance and IaaS Server as Single nodes ()
- HOWTO: Configure the VMware vRealize Automation 6.x Appliance (Minimal Deployment) ()
- HOWTO: Deploy the Identity Appliance for vRealize Automation 6.x ()
- HOWTO: Configure the VMware Identity Appliance for vRealize Automation 6.x ()
- HOWTO: Deploy the VMware vRealize Automation 6.x Appliance (OVA) ()
About the Author:

Name: Christopher Lewis
Twitter/X: thecloudxpert
Role: Domain Expert - VCF Automation & VCF Operations
Company: Broadcom
Recent Posts by Christopher Lewis:
Blog Categories:
active directory 6
aria automation 9
aria operations 2
aws 2
certificate authority 5
certificates 5
certification 91
general 9
home lab 2
microsoft 7
nsx 45
nsx v 41
powercli 8
powershell 6
vcap 48
vcap6 2
vcenter 4
vcf 5
vcix 2
vexpert 9
vmug 5
vmware 99+
vmware aria automation 9
vmware aria operations 5
vmware cloud 3
vmware explore 2
vmware identity manager 2
vmworld 36
vrealize automation 80
vrealize business 2
vrealize operations manager 5
vrealize orchestrator 13
vrealize suite 14
vrealize suite lifecycle manager 20
vsan 5
vsphere 9
windows 6
Top Tags:
active directory 6
api 18
barcelona 24
certificates 11
certification 7
howto 33
microsoft 7
multi tenancy 9
nsx v 43
platform services controller 8
powercli 8
powershell 7
psc 6
vcap 9
vcap6 45
vcap6 cma 48
vcap6 nv 37
vcix6 nv 36
vexpert 19
vmug 8
vmware 99+
vmware aria 12
vmware aria automation 9
vmworld 35
vmworld 2016 13
vmworld 2017 9
vra 13
vrealize automation 74
vrealize operations 8
vrealize orchestrator 21
vrealize suite lifecycle manager 11
vrslcm 20
vsan 7
vsphere 12