VCAP6-CMA Deploy - Objective 2.2: Create/Modify a Business Group
VMware vRealize Automation VCAP6 VCAP6-CMA
Published on 16 January 2017 by Christopher Lewis. Words: 447. Reading Time: 3 mins.
Objective 2.2 - Create/Modify a Business Group
Objective Overview
- Evaluate a deployment plan to determine Business Group and Tenant requirements
- Create a new Business Group
- Modify an existing Business Group
- Apply the three roles defined in a business group (Admin, Support, User)
Objective Prerequisites
The following prerequisites are assumed for this Objective:
- A full deployed vRealize Automation 6.x solution (minimal or distributed).
- At least one Machine Prefix created by the Fabric Administrator.
Objective Breakdown
Evaluate a deployment plan to determine Business Group and Tenant requirements
Both Tenants and Business Groups can be used to segment an organisation within a VMware vRealize Automation Deployment.
Create a new Business Group
- Navigate to the VMware vRealize Automation Tenant Portal (
https://vra.fqdn/vcac/org/<tenant>)
- Type the credentials for the Tenant Administrator and click Login.
- Click Infrastructure.

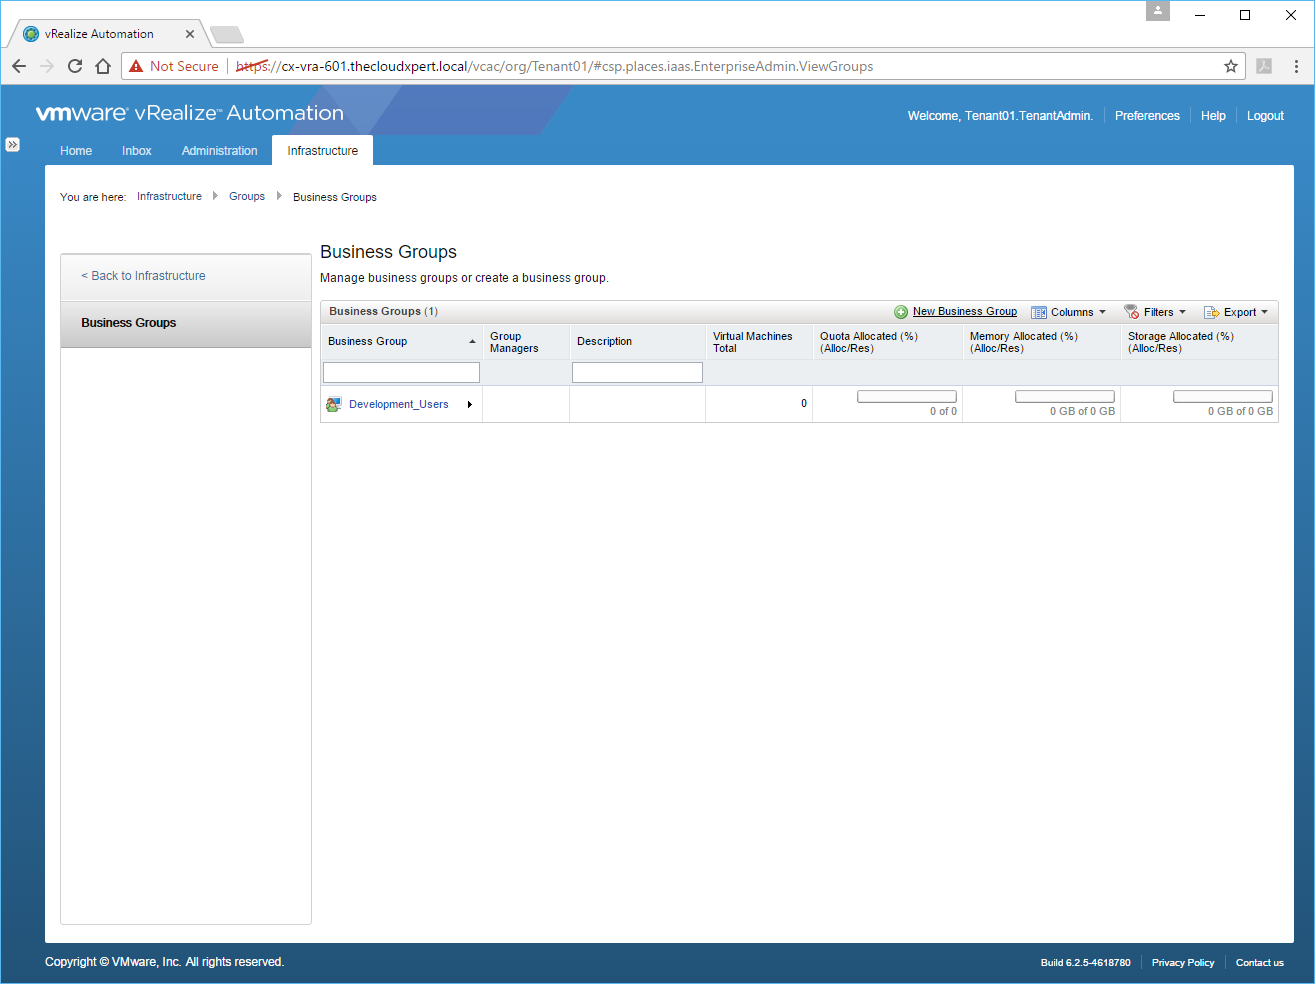
- Click Groups > Business Groups.
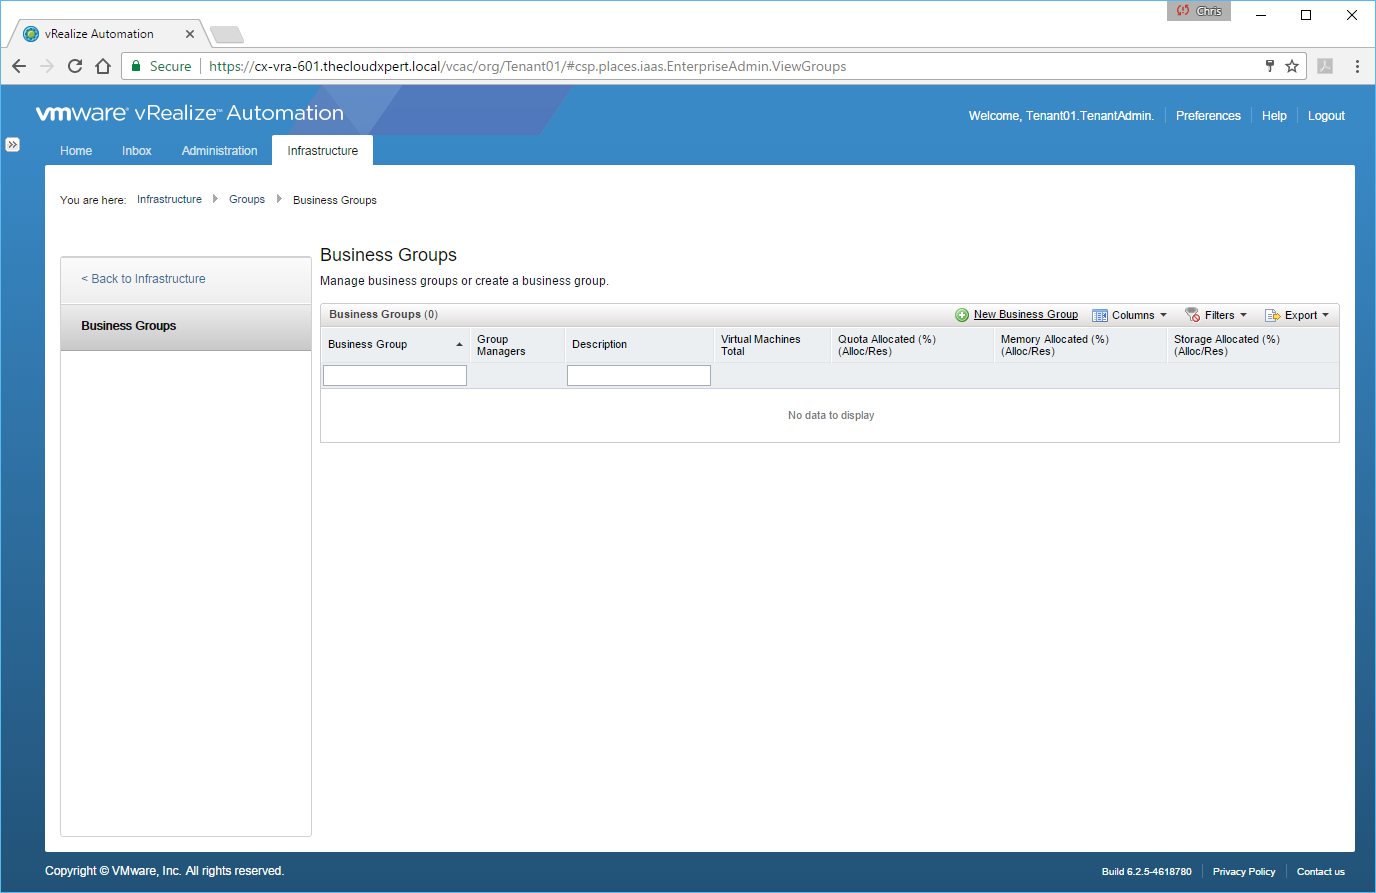
- Click New Business Group.
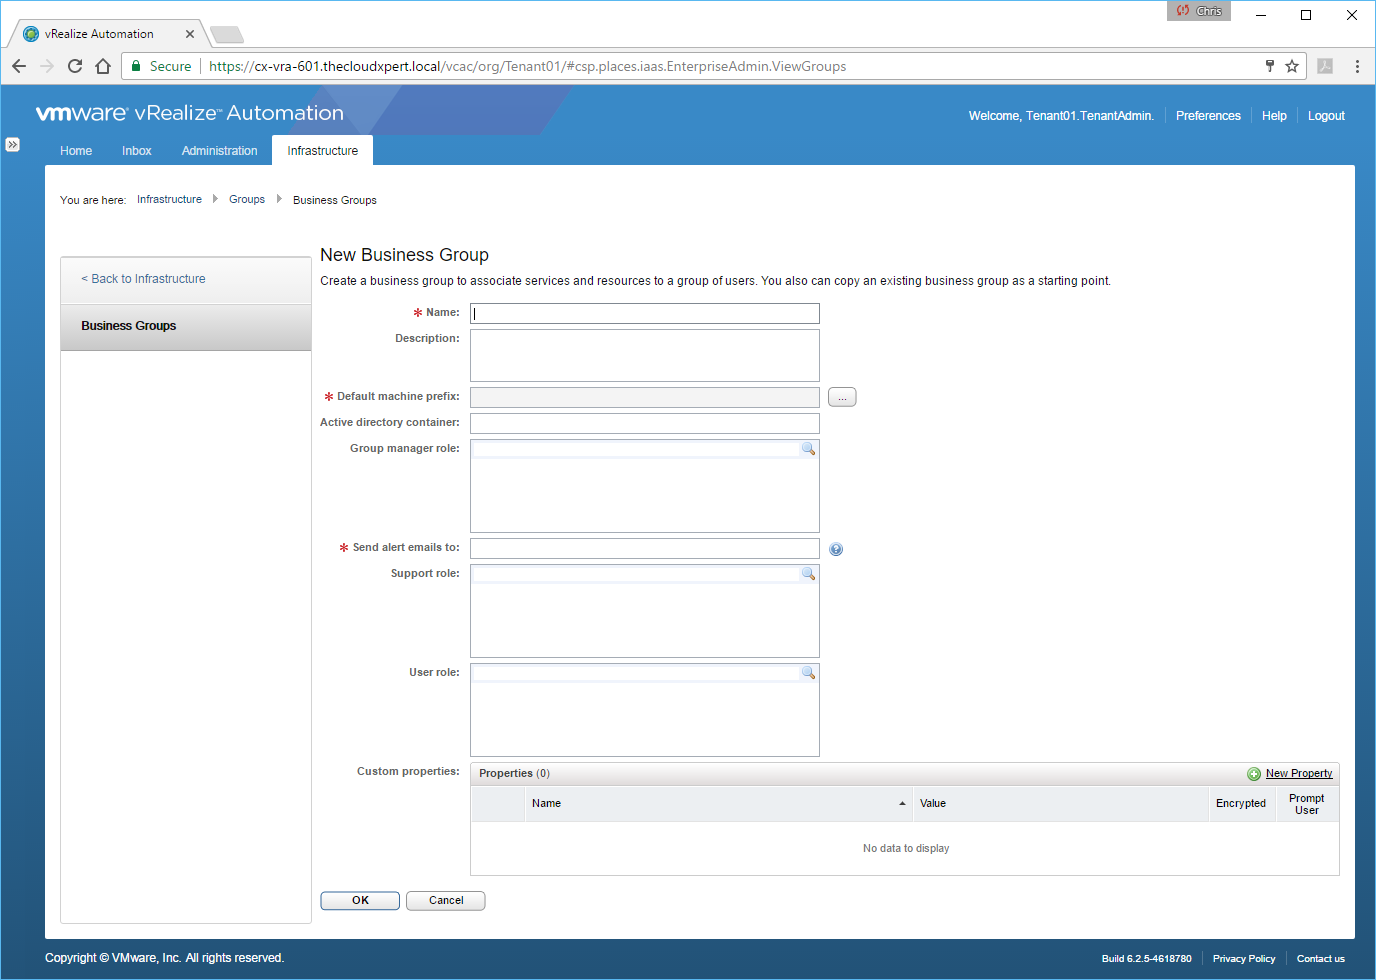
- Enter the following information mandatory information:
- The name of the business group into the Name text box.
- Select a Default Machine prefix by clicking ….
- Enter an email address into the Send alert emails to: text box.
- Click OK.
- Click Logout
Modify an existing Business Group
To modify an existing Business Group, you must be a Tenant Administrator or a Business Group Manager (assuming the Business Group Manager role has been assigned to the Business Group).
In this example, I’m going to Modify the previously created Development_Users Business Group to add the Business Group Manager, Support User and Business User roles.
- Navigate to the VMware vRealize Automation Tenant Portal (
https://vra.fqdn/vcac/org/
)
- Enter the credentials for the Tenant Administrator and click Login.
- Click Infrastructure.
- Click Groups > Business Groups.
- Click on the Business Group that you want to modify.

- Complete the following:
- At the Group Manager Role text box, enter/search for the AD User, AD Group or Custom Group for Business Group Manager (as required).
- At the Support Role text box, enter/search for the AD or Custom Group assigned to the Support User role.
- At the User Role text box, enter/search for the AD or Custom Group assigned to the Business User role.
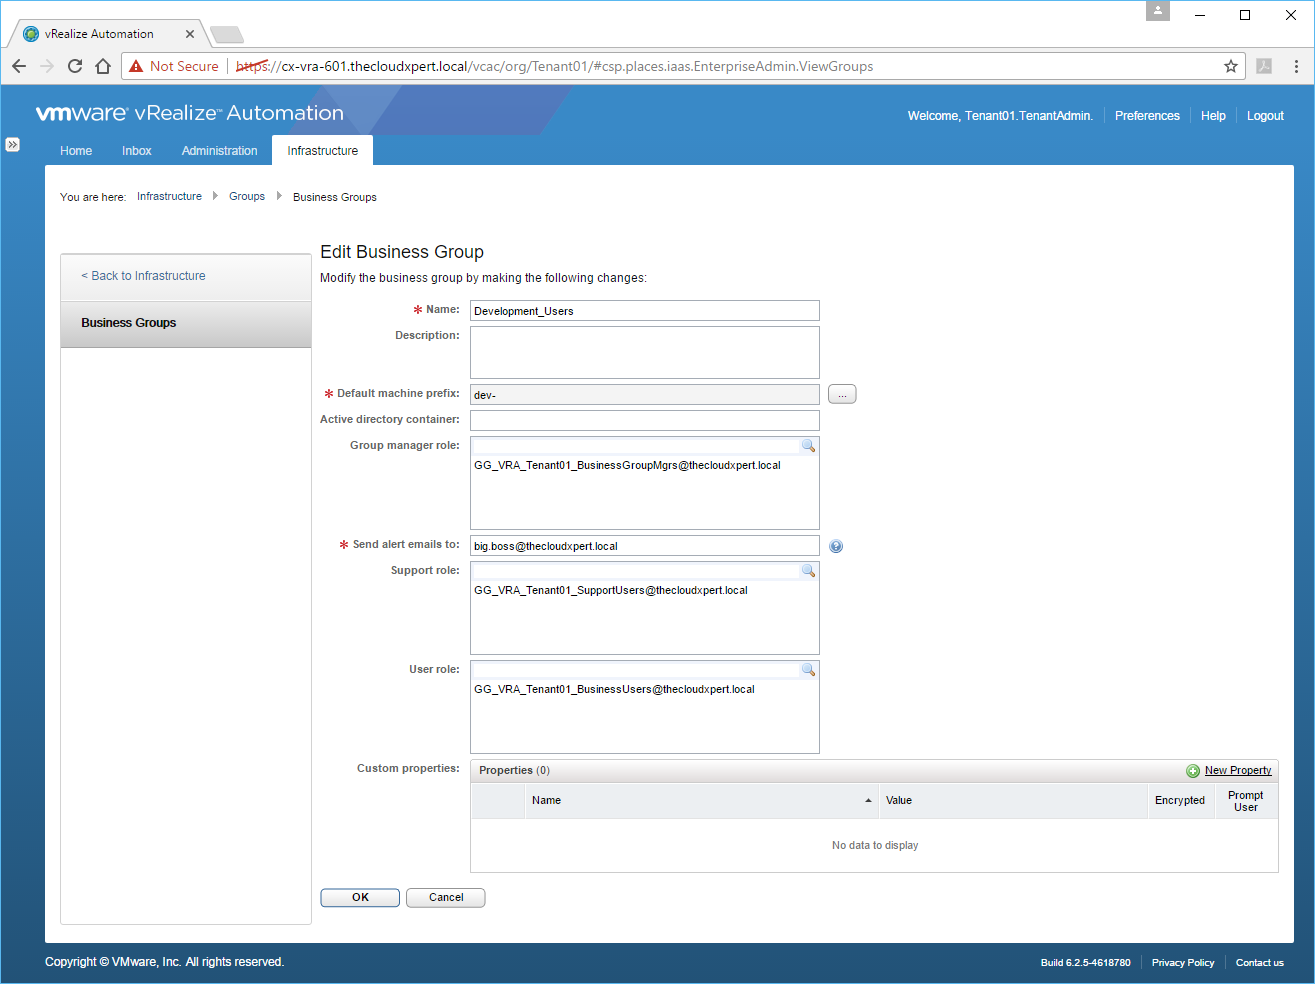
- Click OK.
Apply the three roles defined in a business group (Admin, Support, User)
I believe this is already covered in the Modify a Business Group section.
Published on 16 January 2017 by Christopher Lewis. Words: 447. Reading Time: 3 mins.
- VCAP6-CMA Deploy - Objective 1.4: Configure Infrastructure/Cloud-based Endpoints ()
- HOWTO: Create a vSphere Endpoint in VMware vRealize Automation 6.x ()
- VCAP6-CMA Deploy - Objective 2.1: Configure Tenant Properties ()
- HOWTO: Install the VMware vRealize Automation 6.x IaaS Components (Simple Install) ()
- HOWTO: Install the VMware vRealize Automation 6.x IaaS Prerequisites ()
