VCAP6-NV Deploy - Objective 3.3 - Configure and Manage Additional VMware NSX Edge Services
VMware NSX-V VCAP6-NV VCIX6-NV HOWTO
Published on 2 August 2017 by Christopher Lewis. Words: 1194. Reading Time: 6 mins.
Objective 3.3 - Configure and Manage Additional VMware NSX Edge Services
Objective Overview
- Configure DHCP services according to a deployment plan:
- Create/edit a DHCP IP Pool
- Create/edit DHCP Static Binding
- Configure DHCP relay
- Configure DNS services
- Configure NAT services to provide access to services running on privately addressed virtual machines
Objective Prerequisites
The following prerequisites are assumed for this Objective:
- A working VMware vSphere 6.x environment.
- A working VMware NSX 6.x environment.
Objective Breakdown
Enabling DHCP
- Using your favourite web browser, navigate to the vCenter Server login page (
https://vcenter.fqdn).
- Type the administrator User name and Password and click Login.
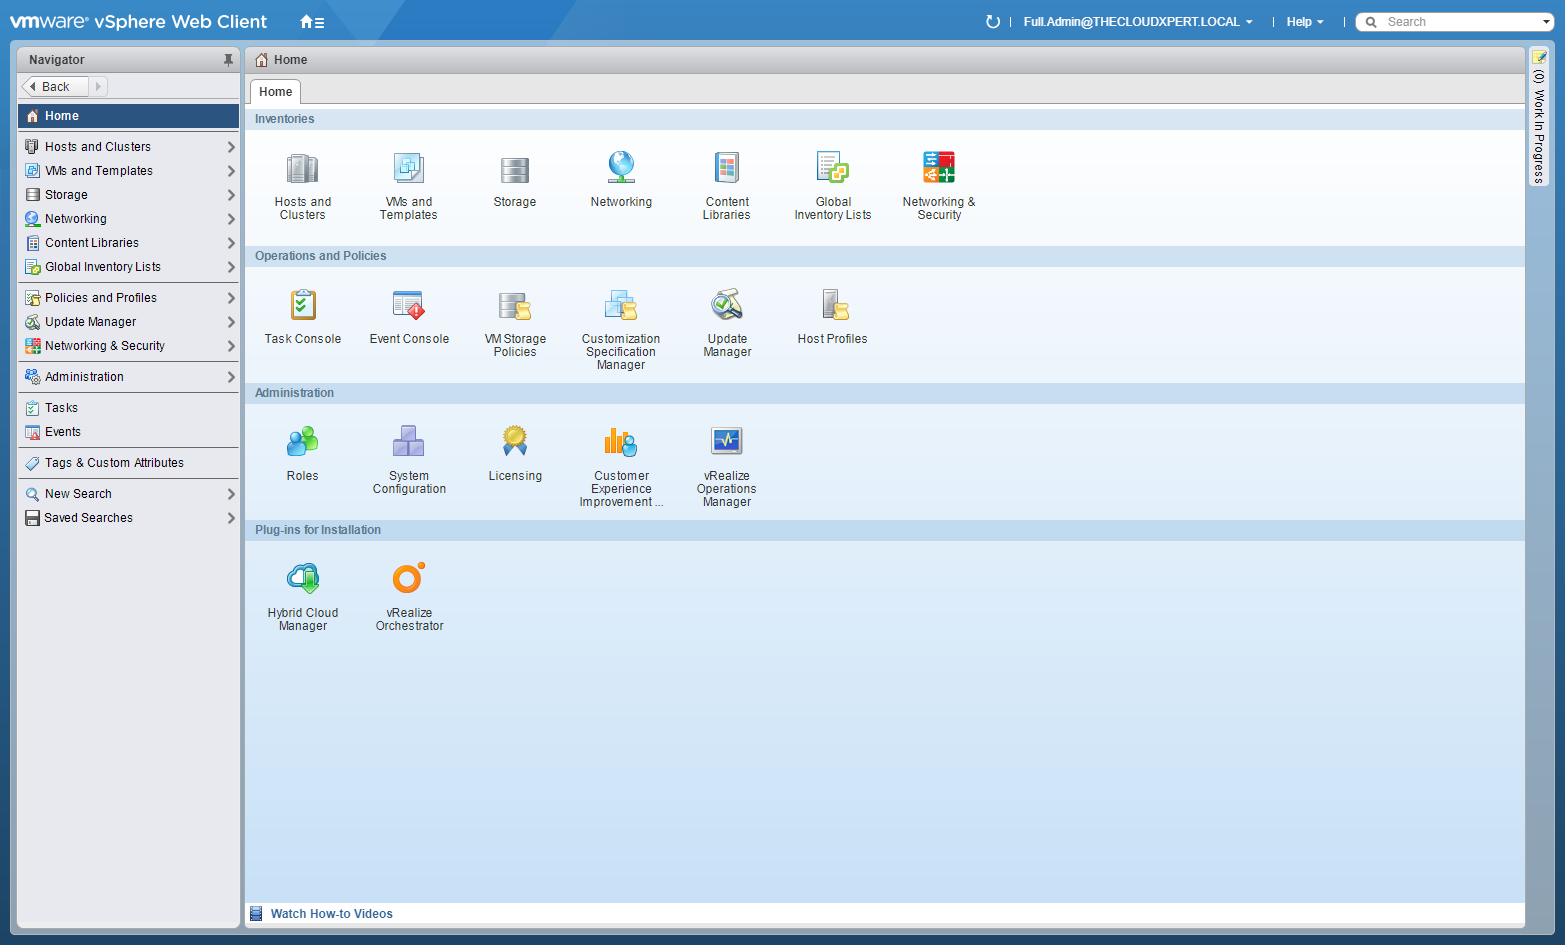
- Click Networking and Security.
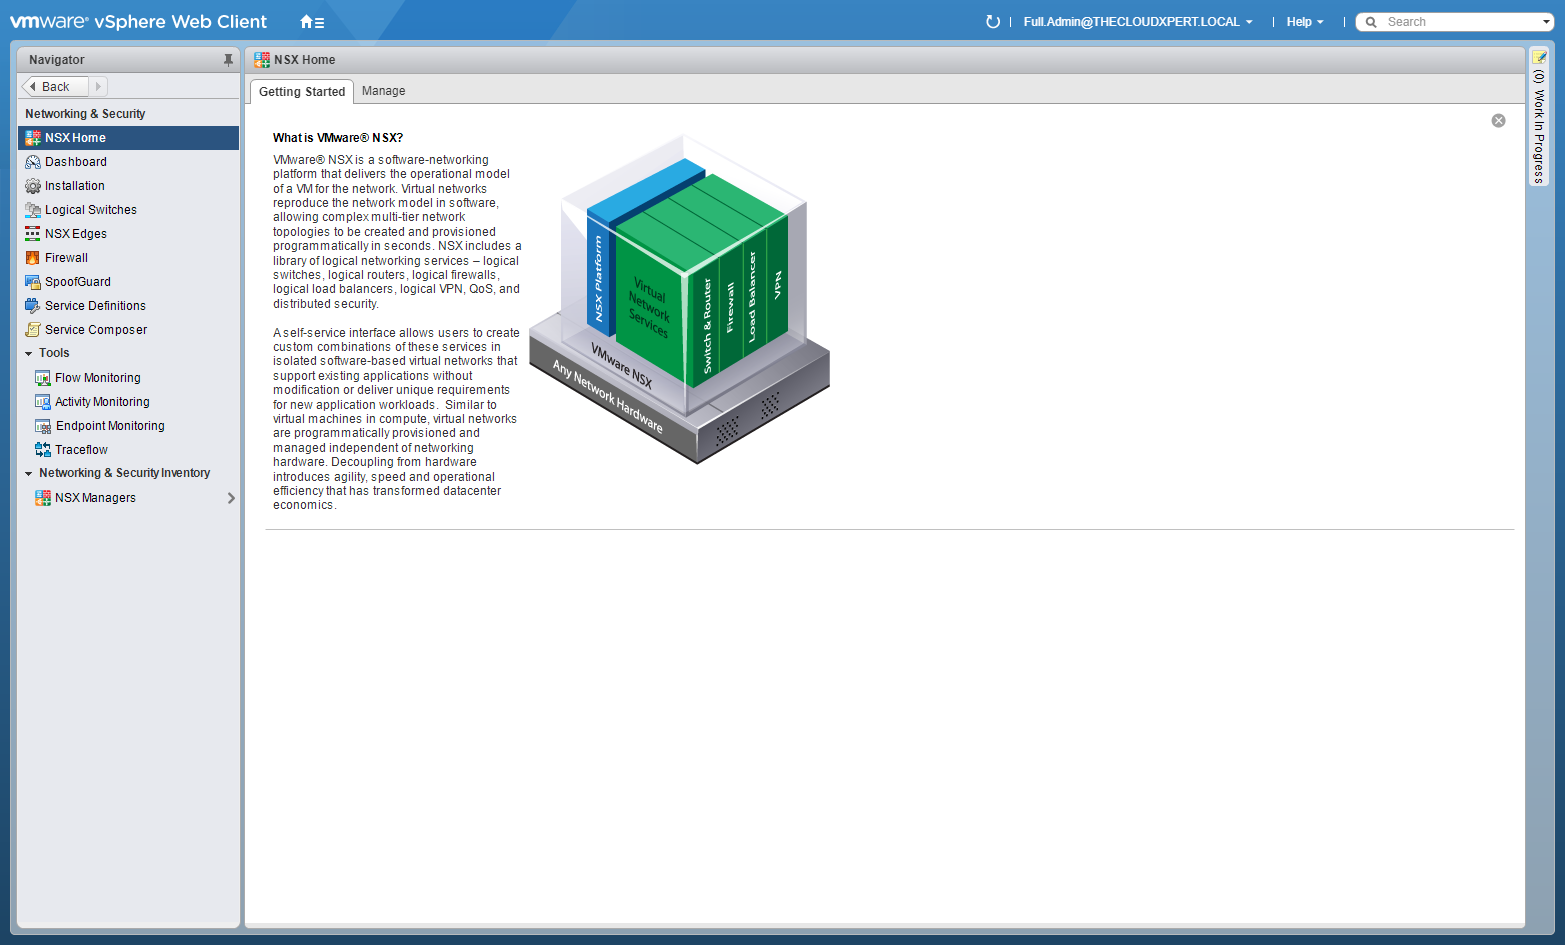
- Click NSX Edges.

- Double-Click on the target Edge Services Gateway (ESG).

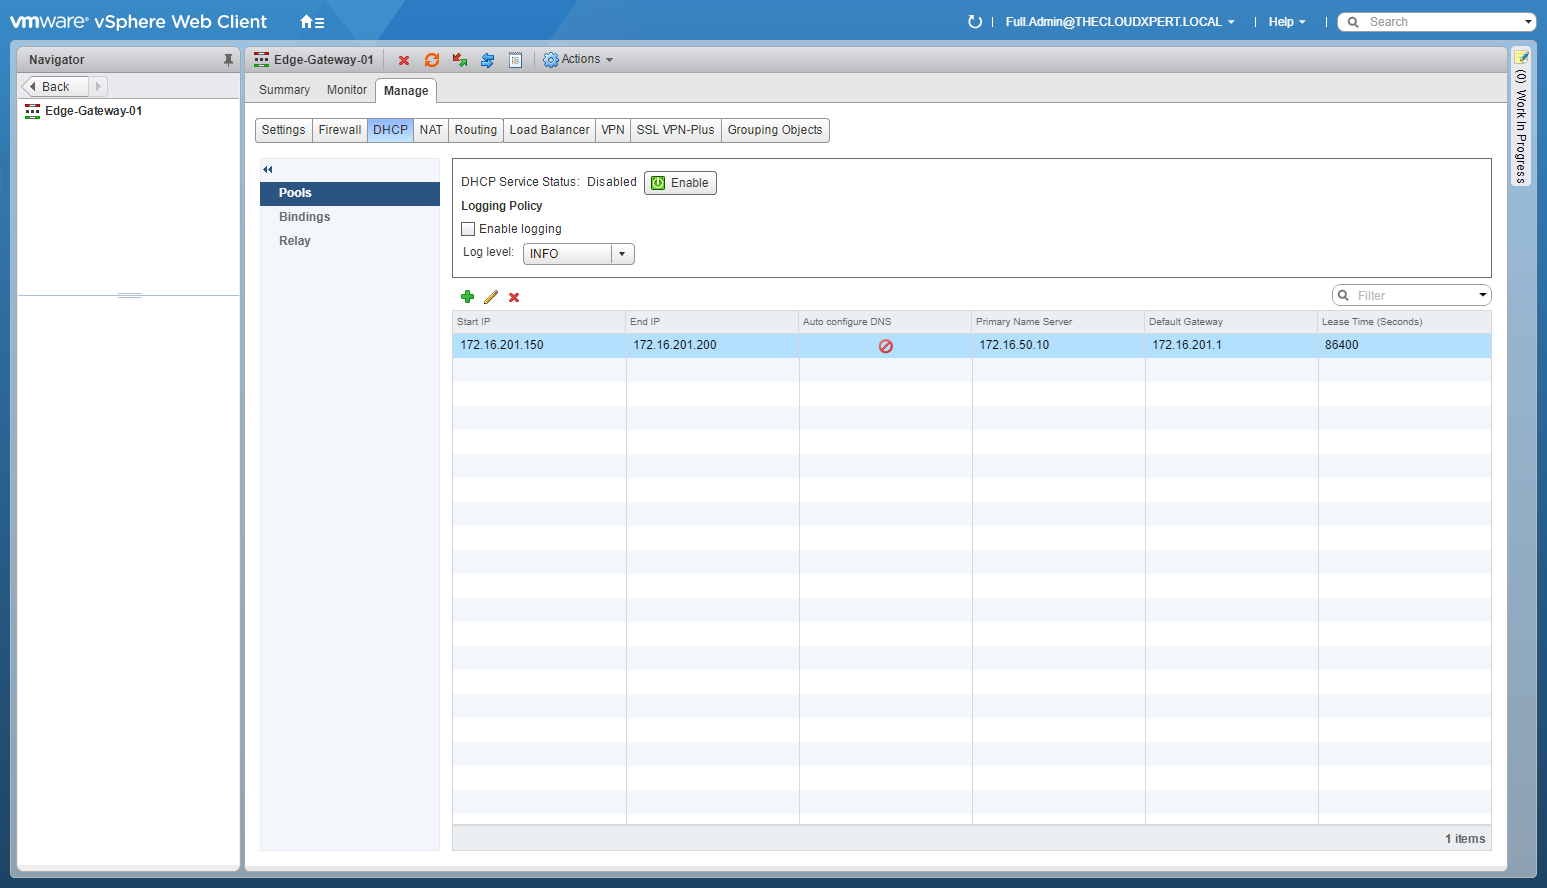
- Select the Manage tab (if not automatically selected), then click DHCP, and select Pools.
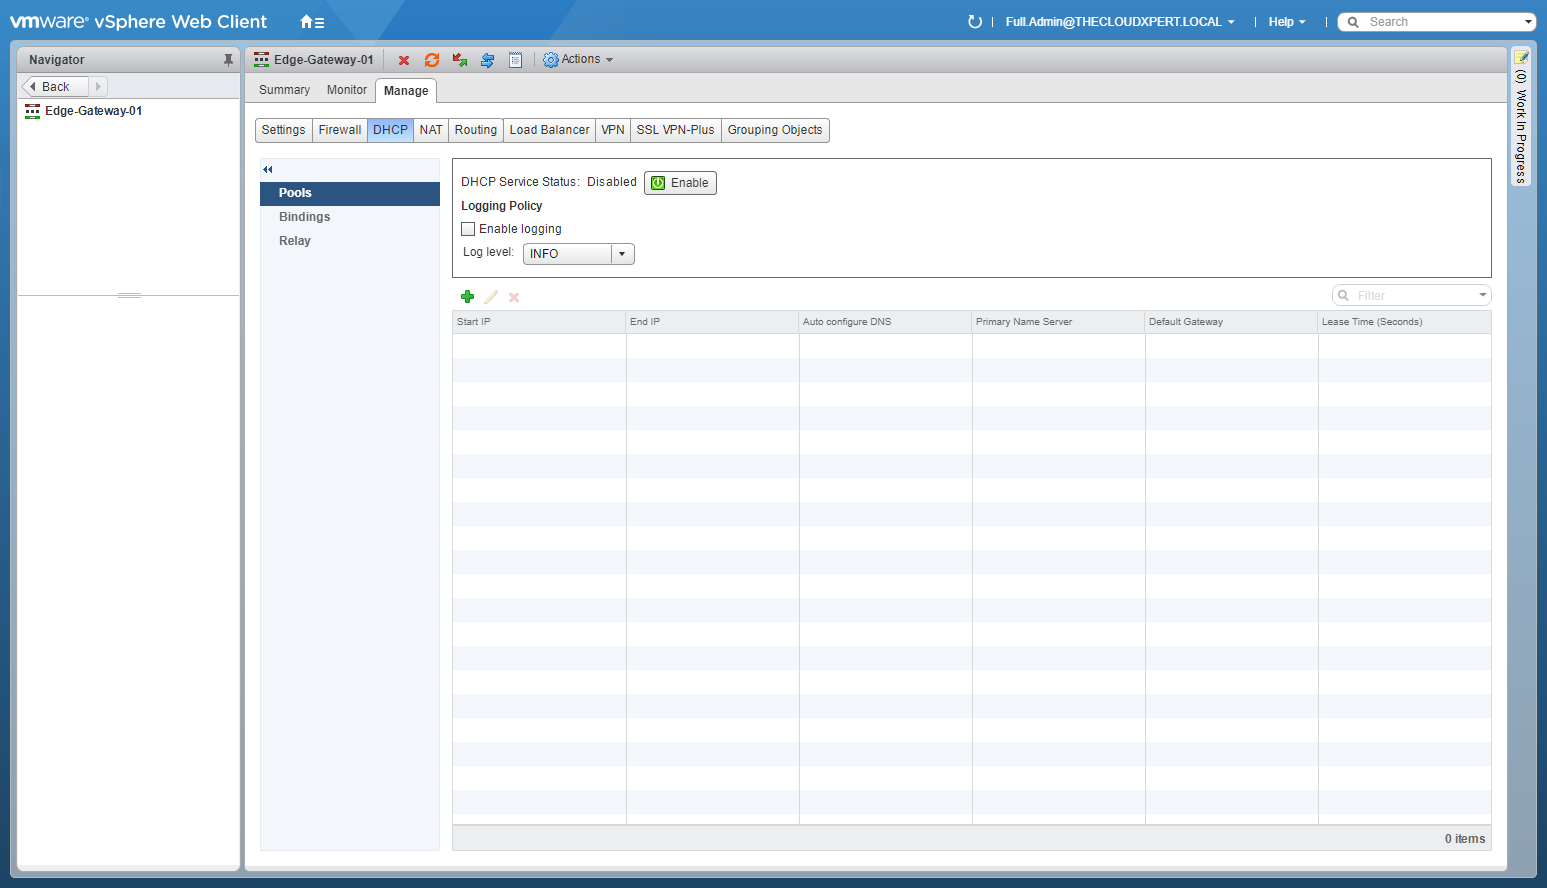
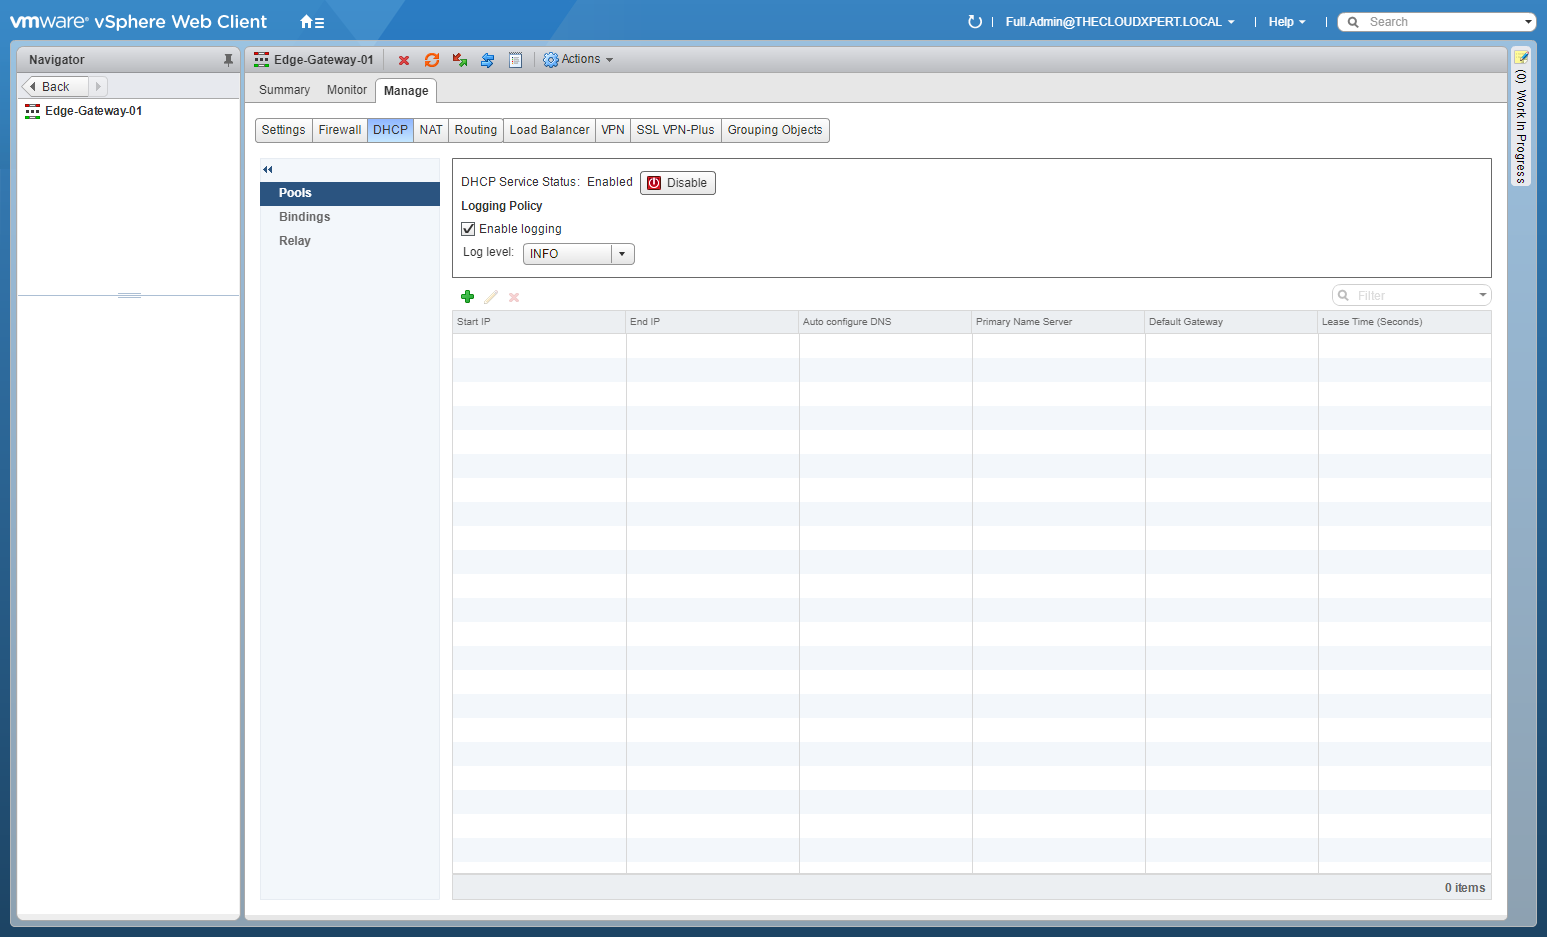
- At DHCP Server Status, click Enable.
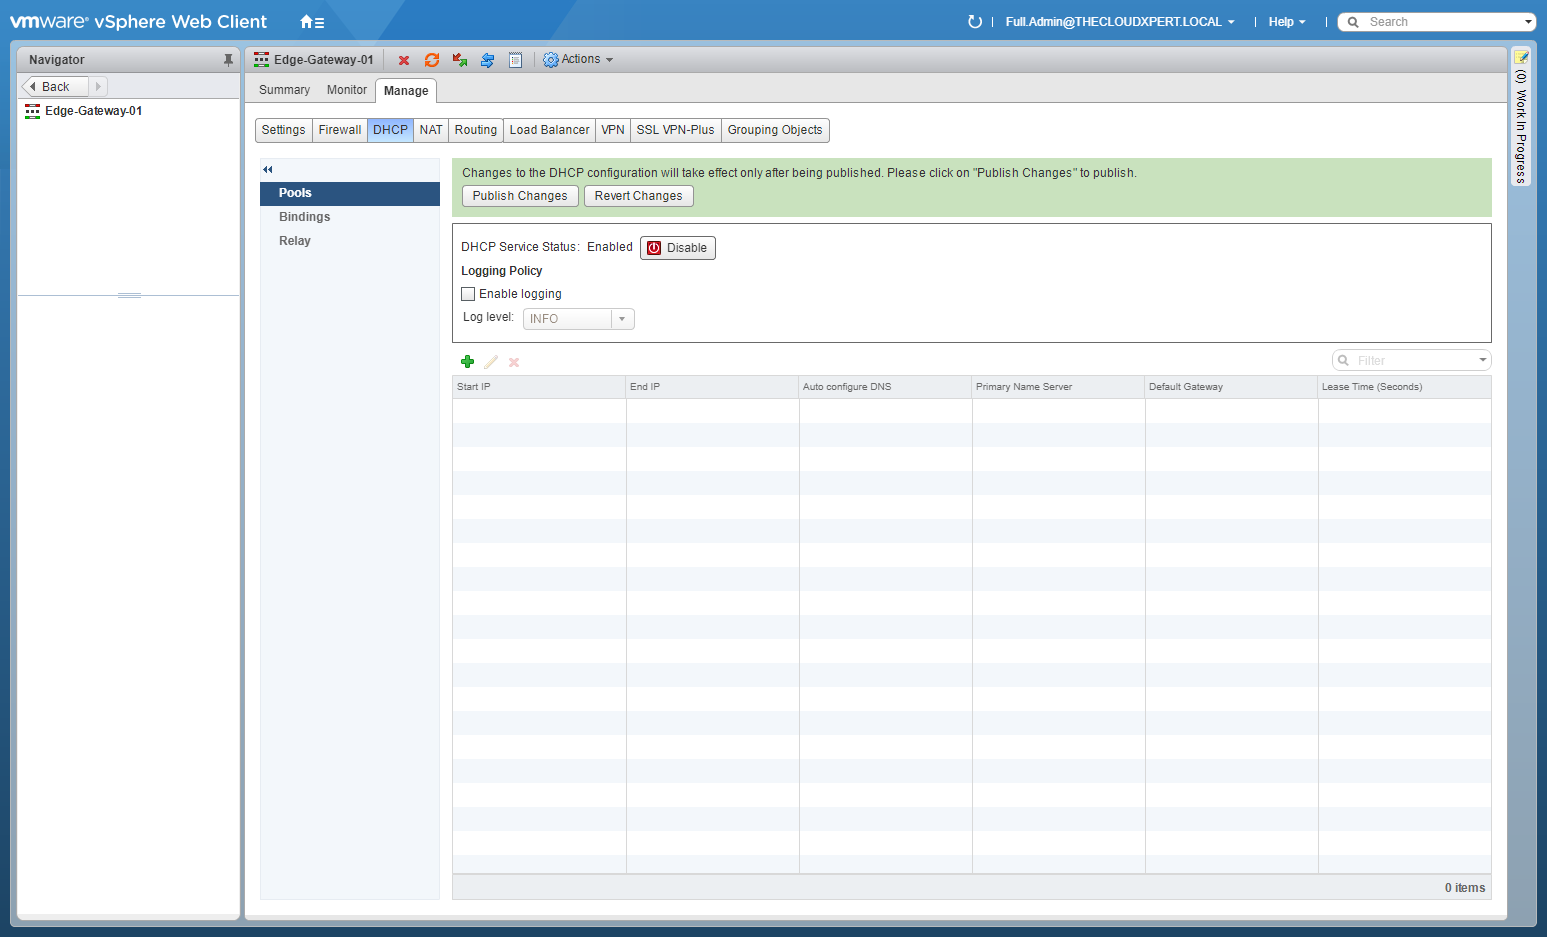
- (optional) Check the Enable Logging checkbox and select a Log level (dropdown).

- Click Publish Changes.
Configure DHCP services according to a deployment plan: Create/Edit DHCP IP Pool
In this example, we will create a new DHCP pool. Editing a DHCP should be self explanatory after you have created one.
Remember You must restart the DHCP service on client virtual machines in the following situations:
- You changed or deleted a DHCP pool, default gateway, or DNS server.
- You changed the internal IP address of the NSX Edge instance.
- Using your favourite web browser, navigate to the vCenter Server login page (
https://vcenter.fqdn).
- Type the administrator User name and Password and click Login.
- Click Networking and Security.
- Click NSX Edges.
- Double-Click on the target Edge Services Gateway (ESG).
- Select the Manage tab (if not automatically selected), then click DHCP, and select Pools.
- Click Add(+).
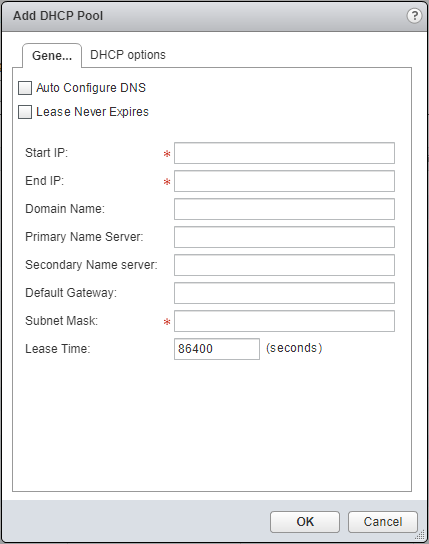
- Type values for the Start IP, the End IP and Subnet Mask. (Optionally) Type values for the Domain Name, the Primary Name Server, the Secondary Name Server, the Default Gateway and the Lease Time.
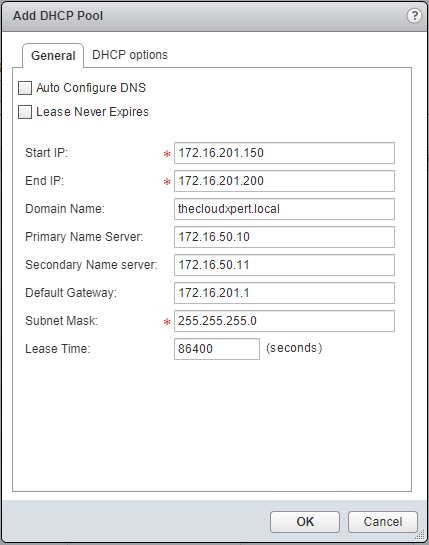
- (Optionally) click DHCP Options to add/change the scope options.
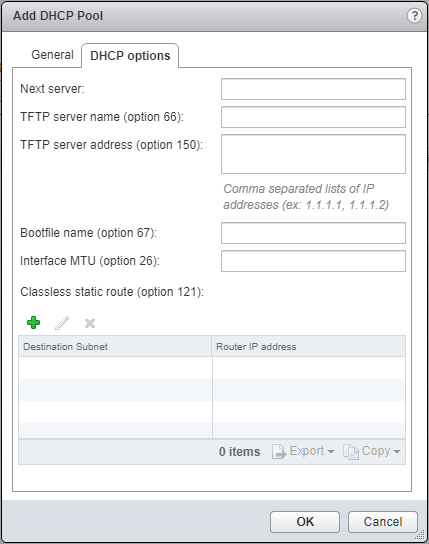
- Click OK.

- Click Publish Changes.
Configure DHCP services according to a deployment plan: Create/Edit DHCP Static Binding
If you have services running on a virtual machine and do not want the IP address to be changed, you can bind an IP address to the MAC address of a virtual machine. The IP address you bind must not overlap an IP pool.
- Using your favourite web browser, navigate to the vCenter Server login page (
https://vcenter.fqdn).
- Type the administrator User name and Password and click Login.
- Click Networking and Security.
- Click NSX Edges.
- Double-Click on the target Edge Services Gateway (ESG).
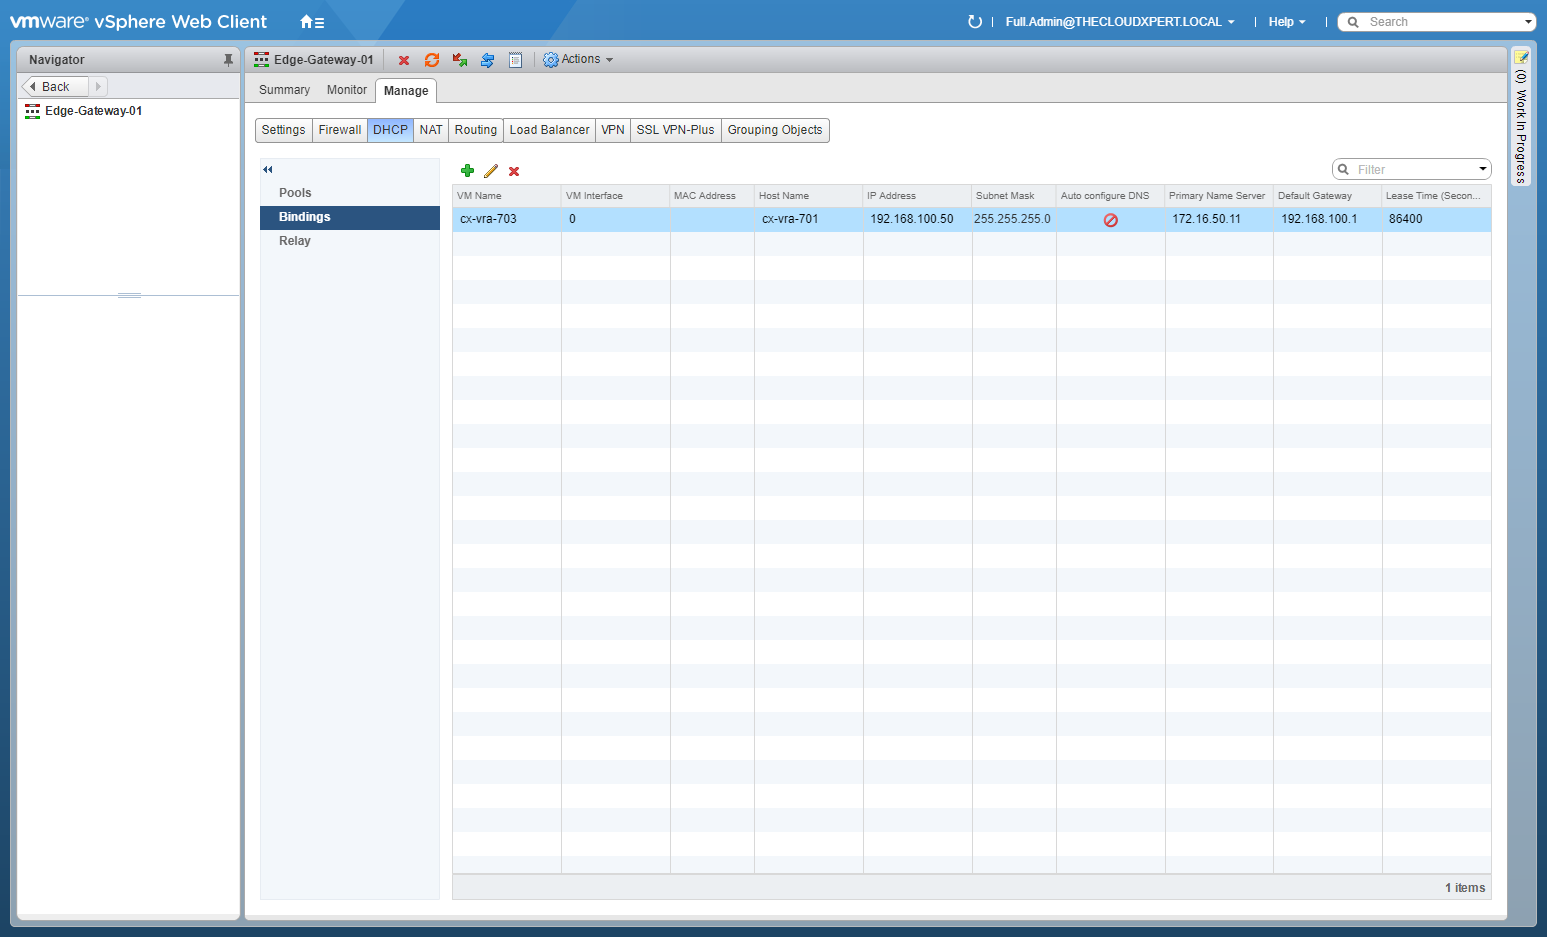
- Select the Manage tab (if not automatically selected), then click DHCP, and select Bindings.
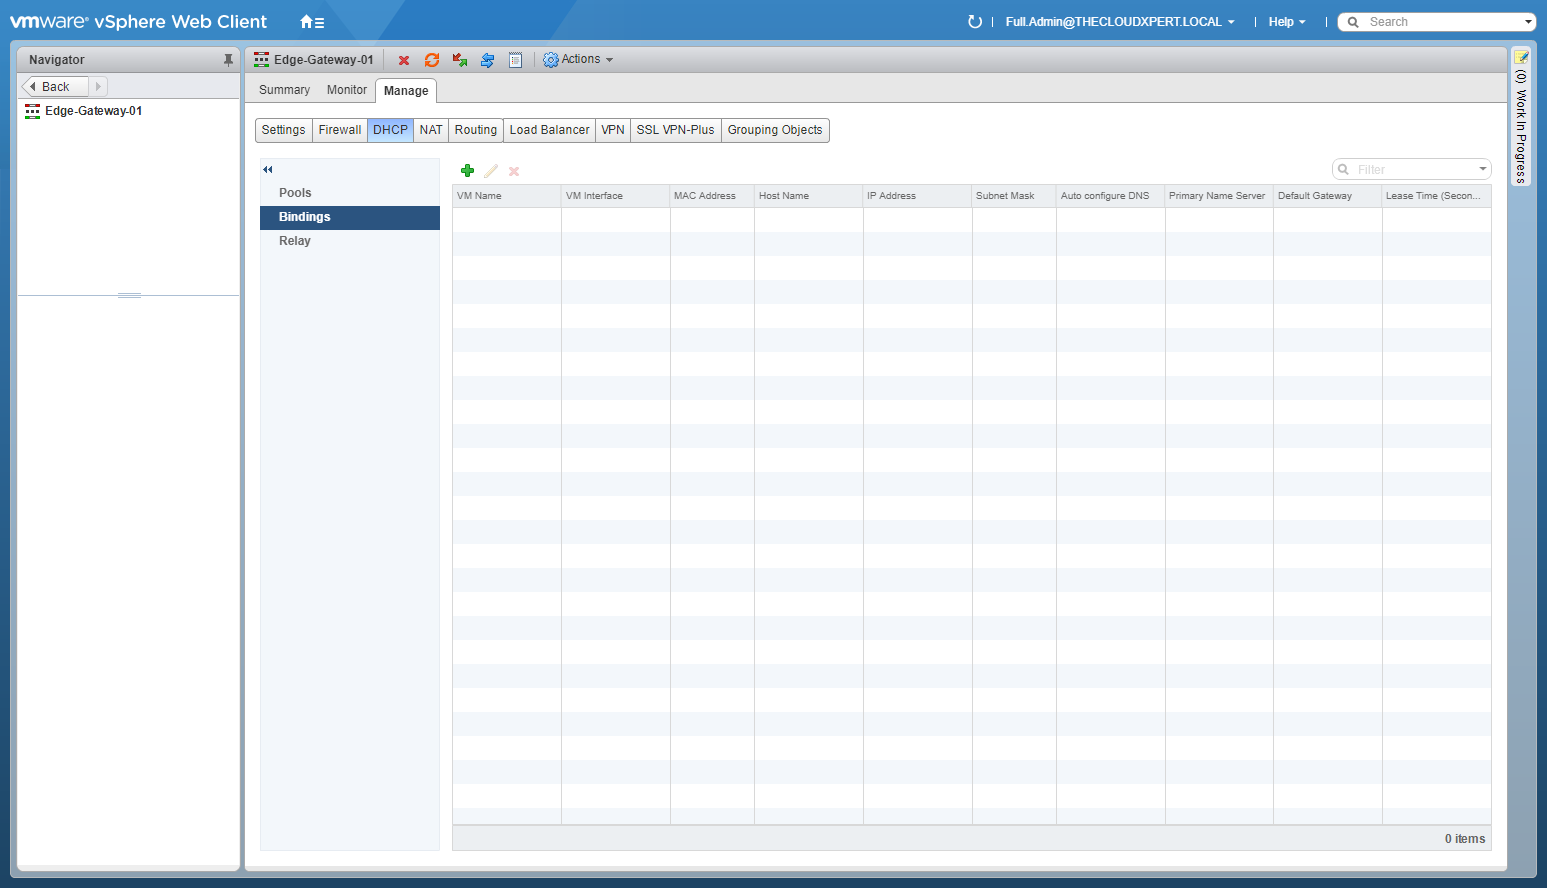
- Click Add(+).
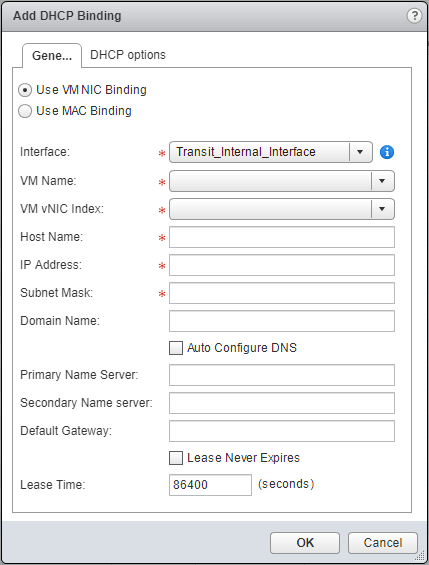
- Select the Use VMNIC Binding option, then enter Interface, VM Name and VM vNIC Interface from the dropdowns. Type the Host Name, IP Address and Subnet Mask.
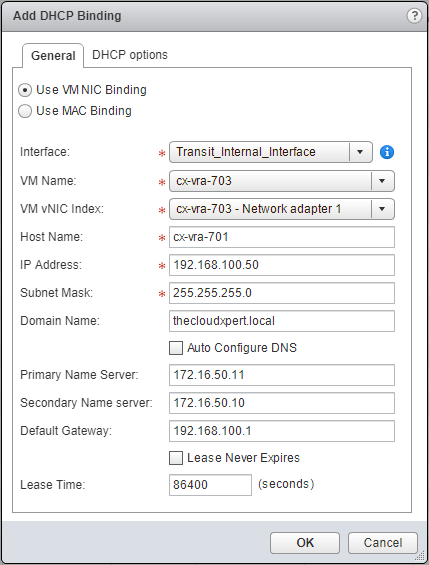
- Click DHCP Options.
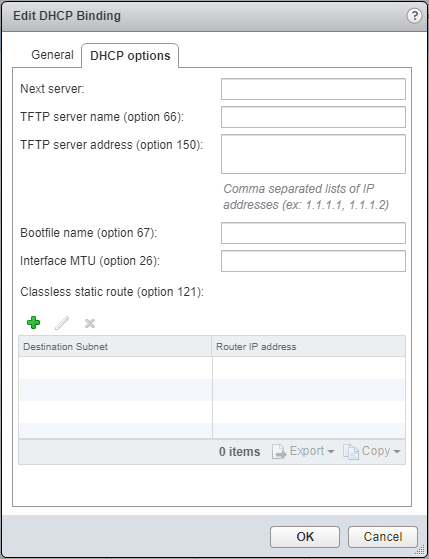
- Click OK.
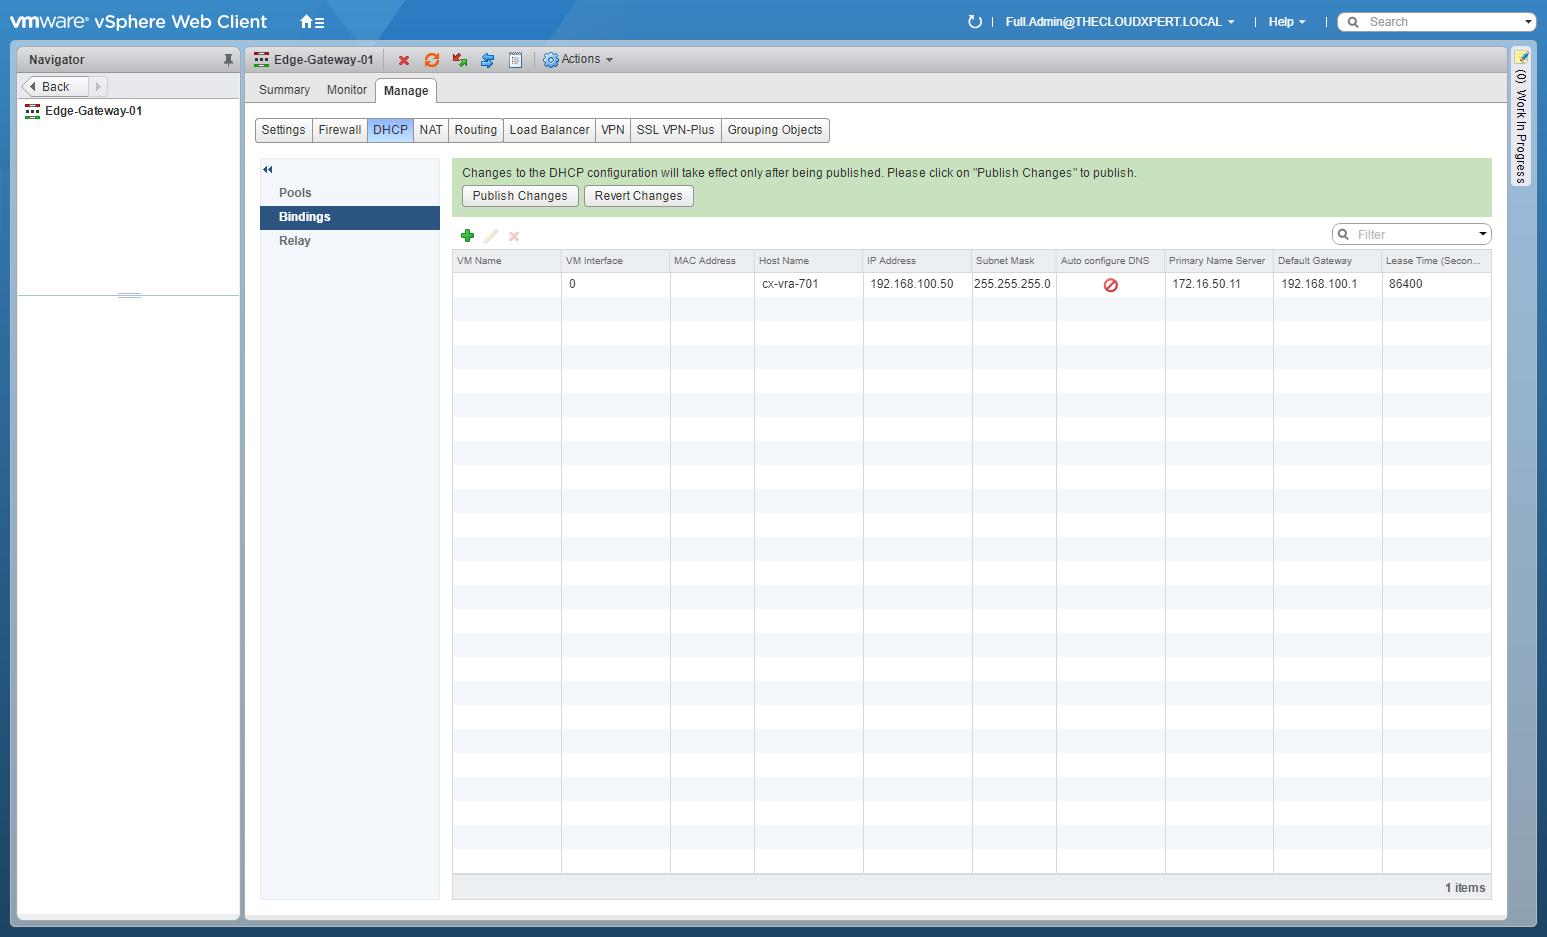
- Complete any additional Bindings/changes. then click Publish Changes.
Configure DHCP services according to a deployment plan: Configure DHCP DHCP Relay
- Using your favourite web browser, navigate to the vCenter Server login page (
https://vcenter.fqdn).
- Type the administrator User name and Password and click Login.
- Click Networking and Security.
- Click NSX Edges.
- Double-Click on the target Edge Services Gateway (ESG).
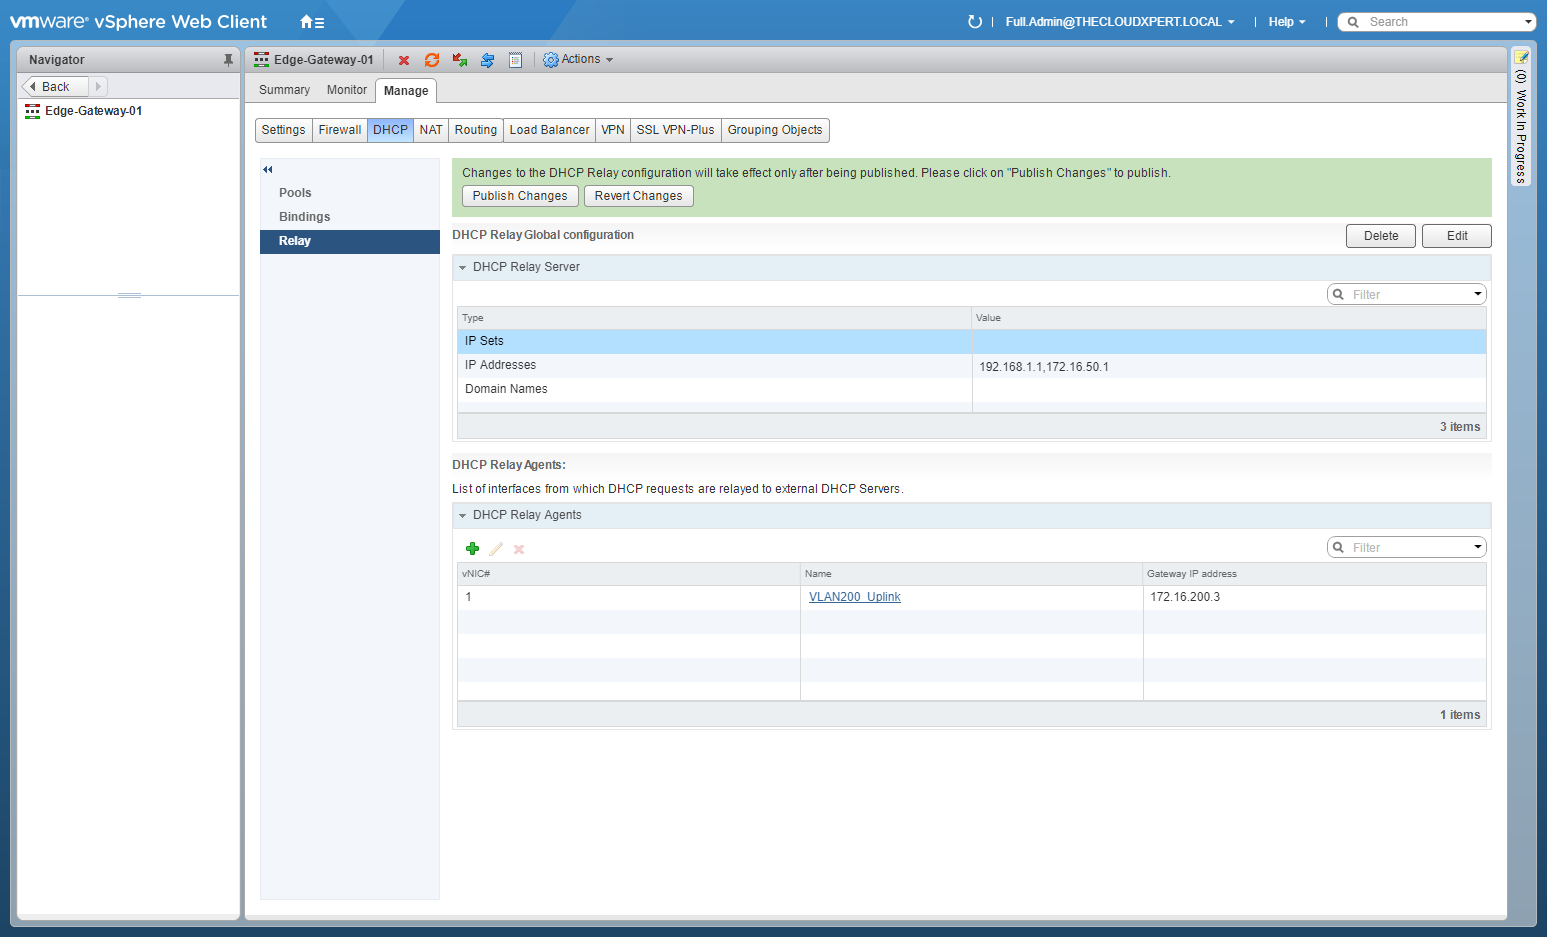
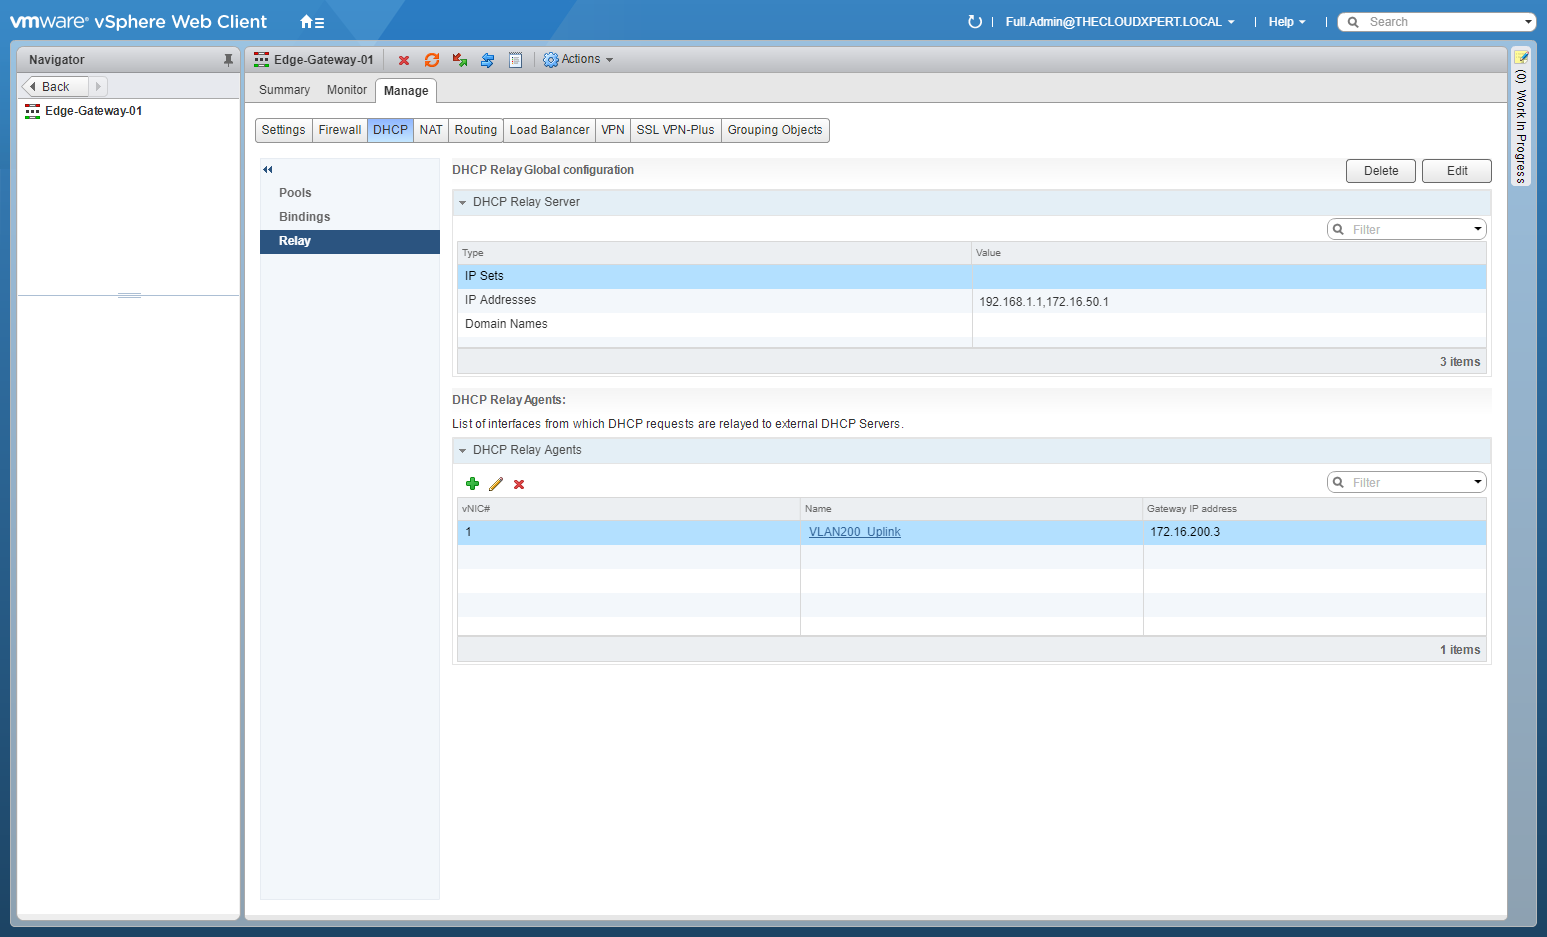
- Select the Manage tab (if not automatically selected), then click DHCP, and select Relay.
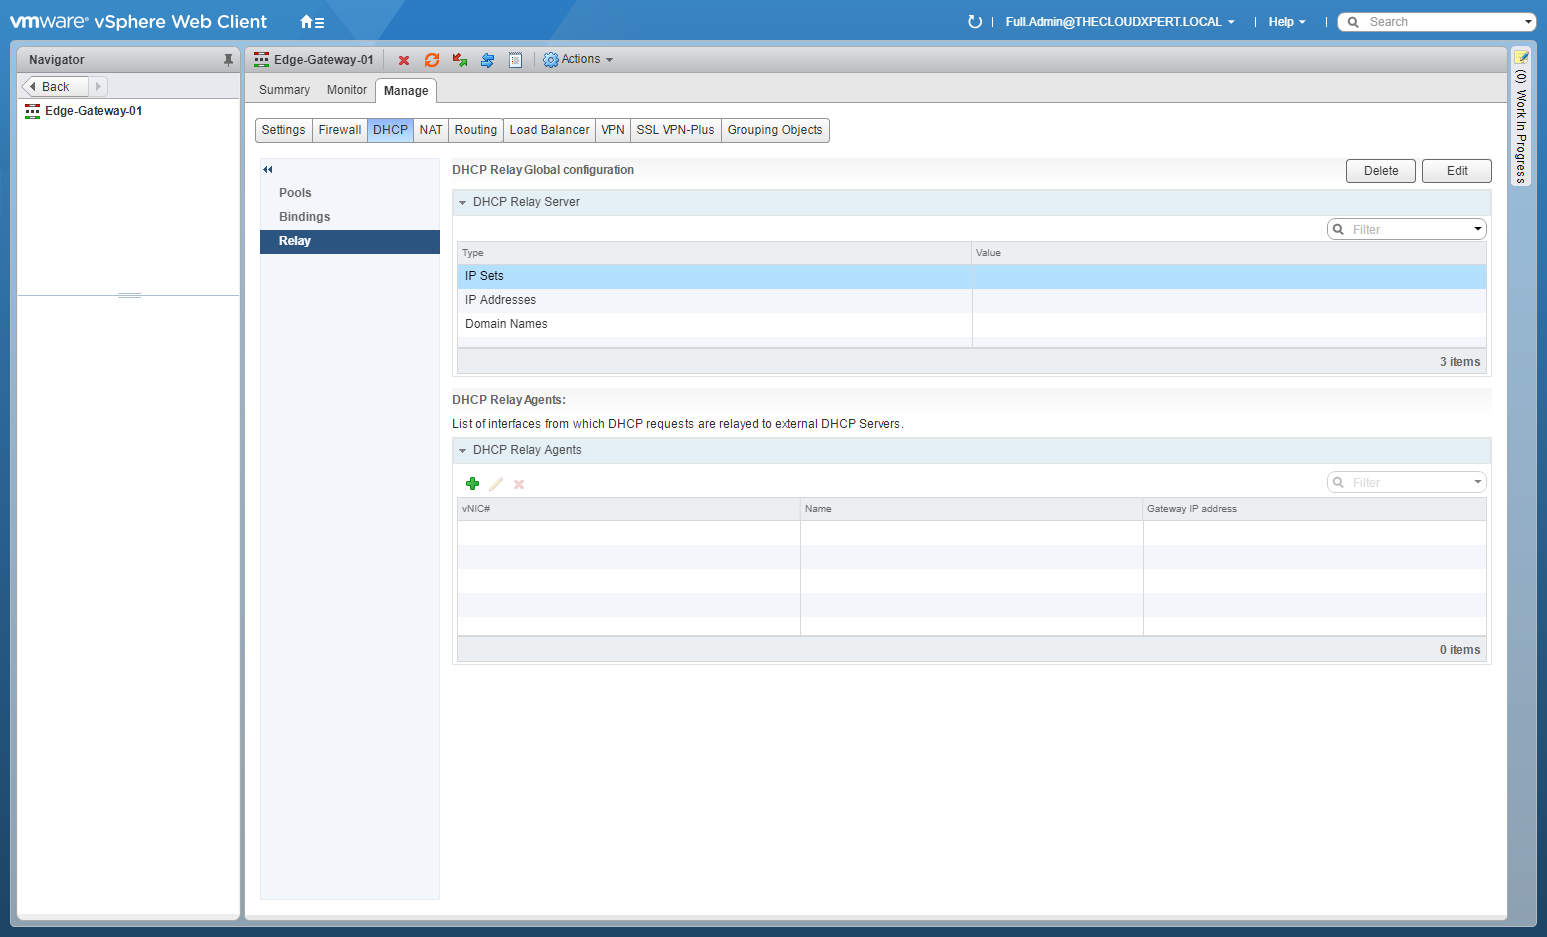
- Next to DHCP Relay Global Configuration, click Edit.
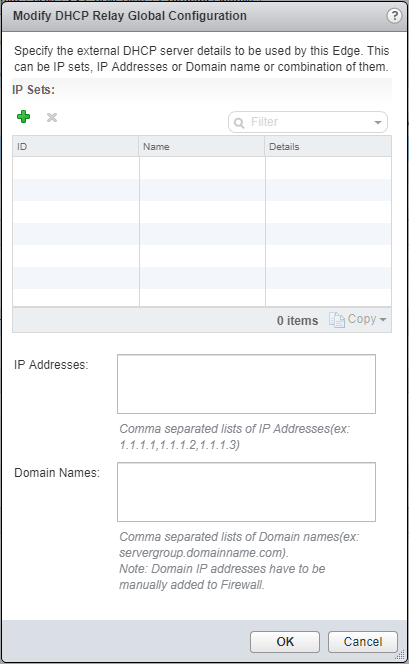
- Enter the appropriate information.
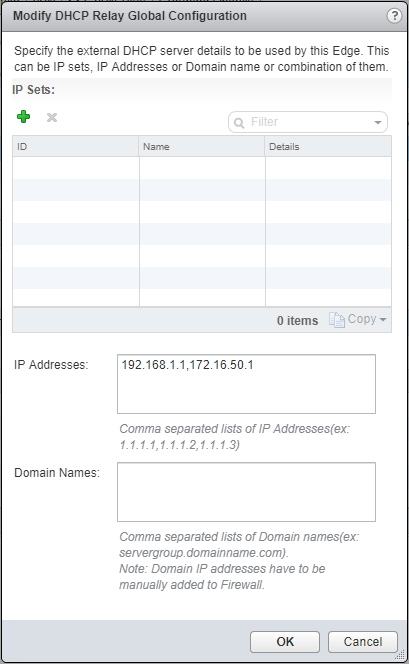
- Click OK.
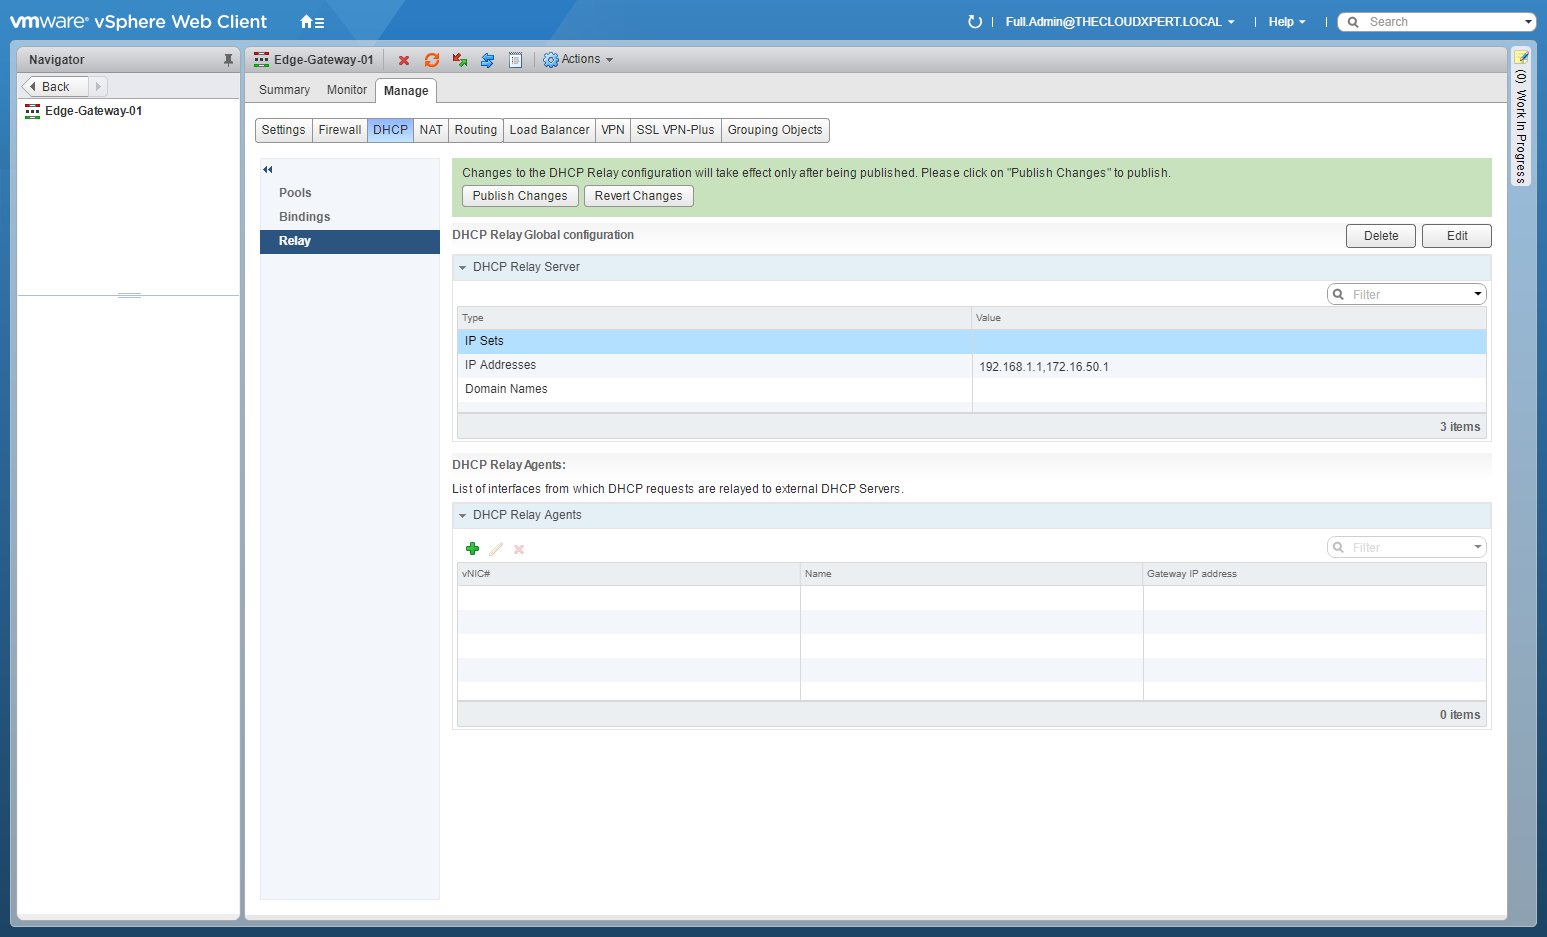
- At DHCP Relay Agents, click Add(+).
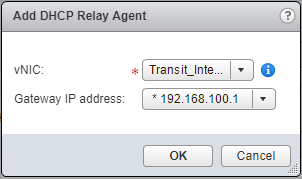
- Select the correct vNIC and Gateway IP Address from the dropdowns and click OK.
- Click Publish Changes.
Configure DNS services
- Using your favourite web browser, navigate to the vCenter Server login page (
https://vcenter.fqdn).
- Type the administrator User name and Password and click Login.
- Click Networking and Security.
- Click NSX Edges.
- Double-Click on the target Edge Services Gateway (ESG).
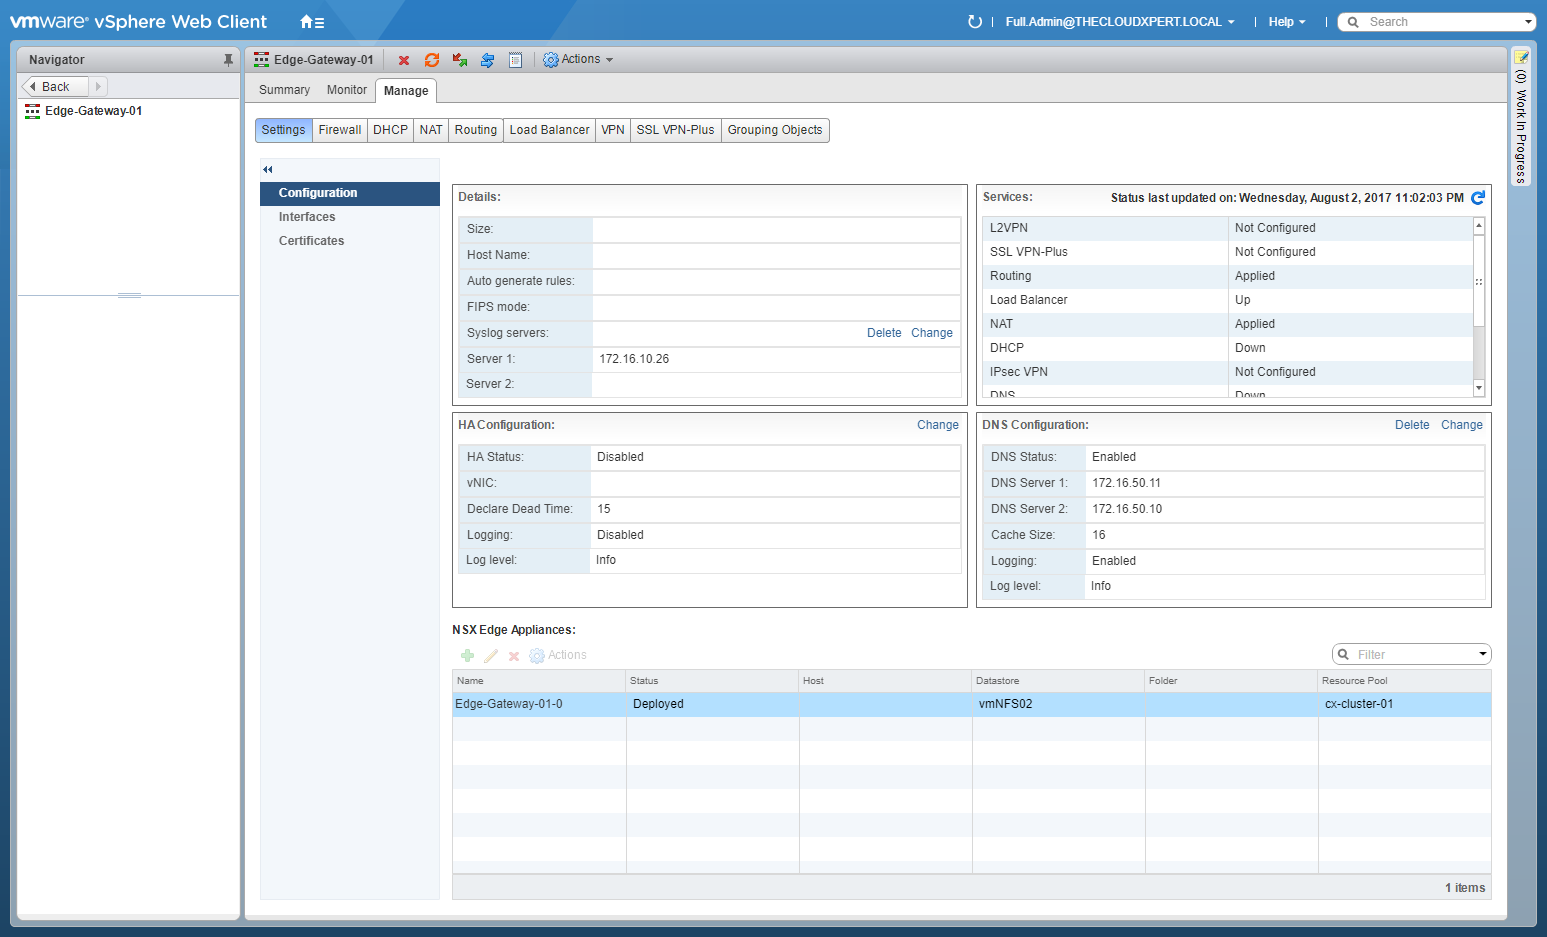
- Select the Manage tab (if not automatically selected), then click Settings.
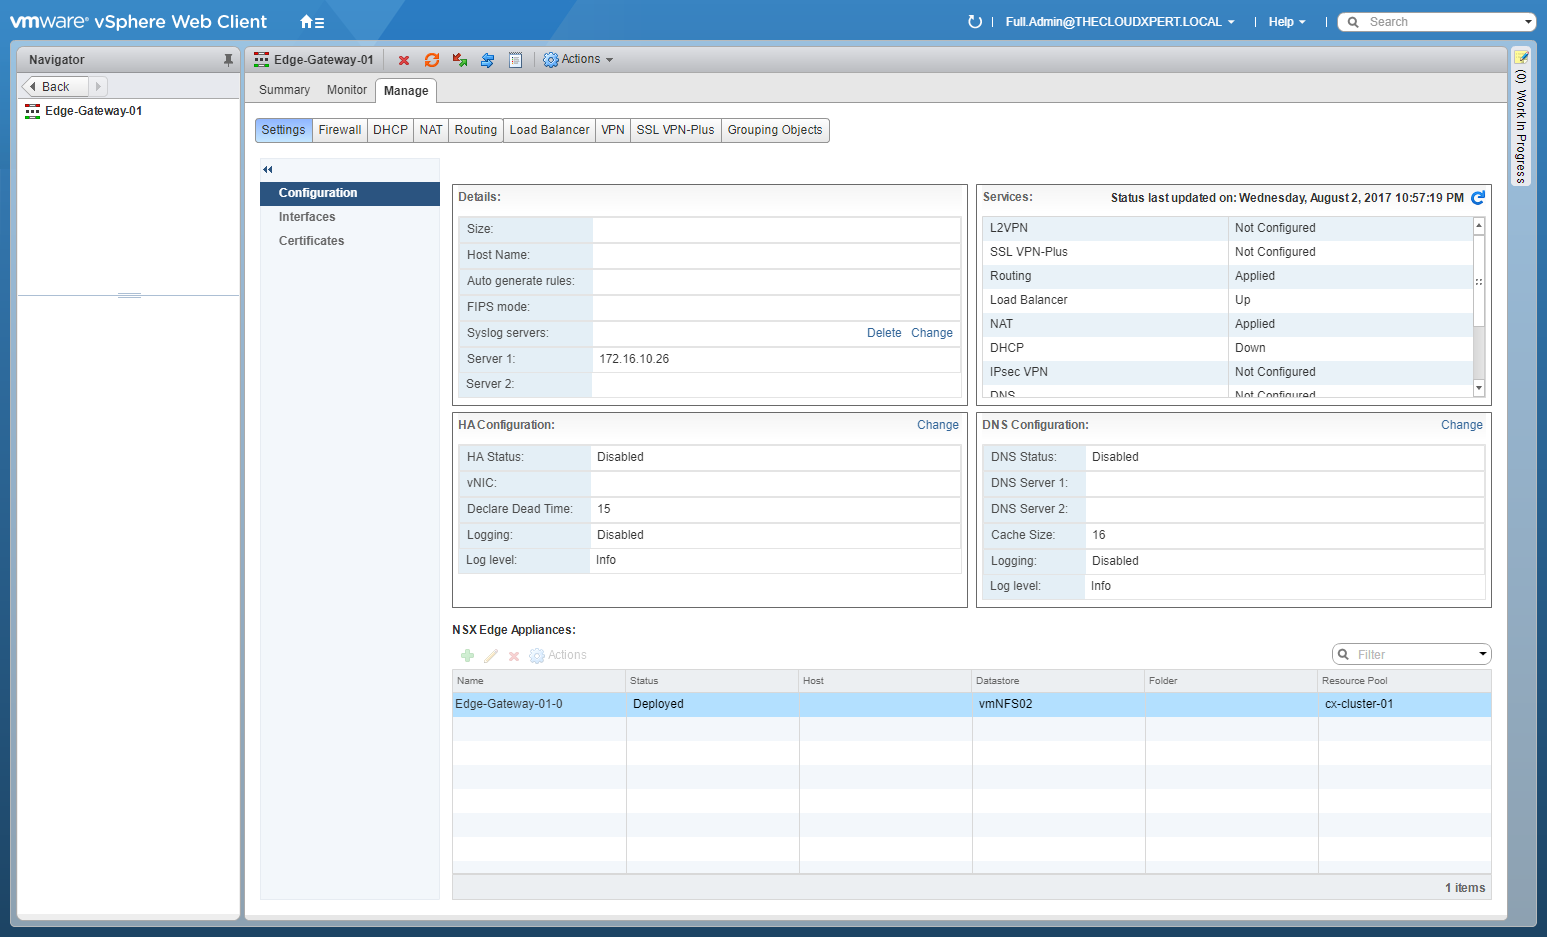
- Under DNS Configuration, click Change.
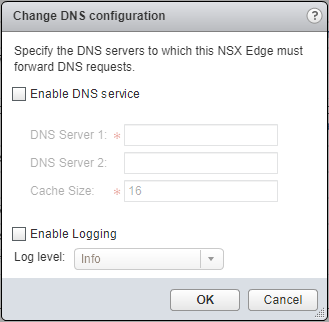
- Check the Enable DNS Service checkbox and enter values for DNS Server 1 and (optionally) DNS Server 2. (Optionally) check the Enable Logging checkbox and select a **Log level **from the dropdown.
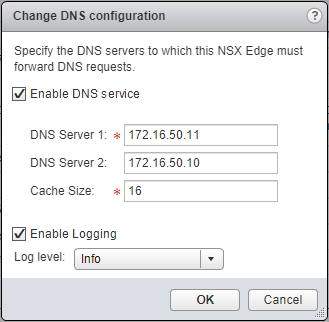
- Click OK.
Configure NAT services to provide access to services running on privately addressed virtual machines
The VMware NSX Edge provides Network Address Translation (NAT) services to assign a public address to a computer or group of computers in a private network. Using this technology limits the number of public IP addresses that an organization or company must use, for economy and security purposes. You must configure NAT rules to provide access to services running on privately addressed virtual machines. The NAT service configuration is separated into Source NAT (SNAT) and Destination NAT (DNAT) rules.
Creating Source NAT Rules
You can create a Source NAT (SNAT) rule to change the source IP address from a public to private IP address or the reverse.
- Using your favourite web browser, navigate to the vCenter Server login page ( https://vcenter.fqdn ).
- Type the administrator User name and Password and click Login.
- Click Networking and Security.
- Click NSX Edges.
- Double-Click on the target Edge Services Gateway (ESG).
- Select the Manage tab (if not automatically selected) and then click NAT.
- Click Add(+) then select Add SNAT Rule.
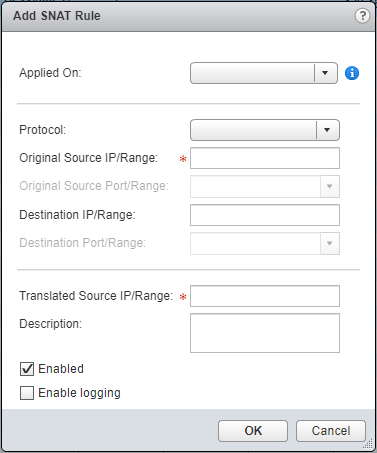
- Select the appropriate interface from the Applied On dropdown. (optional) Choose the Protocol (dropdown), then enter a value for the Original Source IP/Range and Translated Source IP/Range and (optionally) check the Enable Logging checkbox.
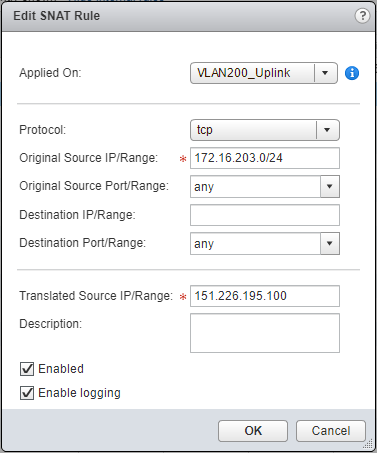
- Click OK.
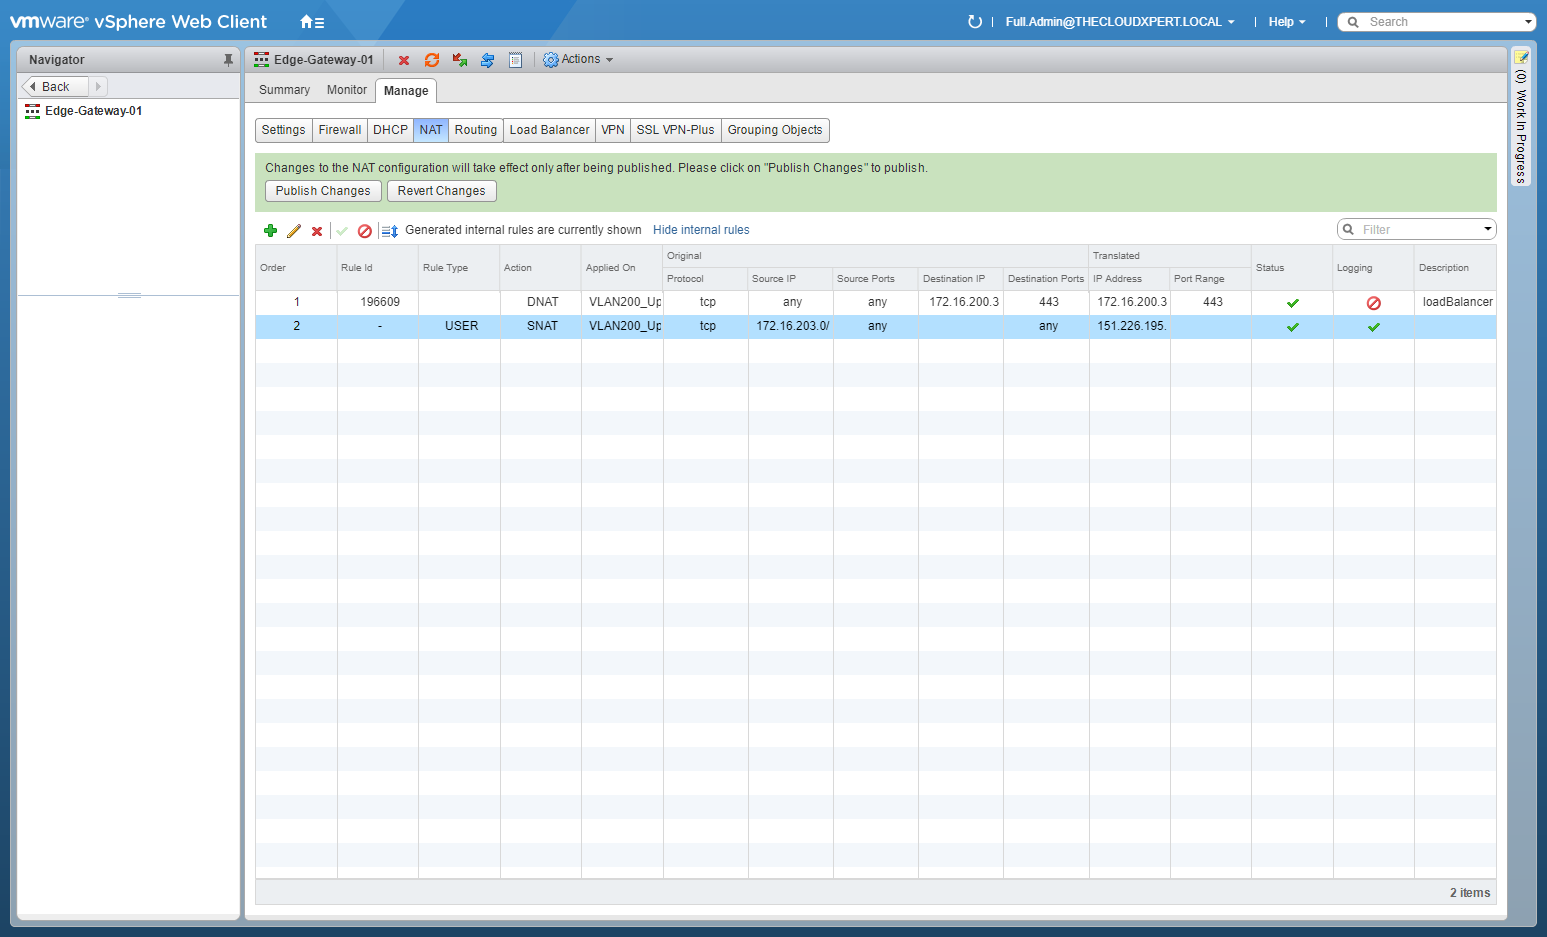
Make any additional entries and click Publish Changes.
Creating Destination NAT Rules
You can create a Destination NAT (DNAT) rule to change the destination IP address from a public to private IP address or the reverse.
- Using your favourite web browser, navigate to the vCenter Server login page (
https://vcenter.fqdn).
- Type the administrator User name and Password and click Login.
- Click Networking and Security.
- Click NSX Edges.
- Double-Click on the target Edge Services Gateway (ESG).
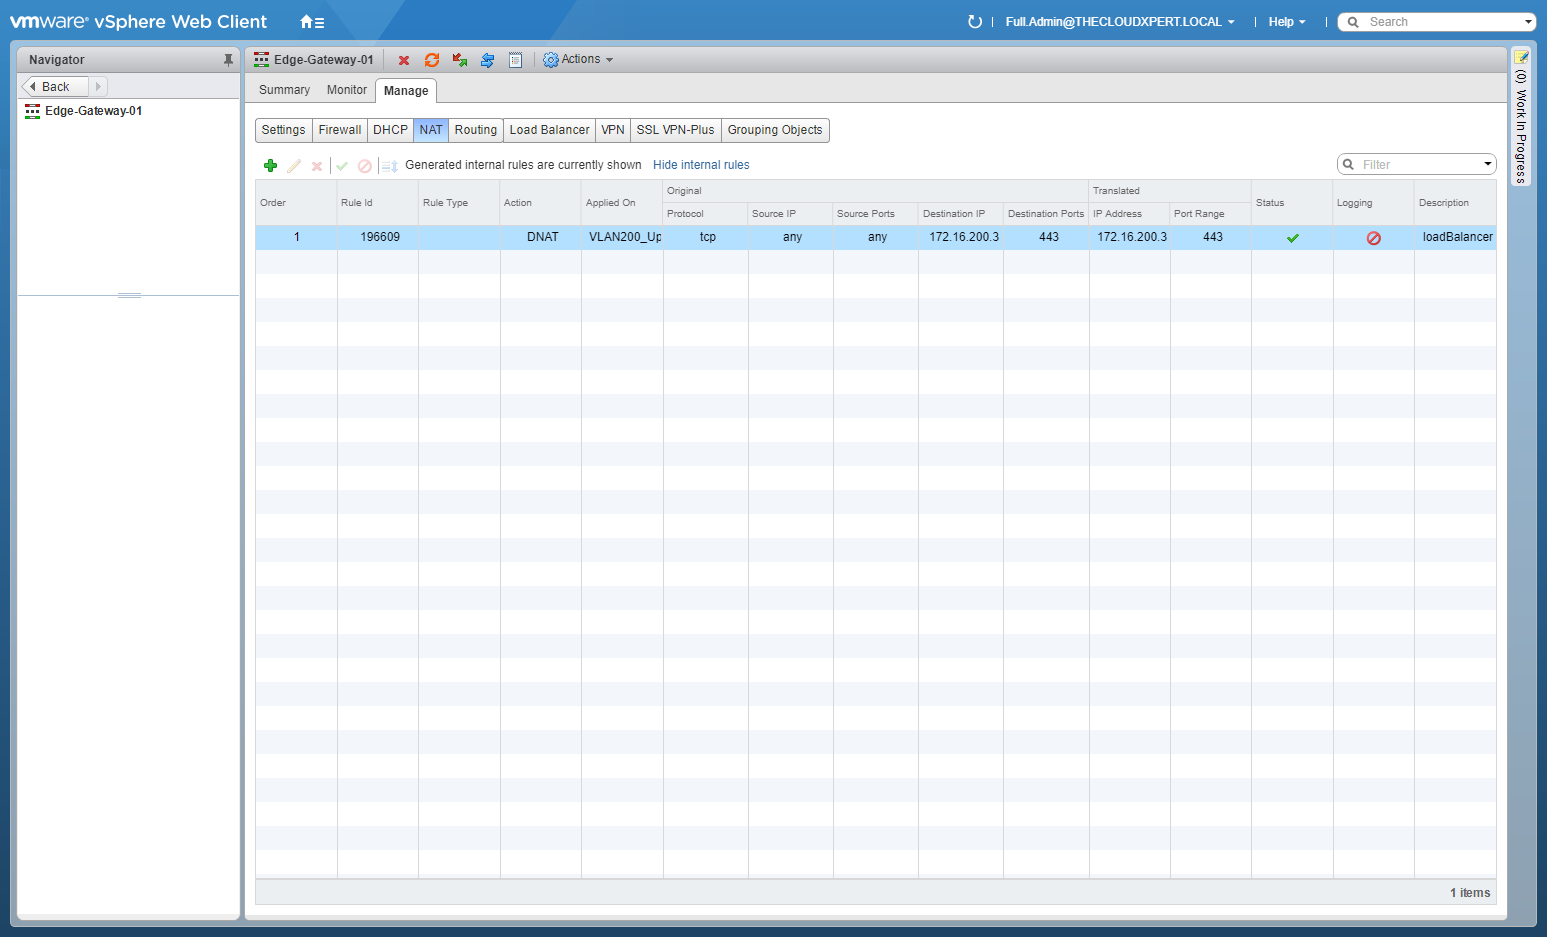
- Select the Manage tab (if not automatically selected) and then click NAT.
- Click Add(+) then select Add DNAT Rule.
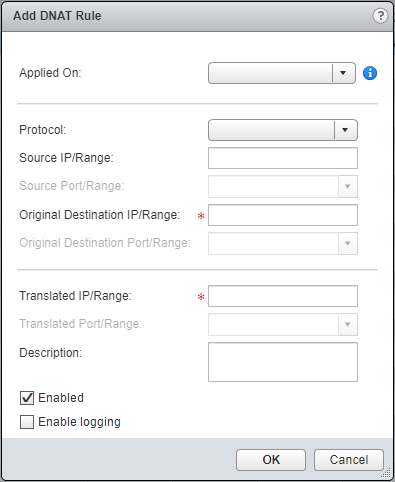
- Select the appropriate interface from the Applied On dropdown. (optional) Choose the Protocol (dropdown), then enter a value for the Original Destination IP/Range, the Original Destination Port/Range, the Translated Source IP/Range, the** Translated Port/Range** and (optionally) check the Enable Logging checkbox.
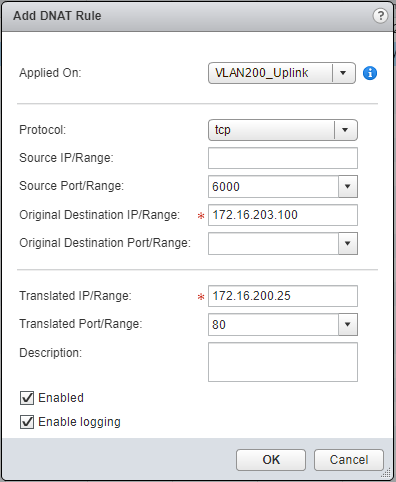
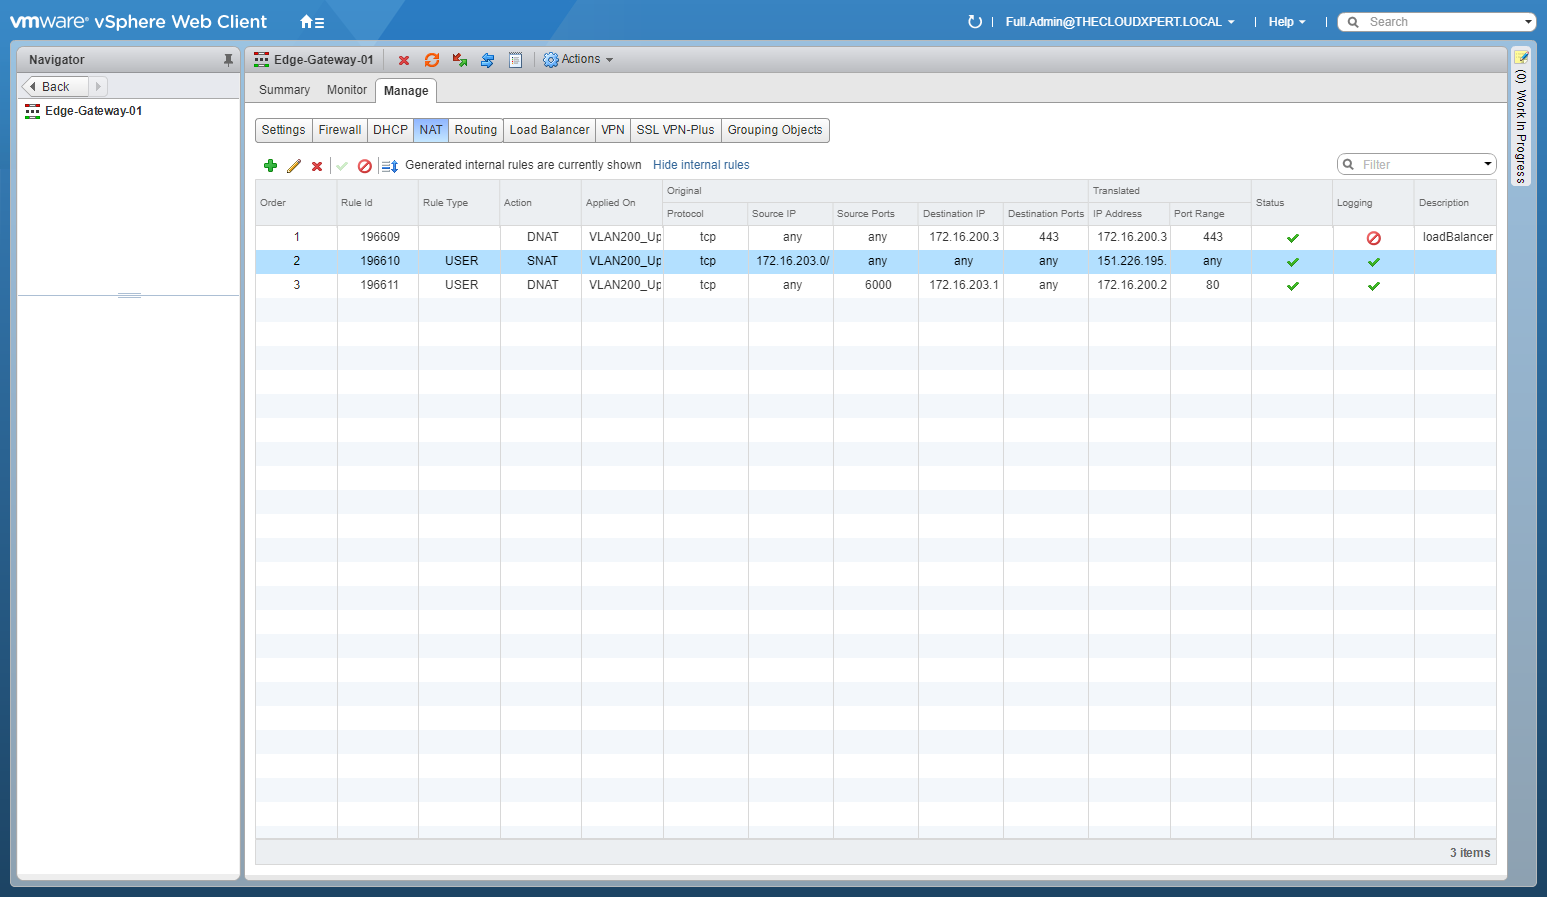
- Click OK.
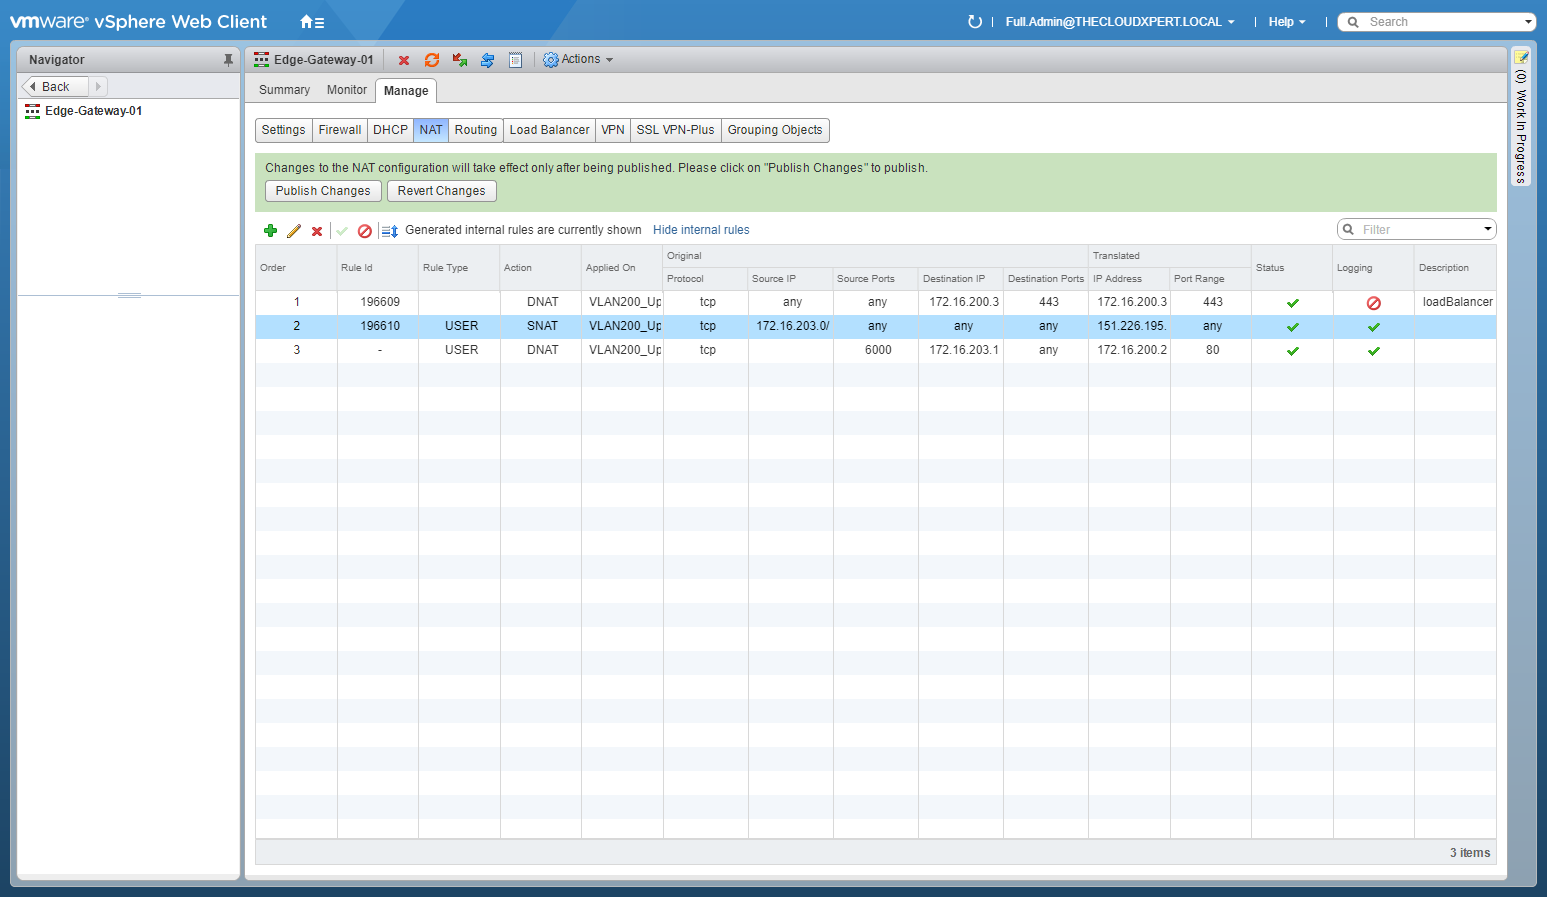
- Click Publish Changes.
Published on 2 August 2017 by Christopher Lewis. Words: 1194. Reading Time: 6 mins.
