VCAP6-NV Deploy - Objective 4.1 - Configure and Manage Logical Firewall Services
VMware NSX-V VCAP6-NV VCIX6-NV HOWTO
Published on 27 November 2017 by Christopher Lewis. Words: 1058. Reading Time: 5 mins.
Objective 4.1 - Configure and Manage Logical Firewall Services
Objective Overview
- Configure Edge and Distributed Firewall rules according to a deployment plan:
- Create/configure Firewall rule sections for specific departments
- Create/configure Identity-based firewall (IDFW) for specific users/groups
- Configure SpoofGuard policies to enhance security
- Filter firewall rules to narrow a scope
Objective Prerequisites
The following prerequisites are assumed for this Objective:
- A working VMware vSphere 6.x environment.
- A working VMware NSX 6.x environment.
Objective Breakdown
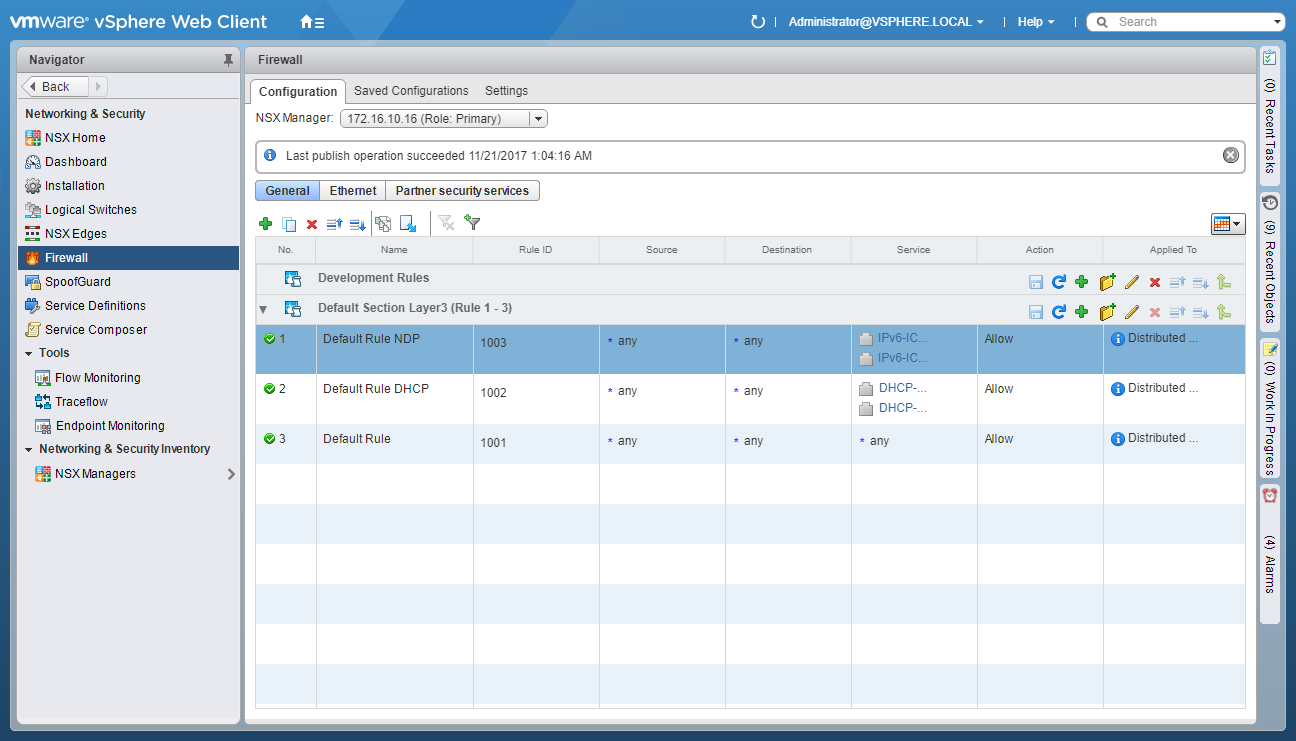
Create a Distributed Firewall Rule
- Using your favourite web browser, navigate to the vCenter Server login page (
https://vcenter.fqdn).
- Enter appropriate User name and Password and click Login.
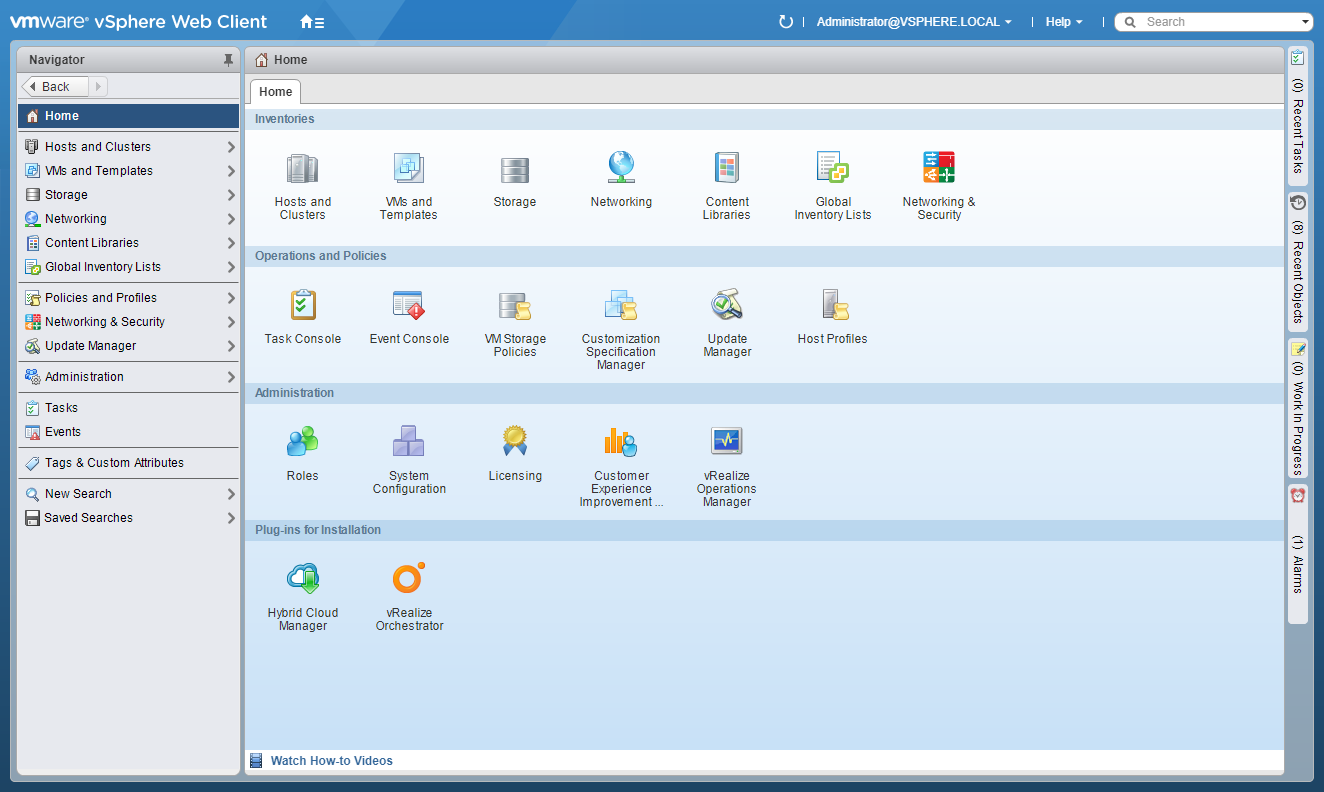
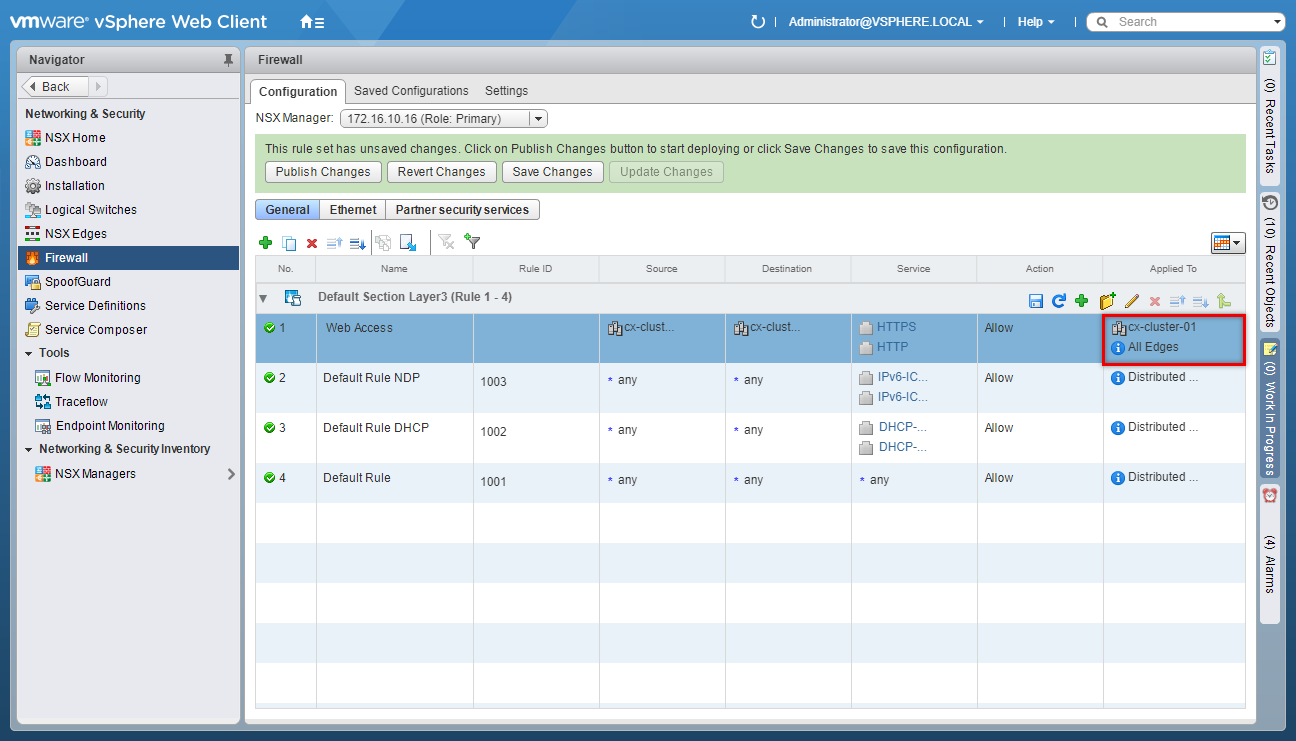
- Click Networking and Security.
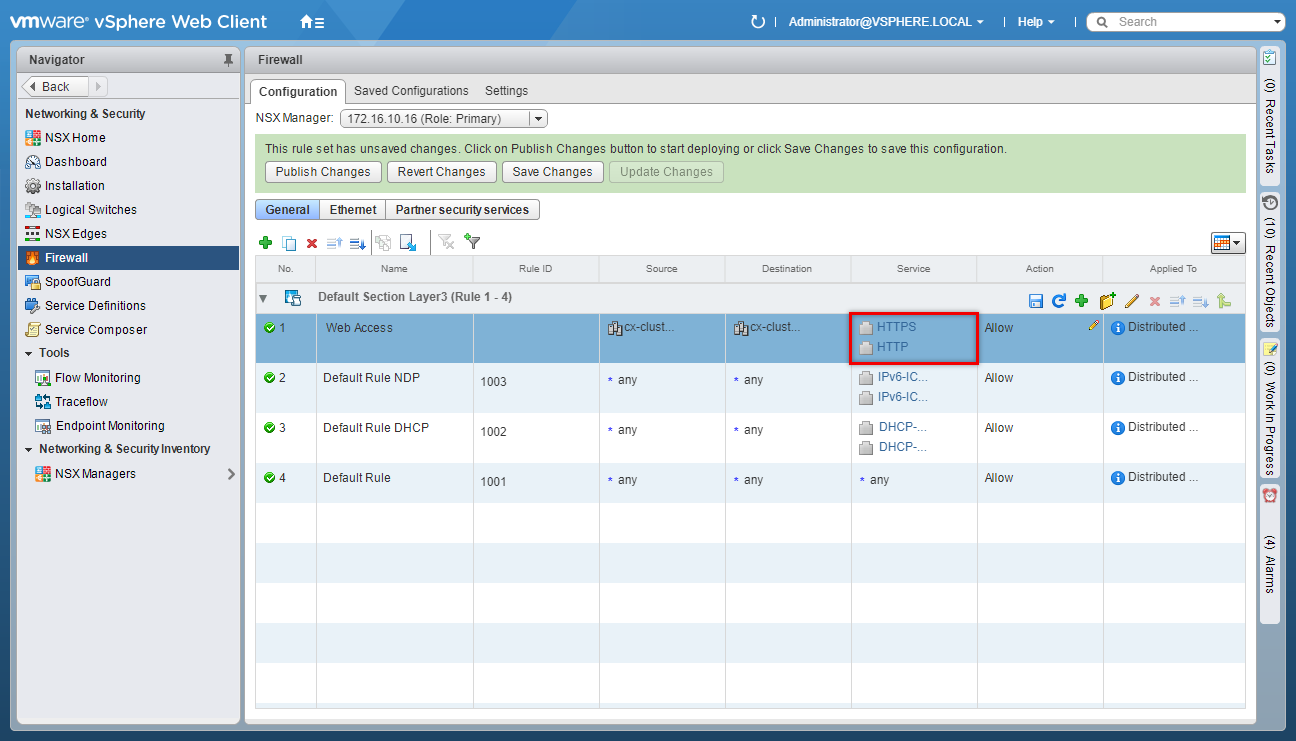
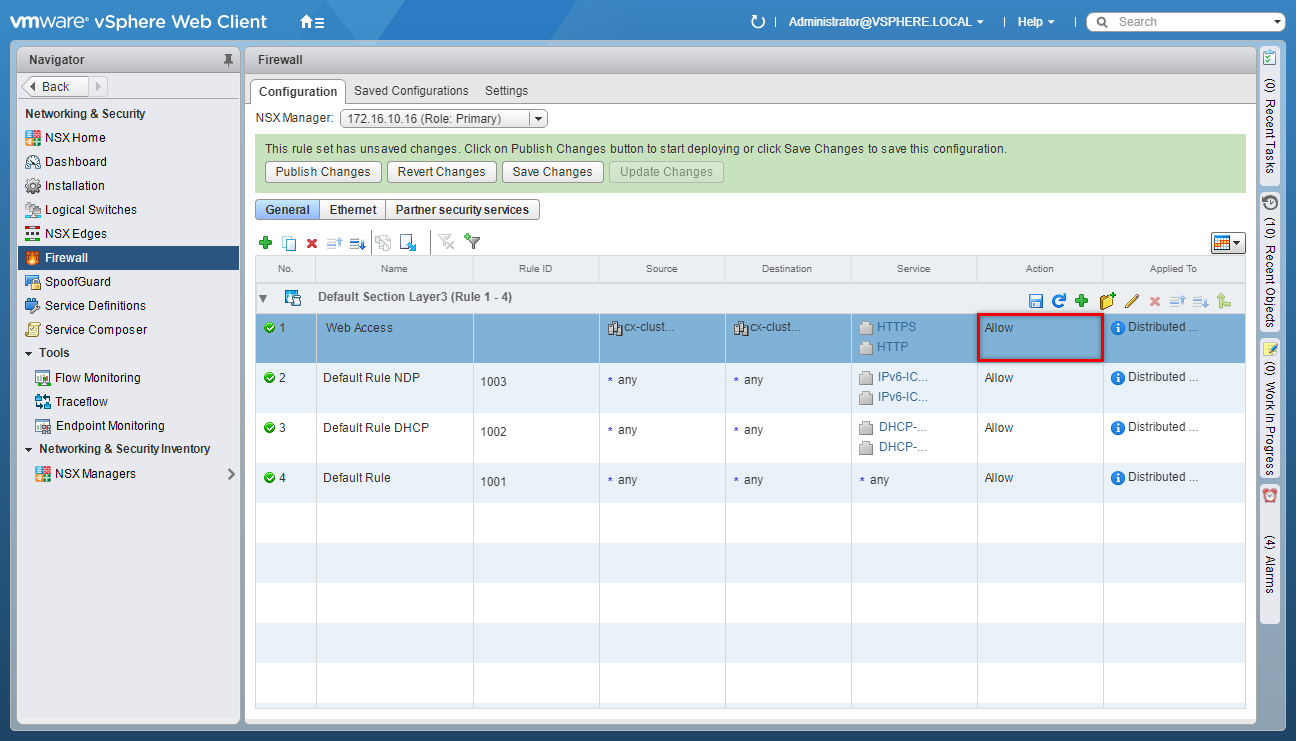
- Click Firewall.
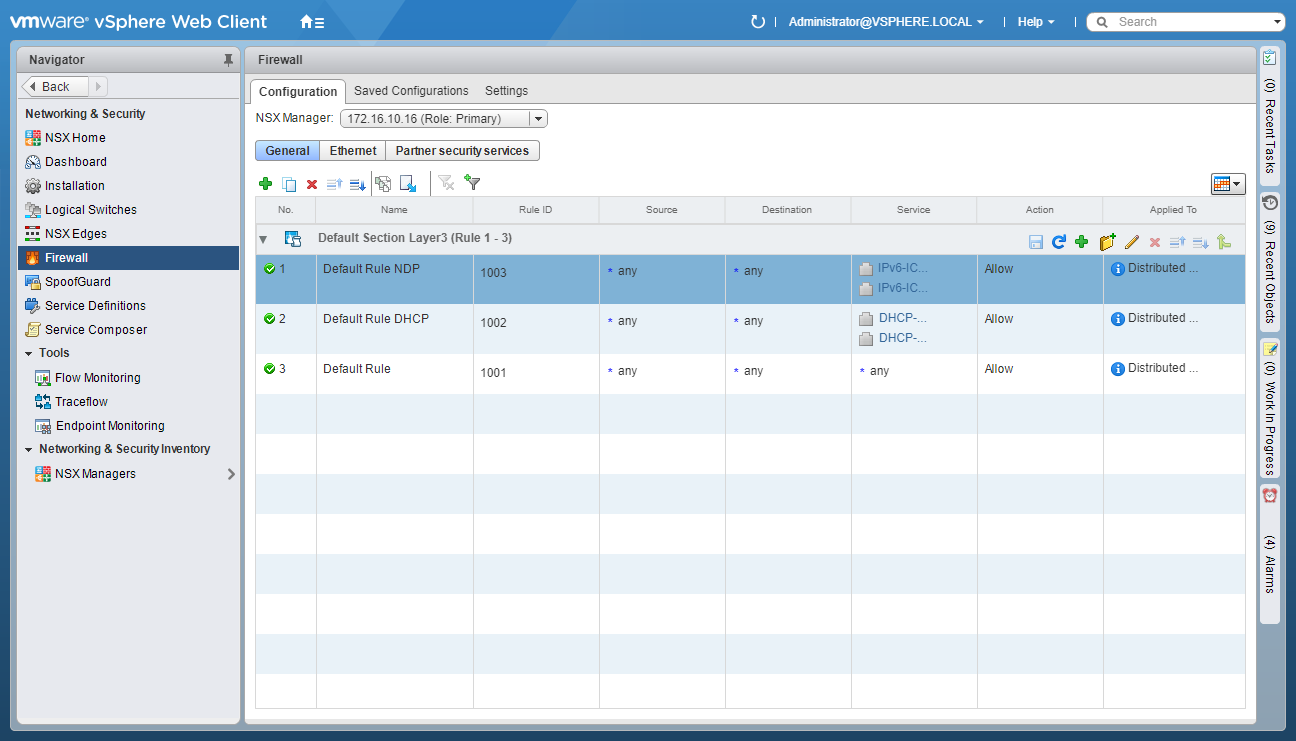
- At the Default Section, click Add Rule.
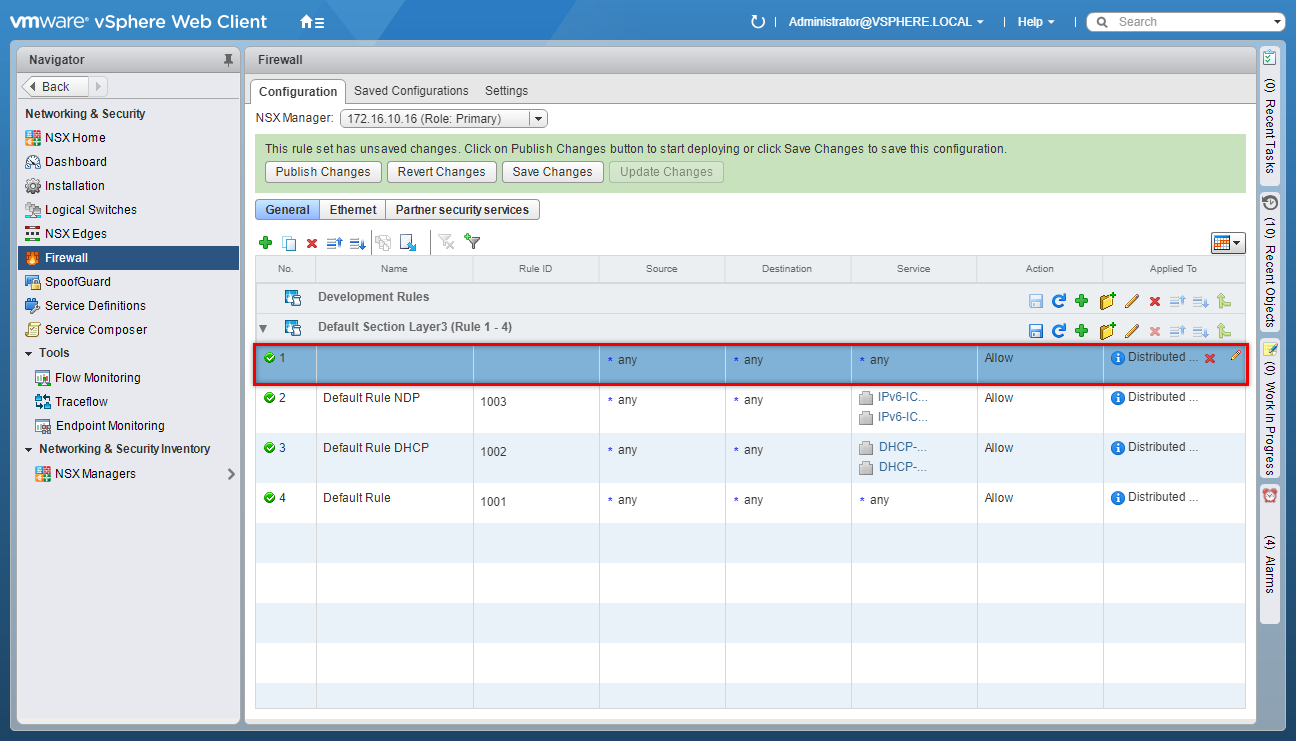
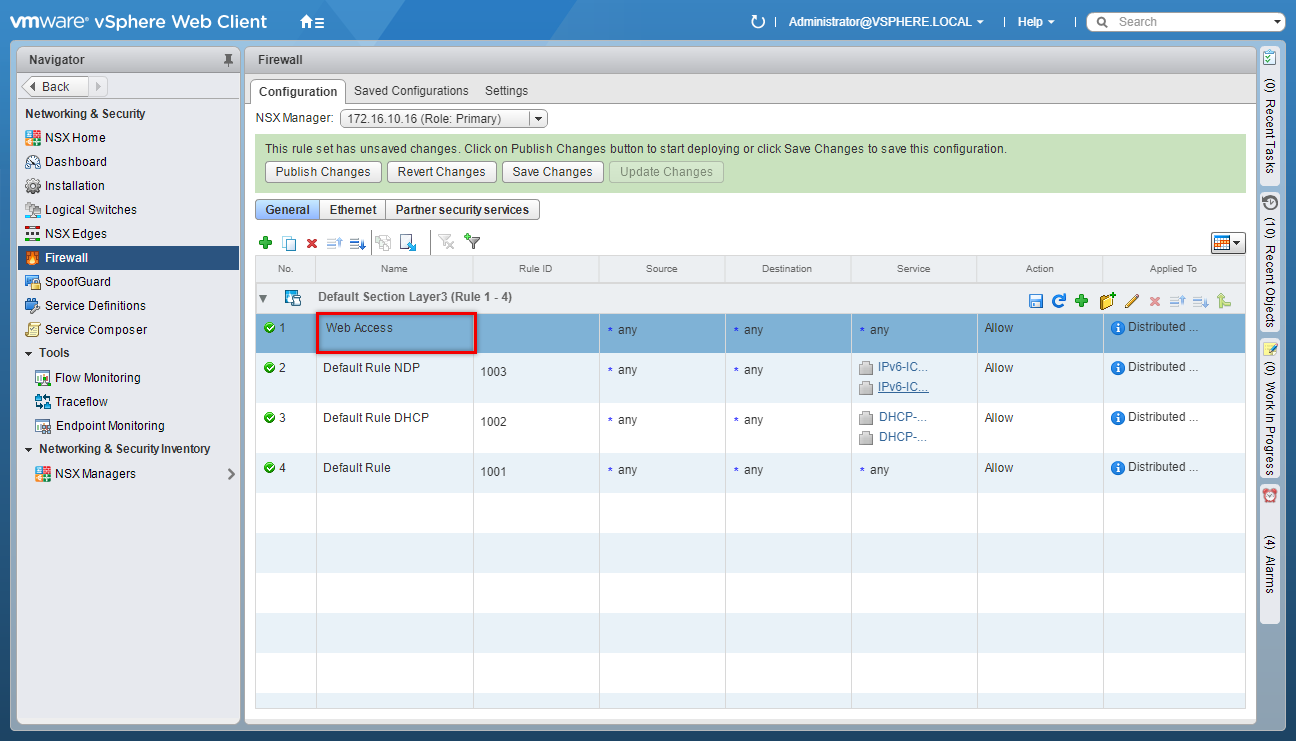
Update the Firewall Rule Name
- Highlight the new Universal Firewall Rule and click Edit Name.
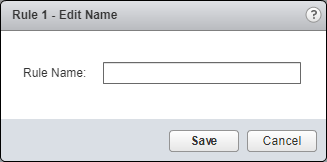
- Enter the new Rule Name and click Save.
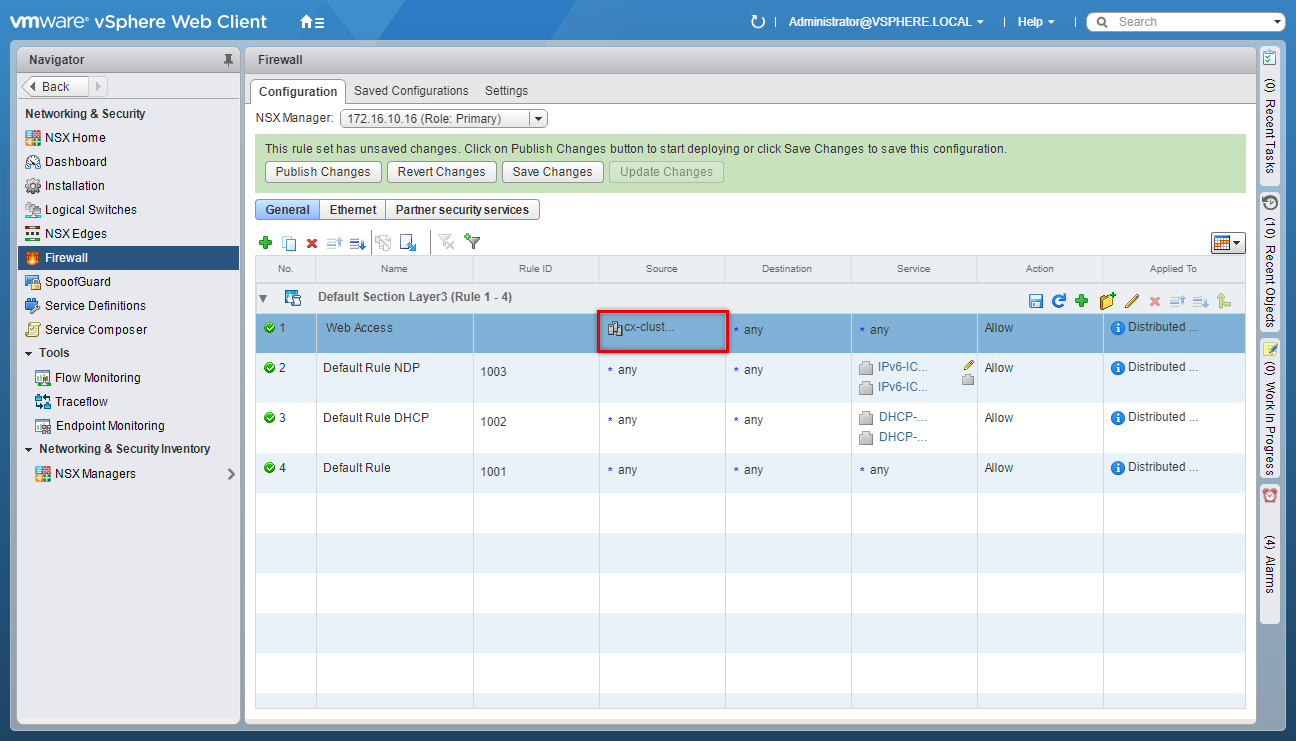
Update the Firewall Rule Source
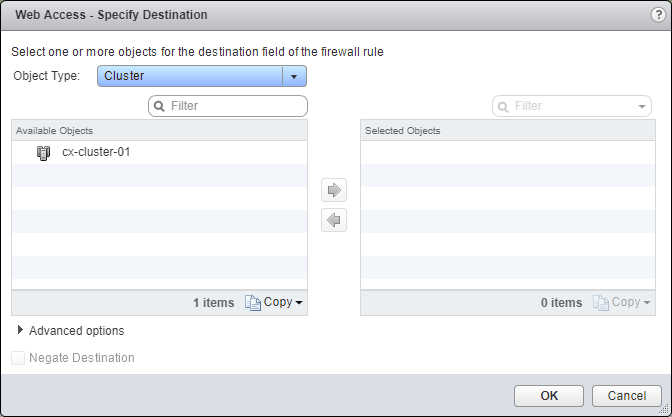
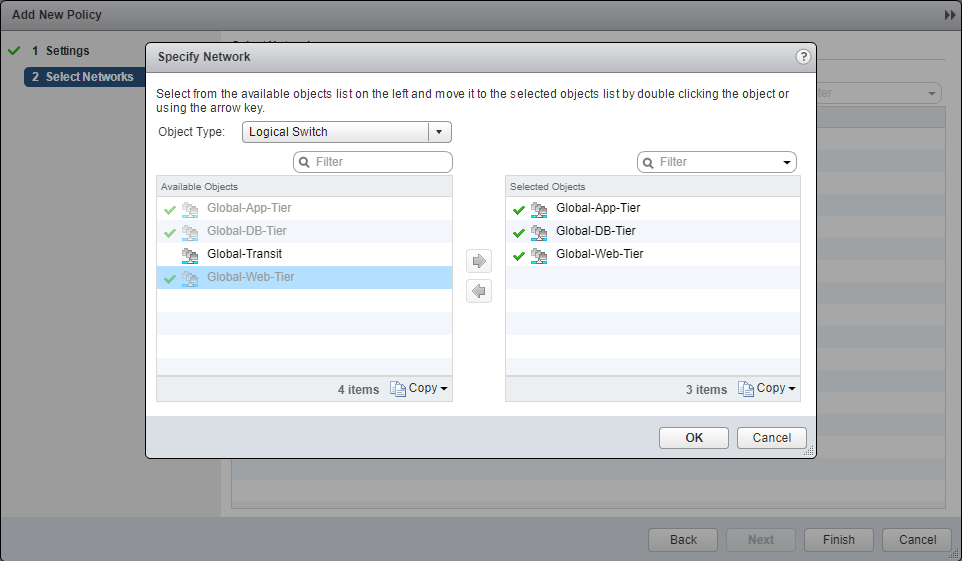
- Under Source, click Edit.
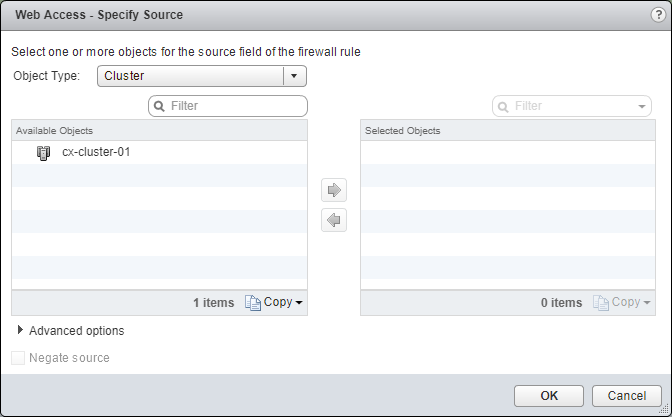
- Select an object from the Object Type dropdown, highlight an item from the Available Objects list and click the arrow to move the item to the Selected Objects list.

- Click OK.
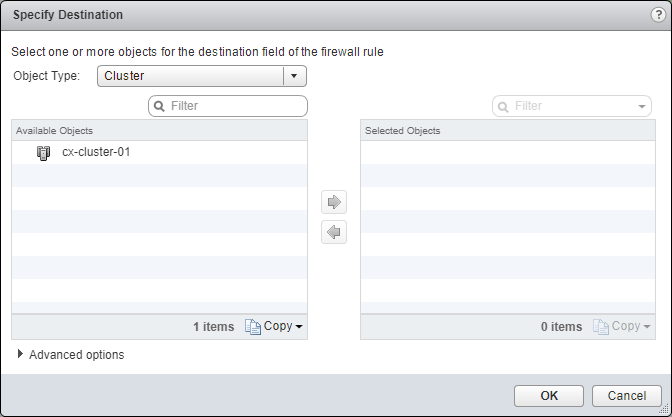
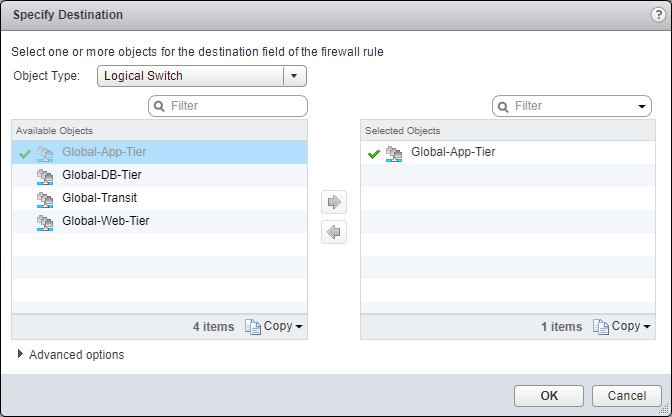
Update the Firewall Rule Destination
- Under Destination, click Edit.
- Select an object from the Object Type dropdown, highlight an item from the Available Objects list and click the arrow to move the item to the Selected Objects list.
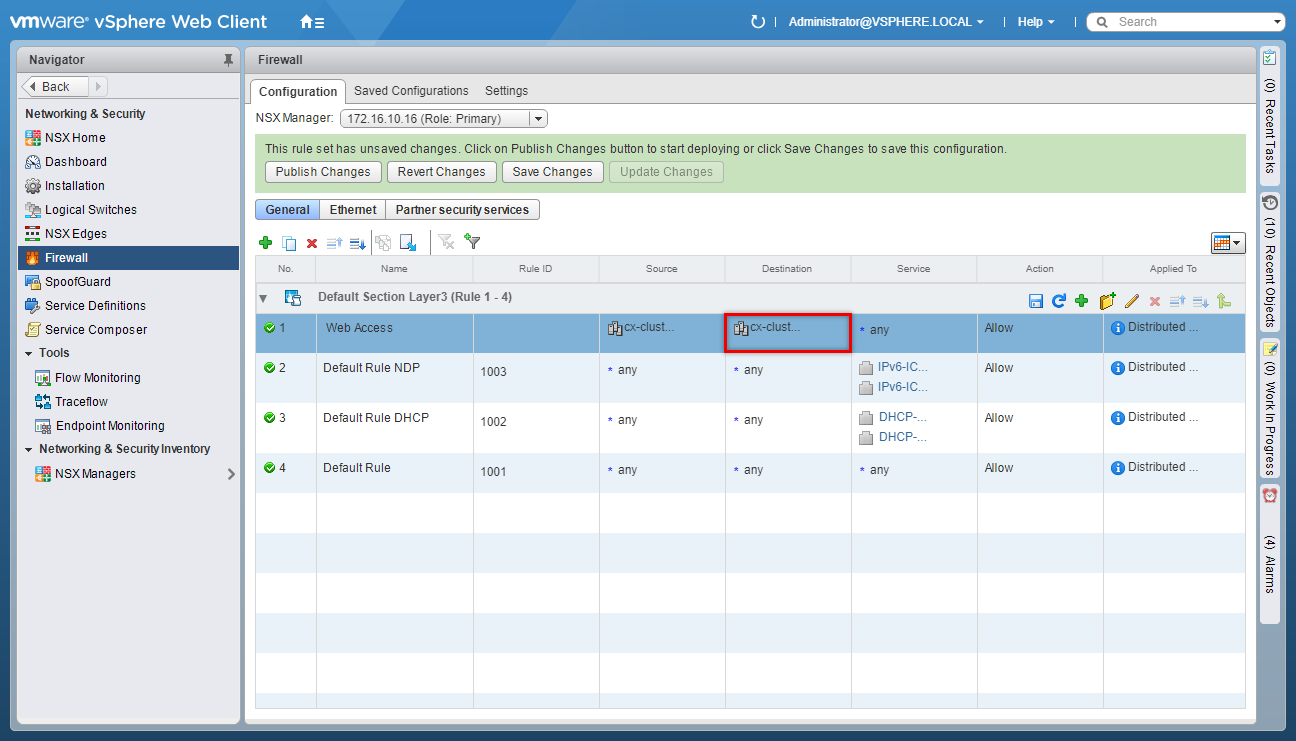
- Click OK.
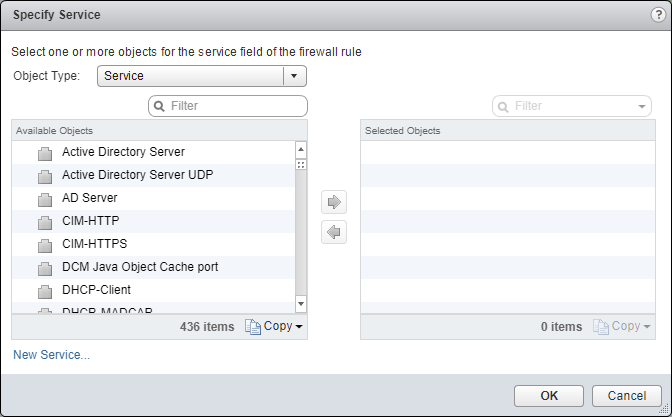
Update the Firewall Rule Service
- Under Service, click Edit.
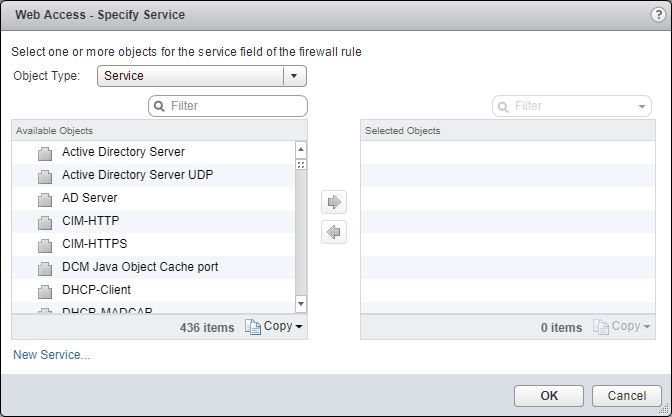
- Select an object from the Object Type dropdown, highlight an item from the Available Objects list and click the arrow to move the item to the Selected Objects list.
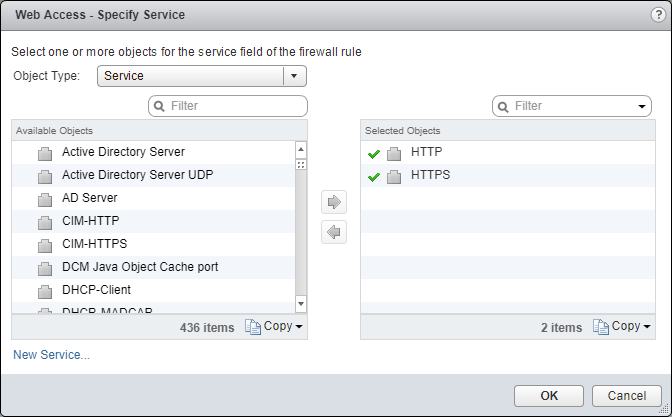
- Click OK.
(Optional) Update the Firewall Rule Action
- Under Action, click Edit.
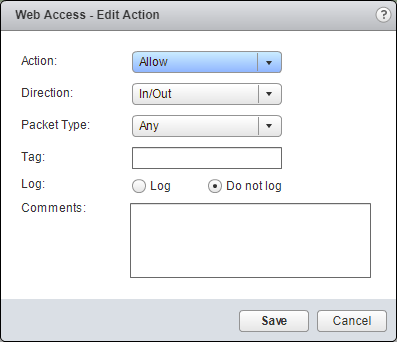
- Make changes to the required Action and click Save.
(Optional) Update the Firewall Rule Filter (Applied To)
- Under Applied To, click Edit.
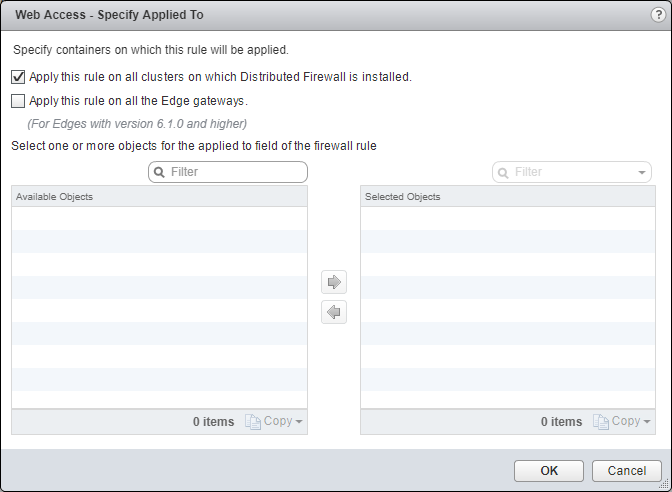
- Uncheck the Apply this rule to all clusters on which Distributed Firewall is installed checkbox.
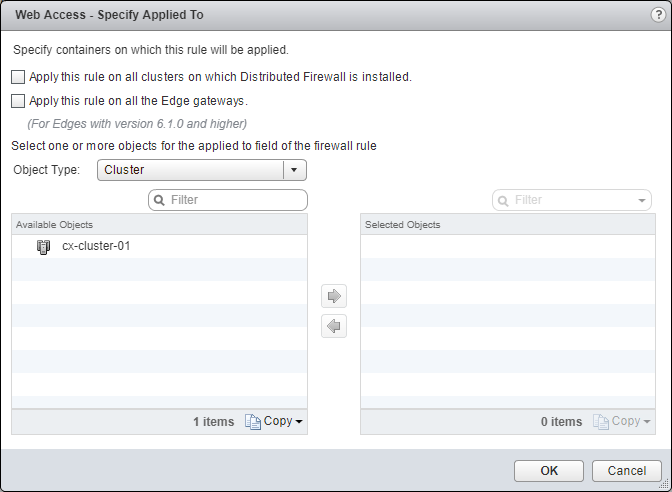
- Select an object from the Object Type dropdown, highlight an item from the Available Objects list and click the arrow to move the item to the Selected Objects list.
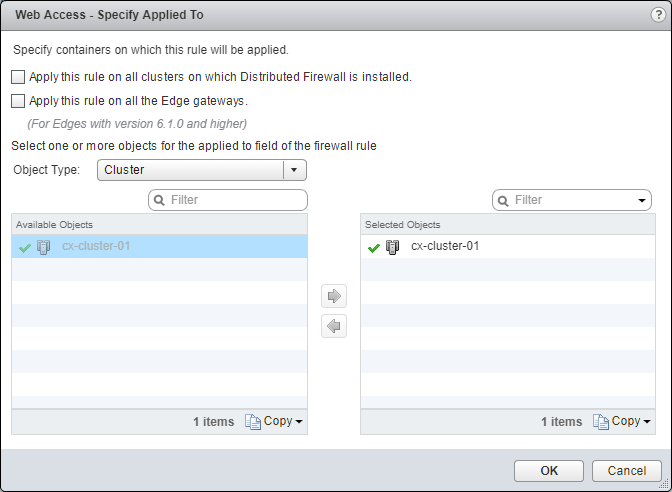
-
(Optionally) Check the Apply this rule on all the Edge gateways checkbox.
-
Click OK.
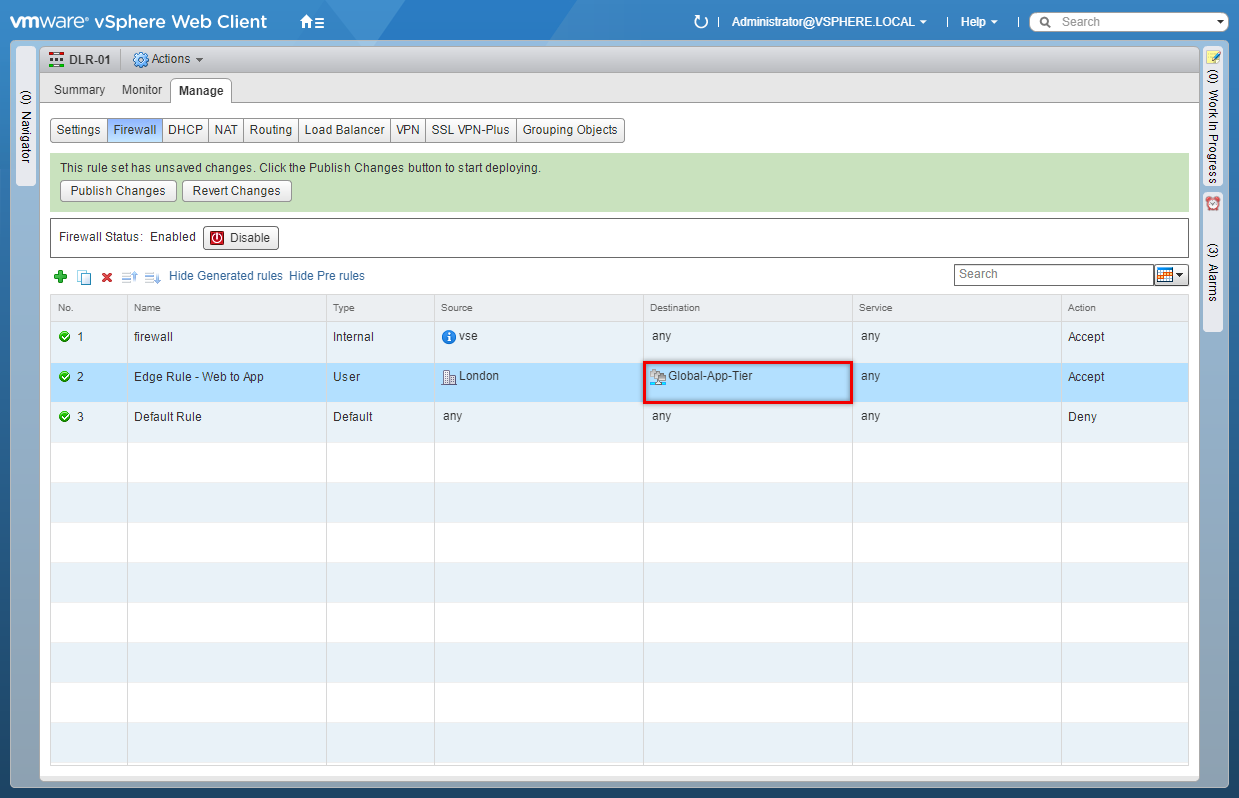
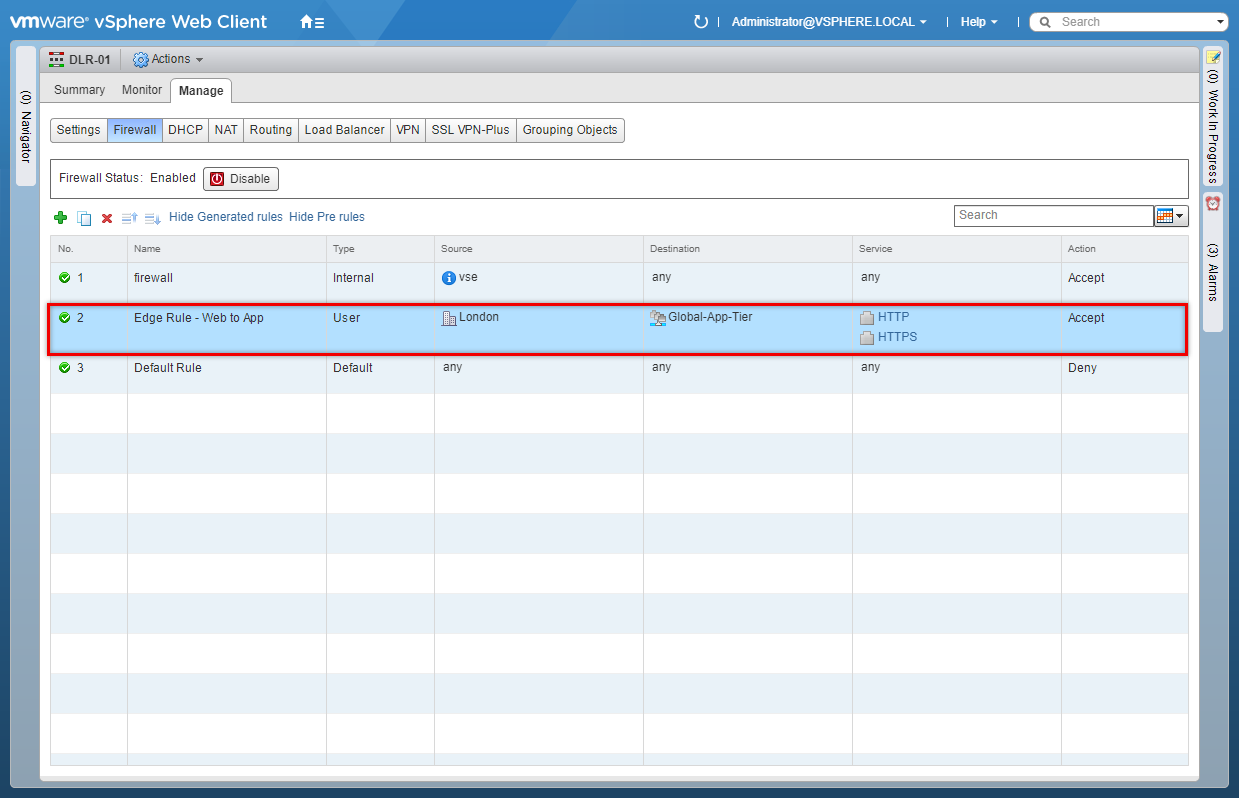
Create an Edge Firewall Rule
Whilst creating an Edge Firewall rule is essentially the same process as a distributed firewall rule, there are some UI differences. Checkout the following steps.
- Using your favourite web browser, navigate to the vCenter Server login page (
https://vcenter.fqdn).
- Enter appropriate User name and Password and click Login.
- Click Networking and Security.
- Select NSX Edges.
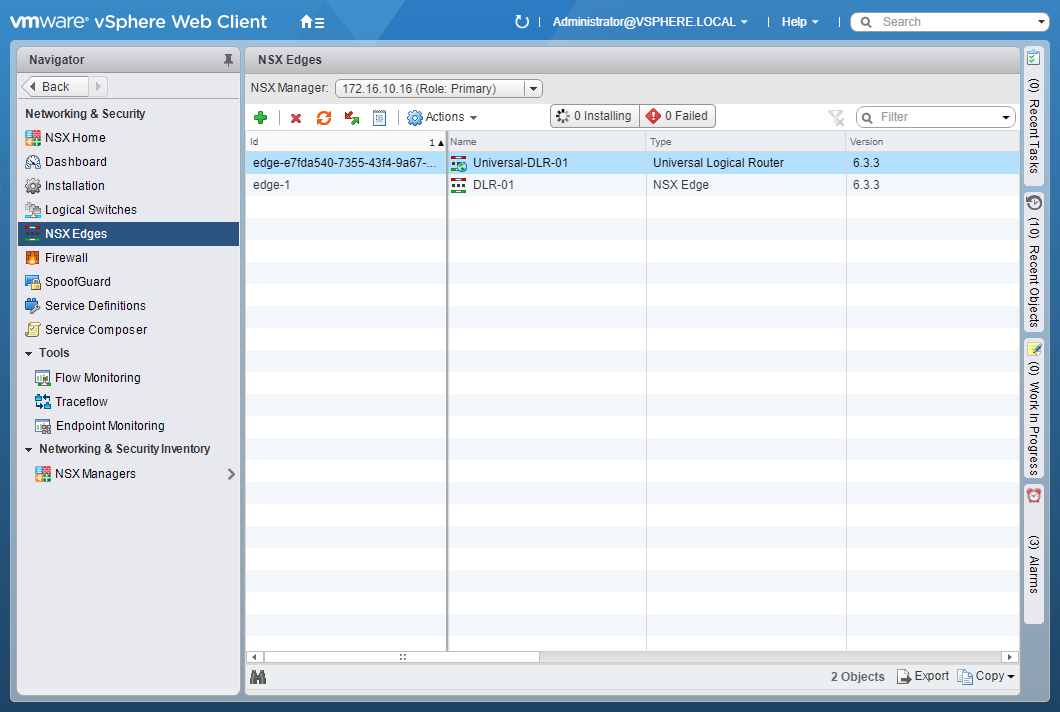
- Double click on the target Edge.
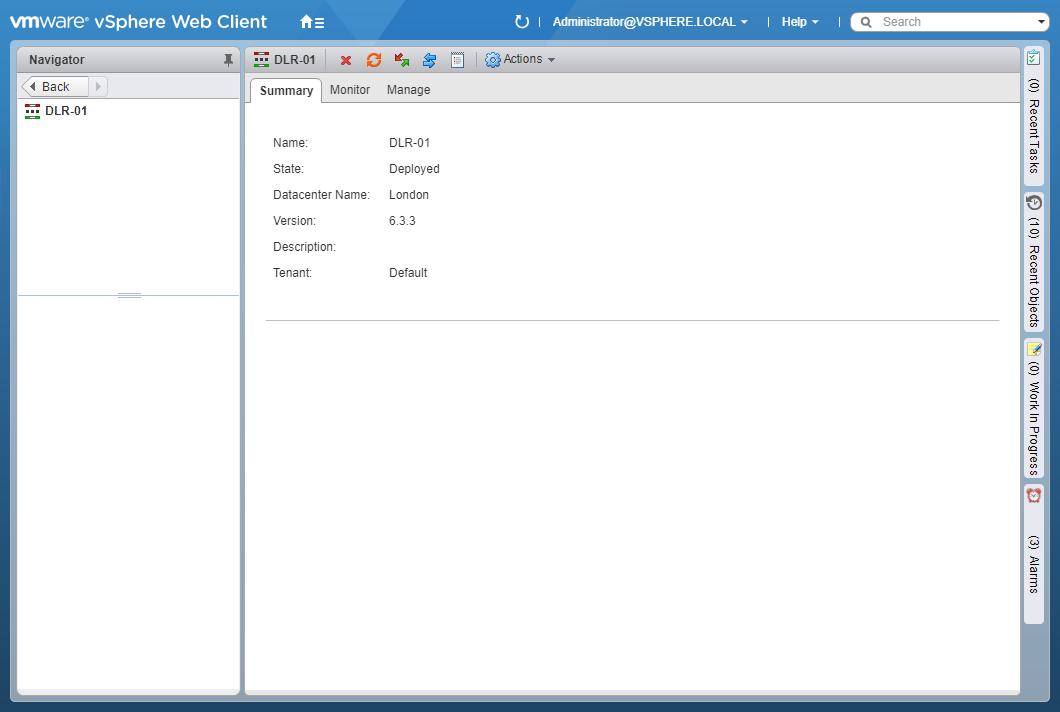
- Select Manage.

- Select Firewall.
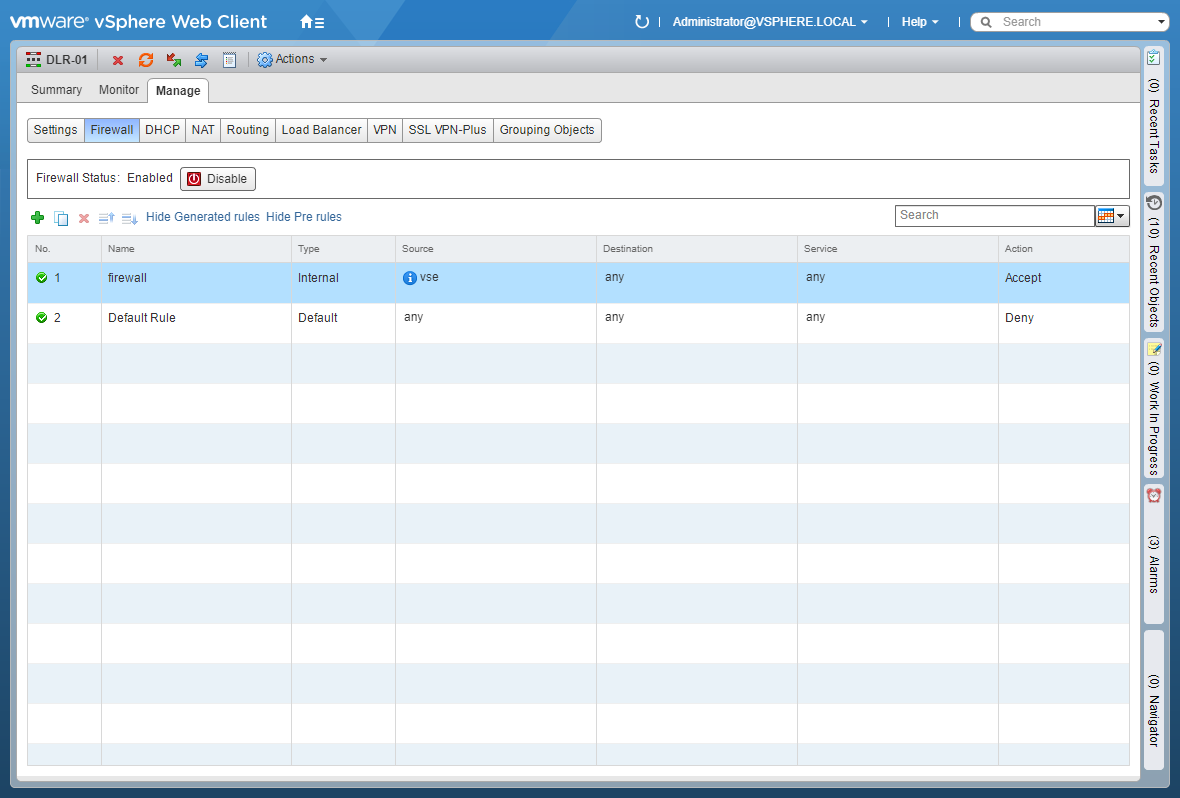
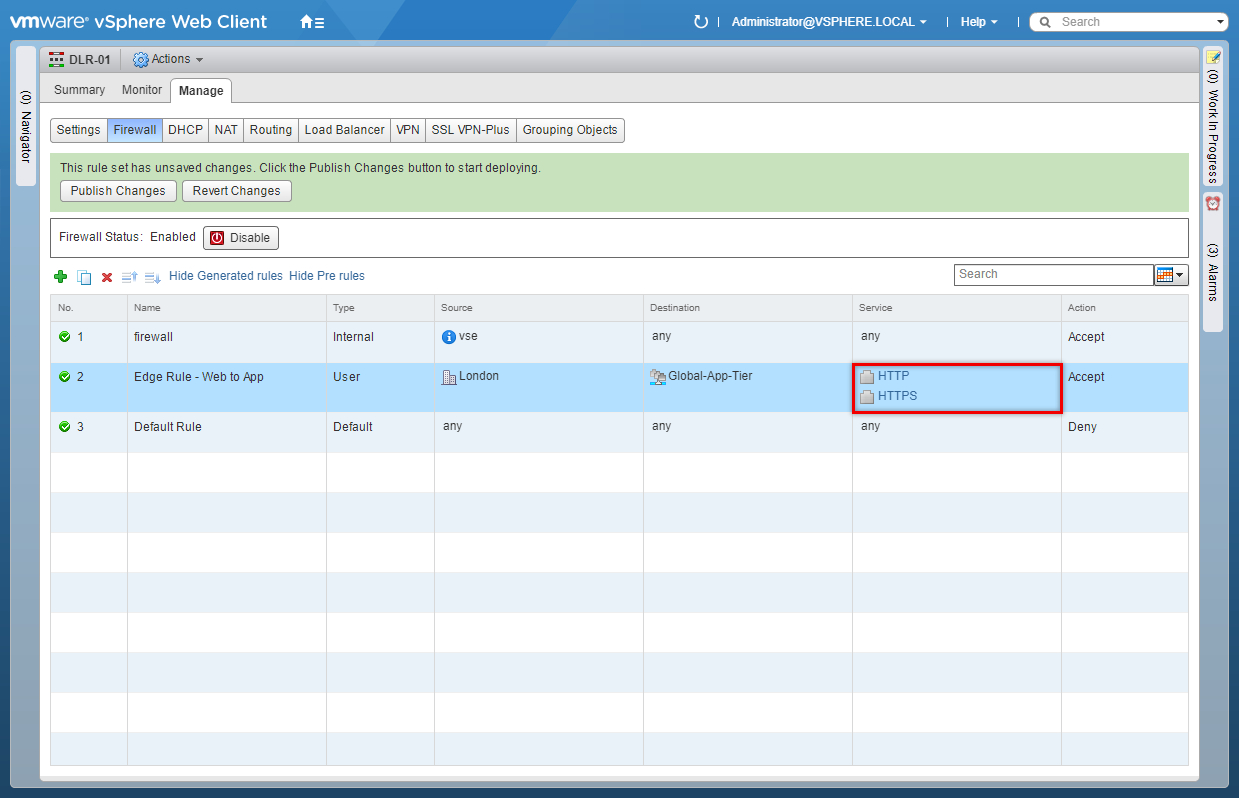
- Click Add (+).
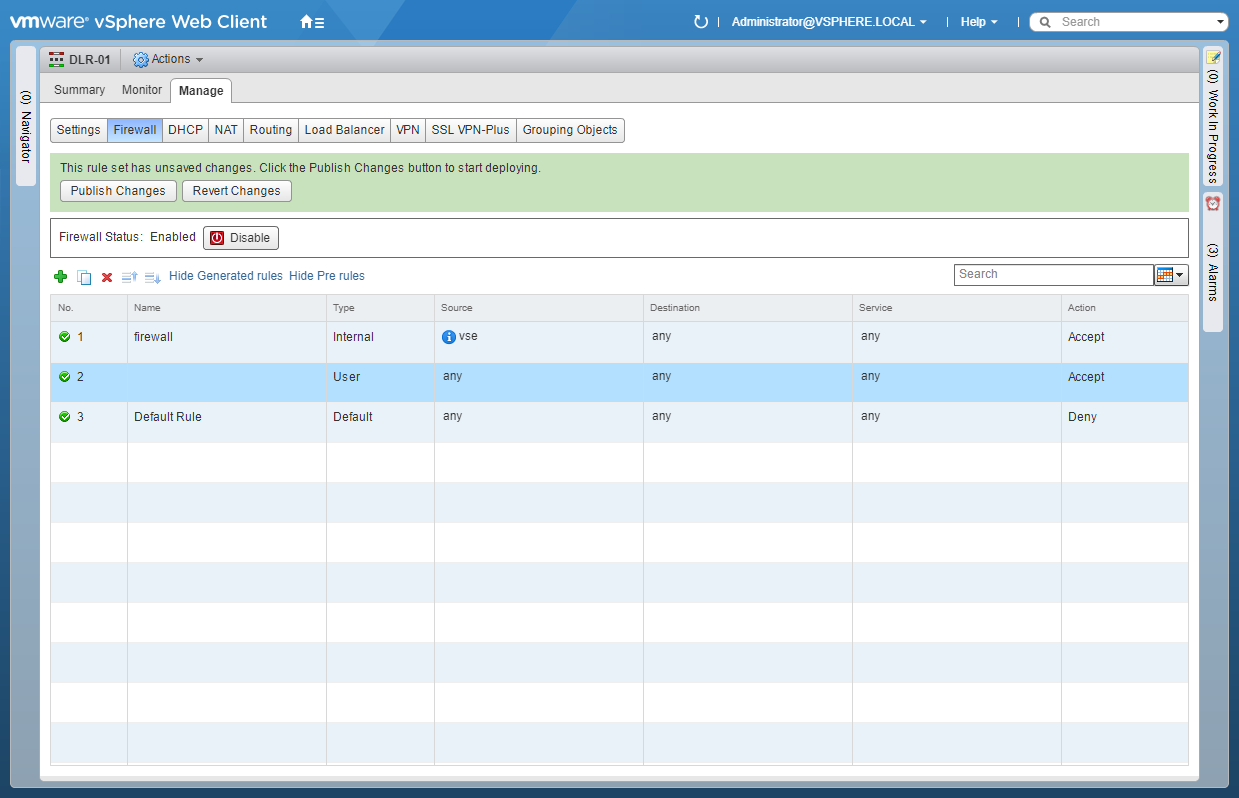
- Highlight the newly created rule and under Name, click +.
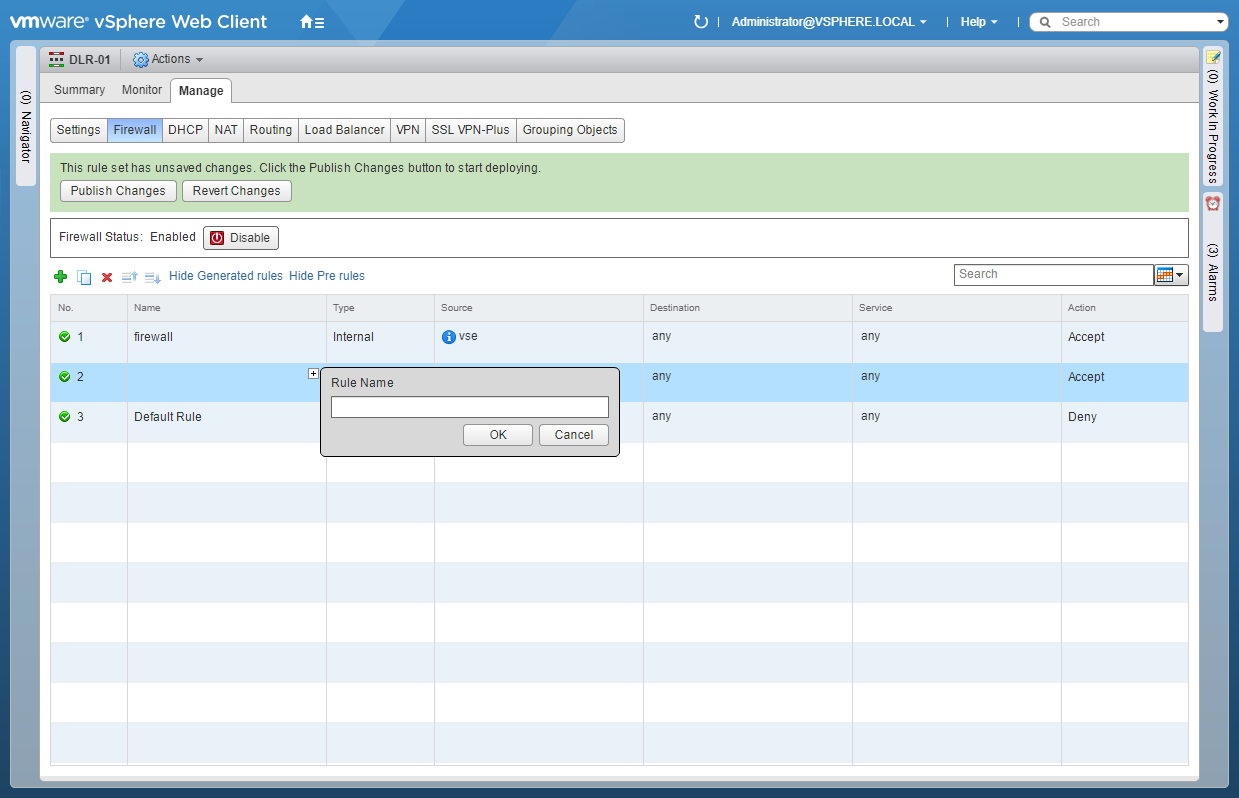
- Enter the Rule Name and click OK.

- Under Source, either click Edit (Pencil) or the IP icon.
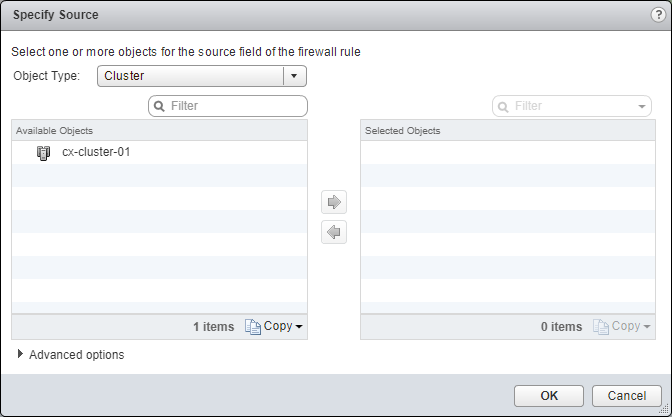
- Select an object from the Object Type dropdown, highlight an item from the Available Objects list and click the arrow to move the item to the Selected Objects list.
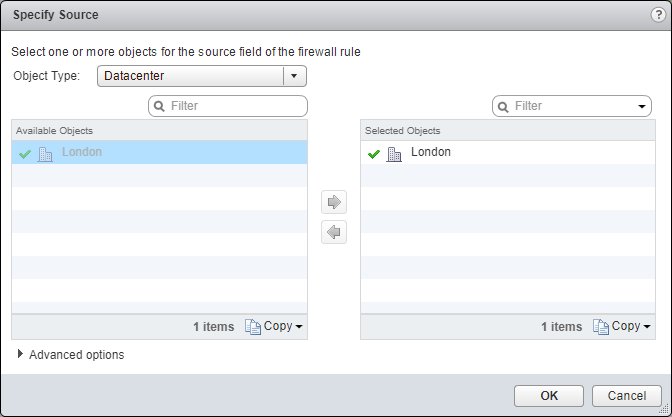
- Click OK.
- Under Destination, either click Edit (Pencil) or the IP icon.
- Select an object from the Object Type dropdown, highlight an item from the Available Objects list and click the arrow to move the item to the Selected Objects list.
- Click OK.
- Under Service, either click Edit (Pencil) or the Port icon.
- Select an object from the Object Type dropdown, highlight an item from the Available Objects list and click the arrow to move the item to the Selected Objects list.
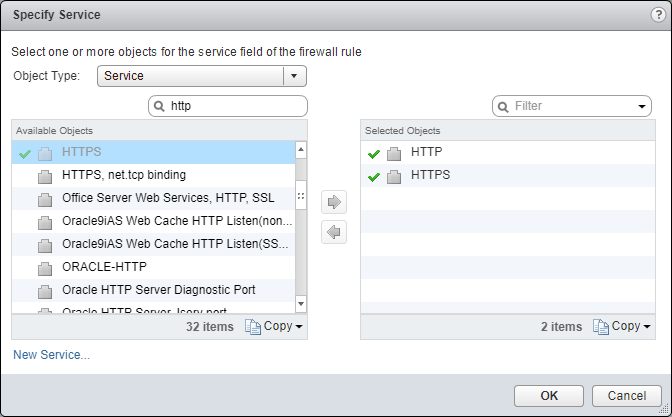
- Click OK.
- (optionally) under Action, click +.
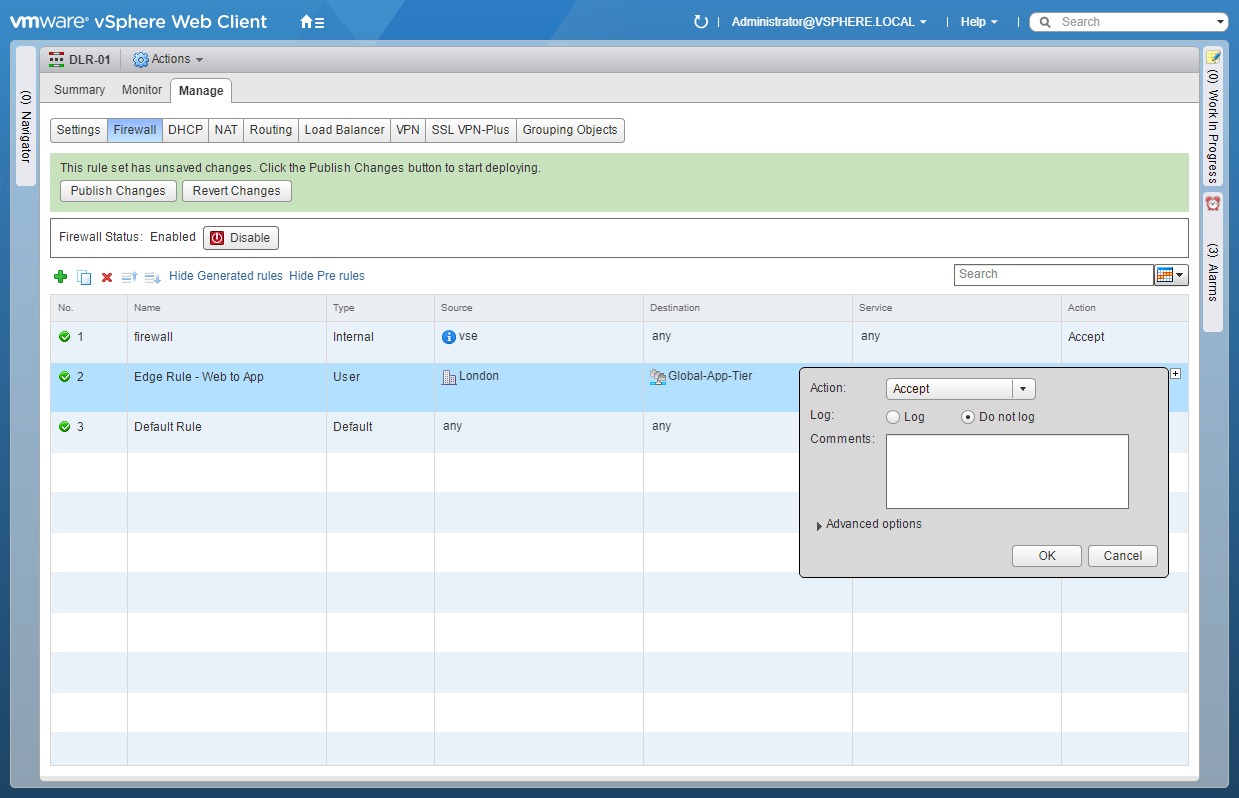
- Select the appropriate Action from the dropdown and select the appropriate Log option and click OK.
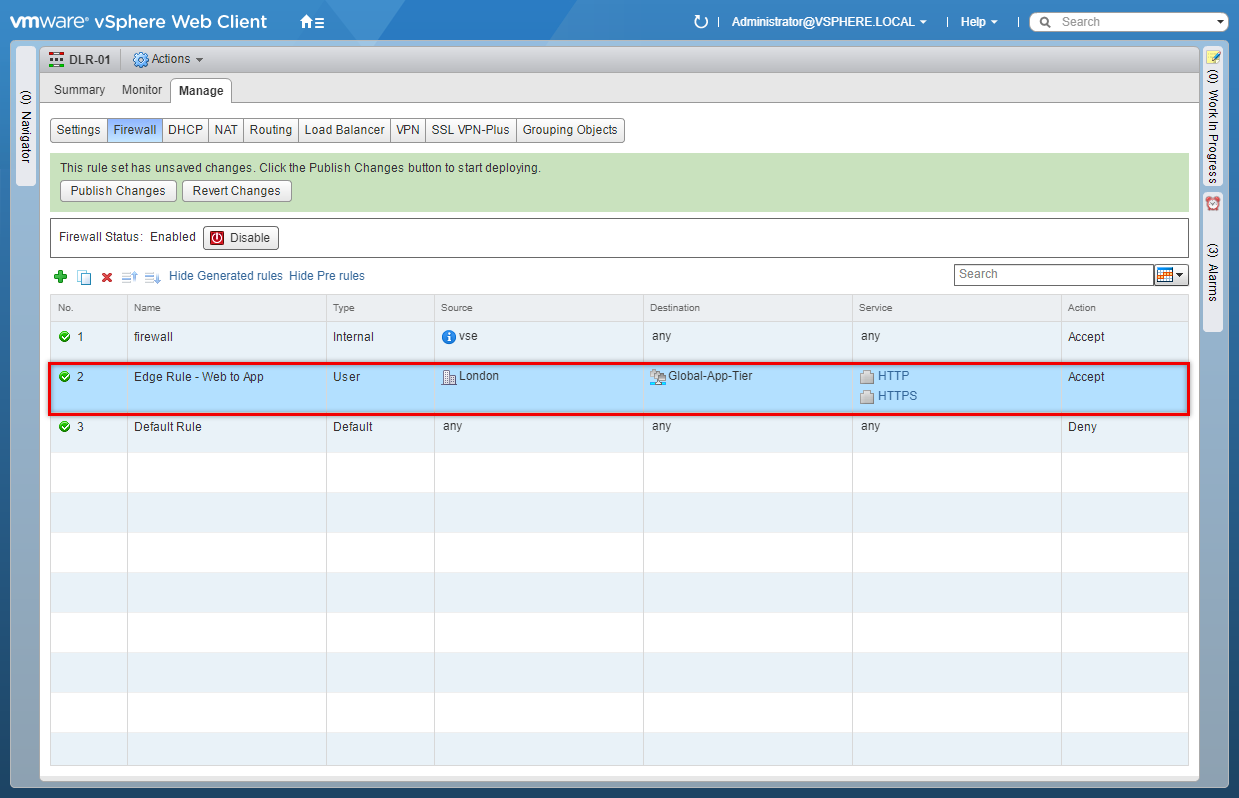
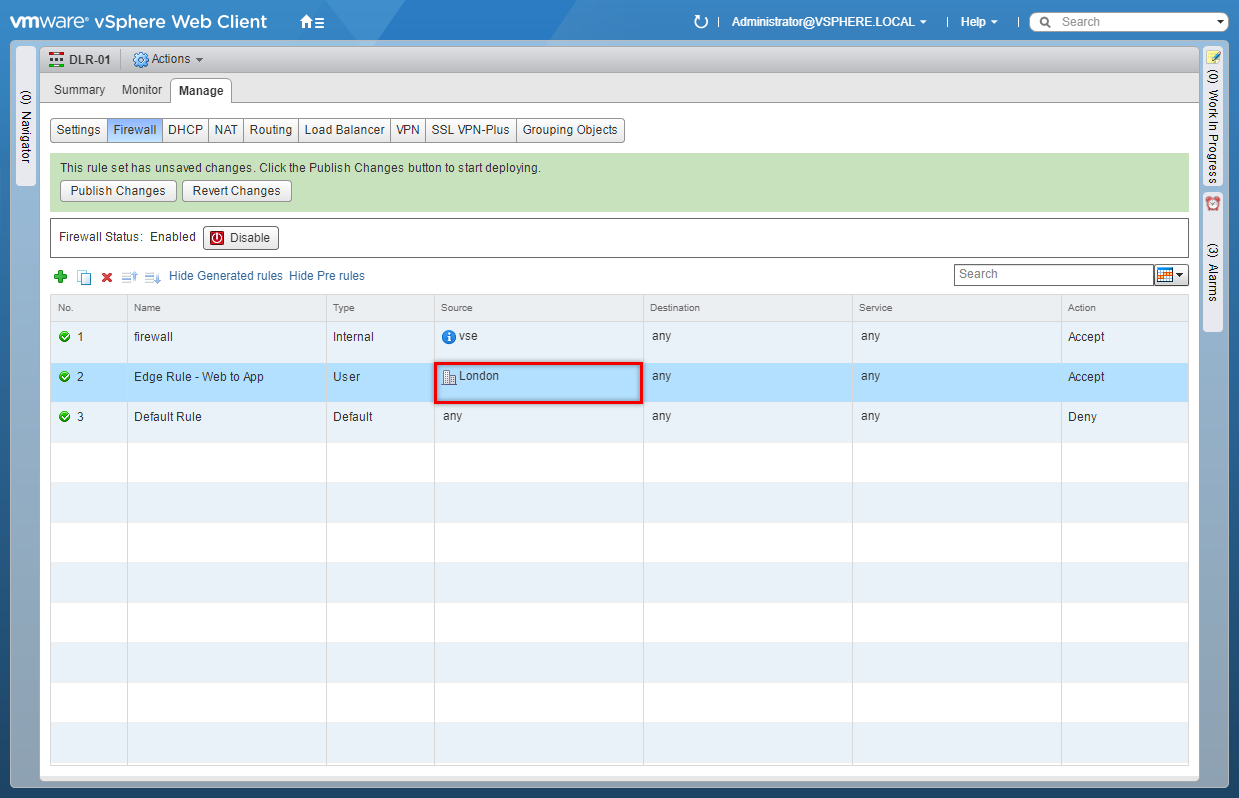
- Click Publish Changes.
Create/Configure Firewall Rule sections for specific departments
- Click Firewall.
- Click Add Section.
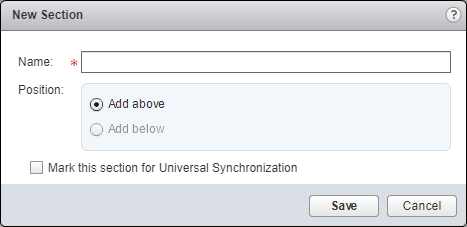
- Enter the Name of the New Section.
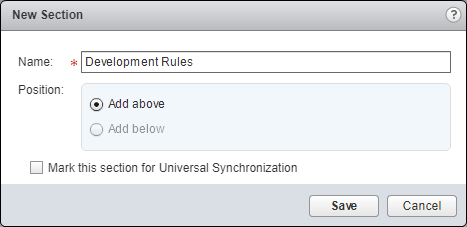
- Click Save.
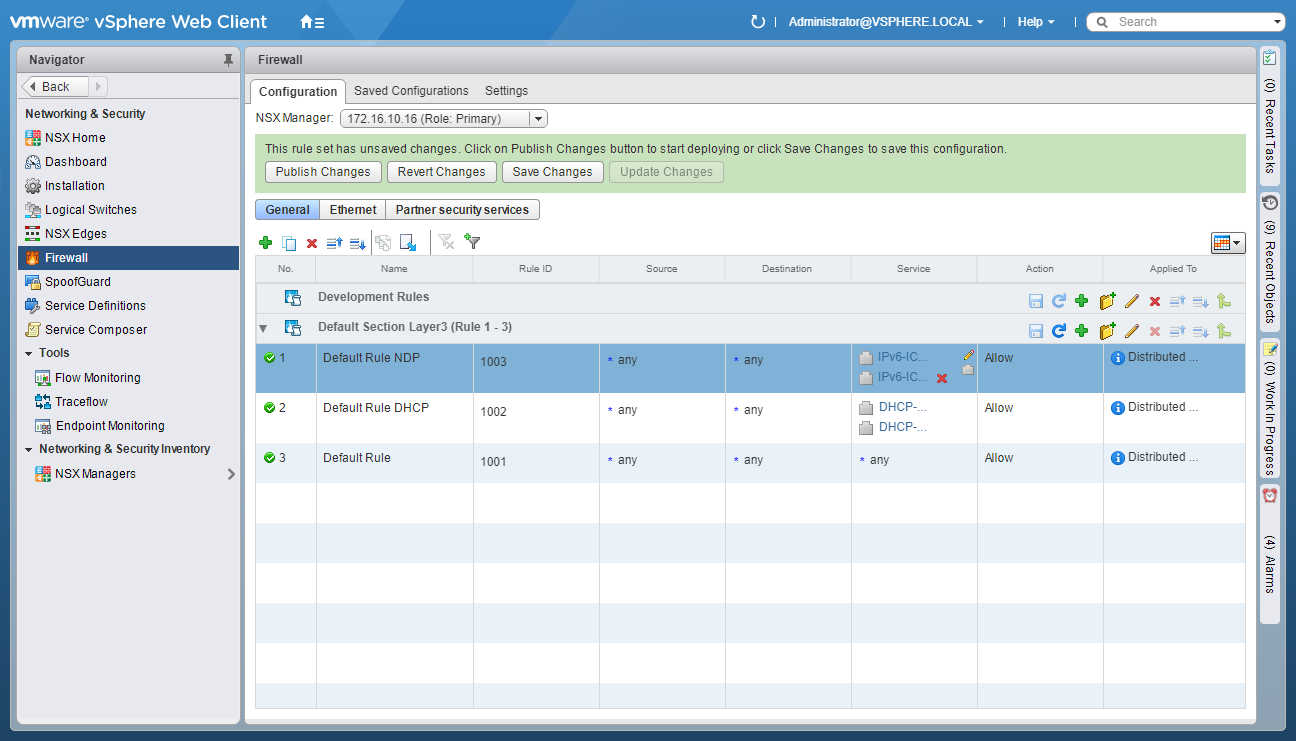
- Click Publish Changes.
Create/Configure Identity-based firewall (IDFW) for specific users/groups
The process for this is outlined here .
Essentially, you configure synchronization from NSX Manager to the Active Directory and then create NSX Security Groups based on AD Groups. You can then use the NSX Security Groups in firewall rules.
As we have covered the creation of NSX Security Groups and the creation of Firewall Rules using NSX Security Groups. This section will only cover the configuration required to synchronize NSX Manager with AD.
- Using your favourite web browser, navigate to the vCenter Server login page (
https://vcenter.fqdn).
- Enter appropriate User name and Password and click Login.
- Click Networking and Security.
- Click NSX Manager.
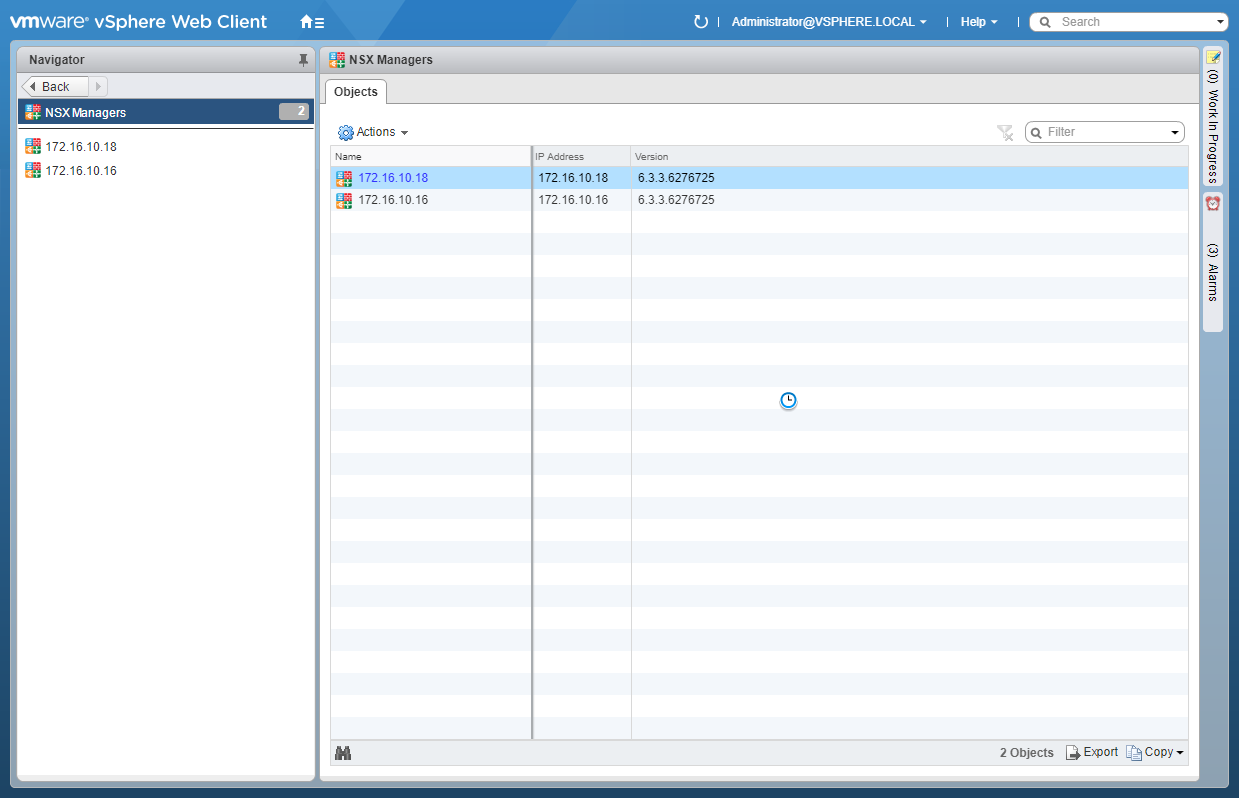
- Click on the NSX Manager (primary) IP Address.
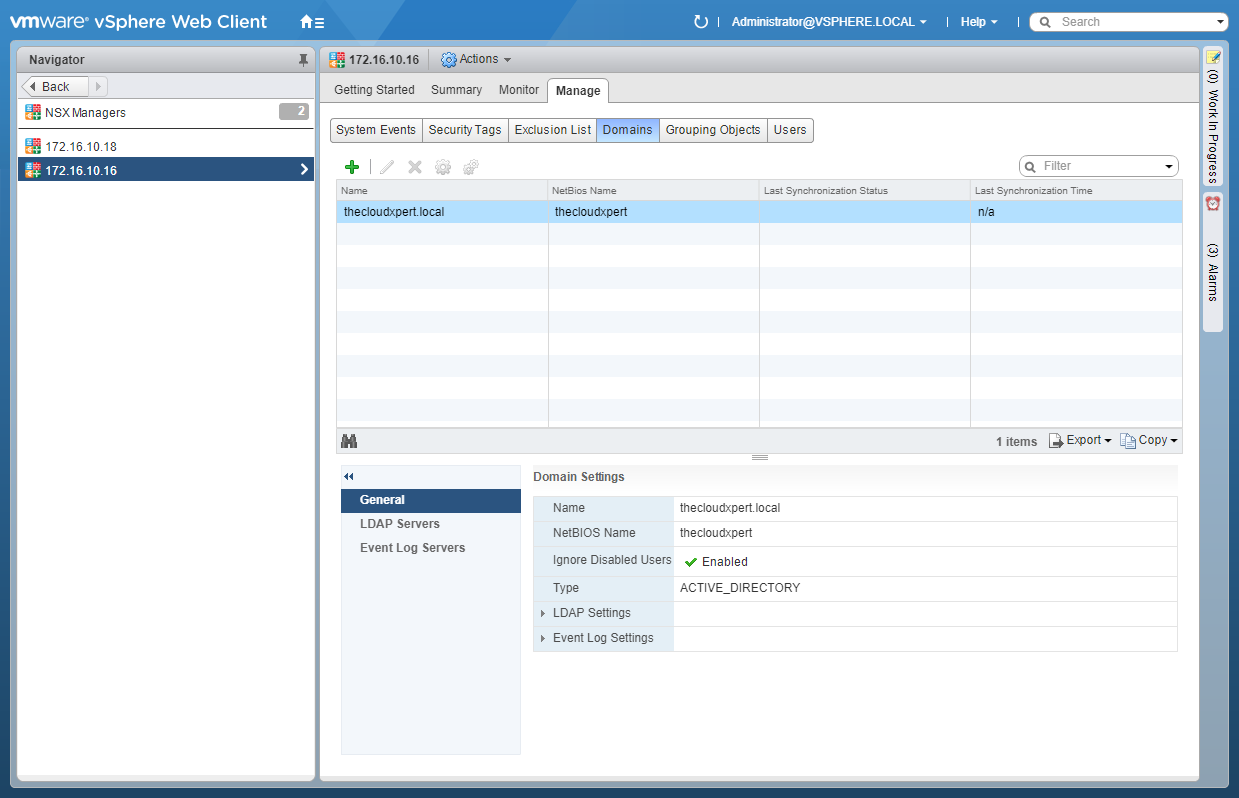
- Click Manage > Domains.
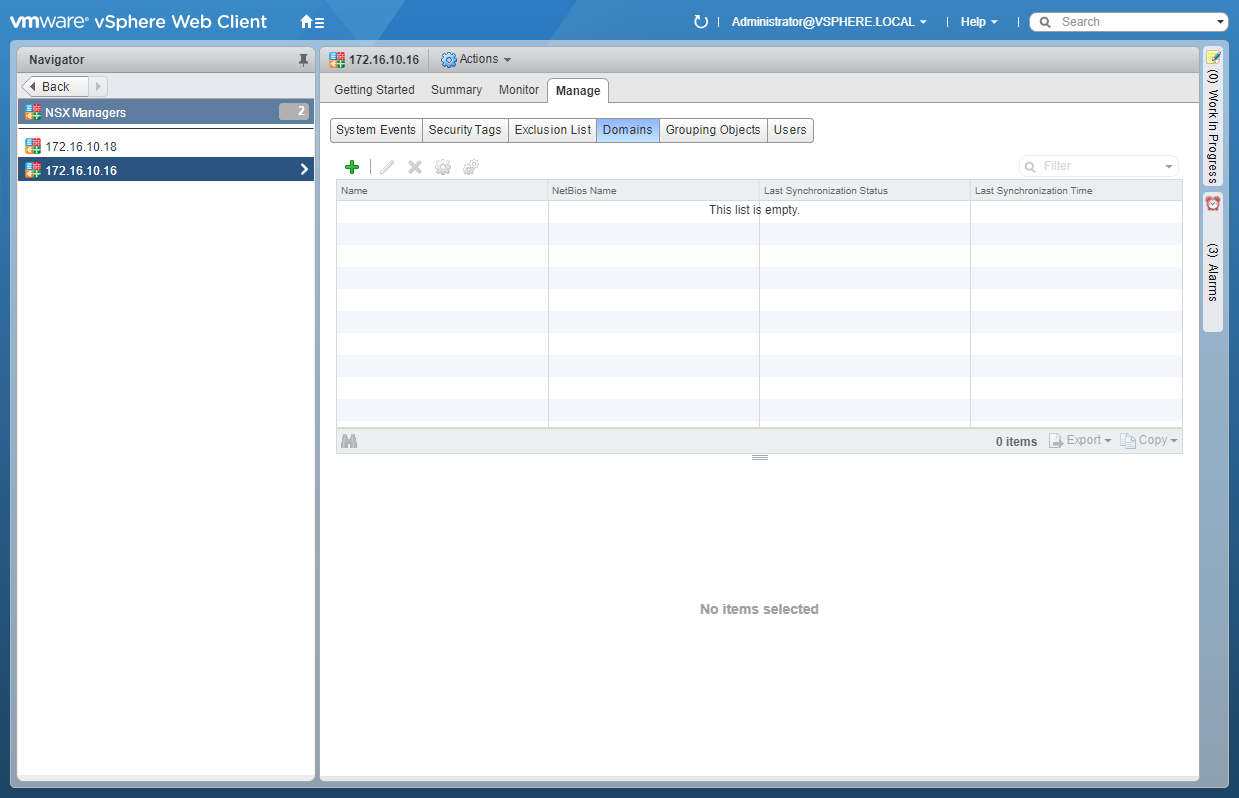
- Click Add (+).
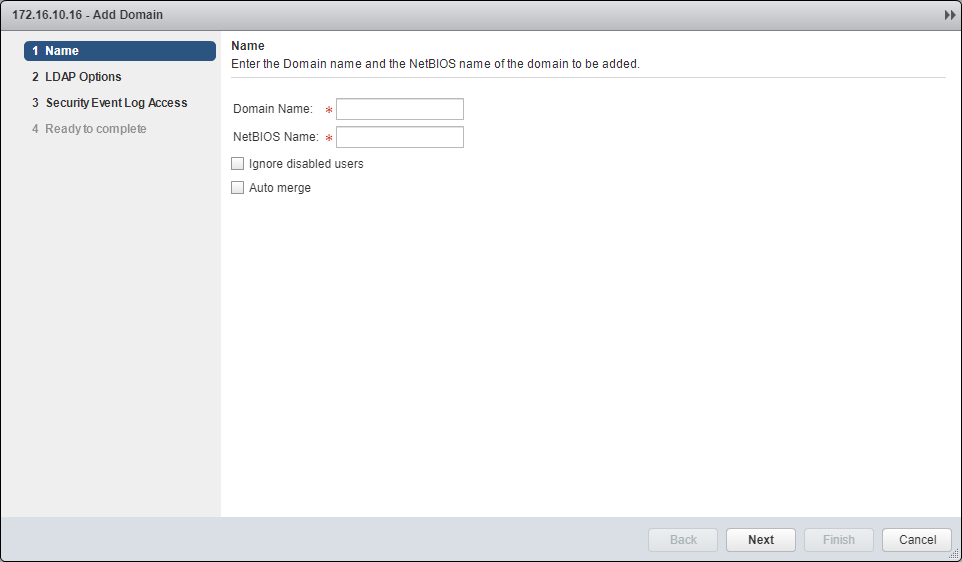
- Enter the Domain Name, NetBIOS Name and (optionally) check Ignore disabled users and Auto merge checkboxes.

- Click Next.
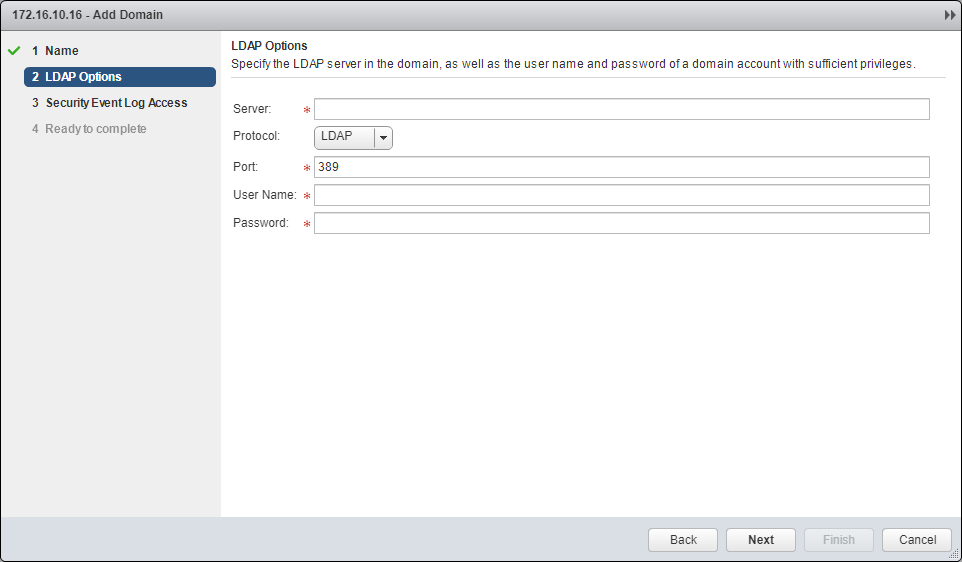
- Enter the Server, select the Protocol and Port, then enter the User Name and Password required.
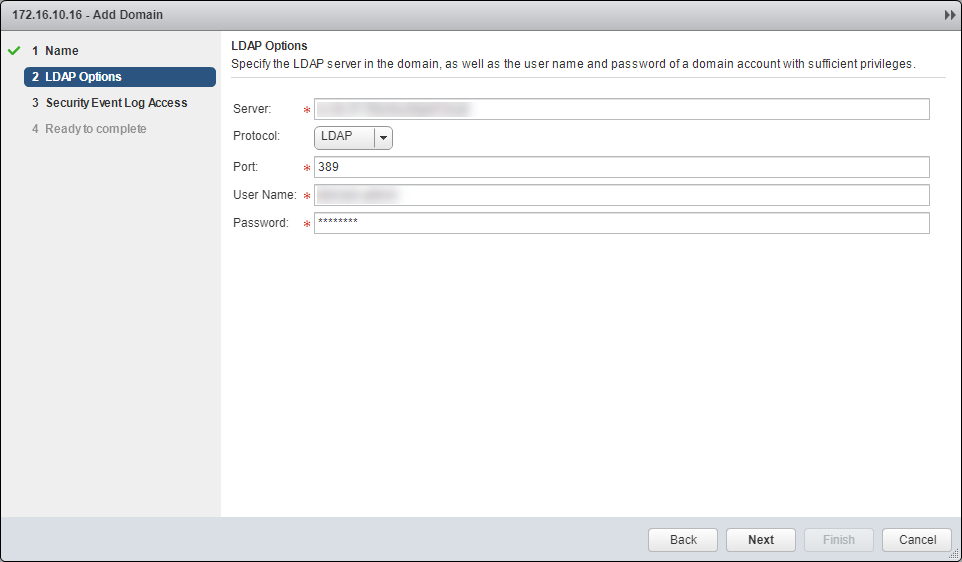
- Click Next.
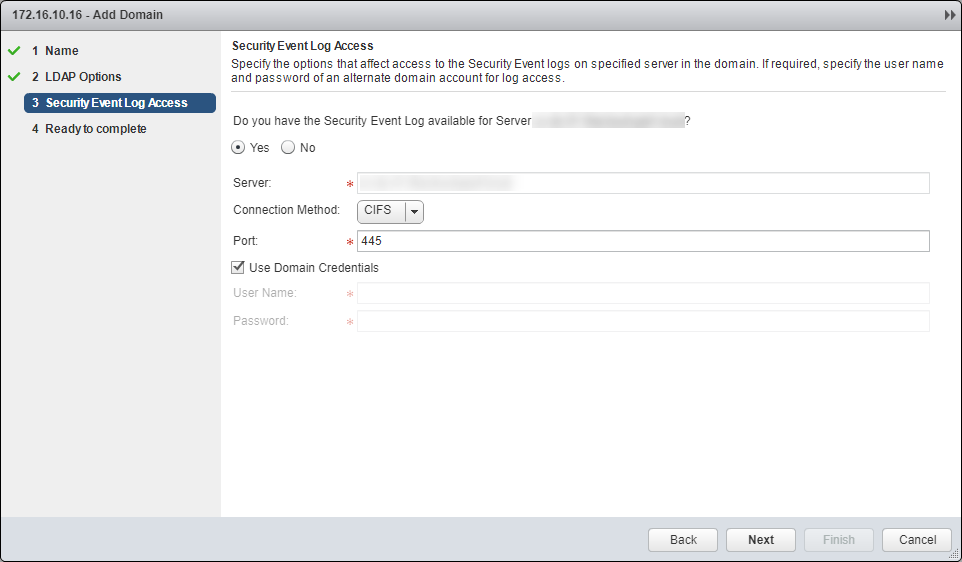
- (Optionally) Make changes the Security Event Log Access and click Next.

- Click Finish.
- If you leave it for a few means to synchronize and click Refresh.
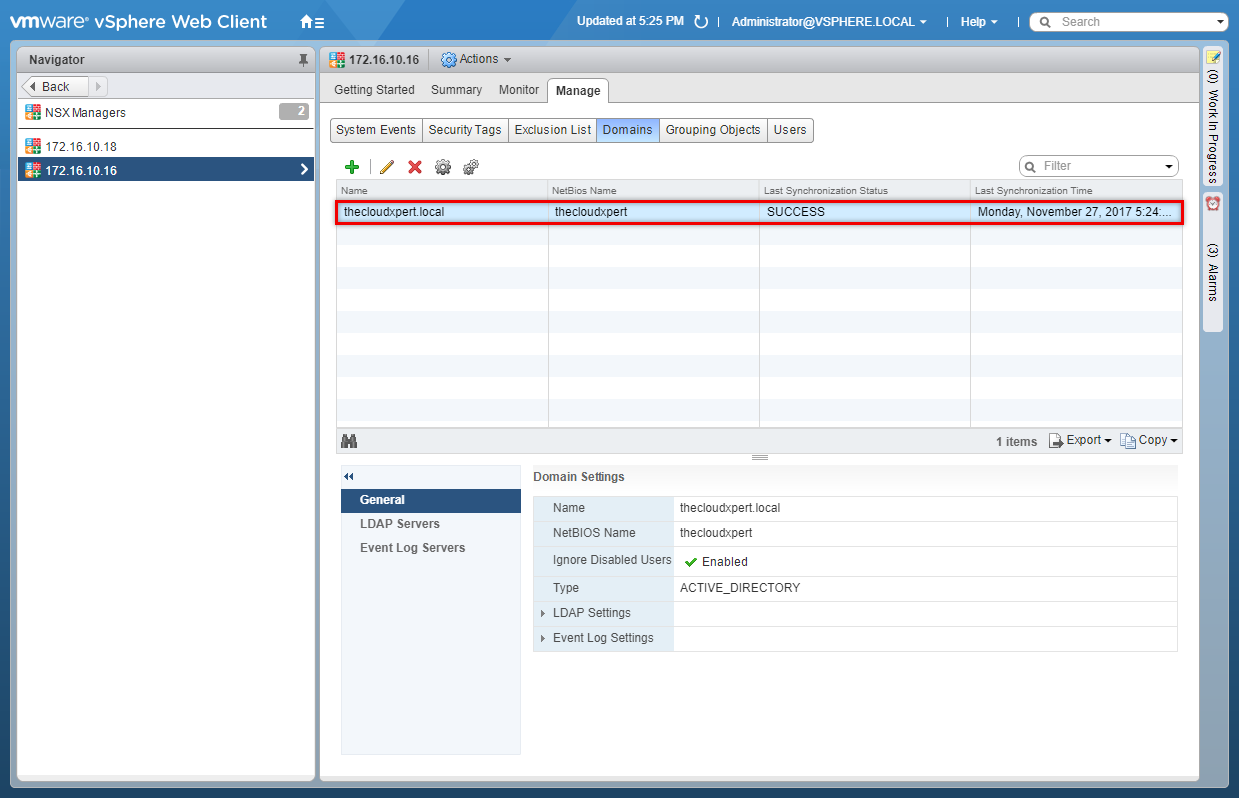
When you now create NSX Security Groups there will be another object type available called Directory Group.

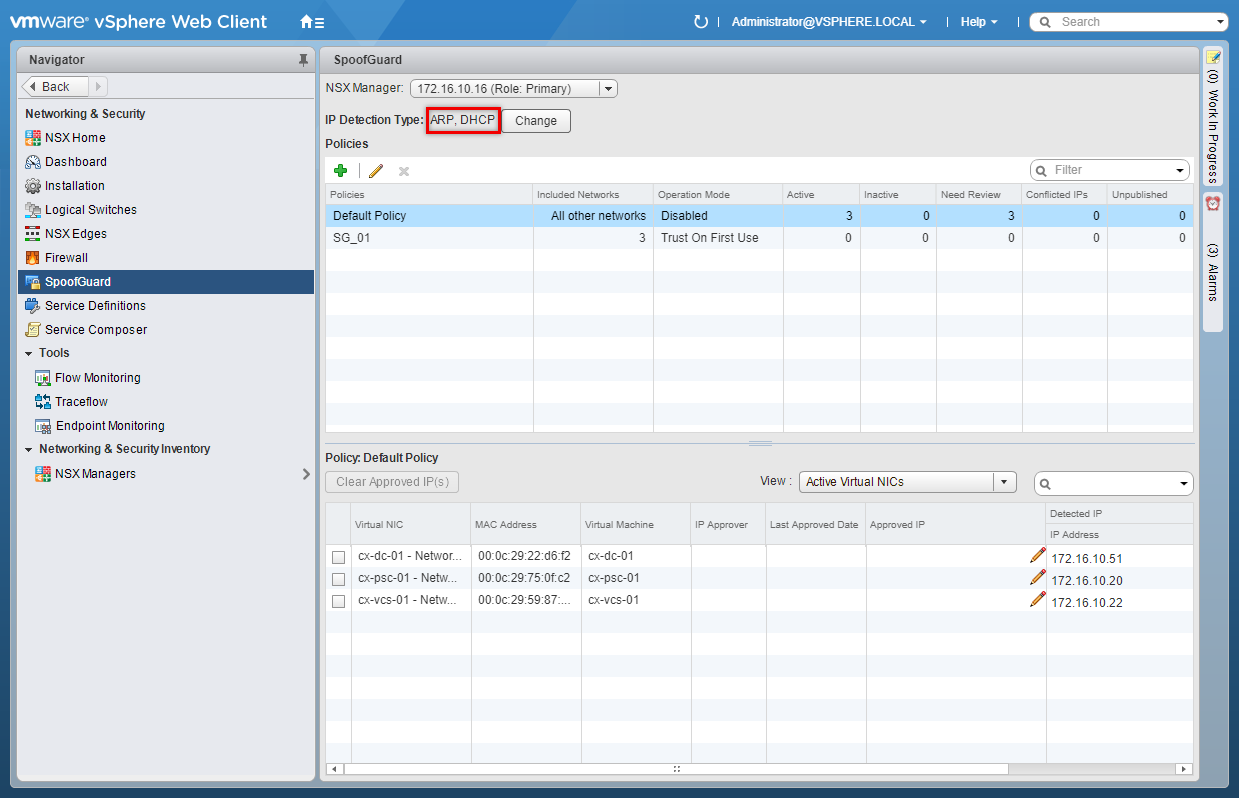
Configure SpoofGuard policies to enhance security
Enable SpoofGuard
- Using your favourite web browser, navigate to the vCenter Server login page (
https://vcenter.fqdn).
- Enter appropriate User name and Password and click Login.
- Click Networking and Security.
- Click SpoofGuard.
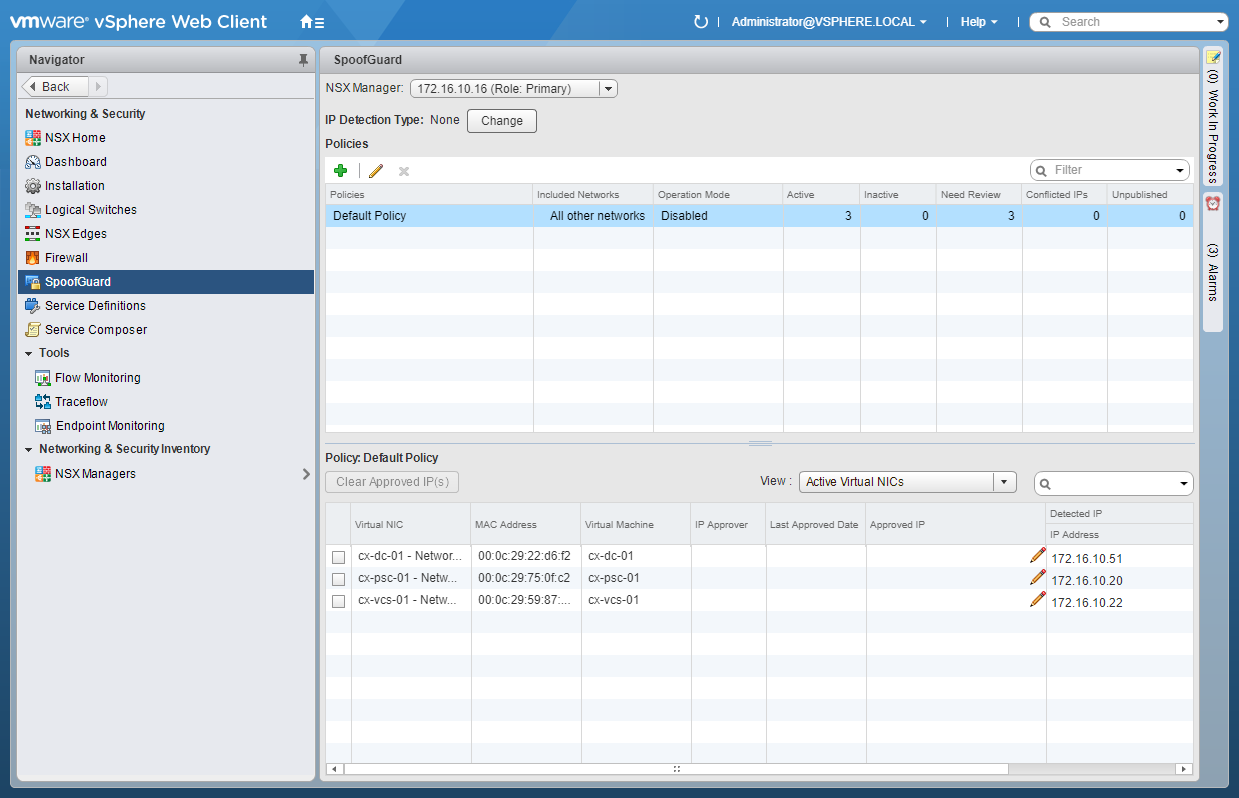
- At IP Detection Type, click Change.
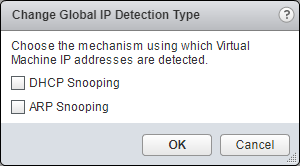
- Click either DHCP Snooping or ARP Snooping (or both) and click OK.
Create a SpoofGuard Policy
- Click Add (+).
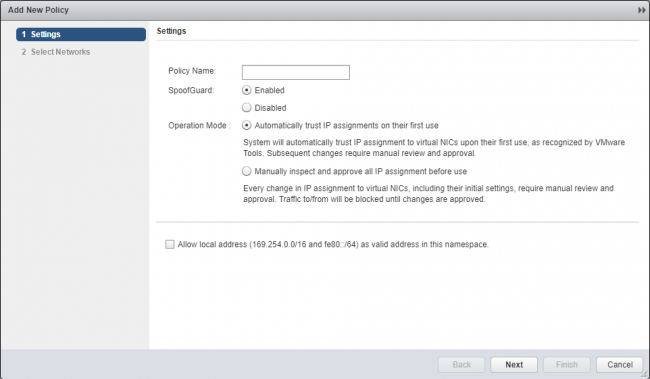
- Enter the Policy Name, select SpoofGuard to be Enabled or Disabled, select required Operation Mode and click Next.
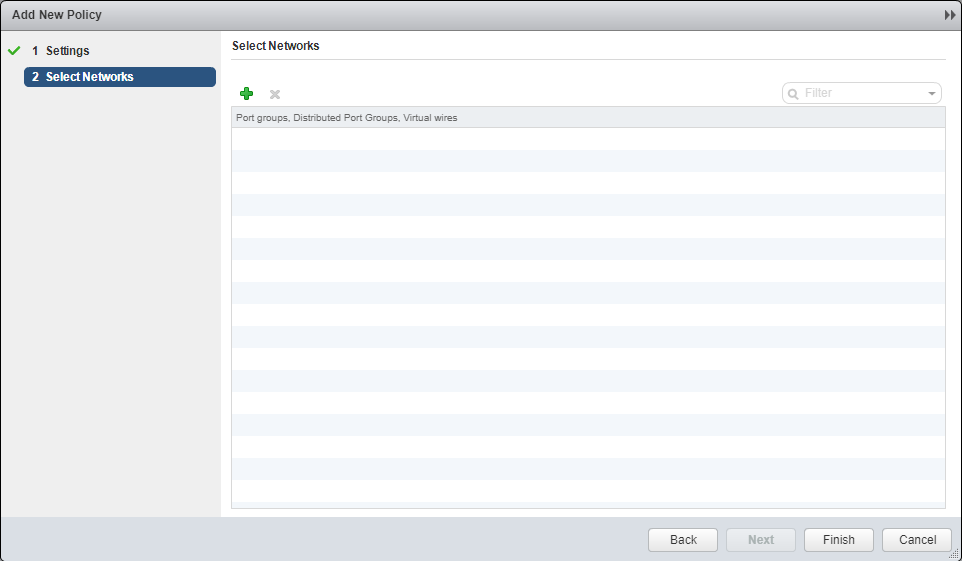
- Click Add (+).
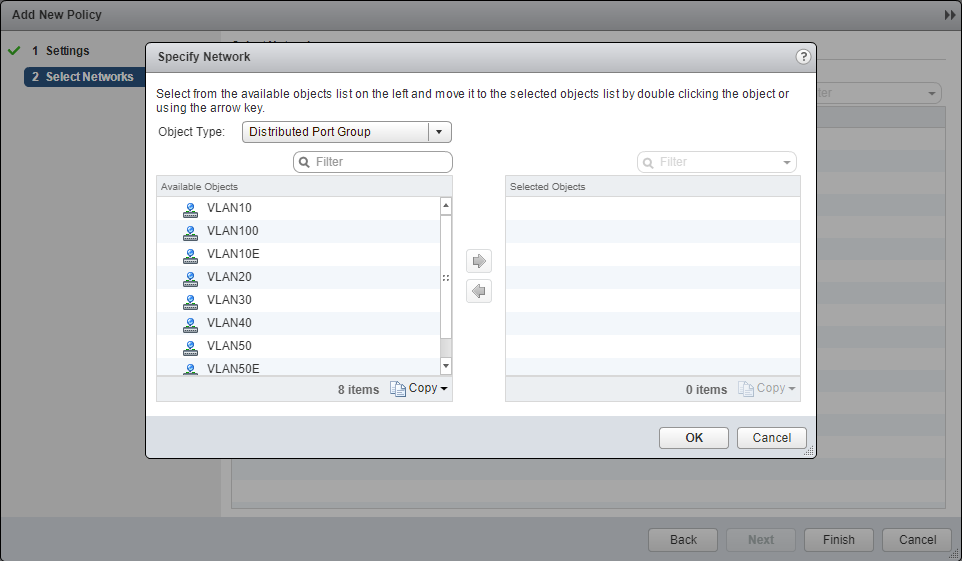
- Select an object from the Object Type dropdown, highlight an item from the Available Objects list and click the arrow to move the item to the Selected Objects list.
- Click OK.

- Click Finish.

Filter Firewall Rules to narrow a scope
This is completed using the Applied To fields within a firewall rule. This is covered throughout this post.
Published on 27 November 2017 by Christopher Lewis. Words: 1058. Reading Time: 5 mins.
- VCAP6-NV Deploy - Objective 6.3 - Configure and Manage Universal Logical Security Objects ()
- VCAP6-NV Deploy - Objective 6.2 - Configure and Manage Universal Logical Network Objects ()
- VCAP6-NV Deploy - Objective 6.1 - Configure Cross vCenter VMware NSX infrastructure components ()
- Achievement Unlocked - VMware Certified Implementation Expert 6 - Network Virtualization ()
- VCAP6-NV Deploy - Objective 4.2 - Configure and Manage Service Composer ()
