Warning! The content within this article is over 36 months old and, therefore, may be out of date.
VCAP6-NV Deploy - Objective 6.3 - Configure and Manage Universal Logical Security Objects
Share this article on:


VMware NSX-V VCAP6-NV VCIX6-NV HOWTO
Published on 20 November 2017 by Christopher Lewis. Words: 711. Reading Time: 4 mins.
Objective 6.3 - Configure and Manage Universal Logical Security Objects
Objective Overview
- Configure Universal MAC Sets
- Configure Universal IP Sets
- Configure Universal Security Groups
- Configure Universal Services and Service Groups
- Configure Universal Firewall Rules
Objective Prerequisites
The following prerequisites are assumed for this Objective:
- A working VMware vSphere 6.x environment with 2 vCenter Servers and 2 Platform Services linked in ELM.
- A working VMware NSX 6.x environment configured for cross-vCenter NSX.
Objective Breakdown
Note:
These steps assume you are not even logged into vCenter Server. Skip the first few steps if you are!
- Using your favourite web browser, navigate to the vCenter Server login page (
https://vcenter.fqdn).
- Enter appropriate User name and Password and click Login.
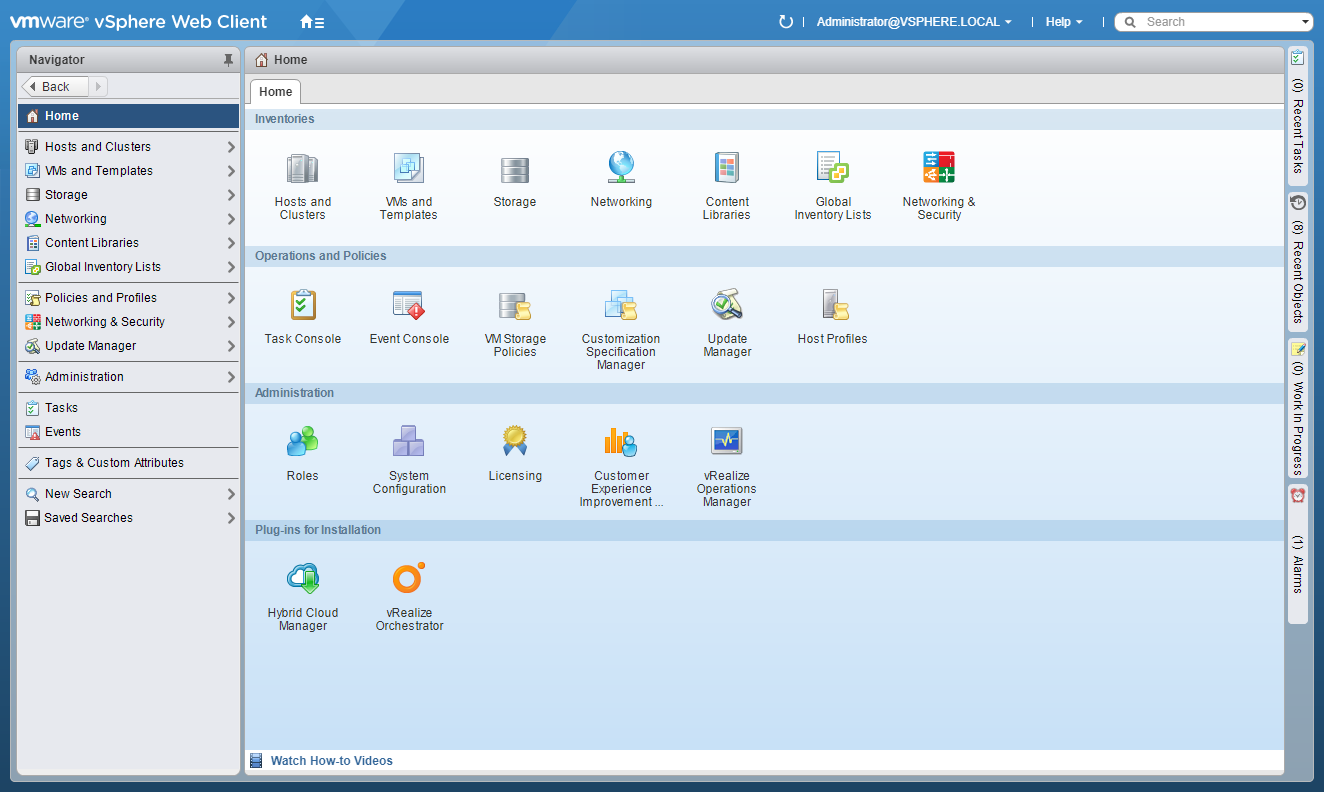
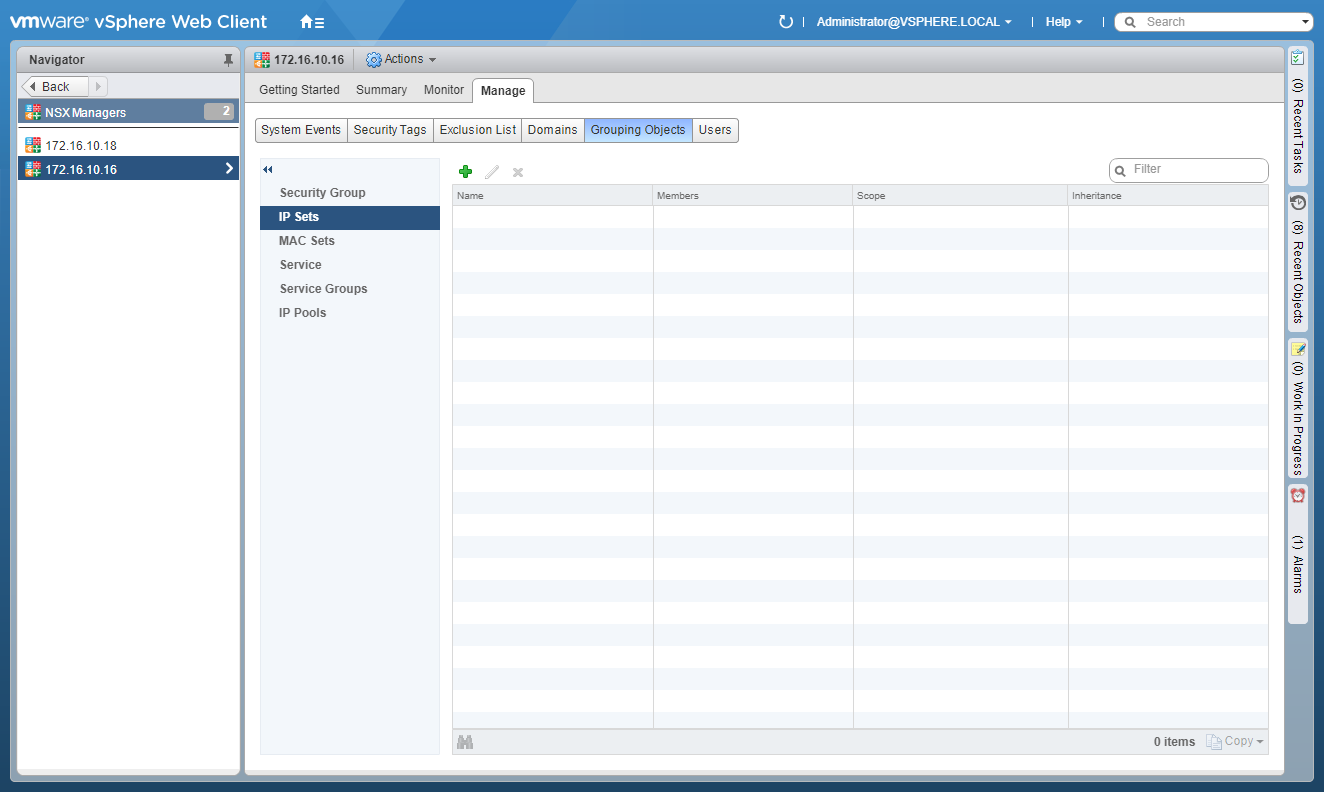
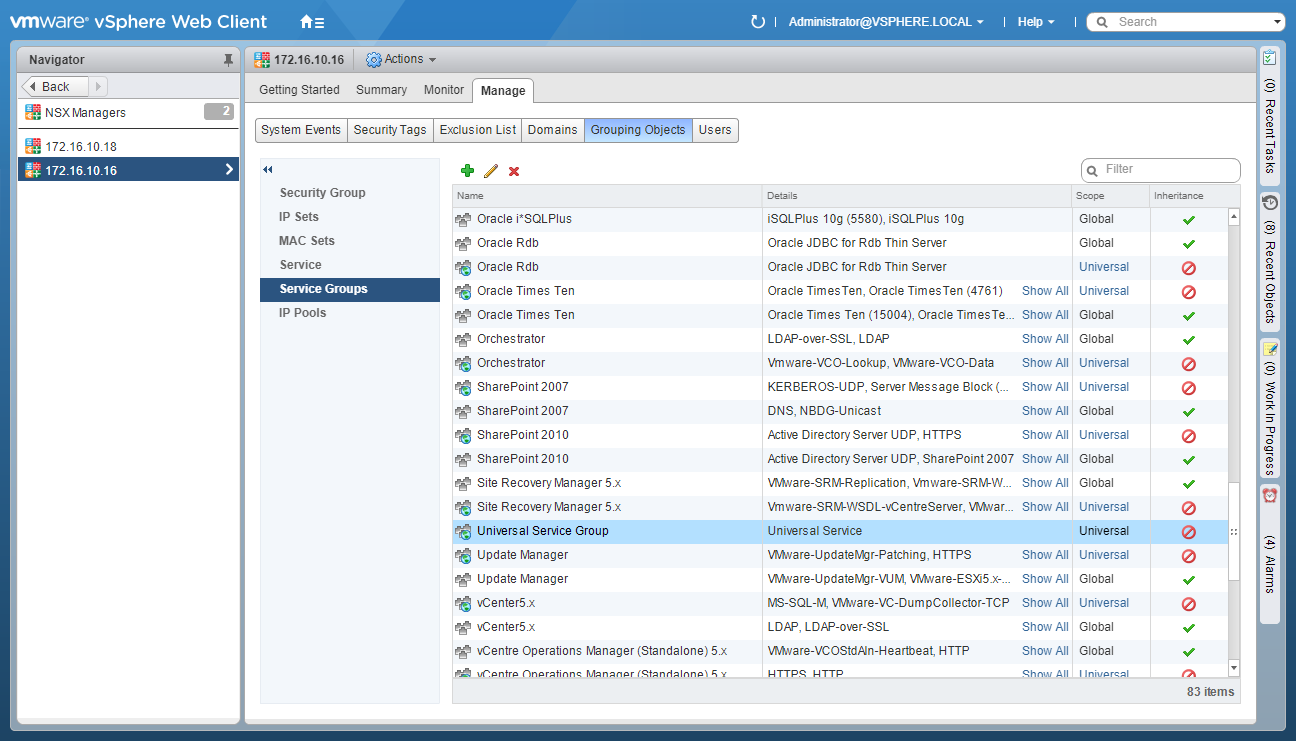
- Click Networking and Security.
- Click NSX Managers.
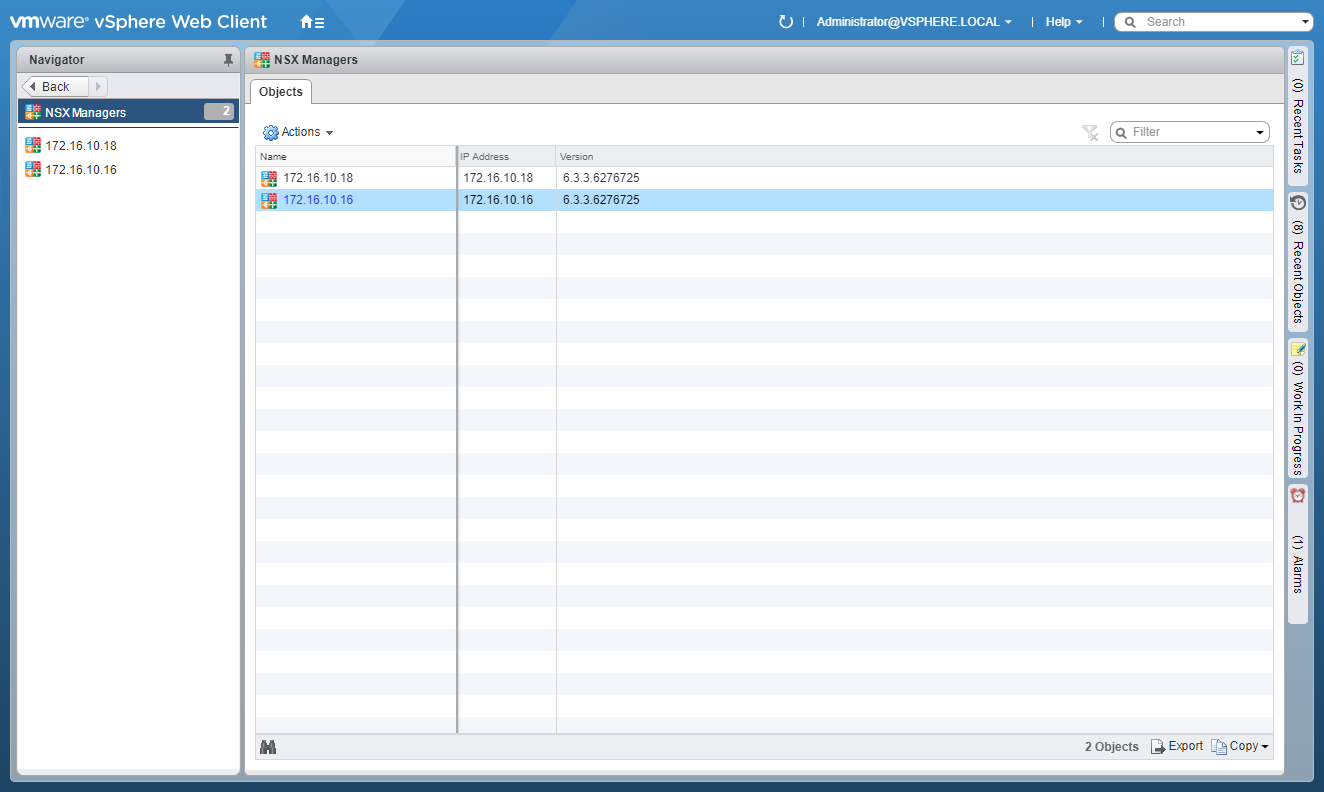
- Click the Primary NSX manager IP address.
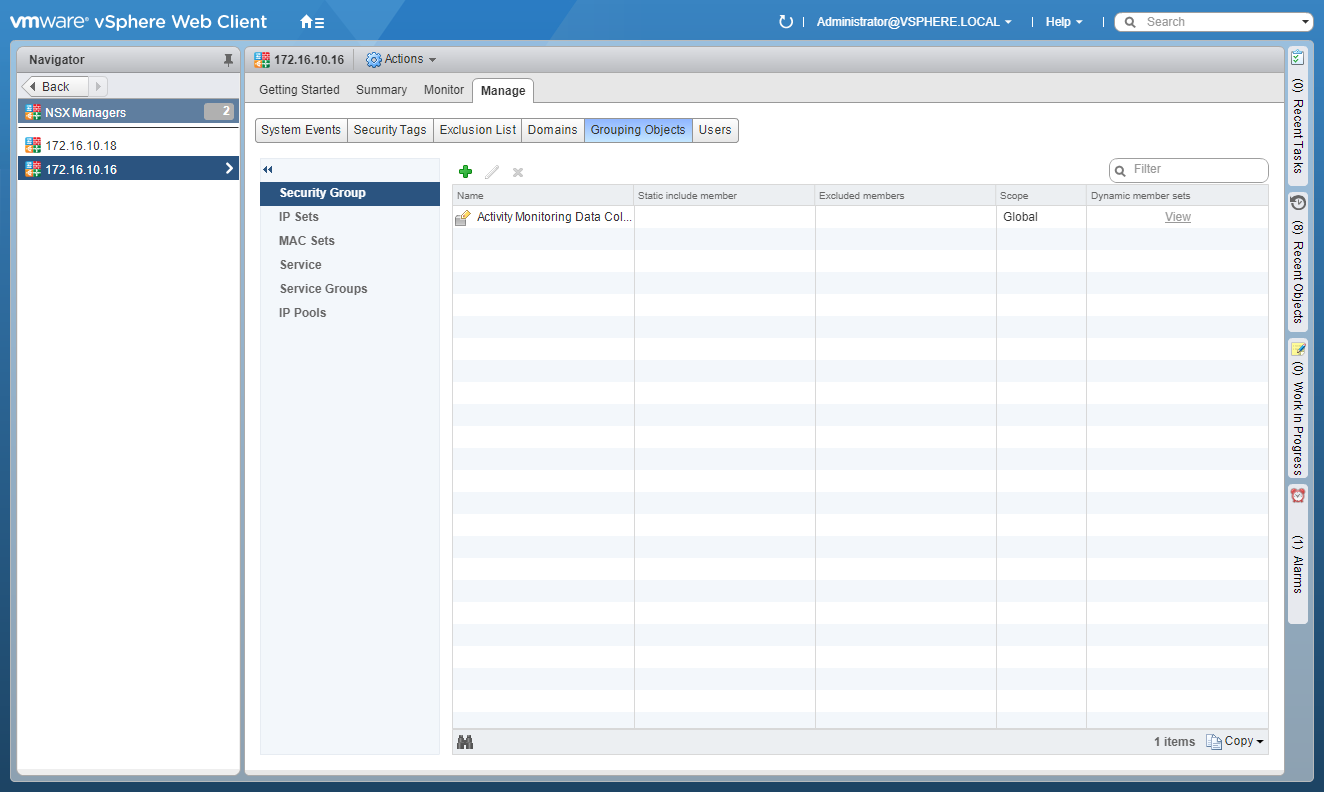
- Click Manage.
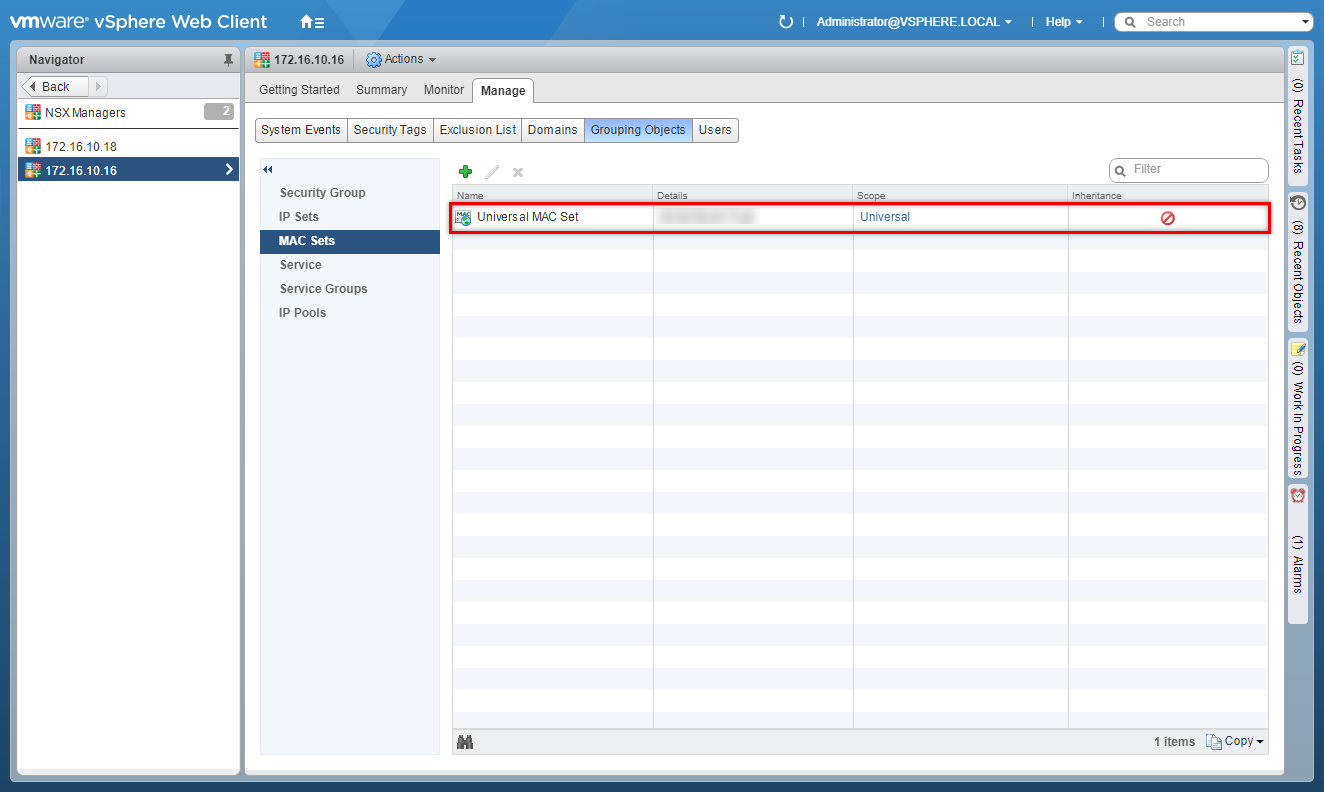
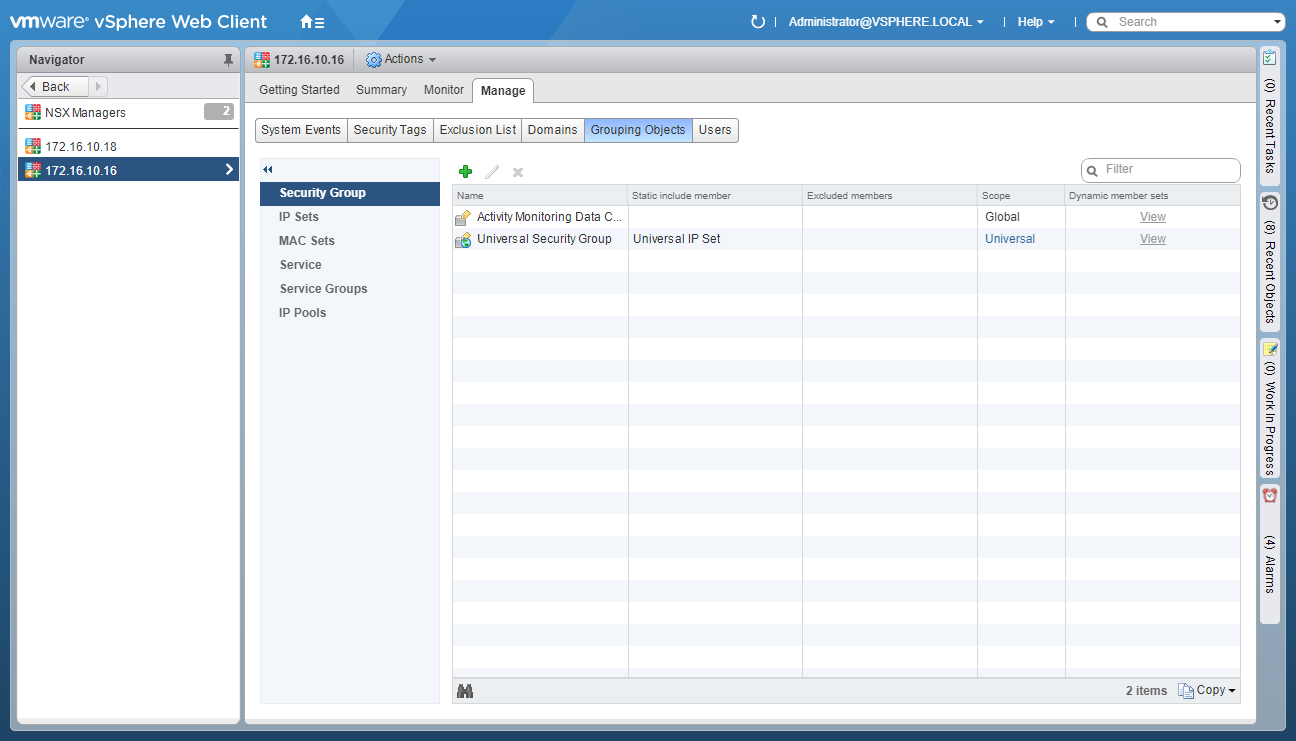
- Click Grouping Objects.
Configure Universal MAC sets
- Click MAC Sets.
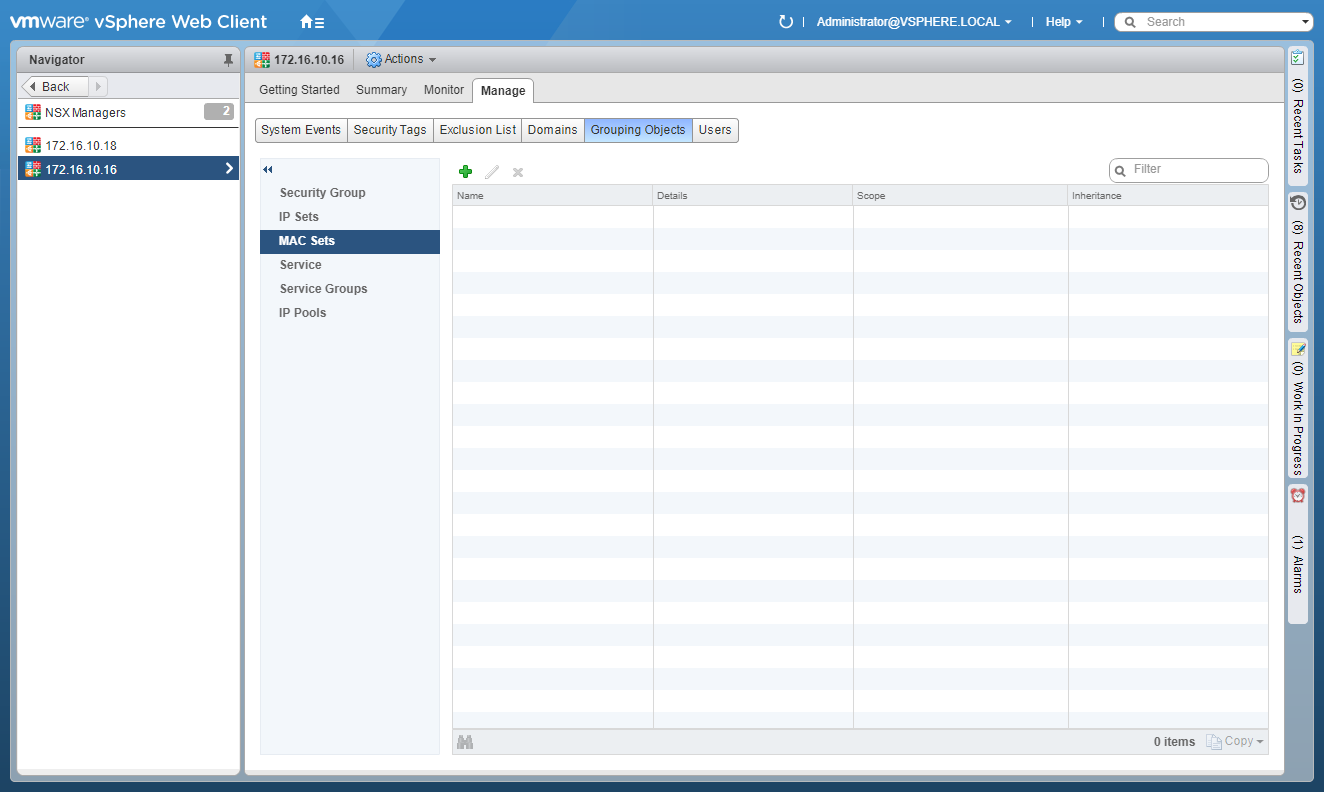
- Click Add(+).
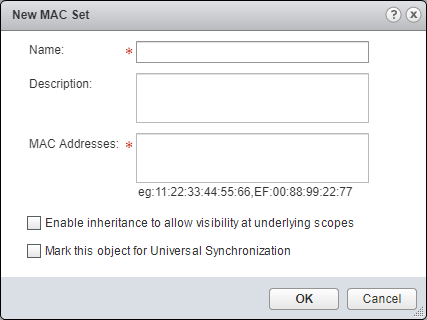
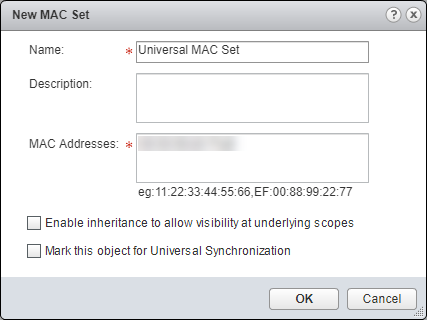
- Enter the Name of the new Universal MAC Set, (optional) Description and enter a list of** MAC Addresses**.
- Check the Mark this object for Universal Synchronization checkbox.
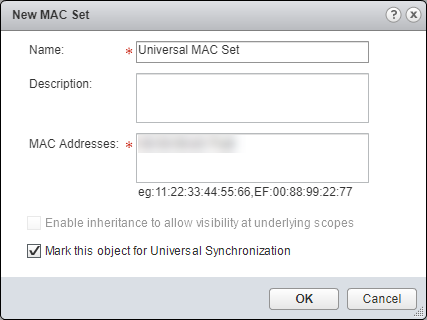
- Click OK.
Configure Universal IP Sets
- Click IP Sets.
- Click Add (+).
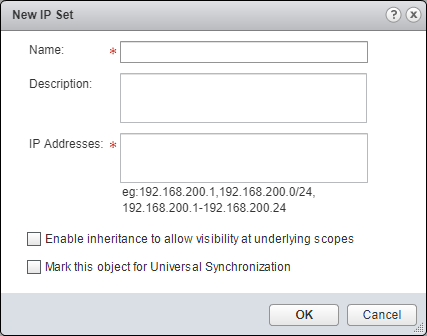
- Enter the Name of the new Universal IP Set, (optional) Description and enter a range of IP Addresses.
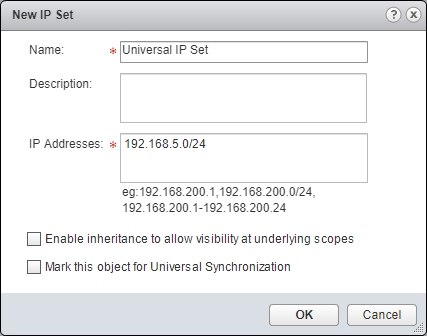
- Check the Mark this object for Universal Synchronization checkbox.
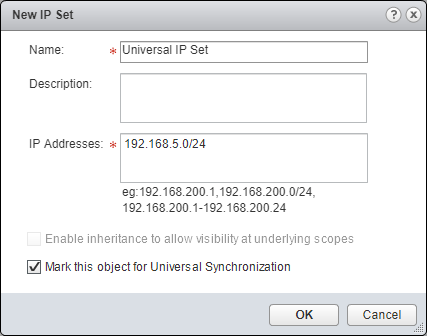
- Click OK.

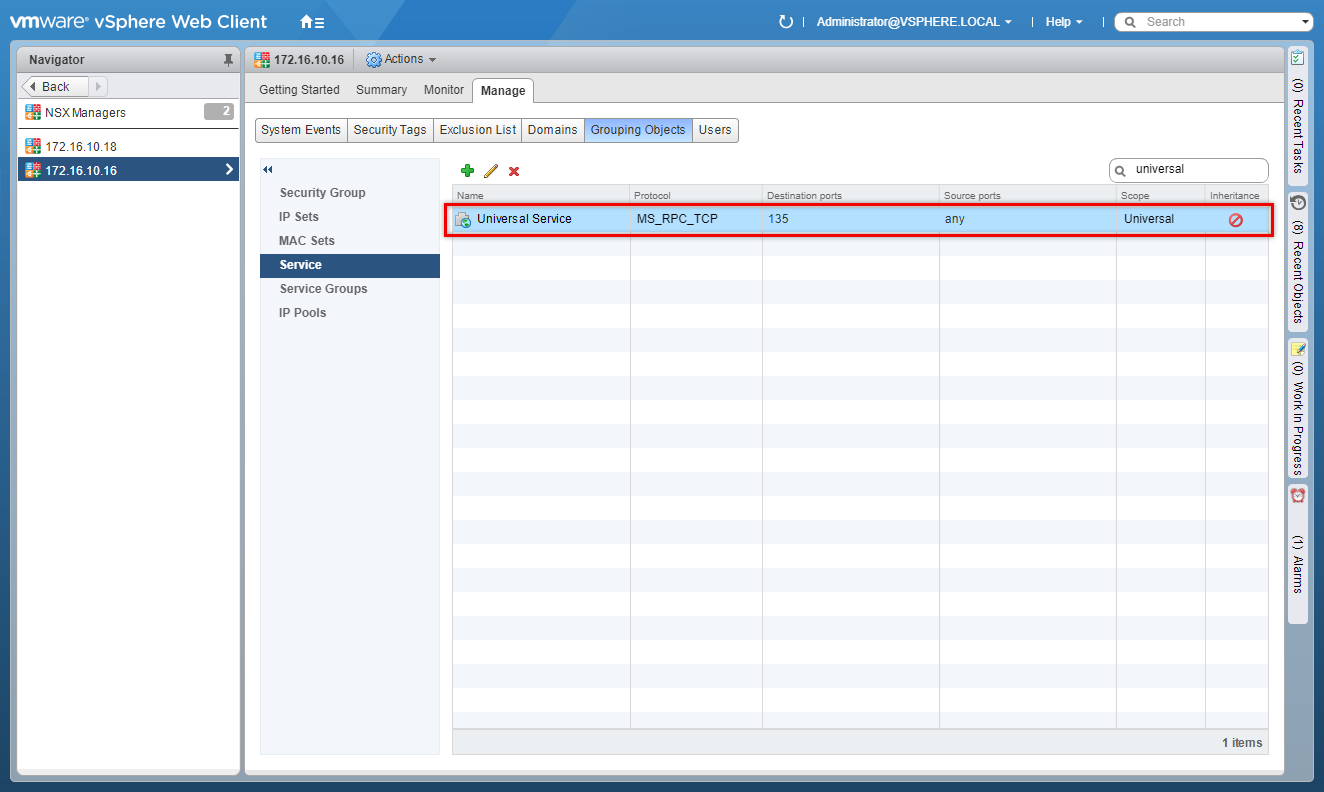
Configure Universal Services
- Click Service.
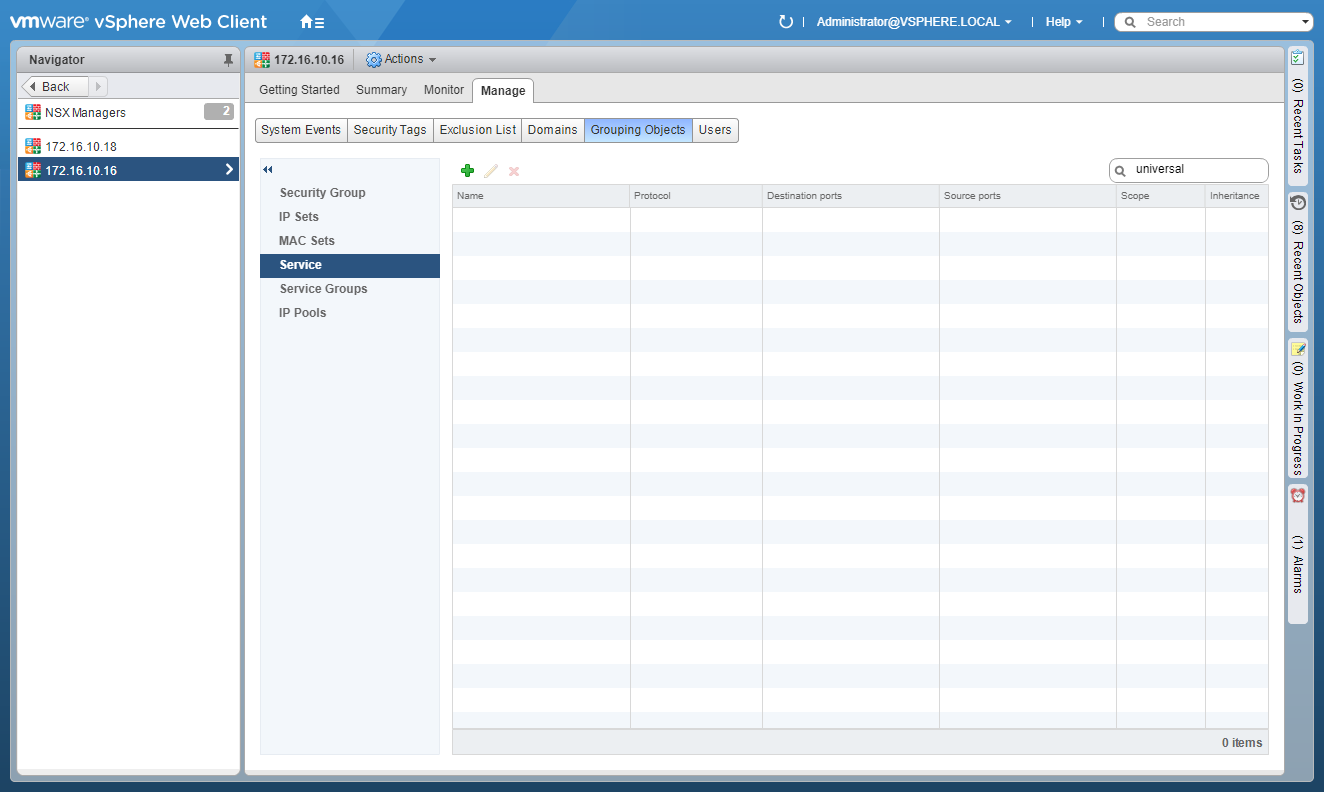
- Click Add(+).
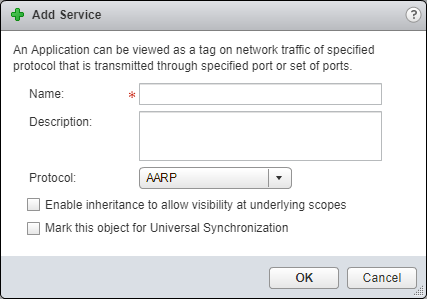
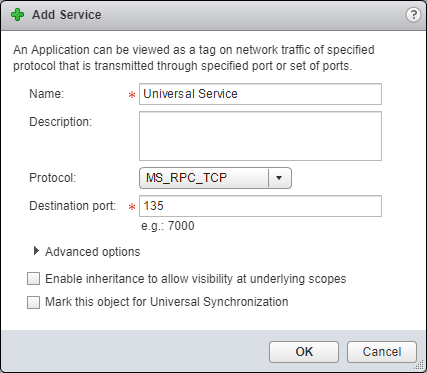
- Enter the Name of the new Universal Service, (optional) Description, and select a Protocol from the dropdown.
Note:
If you select certain Protocols there are additional options to specify both a Destination Port and Source Port or utilise the pre-defined default port(s).
- Check the Mark this object for Universal Synchronization checkbox.
- Click OK.
Configure Universal Service Groups
- Click Service Groups.
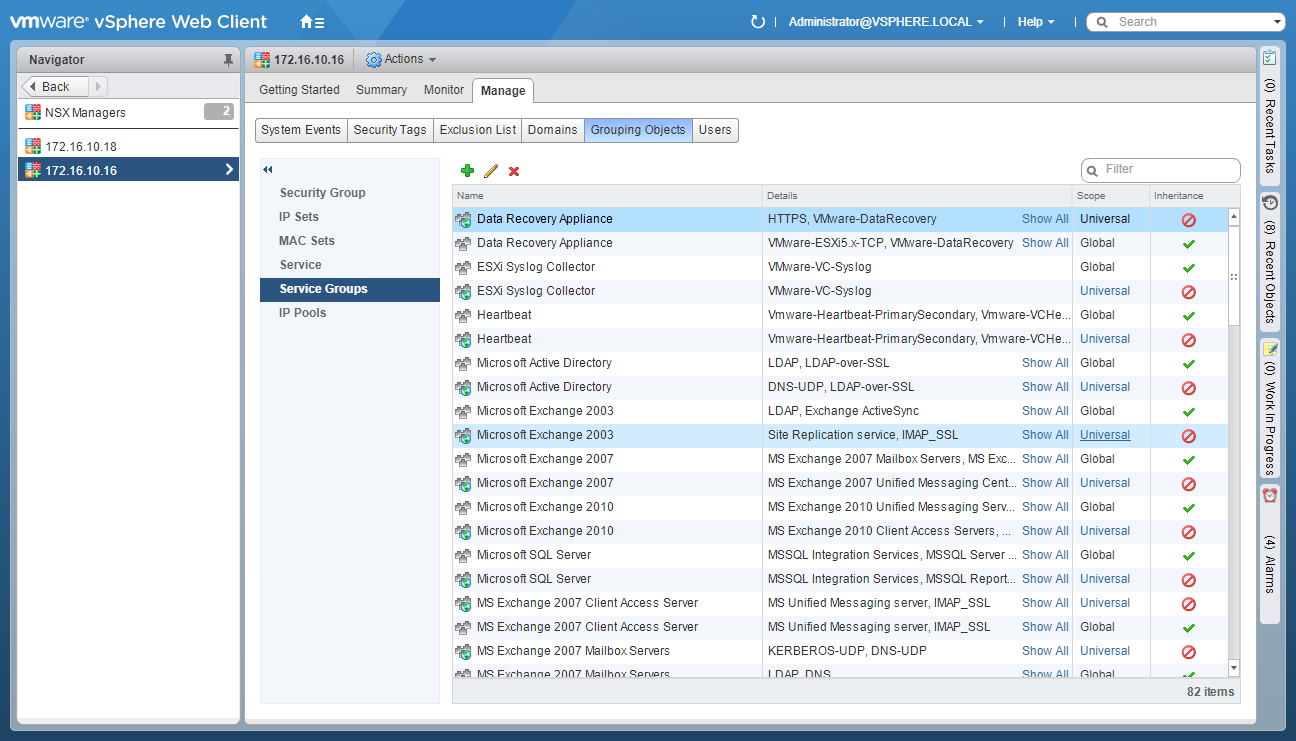
- Click Add (+).
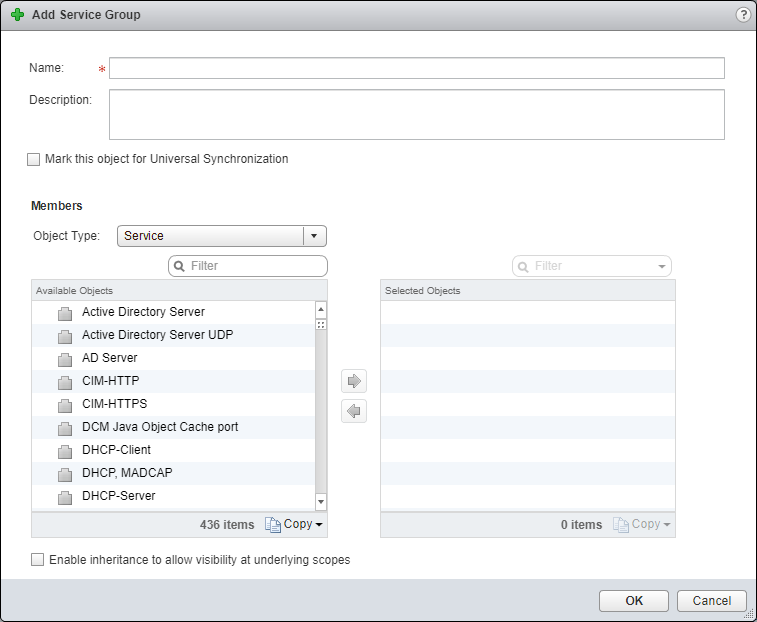
- Enter the Name of the new Service Group., (optionally) add a Description and check the Mark this object for Universal Synchronization checkbox.
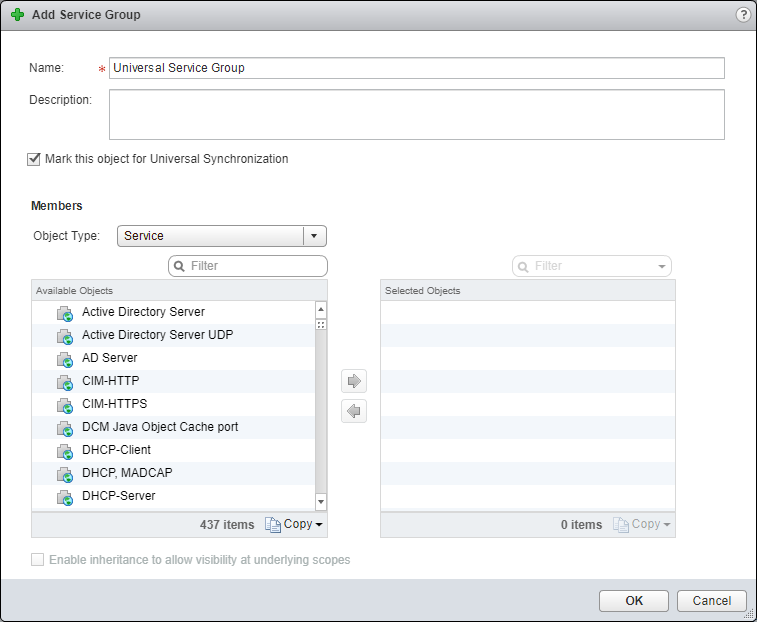
- Select the appropriate Service or Service Group from the Object Type dropdown and then select the appropriate item(s) from the Available Objects list and click the arrow to move it to the Selected Objects list.
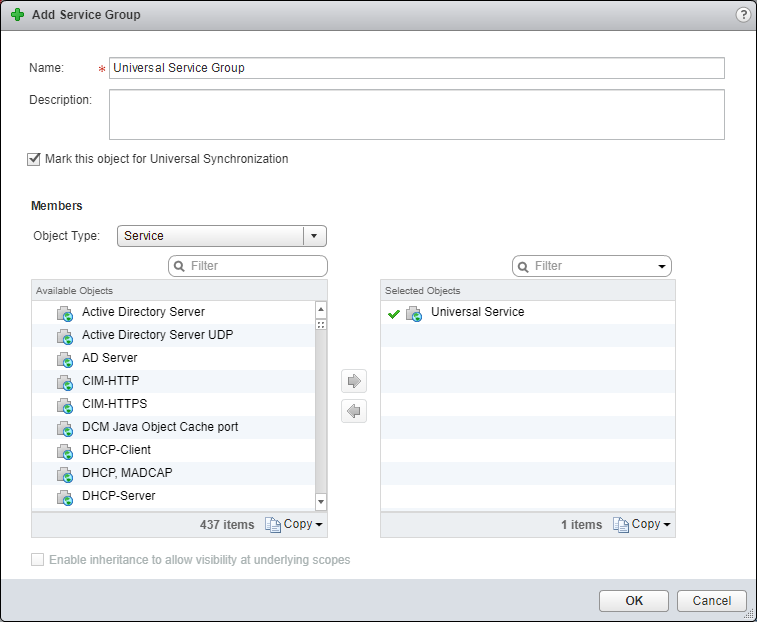
- Click OK.
Configure Universal Security Groups
- Click Security Groups.
- Click Add (+).
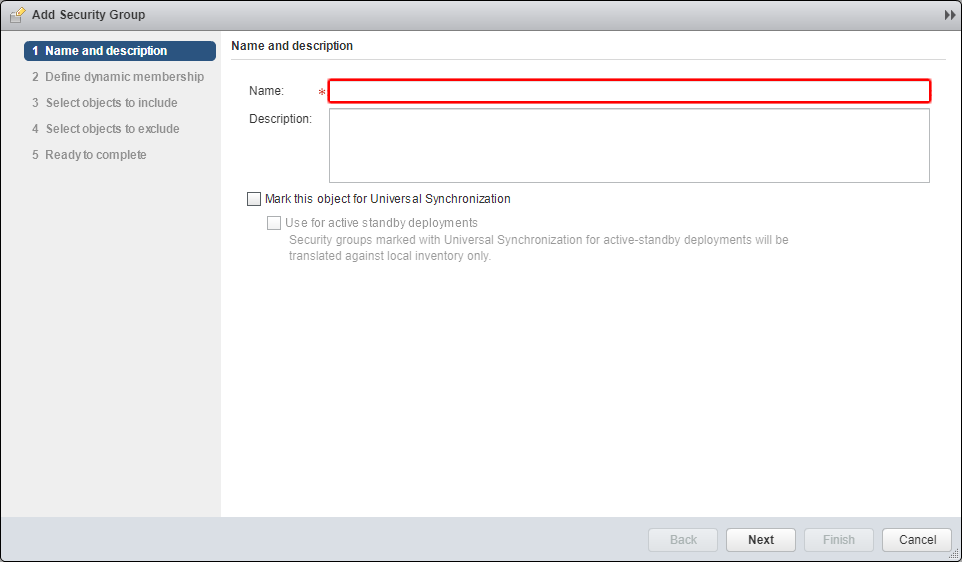
- Enter the Name of the Security Group, check the Mark this object for Universal Synchronisation and (optionally) check the Use for active standby deployments.

- Click Next.
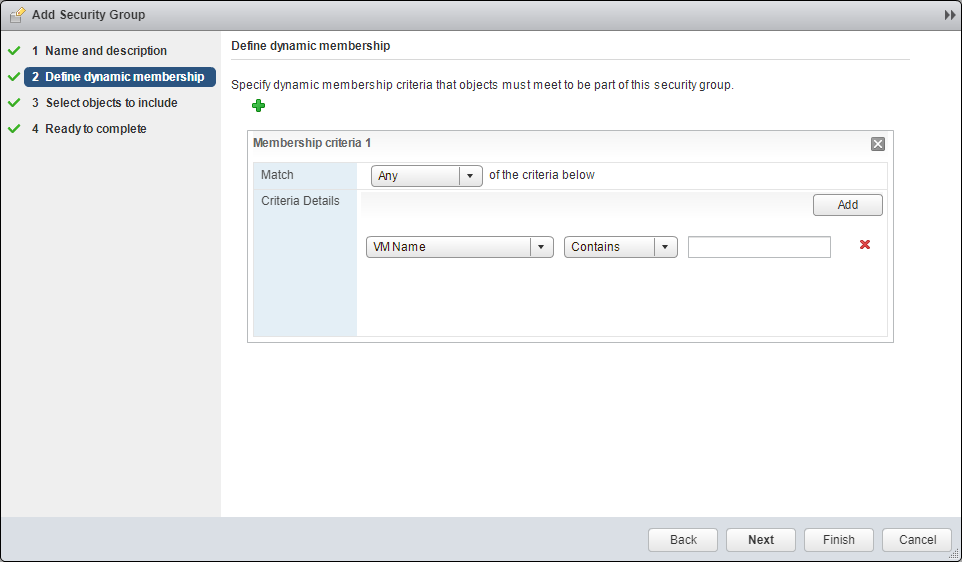
- Define Membership Criteria as required and (optionally) add additional criteria using Add (+).
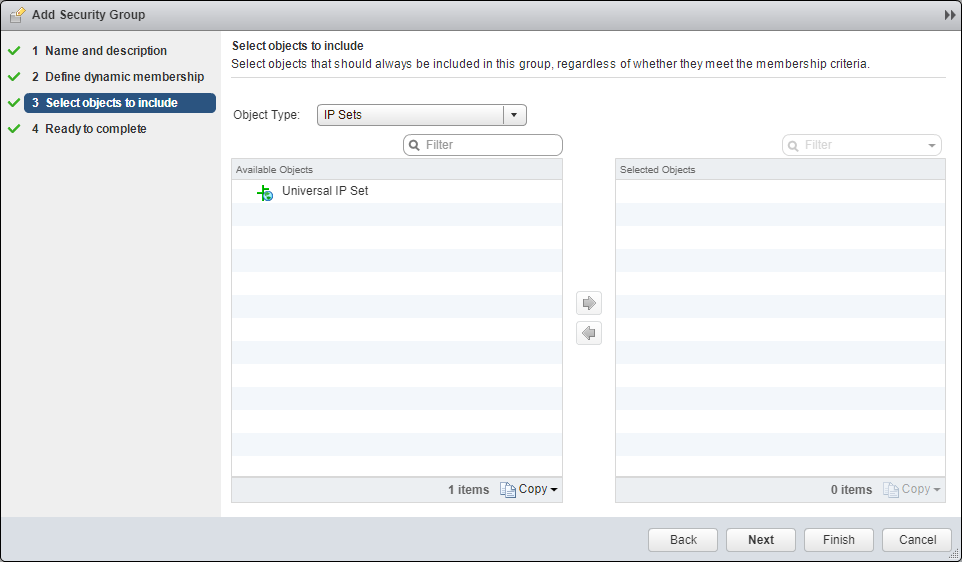
- Select IP Sets, Security Tag, MAC Sets or Security Group from the Object Type dropdown.
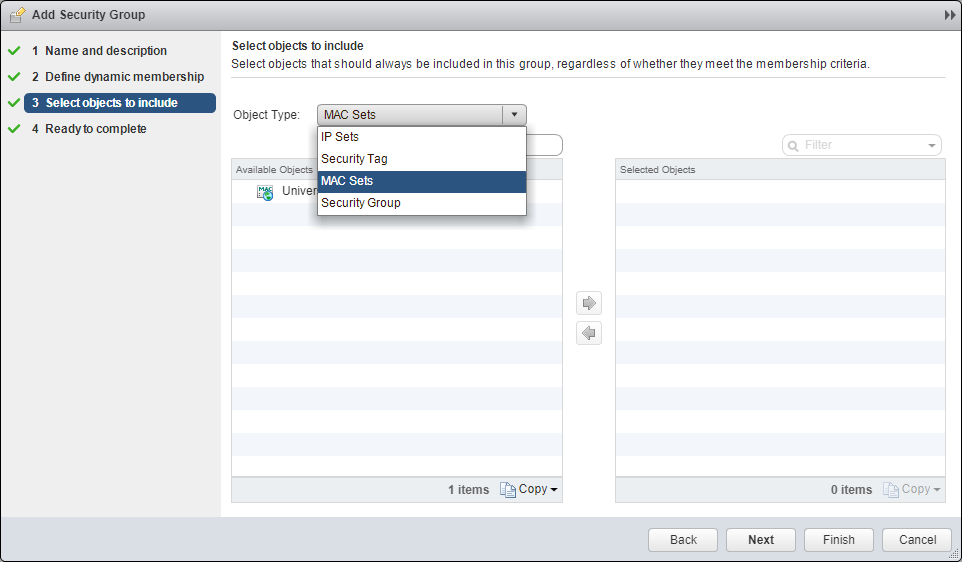
- Select the desired object from the Available Objects list and click the arrow to move it to the Select Objects list.
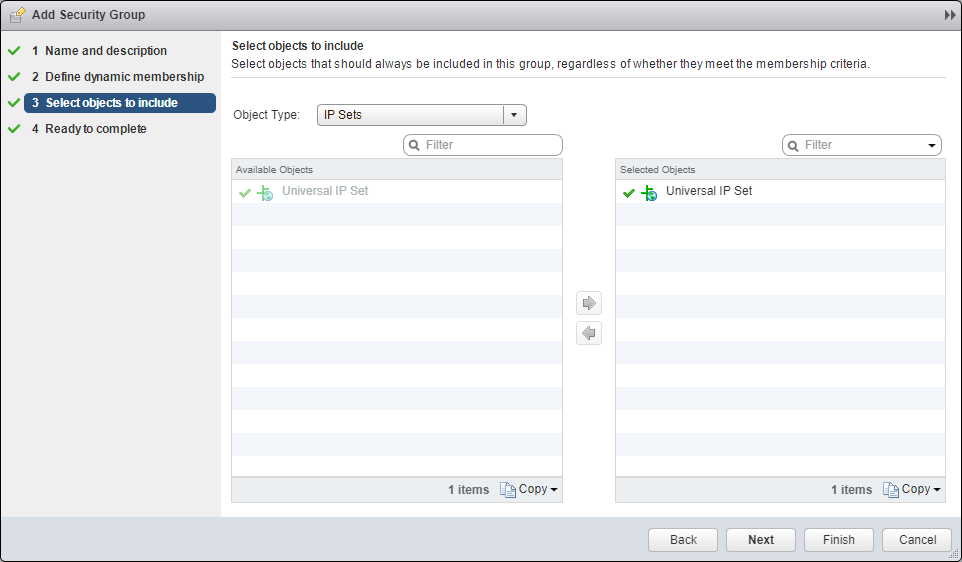
- Click Next.
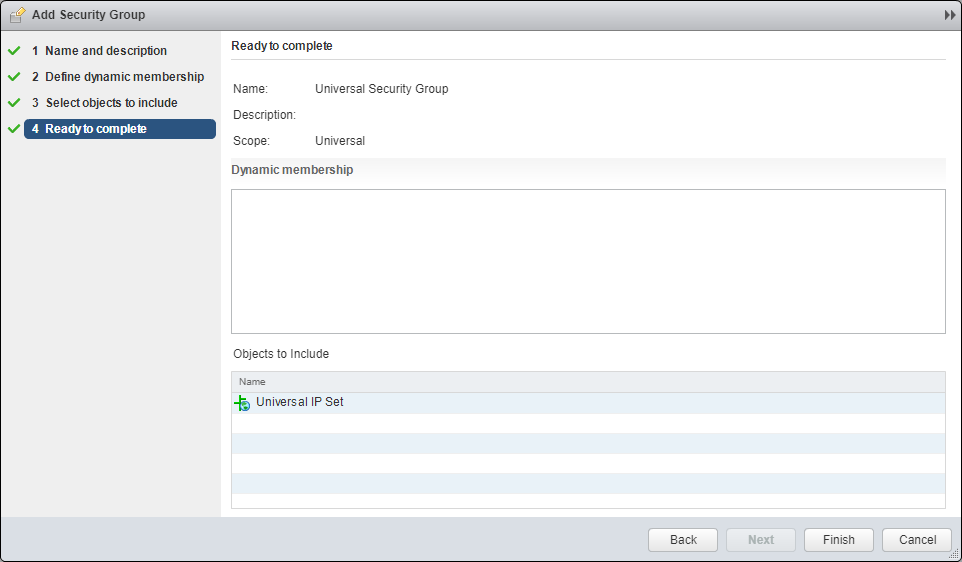
- Click Finish.
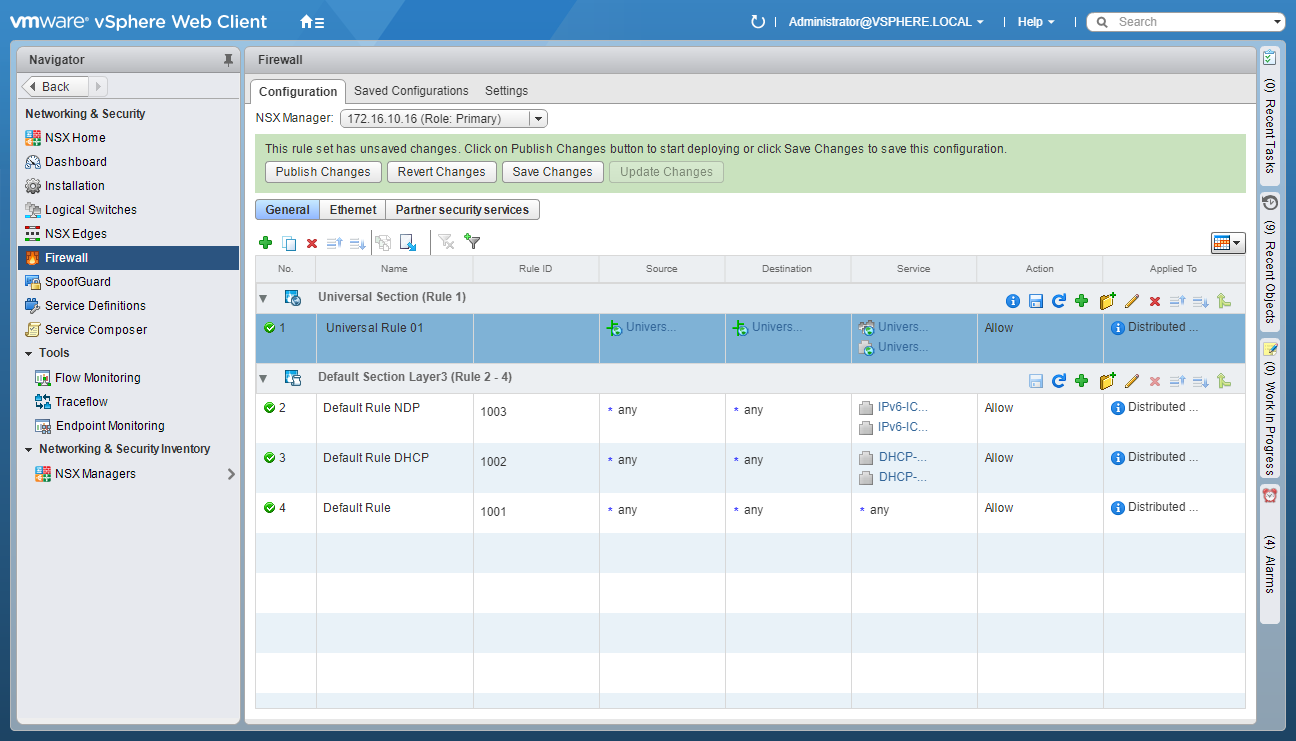
Configure Universal Firewall Rules
- Using your favourite web browser, navigate to the vCenter Server login page (
https://vcenter.fqdn).
- Enter appropriate User name and Password and click Login.
- Click Networking and Security.
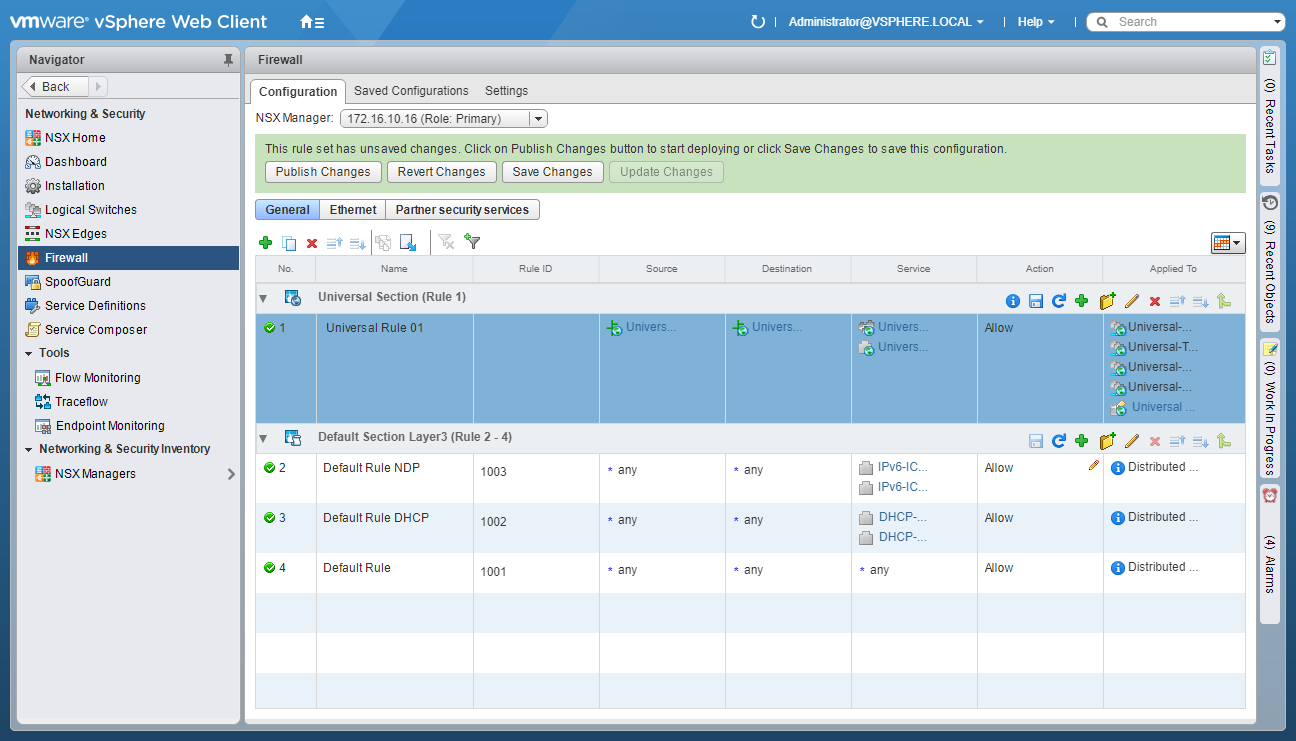
- Click Firewall.

- Click New Section.
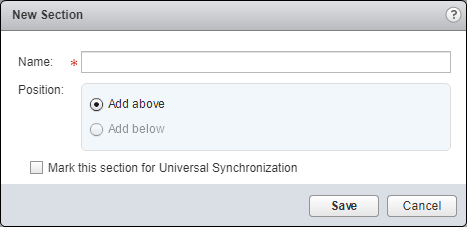
- Enter a Name for the New Section and check the Mark this section for Universal Synchronization checkbox.
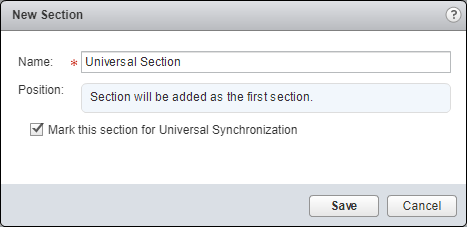
- Click Save.
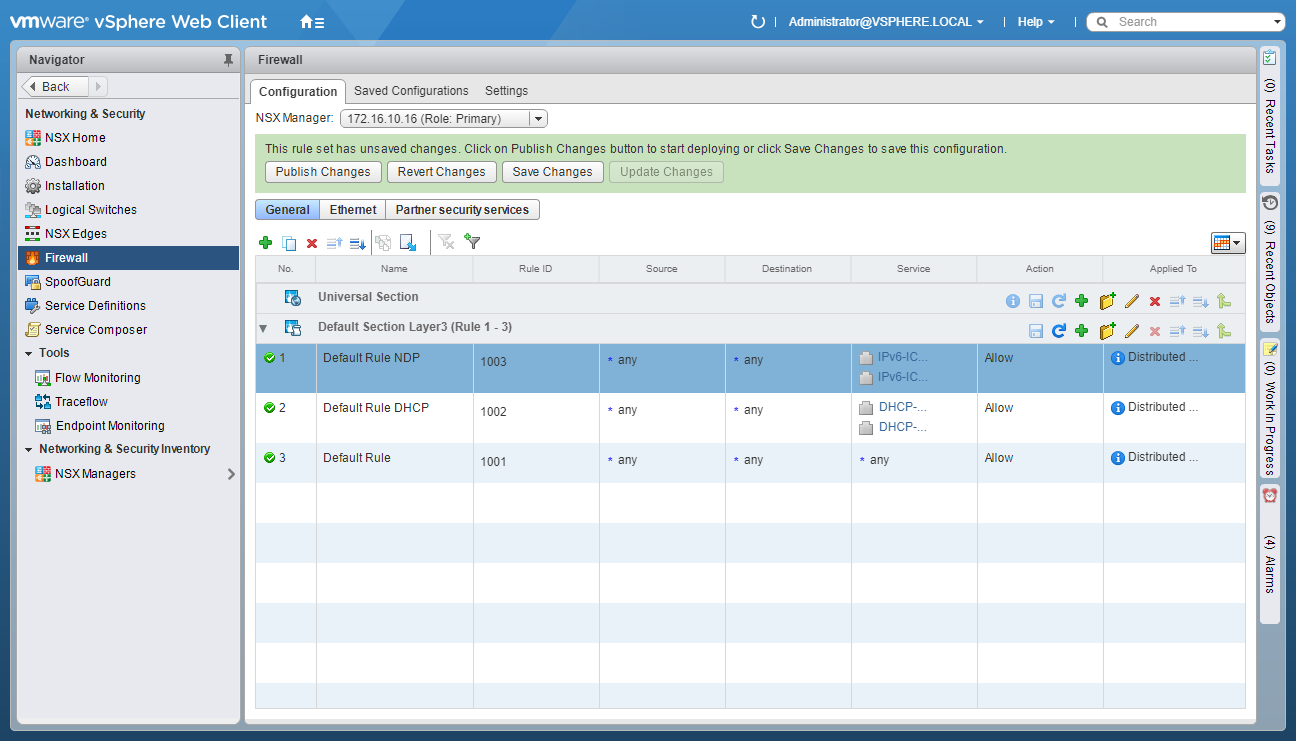
- Click Publish Changes.
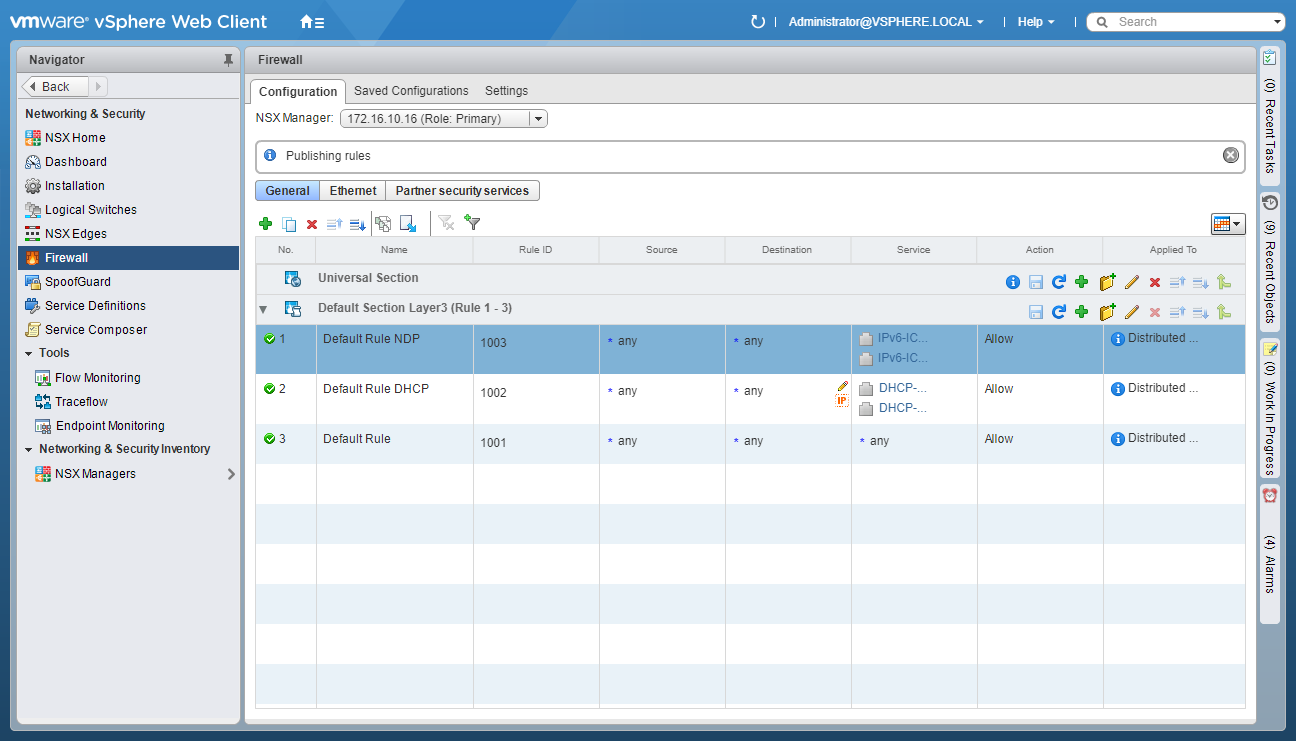
- Under the new Universal Section, click Add Rule.

Update the Firewall Rule Name
- Highlight the new Universal Firewall Rule and click Edit Name.
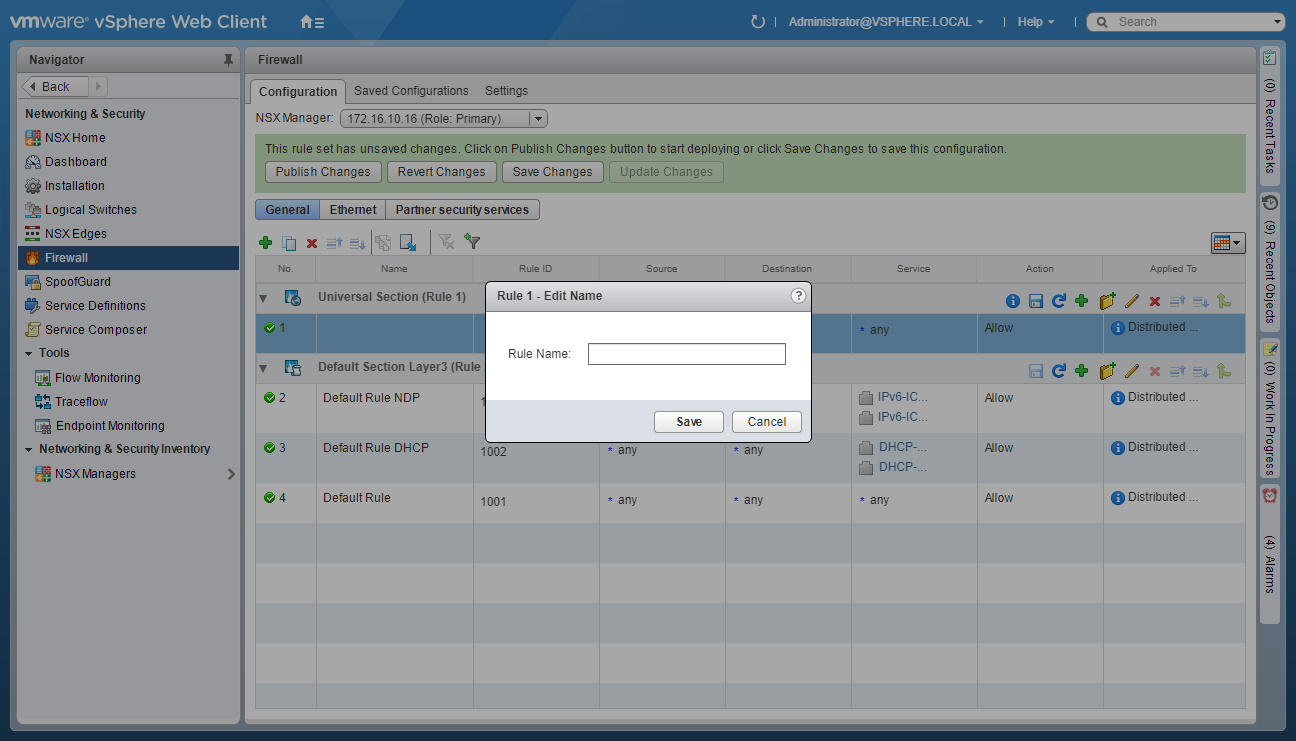
- Enter the new Rule Name and click Save.
Update the Firewall Rule Source
- Under Source, click Edit.
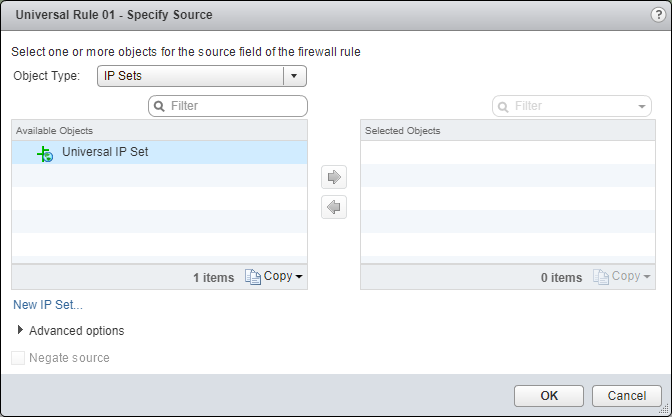
- Select a Universal object from the Object Type dropdown, highlight an item from the Available Objects list and click the arrow to move the item to the Selected Objects list.
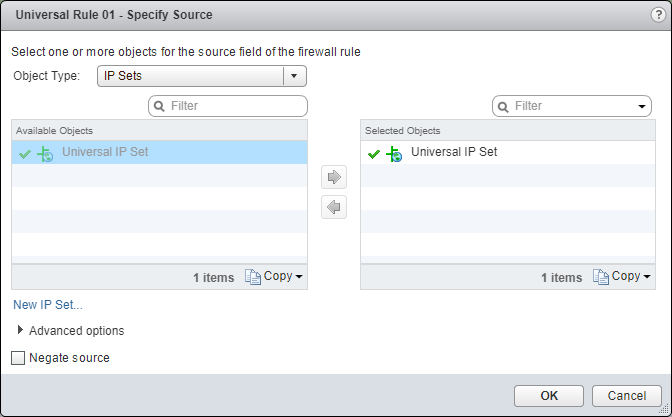
- Click OK.

Update the Firewall Rule Destination
- Under Destination, click Edit.
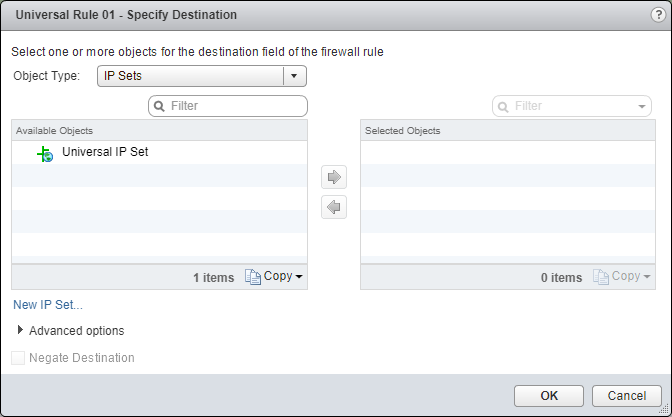
- Select a Universal object from the Object Type dropdown, highlight an item from the Available Objects list and click the arrow to move the item to the Selected Objects list.
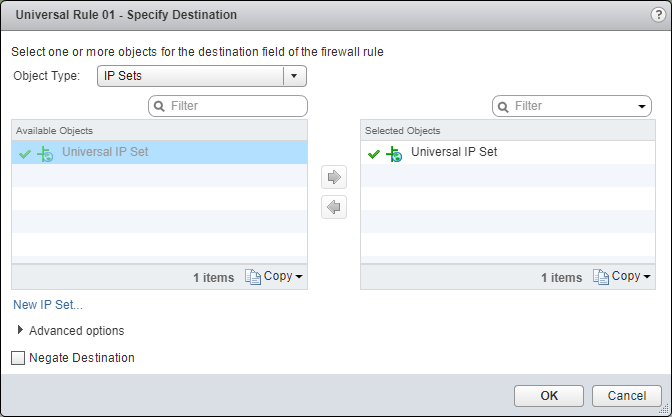
- Click OK.
Update the Firewall Rule Service
- Under Service, click Edit.
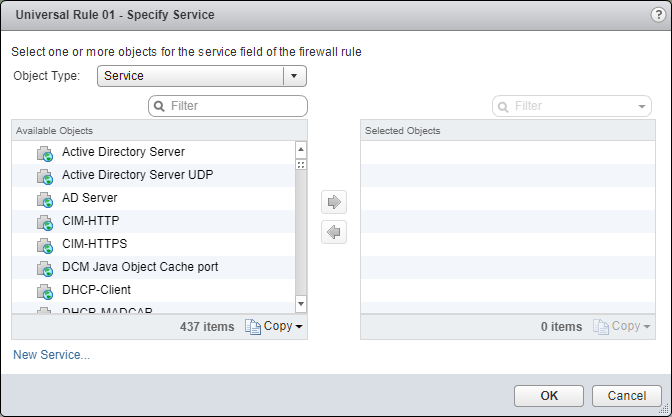
- Select a Universal object from the Object Type dropdown, highlight an item from the Available Objects list and click the arrow to move the item to the Selected Objects list.
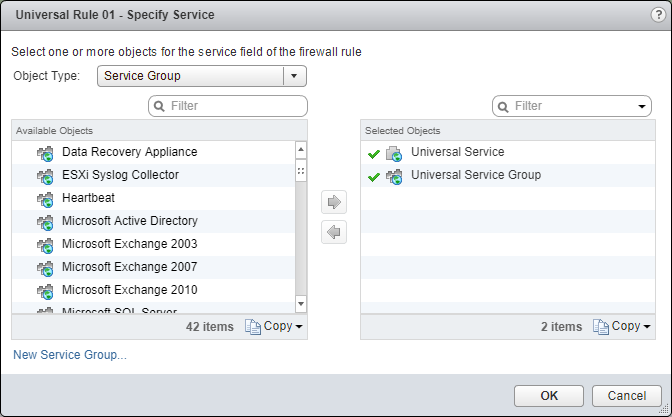
- Click OK.
(Optional) Update the Firewall Rule Action
- Under Action, click Edit.
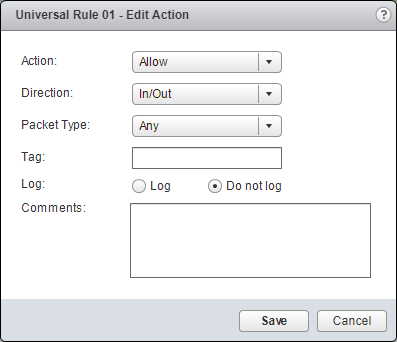
- Make changes to the required Action and click Save.
(Optional) Update the Firewall Rule Filter (Applied To)
- Under Applied To, click Edit.
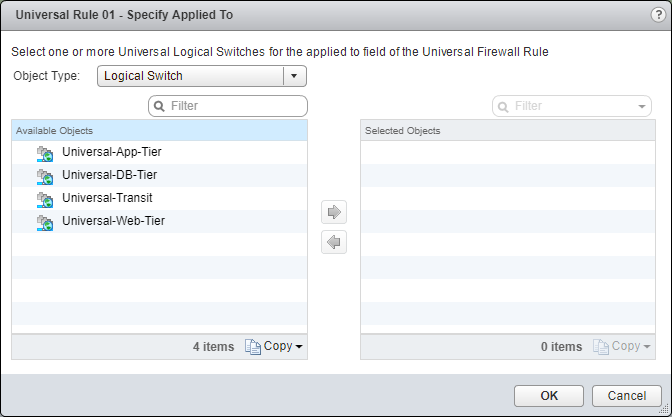
- Select a Universal object from the Object Type dropdown, highlight an item from the Available Objects list and click the arrow to move the item to the Selected Objects list.
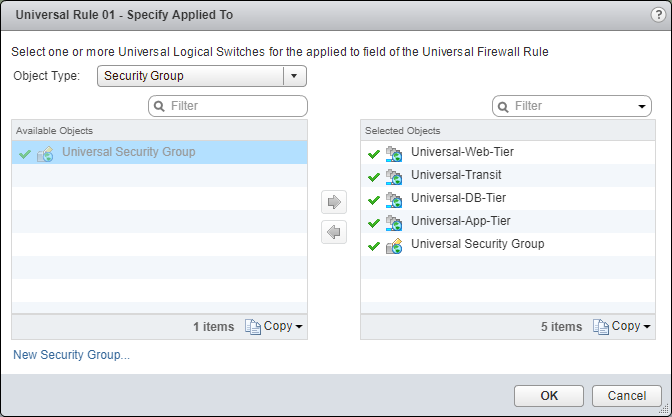
- Click OK.
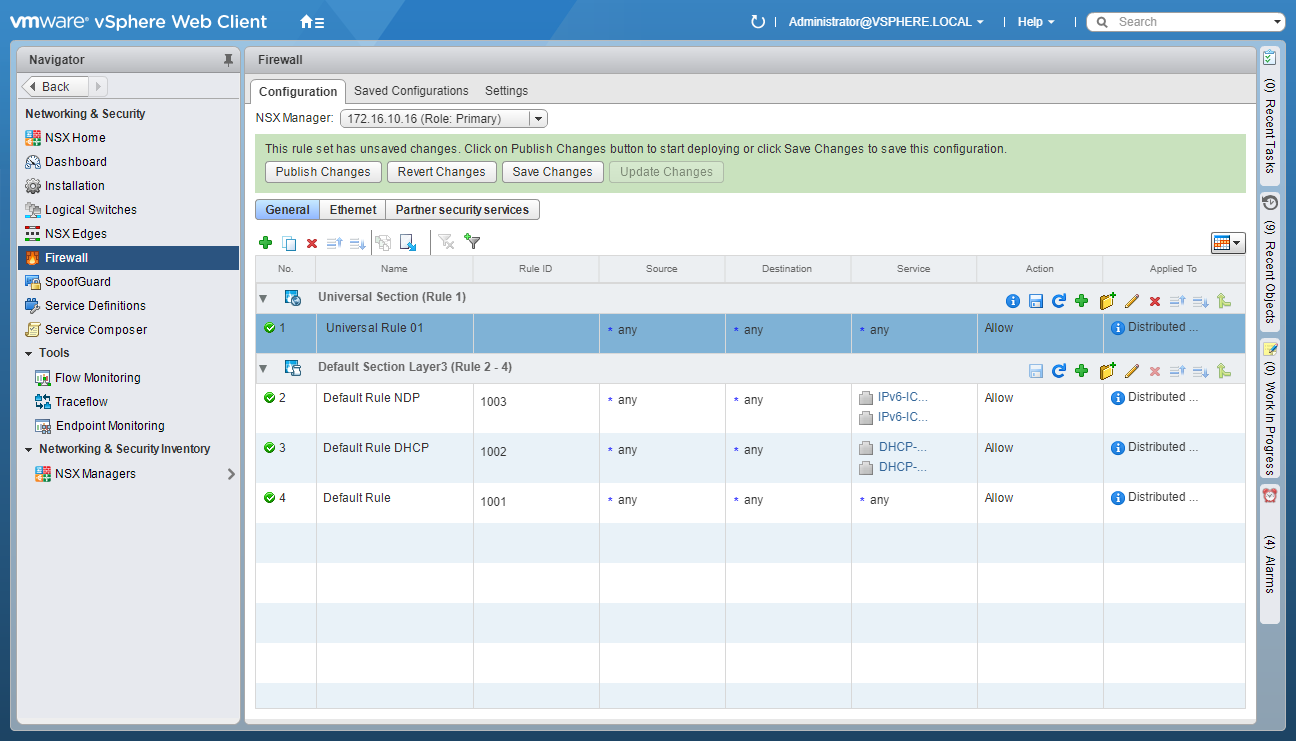
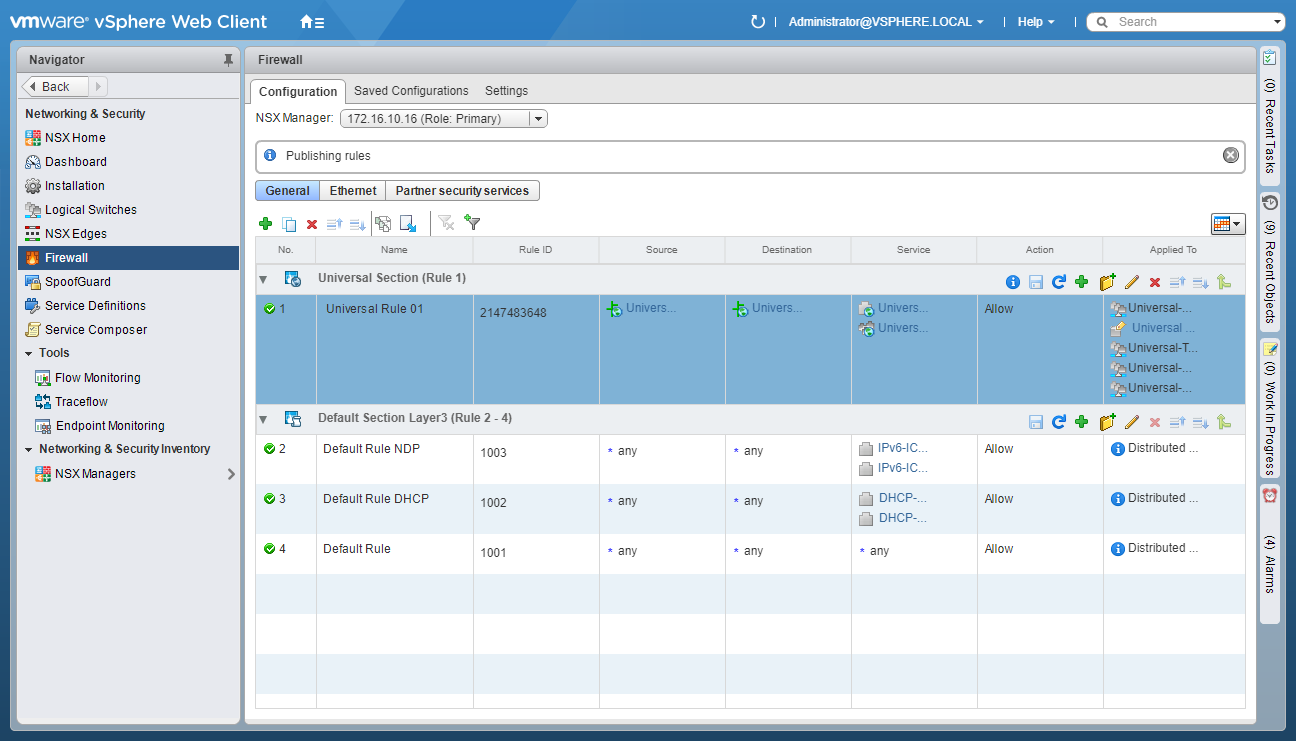
Publish the Firewall Rule
- Click Publish Changes.
Published on 20 November 2017 by Christopher Lewis. Words: 711. Reading Time: 4 mins.
Share this article on:
Related Post(s):
- VCAP6-NV Deploy - Objective 6.2 - Configure and Manage Universal Logical Network Objects ()
- VCAP6-NV Deploy - Objective 6.1 - Configure Cross vCenter VMware NSX infrastructure components ()
- Achievement Unlocked - VMware Certified Implementation Expert 6 - Network Virtualization ()
- VCAP6-NV Deploy - Objective 4.2 - Configure and Manage Service Composer ()
- HOWTO: Configure VMware NSX-V Security Tags ()
About the Author:

Name: Christopher Lewis
Twitter/X: thecloudxpert
Role: Domain Expert - VCF Automation & VCF Operations
Company: Broadcom
Recent Posts by Christopher Lewis:
Blog Categories:
active directory 6
aria automation 9
aria operations 2
aws 2
certificate authority 5
certificates 5
certification 91
general 9
home lab 2
microsoft 7
nsx 45
nsx v 41
powercli 8
powershell 6
vcap 48
vcap6 2
vcenter 4
vcf 5
vcix 2
vexpert 9
vmug 5
vmware 99+
vmware aria automation 9
vmware aria operations 5
vmware cloud 3
vmware explore 2
vmware identity manager 2
vmworld 36
vrealize automation 80
vrealize business 2
vrealize operations manager 5
vrealize orchestrator 13
vrealize suite 14
vrealize suite lifecycle manager 20
vsan 5
vsphere 9
windows 6
Top Tags:
active directory 6
api 18
barcelona 24
certificates 11
certification 7
howto 33
microsoft 7
multi tenancy 9
nsx v 43
platform services controller 8
powercli 8
powershell 7
psc 6
vcap 9
vcap6 45
vcap6 cma 48
vcap6 nv 37
vcix6 nv 36
vexpert 19
vmug 8
vmware 99+
vmware aria 12
vmware aria automation 9
vmworld 35
vmworld 2016 13
vmworld 2017 9
vra 13
vrealize automation 74
vrealize operations 8
vrealize orchestrator 21
vrealize suite lifecycle manager 11
vrslcm 20
vsan 7
vsphere 12