VCAP6-NV Deploy - Objective 6.1 - Configure Cross vCenter VMware NSX infrastructure components
VMware NSX-V VCAP6-NV VCIX6-NV HOWTO
Published on 12 October 2017 by Christopher Lewis. Words: 701. Reading Time: 4 mins.
Objective 6.1 - Configure Cross vCenter VMware NSX infrastructure components
Objective Overview
- Configure NSX manager roles (Primary, Secondary, Standalone, Transit) according to a deployment plan:
- Assign Primary role to specified NSX Manager
- Assign Secondary role to specified NSX Manager(s)
- Deploy/Configure Universal Controller Cluster
- Configure Universal segment ID pools
- Create/Manage Universal transport zones
Objective Prerequisites
The following prerequisites are assumed for this Objective:
- A working VMware vSphere 6.x environment with 2 vCenters, 2 PSC configured in ELM configuration.
- A working VMware NSX 6.x Manager deployed to both sites.
Objective Breakdown
Assign Primary role to specified NSX Manager
- Using your favourite web browser, navigate to the vCenter Server login page (
https://vcenter.fqdn).
- Enter appropriate User name and Password and click Login.
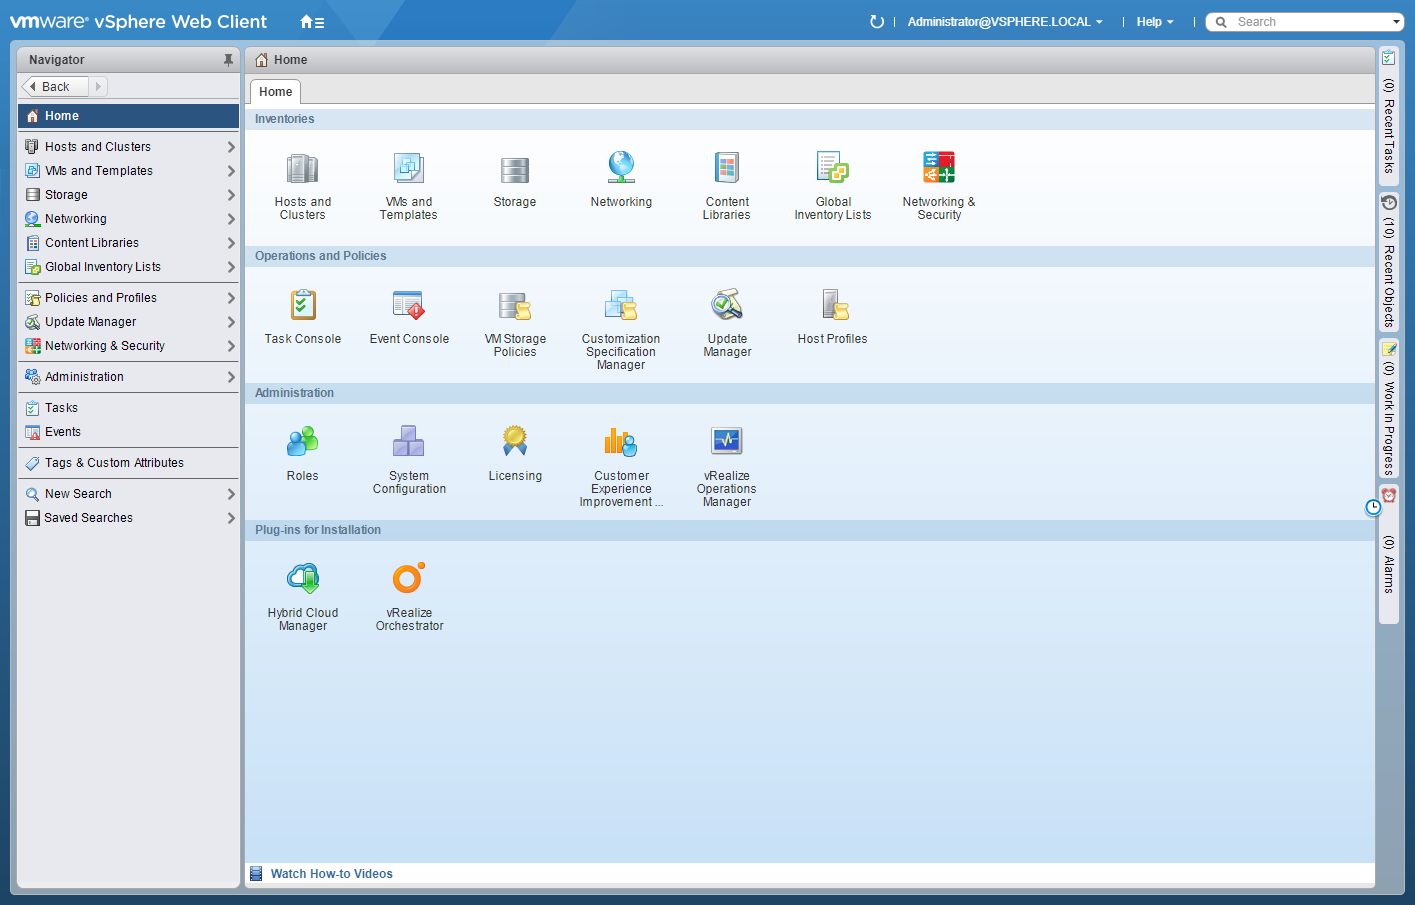
- Click Networking and Security.
- Click Installation.
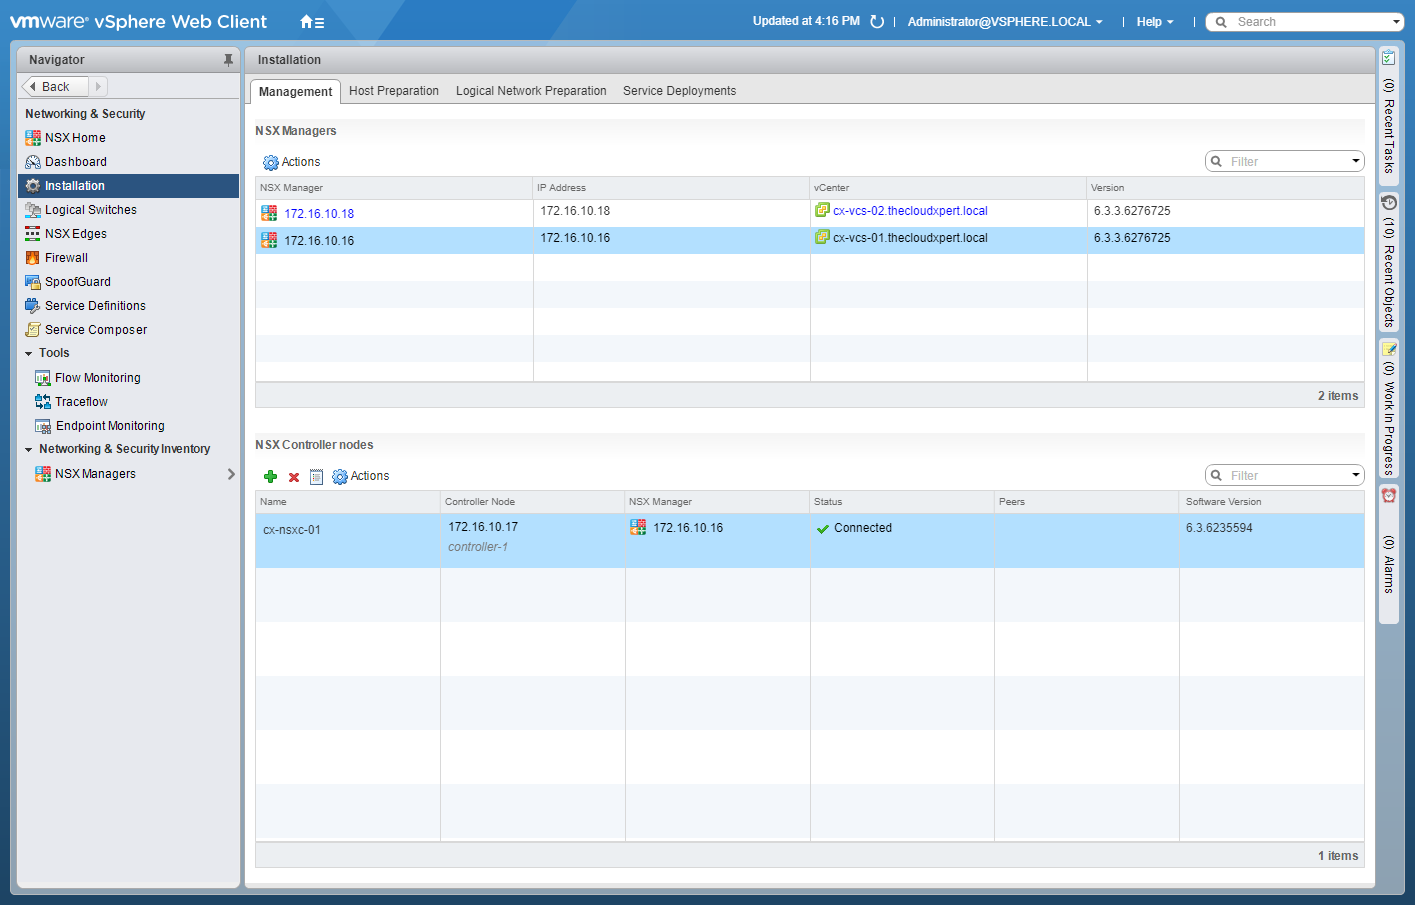
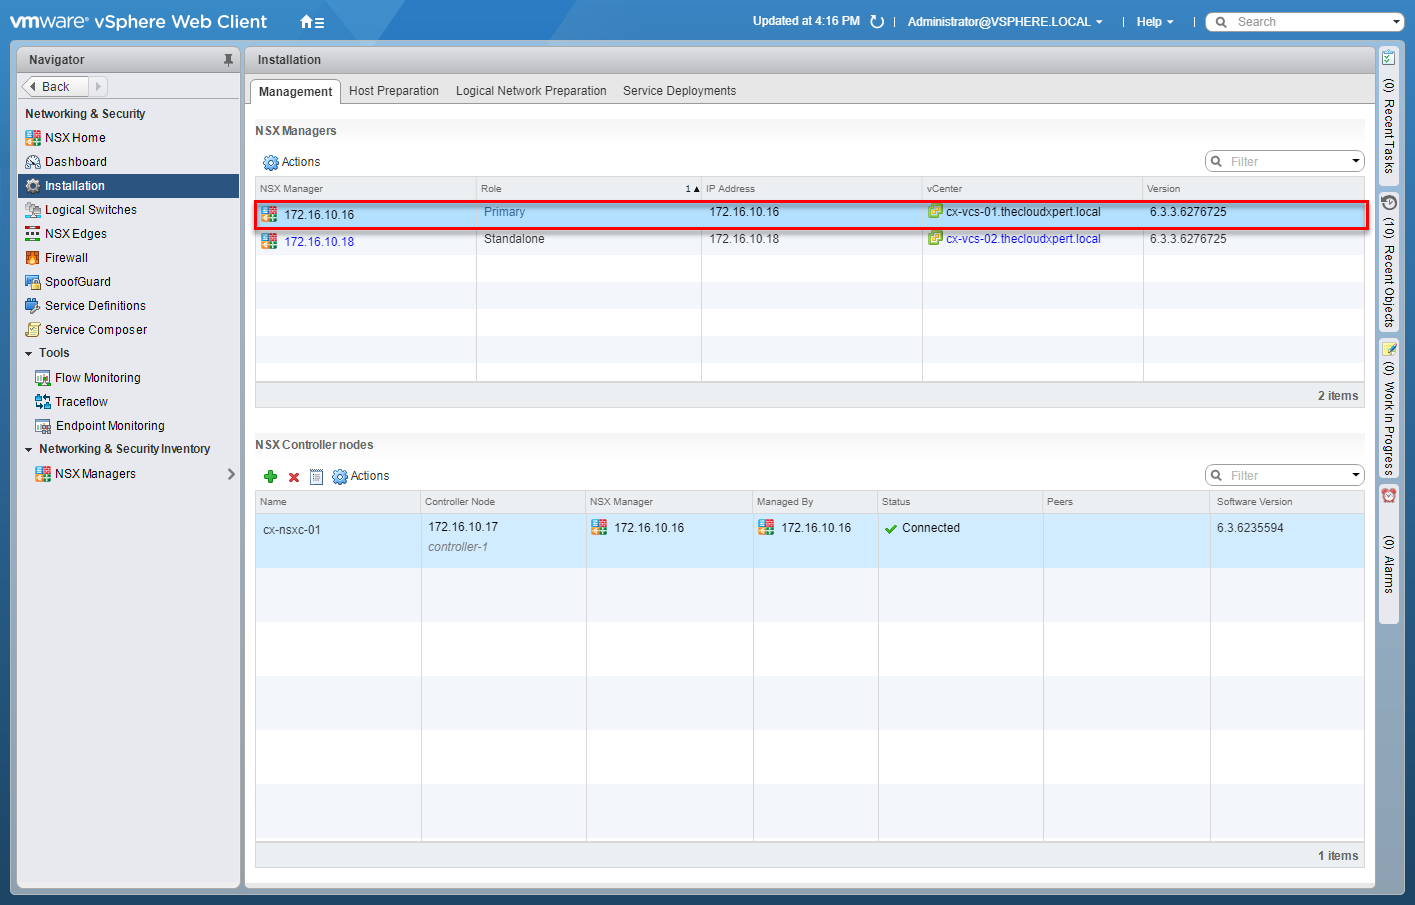
- Select the NSX Manager that you wish to promote to Primary.
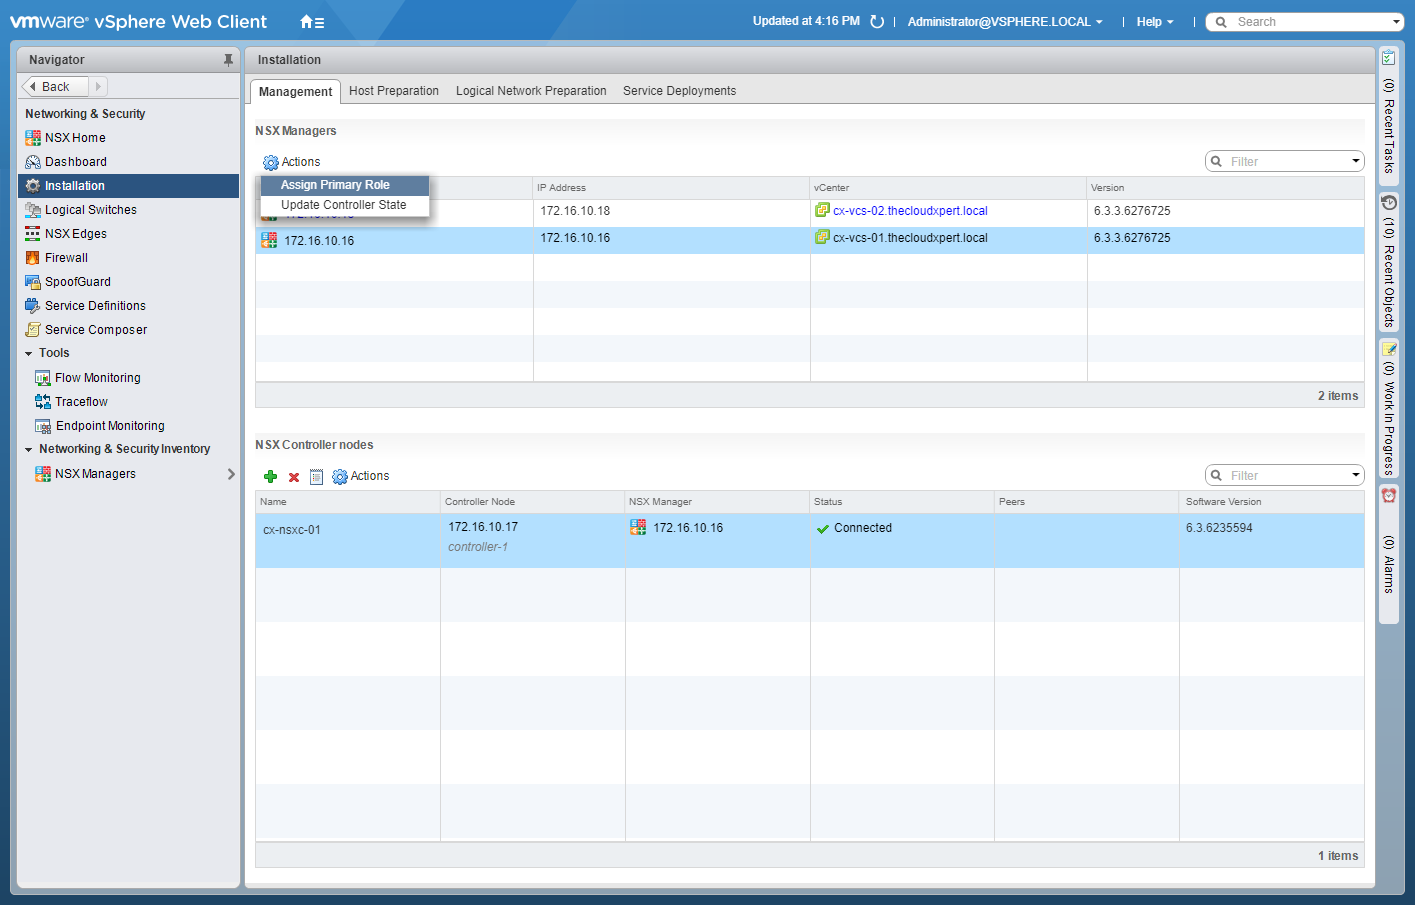
- Click Action and then select Assign Primary Role.
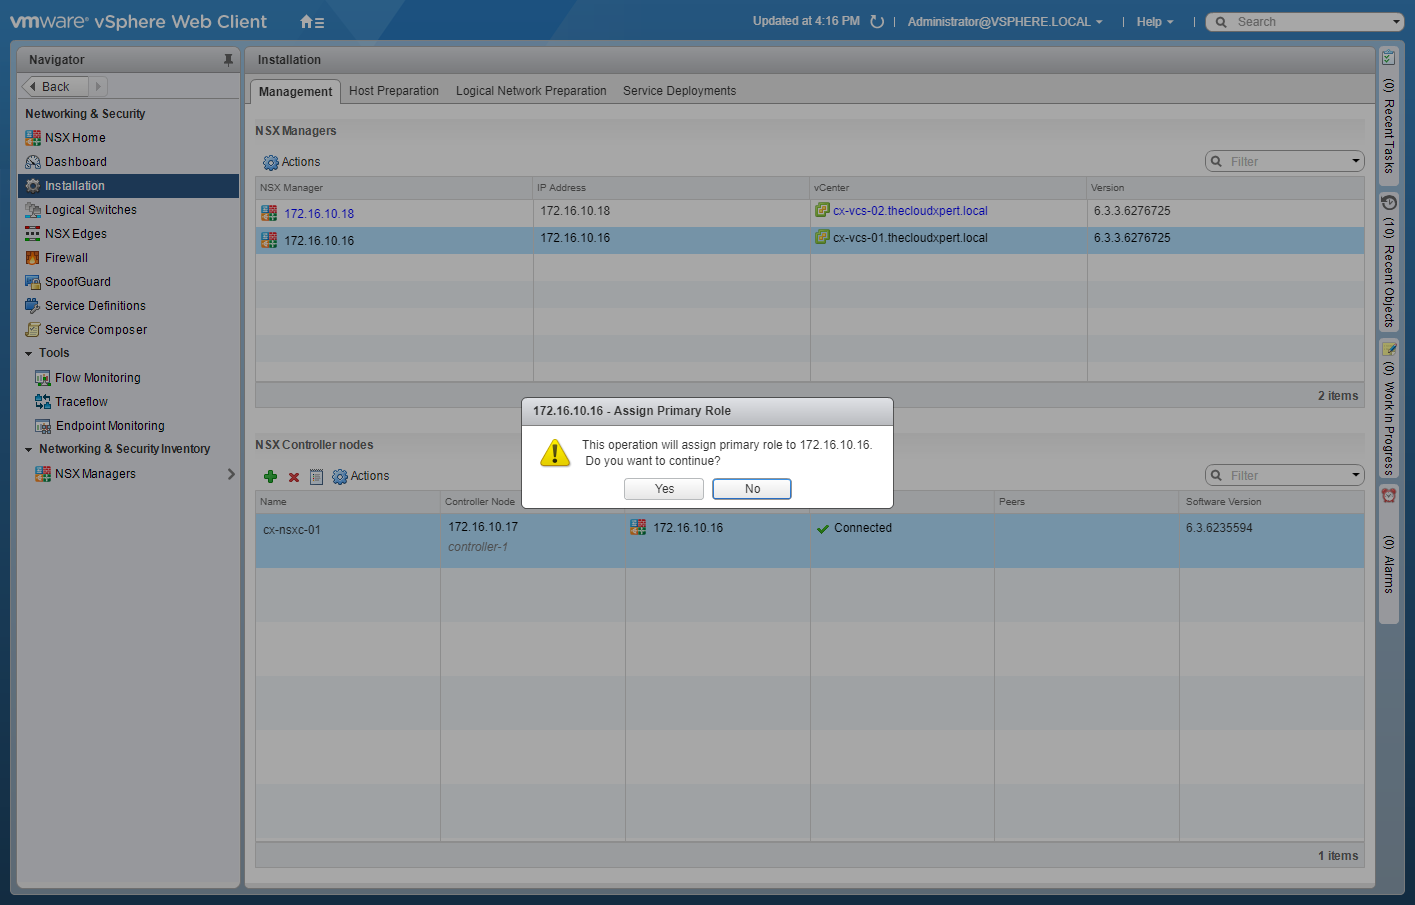
- Click Yes to Assign Primary Role.
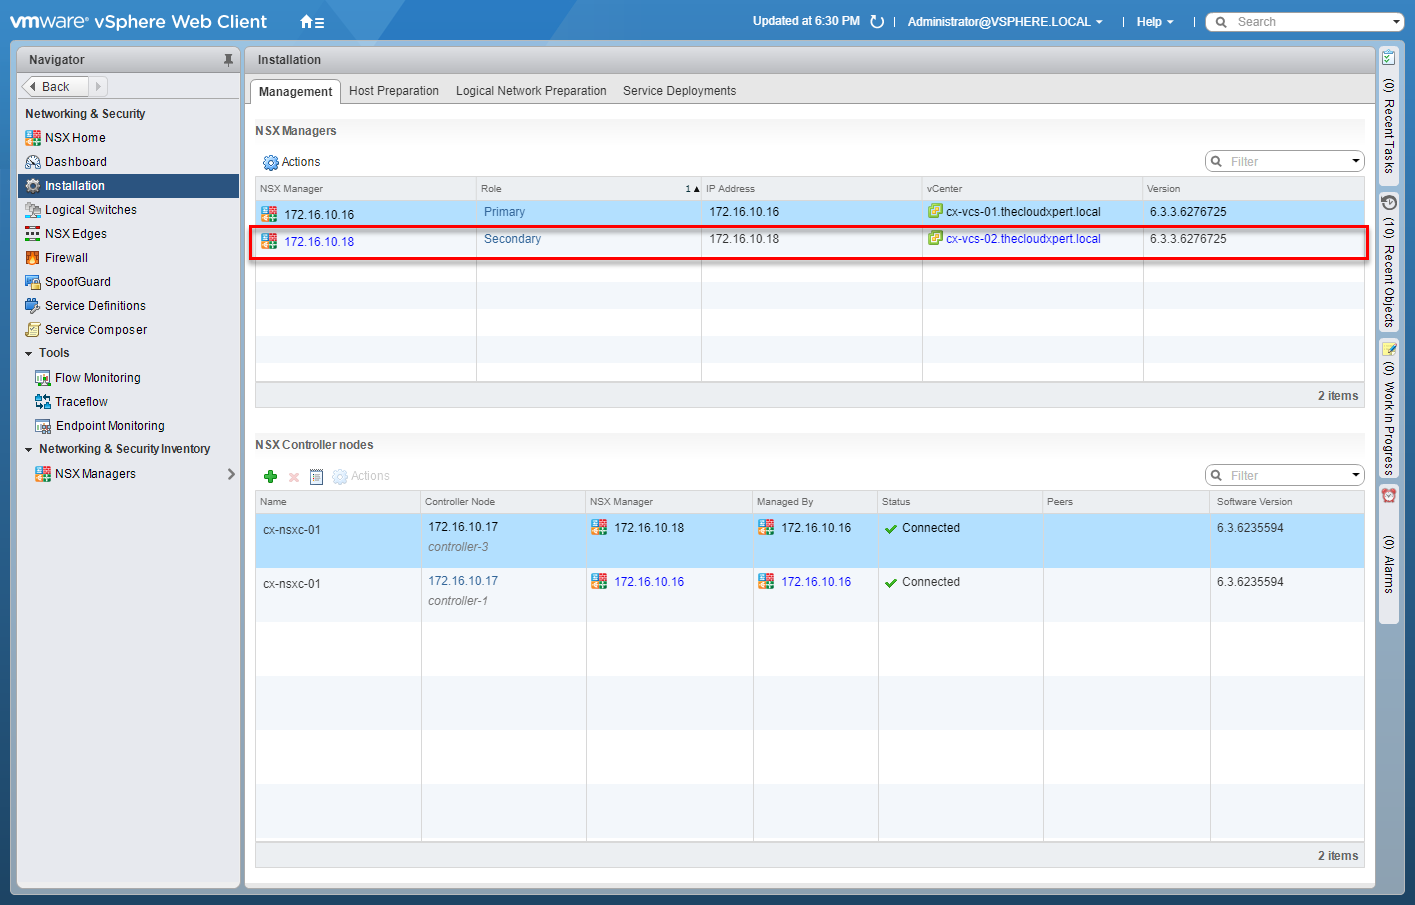
Assign Secondary role to specified NSX Manager(s)
- Using your favourite web browser, navigate to the vCenter Server login page (
https://vcenter.fqdn).
- Enter appropriate User name and Password and click Login.
- Click Networking and Security.
- Click Installation.

- Select the Primary NSX Manager and click Actions.
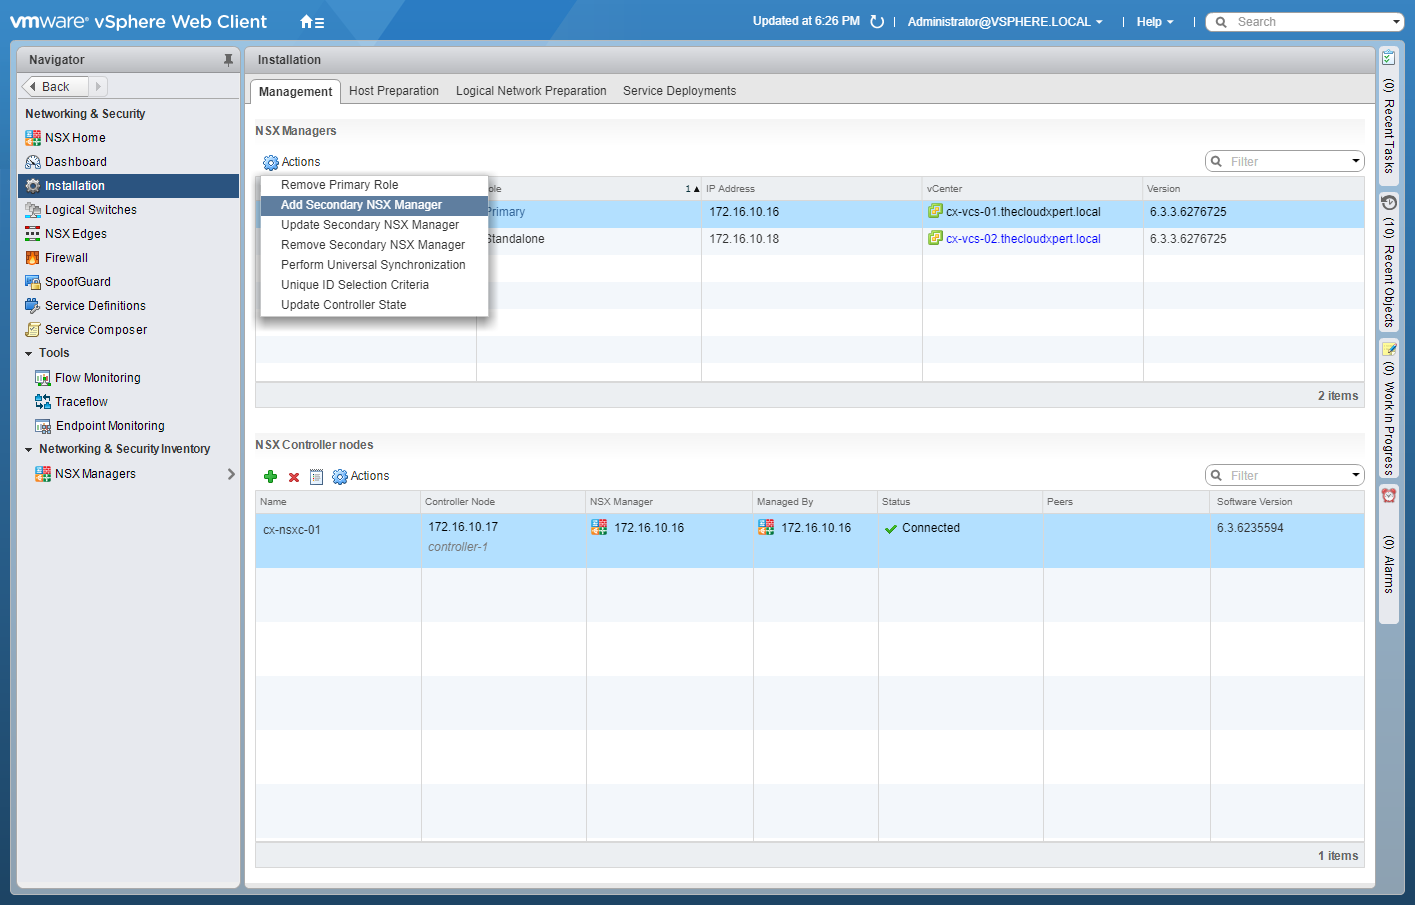
- Click Add Secondary NSX Manager.
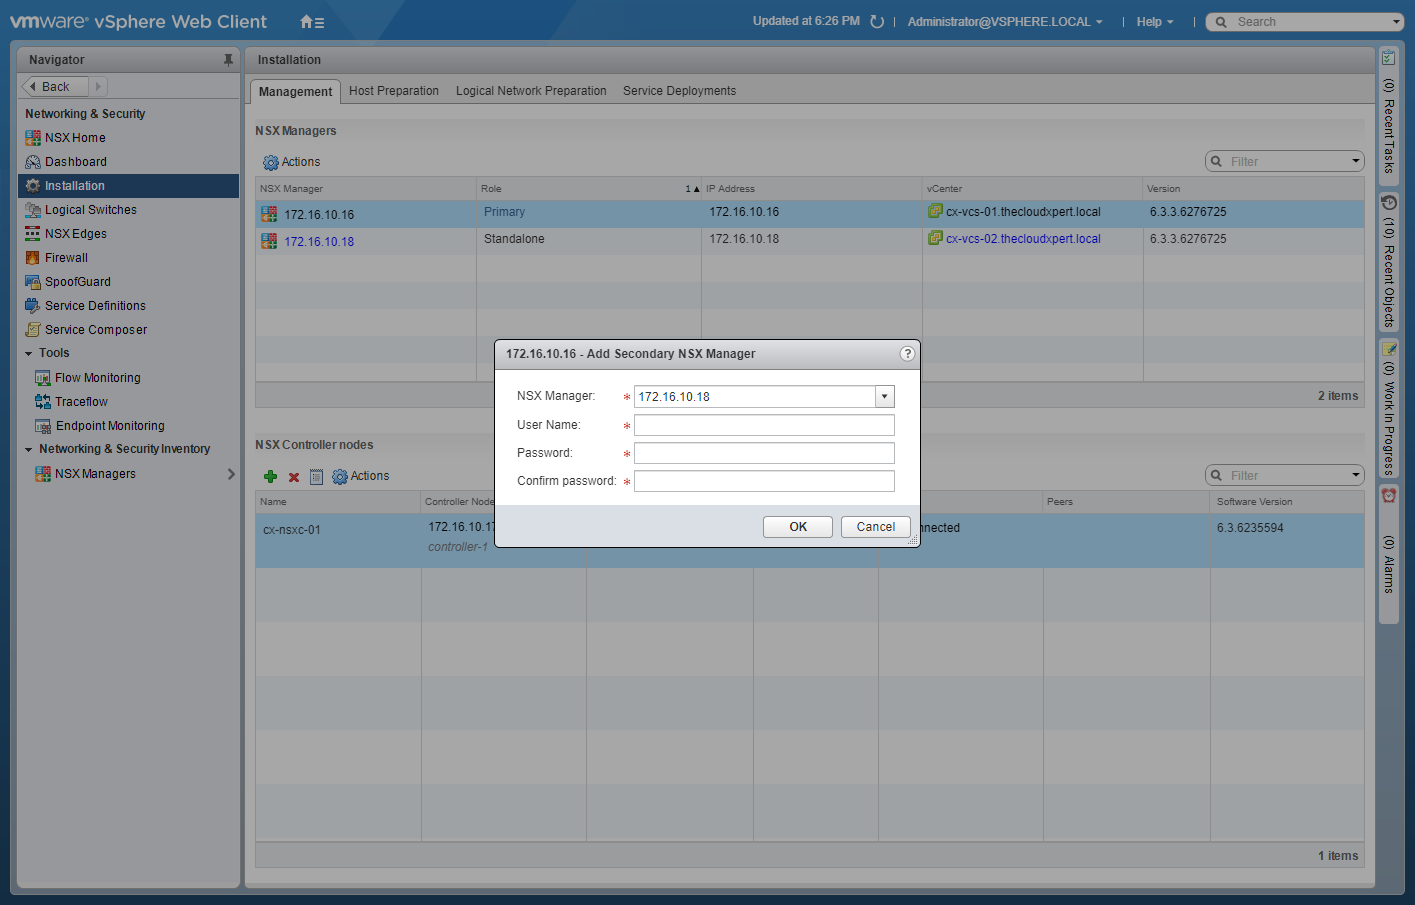
- Select the appropriate NSX Manager from the dropdown, enter the User Name and Password, then click OK.
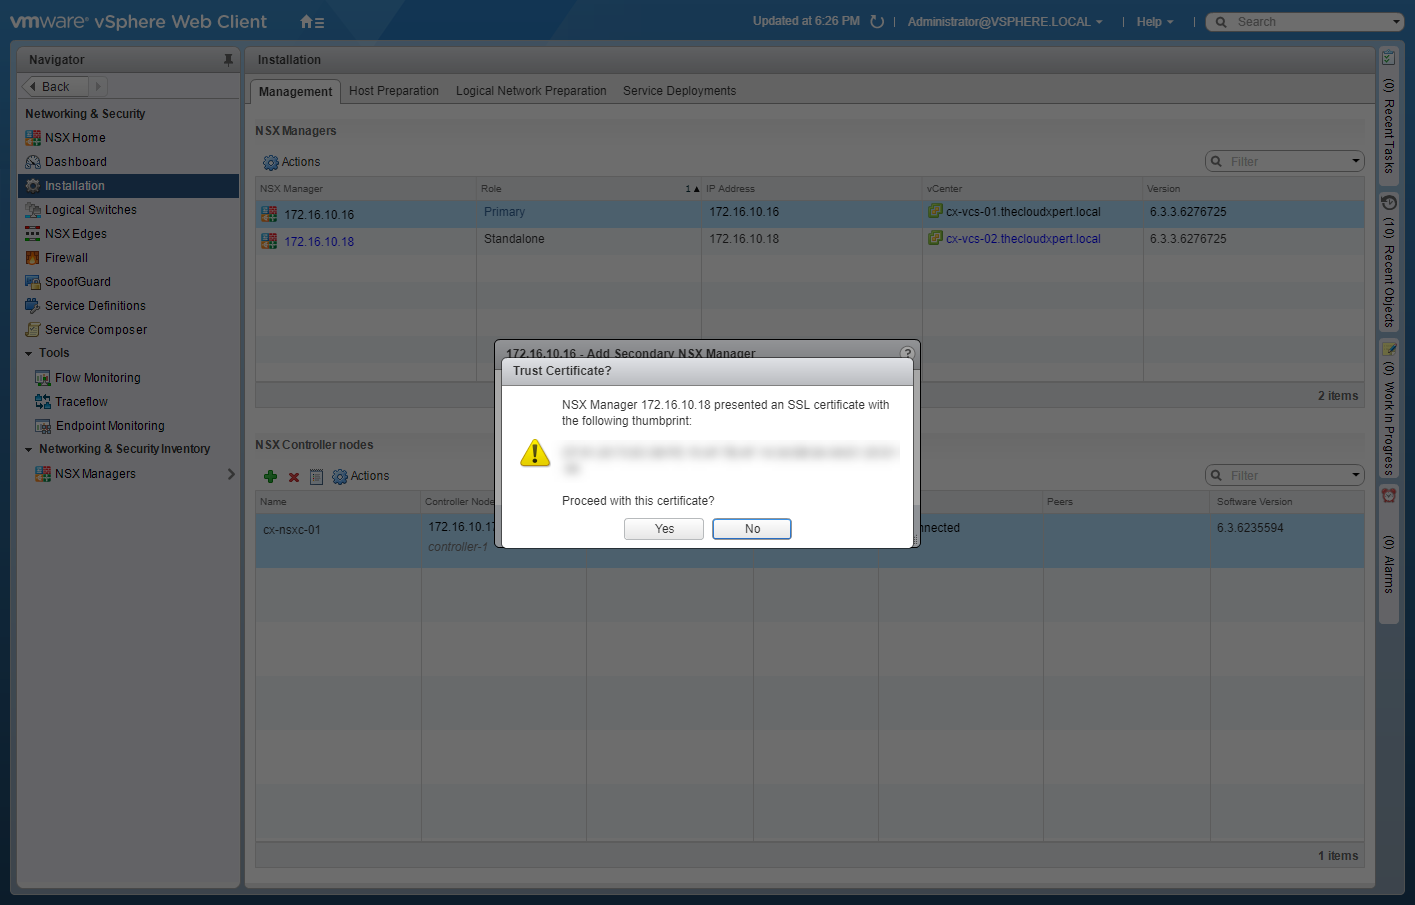
- Click Yes.
Deploy/Configure Universal Controller Cluster
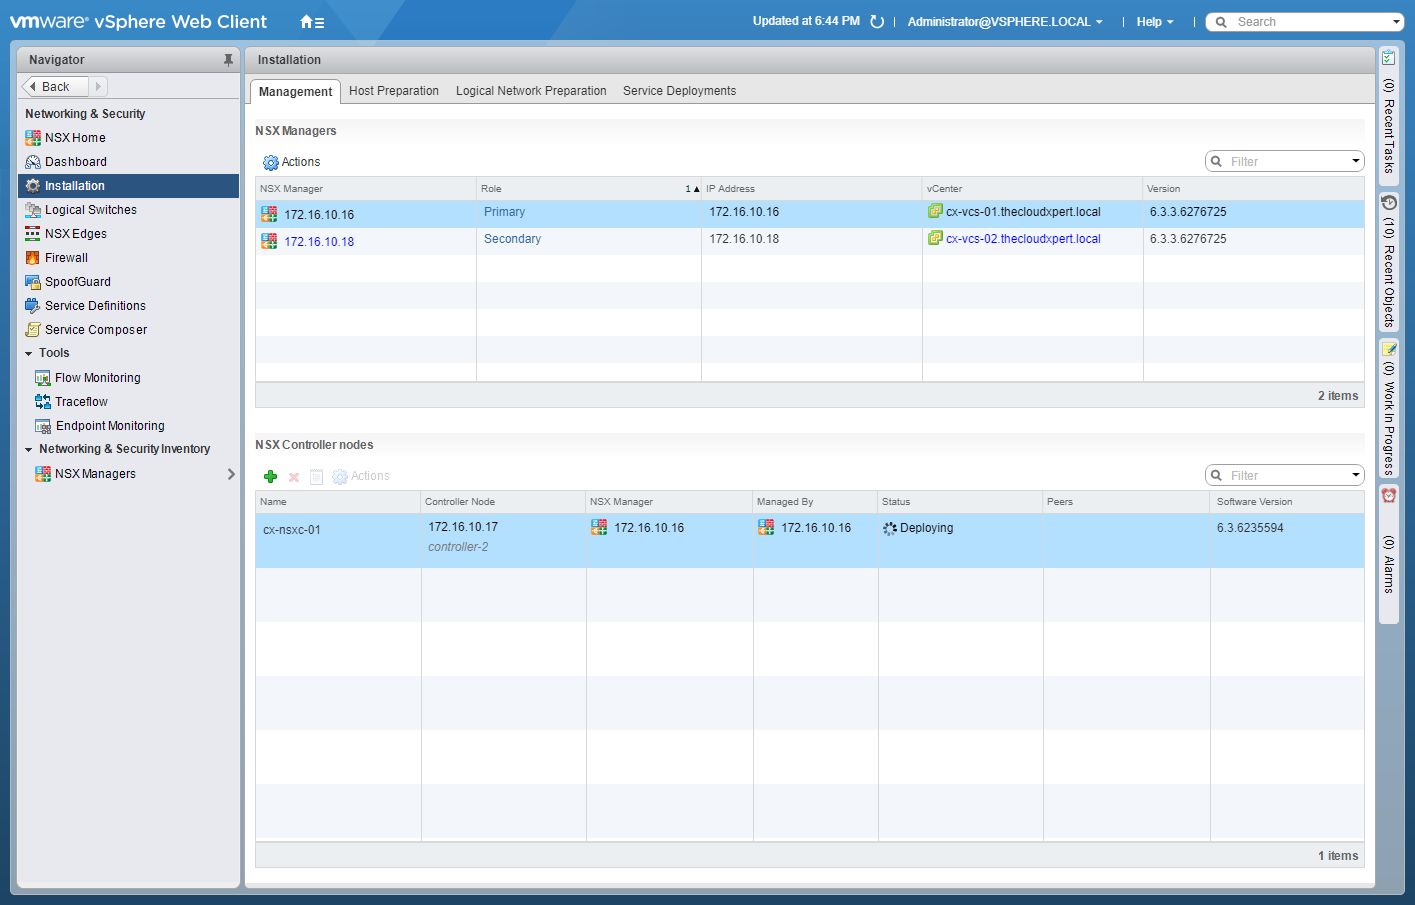
Within Cross vCenter VMware NSX, there can be only one Controller Cluster, which is configured against the Primary NSX Manager and is known as the Universal Controller Cluster.
I have covered the deployment of VMware NSX Controllers in a previous post and there is nothing different in the steps.
See HOWTO: Deploy the VMware NSX Controller(s)
Configure Universal Segment ID Pools
- Using your favourite web browser, navigate to the vCenter Server login page (
https://vcenter.fqdn).
- Enter appropriate User name and Password and click Login.
- Click Networking and Security.
- Click Installation.
- Click Logical Network Preparation.
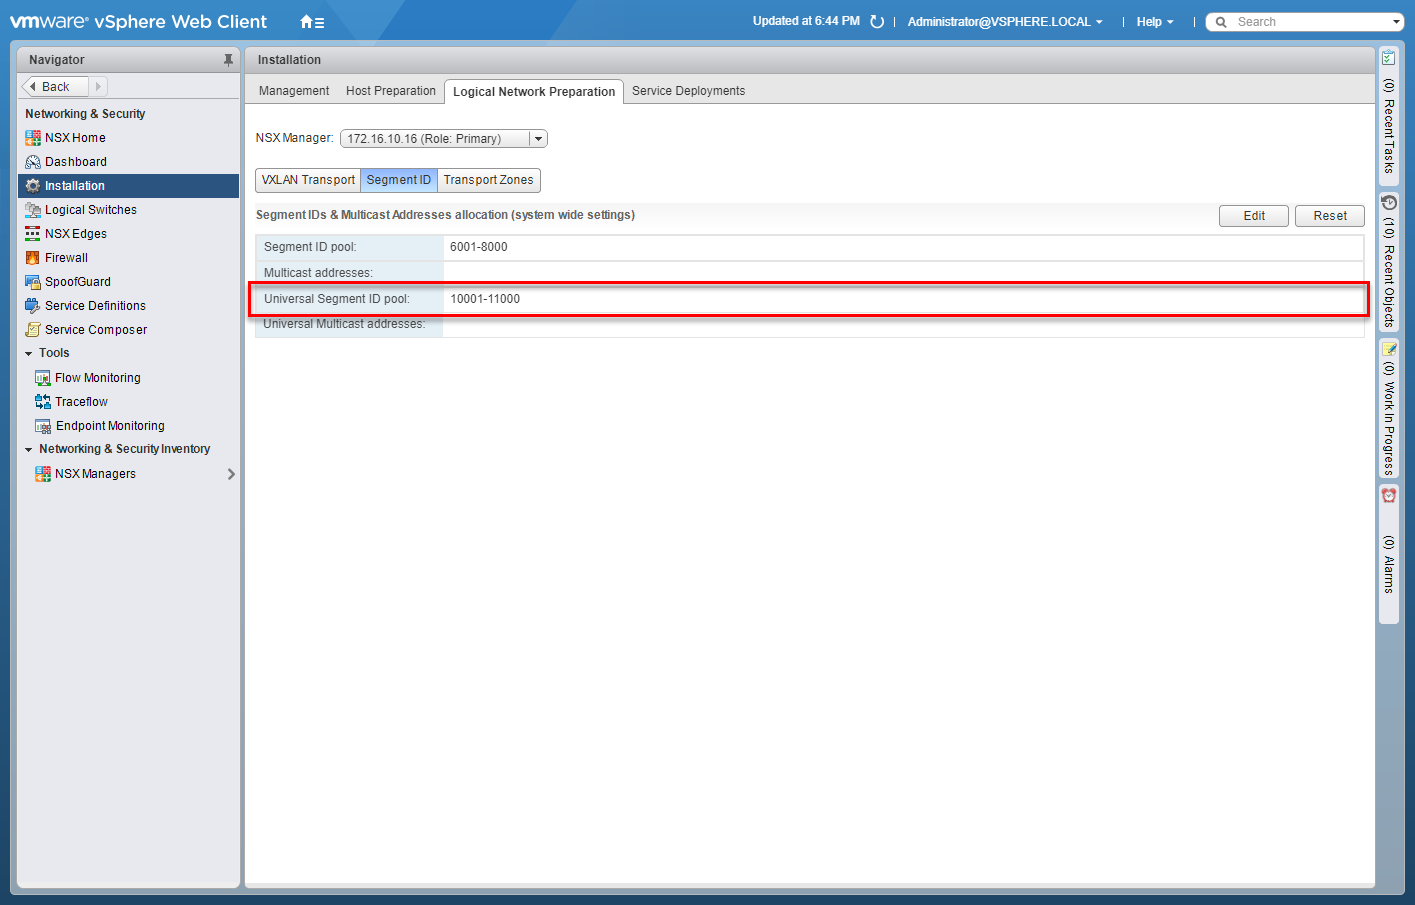
- Select the Primary from the NSX Manager dropdown and click Segment ID.

- Click Edit.
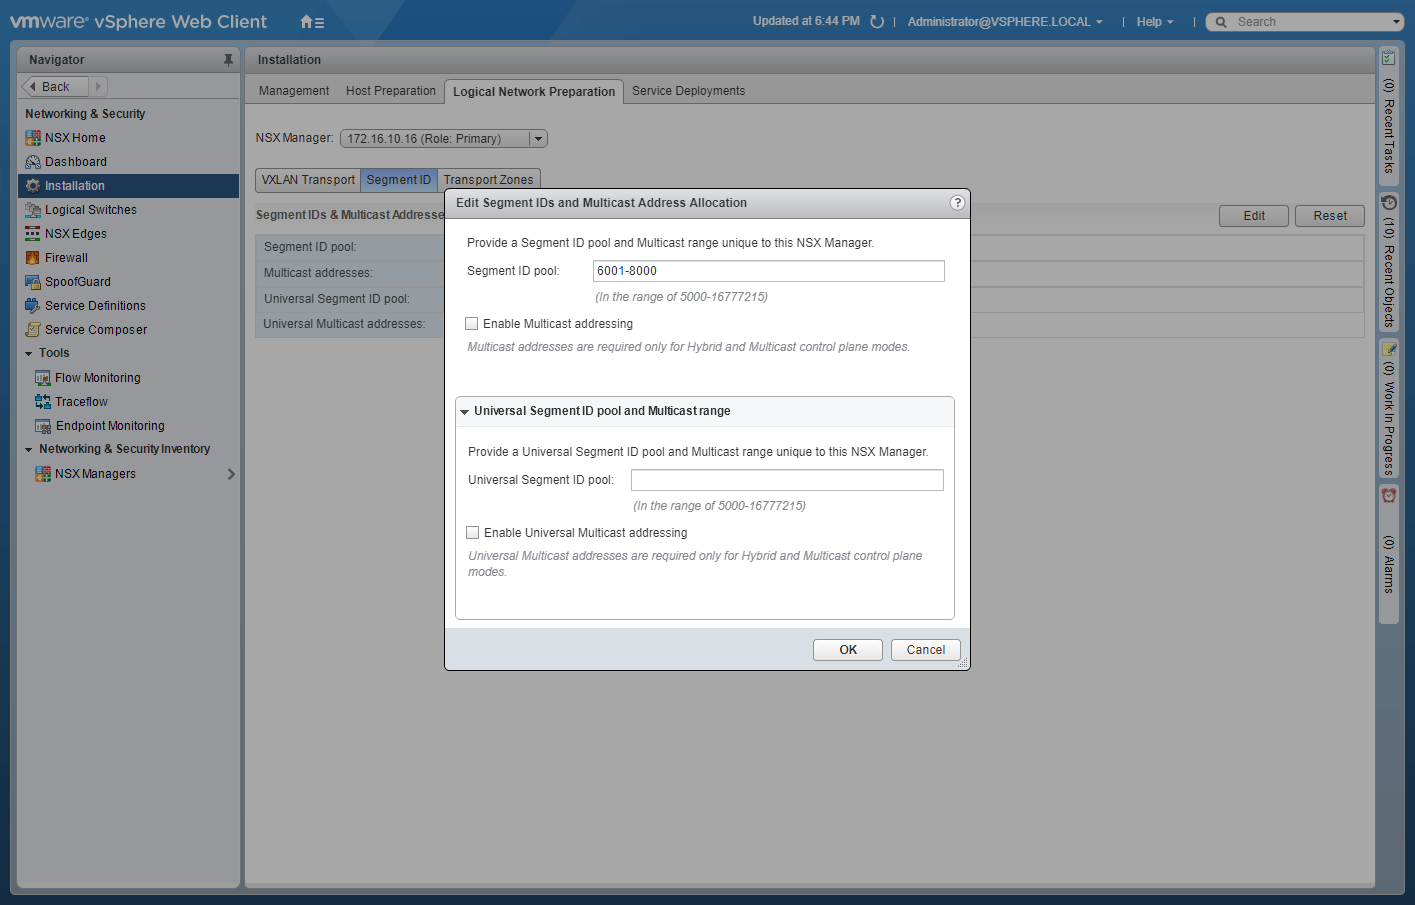
- Enter the range for the Universal Segment ID pool and (optionally) check the Enable Universal Multicast Addressing check box.

- Click OK.
Create Universal Transport Zones
- Using your favourite web browser, navigate to the vCenter Server login page ( https://vcenter.fqdn ).
- Enter appropriate User name and Password and click Login.
- Click Networking and Security.
- Click Installation.
- Click Logical Network Preparation.

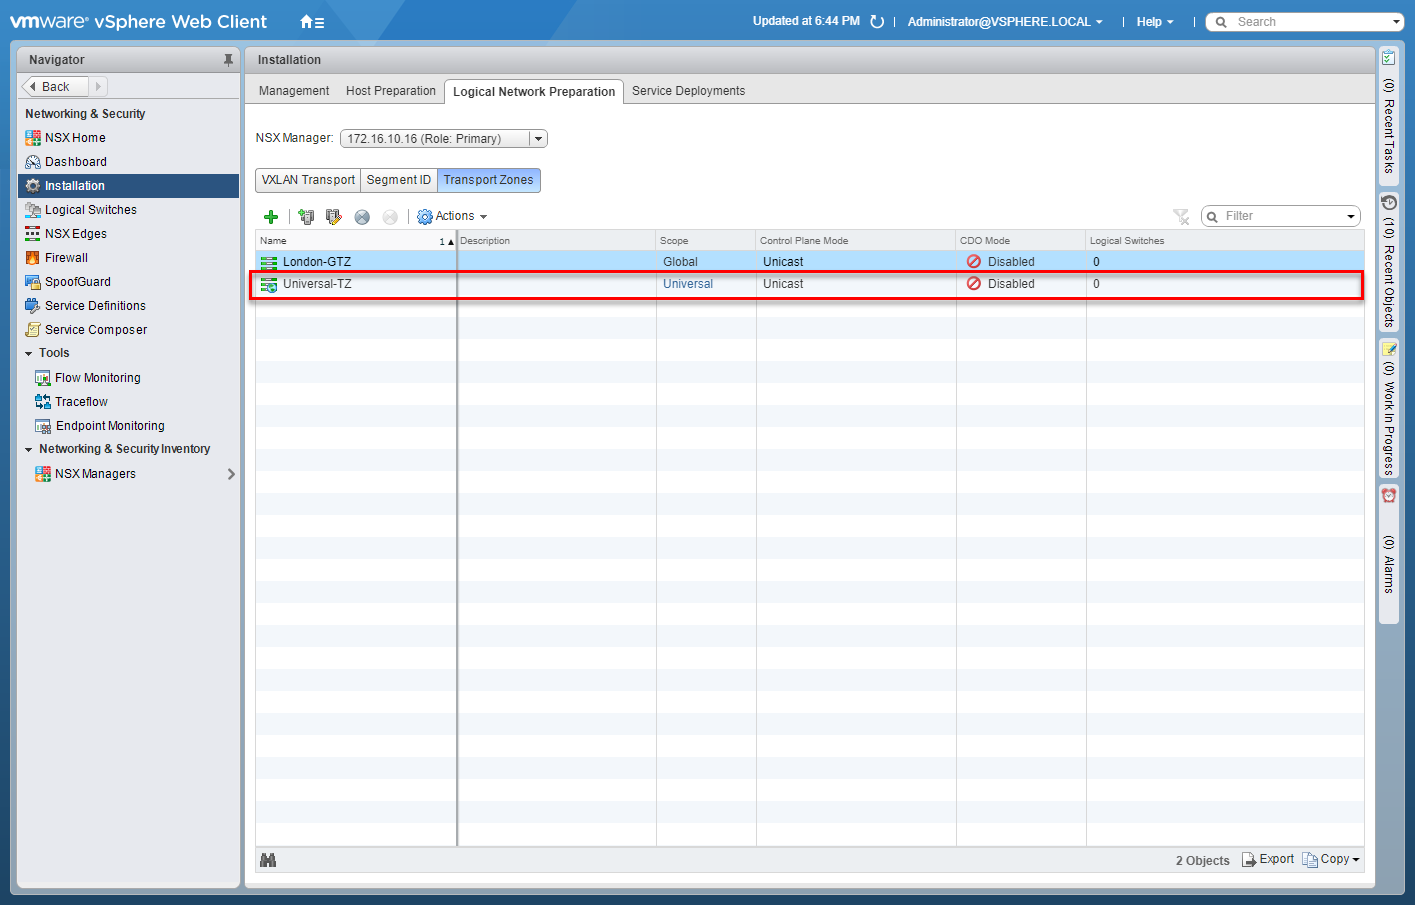
- Select the Primary from the NSX Manager dropdown and click Transport Zones.

- Click Add(+).
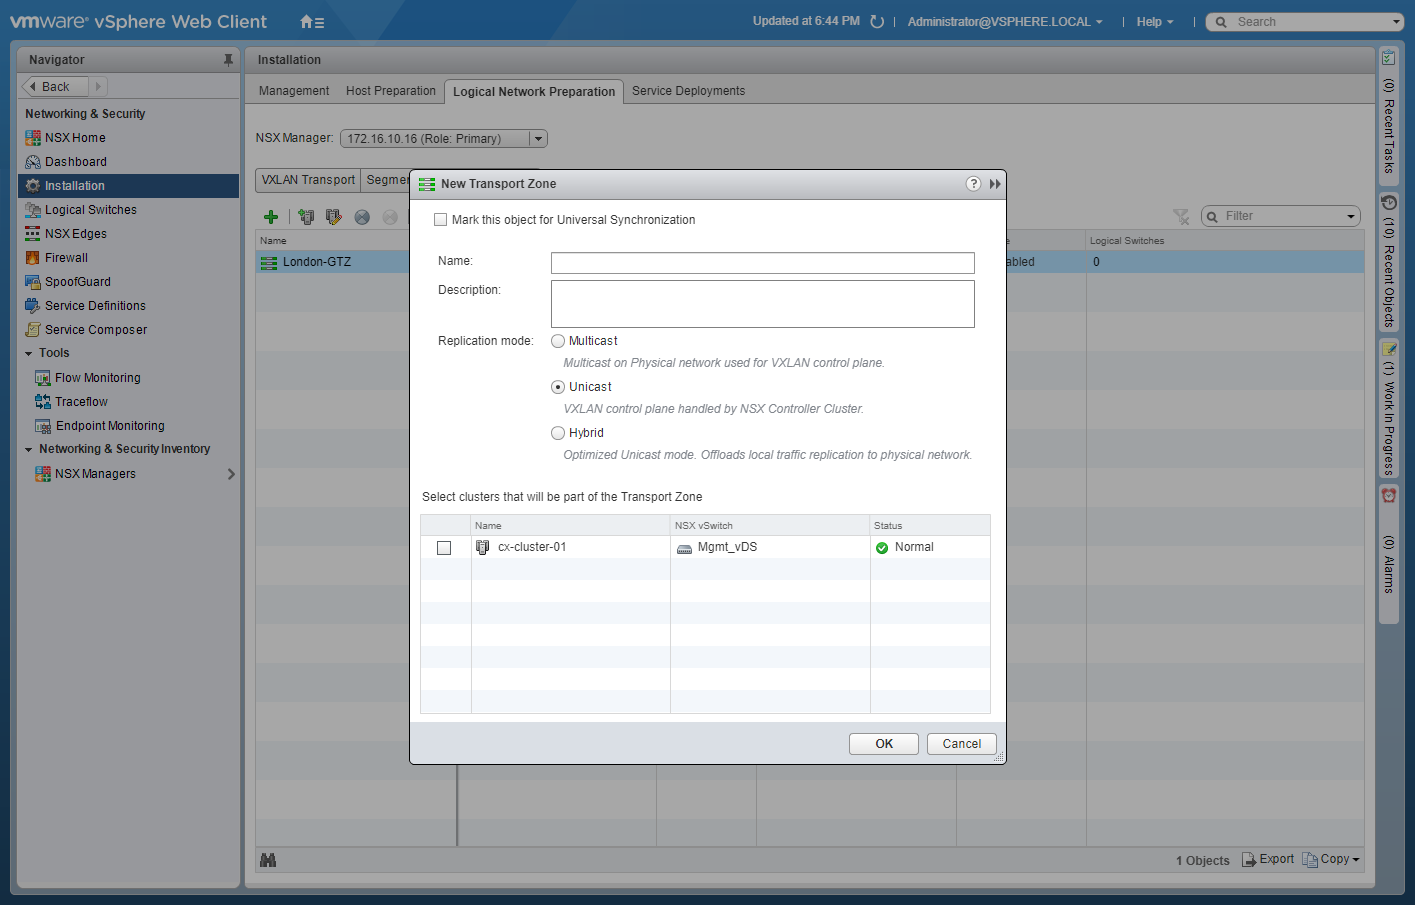
- Check the Mark this object for Universal Synchronization checkbox.
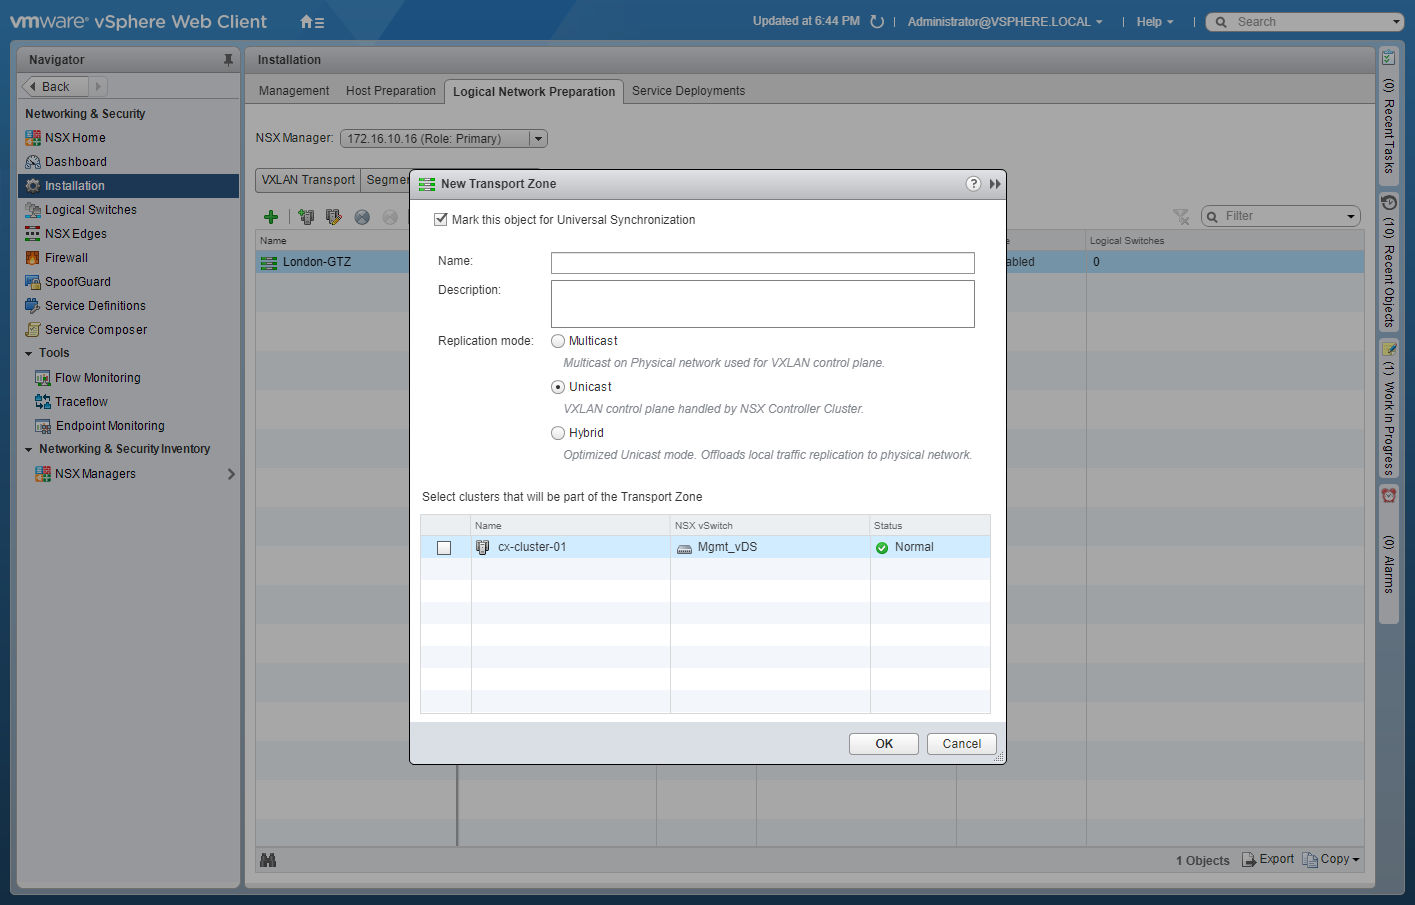
- Enter the Name of the Transport Zone, select a Replication mode option and then check the checkbox to add clusters to the Transport Zone.
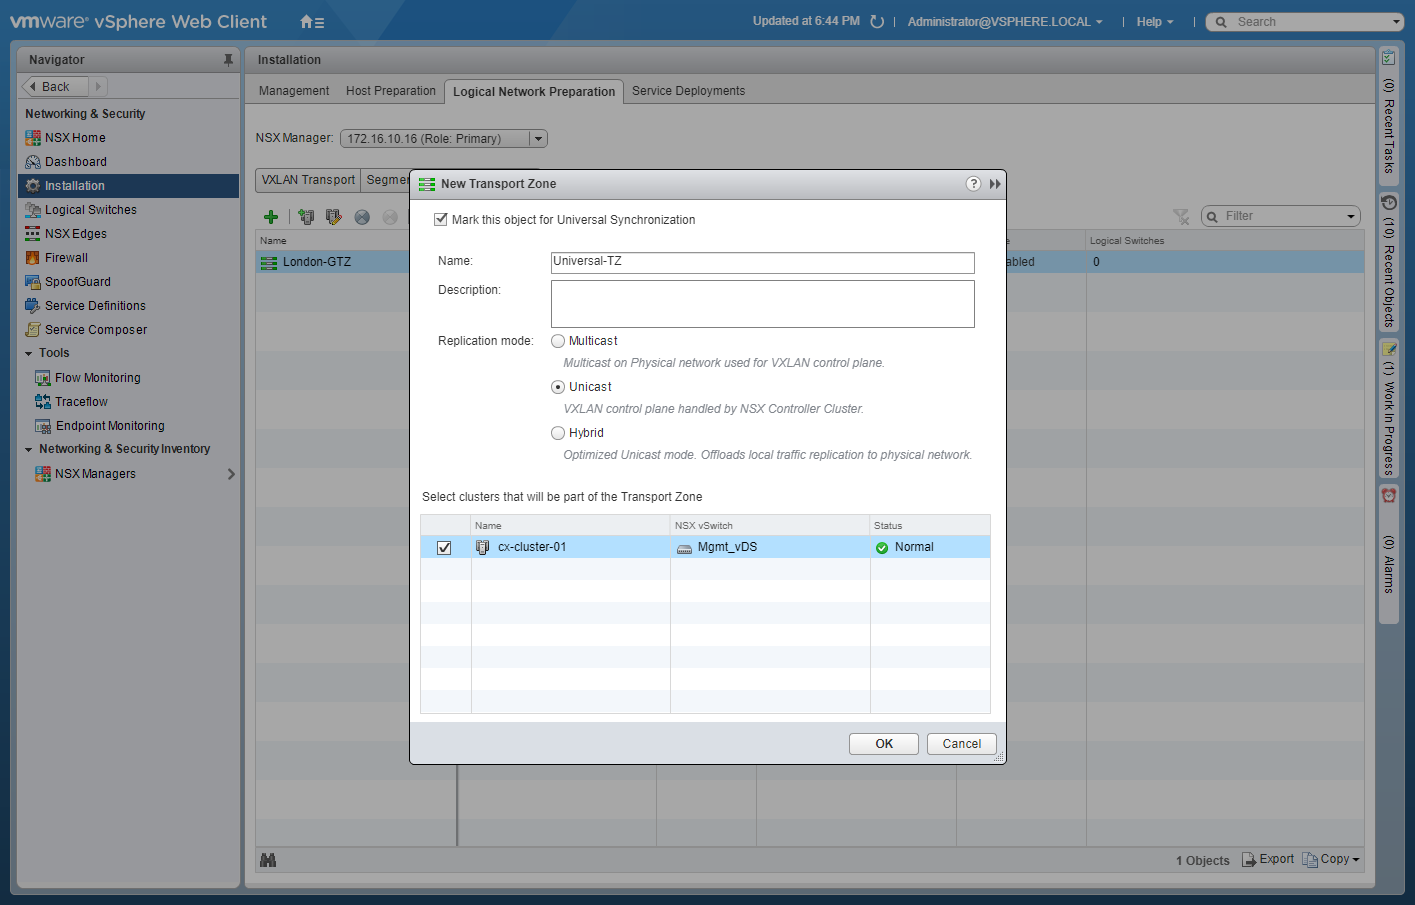
- Click OK.
Manage Universal Transport Zones
You can change the Name, the Replication Mode, Add/Remove clusters to/from or Delete the Transport Zone. The important thing to remember when trying to Delete or making changes to either the Name of the Replication Mode they have to be completed on the Primary NSX Manager. Adding/Removing clusters should be completed on the NSX Manager where the cluster resides.
In this example, we’re going to add a cluster from the Secondary NSX Manager to the existing Universal Transport Zone.
- Using your favourite web browser, navigate to the vCenter Server login page (
https://vcenter.fqdn).
- Enter appropriate User name and Password and click Login.
- Click Networking and Security.
- Click Installation.
- Click Logical Network Preparation.
- Select the Secondary from the NSX Manager dropdown and click Transport Zones.
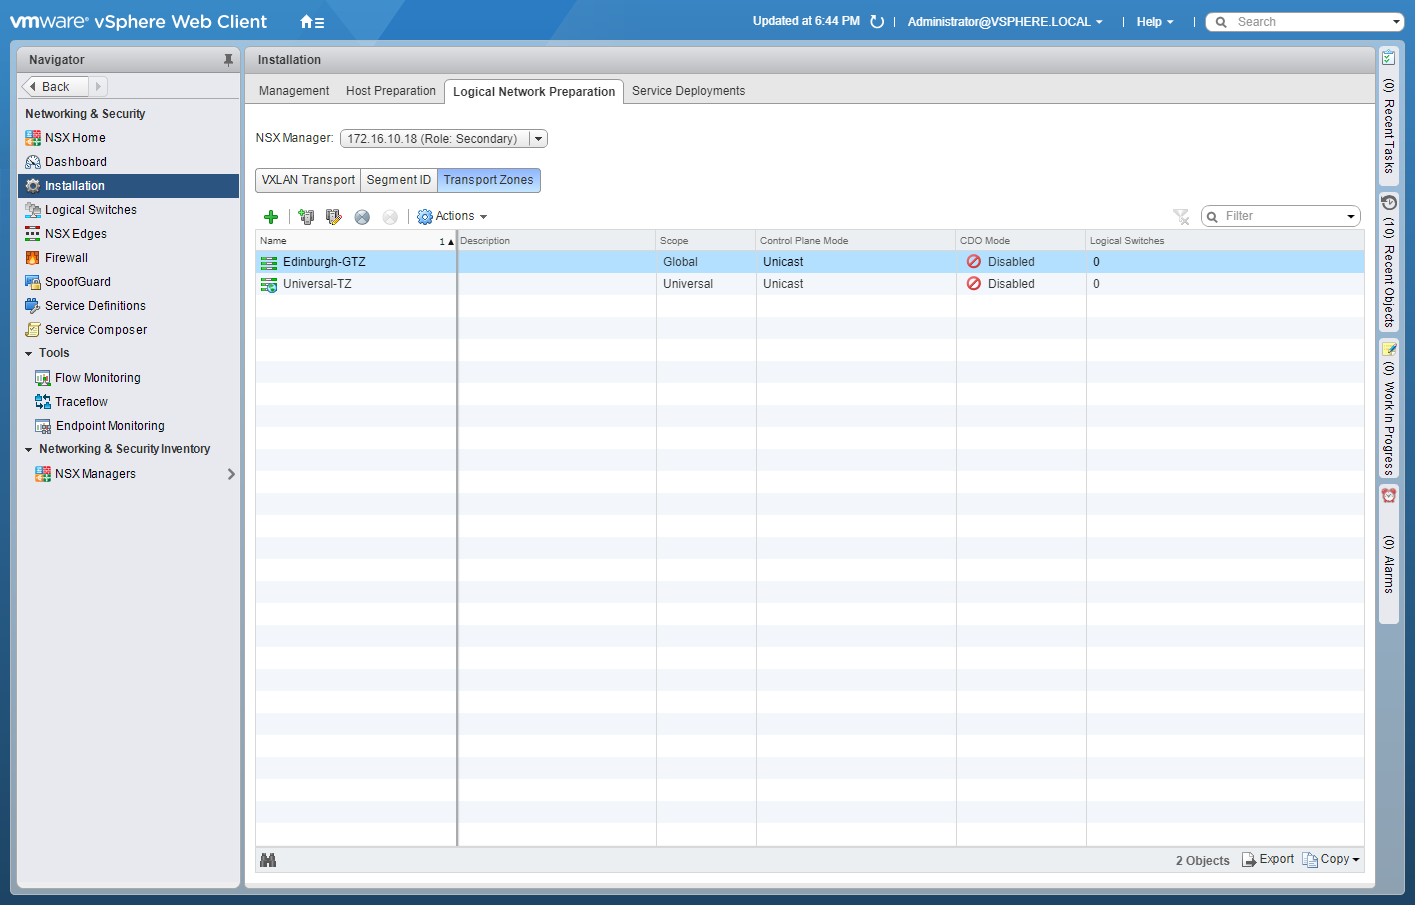
- Select the target Universal Transport Zone and click Connect Clusters.
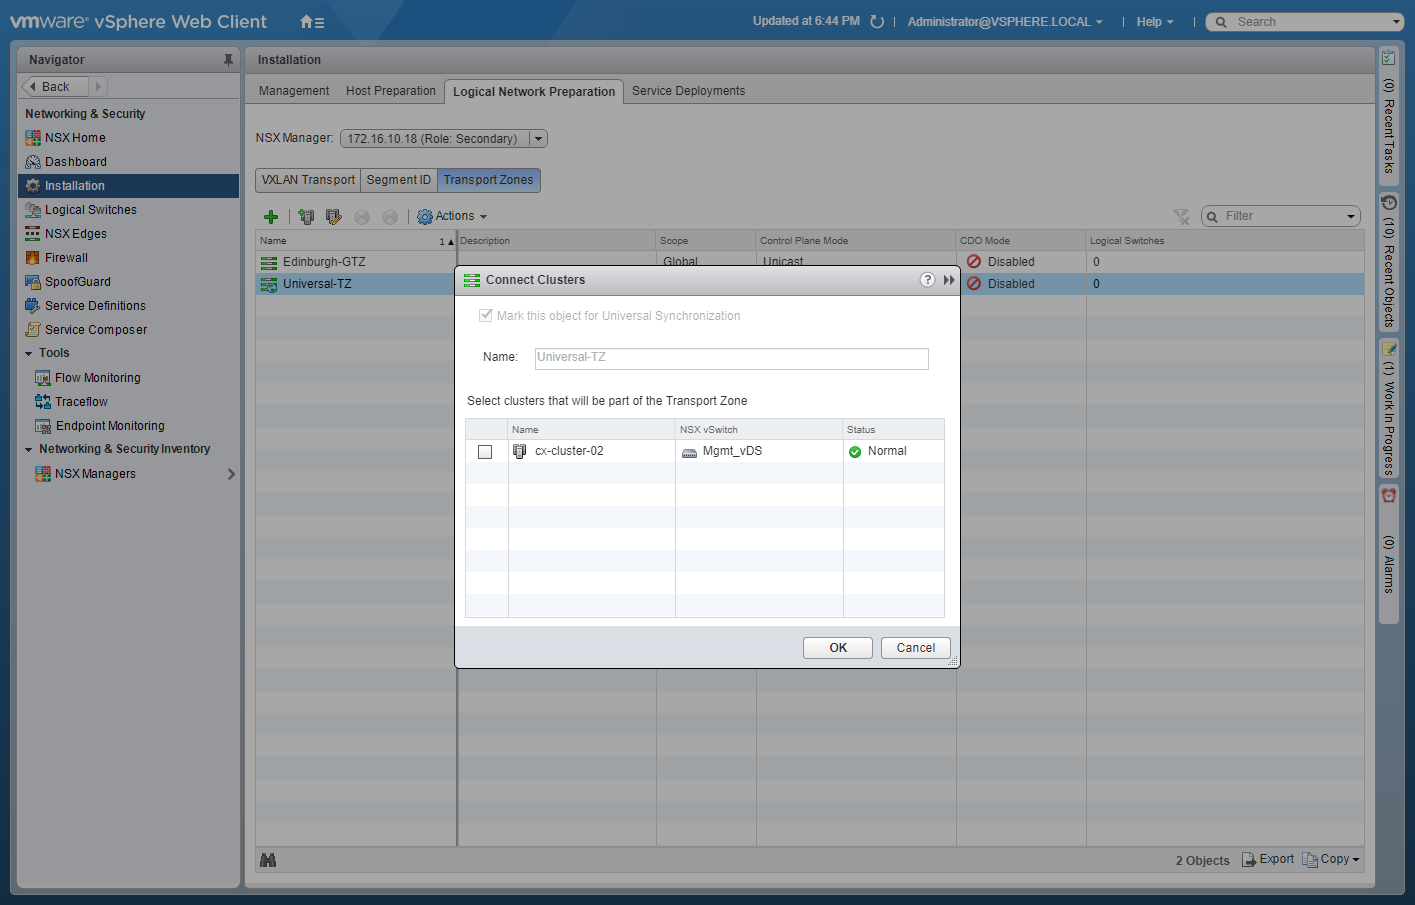
- Check the target cluster(s) and click OK.

Published on 12 October 2017 by Christopher Lewis. Words: 701. Reading Time: 4 mins.
- Achievement Unlocked - VMware Certified Implementation Expert 6 - Network Virtualization ()
- VCAP6-NV Deploy - Objective 4.2 - Configure and Manage Service Composer ()
- HOWTO: Configure VMware NSX-V Security Tags ()
- HOWTO: Generate Self-Signed Certificates in VMware NSX-V ()
- VCAP6-NV Deploy Exam Experience - Attempt 1 - Fail ()
