VCAP6-CMA Deploy - Objective 8.1: Deploy and Manage a vRealize Business Standard Appliance
VMware vRealize Automation vRealize Business VCAP6 VCAP6-CMA
Published on 11 February 2017 by Christopher Lewis. Words: 563. Reading Time: 3 mins.
Objective 8.1 - Deploy and Manage a vRealize Business Standard Appliance
Objective Overview
- Deploy vRealize Business Standard appliance
- Integrate vRealize Business Standard with vRealize Automation:
- Add vRealize Automation Hostname
- Configure SSO Default Tenant
- Configure SSO Admin User
- Configure SSO Admin Password
- Set Time Sync Mode
- Create a Tenant in vRealize Automation that leverages vRealize Business Standard:
- Specify an Identity Source
- Specify a tenant admin
- Assign vRealize Business roles:
- Business Management Administrator
- Business Management Read only
- Business Management Controller
- Add one or more virtual environments to vRealize Business Standard
- Add one or more vCenter Server instances to vRealize Business Standard
- Update the Reference Database
Information in this post uses vRealize Business for Cloud (7.2) as it is the only version compatible with vRealize Automation 6.2 and vSphere 6.5 (which is what my homelab runs on). The steps shown will be SIMILAR but may not be IDENTICAL with vRealize Business Standard (6.x).
Objective Prerequisites
The following prerequisites are assumed for this Objective:
- A fully deployed vRealize Automation Solution (See Objective 1 ).
- An SSL certificate for vRealize Business.
Objective Breakdown
Deploy vRealize Business Standard appliance
I have covered this in a separate post called HOWTO: Deploy VMware vRealize Business for Cloud for vRealize Automation .
Integrate vRealize Business Standard with vRealize Automation
I have covered this in a separate post called HOWTO: Deploy VMware vRealize Business for Cloud for vRealize Automation .
Create a Tenant in vRealize Automation that leverages vRealize Business Standard
I believe I have covered Tenant Creation in Objective 2.1
Assign vRealize Business roles (Business Management Administrator, Business Management Read only, Business Management Controller)
I believe i have covered the assignment of roles to AD Users, AD Groups and Custom Groups in Objective 2.1 and this would be the same process for the vRealize Business Roles.
Add one or more virtual environments to vRealize Business Standard
I think this section is meant to be for Public/Hybrid cloud, so let’s do AWS Web Services as they are all very similar to configure.
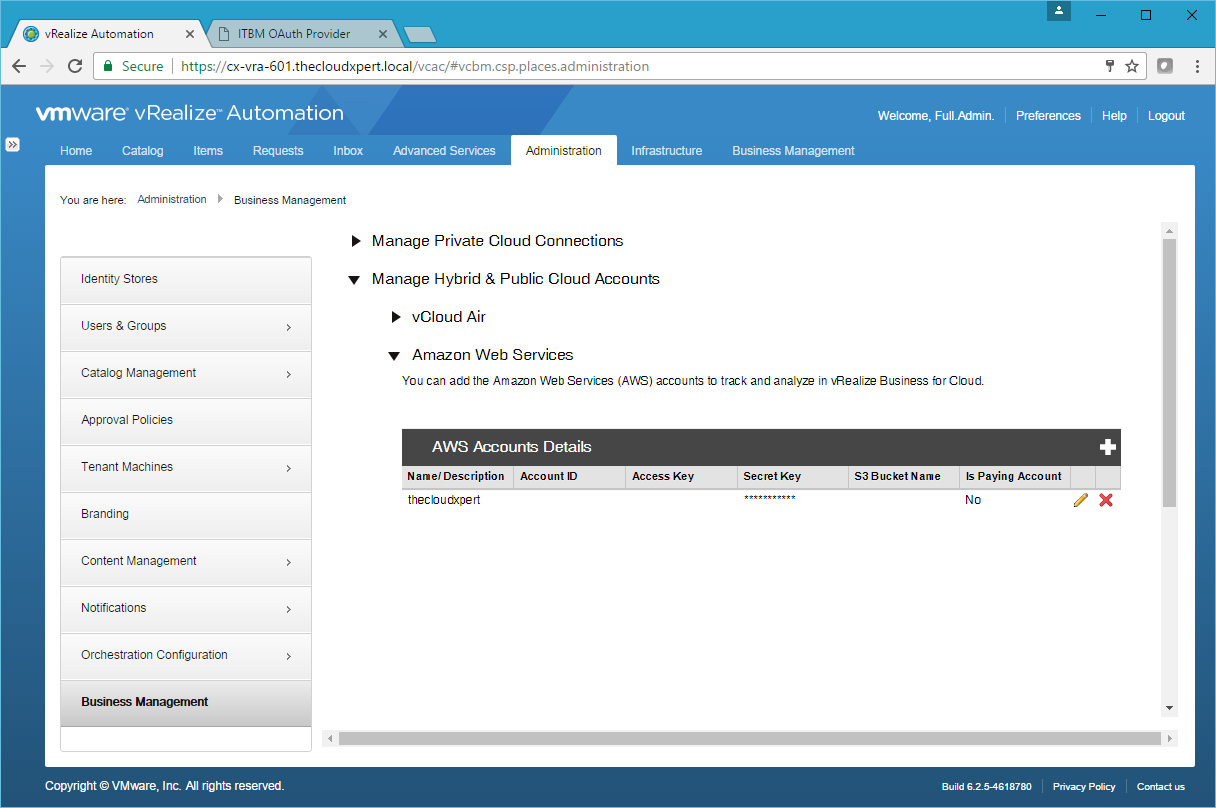
- Navigate to Manage Hybrid & Public Cloud Connections > Amazon Web Services and click Add(+).
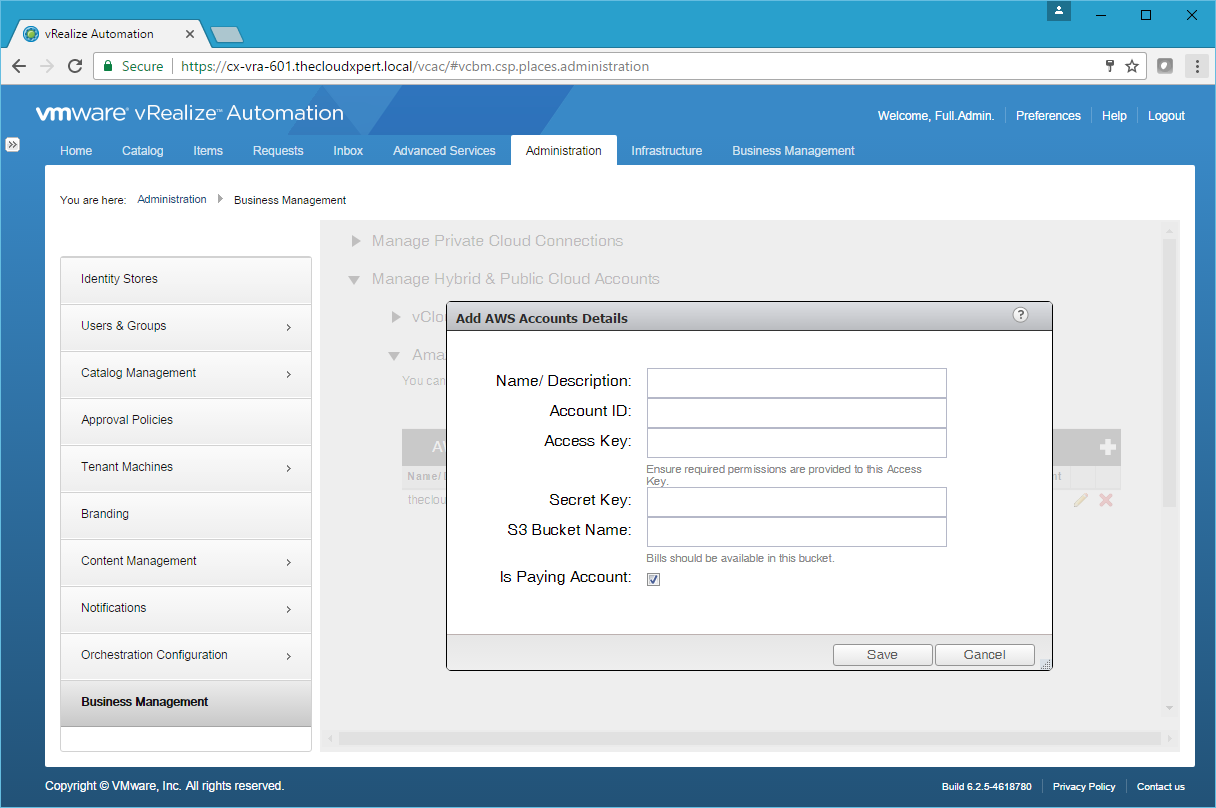
- Type the Name for the Account, type the Account ID, Access Key and Secret Key.
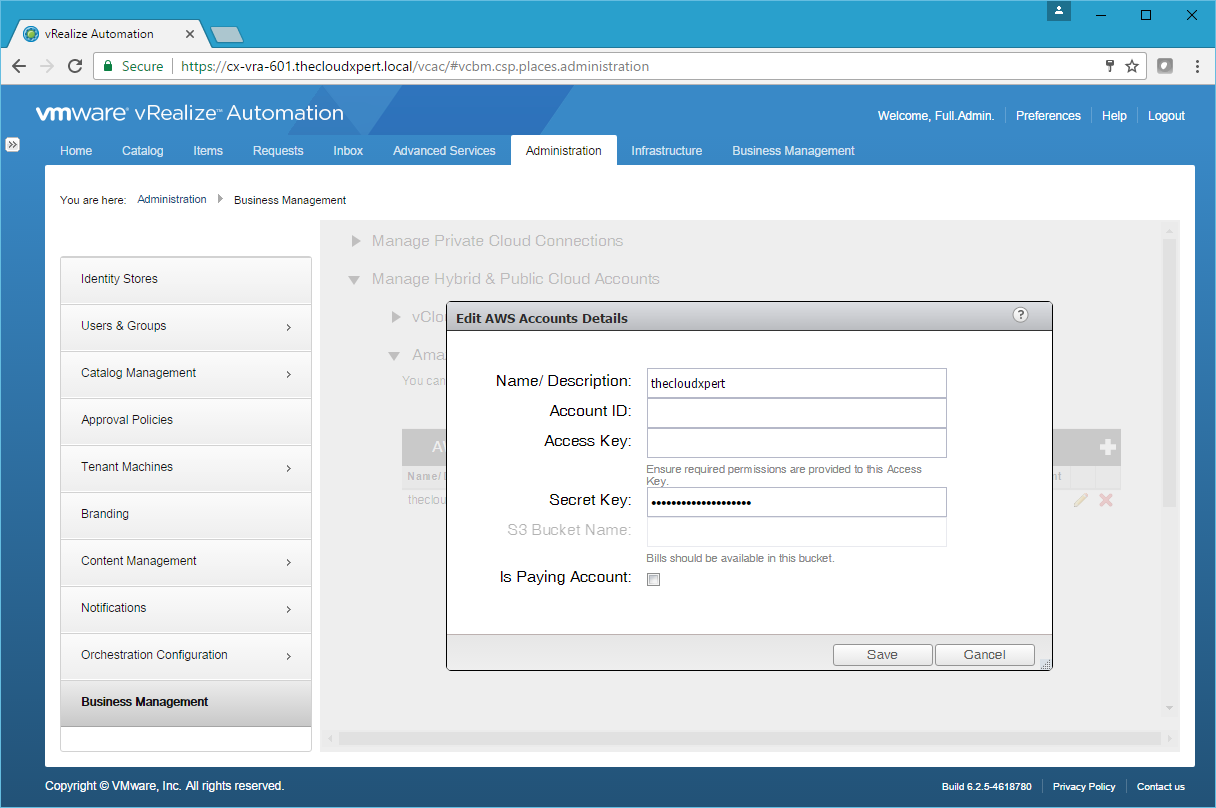
- Click Save.
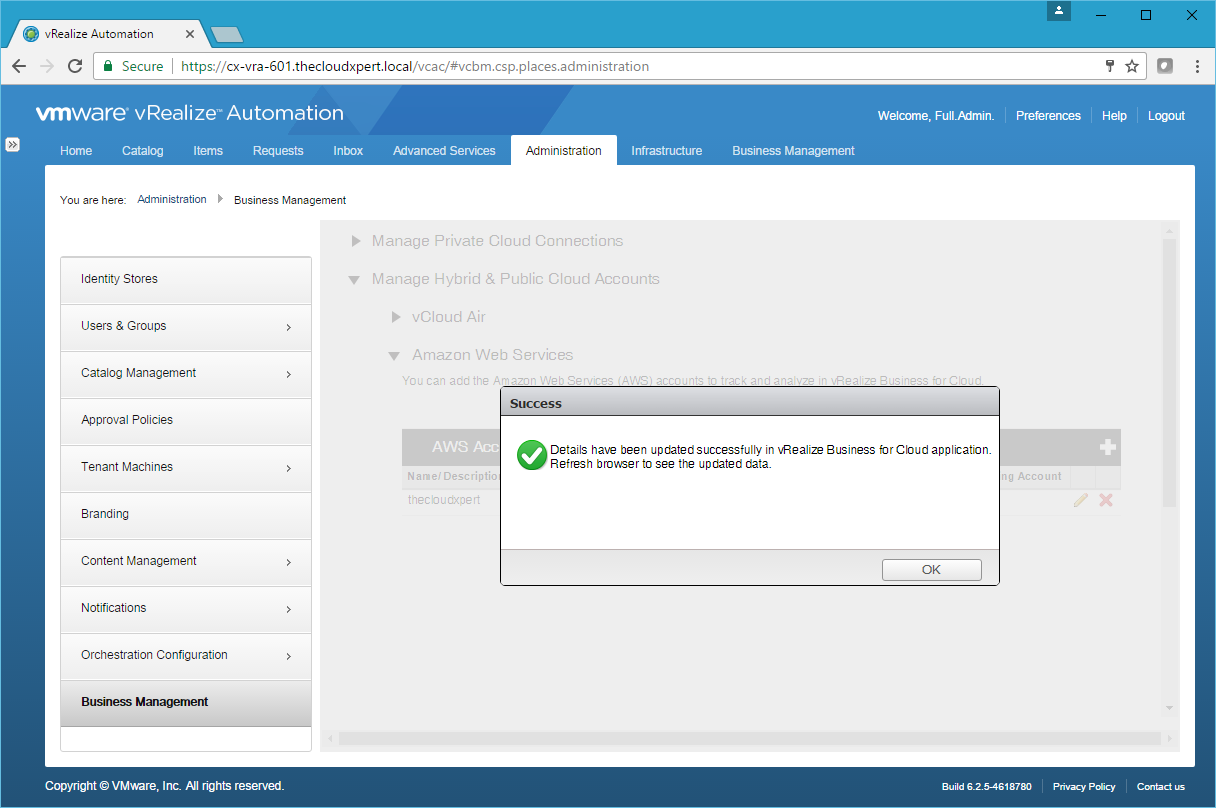
- Click OK.
Add one or more vCenter Server instances to vRealize Business Standard
-
Log into vRealize Automation Tenant Portal (
https://vra-appliance.fqdn/vcac) as the user with the Business Management Administrator role and navigate to Administration > Business Management. -
Navigate to Manage Private Cloud Connections > vCenter Server and click Add(+).
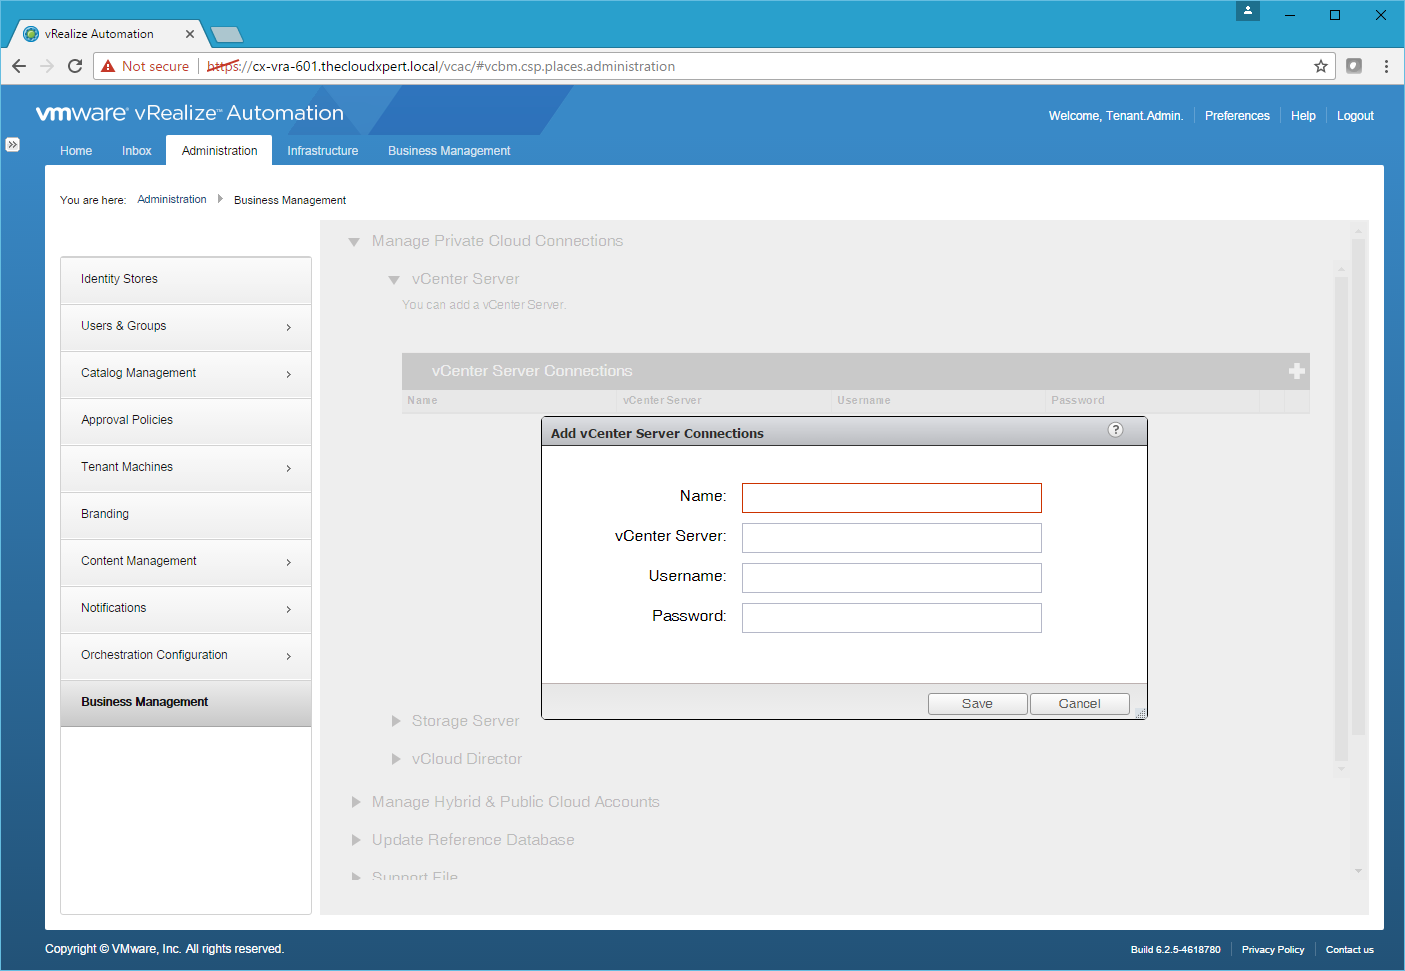
- Type the Name for the configuration, the address of the vCenter Serve, and the Username and Password to connect to vCenter Server.

- Click Save.
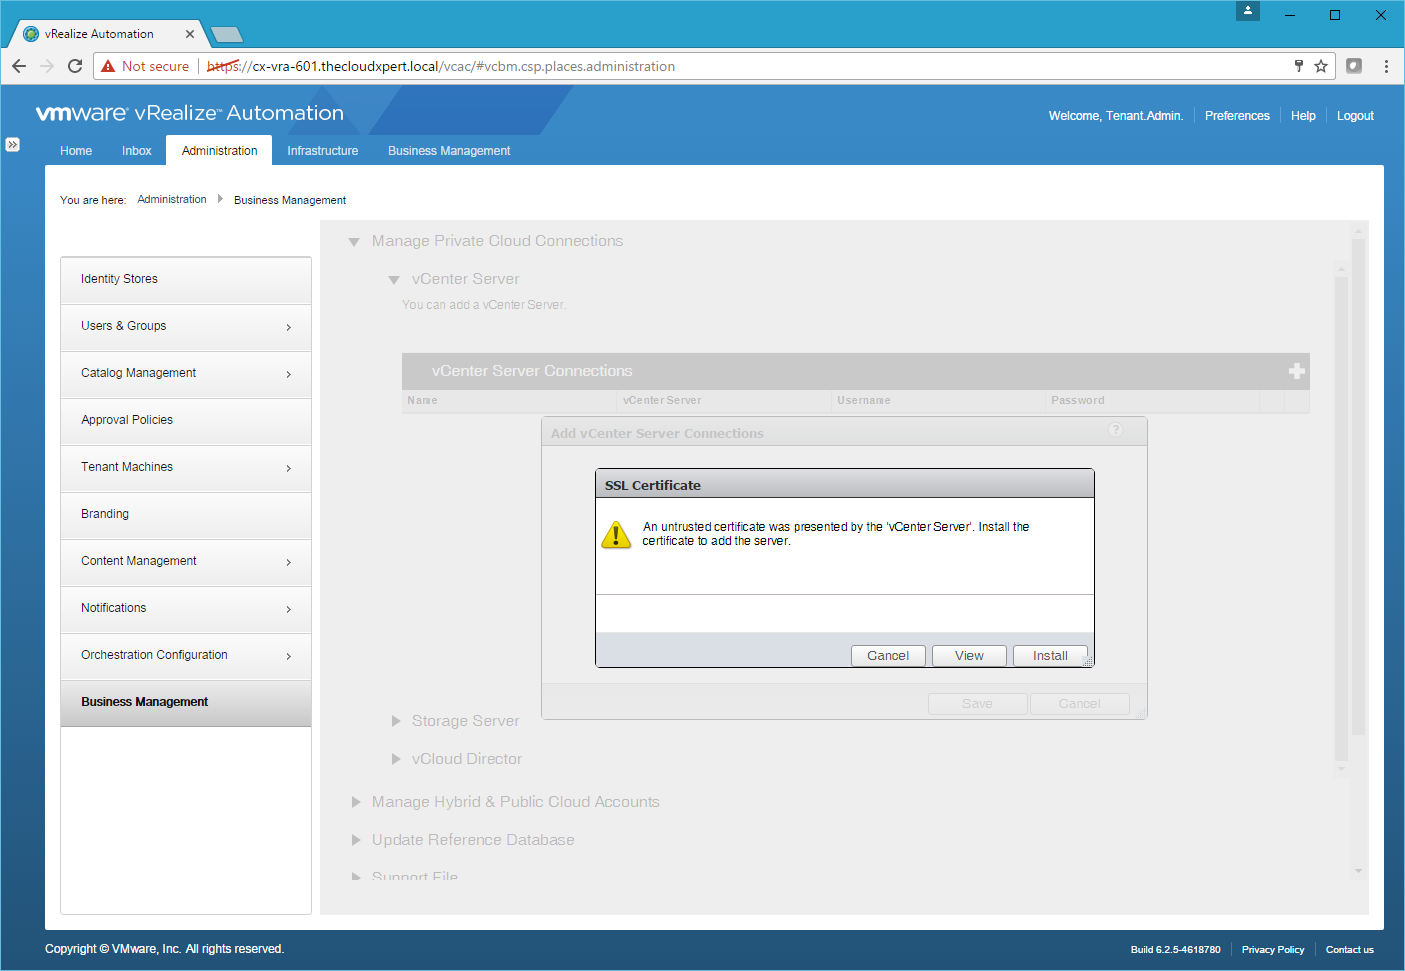
- Click Install.

- Click OK.
Update the Reference Database
-
Log into vRealize Automation Tenant Portal (
https://vra-appliance.fqdn/vcac) as the user with the Business Management Administrator role and navigate to Administration > Business Management. -
Select Update Reference Database.
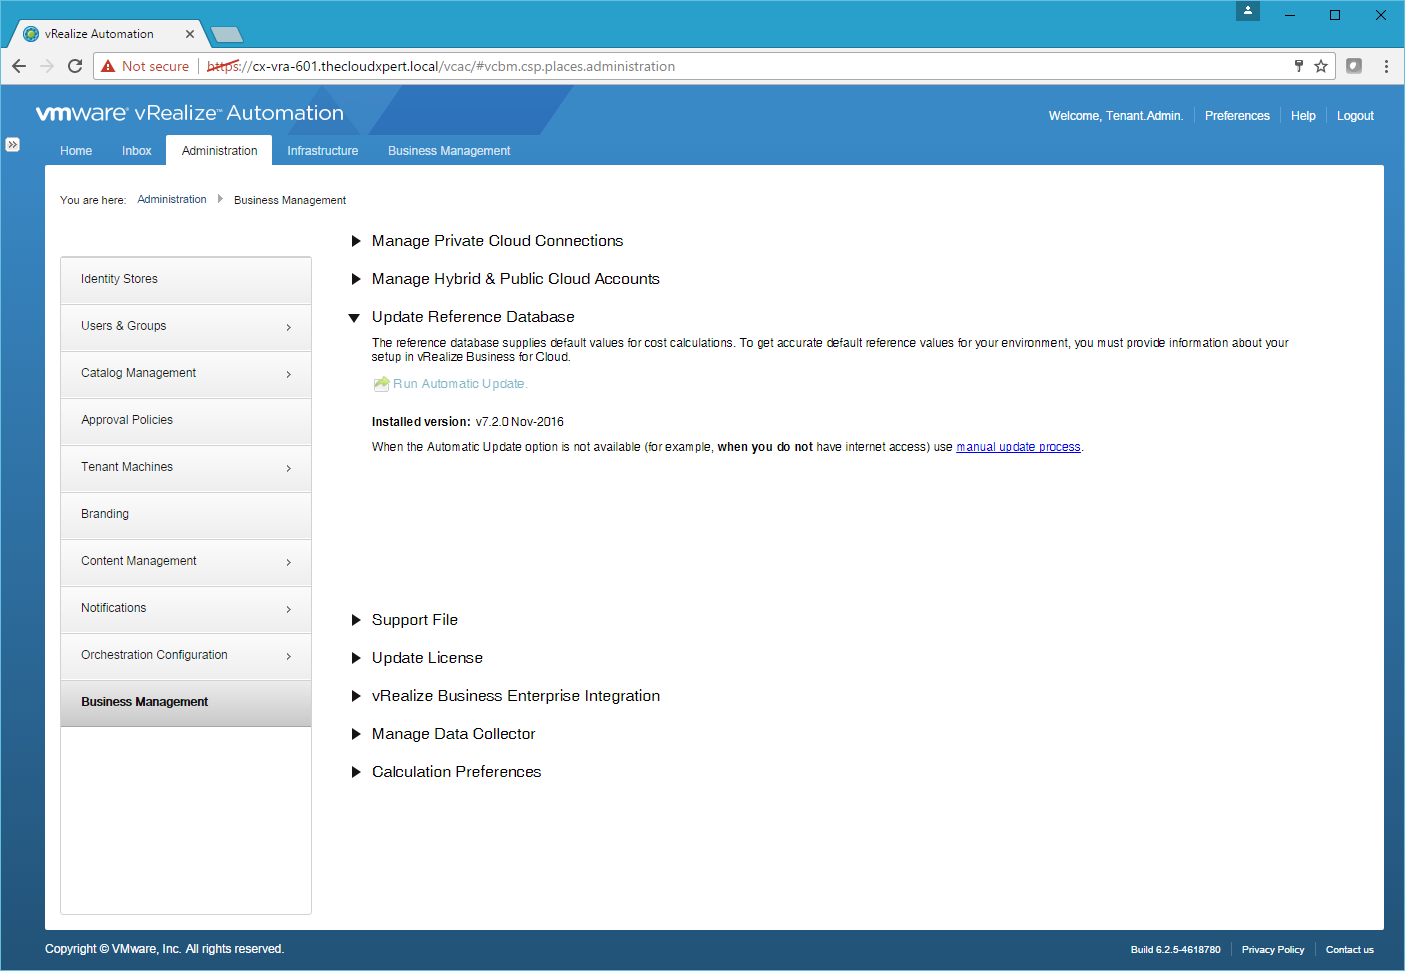
- Click Run automatic update to update this from the internet.
- To Manually update the Reference Database, click Manual Update Process.
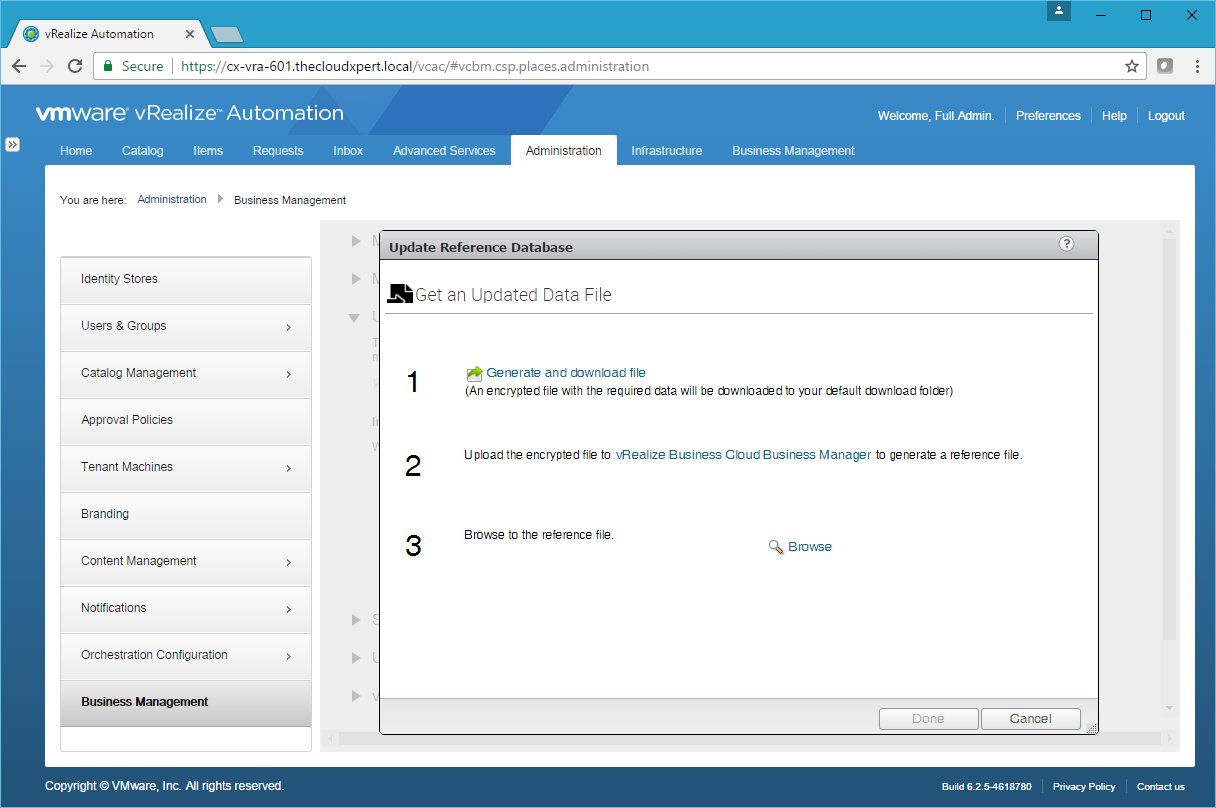
-
Click the Generate and download file link and save the file to your local machine.
-
Click the vRealize Business Cloud Business Manager link.
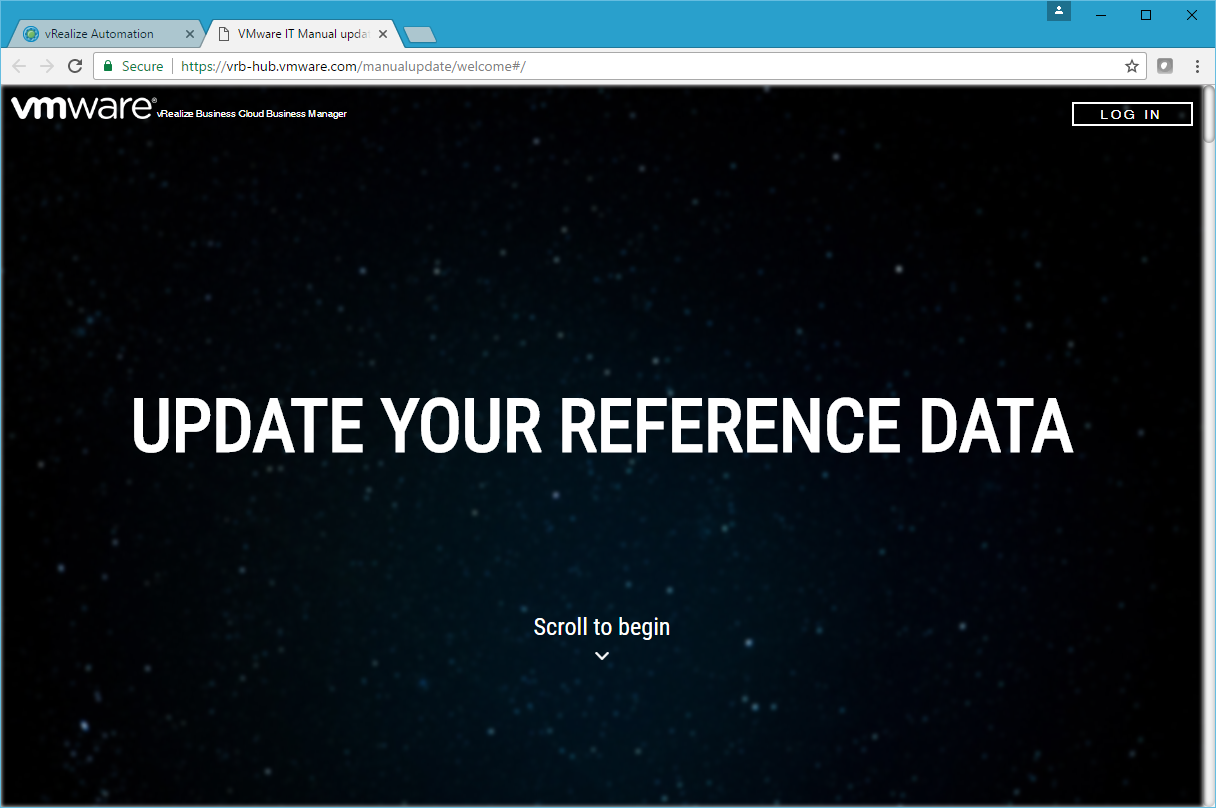
- Log in and upload the encrypted file, then download the reference file to be imported.
-
Click Browse, locate the file and click Open.
-
Click Done.
Published on 11 February 2017 by Christopher Lewis. Words: 563. Reading Time: 3 mins.
- VCAP6-CMA Deploy - Objective 4.4: Import existing workloads ()
- HOWTO: Configure a vRealize Automation 6 Advanced Services Endpoint for vCenter Server ()
- VCAP6-CMA Deploy - Objective 6.1: Configure Advanced Service Designer ()
- HOWTO: Configure a vRealize Automation 6 Advanced Services Endpoint for Active Directory ()
- VCAP6-CMA Deploy - Objective 5.2 - Modify a Blueprint to invoke a Workflow during a Lifecycle Change ()
