VCAP6-CMA Deploy - Objective 5.3: Create/Modify/Execute a vRealize Orchestrator Workflow
VMware vRealize Automation vRealize Application Services VCAP6 VCAP6-CMA
Published on 18 July 2017 by Christopher Lewis. Words: 674. Reading Time: 4 mins.
Objective 5.3 - Create/Modify/Execute a vRealize Orchestrator Workflow
Objective Overview
- Create/modify/troubleshoot actions
- Create/modify/execute vRO workflows
- Install/launch/use the vRO client
- Configure variable binding in a vRO workflow
- Perform logging from a vRO workflow
- Add schema elements to a vRO workflow
- Run workflow(s) in the vRO HTTP-REST plug-in to invoke a REST operation
- Modify a workflow to display a non-default icon
- Create a configuration element
- Modify a workflow to use to a configuration element
Objective Prerequisites
The following prerequisites are assumed for this Objective:
- A fully deployed vRealize Orchestrator Appliance or Cluster.
Objective Breakdown
Install/launch/use the vRO client
When using the External vRealize Orchestrator Appliance, the client can be obtained from https://vro-appliance.fqdn:8281.
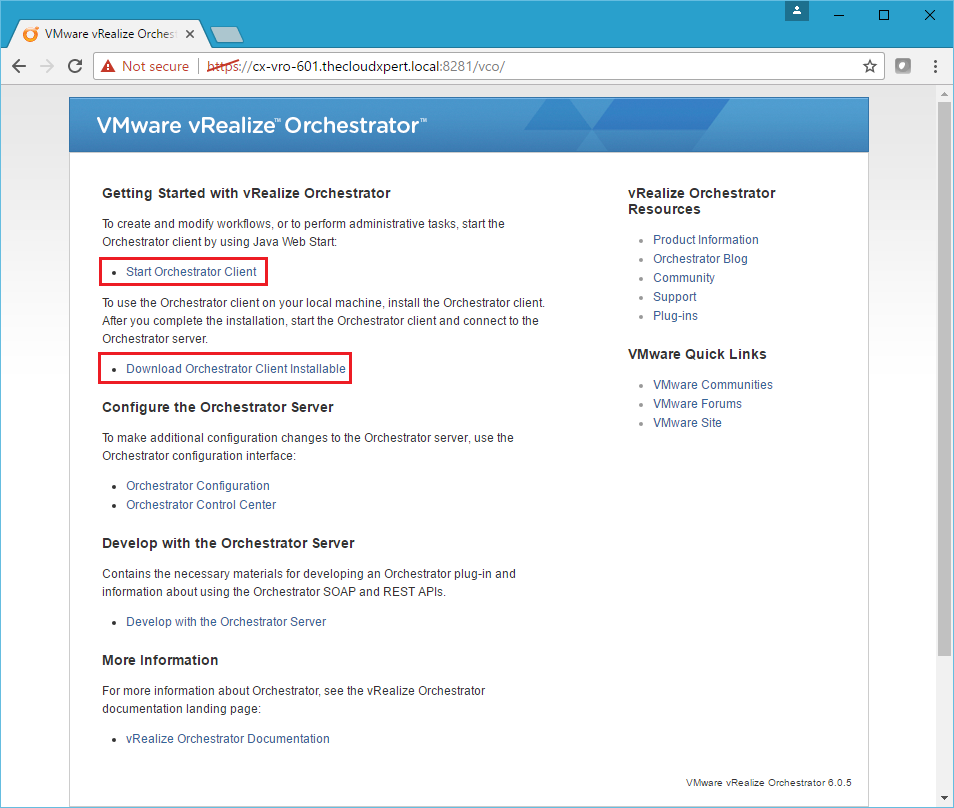
You can either choose to launch the vRO JAVA Client directly from the appliance or you can download an “installable” and save it to you local machine to run it.
When using the Embedded vRealize Orchestrator, you can obtain the client from https://vra-appliance.fqdn/.
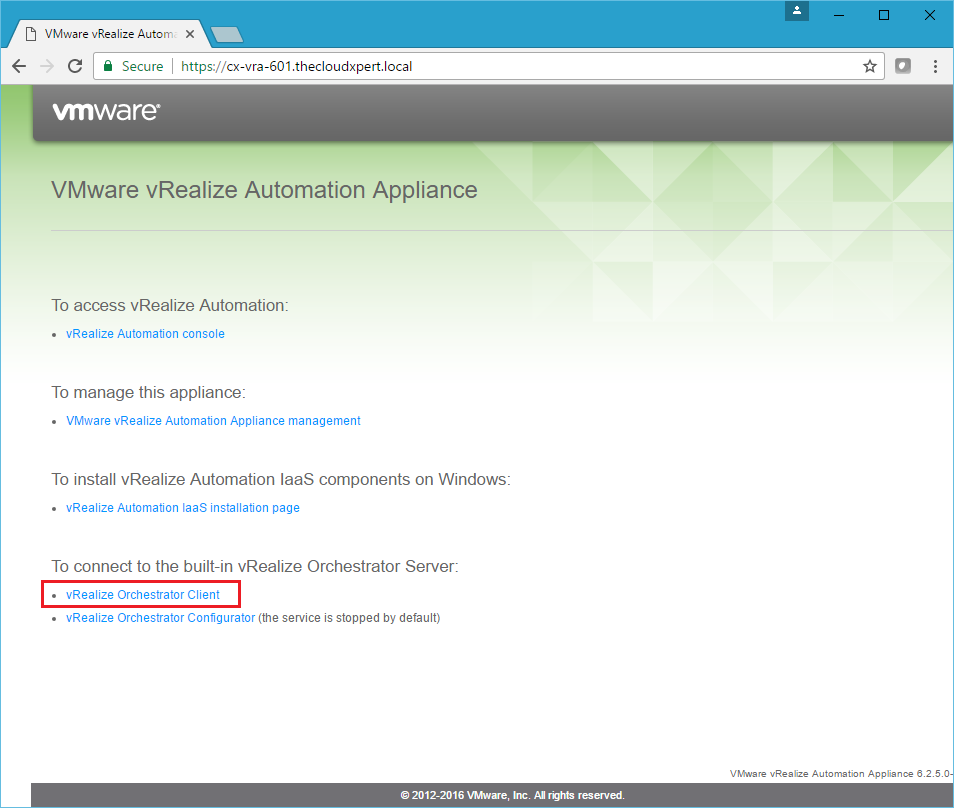
This allows you to launch the vRO JAVA client from the vRA Appliance.
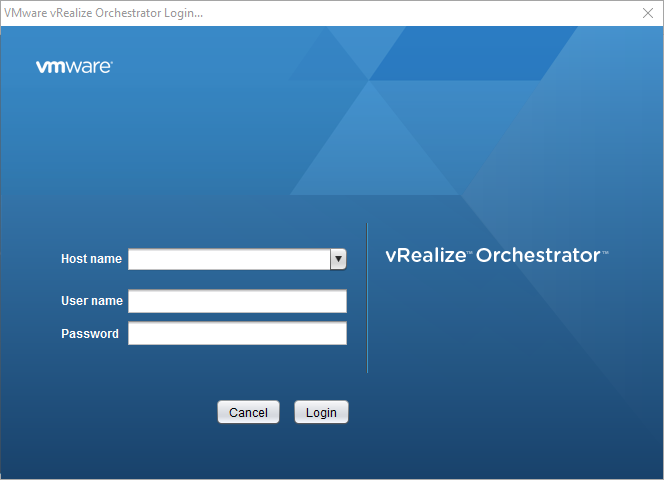
Enter the Host name (https://vro-appliance.fqdn), User name and Password. Then click Login.
administrator@vsphere.local). If using an external appliance the default username and password is vcoadmin (unless you have configured the administrator group via the configuration portal).
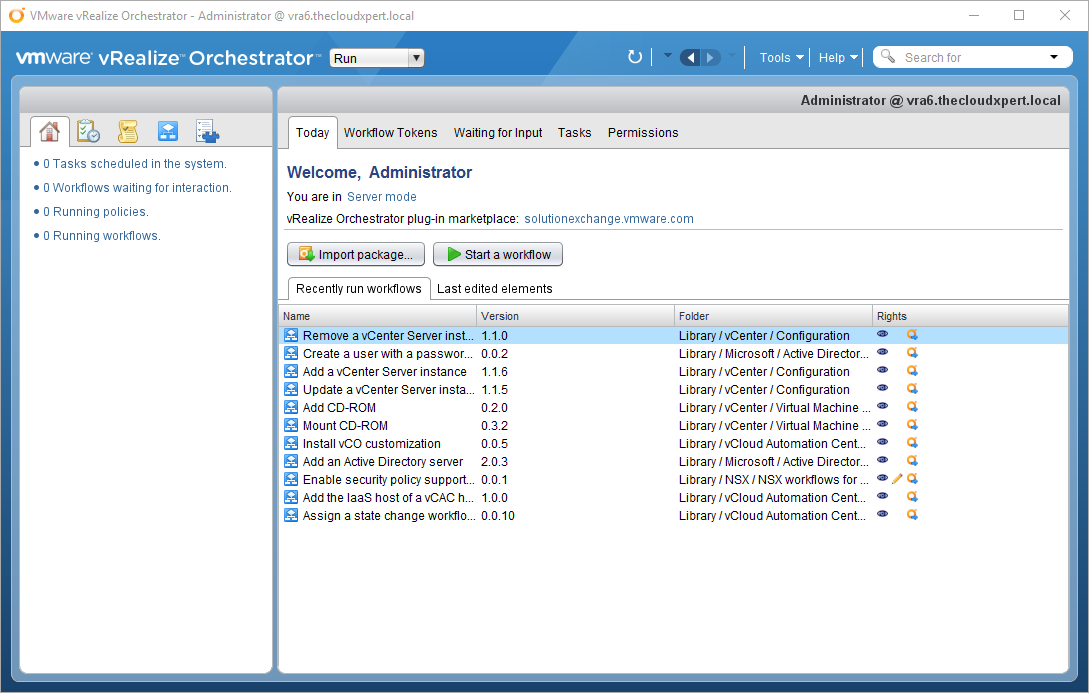
You are now ready to get your workflow groove on!
Create an Action
We can think of Actions as “modules” within vRealize Orchestrator. They are bits of JavaScript code that can be used by (amongst other things) Workflows. They differ from Scriptable Tasks because Actions can be shared between workflows.
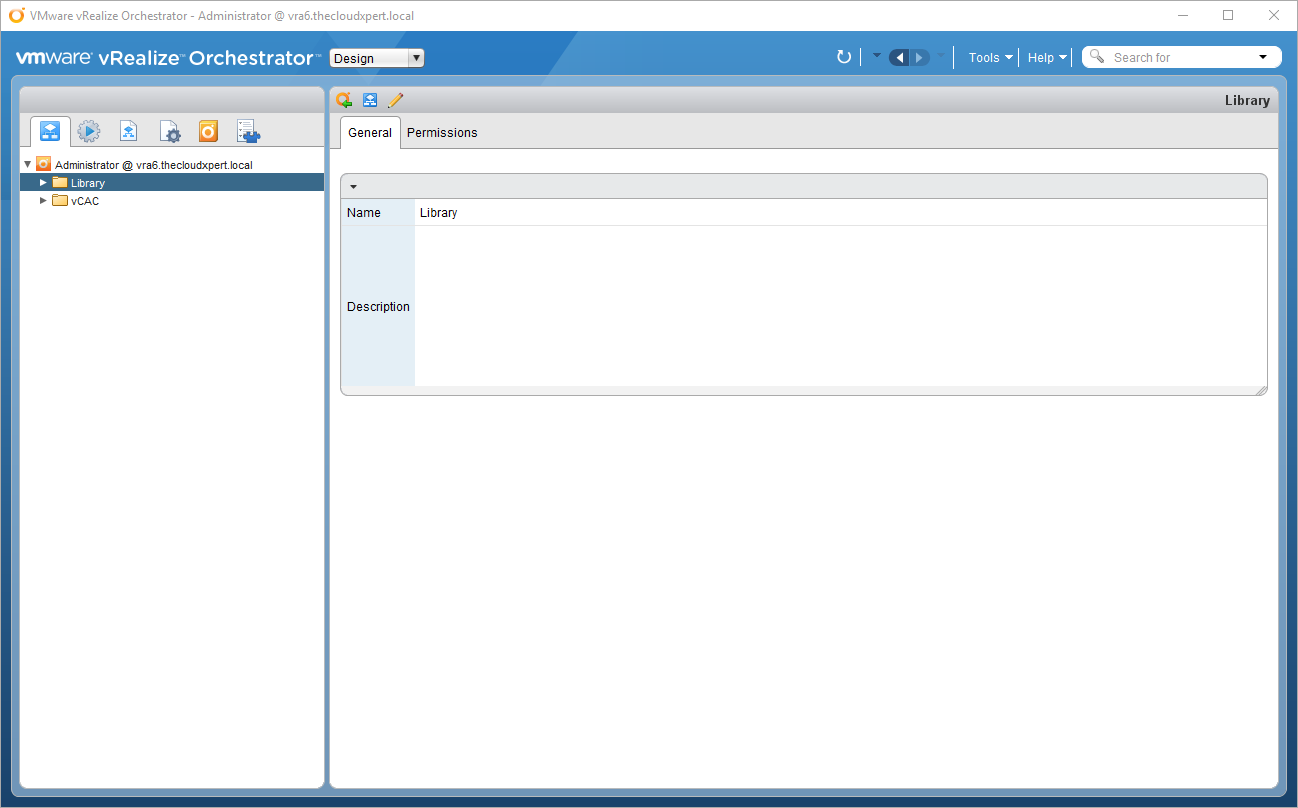
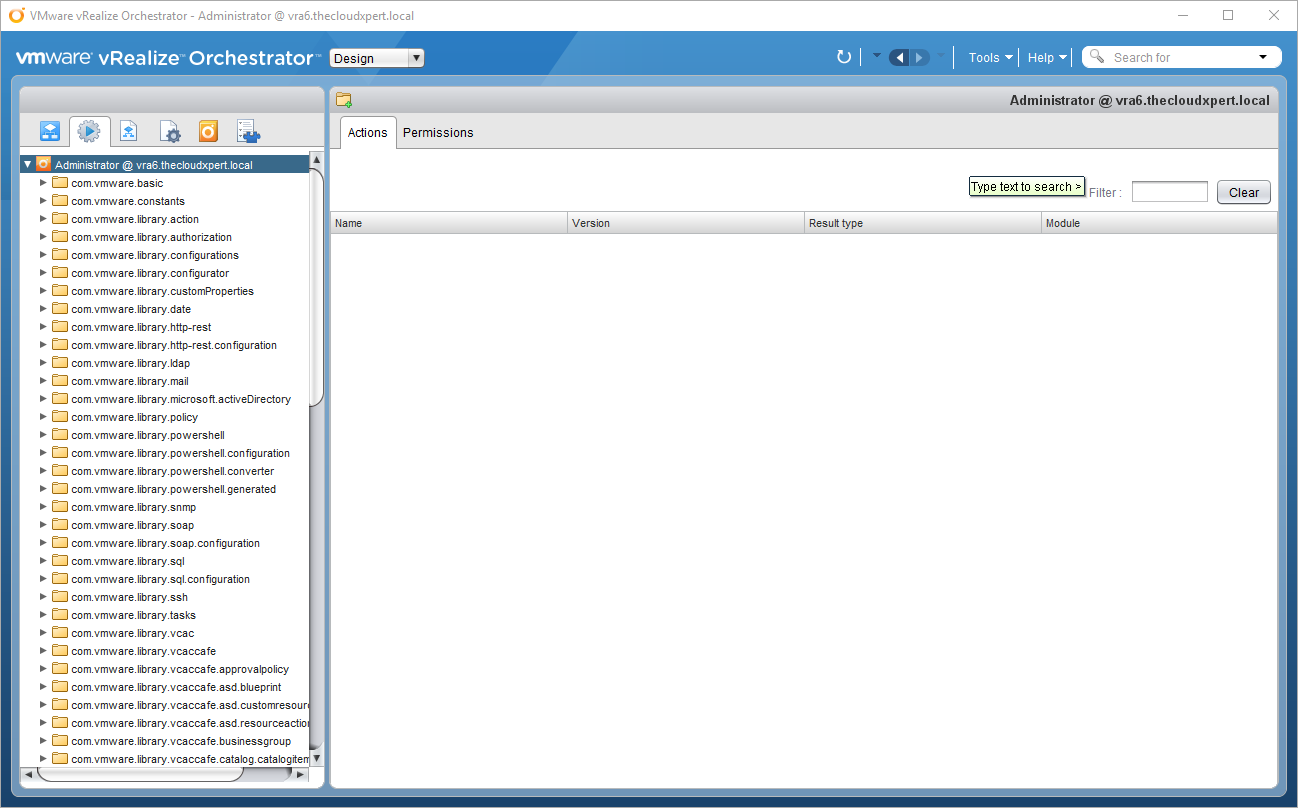
- Ensure that Design from the view dropdown.
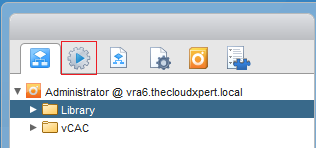
- Click the Action icon.
(optional) Create a New Module
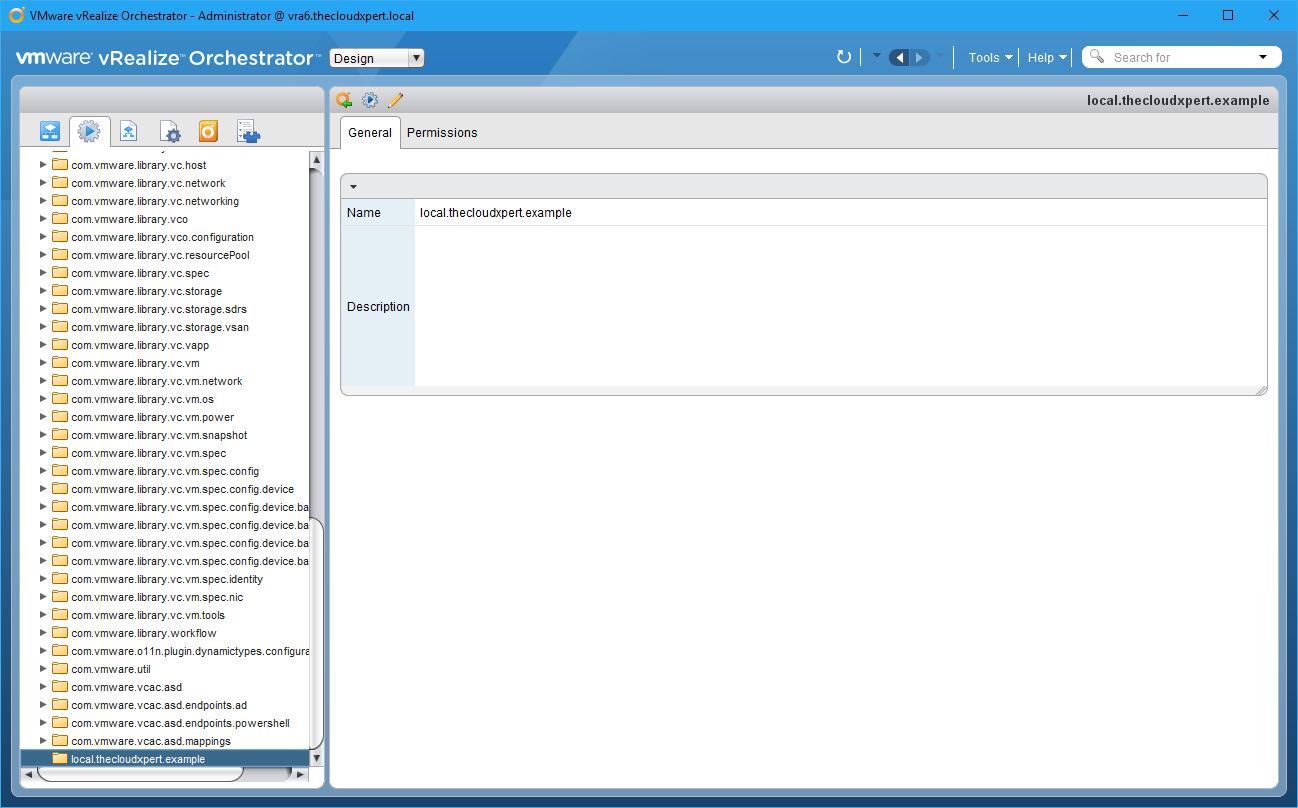
- Right click on
<user>@<server-fqdn>.
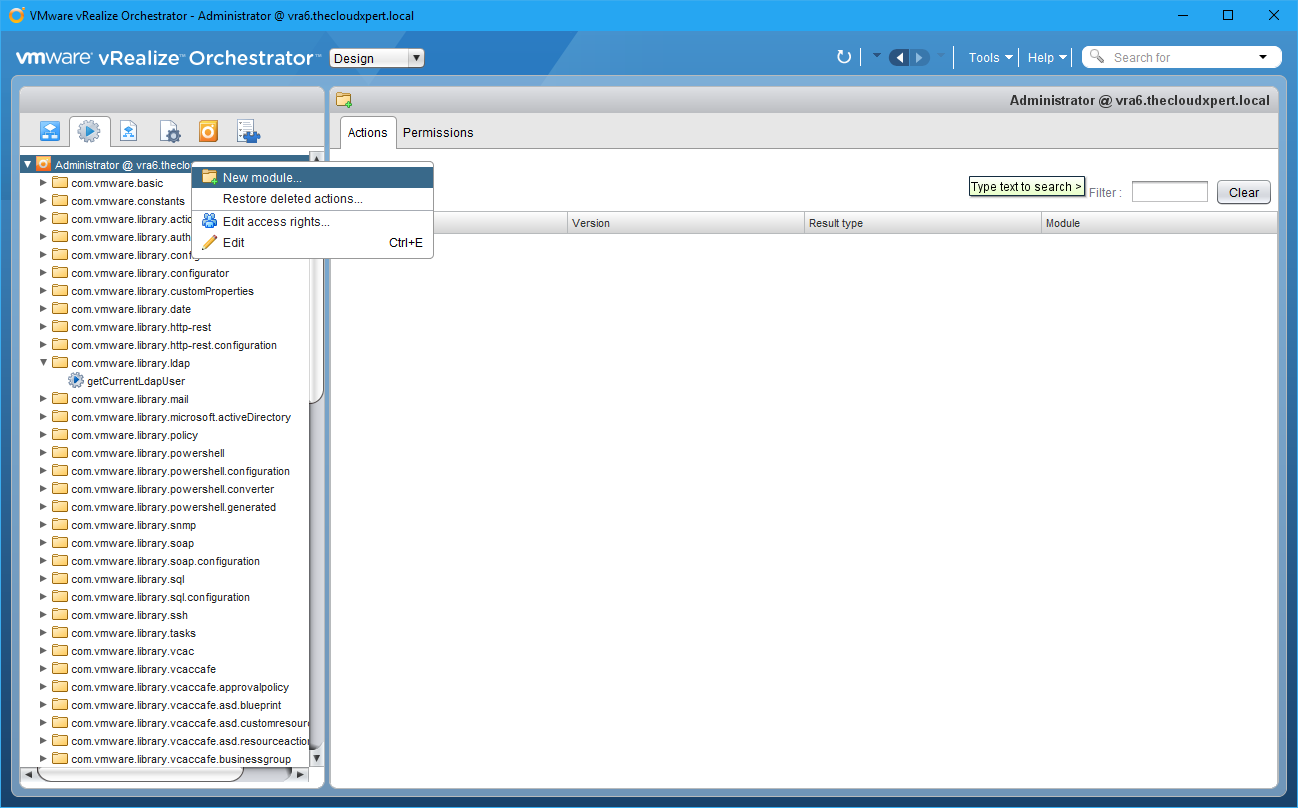
- Select New module.
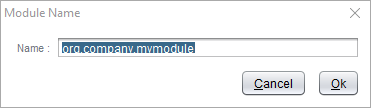
- Enter a module name, the generally accepted notation is the domain in reverse, such as
local.thecloudxpert.example.
- Right-click on the desired module.

- Click Add action…
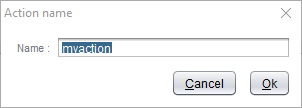
- Update the name of the Action and click OK.
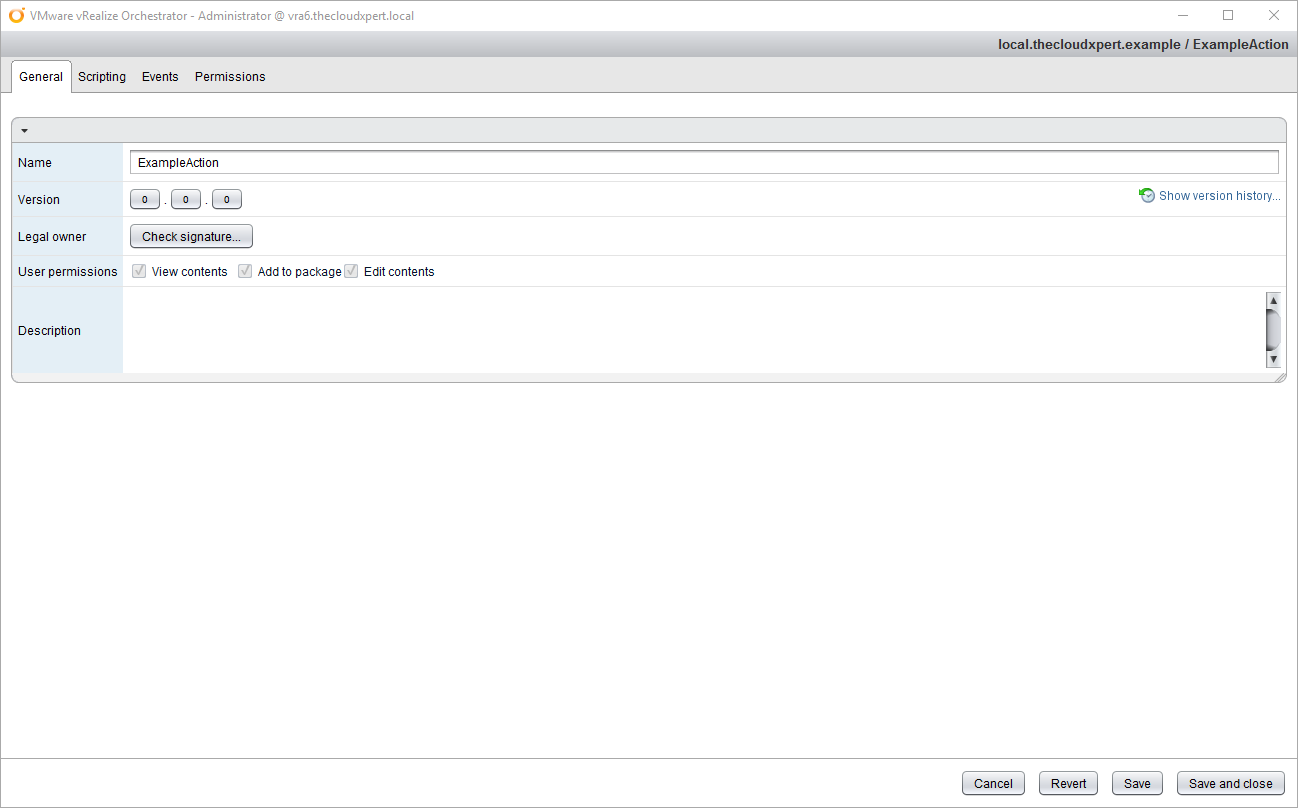
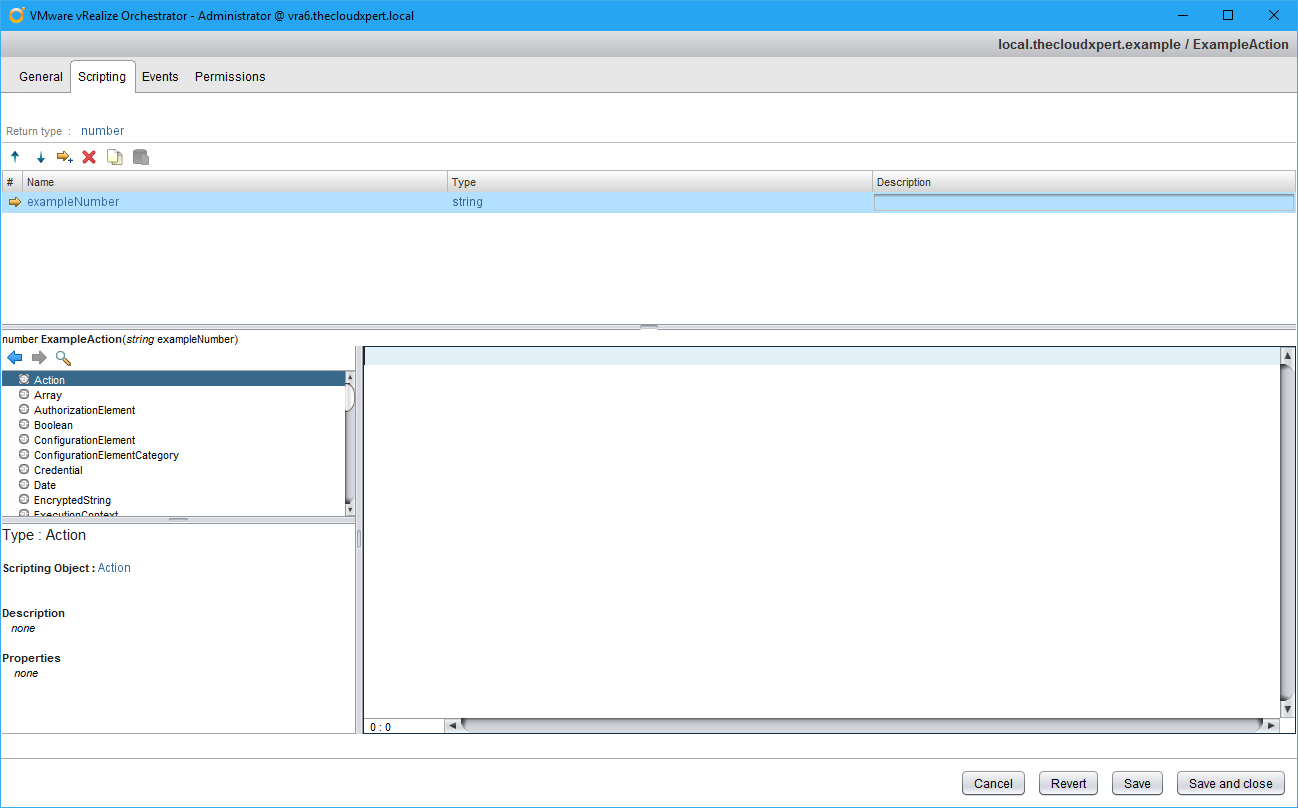
- Click Scripting.
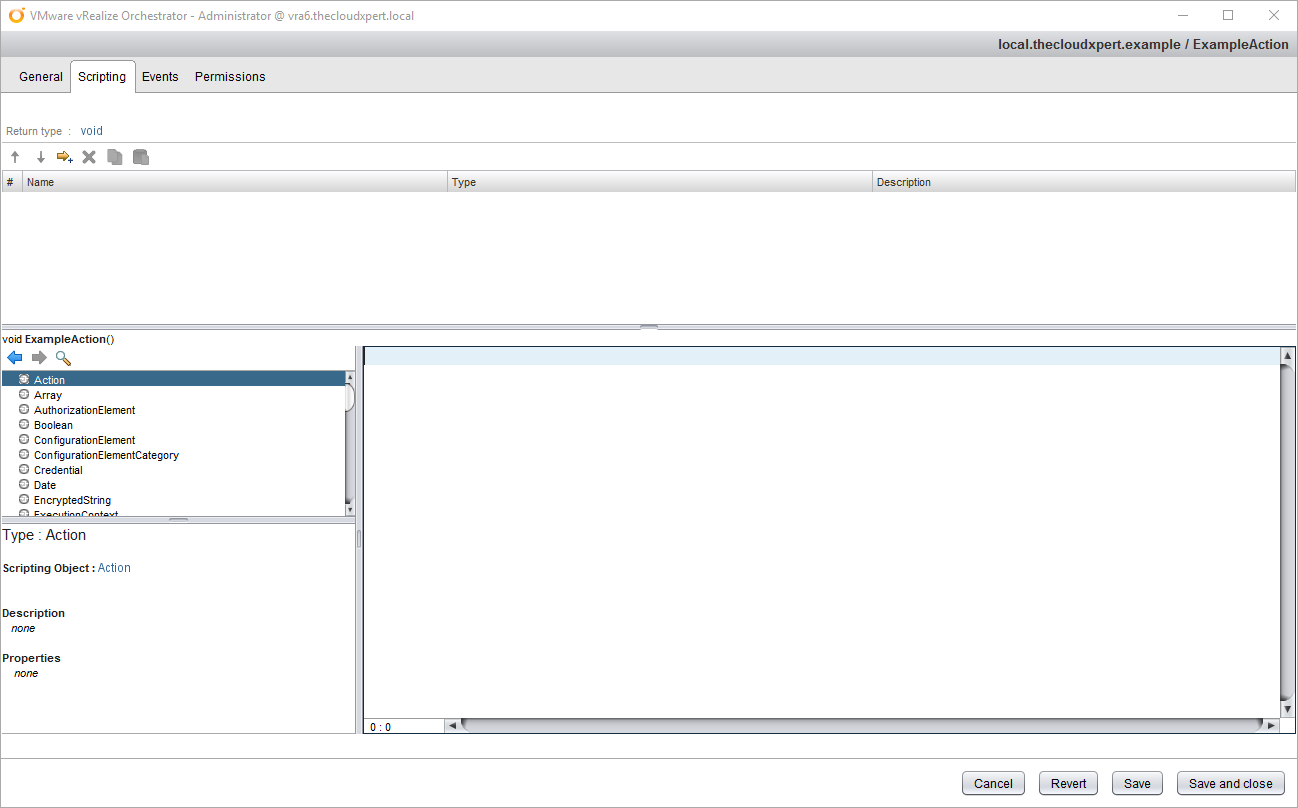
- If you expect the Action to return a particular object type (such as a number or string), click on void.
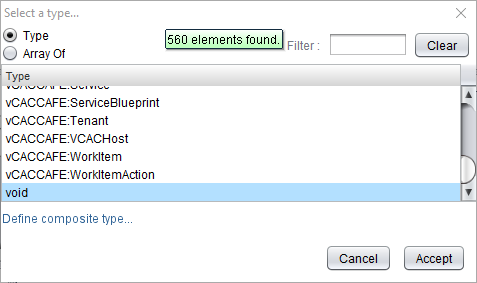
- Locate the appropriate Return Type from the (searchable) list.
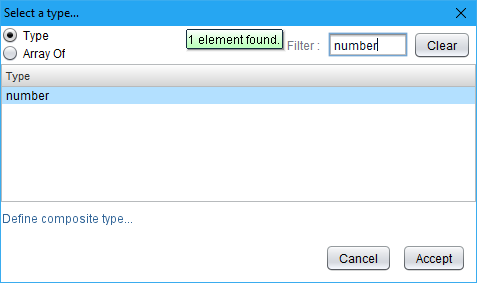
- Click Accept.
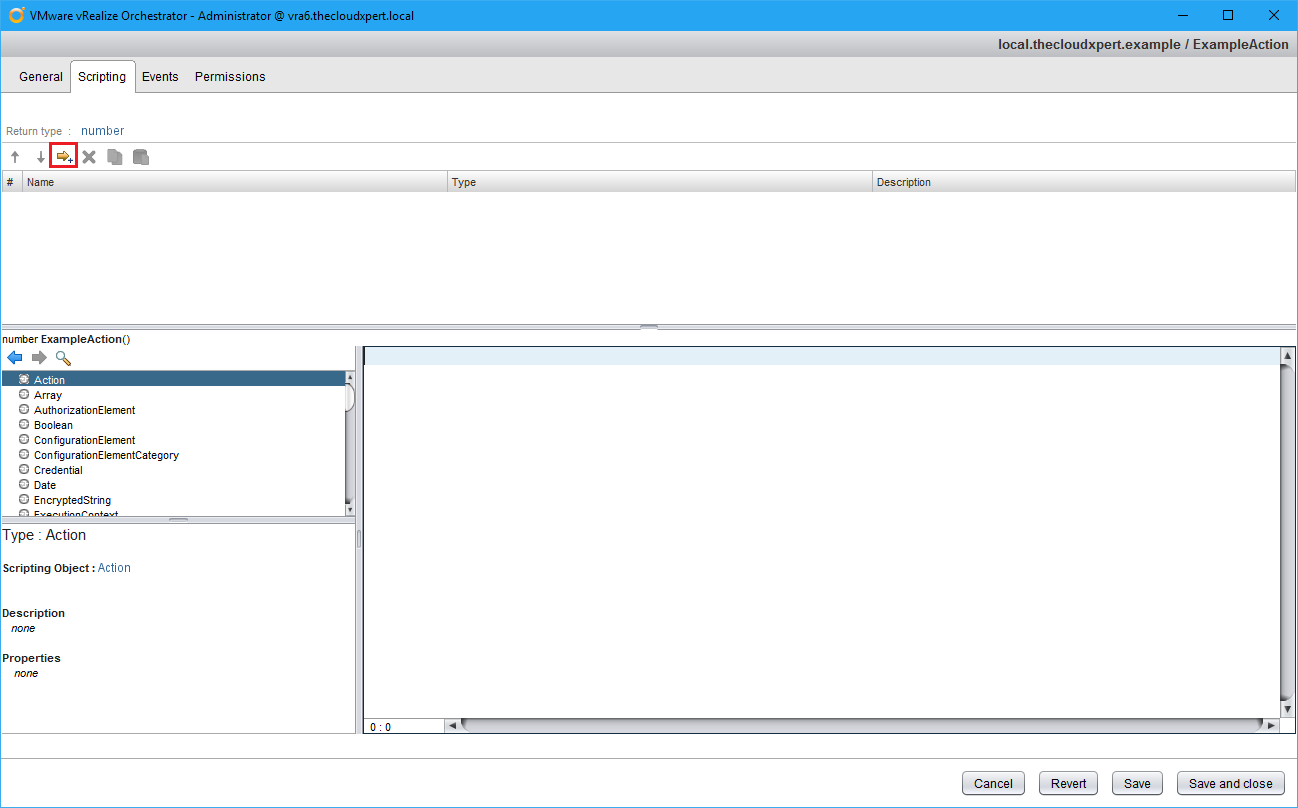
- Click the Add Parameter icon.

- Click
arg_N.
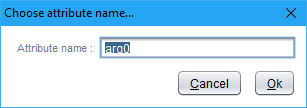
- Update the name of the parameter to something meaningful and click OK.
- Change the parameter type by clicking string (which is the default type).
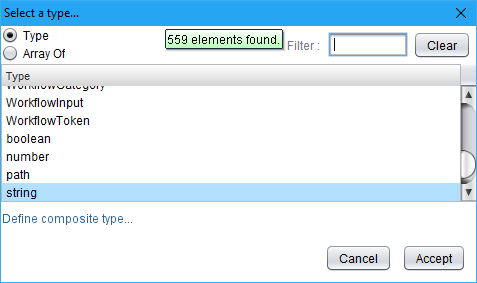
- Choose the required object type (optionally choose the Array Of option) and click Accept.
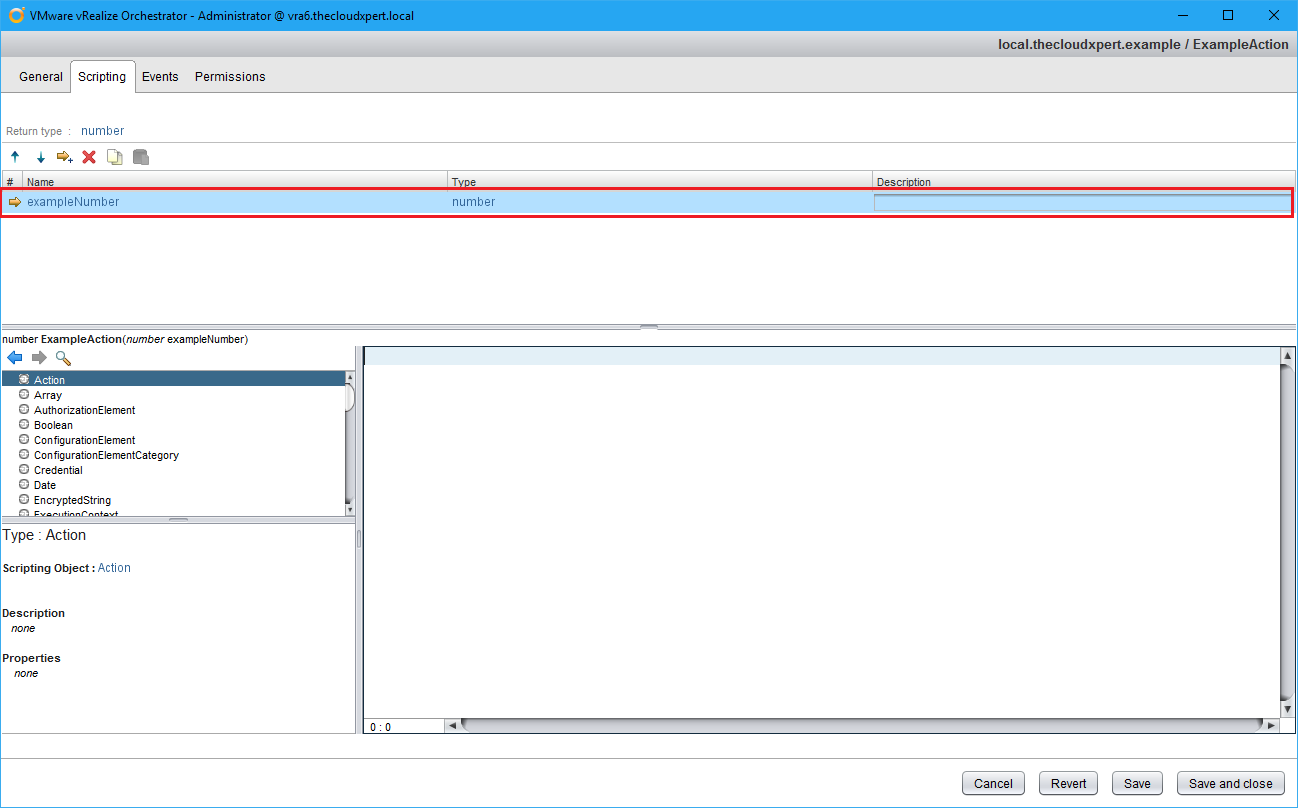
- Add additional parameters as needed.
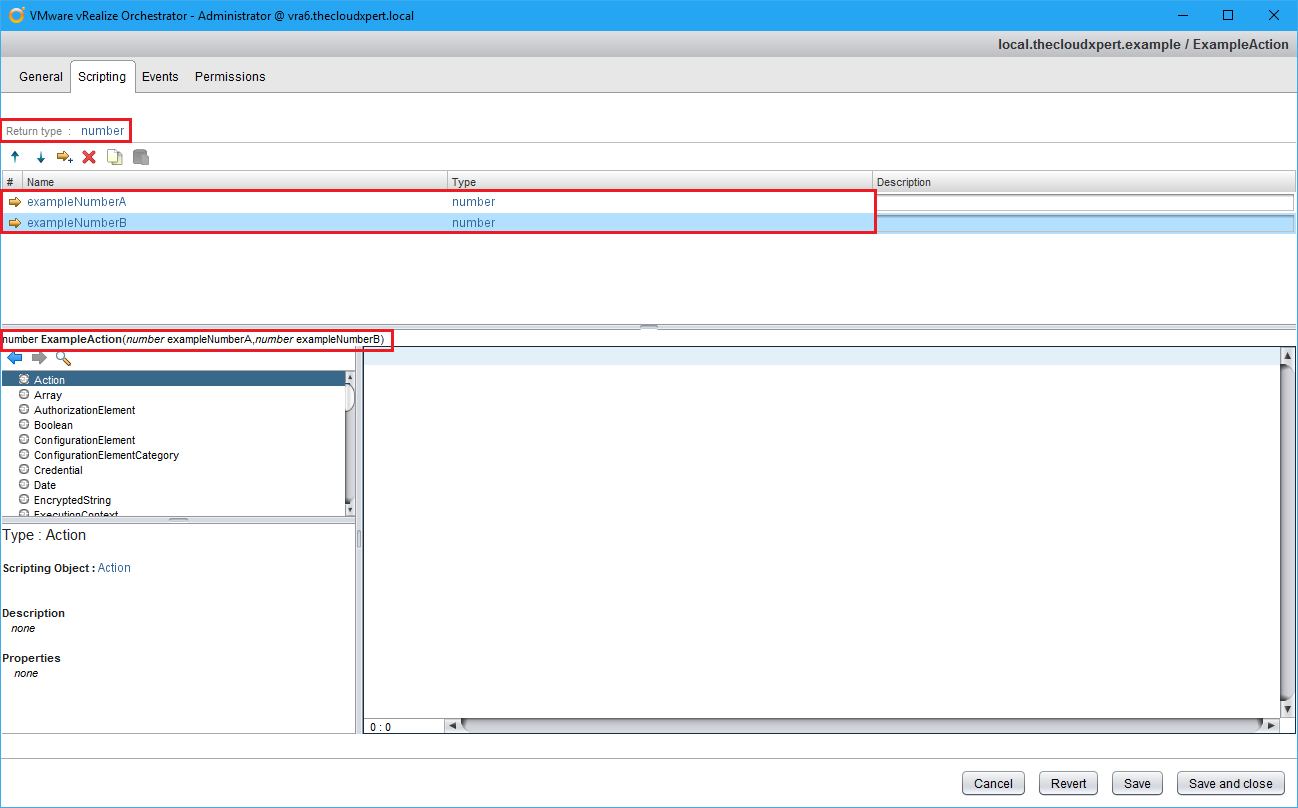
Now its time to write your Javascript in the script window.

- Once completed, click Save and Close.

Modify/Troubleshoot an Actions
The modification and troubleshooting an Action is not something that is prescriptive. You must understand how to change the return type, add/update/remove parameters and how to write JavaScript. All but the JavaScript is covered in the previous section.
Create/Modify a vRO workflow
To be completed
Execute a vRO workflow
To be completed
Configure Variable Binding in a vRO workflow
To be completed
Perform Logging from a vRO workflow
To be completed
Add Schema Elements to a vRO workflow
To be completed
Run workflow(s) in the vRO HTTP-REST plug-in to invoke a REST operation
To be completed
Modify a workflow to display a non-default icon
Check out http://www.jonathanmedd.net/2014/10/vco-custom-workflow-icons.html
Create a configuration element
To be completed
Modify a workflow to use to a configuration element
To be completed
Published on 18 July 2017 by Christopher Lewis. Words: 674. Reading Time: 4 mins.
- VCAP6-CMA Deploy - Objective 7.1: Deploy and Manage a vRealize Application Services Appliance ()
- HOWTO: Deploy VMware vRealize Automation 6.x Application Services ()
- VCAP6-CMA Deploy - Objective 8.1: Deploy and Manage a vRealize Business Standard Appliance ()
- VCAP6-CMA Deploy - Objective 4.4: Import existing workloads ()
- HOWTO: Configure a vRealize Automation 6 Advanced Services Endpoint for vCenter Server ()
