VCAP6-CMA Deploy - Objective 7.1: Deploy and Manage a vRealize Application Services Appliance
VMware vRealize Automation vRealize Application Services VCAP6 VCAP6-CMA
Published on 13 March 2017 by Christopher Lewis. Words: 709. Reading Time: 4 mins.
Objective Overview
Objective 7.1 - Deploy and Manage a vRealize Application Services Appliance
Knowledge:
- Assign a user the necessary permissions to gain access to Application Services.
- Install and set up the Application Services virtual appliance.
- Configure Application Services to use a proxy.
- Register a cloud provider with Application Services.
- Map a Cloud Template to a Logical Template.
- Map Application Services to a vRA reservation policy
Objective Prerequisites
The following prerequisites are assumed for this Objective:
- A fully deployed vRealize Automation Solution.
Objective Breakdown
Assign a user the necessary permissions to gain access to Application Services
I believe I have covered the process of assigning users and groups roles within vRealize Automation in Objective 2.1 . You need to be a Tenant Administrator to do this.
From a vRealize Application Services perspective there are 4 roles, any of which will grant you access to the Appliance once deployed. However, the different roles mean you can do different things once logged in.
The four roles are:
- Application Architect - creates, modifies and deletes applications.
- Application Catalog Administrator - Defines Services, templates, operating systems, task and tags.
- Application Cloud Administrator - Defines resources and deployment environments.
- Application Publisher and Deployer - Deploys applications into vRealize Automation catalog AND creates, updates and publishes services, library items and actions.
Install and set up the Application Services virtual appliance
See HOWTO: Deploy VMware vRealize Automation 6.x Application Services
Configure Application Services to use a proxy
Check out the
VMware Article
on how to actually update the darwin_global.conf.
We’ll concentrate on configuring the vRealize Application Services to use the darwin_global.conf file by creating a new Service.
Navigate to https://app-services.fqdn:8443/darwin/<tenant>.
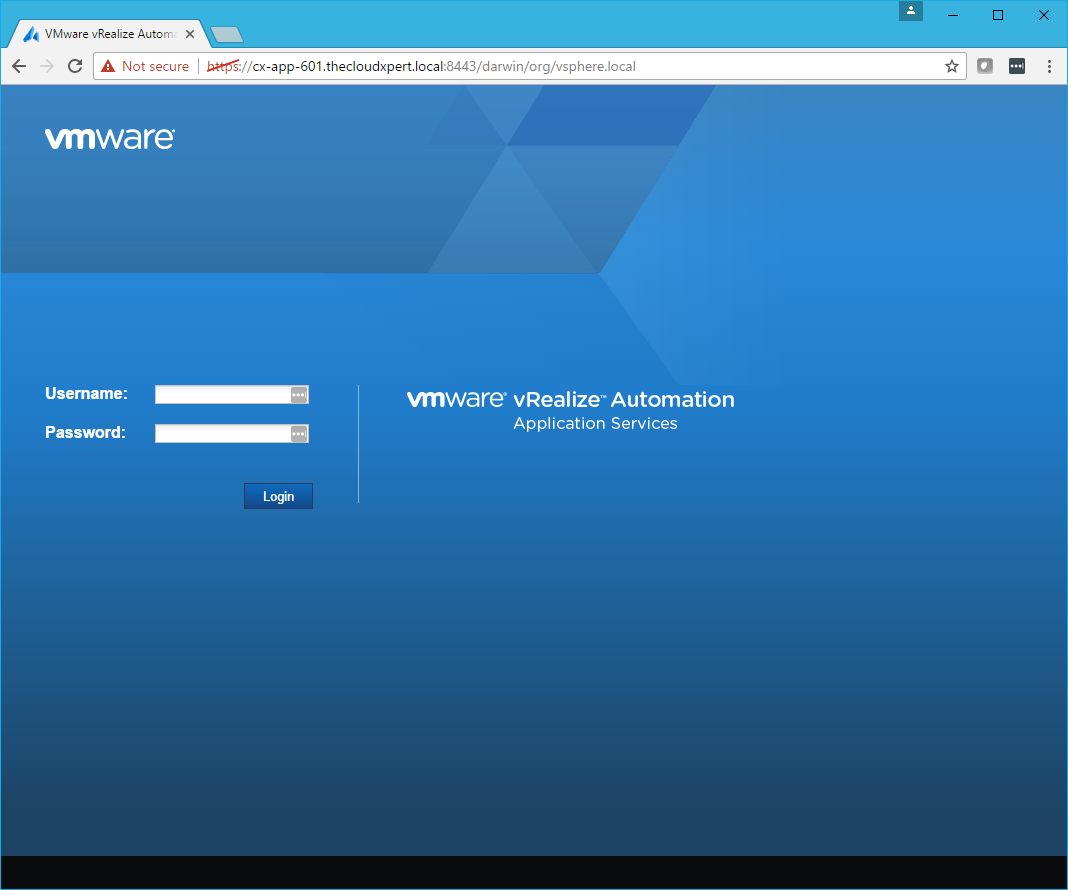
Log in using an an account with an Application Catalog Administrator role.
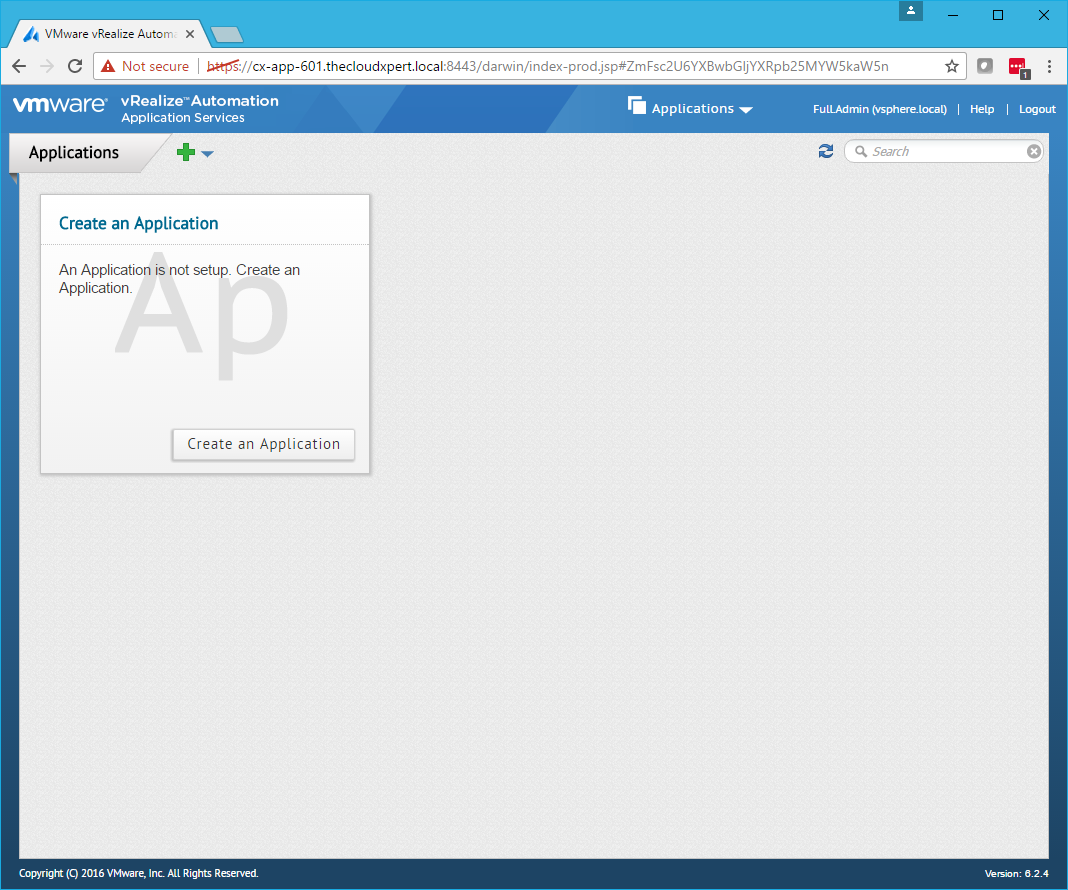
Click Applications and select Services.
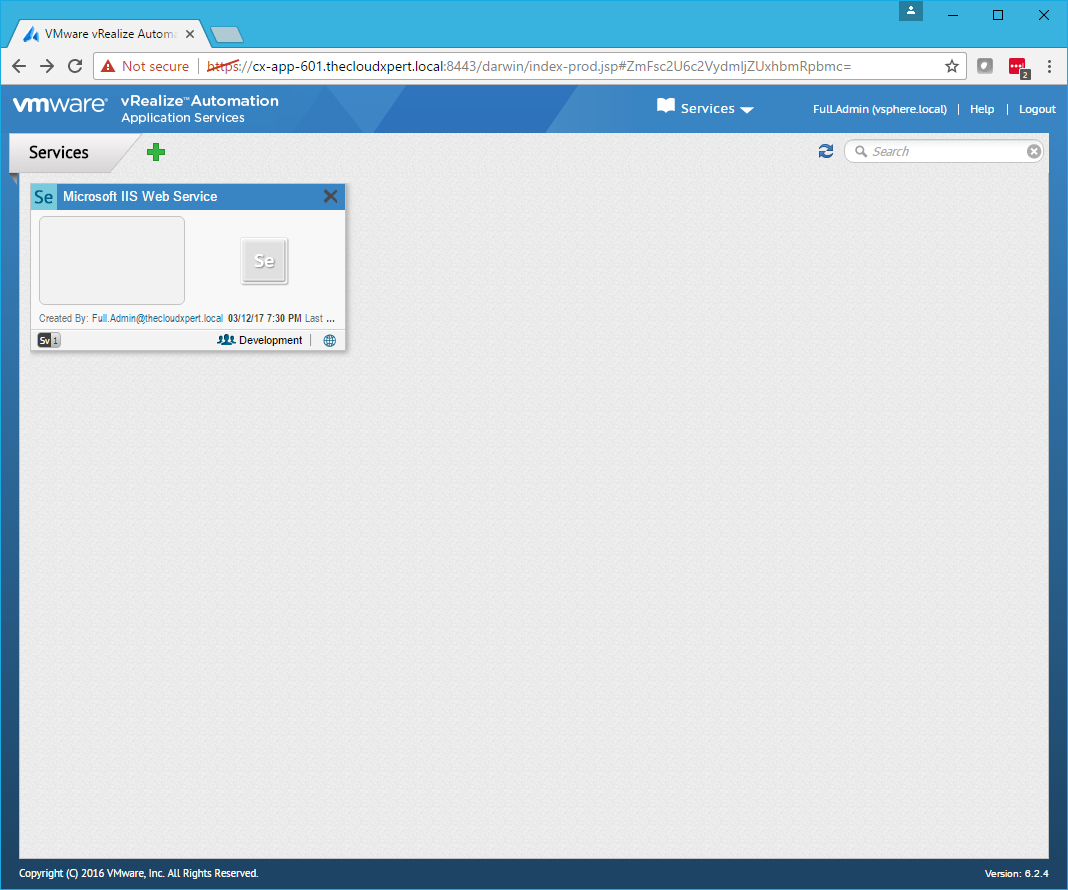
Click the Service to update.
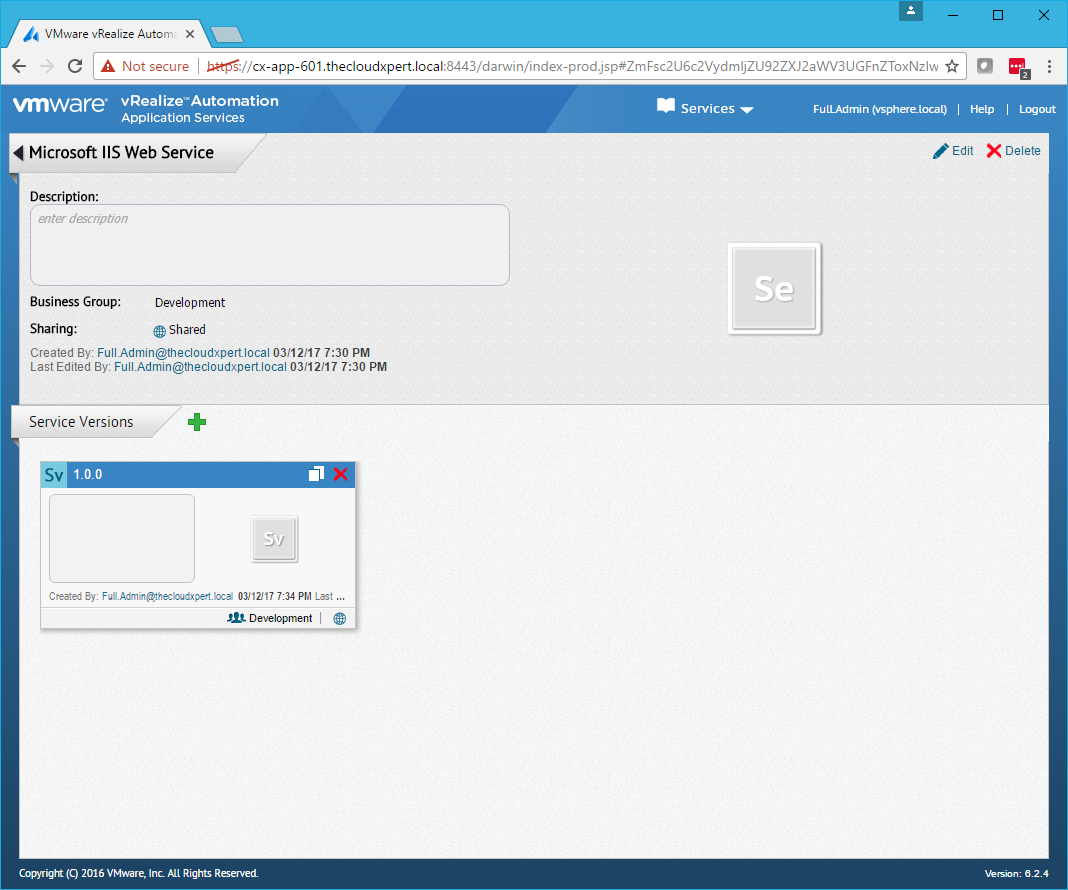
Click on the Service Version that will be updated (or create a new Version).
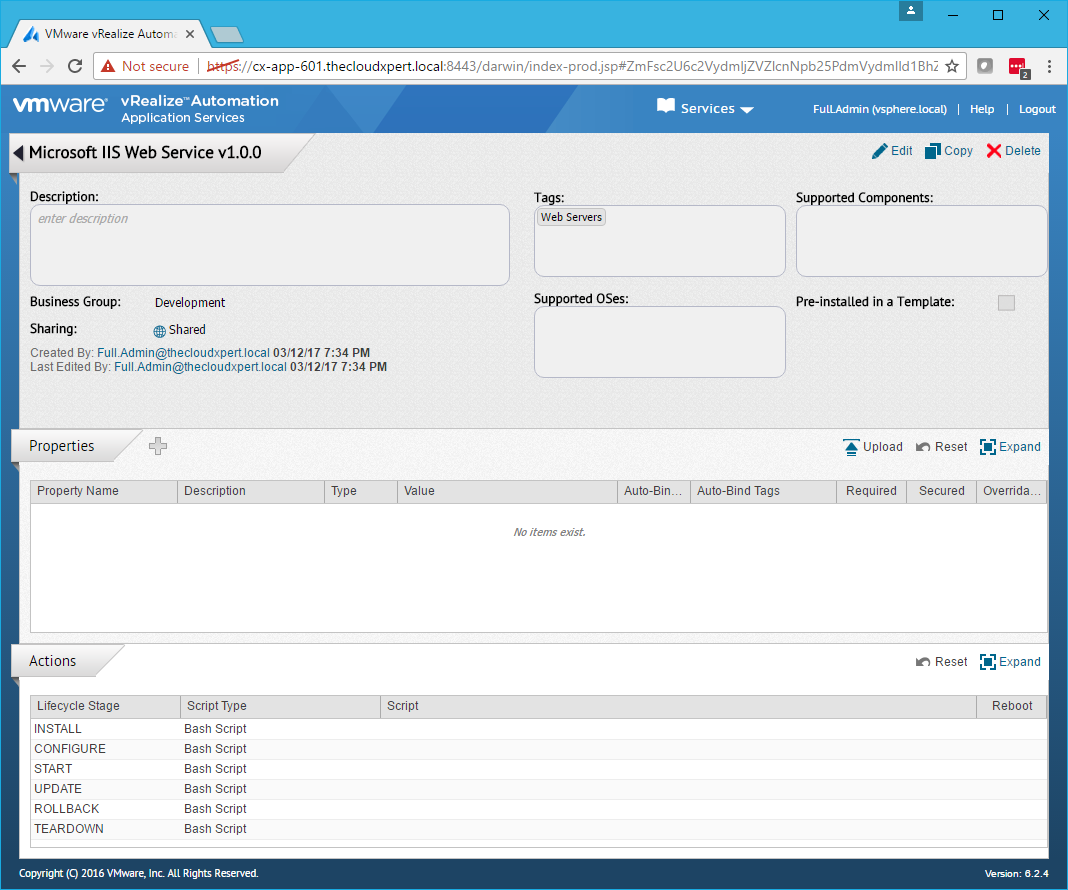
Click Edit.
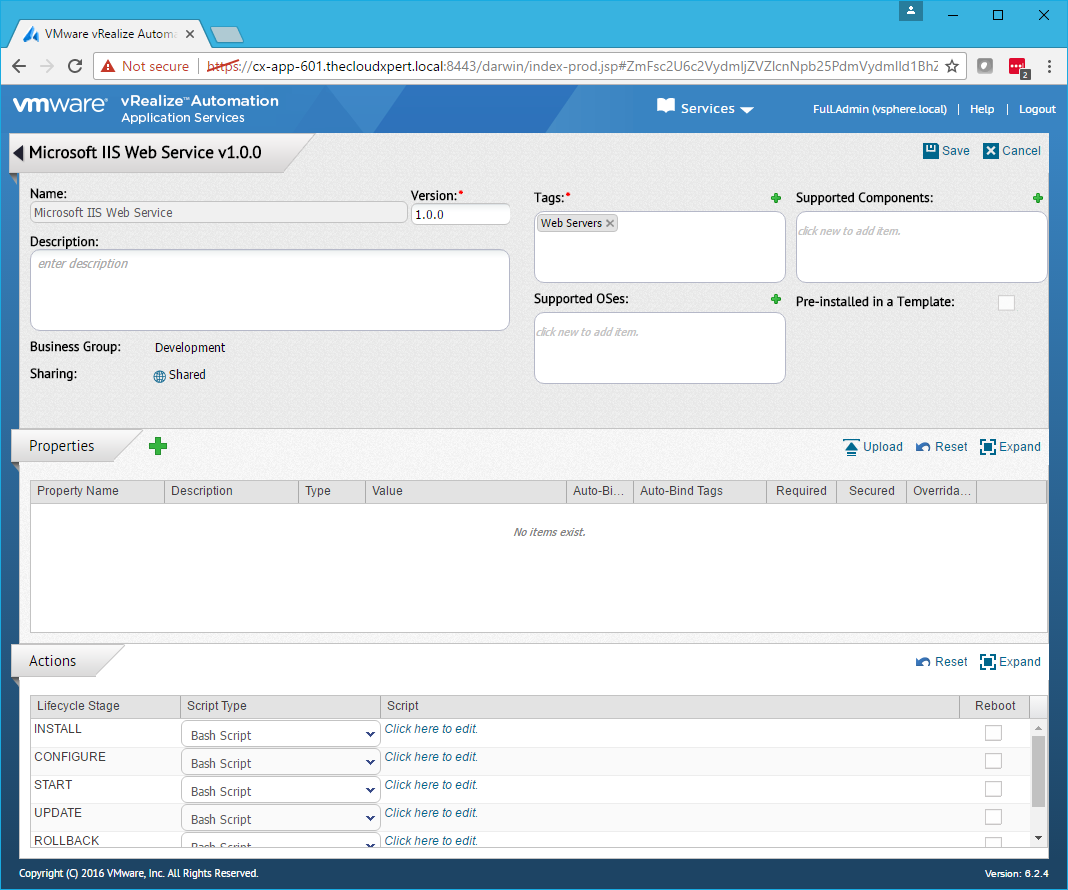
Under Properties, click Add (+).
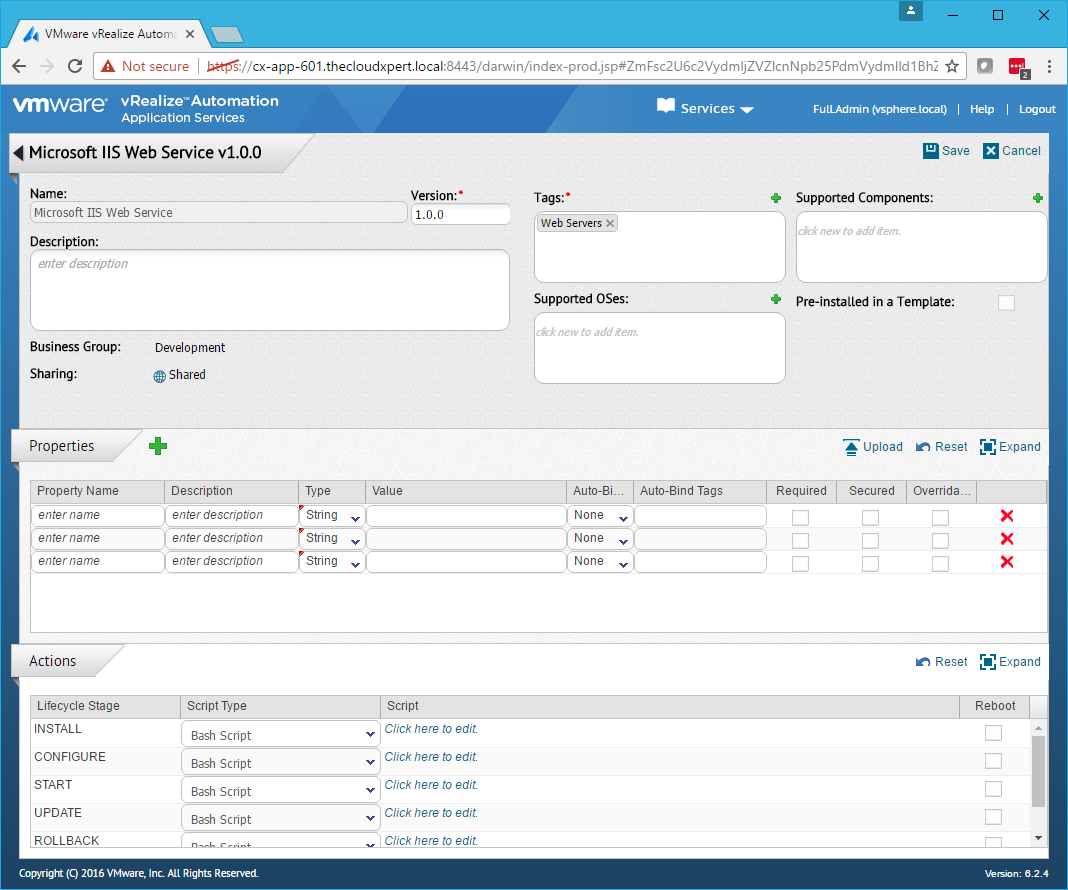
Create a new property with the Property Name as global_conf. Set Type to Content and define the Value as https://app-services-ip-address:8443/darwin/conf/darwin_global.conf.
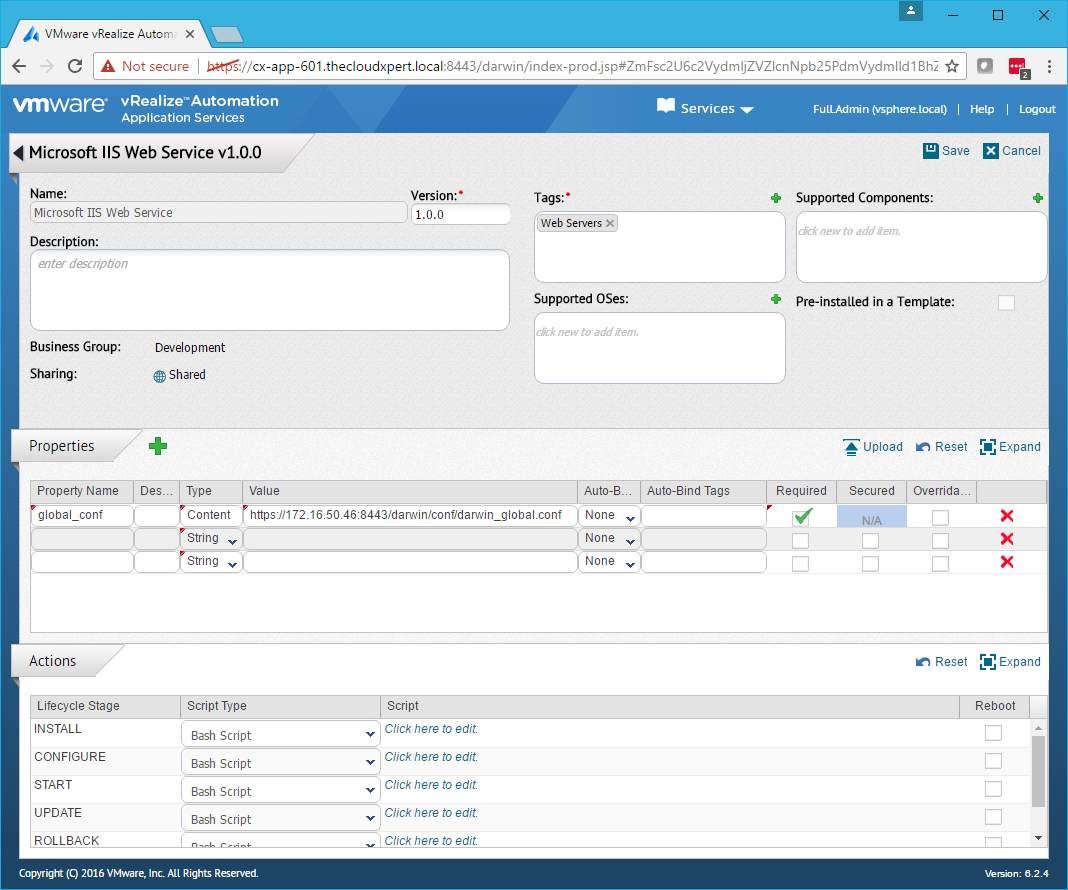
Under Action, for each script that requires the use of a proxy server, click to edit the script.
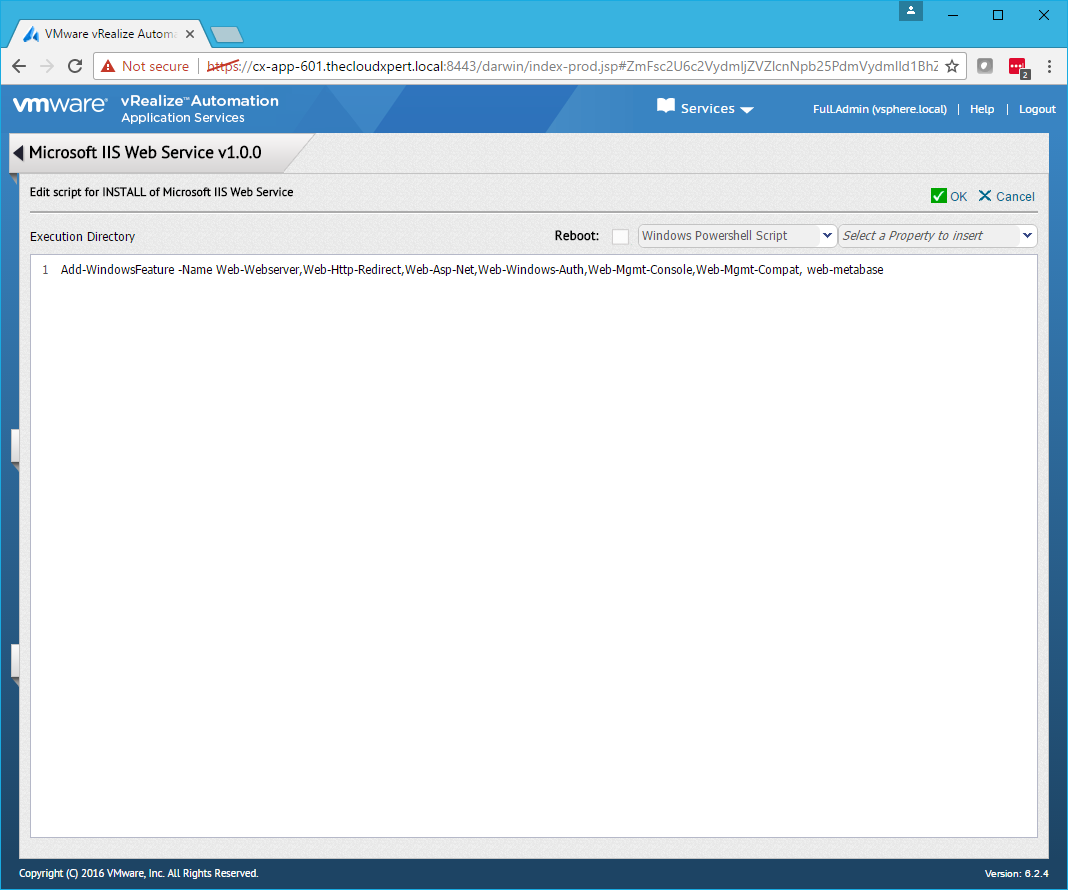
Add the following to the beginning of the script:
`# Import global conf
. $global_conf`
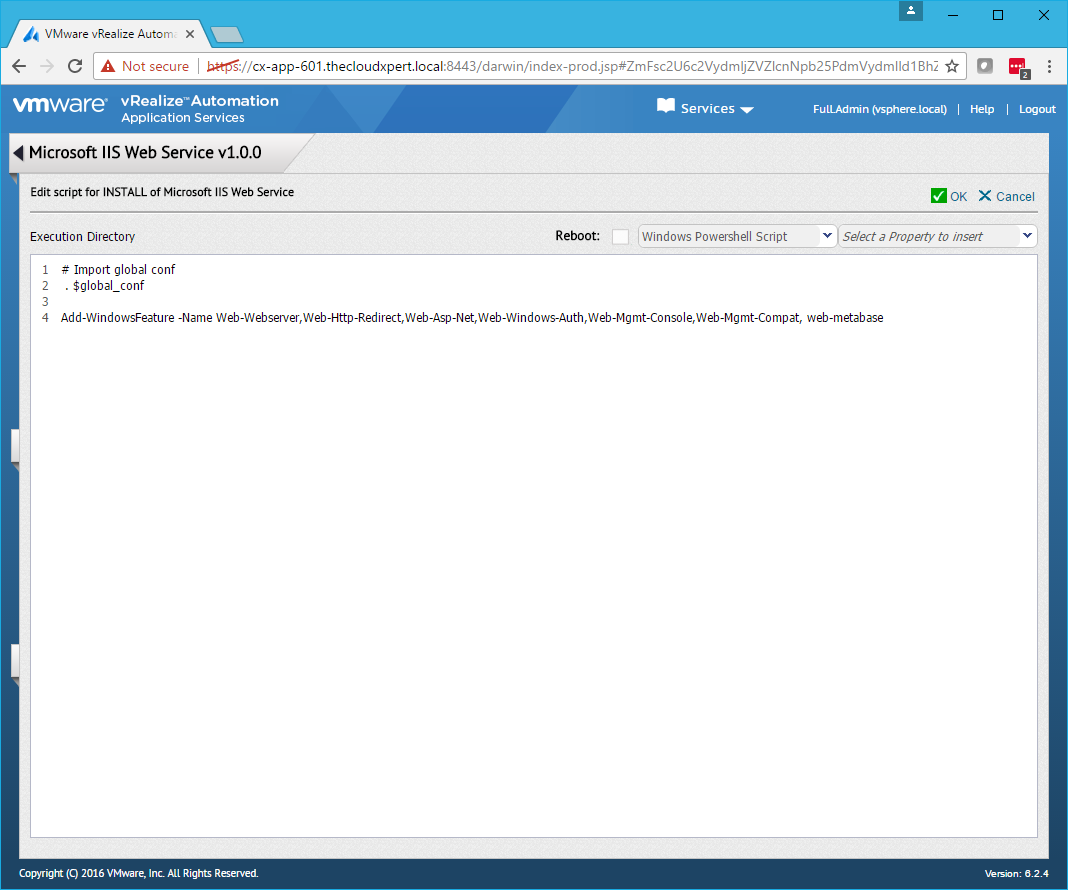
Click OK.
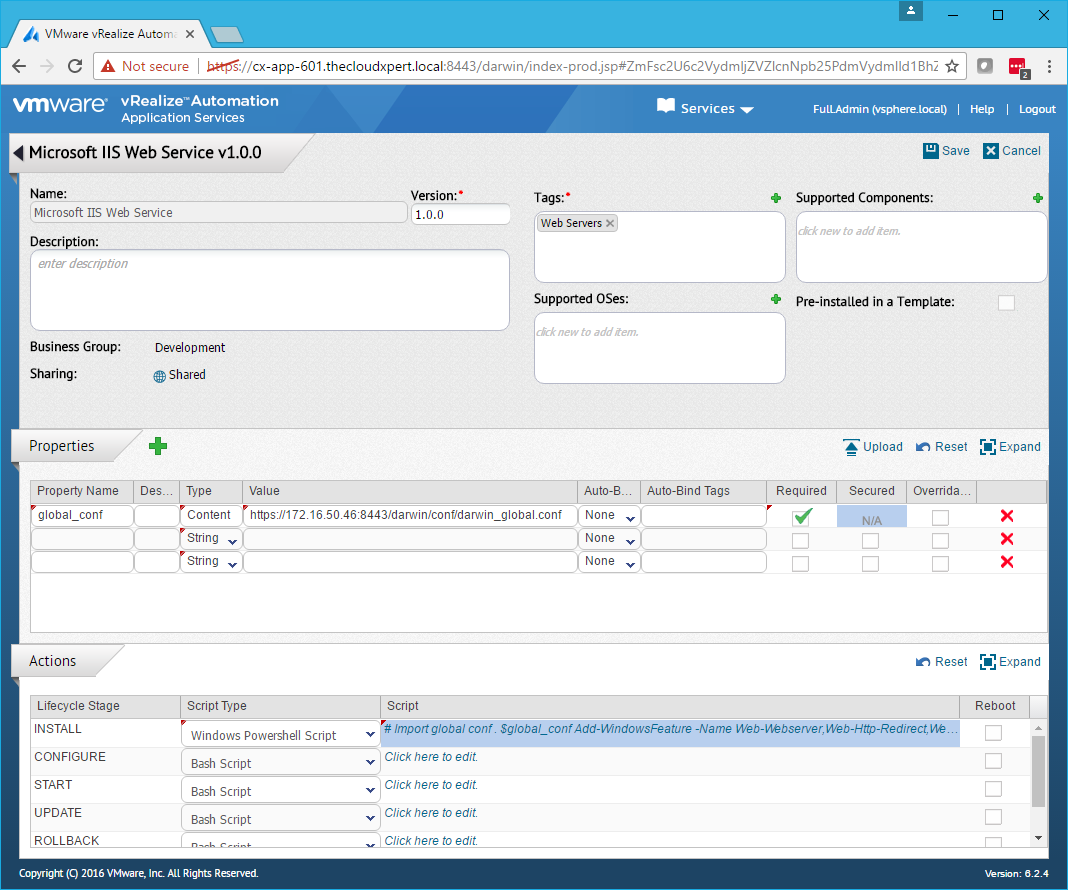
Click Save.
Click Logout.
Note: A similar process can be carried out on an Application level as an Application Architect.
Register a cloud provider with Application Services
In this example, we’re going to register the vRealize Automation environment as a Cloud Provider for Application Services.
Navigate to https://app-services.fqdn:8443/darwin/<tenant>.

Log in using an an account with an Application Cloud Administrator role.

Select Cloud Providers.
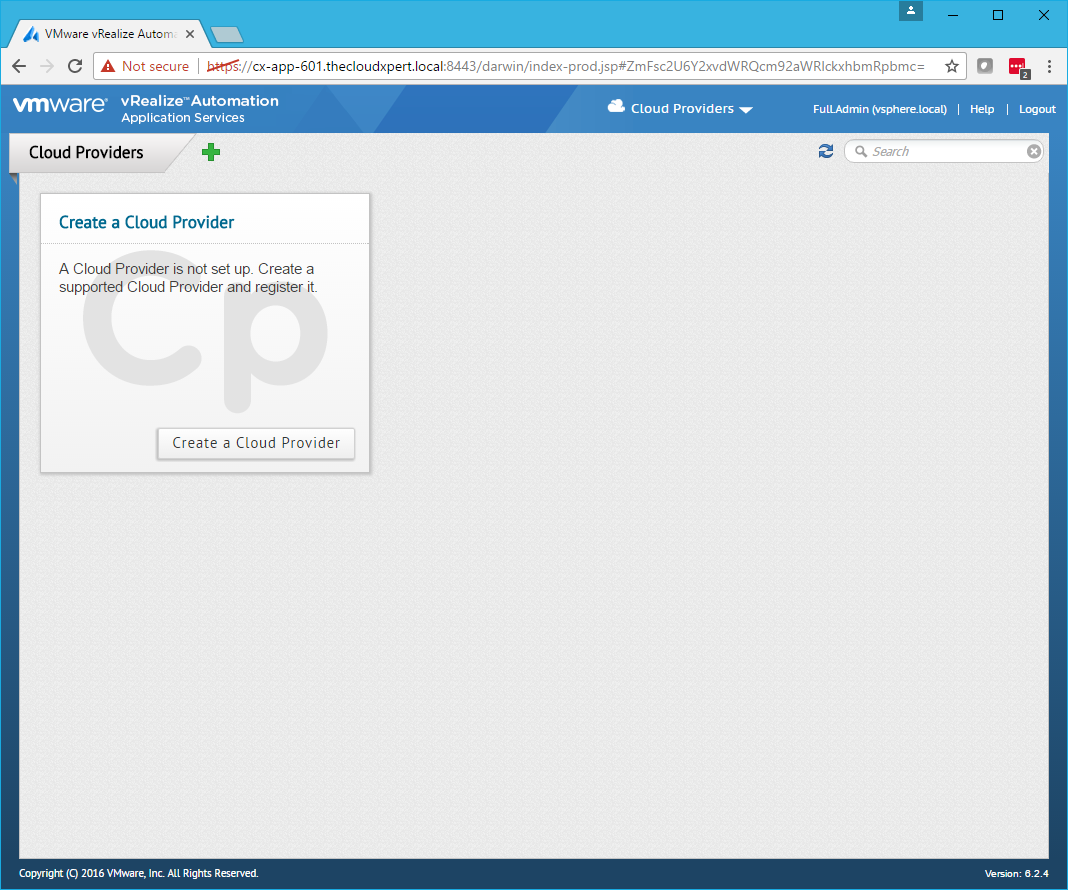
Click Create a Cloud Provider.
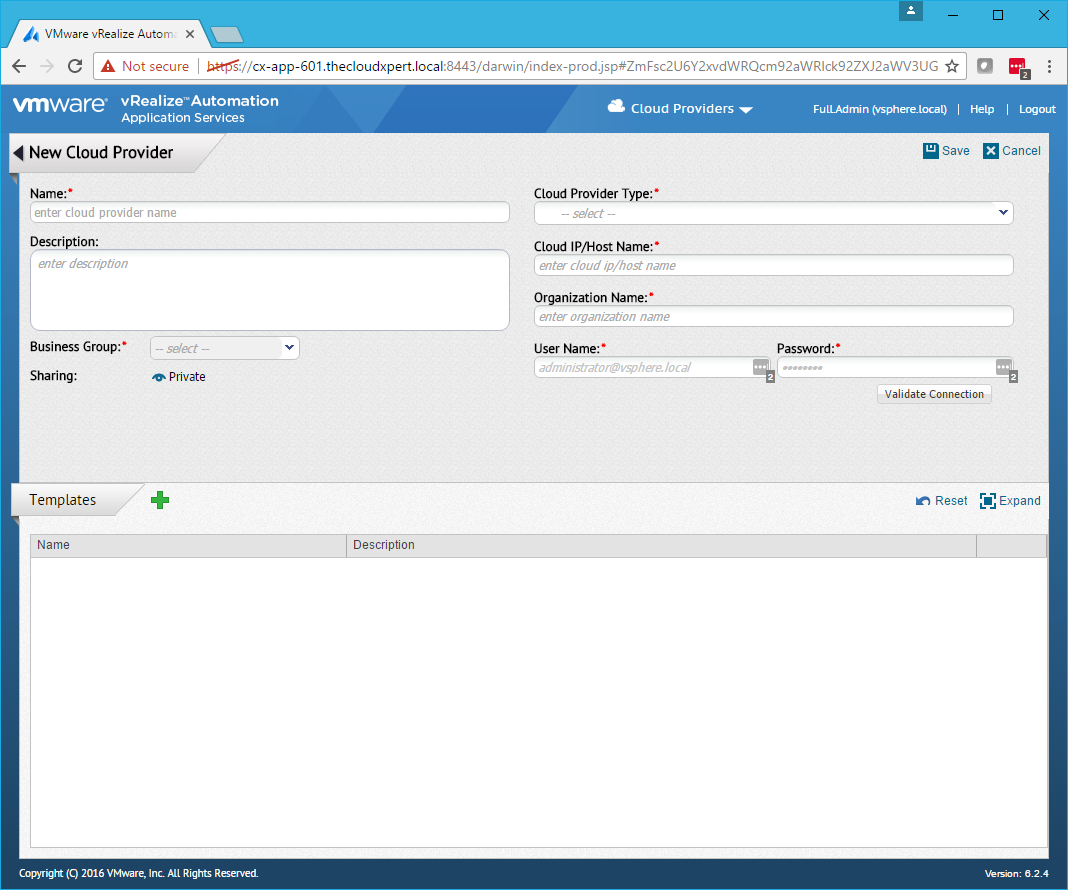
Enter a Name for the Cloud Provider, select vCAC from the Cloud Provider Type dropdown.
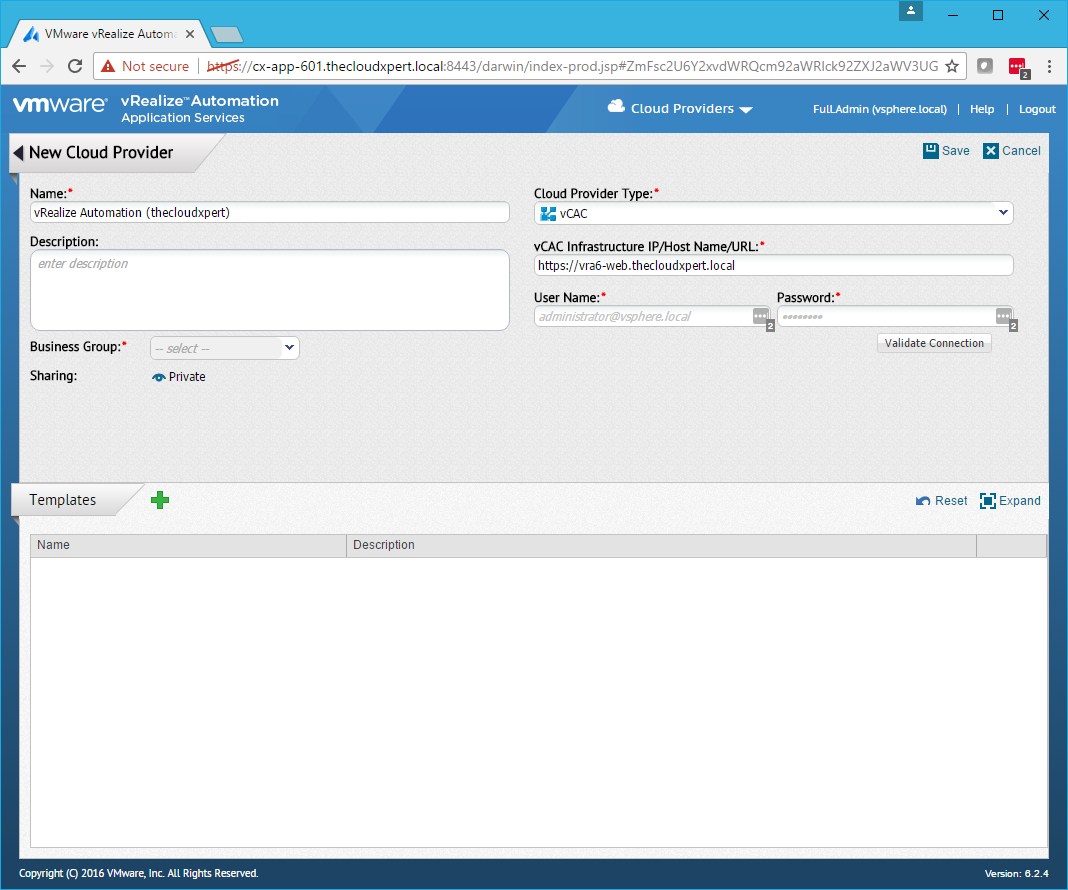
Select the** Business Group** from the dropdown, enter a User Name and Password and then click Validate Connection.
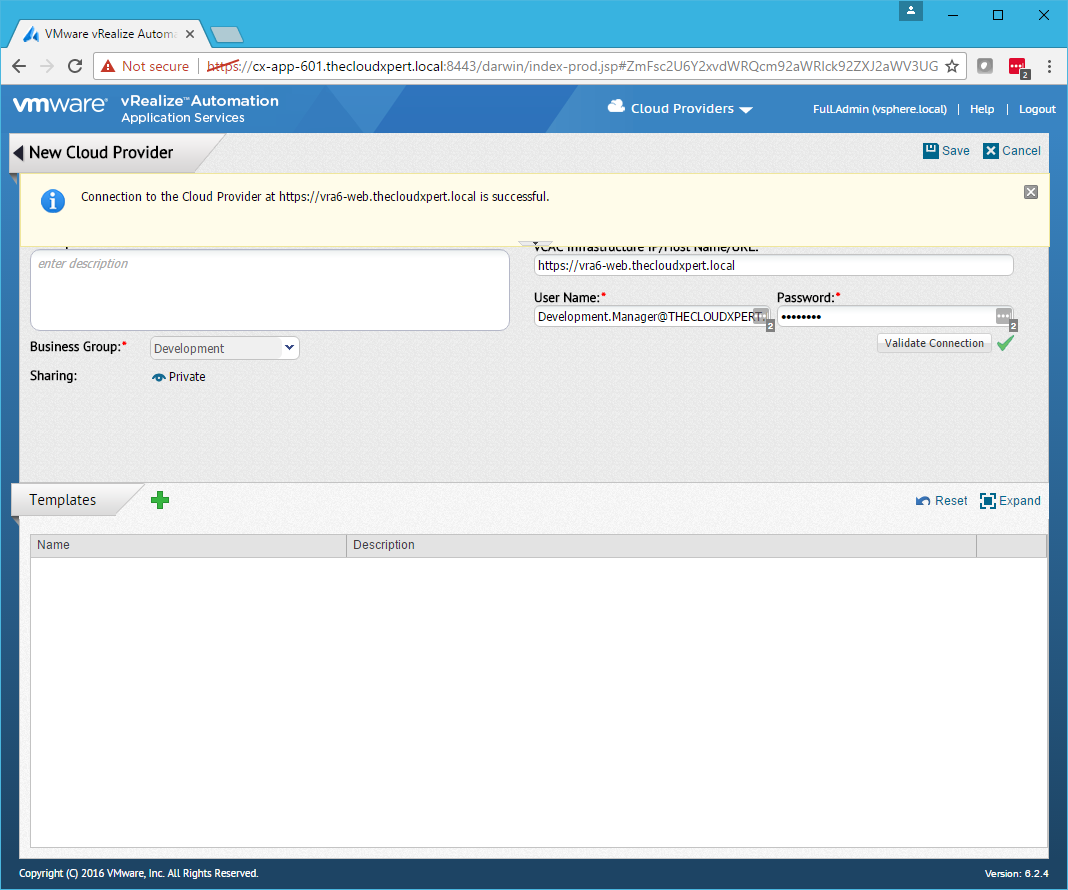
Under Templates, click Add (+)
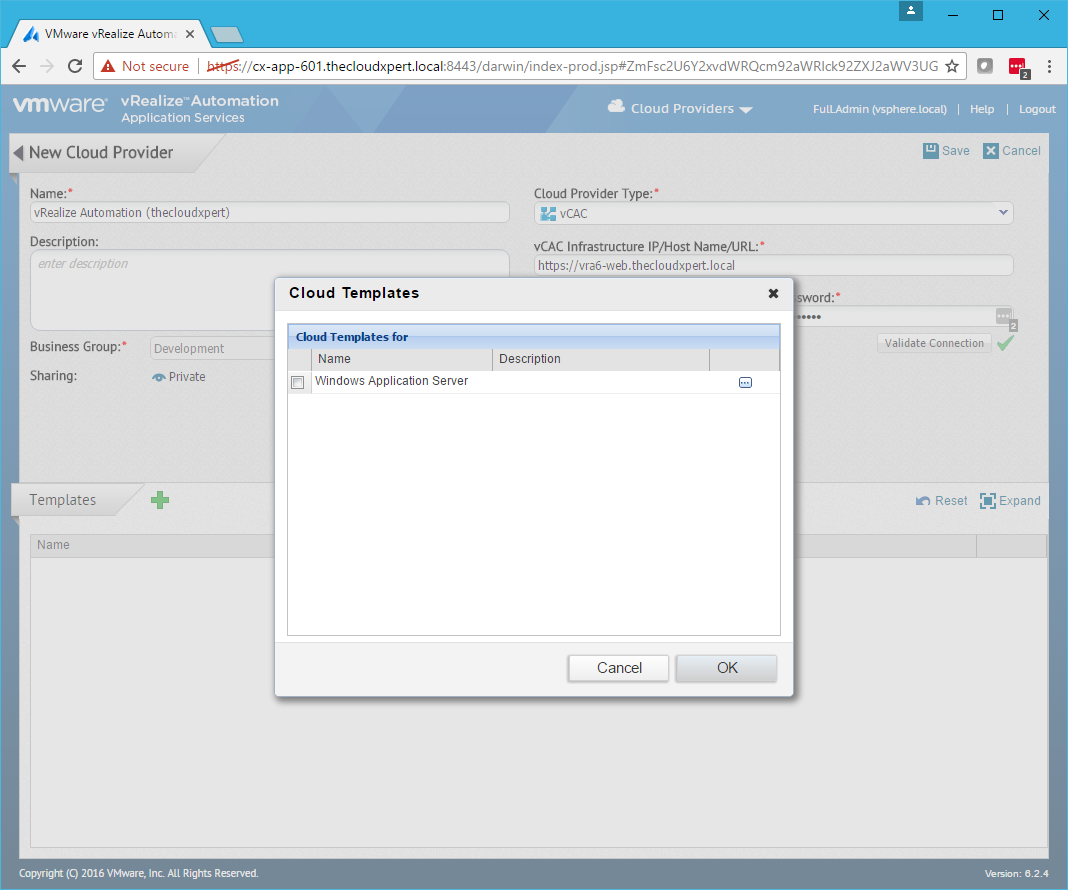
Check the checkbox of the templates to add and click OK.
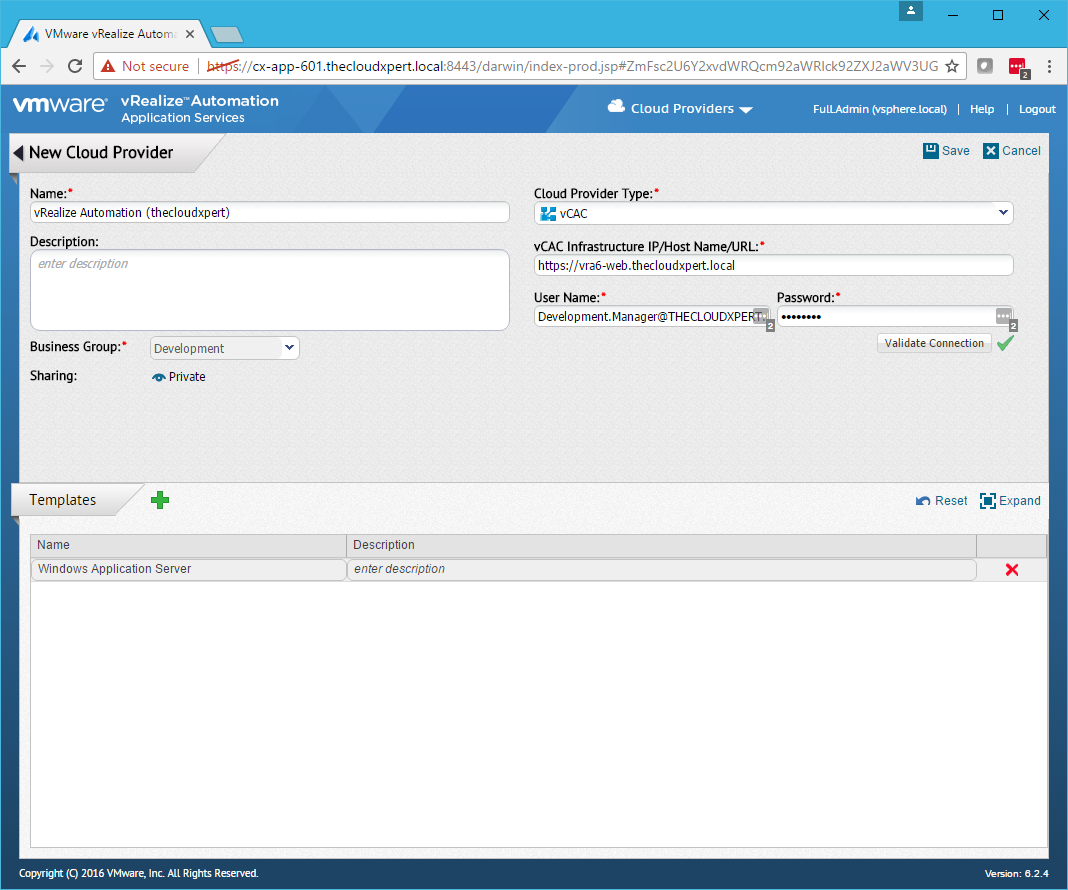
Click Save.
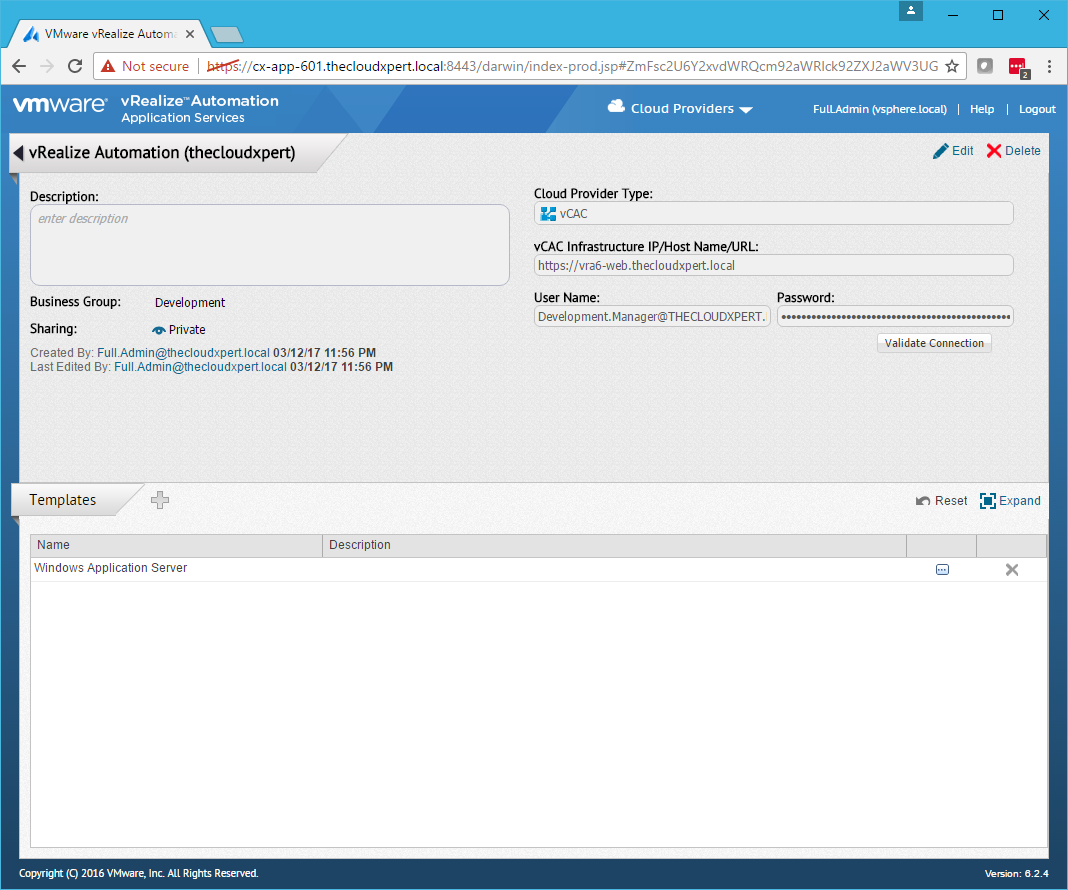
Click Logout.
Map a Cloud Template to a Logical Template
Navigate to https://app-services.fqdn:8443/darwin/<tenant>.

Log in using an an account with a user with the Application Cloud Administrator and Application Publisher and Deployer role.

Click Applications and select Logical Templates.
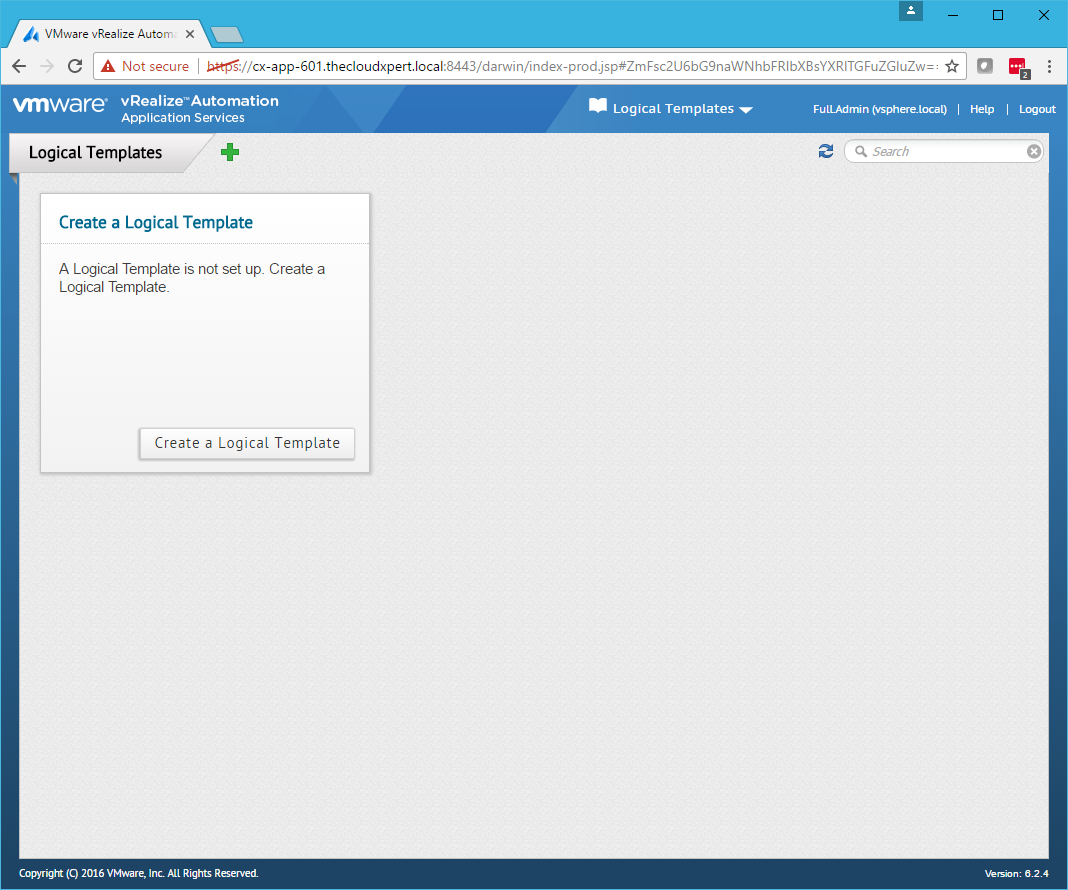
Click Create a Logical Template.
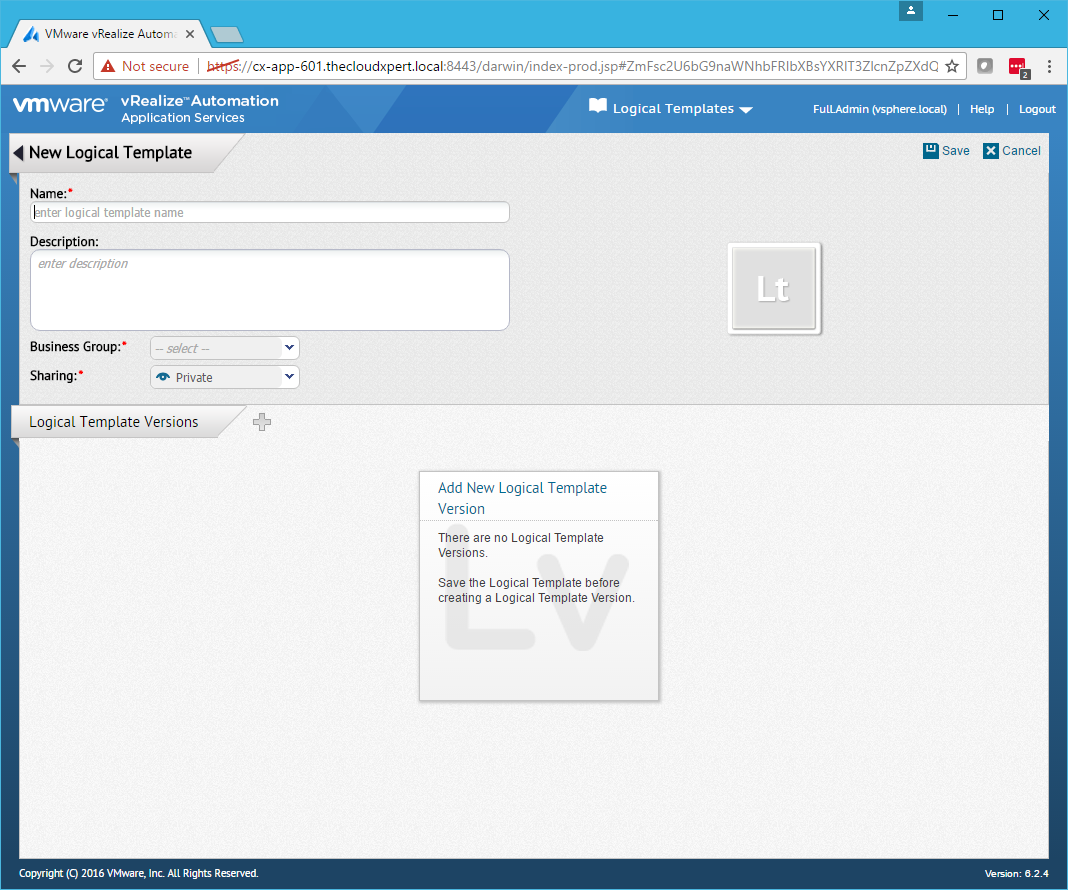
Enter a Name for the Logical Template and select a Business Group from the dropdown and a **Sharing type (**Private or Shared).
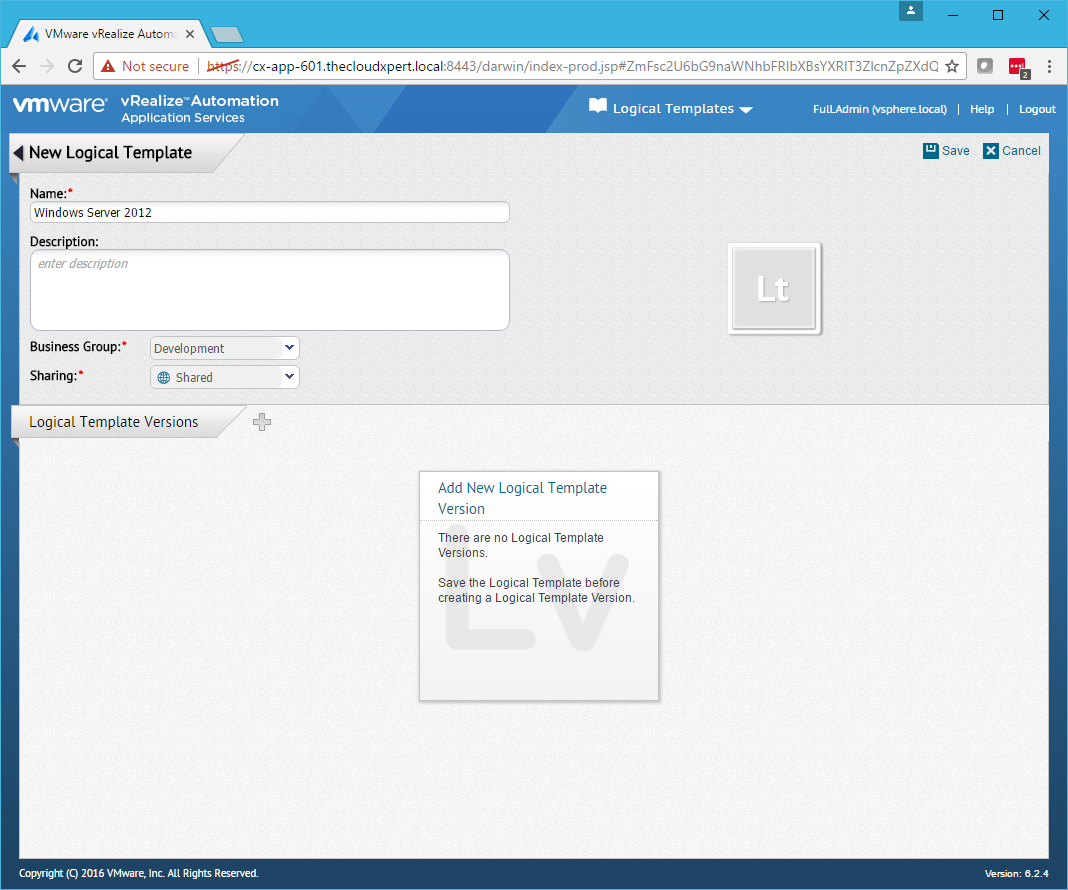
Click Save.
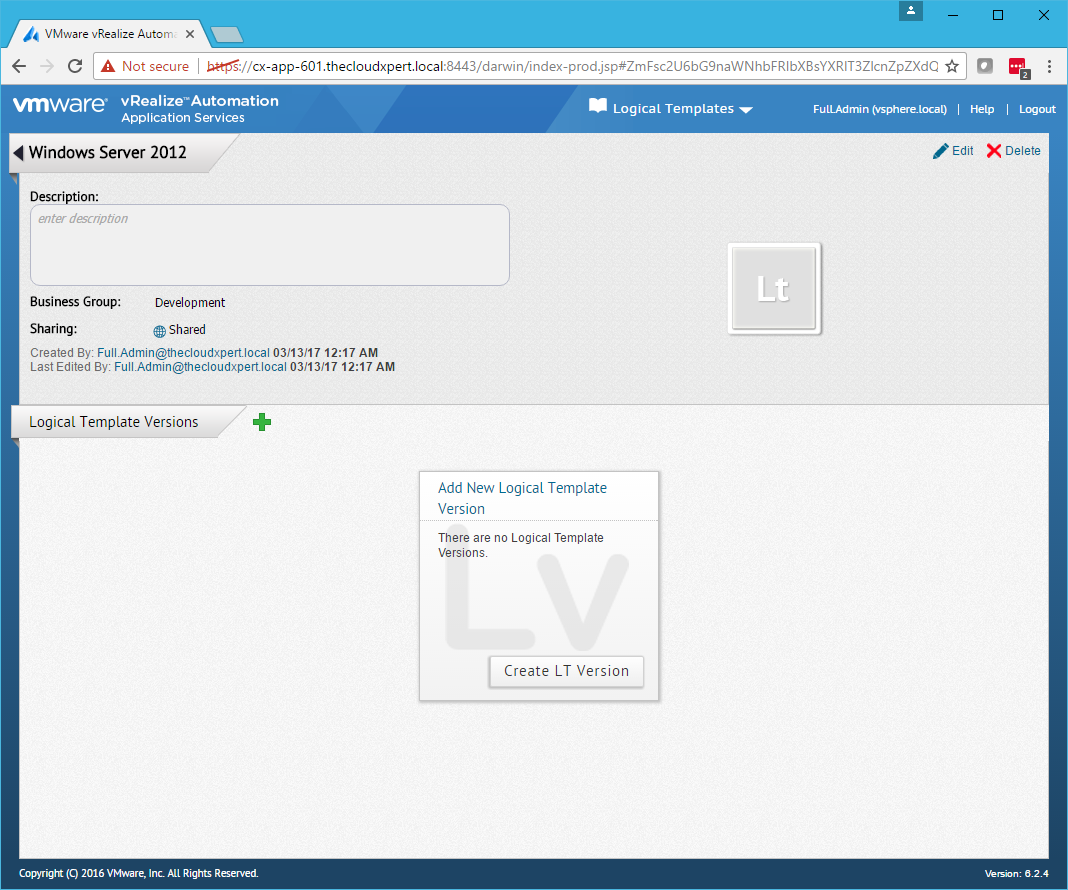
Click Create LT Version.
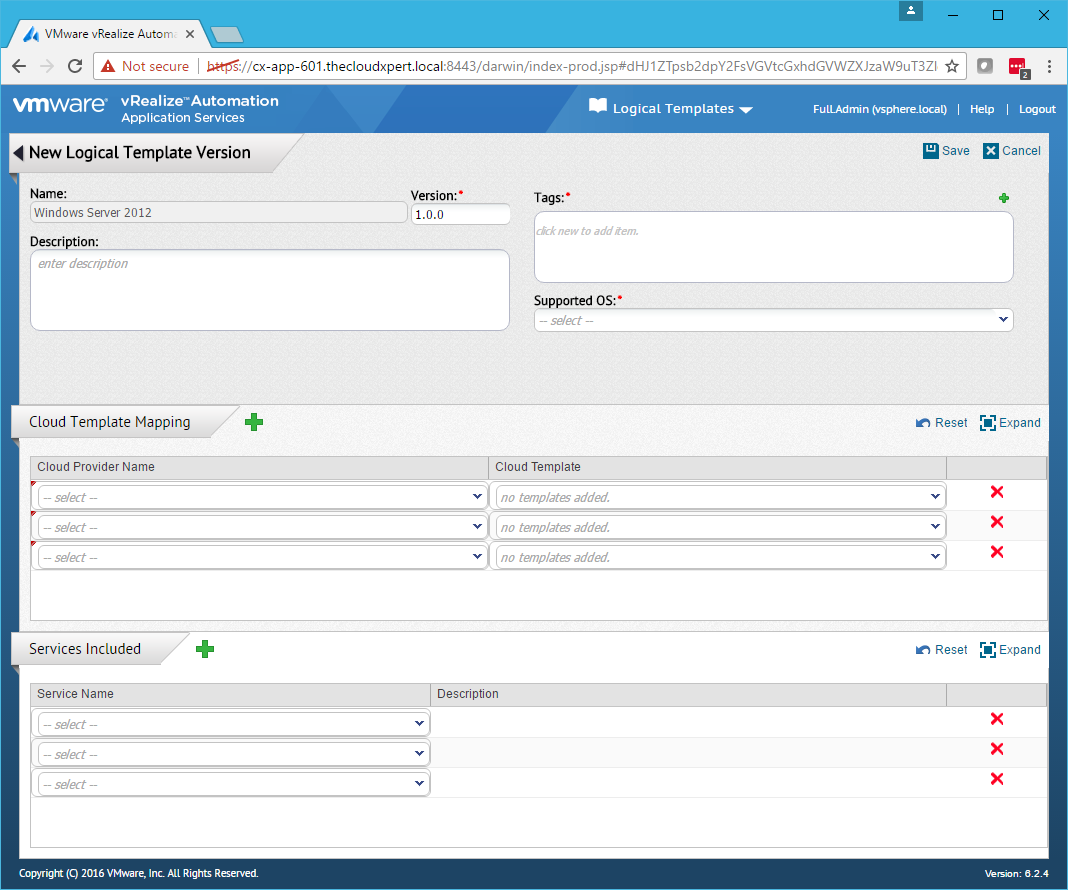
Set a Version (which is 1.0.0 by default), click Add (+) to add Tags and select a Supported OS from the dropdown.
Note: For this exercise, ignore the fact that there isn’t a Windows 2012 in the Supported OS list.
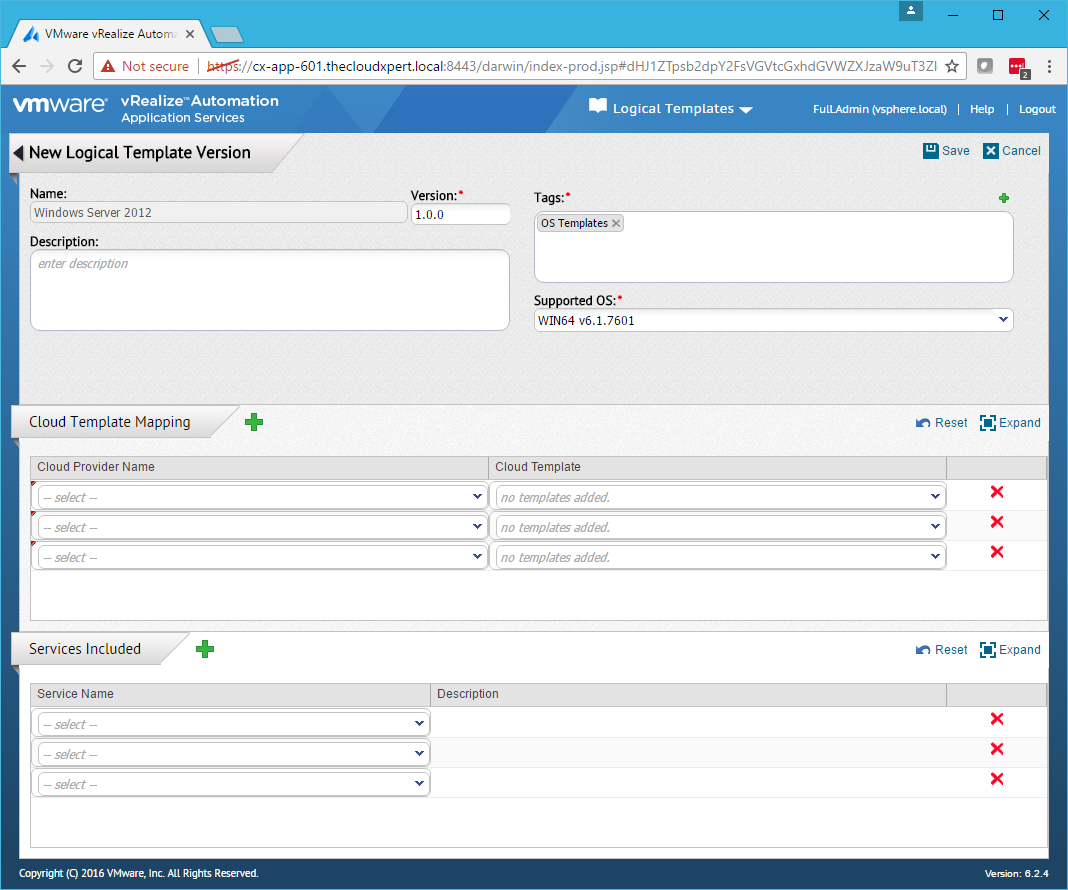
Select the Cloud Provider from the Cloud Provider Name dropdown and select a Template from the Cloud Template dropdown.
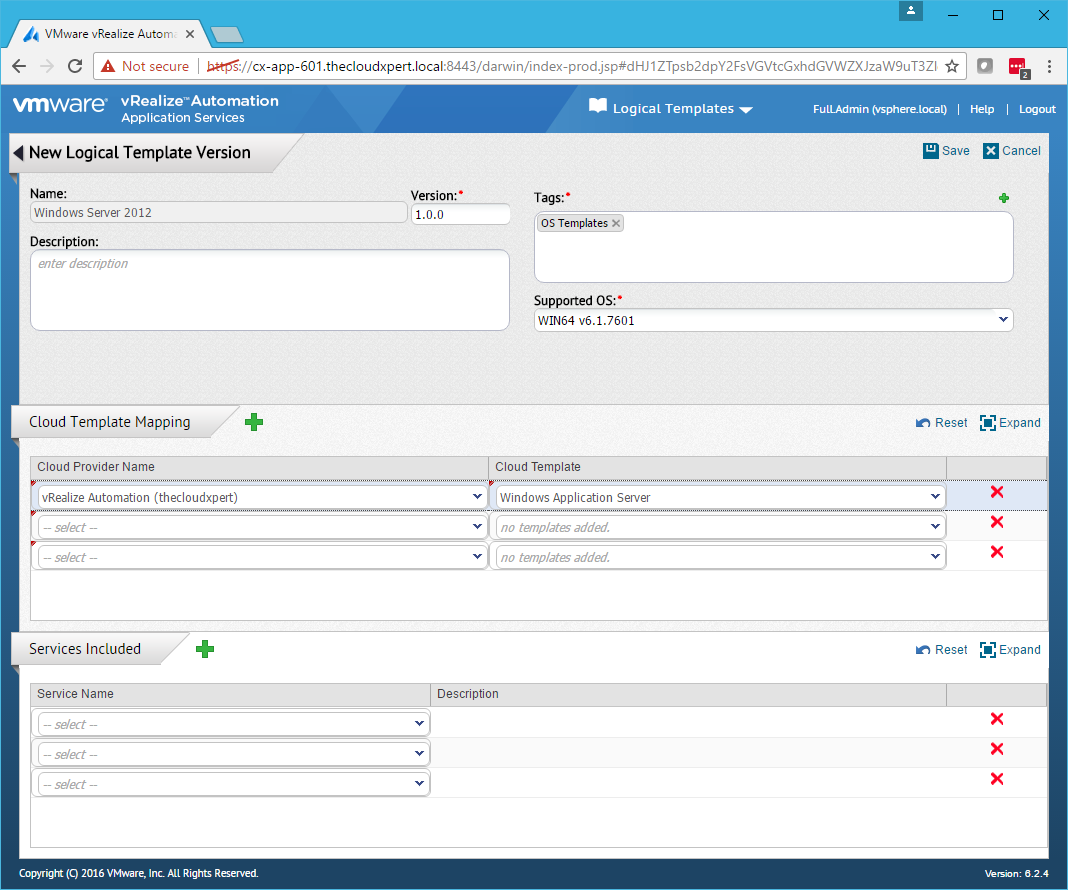
Click Save.
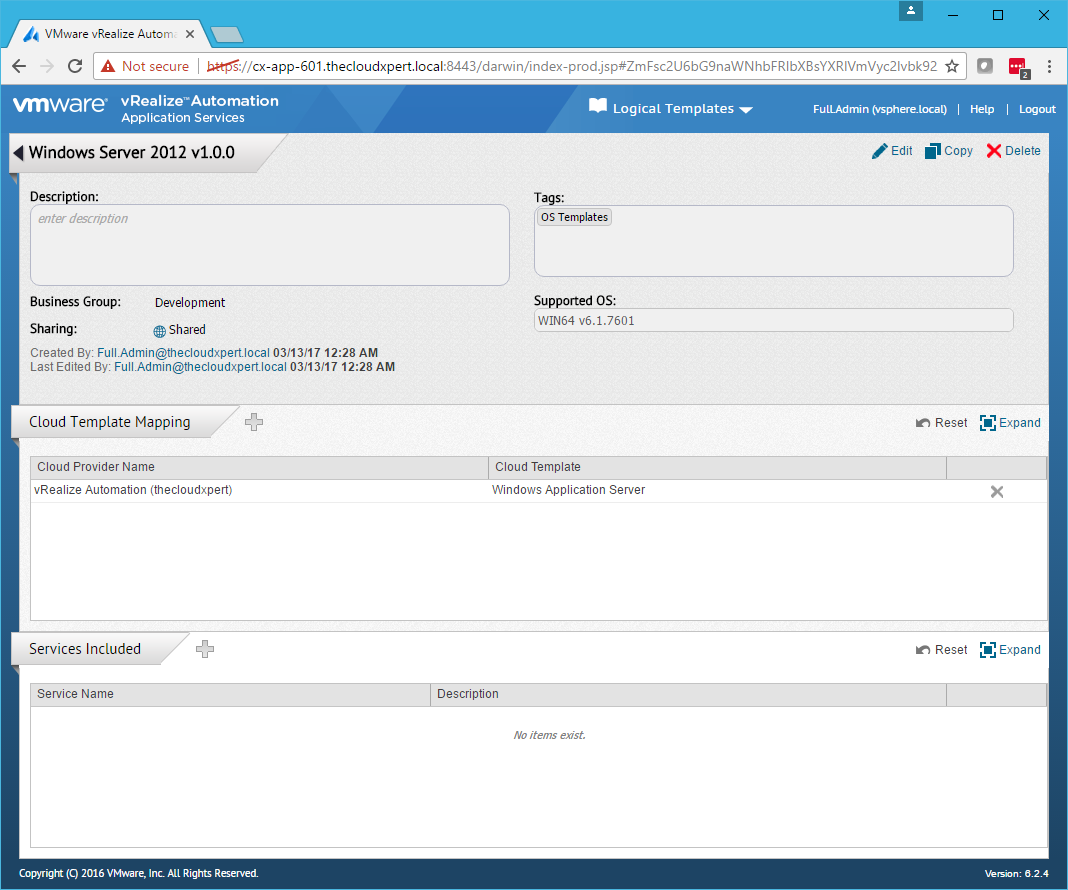
Click Logout.
Map Application Services to a vRA Reservation Policy
Navigate to https://app-services.fqdn:8443/darwin/<tenant>.

Log in using an an account with a user with the Application Cloud Administrator and Application Publisher and Deployer role.
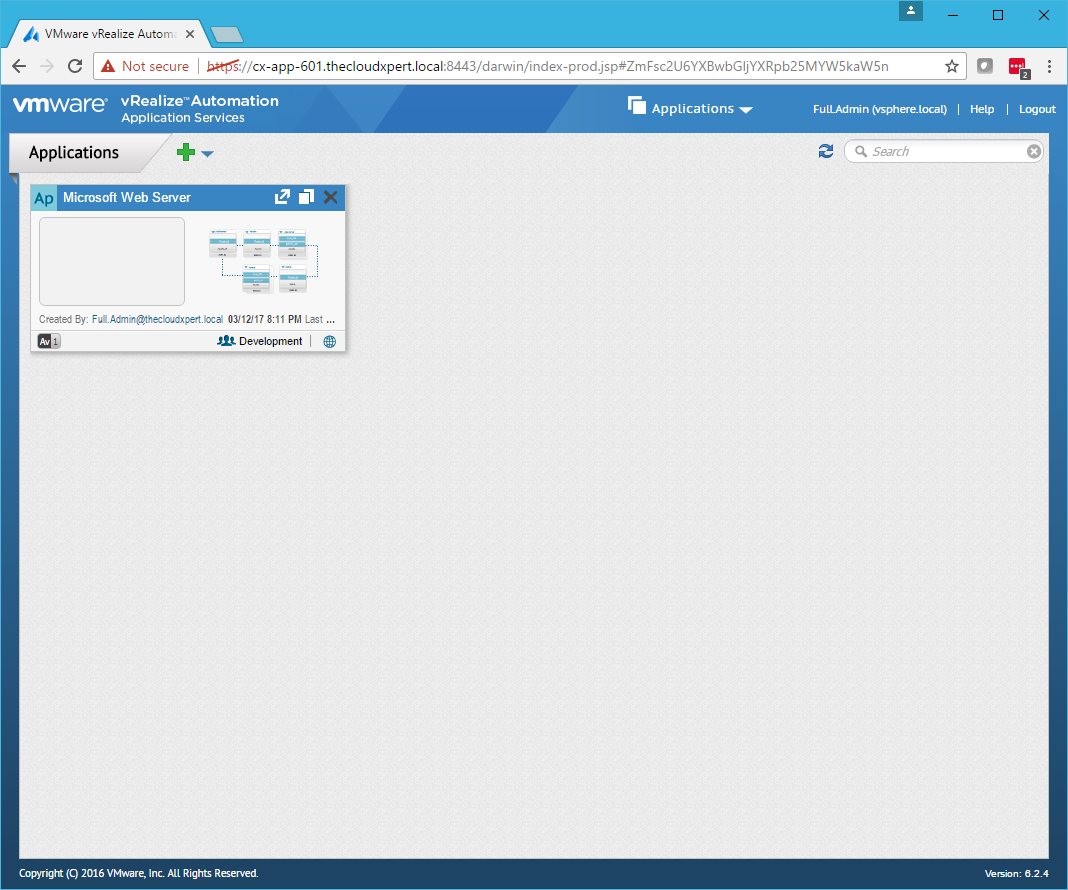
Click Applications and select Clouds > Deployment Environments.
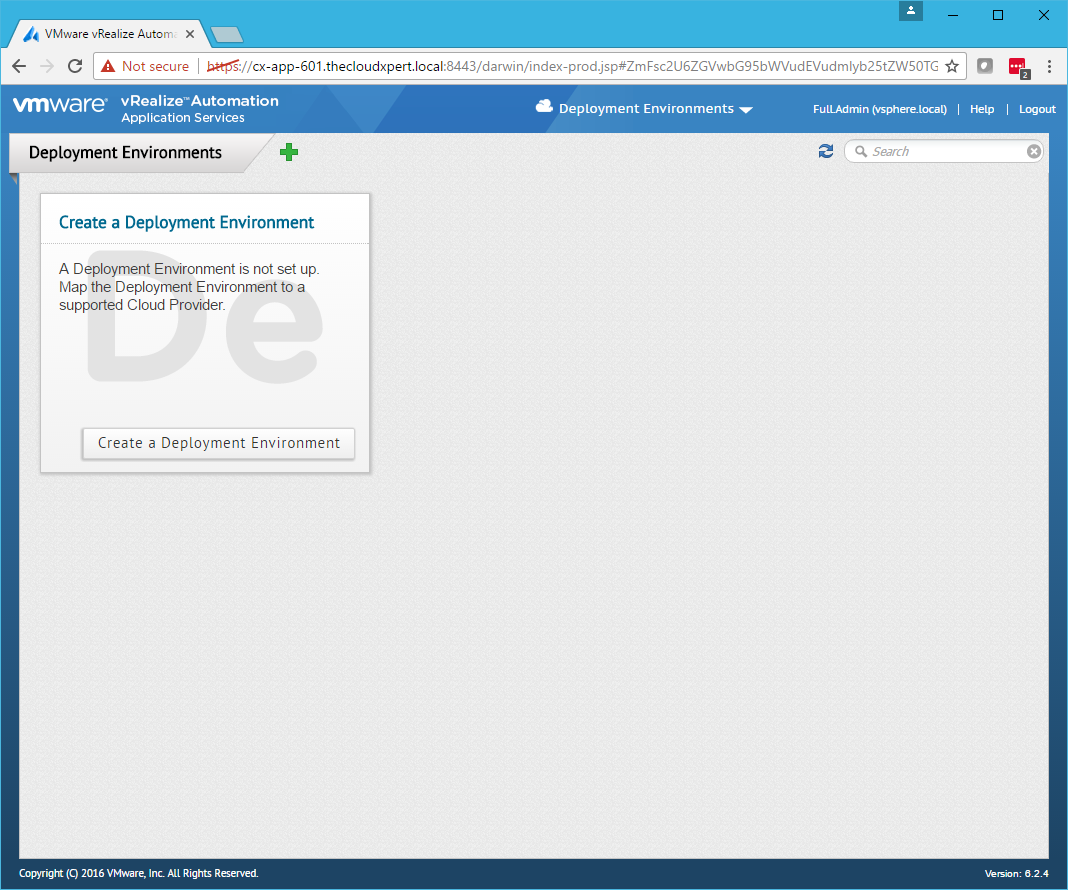
Click Create a Deployment Environment.
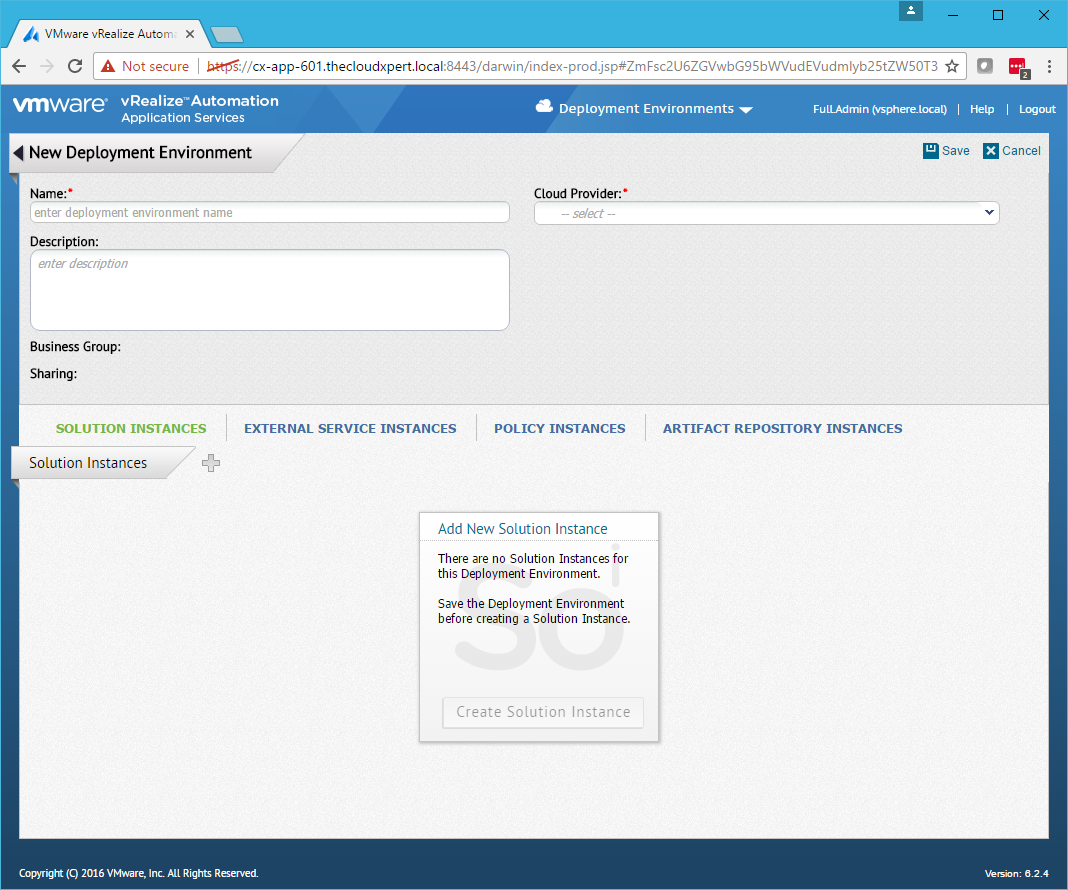
Enter a Name for the Deployment Environment and select a Cloud Provider from the dropdown.
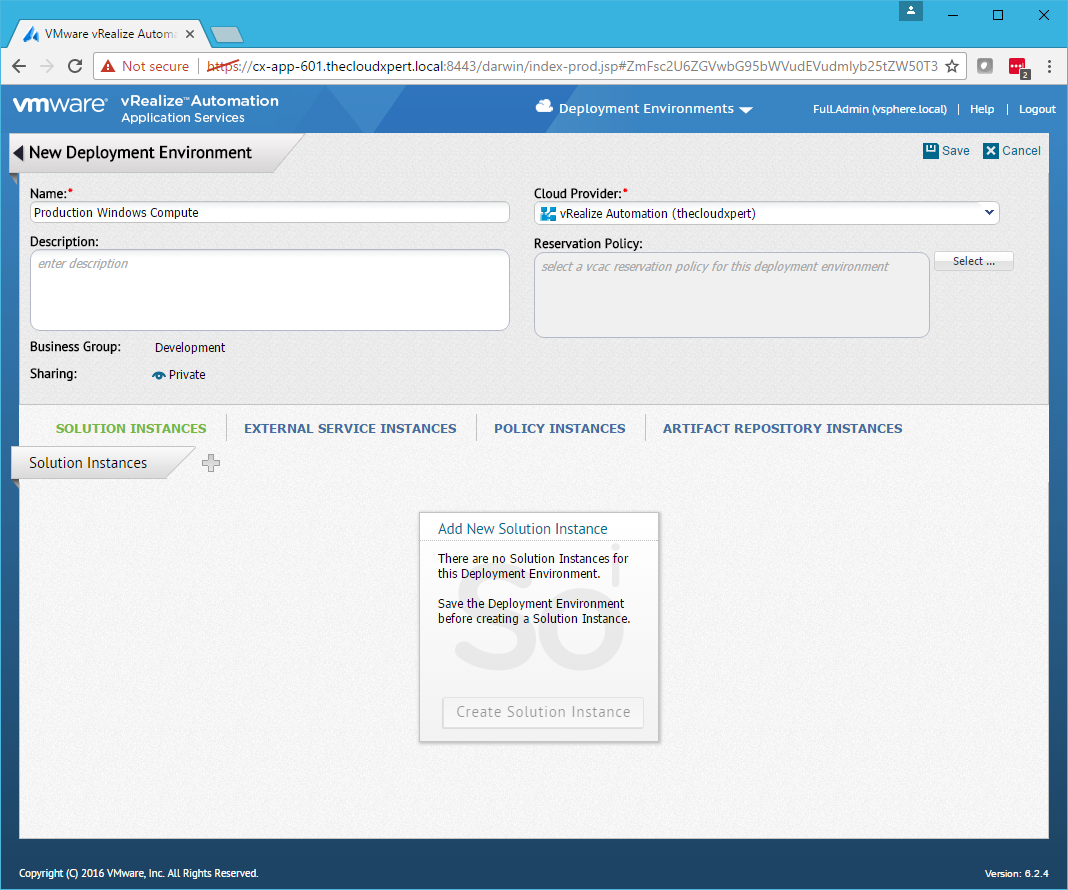
Click Select…
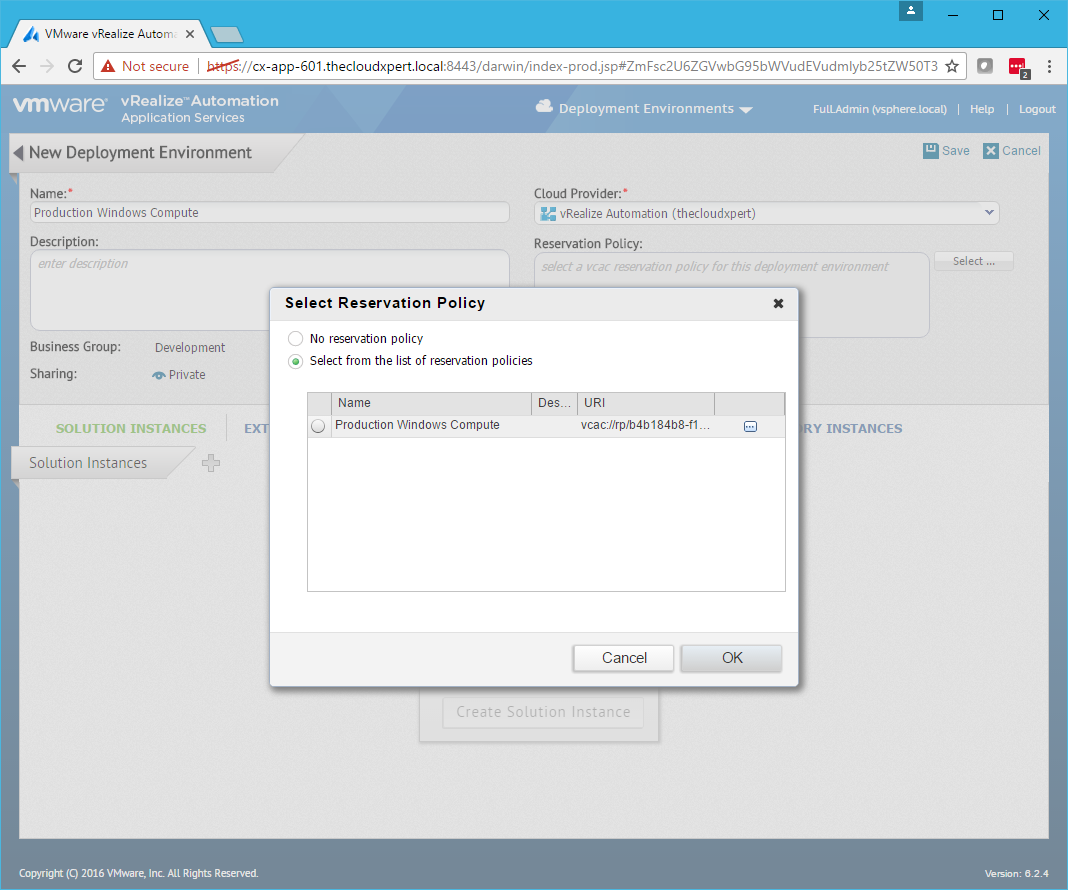
Select the Select from the list of reservation policies option, select the target Reservation Policy and click OK.
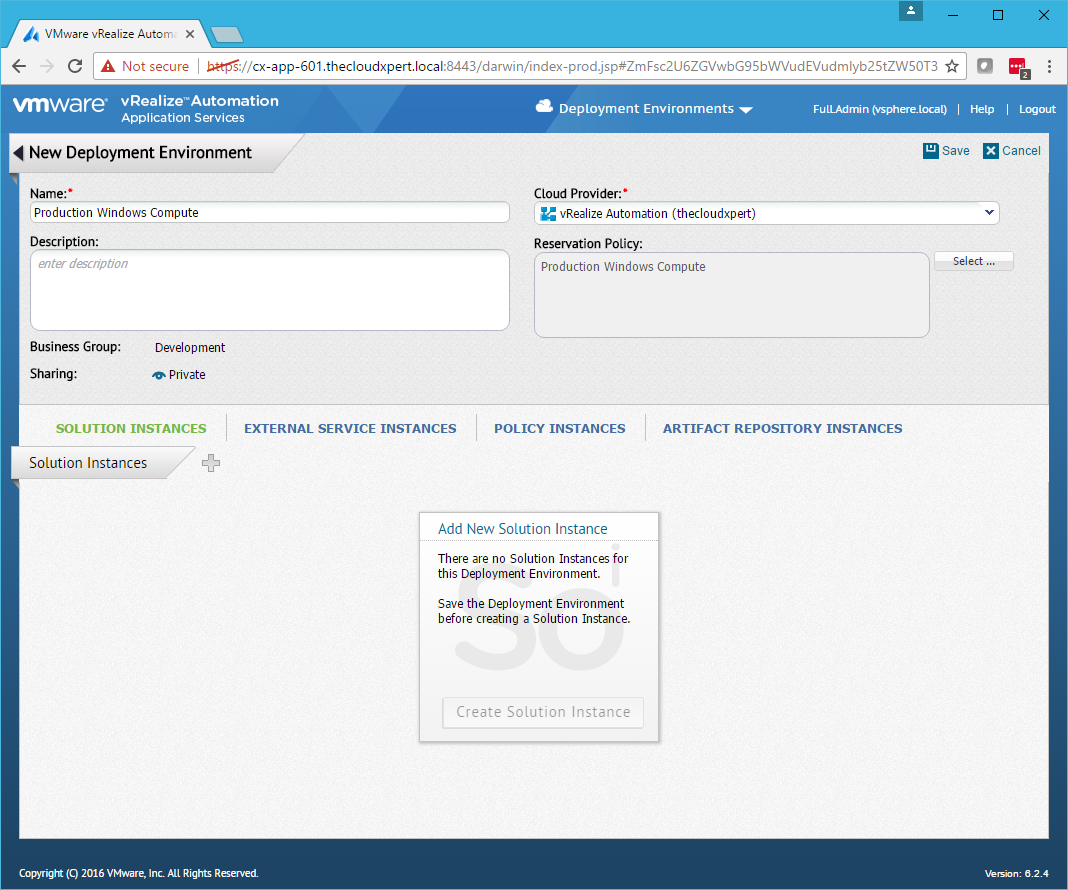
Click Save.
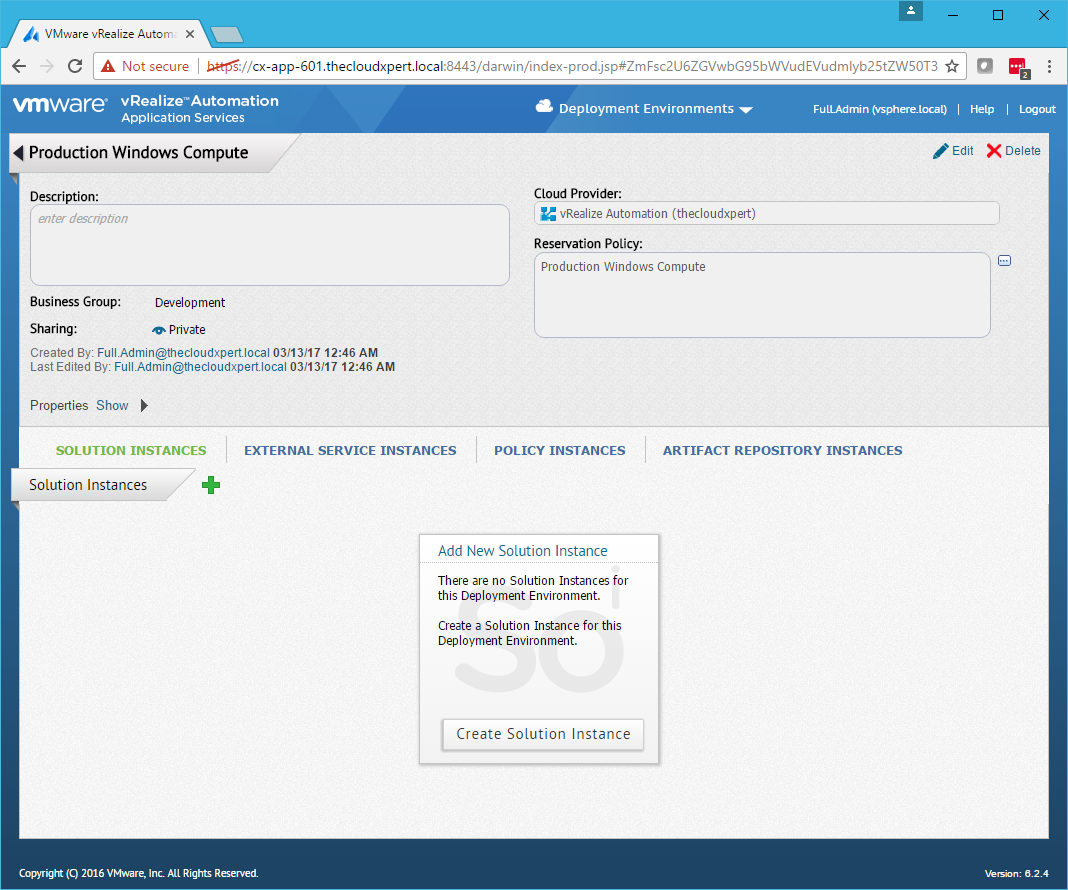
Click Back.
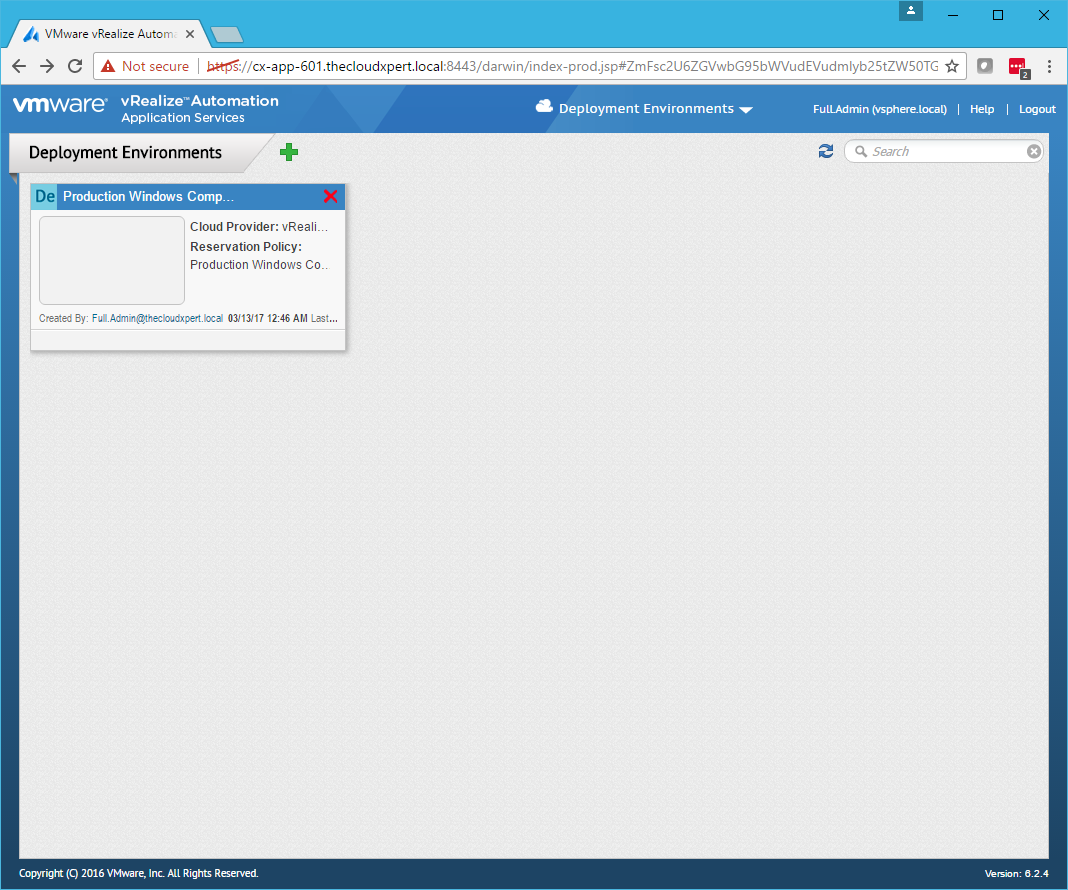
Click Logout.
Published on 13 March 2017 by Christopher Lewis. Words: 709. Reading Time: 4 mins.
- HOWTO: Deploy VMware vRealize Automation 6.x Application Services ()
- VCAP6-CMA Deploy - Objective 8.1: Deploy and Manage a vRealize Business Standard Appliance ()
- VCAP6-CMA Deploy - Objective 4.4: Import existing workloads ()
- HOWTO: Configure a vRealize Automation 6 Advanced Services Endpoint for vCenter Server ()
- VCAP6-CMA Deploy - Objective 6.1: Configure Advanced Service Designer ()
- Operating a Private Cloud - Part 3: Creating a Pricing Card in VMware Aria Automation
- Operating a Private Cloud - Part 2: Creating a Pricing Card in VMware Aria Operations
- Operating a Private Cloud - Part 1: Understanding Pricing Cards in VMware Aria
- Zero2Hero - Using Aria Automation to Deploy Multiple Machines with Multiple Disks - Part 5
- Zero2Hero - Using Aria Automation to Deploy Multiple Machines with Multiple Disks - Part 4
