VCAP6-NV Deploy - Objective 5.3 - Configure and Manage Role Based Access Control
VMware NSX-V VCAP6-NV VCIX6-NV
Published on 30 July 2017 by Christopher Lewis. Words: 555. Reading Time: 3 mins.
Objective 5.3 - Configure and Manage Role Based Access Control
Objective Overview
- Implement identity service support for Active Directory, NIS, and LDAP with Single Sign-On (SSO).
- Manage User rights:
- Assign roles to user accounts
- Change a user role
- Delete/disable/enable a user account
Objective Prerequisites
The following prerequisites are assumed for this Objective:
- A working VMware vSphere 6.x environment.
- A working VMware NSX 6.x environment.
Objective Breakdown
Implement identity service support for Active Directory, NIS, and LDAP with Single Sign-On (SSO)
Configuring SSO requires that NTP is configured correctly within the VMware NSX Manager. We covered this in HOWTO: Deploy and Configure the VMware NSX Manager Virtual Appliance - Part 2
Single Sign-On (SSO) is also configured within the VMware NSX Manager. We covered this in HOWTO: Deploy and Configure the VMware NSX Manager Virtual Appliance - Part 3
Manage User Rights
There are four VMware NSX User roles that can be applied to users or groups of users. These are:
- Enterprise Administrator - NSX Operations and Security.
- NSX Administrator - NSX Operations only.
- Security Administrator - NSX Security only.
- Auditor - Read Only.
Manage User Rights: Assign roles to User Accounts or Groups
In this example, we are going to assign the NSX Administrator role to an individual user. In real life, as a best practice recommendation, you would assign the role to a group so that all members of the group would be given the role.
- Using your favourite web browser, navigate to the vCenter Server login page (
https://vcenter.fqdn).
- Type the administrator User name and Password and click Login.
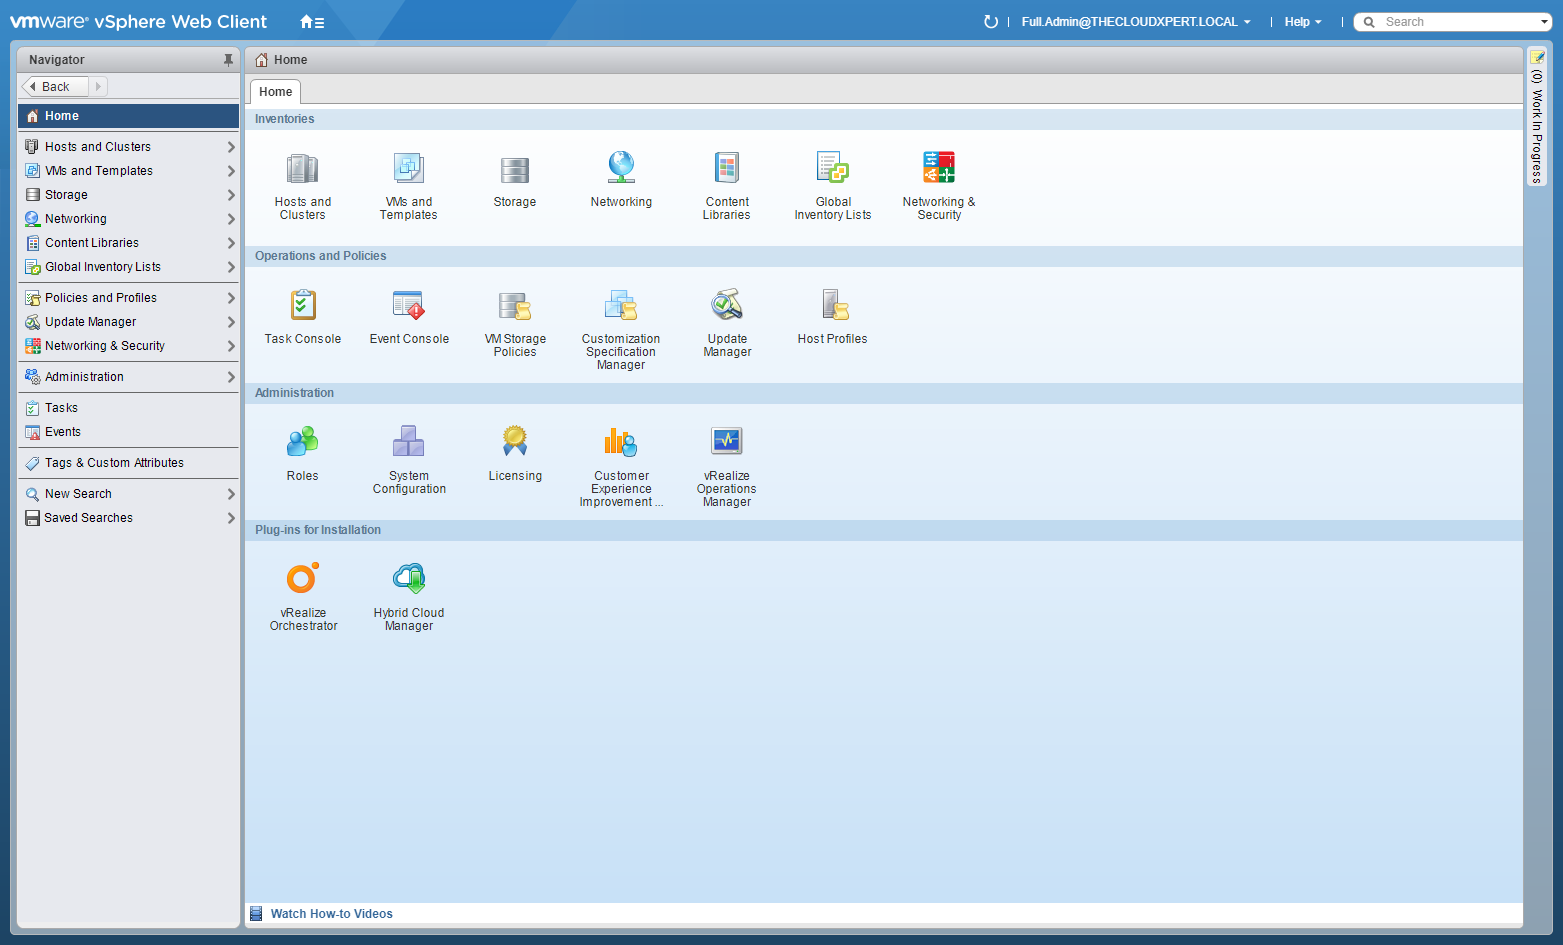
- Click Networking and Security.
- Click NSX Managers.
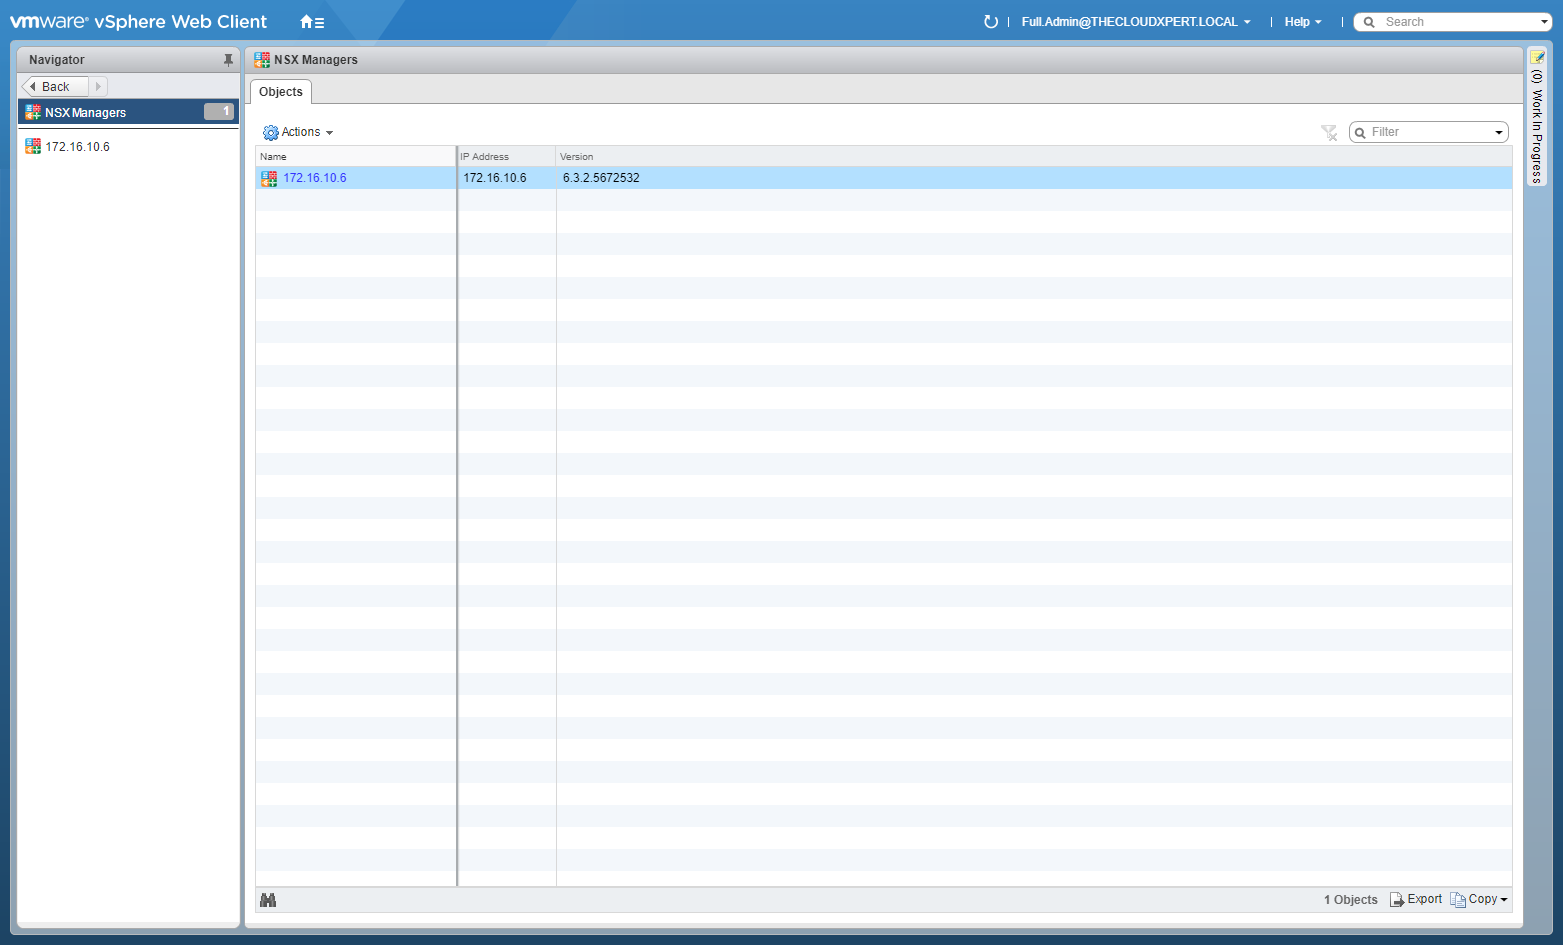
- Click on the NSX Manager IP Address.
- Click the Manage tab.
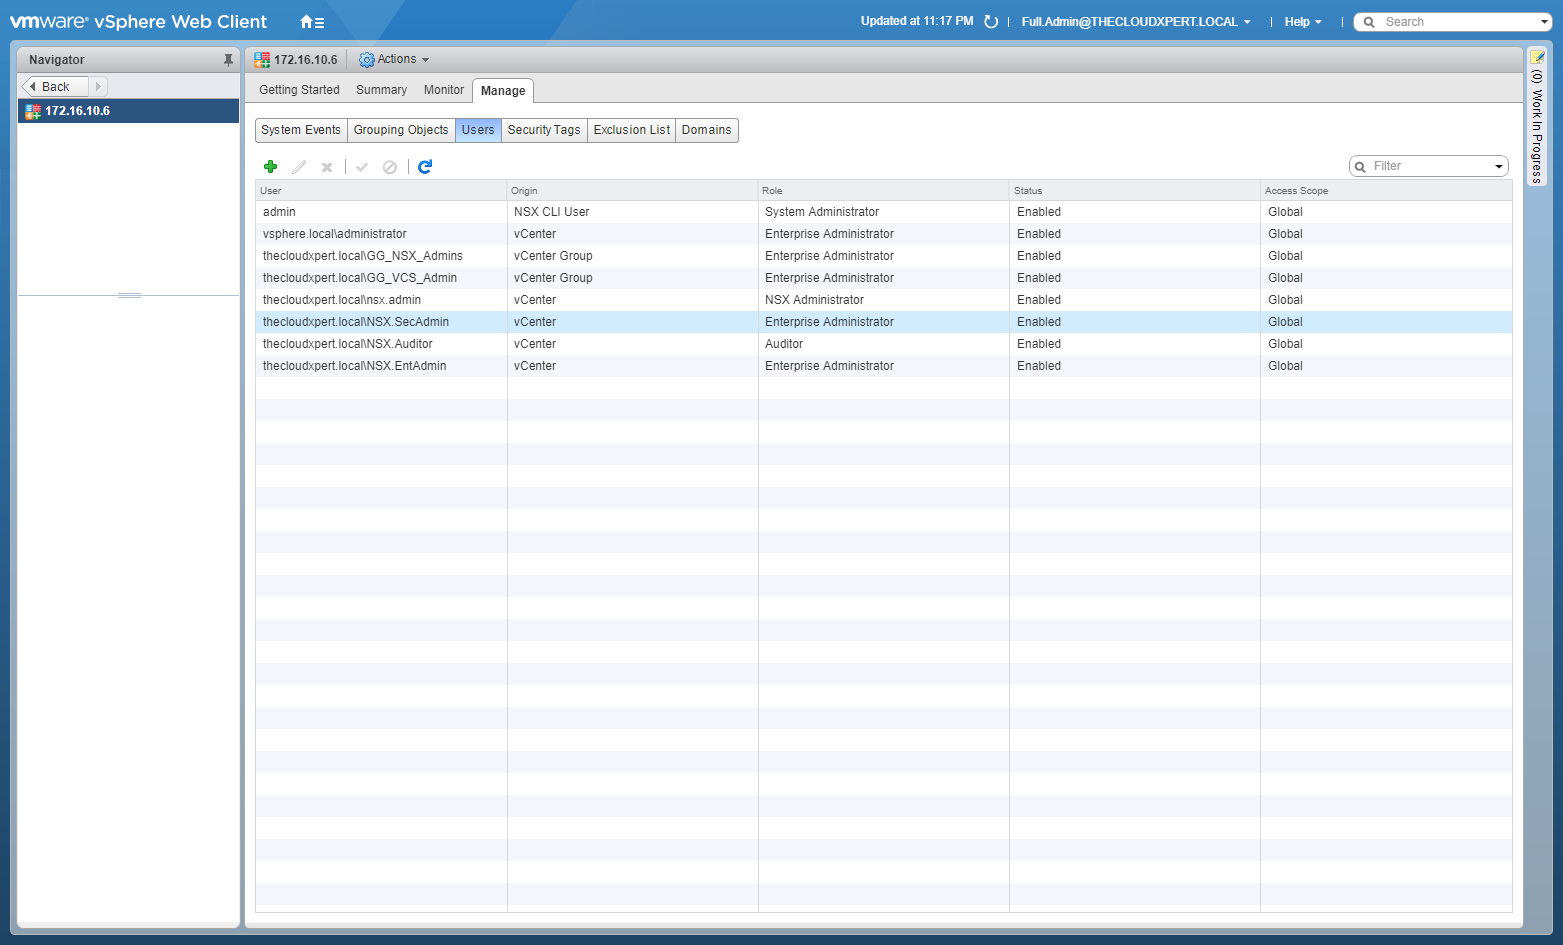
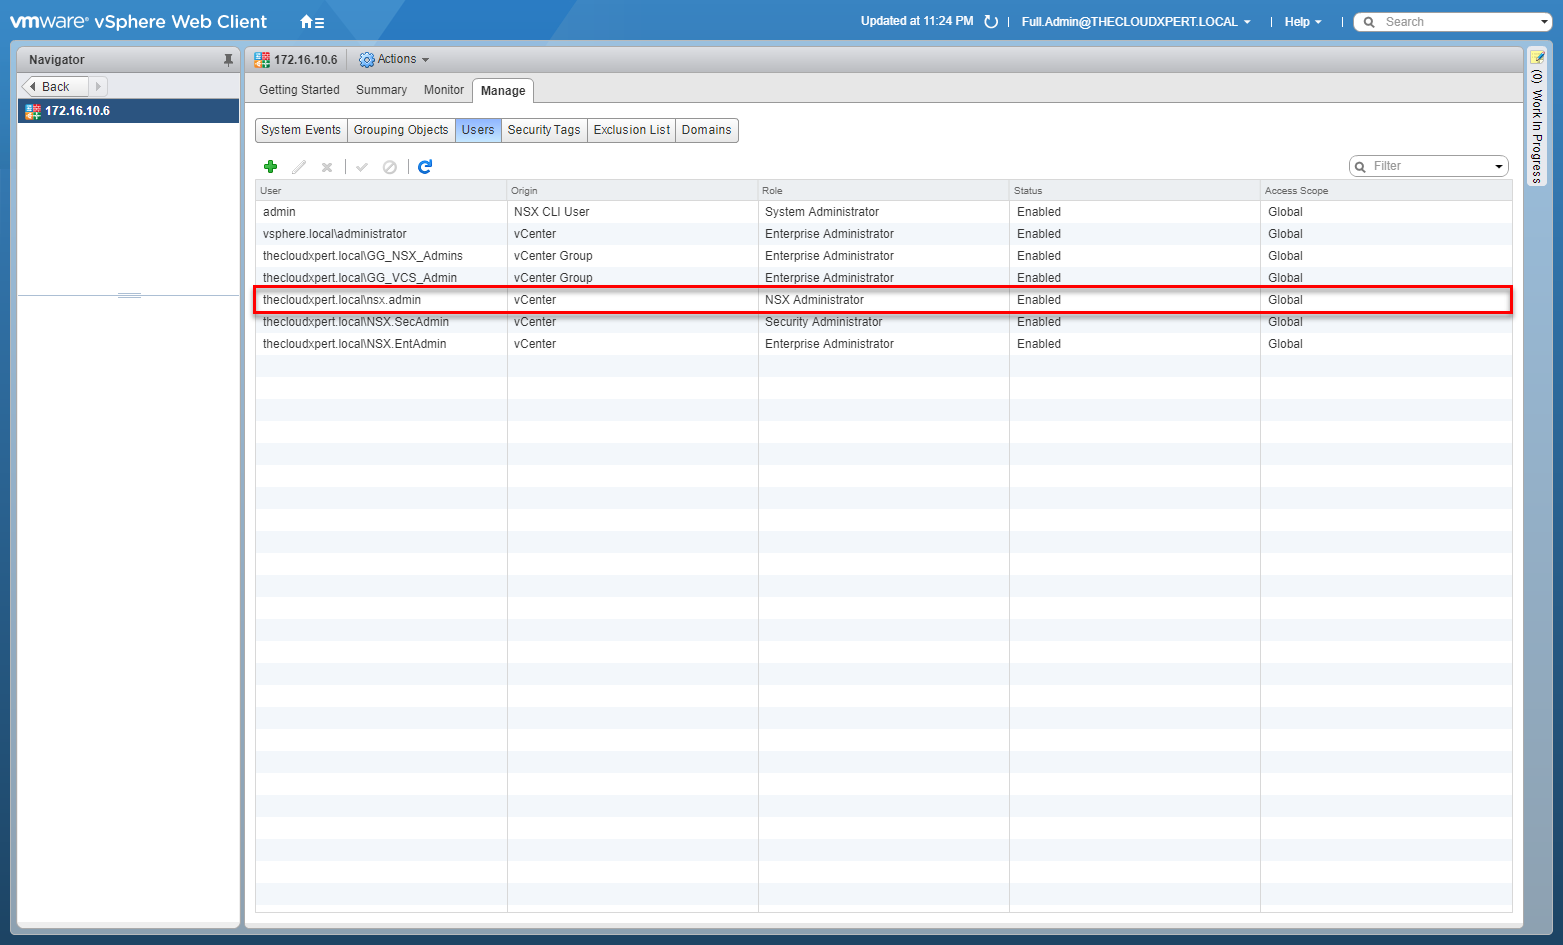
- Click Users.

- Click Add (+).
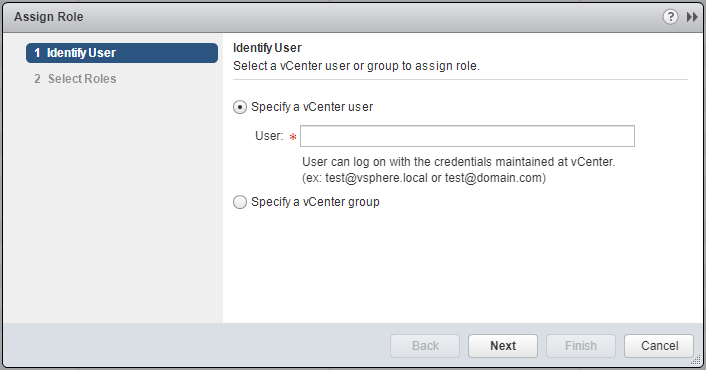
- Type the name of the User into the field provided.
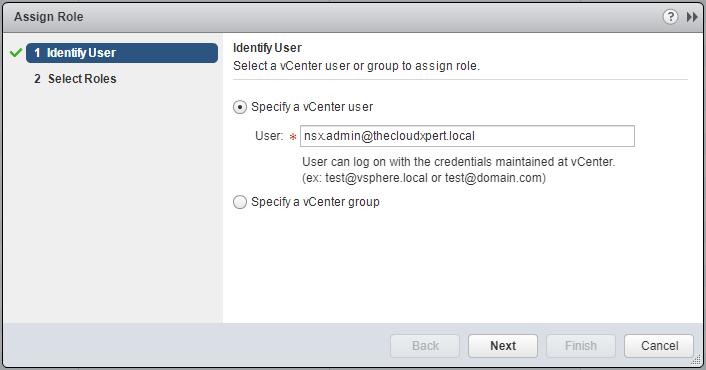
- Click Next.
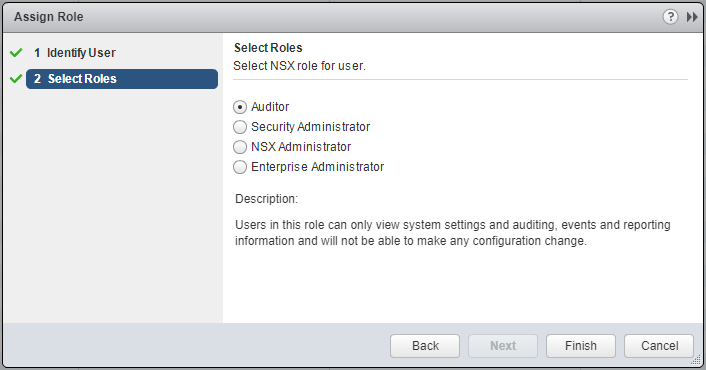
- Select the NSX Administrator option.
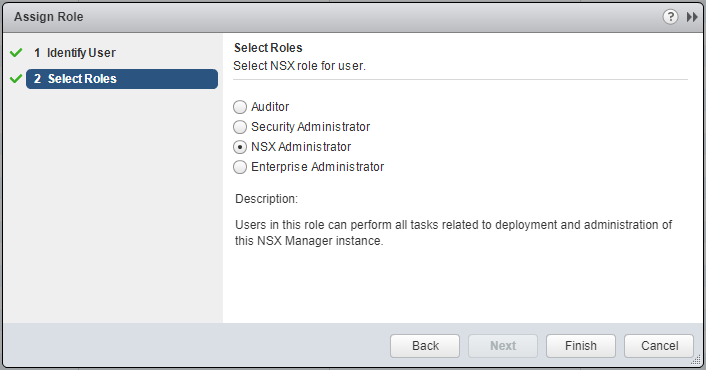
- Click Finish.
Manage User Rights: Change a user role
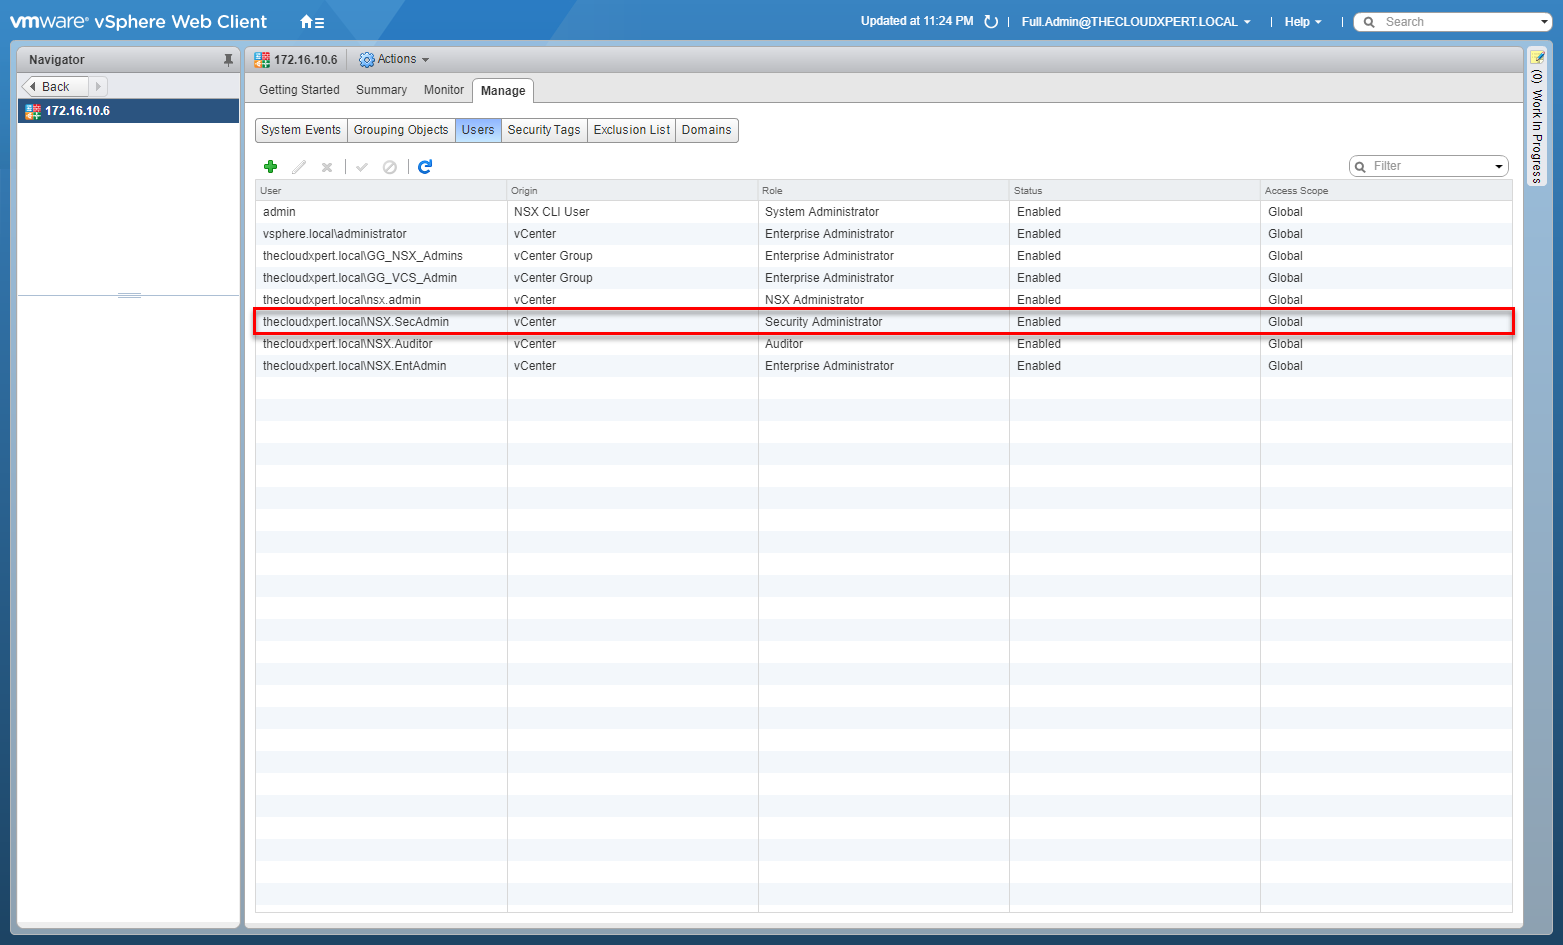
In this example, we’re going to correct the user role for the NSX.SecAdmin user, who should be assigned the Security Administrator role.
- Using your favourite web browser, navigate to the vCenter Server login page ( https://vcenter.fqdn ).
- Type the administrator User name and Password and click Login.
- Click Networking and Security.
- Click NSX Managers.
- Click on the NSX Manager IP Address.
- Click the Manage tab.
- Click Users.
- Select the NSX.SecAdmin user and click Edit.
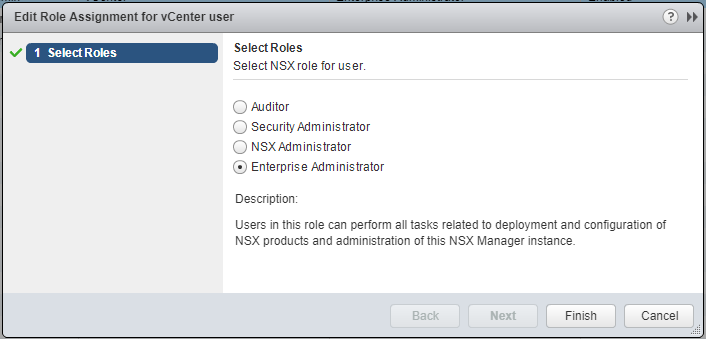
- Select the Security Administrator option.
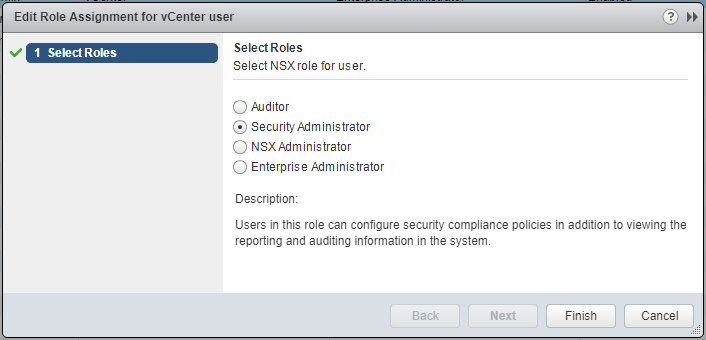
- Click Finish.
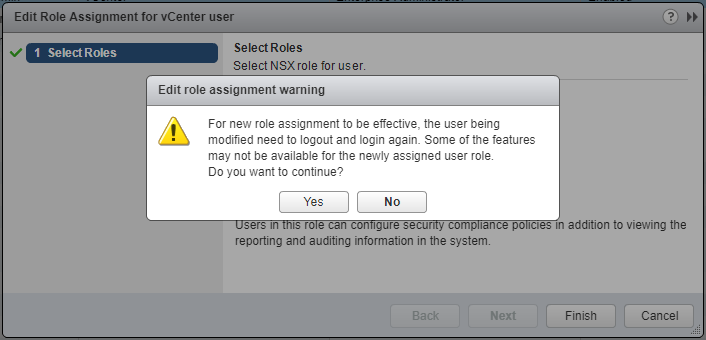
- Click Yes.
Manage User Rights: Delete/disable/enable a user account
In this example, we are going to complete the following:
- Remove the Auditor role from the NSX.Auditor user
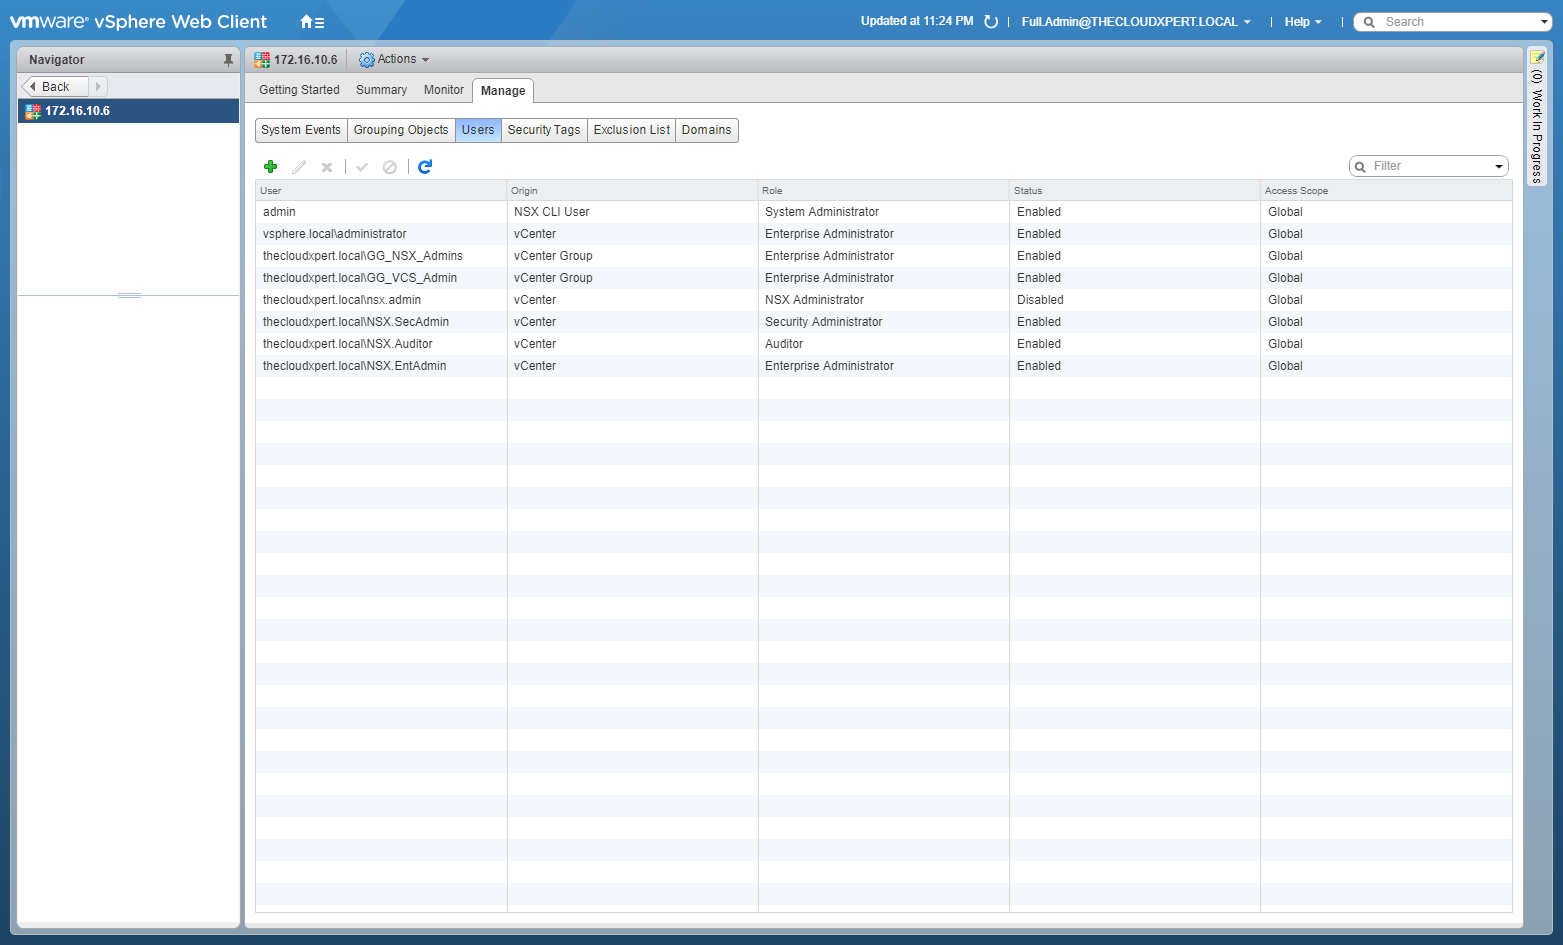
- Enable the NSX.Admin user
- Disable the NSX.EntAdmin user.
- Using your favourite web browser, navigate to the vCenter Server login page (
https://vcenter.fqdn).
- Type the administrator User name and Password and click Login.
- Click Networking and Security.
- Click NSX Managers.
- Click on the NSX Manager IP Address.
- Click the Manage tab.
- Click Users.
- Highlight the NSX.Auditor user account and click Delete (X).
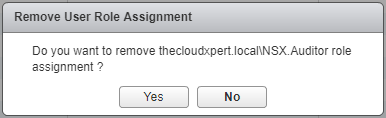
-
Click Yes.
-
Highlight the NSX.Admin user account and click Enable.
- Highlight the NSX.EntAdmin user account and click Disable.

Published on 30 July 2017 by Christopher Lewis. Words: 555. Reading Time: 3 mins.
- VCAP6-NV Deploy - Objective 8.1 - Administer and Execute calls using the VMware NSX vSphere API ()
- VCAP6-NV Deploy - Objective 2.1 - Create and Manage Logical Switches ()
- VCAP6-NV Deploy - Objective 1.3 - Configure and Manage Transport Zones ()
- VCAP6-NV Deploy - Objective 1.2 - Prepare Host Clusters for Network Virtualization ()
- VCAP6-NV Deploy - Objective 1.1 - Deploy VMware NSX Infrastructure components ()
