VCAP6-CMA Deploy - Objective 1.1: Deploy and Manage a vRA Appliance and IaaS Server as Single nodes
VMware vRealize Automation VCAP6 VCAP6-CMA
Published on 11 January 2017 by Christopher Lewis. Words: 746. Reading Time: 4 mins.
Objective 1.1 - Deploy and Manage a vRA Appliance and IaaS Server as single nodes
Objective Overview
- Acquire IaaS installation media from the virtual appliance
- Perform initial configuration of appliance and IaaS
- Configure NTP server for vRealize Appliances
- Assign appropriate IP address to vRealize Appliance
- Enable Microsoft Distributed Transaction Coordinator (MSDTC) to communicate between all servers in deployment.
- Configure Windows Firewall to allow vRA components to communicate
Objective Prerequisites
The following prerequisites are assumed for this Objective:
- Deploy the VMware vRealize Automation Identity Appliance ( HOWTO )
- Configure the VMware vRealize Automation Identity Appliance ( HOWTO )
- Deploy the VMware vRealize Automation 6.x Appliance ( HOWTO )
- Configure the VMware vRealize Automation 6.x Appliance ( HOWTO )
- Deploy a Windows Virtual Machine to be used as a IaaS Server
- Configure the VMware vRealize Automation IaaS Prerequisites ( HOWTO )
- Configure Service Account permissions on the SQL Server Database
- Install VMware vRealize Automation IaaS (Simple Install) ( HOWTO )
Objective Breakdown
Acquire IaaS Installation media from the Virtual Appliance
Perform initial configuration of appliance(s) and IaaS
- This is covered in depth in the HOWTO: Configure the VMware vRealize Automation 6.x Appliance (Minimal Deployment) Post, but to highlight the two items called out, see below.
Configure NTP server for vRealize Appliance and Identity Appliance
- Navigate to the VAMI interface of the appliance (
https://vra-appliance.fqdn:5480)
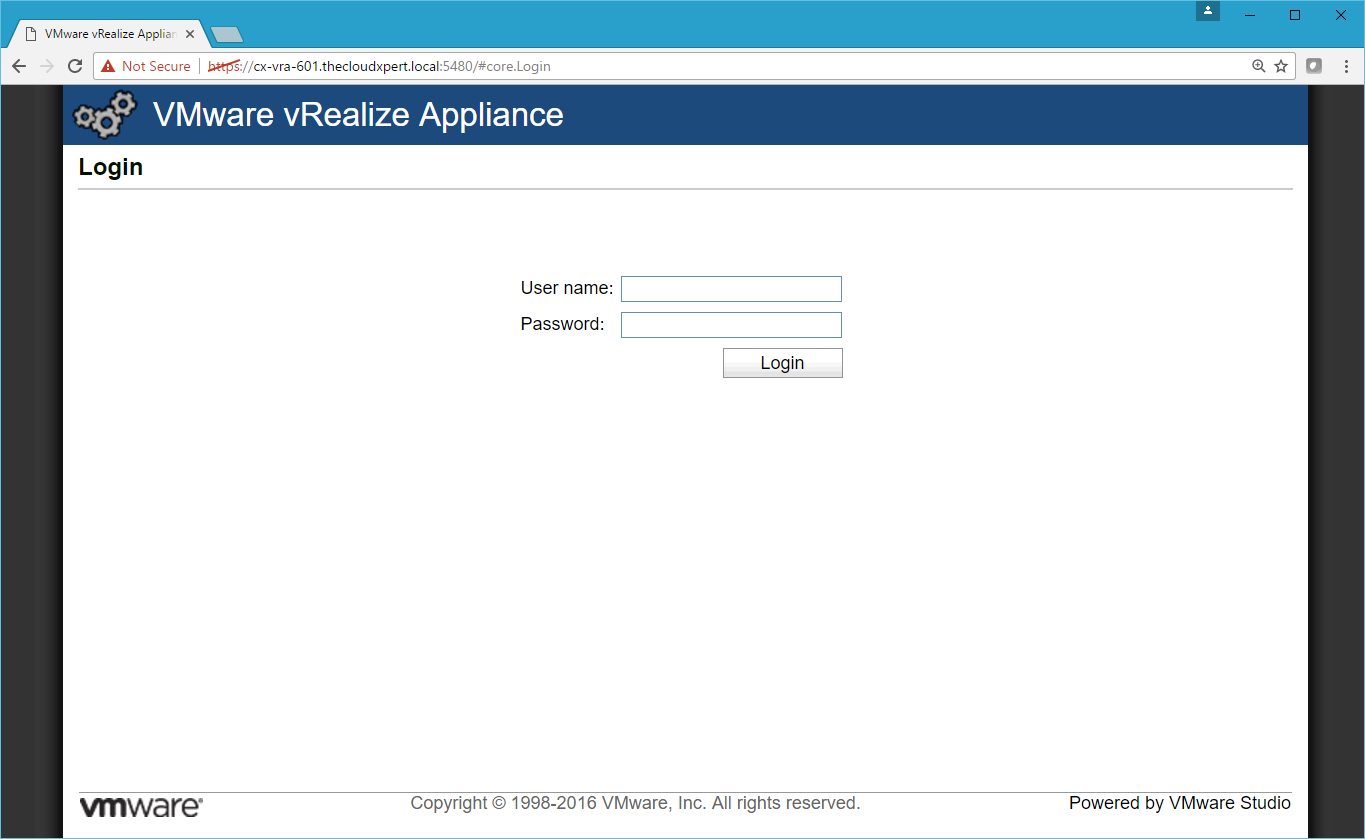
- Log into the VAMI interface using the user name
rootand password (defined as part of the deployment of the OVA).
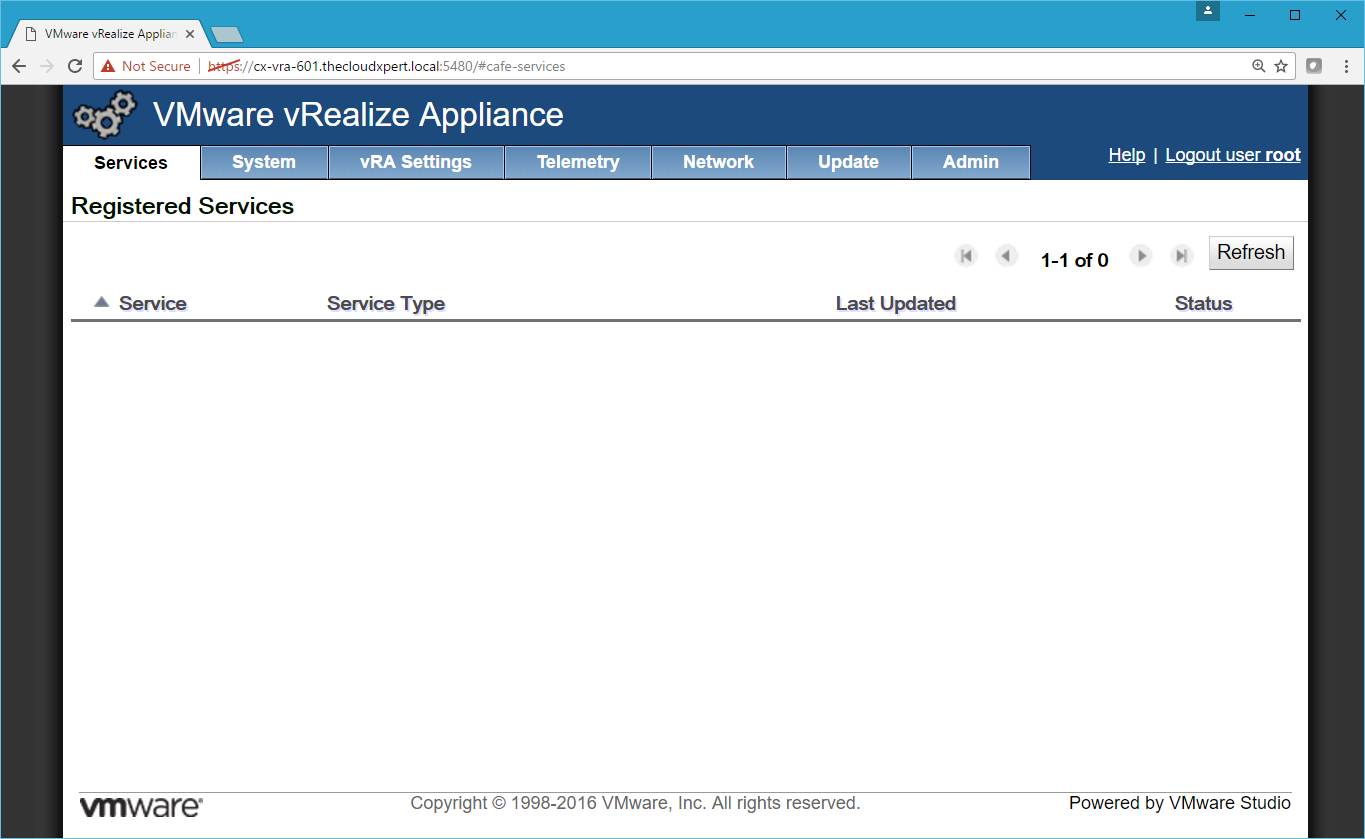
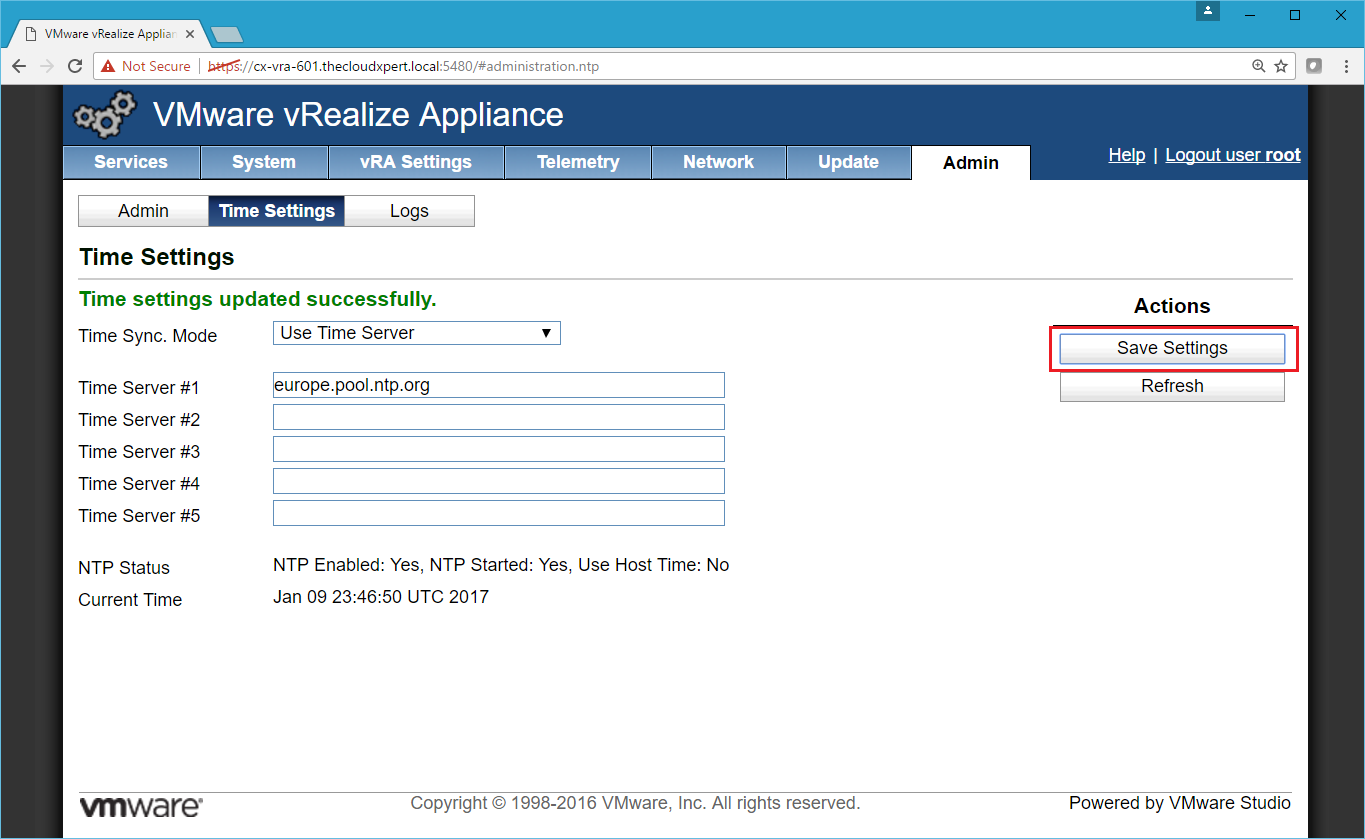
- Select the Admin Tab and select the Time Settings Tab.
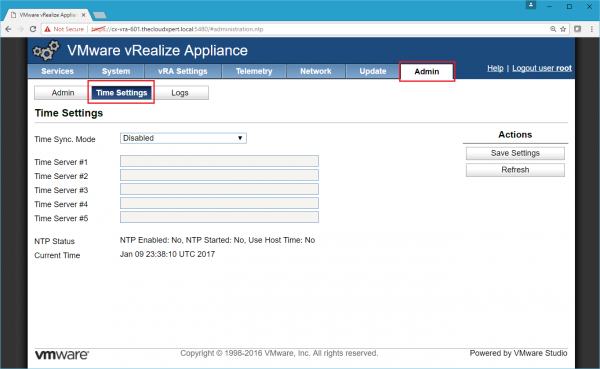
- To change to use an NTP Server, select Use Time Server from the Time Sync Mode dropdown, enter one or more NTP Servers names/IP Addresses into the text fields and click Save Settings.
Assign appropriate IP Address to the vRealize Appliance
- Navigate to the VAMI interface of the appliance ( https://vra-appliance.fqdn:5480 )
- Log into the VAMI interface using the user name
rootand password (defined as part of the deployment of the OVA).
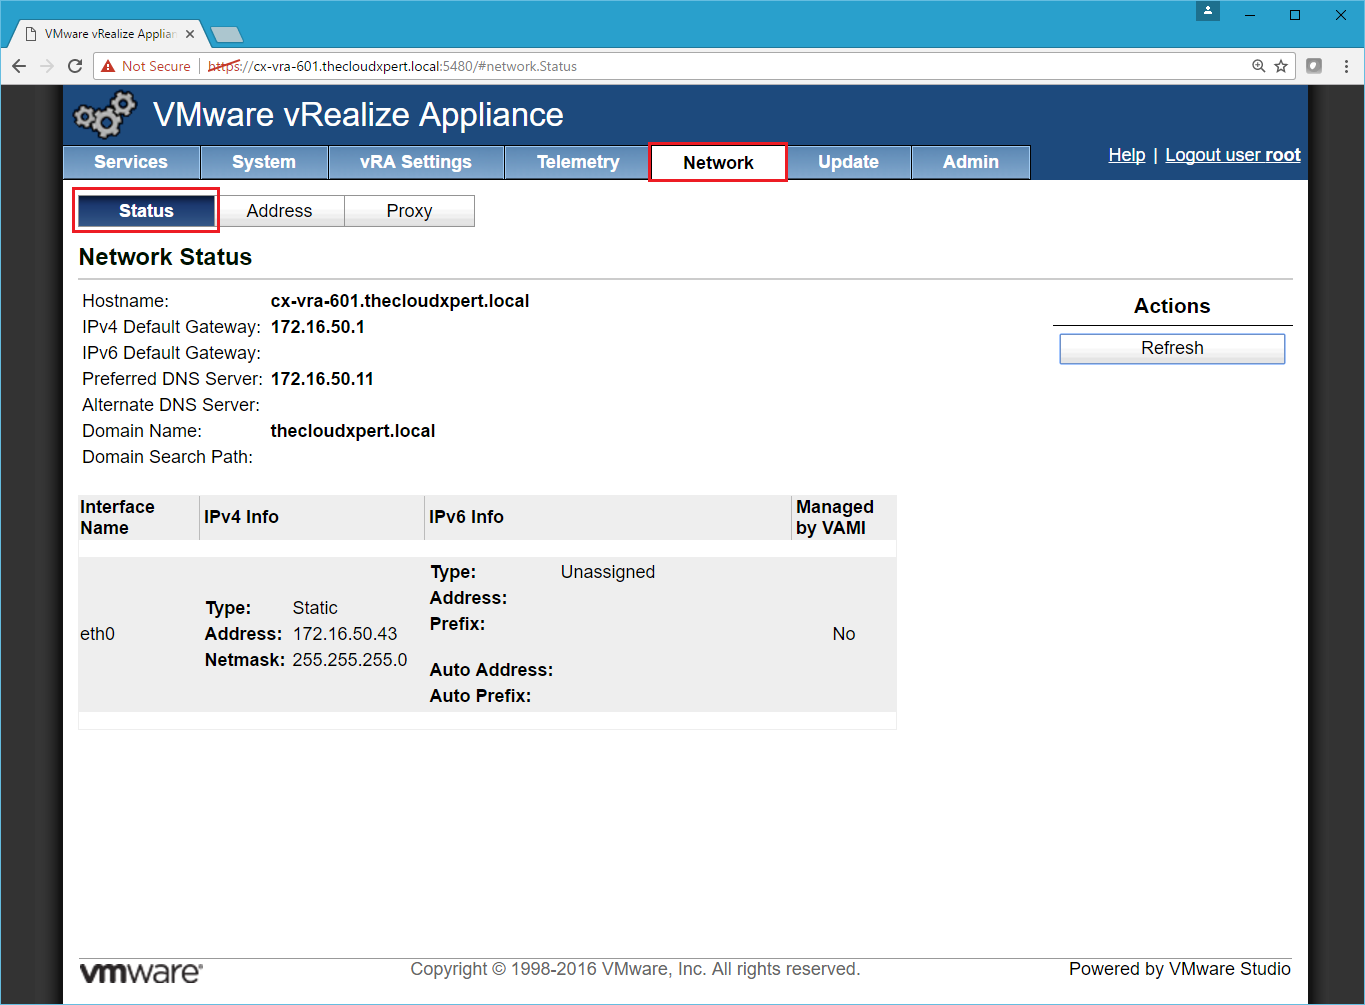
- Select the **Network **Tab and then select the Status Tab to show information on the currently configured network.
- Select the Address Tab.
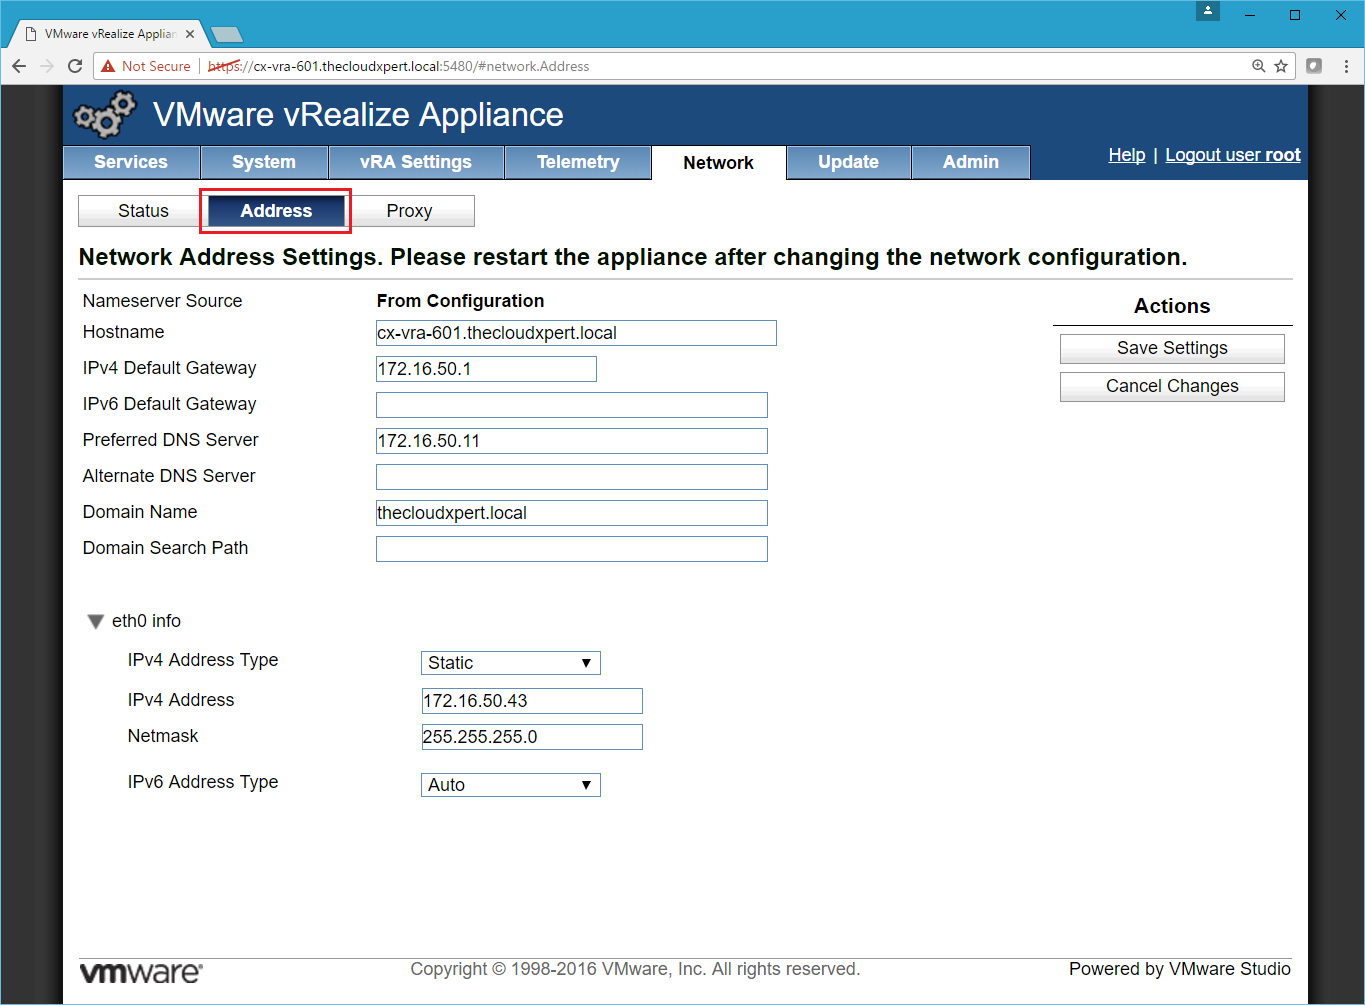
- Make the necessary changes to the Network settings and then click Save Settings.
Enable MSDTC to communicate between all servers in deployment
Microsoft Distributed Transaction Coordinator (MSTDC) is a critical component for the VMware vRealize Automation IaaS components, including the SQL Server and should be configured identically on each of the IaaS Server in the following way:
- Navigate to Start > Administrative Tools.
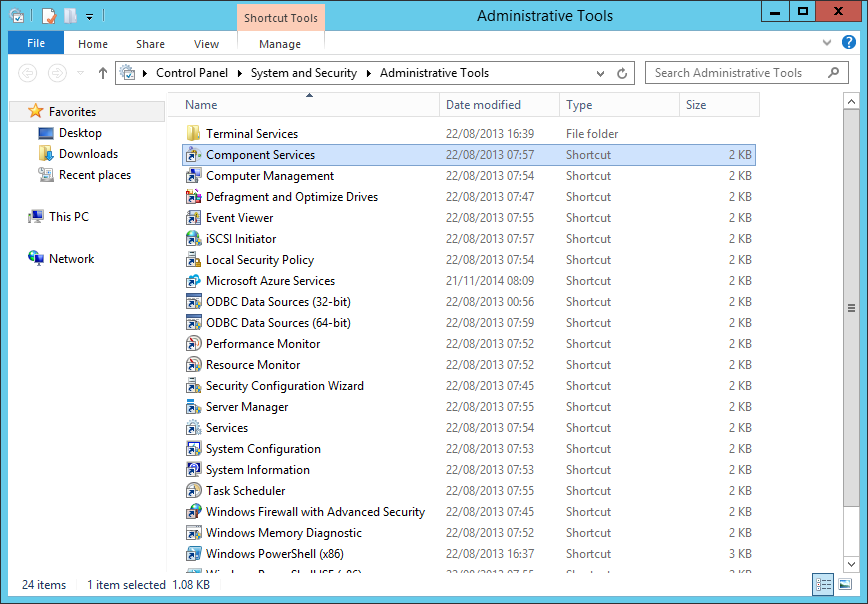
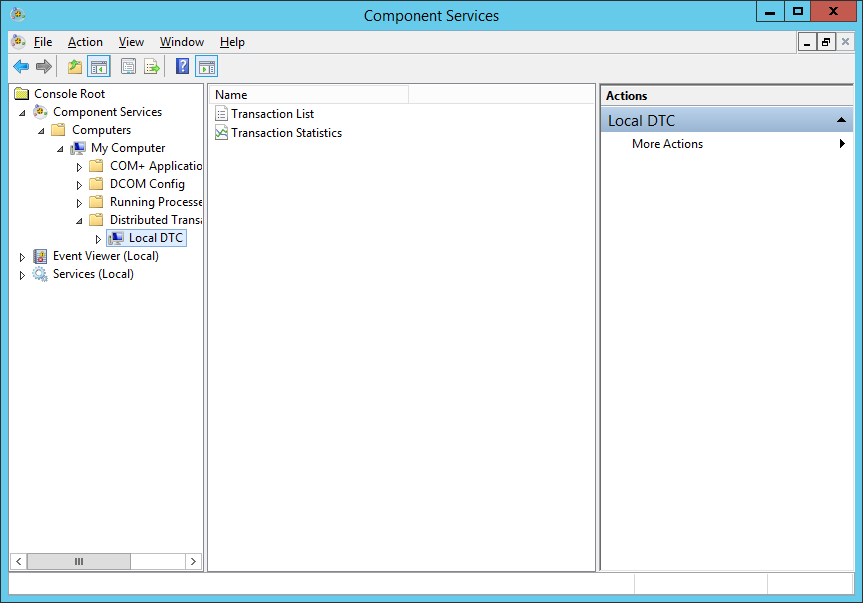
- At the Administrative Tools Menu, double click on Component Services.
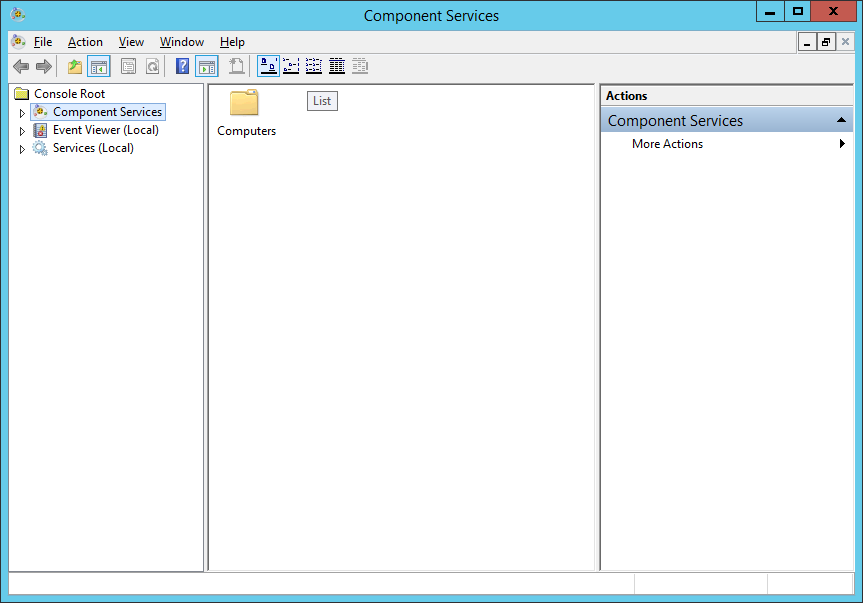
- At the Component Service window, expand Component Services > Computers > My Computer > Distributed Transaction Coordinator.
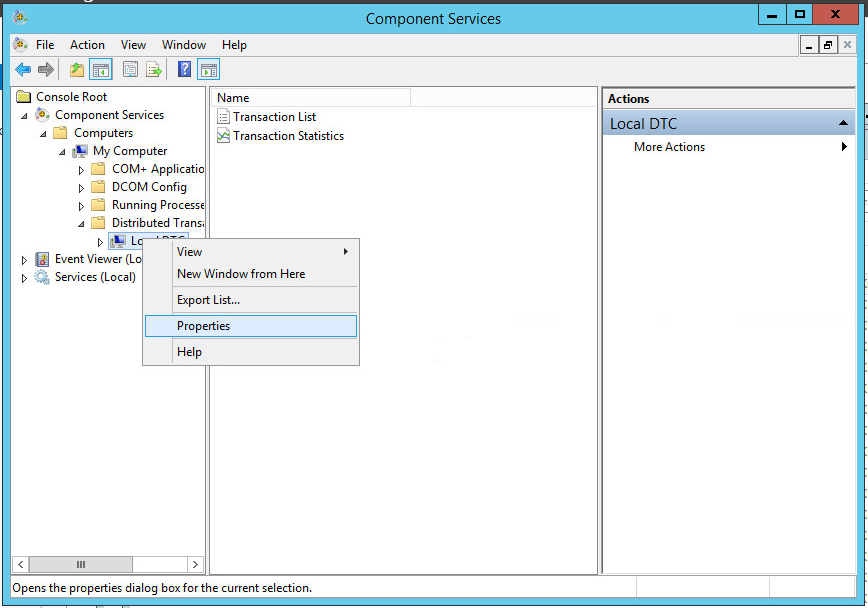
- At the Component Service window, right-click Local DTS and select Properties.
- At the Local DTC Properties dialog, click the Security
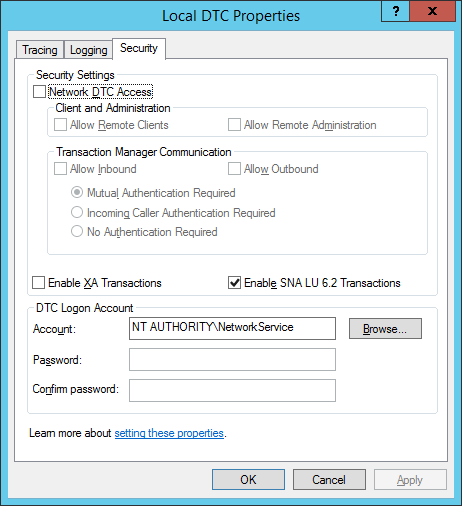
- At the Local DTC Properties dialog, make the following changes on the Security Tab:
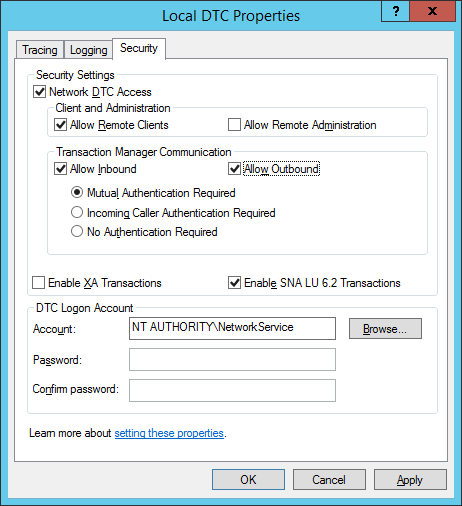
- Under Security Settings, check the Network DTC Access checkbox
- Under Client and Administration, check the Allow Remote Clients
- Under Transaction Manager Communication, check the Allow Inbound
- Under Transaction Manager Communication, check the Allow Outbound
- At the Local DTC Properties dialog, click OK.
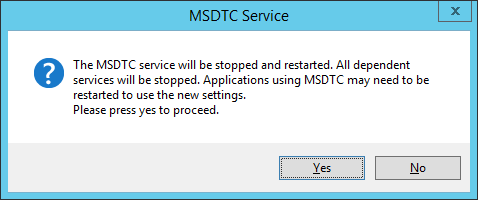
- When prompted with the MSDTC Service dialog, click Yes.
- When prompted with the MSDTC Service dialog stating “The MSDTC services has been restarted”, click OK.
msdtc -uninstall command) and re-install MSDTC (using the msdtc -install) before any configuration can take place.
Configure Windows Firewall to allow vRA components to communicate
My interpretation of this objective is to ensure that the Firewall rules for MSDTC are in place on each Windows Server in the infrastructure (which is something that is checked/configured as part of the Pre-Requisites and normally handled in real life by Brian Graf’s IaaS Pre-Reqs Script ). However to complete this manually, the following steps are required:
-
Navigate to Start > Control Panel
-
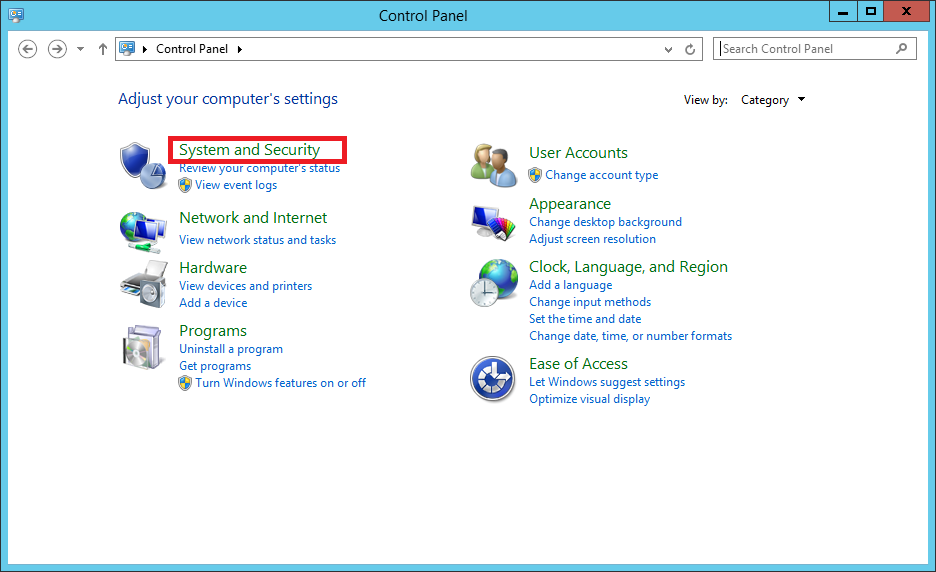
Click System and Security.
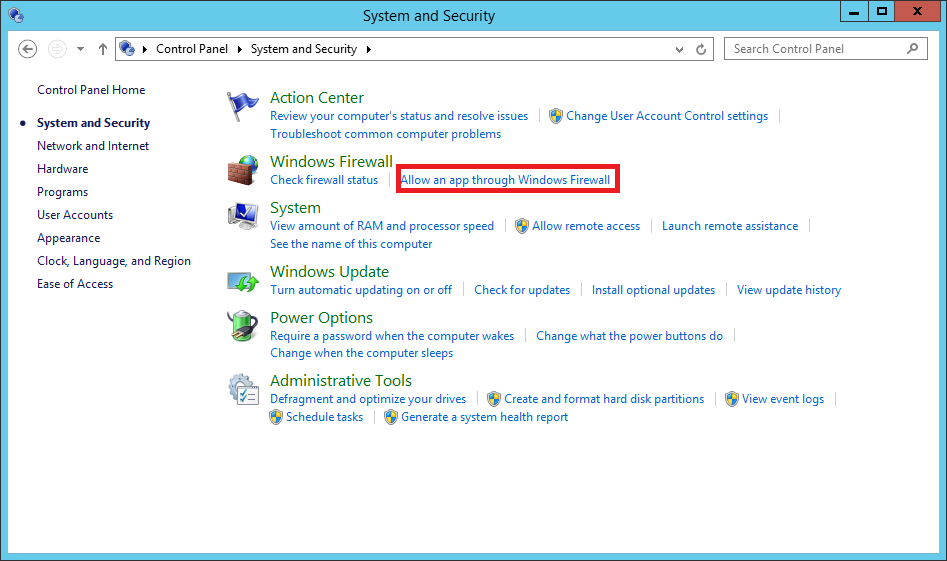
- Under Windows Firewall, Click Allow an app through Windows firewall.
- Click Change Settings
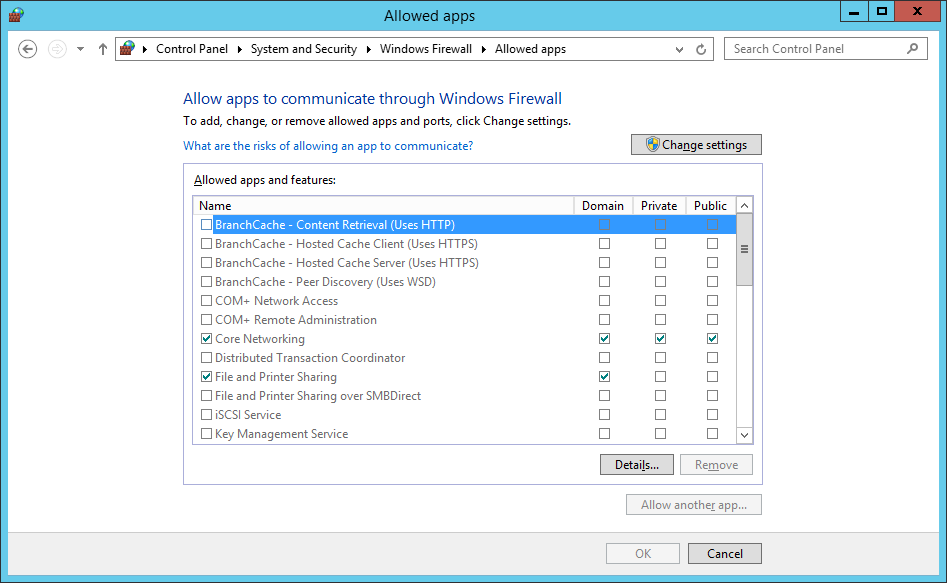
- Tick the Domain check box for the Distributed Transaction Coordinator app.
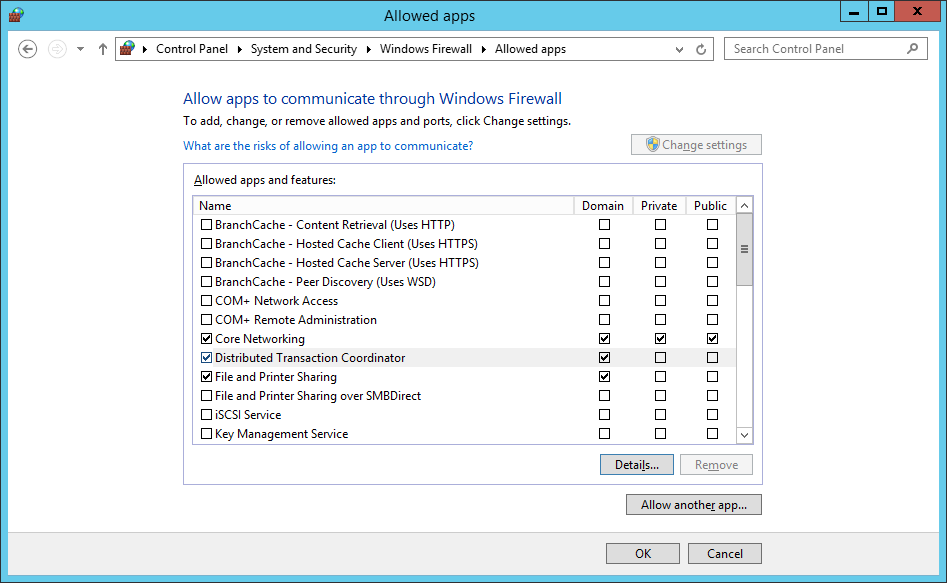
- Click OK.
This can also be completed using the following command line
netsh advfirewall firewall set rule group="Distributed Transaction Coordinator" new enable=Yes
Published on 11 January 2017 by Christopher Lewis. Words: 746. Reading Time: 4 mins.
- HOWTO: Configure the VMware vRealize Automation 6.x Appliance (Minimal Deployment) ()
- HOWTO: Deploy the Identity Appliance for vRealize Automation 6.x ()
- HOWTO: Configure the VMware Identity Appliance for vRealize Automation 6.x ()
- HOWTO: Deploy the VMware vRealize Automation 6.x Appliance (OVA) ()
- VCAP6-CMA Deploy - Objective 3.2: Deploy and Manage Certificates and Access Control ()
