VCAP6-NV Deploy - Objective 3.1 - Configure and Manage Logical Load Balancing
VMware NSX-V VCAP6-NV VCIX6-NV
Published on 30 July 2017 by Christopher Lewis. Words: 551. Reading Time: 3 mins.
Objective 3.1 - Configure and Manage Logical Load Balancing
Objective Overview
- Configure the appropriate Load Balancer model for a given application topology.
- Configure SSL off-loading.
- Configure a service monitor to define health check parameters for a specific type of network traffic.
- Optimize a server pool to manage and share backend servers.
- Configure an application profile and rules.
- Configure virtual servers.
Objective Prerequisites
The following prerequisites are assumed for this Objective:
- A working VMware vSphere 6.x environment.
- A working VMware NSX 6.x environment.
Objective Breakdown
Configure the appropriate Load Balancer model for a given application topology
VMware NSX provides two types of Load Balancer, Layer 4 (packet-based) and Layer 7 (socket-based). All NSX LBs are created as Layer 7 unless the Enable Acceleration checkbox as part of the deployment, then a Layer 4 LB created.
There are two types of VMware NSX LB deployment modes, Proxy Mode (one-arm) and Transparent Mode (inline). For more information see the VMware NSX Design Guide .
How to enable and configure an VMware NSX Load Balancer, see HOWTO: Configure VMware NSX Load Balancing
Configure SSL off-loading
There are a few steps to configuring SSL Off-loading:
- Upload the Certificate Chain SSL Certificate.
- Upload the SSL Certificate (or generate a self-signed one) and Private Key.
- Configure an Application Profile for SSL Offloading.
- Assign the Profile to a Virtual Server.
The following steps assume you have logged into VMware vCenter and can locate the appropriate ESG and that Load Balancing is already enabled.
Upload the Certificate Root CA & SubCA SSL Certificate
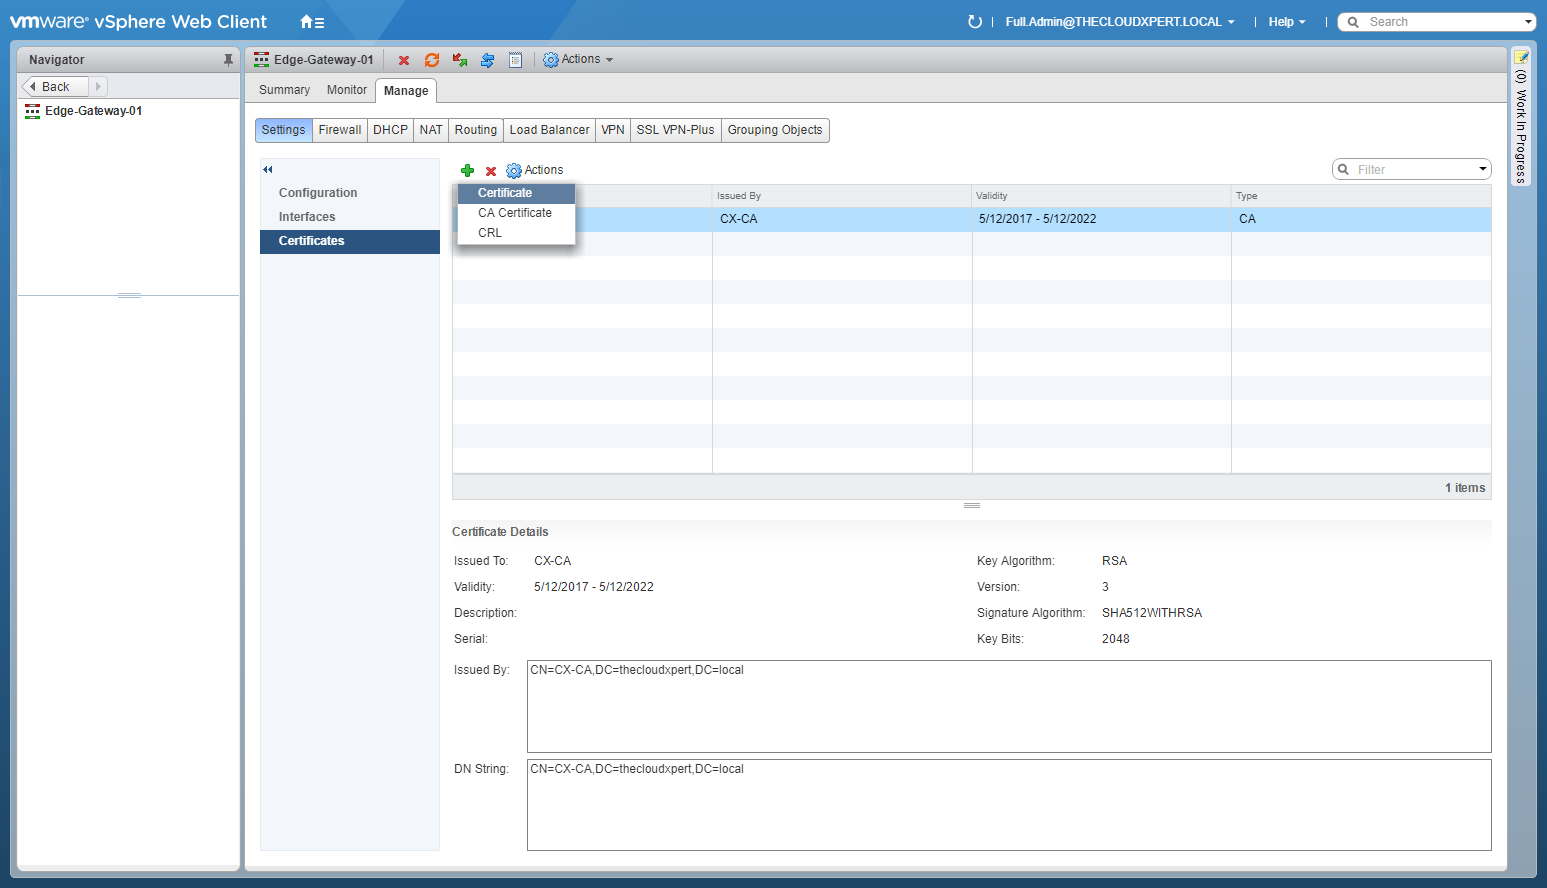
- Navigate to Networking and Security > NSX Edges > [ESG Name] > Manage > Settings > Certificates.
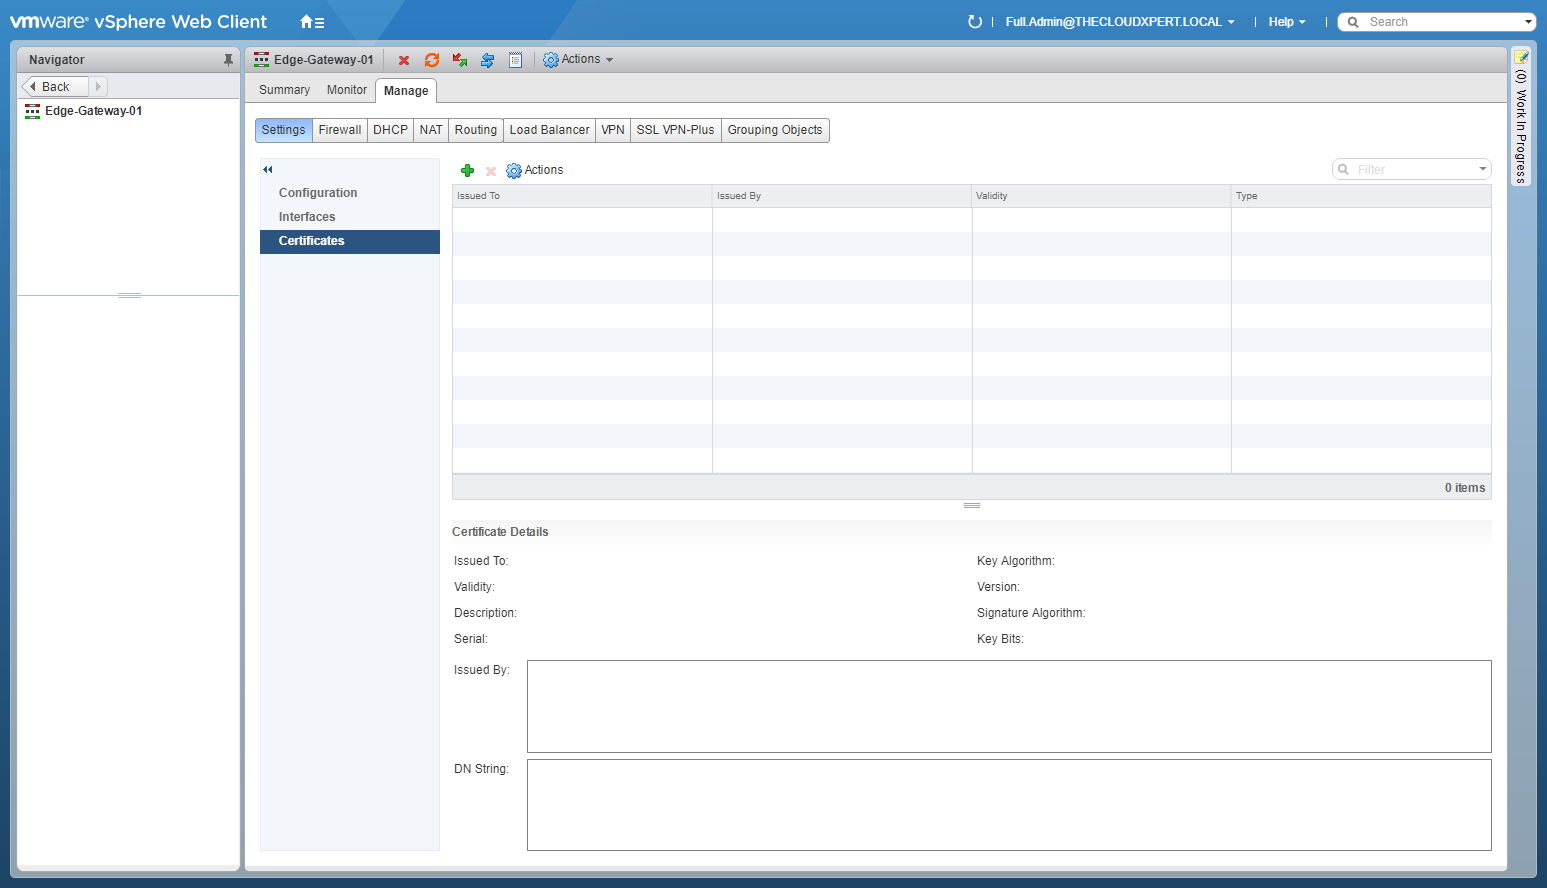
- Click Add(+).
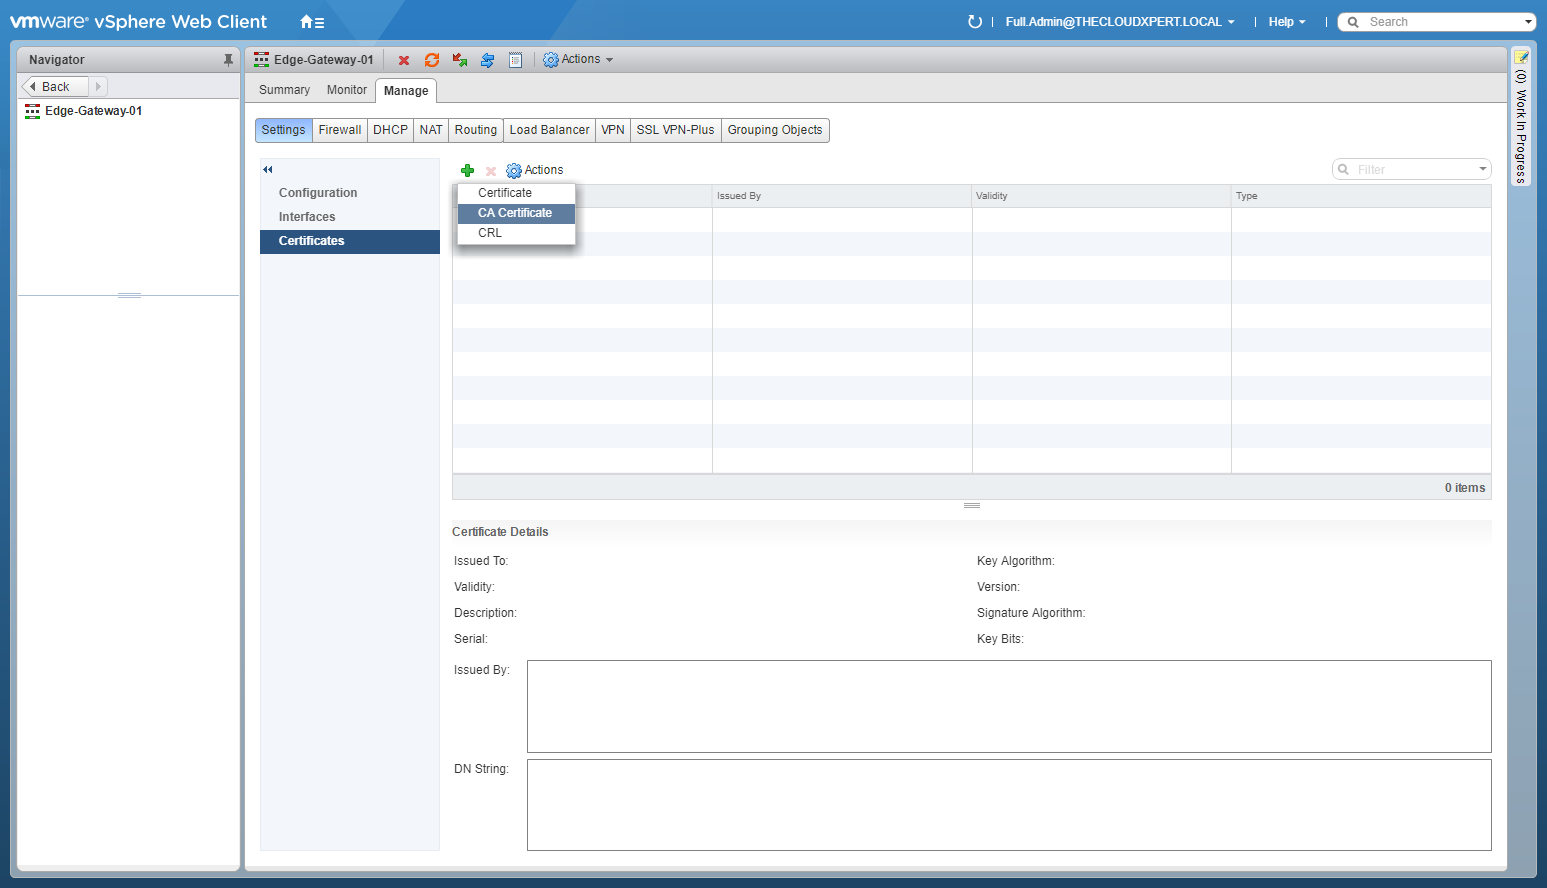
- Select CA Certificate.
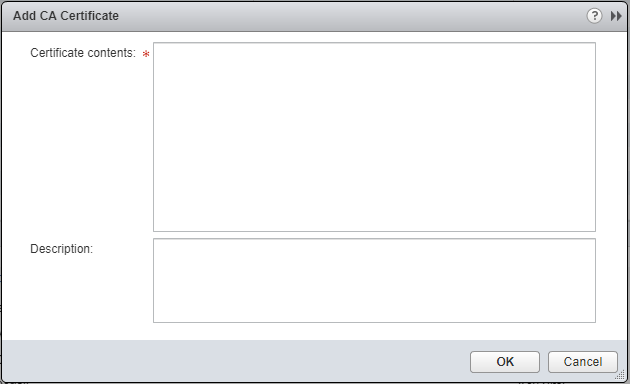
- Copy the contents of the CA Certificate file (including
-----BEGIN CERTIFICATE-----and-----END CERTIFICATE-----).
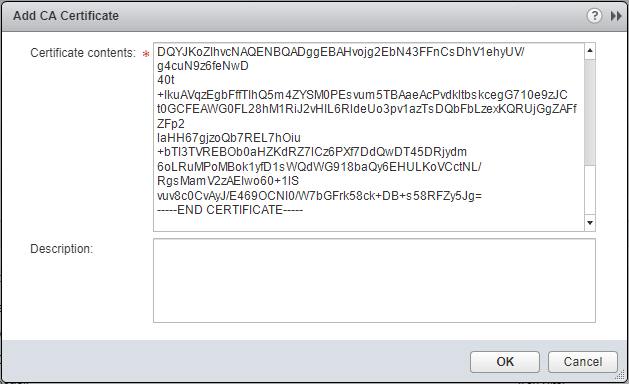
- Click OK.
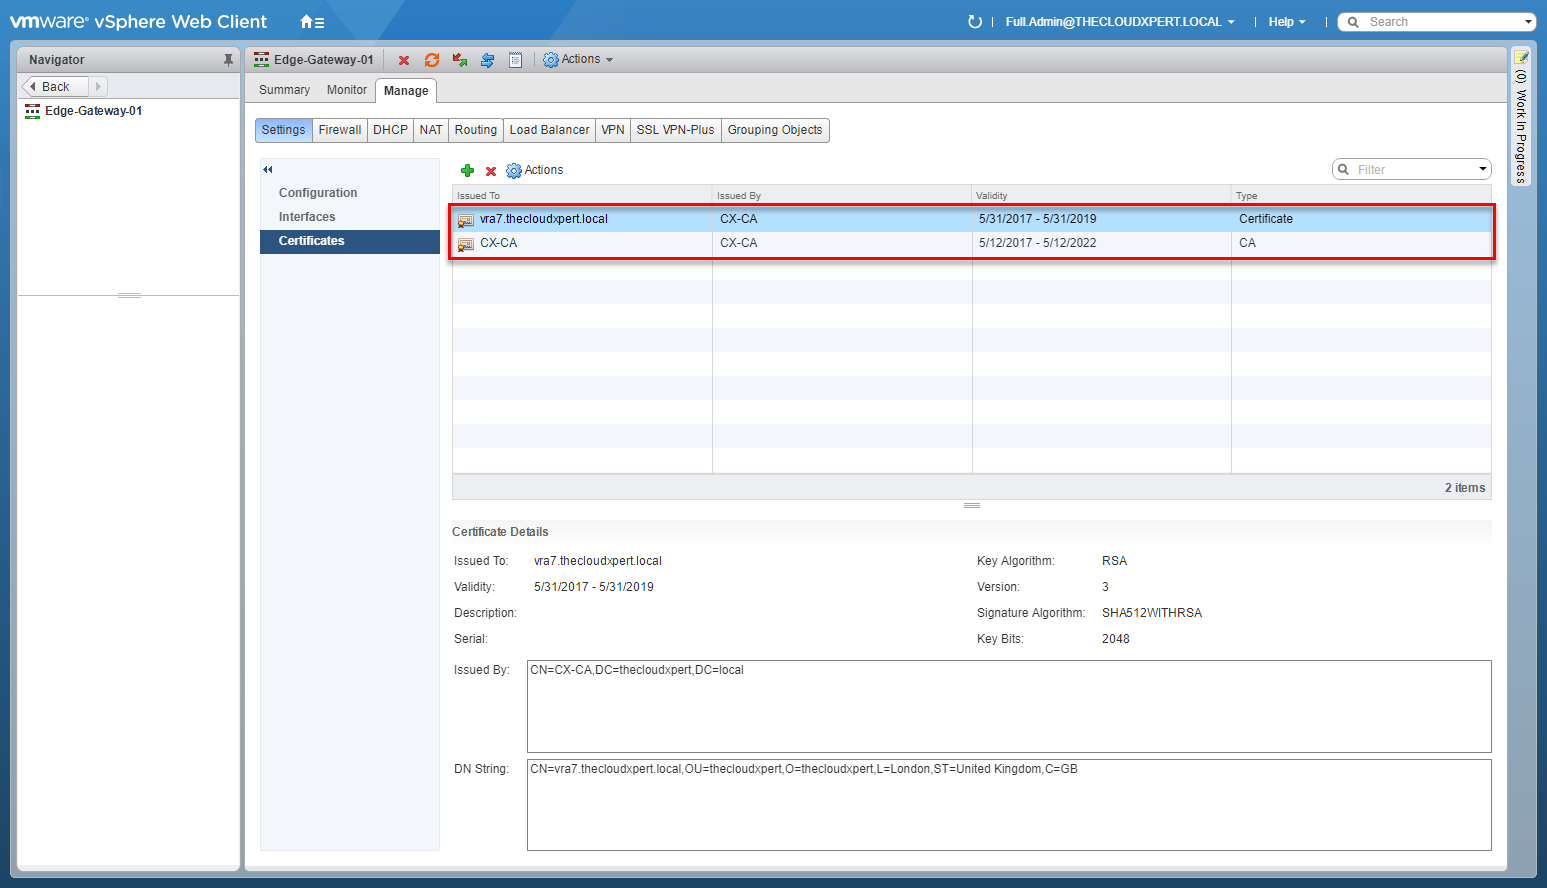
Upload the SSL Certificate (or generate a self-signed one) and Private Key.
- Click Add(+).
- Select Certificate.
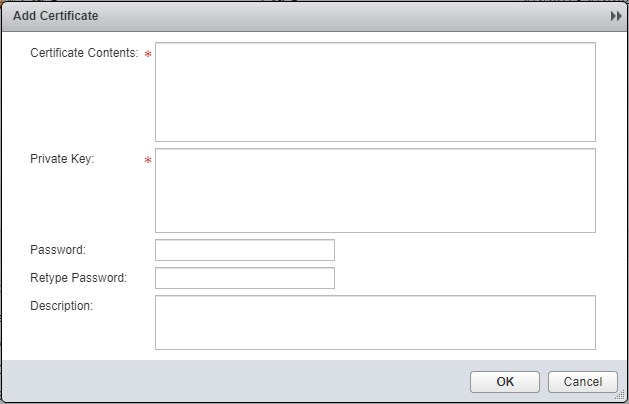
- Copy the contents of the Certificate file (including
-----BEGIN CERTIFICATE-----and-----END CERTIFICATE-----) and the RSA Key file (including-----BEGIN RSA PRIVATE KEY-----and-----END RSA PRIVATE KEY-----).
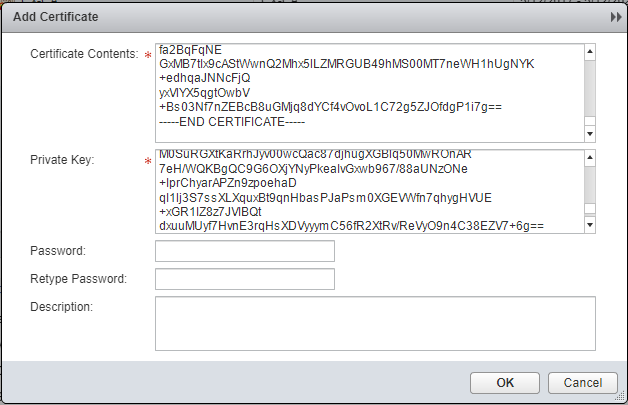
- Click OK.
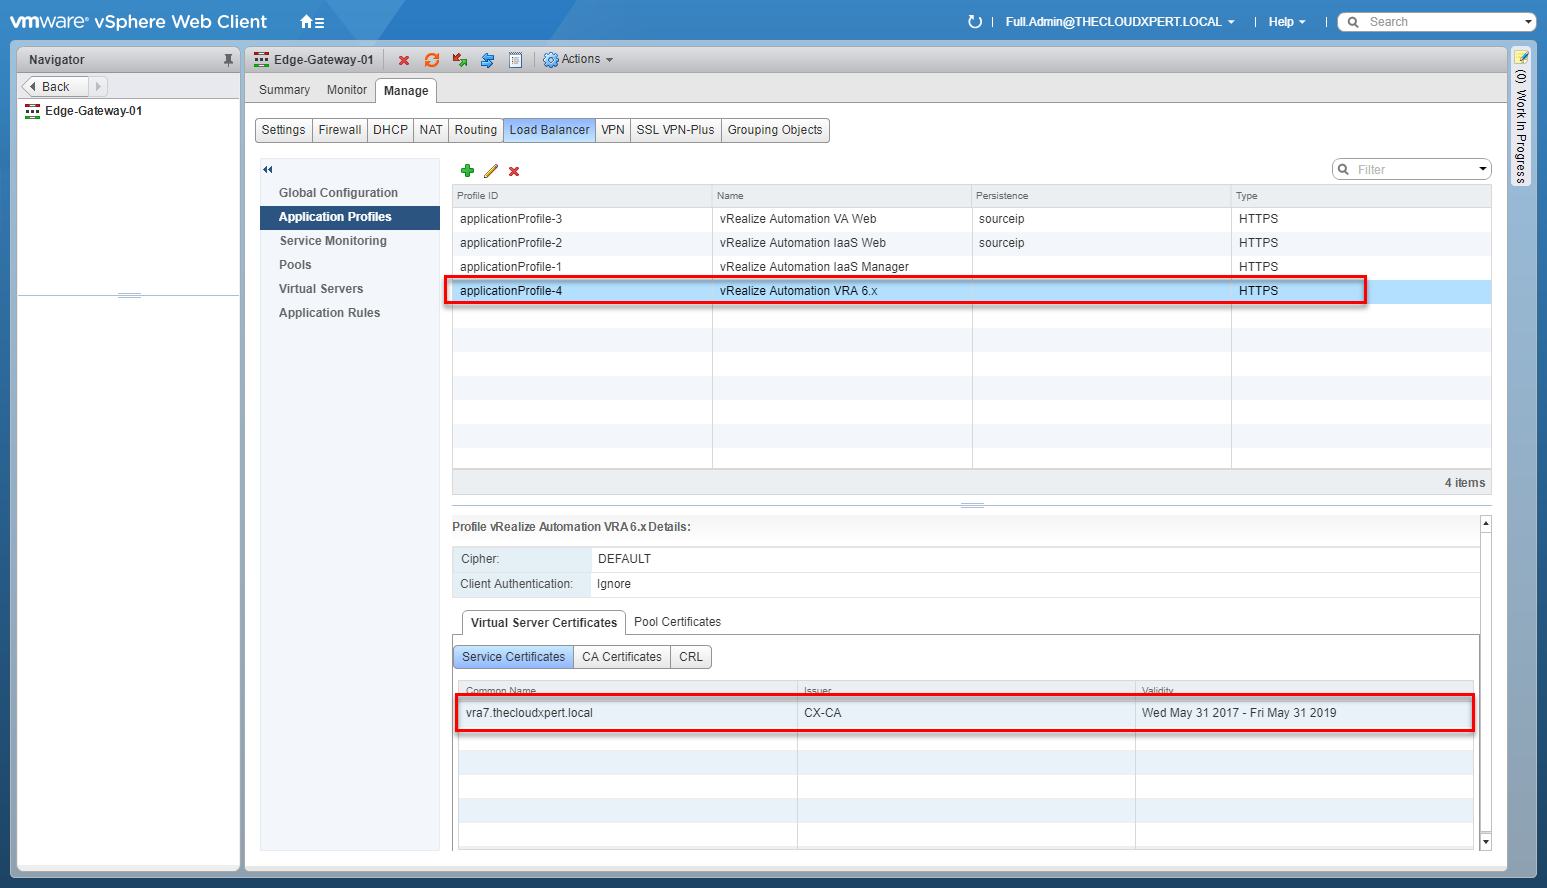
Configure an Application Profile for SSL Offloading
- Navigate to Networking and Security > NSX Edges > [ESG Name] > Manage > Load Balancer > Application Profiles.
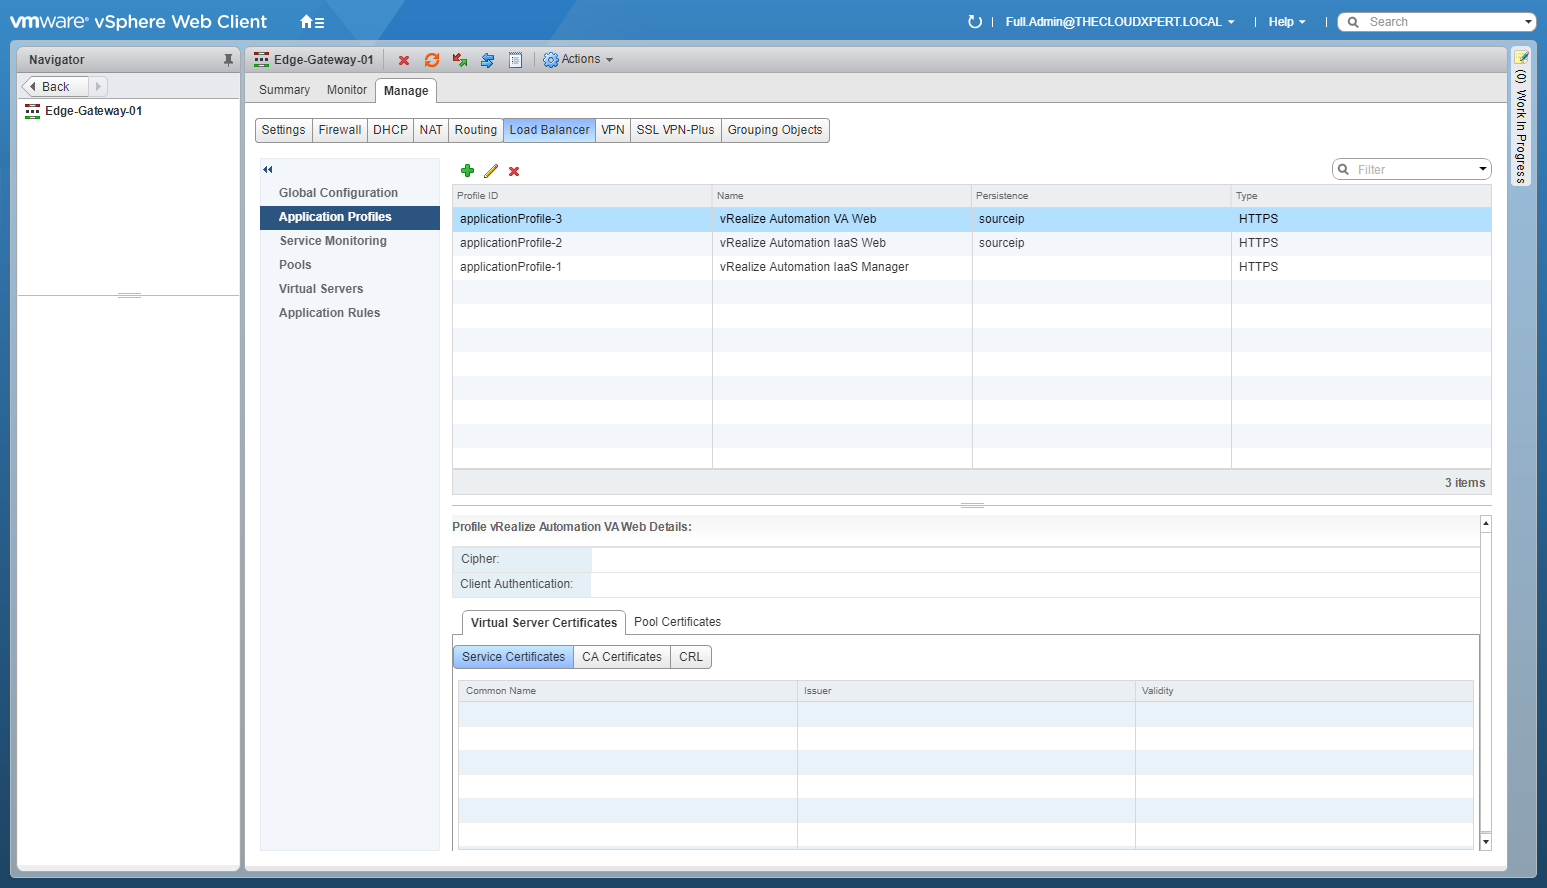
- Click Add(+).
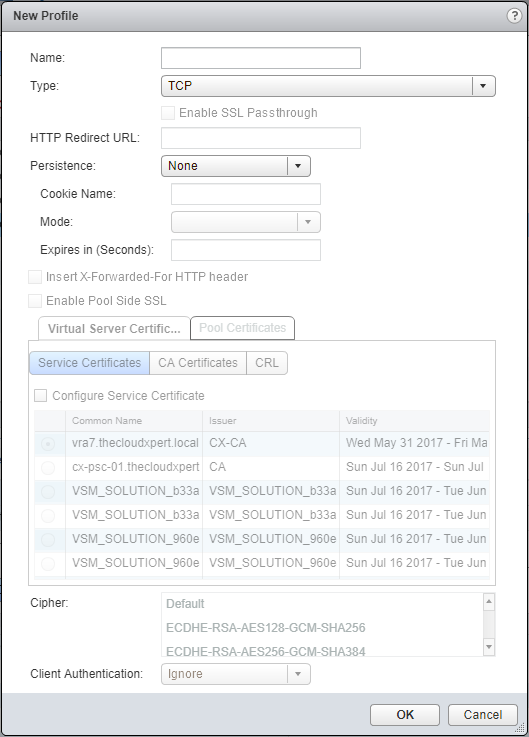
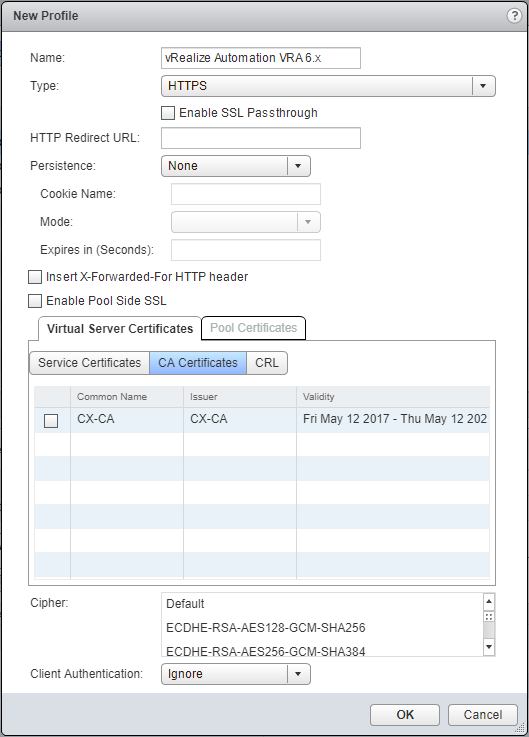
- Type the Name for the new Application Profile and select HTTPS from the Type dropdown.
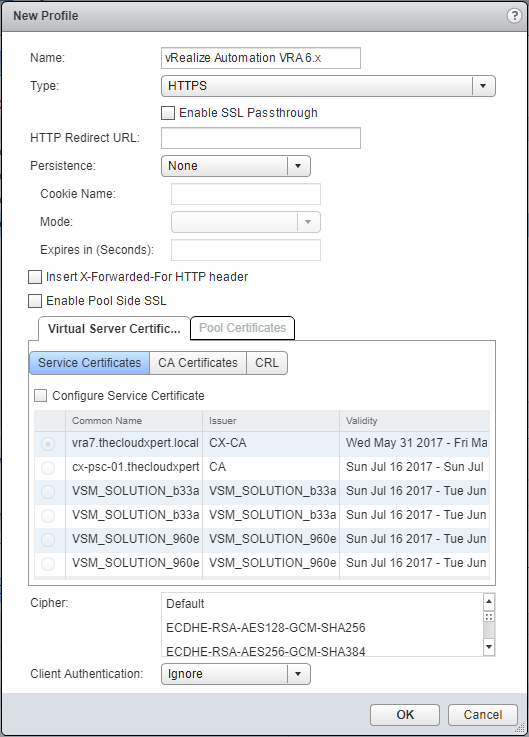
- Select Service Certificates and check the Configure Service Certificate checkbox.
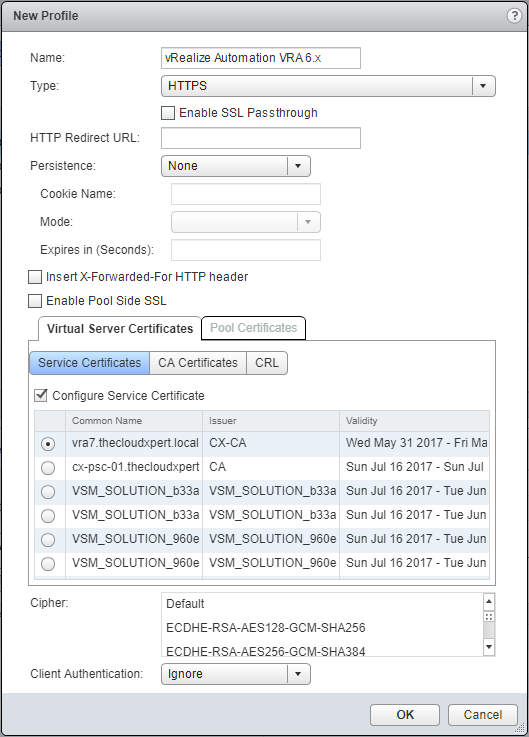
- Select the appropriate Service Certificate and click CA Certificates.
- Check the checkbox of the corresponding CA Certificate.
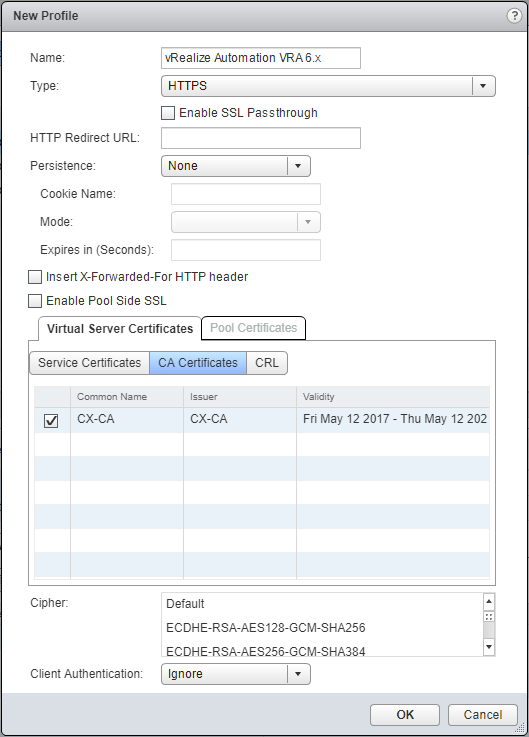
- Click OK.
Assign the Profile to a Virtual Server
This is no different from the normal process of assigning an Application Profile to a Virtual Server. Therefore, this objective is covered in HOWTO: Configure VMware NSX Load Balancing .
Configure a service monitor to define health check parameters for a specific type of network traffic
This objective is covered in HOWTO: Configure VMware NSX Load Balancing post.
Optimize a server pool to manage and share backend servers
This objective is covered in HOWTO: Configure VMware NSX Load Balancing post.
Configure an application profile and rules
This objective is covered in HOWTO: Configure VMware NSX Load Balancing post.
Configure virtual servers
This objective is covered in HOWTO: Configure VMware NSX Load Balancing post.
Further Study
For more information on additional objectives in the exam, see VCAP6 - Network Virtualization (NSX-V) Deployment Study Guide .
Published on 30 July 2017 by Christopher Lewis. Words: 551. Reading Time: 3 mins.
- VCAP6-NV Deploy - Objective 2.3 - Configure and Manage Routing ()
- VCAP6-NV Deploy - Objective 5.3 - Configure and Manage Role Based Access Control ()
- VCAP6-NV Deploy - Objective 8.1 - Administer and Execute calls using the VMware NSX vSphere API ()
- VCAP6-NV Deploy - Objective 2.1 - Create and Manage Logical Switches ()
- VCAP6-NV Deploy - Objective 1.3 - Configure and Manage Transport Zones ()
