HOWTO: Deploy vRealize Automation 8 with Easy Install
HOWTO vRealize Automation 8
Published on 4 December 2019 by Christopher Lewis. Words: 849. Reading Time: 4 mins.
Introduction
In this post we’ll be looking at how we can deploy vRealize Automation 8.0 using the new Easy Installer that ships with the product. I’ll be concentrating on the UI version of the installation as that is what most people who are new to the product will use.
The process below mirrors that of the vRealize Automation 8 Installation Guide on the VMware Documentation site. Before using this guide, be sure to check there for the latest information on the installation process.
Installation
Installation Overview
The process for the installation is relatively simple and straight forward and has a great wizard to guide you.
At a high level the installation completes the following stages:
- Download the vRealize Easy Installer
- Install vRealize Suite Lifecycle Manager 8.0
- Configure vRealize Suite Lifecycle Manager 8.0, including:
- Adding a Managed vCenter
- Adding a vRealize Automation Environment.
- Deploy VMware Identity Manager 3.3.1 via vRSLCM.
- Deploy vRealize Automation 8.0 via vRSLCM.
Prerequisites
Resource Requirements
Whilst the number of virtual machines required has been drastically reduced (#NoMoreWindows), the amount of resources required hasn’t.
Each vRealize Automation 8 deployment will need a minimum of:
| Requirements | vRealize Suite Lifecycle Manager | VMware Identity Manager | vRealize Automation |
|---|---|---|---|
| Virtual CPU | 2 | 2 | 8 |
| Memory/RAM Size (GB) | 6 | 6 | 32 |
| Disk Size (GB) | 33 | 60 | 76 |
For a vRealize Automation 8 HA deployment, that is:
| Requirements | vRealize Suite Lifecycle Manager | VMware Identity Manager | vRealize Automation |
|---|---|---|---|
| Virtual CPU | 2 | 2 | 24 |
| Memory/RAM Size (GB) | 6 | 6 | 96 |
| Disk Size (GB) | 33 | 60 | 228 |
The full VMware documentation on resource requirements can be found here .
DNS Naming Requirements
From a DNS perspective, each node/appliance within the solution will require a DNS A Record and PTR record to enable both forward and reverse name resolution.
Network Requirements
From a Network perspective, the requirements haven’t really changed. For each of the components within the deployment will need the usual
- Static IP Address (IPv4)
- Network Mask
- IP Default Gateway
- DNS Server IP Address
Load Balancer Requirements
In a vRealize Automation 8.x, a HA configuration/deployment should be fronted by a Load Balancer. Currently tested are VMWare NSX, F5 or Citrix NetScaler. Checkout the vRealize Automation 8 Load Balancing Configuration Guide for more information.
Walkthrough
- Download the vRealize Automation 8.0 ISO file from My VMware .
- Mount the vra-lcm-installer.iso disk image to the local system and navigate to the
<cd-rom>:\vrlcm-ui-installer\<os-version>folder. - Run the appropriate installer file (OS dependent) within the folder to start the Installation Wizard.
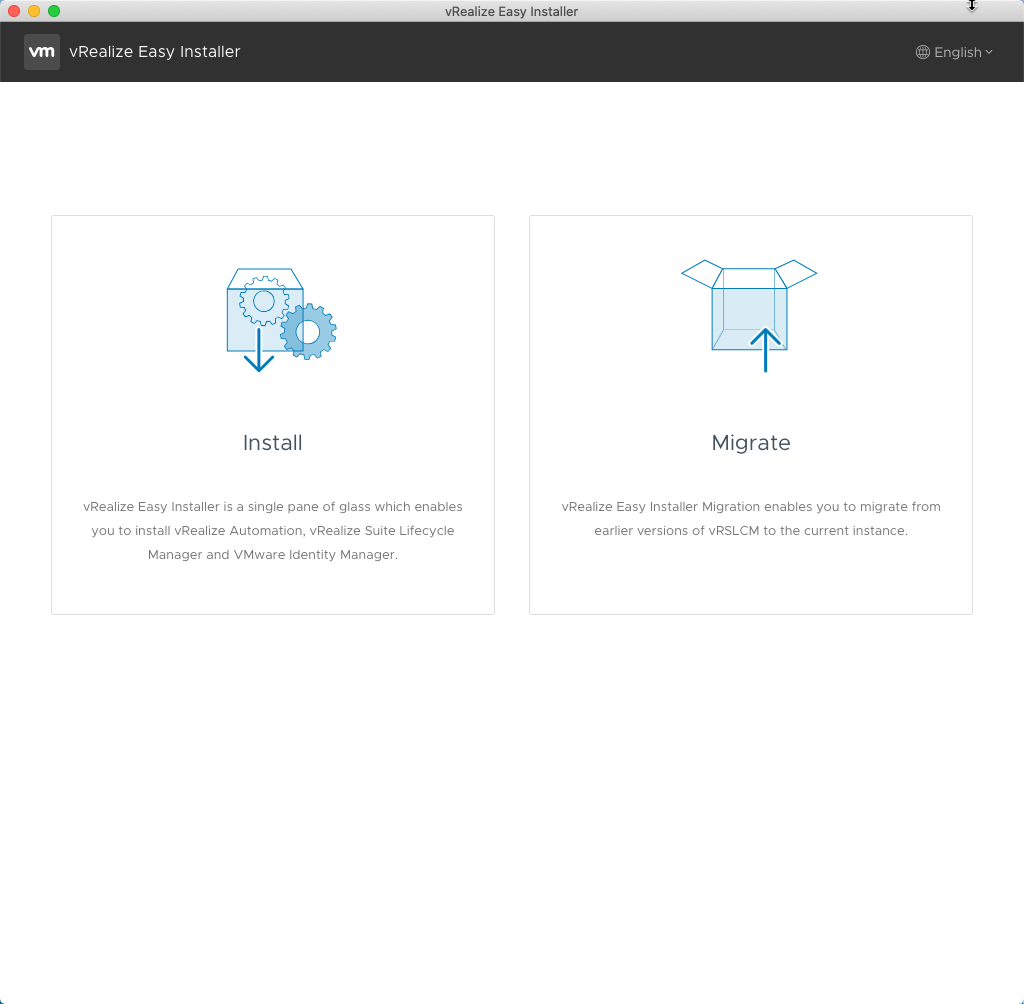
- Click Install.
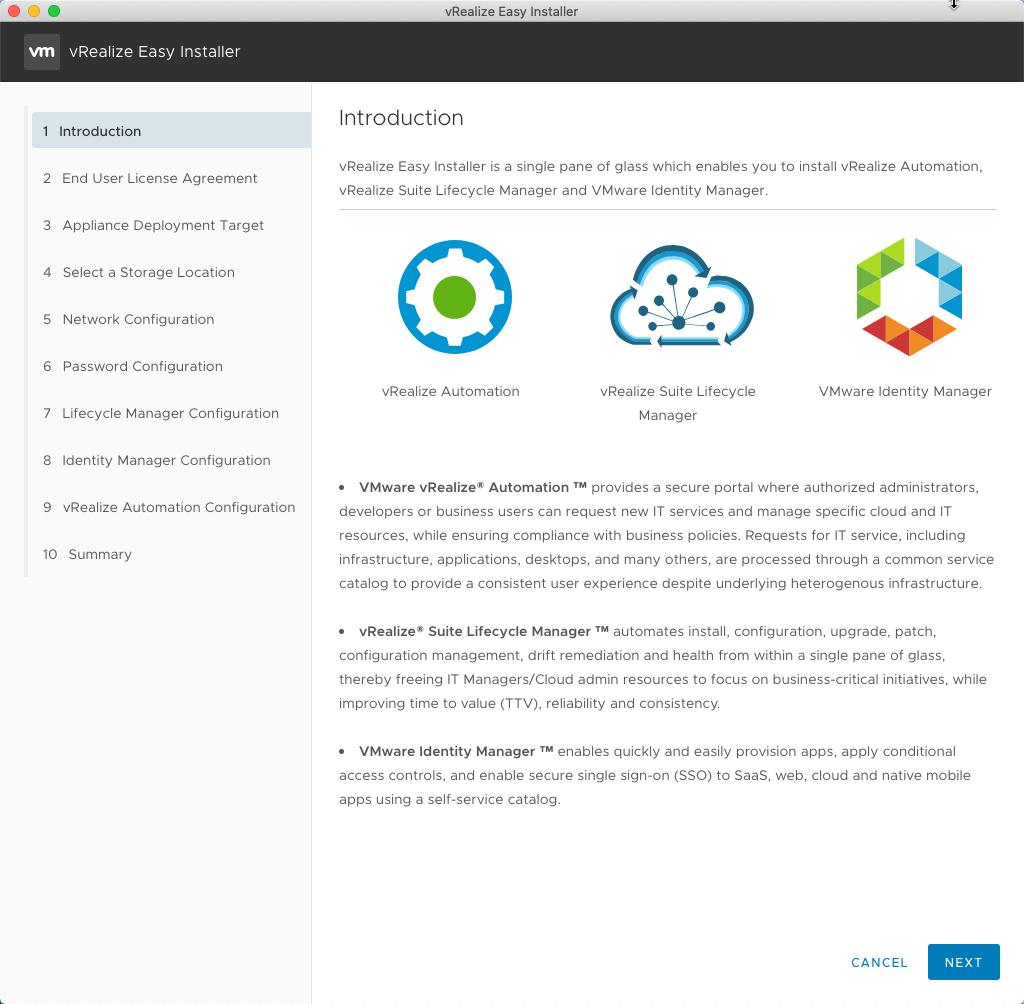
- Click Next.

- At the End User License Agreement page, check the I accept the terms of the license agreement checkbox.
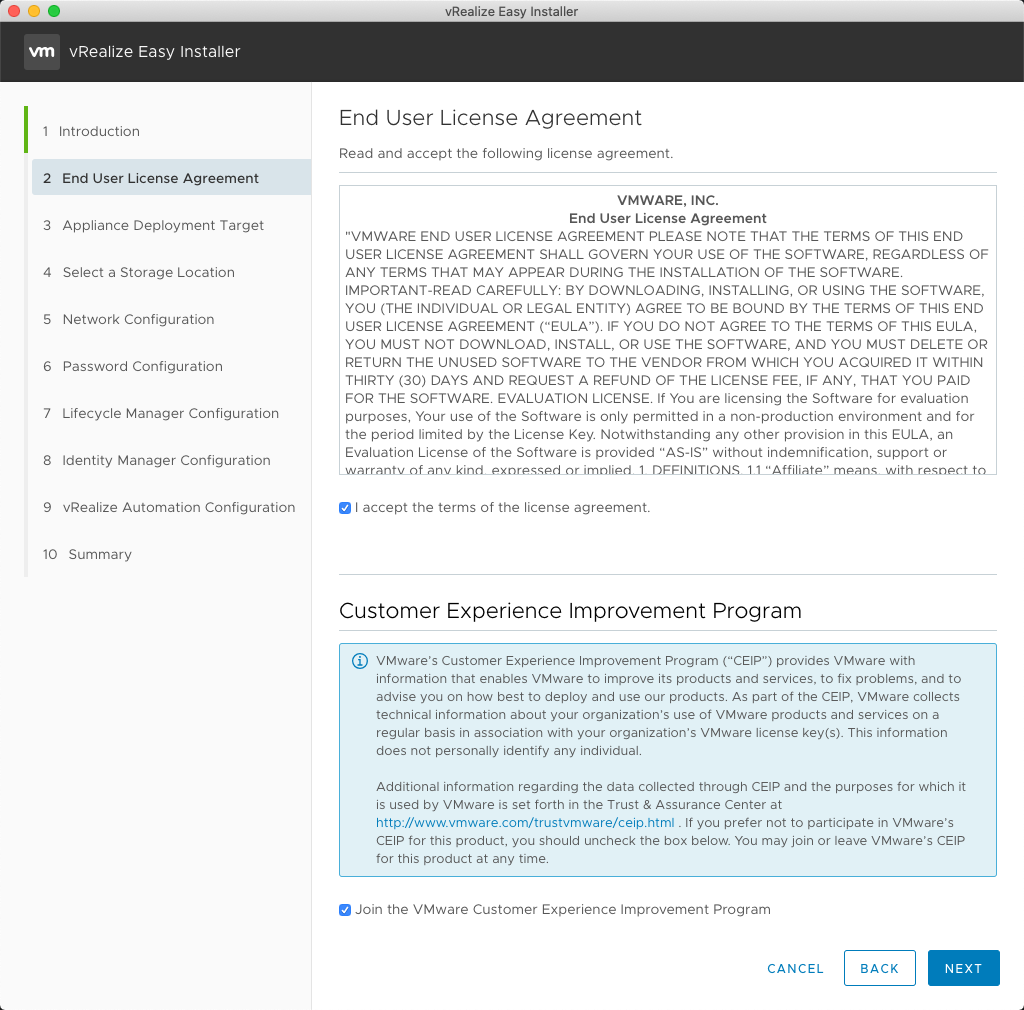
- (Optionally) Check the Join the VMware Customer Experience Improvement Program checkbox and click Next.
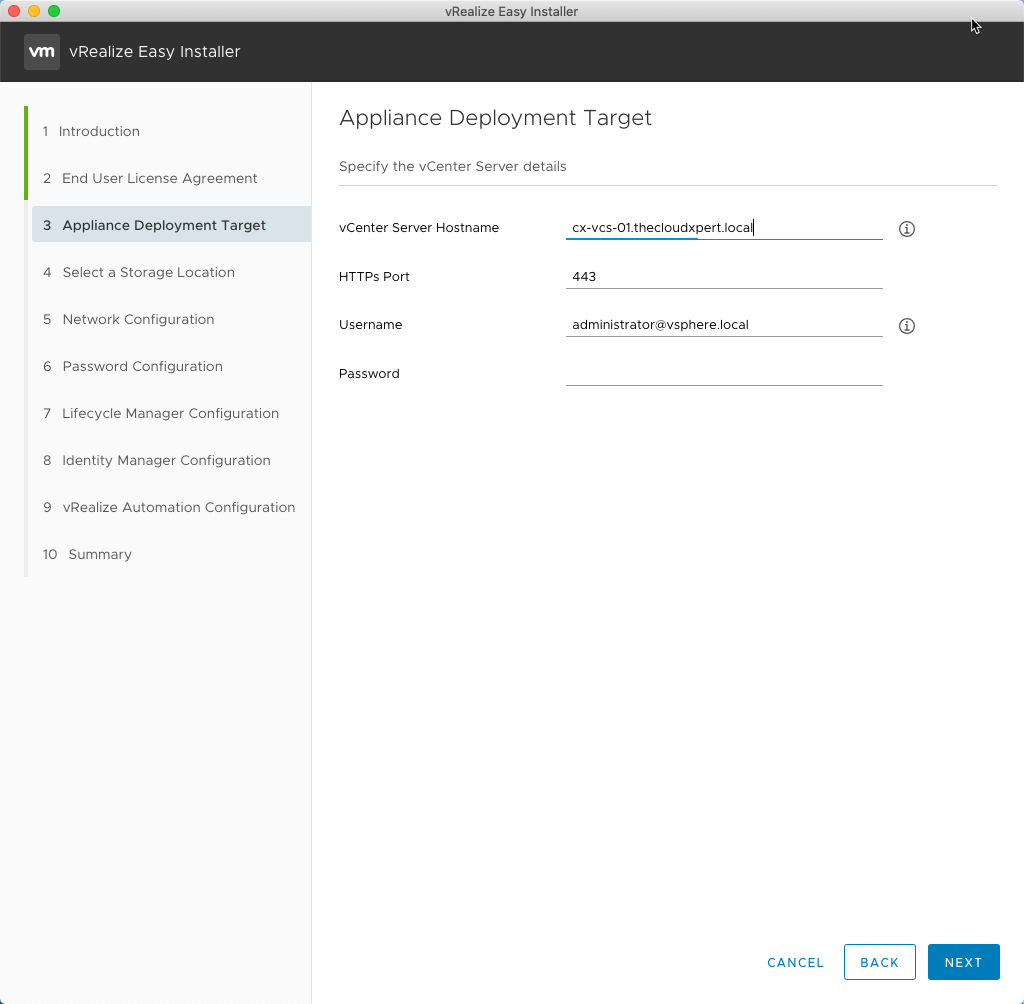
- At the Appliance Deployment Target page, enter the vCenter Server Hostname, the HTTPS Port, the Username to connect to the vCenter Server and finally the Password for the user. Click Next.
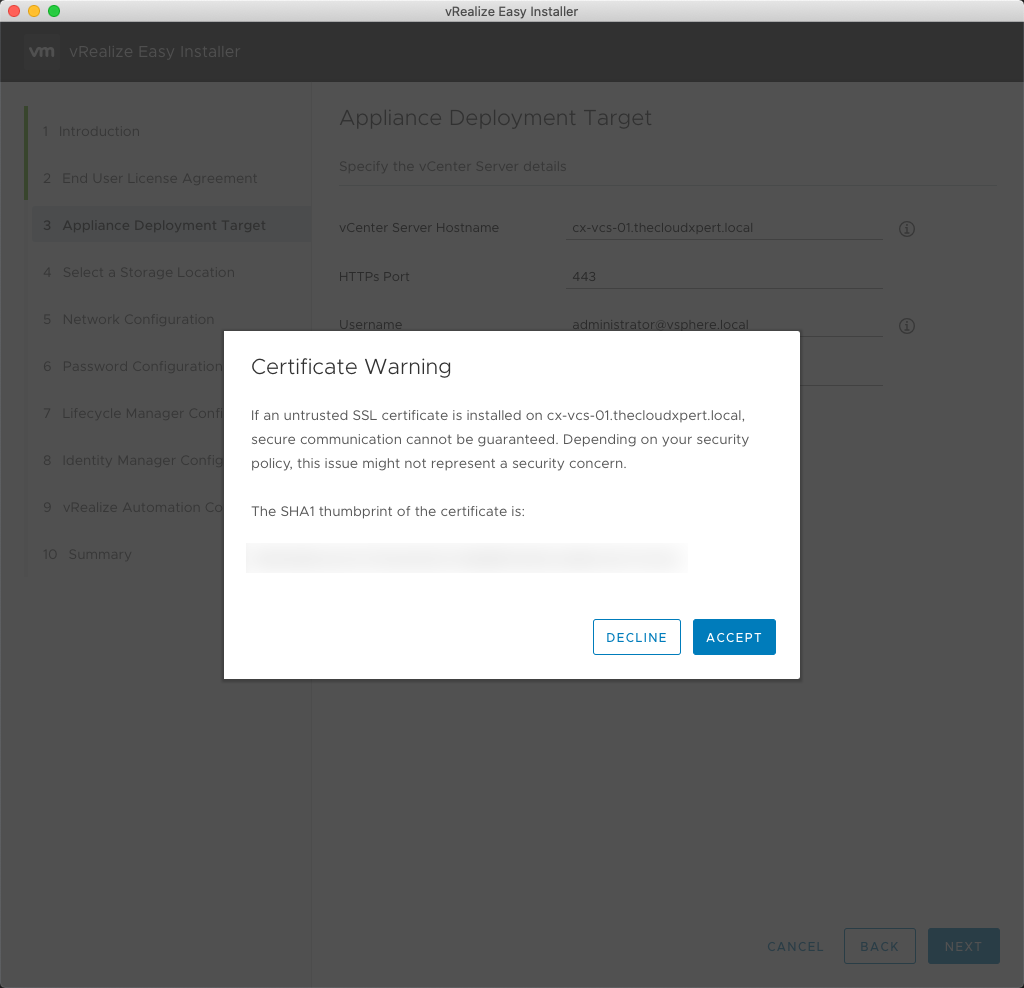
- When prompted with the Certificate Warning dialog, click Accept.
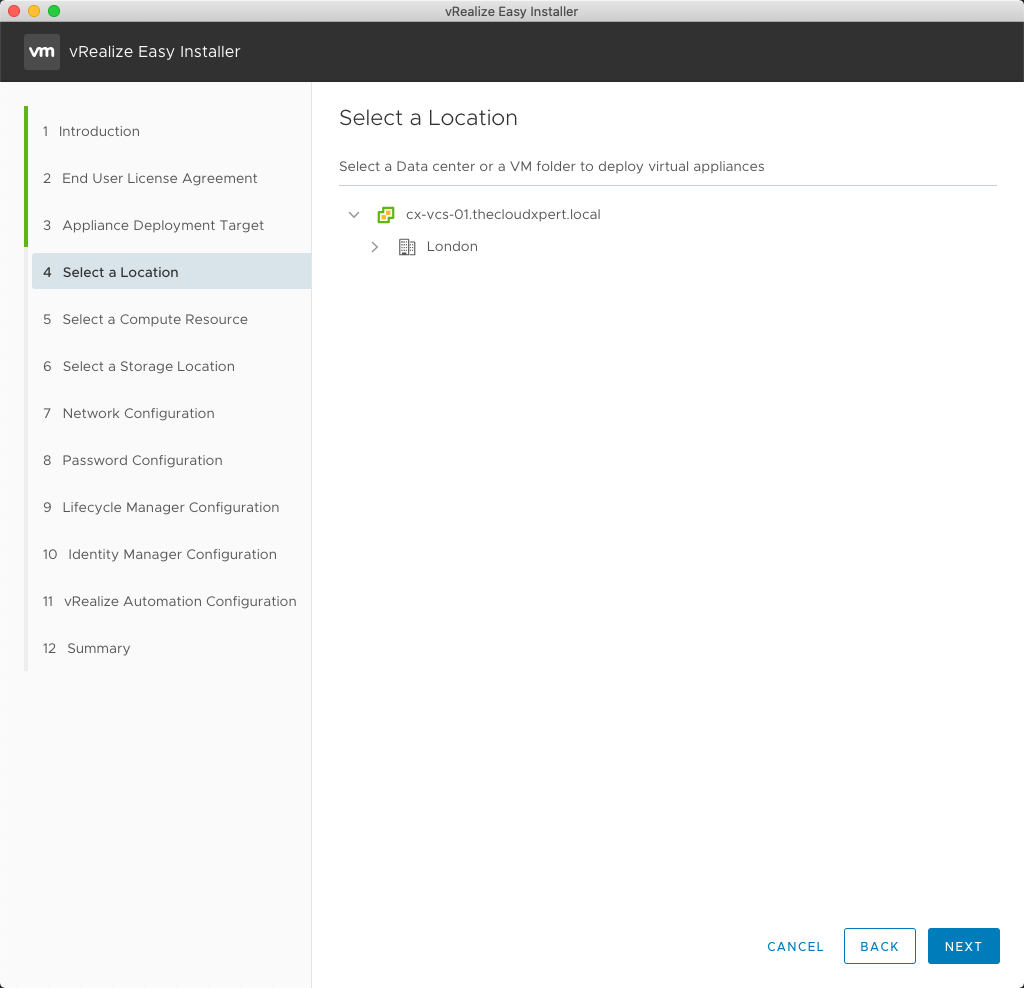
- At the Select a Location page, select the target location (DataCenter or Virtual Machine Folder) within the vCenter Server.
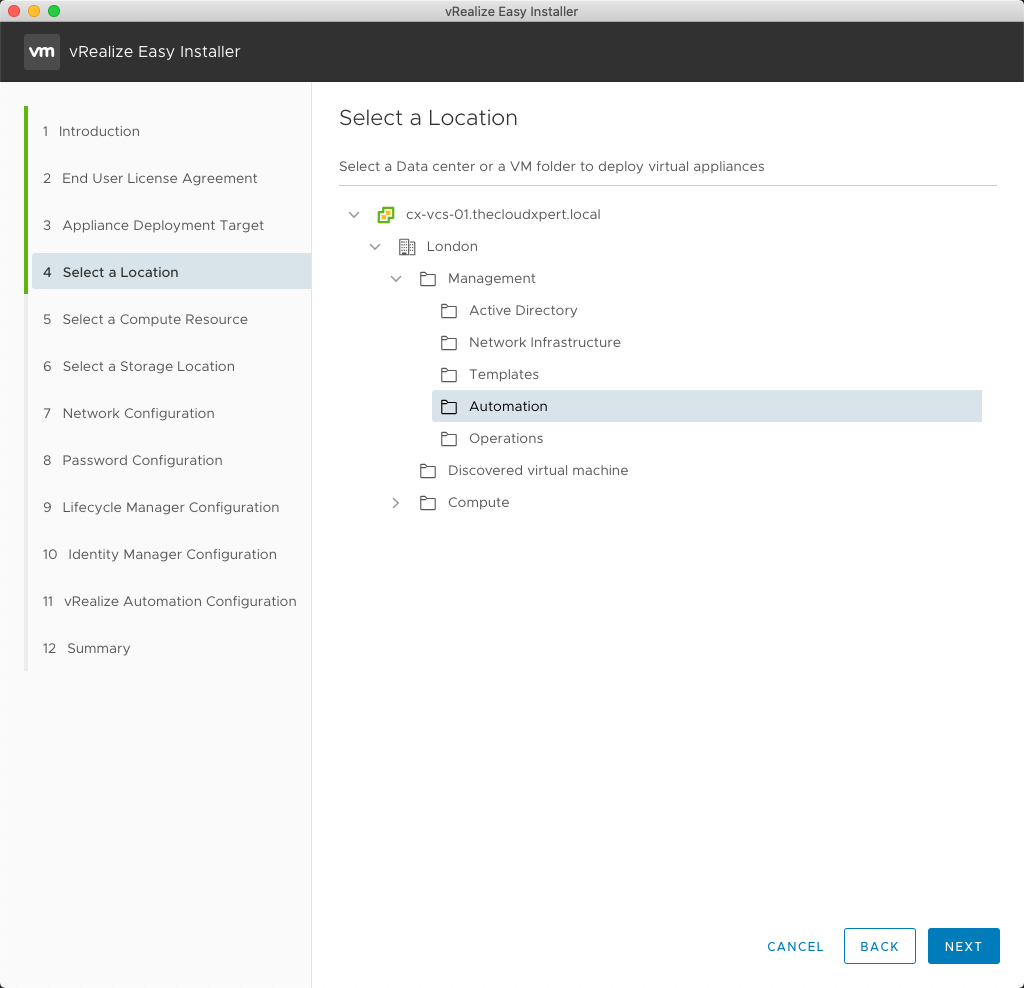
- Click Next.
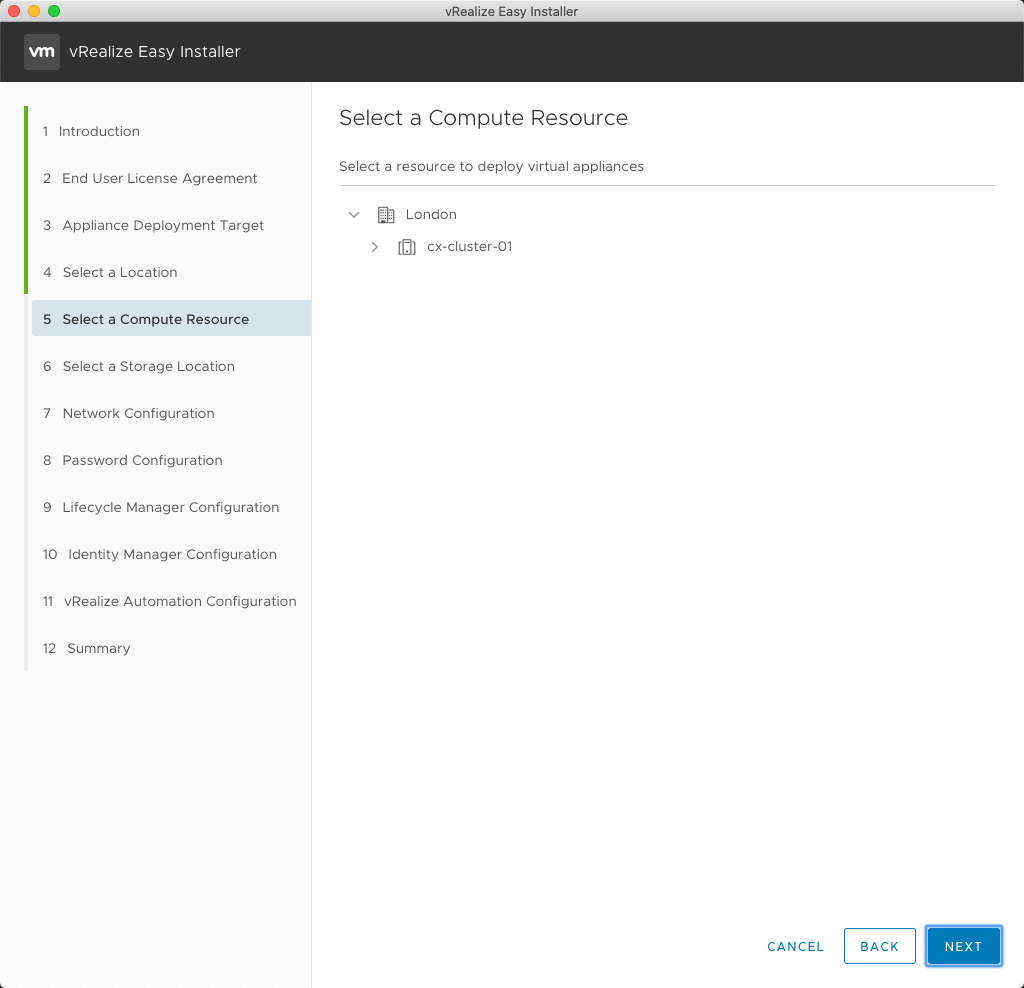
- At the Select a Compute Resource page, select the target Compute Cluster (from within the vCenter).
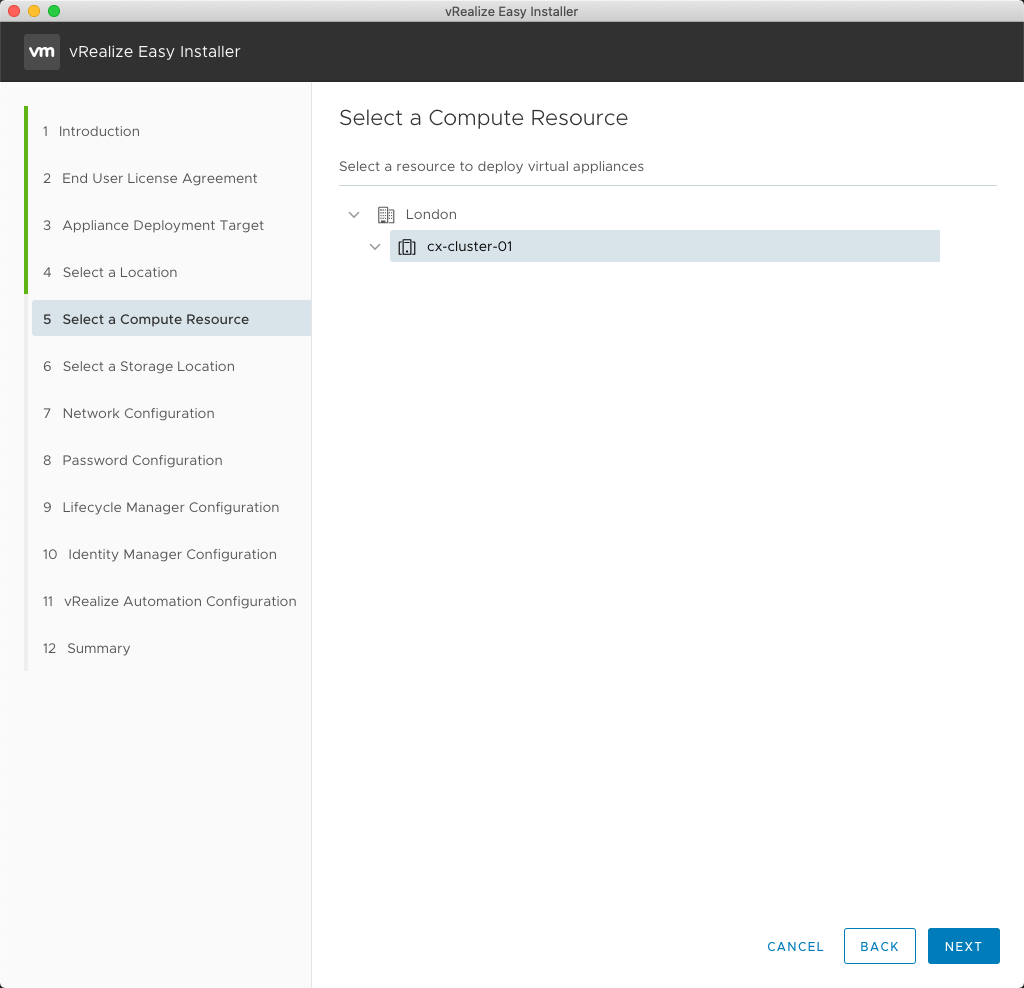
- Click Next.
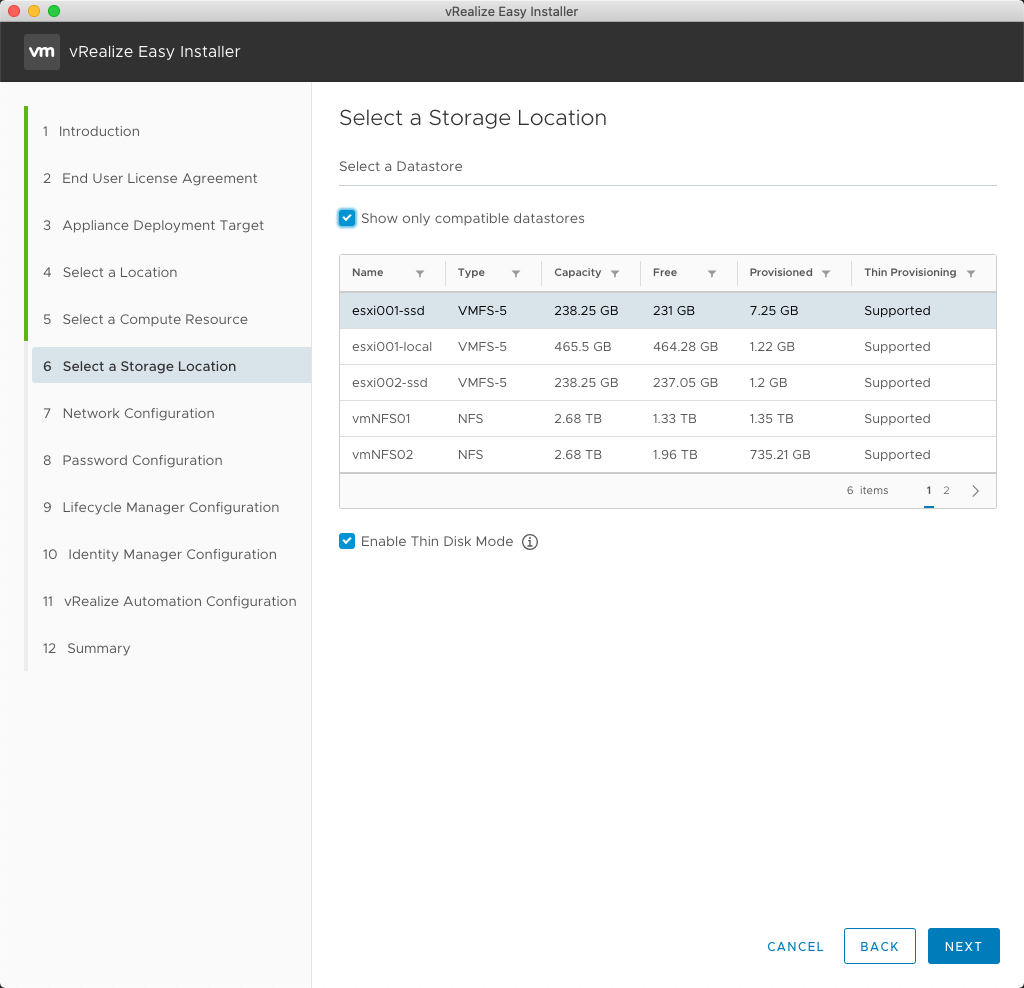
- At the Select a Storage Location page, select the target Datastore or Datastore Cluster and click Next.
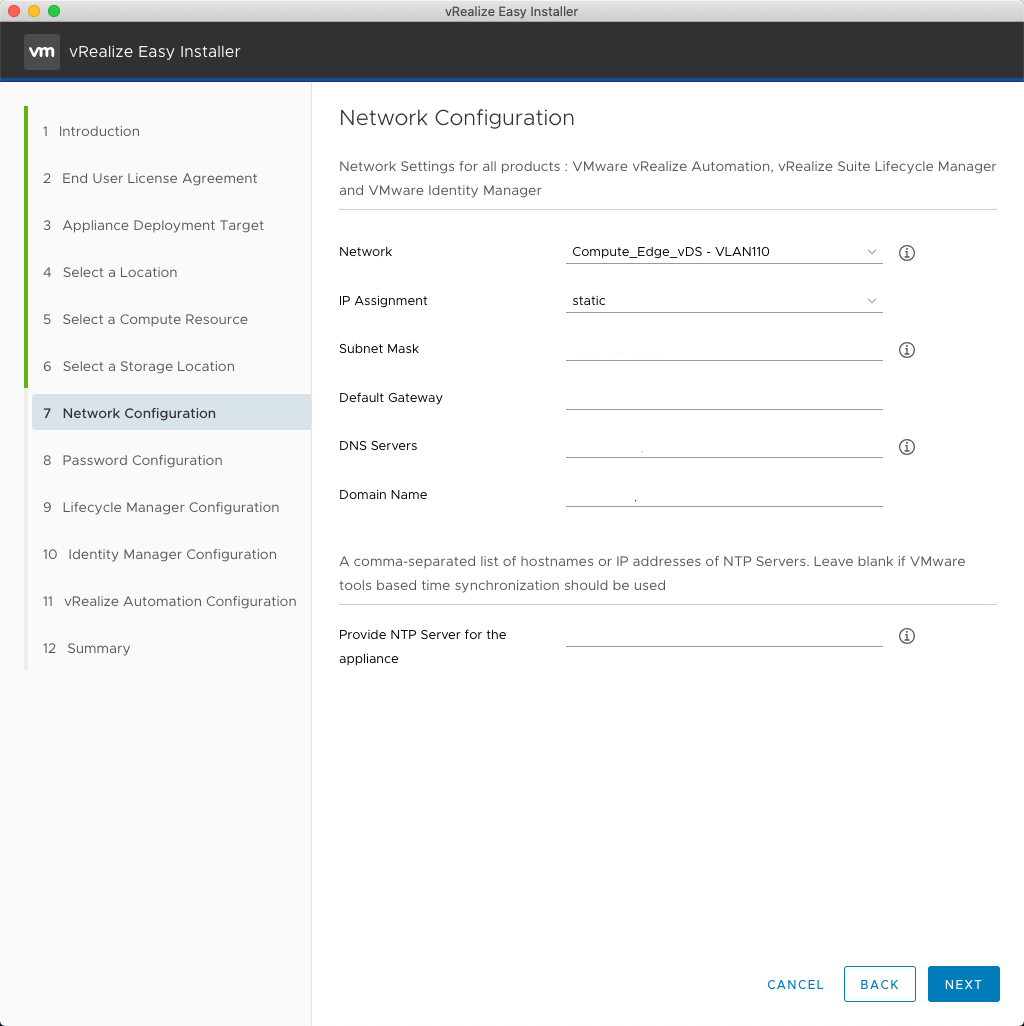
- At the Network Configuration page, select the target network from Network dropdown, enter the Subnet Mask, the Default Gateway address, the address for the DNS Servers, the Domain Name and, finally, the NTP Servers.
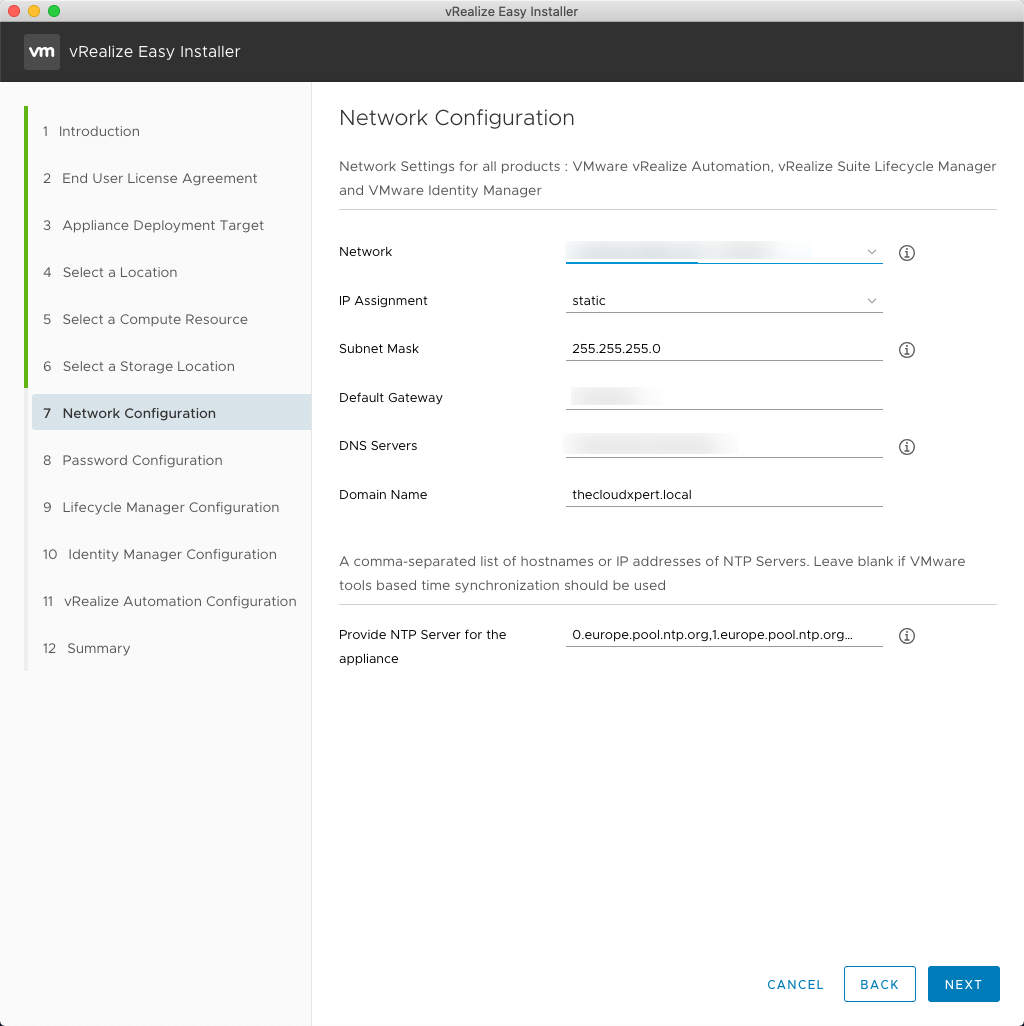
- Click Next.
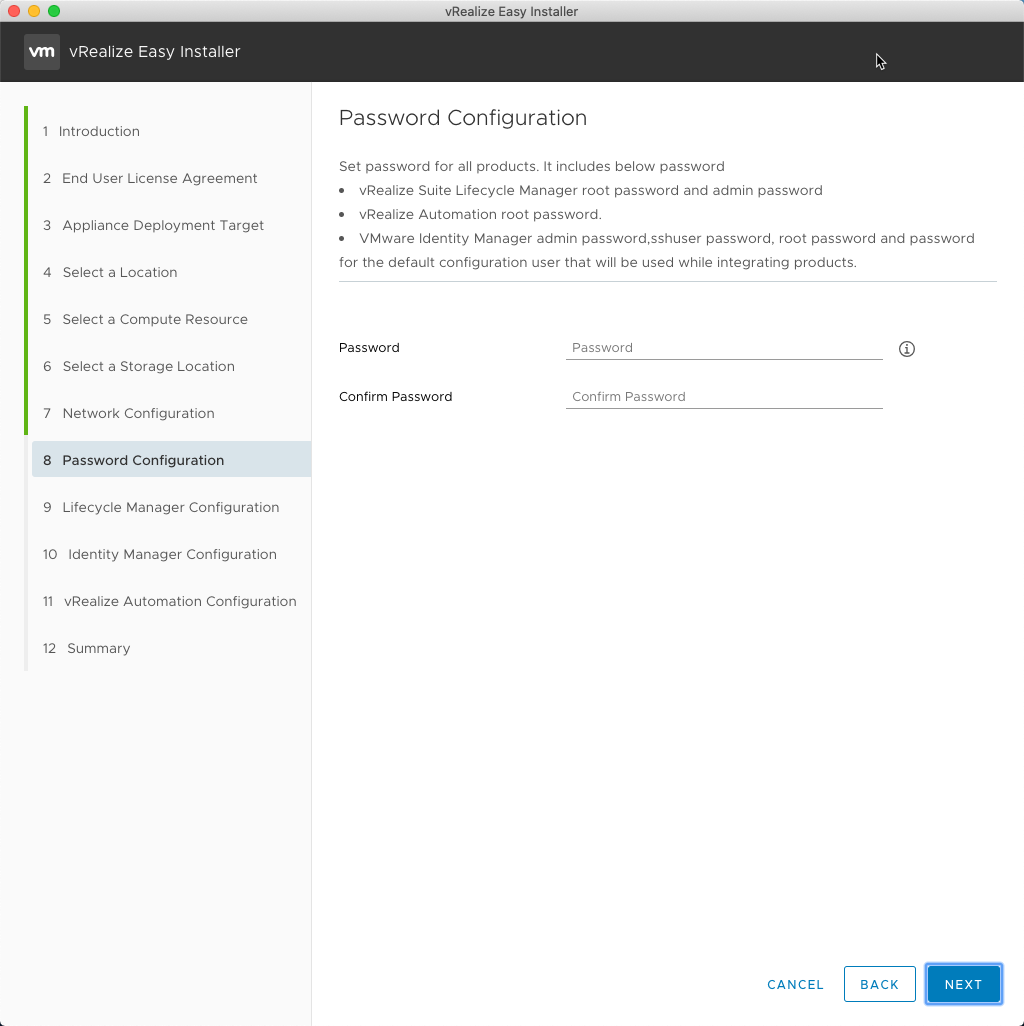
- At the Password Configuration page, enter and confirm the default Password.
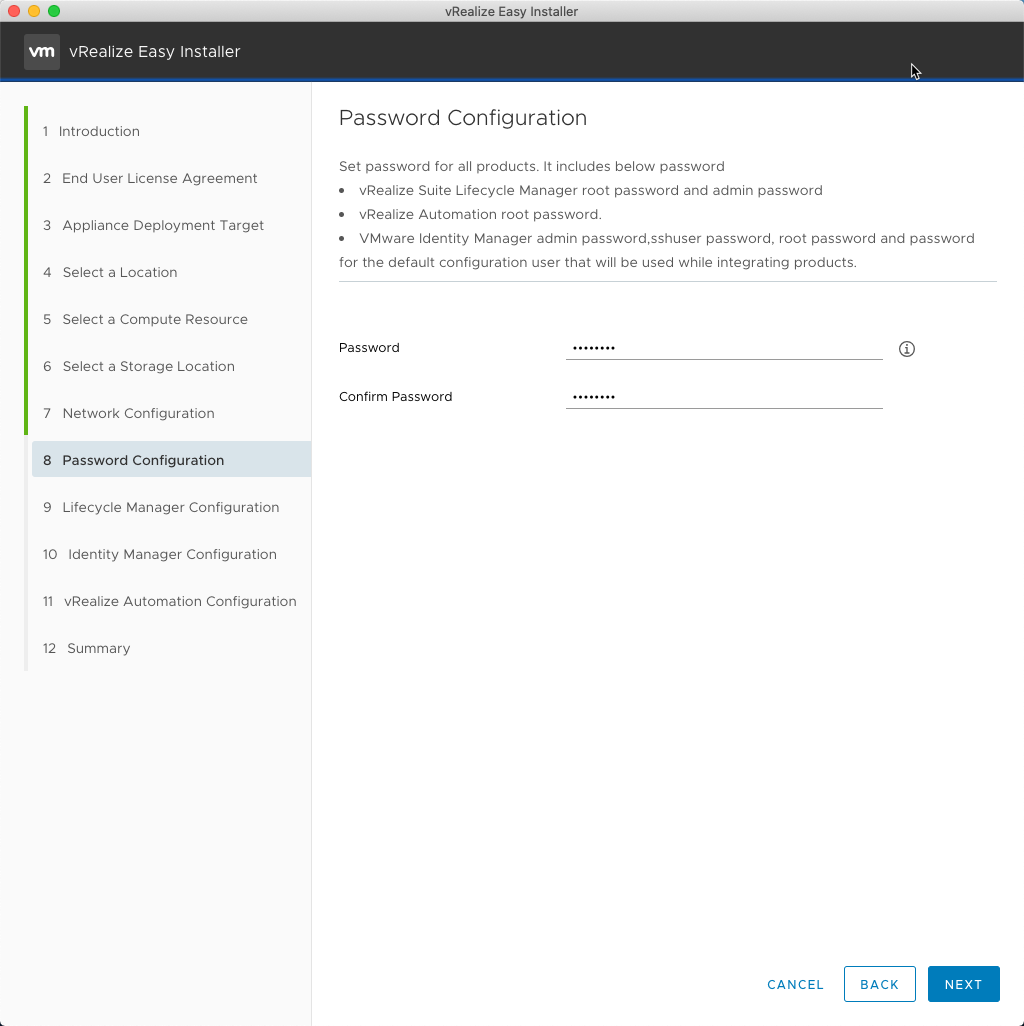
- Click Next.
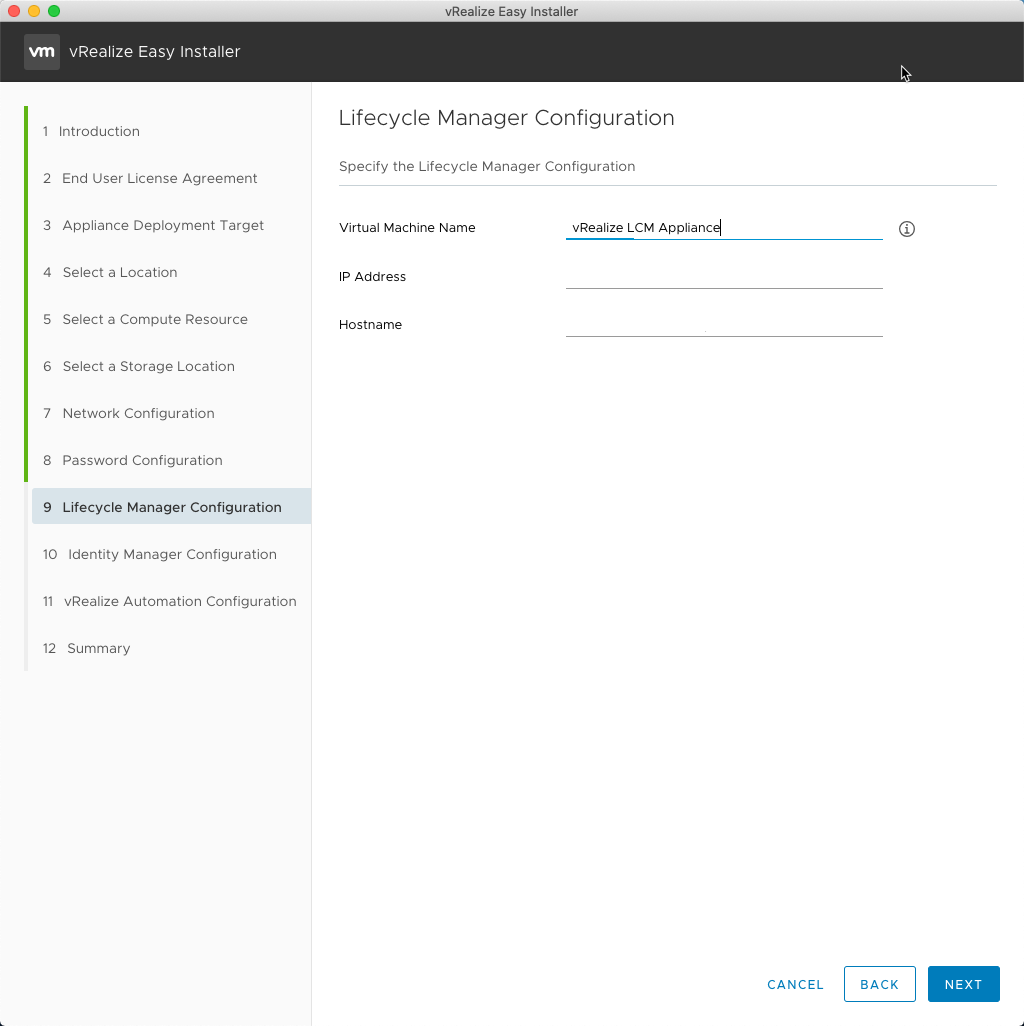
- At the Lifecycle Manager Configuration page, enter the Virtual Machine Name, the IP Address of the vRealize Suite Lifecycle Manager 8 appliance and the desired Hostname (FQDN).

- Click Next.
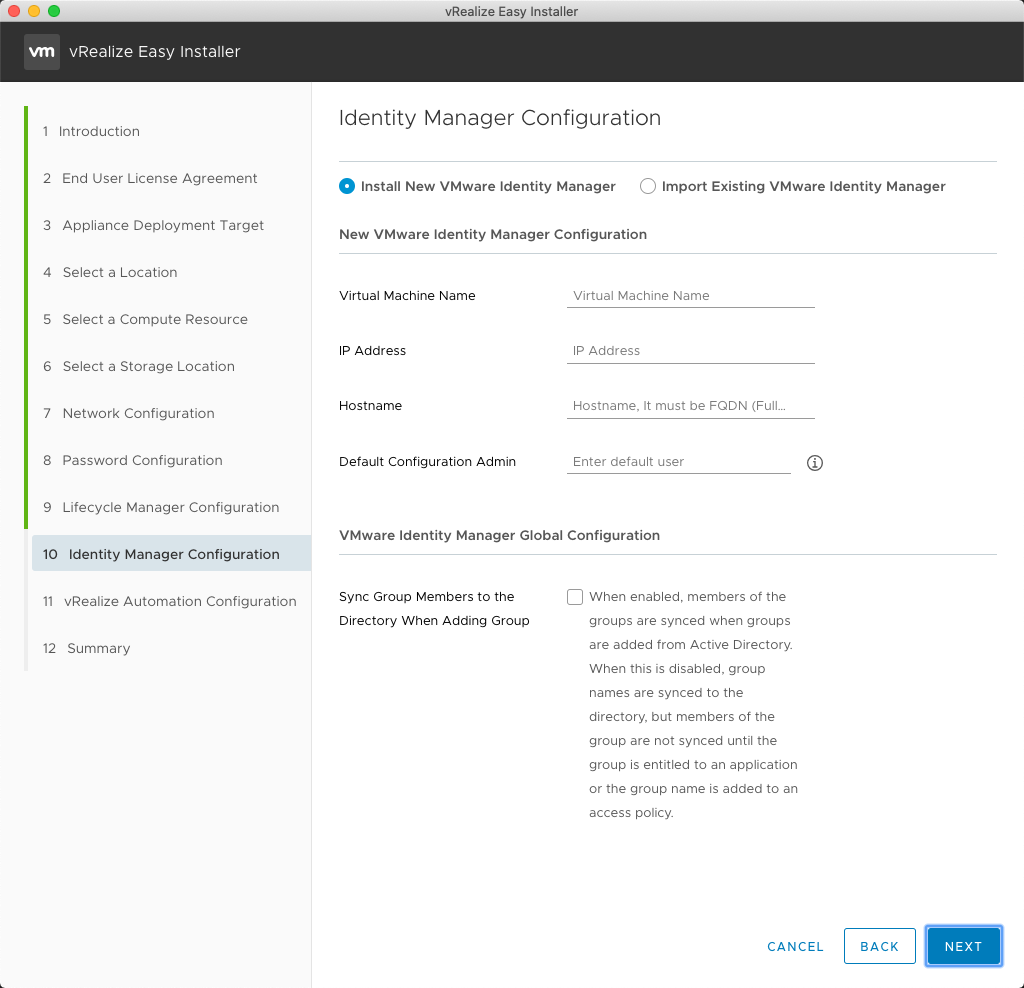
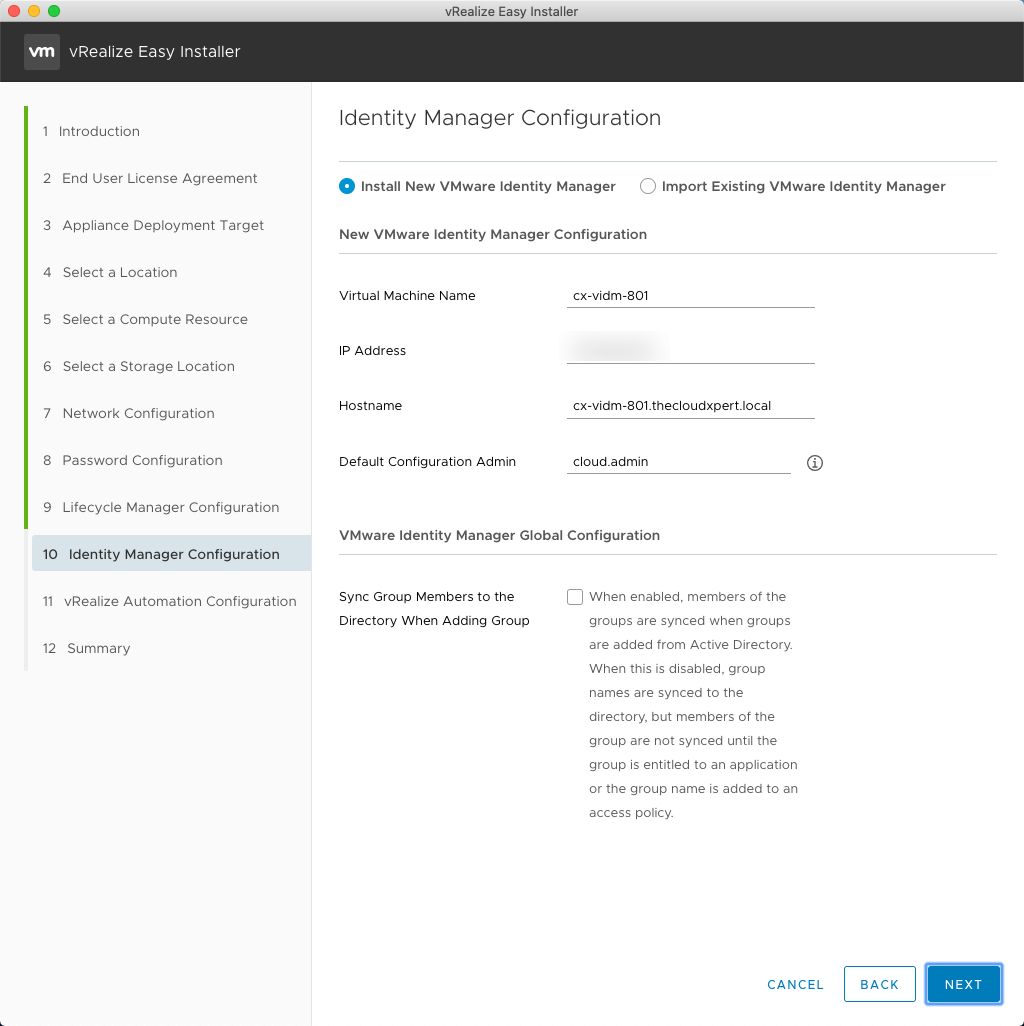
- At the Identity Manager Configuration page, select the Install New VMware Identity Manager option. Then, using information for the Identity Manager Appliance, enter the Virtual Machine Name, the IP Address, the Hostname (FQDN), the name of the Default Configuration User and (optionally) check the Sync Group Members to the Directory When Adding Group checkbox.
- Click Next.
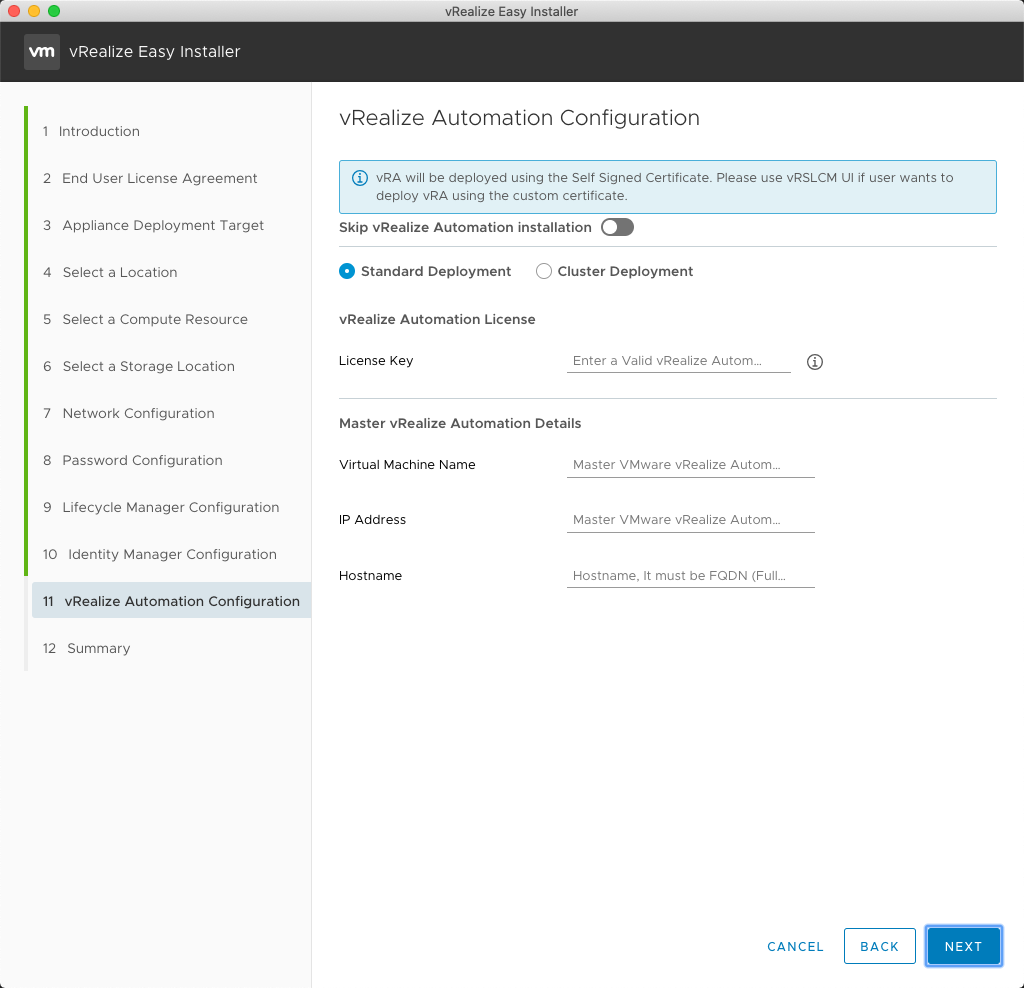
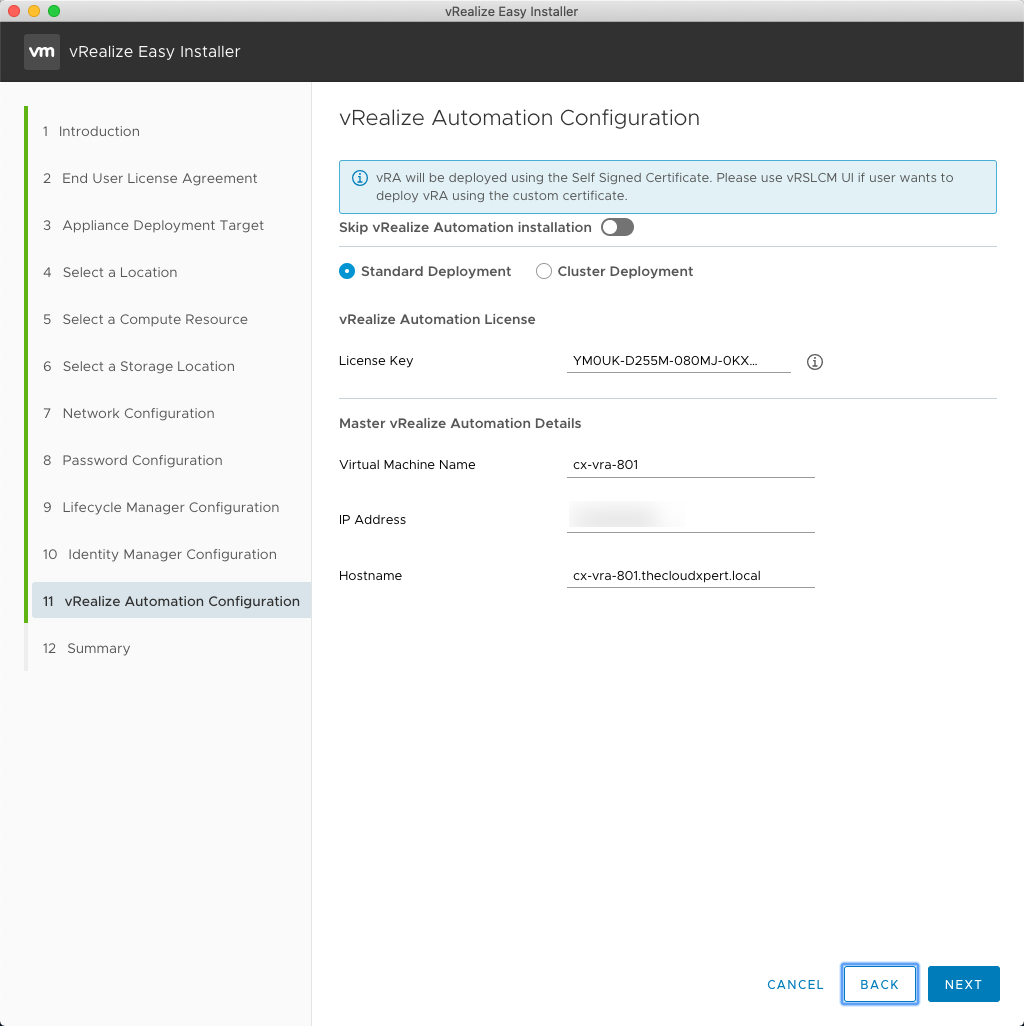
- At the vRealize Automation Configuration page, ensure that the Skip vRealize Automation Installation toggle is off. Select the Standard Deployment option and enter the License Key for vRealize Automation 8. Then, using information for the vRealize Automation 8 Appliance, enter the Virtual Machine Name, the IP Address and (finally) the Hostname (FQDN).
- Click Next.
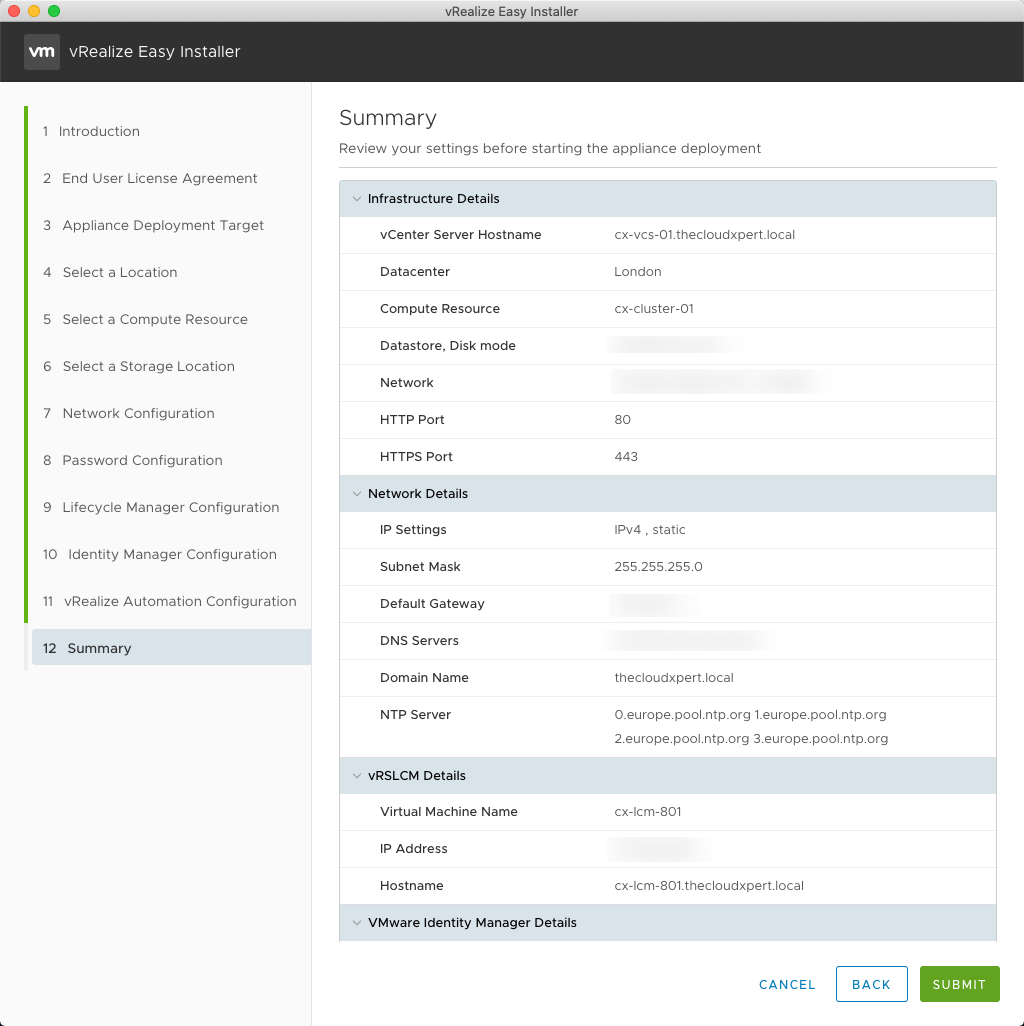
- At the Summary page, confirm all of the information has been entered correctly and click Submit.
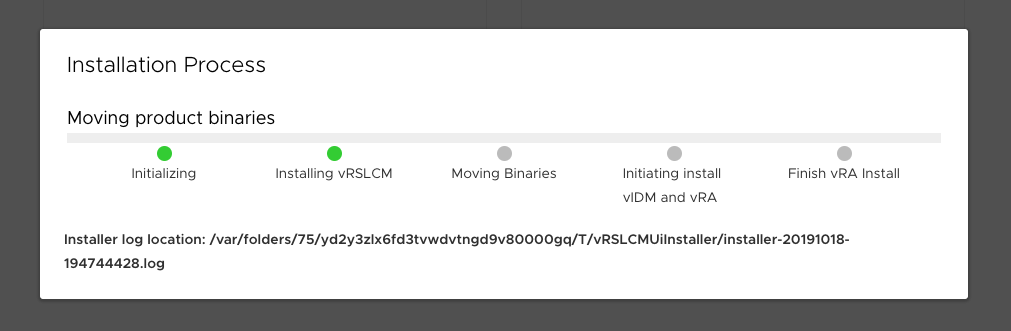
The installation will now complete (assuming you have entered all the of the correct information!) and eventually you will be prompted with the following screen:
Final Thoughts
From an ease of installation, VMware vRealize Automation 8 is quantum leap ahead of the previous versions. The fact that it no longer requires Oracle/Sun Java Runtime, Microsoft Windows (Woot! no MSDTC errors!), Microsoft .NET or Microsoft SQL Server (almost) is a blessing for everyone. Is it perfect? No it is not, but it is definitely a step in the right direction.
Published on 4 December 2019 by Christopher Lewis. Words: 849. Reading Time: 4 mins.
- VCAP6-NV Deploy - Objective 4.1 - Configure and Manage Logical Firewall Services ()
- VCAP6-NV Deploy - Objective 6.3 - Configure and Manage Universal Logical Security Objects ()
- VCAP6-NV Deploy - Objective 6.2 - Configure and Manage Universal Logical Network Objects ()
- VCAP6-NV Deploy - Objective 6.1 - Configure Cross vCenter VMware NSX infrastructure components ()
- Achievement Unlocked - VMware Certified Implementation Expert 6 - Network Virtualization ()
