HOWTO: Create a vRealize Automation 6.x vSphere Linked-Clone Blueprint
VMware vRealize Automation VCAP6 VCAP6-CMA
Published on 21 January 2017 by Christopher Lewis. Words: 494. Reading Time: 3 mins.
Introduction
This post is a part of a series of posts for preparation for the VCAP6-CMA Deploy exam. For the full exam prep resources check here .
Prerequisites
- Full deployment of vRealize Automation 6.x (Simple or Distributed)
- VMware vSphere Virtual Machine Deployed with a Snapshot.
Configuration Overview
Creating the Linked-Clone Blueprint is the same process whether it be for a Desktop or Server Operating System. As per the prerequisites, you will need to have already deployed Virtual Machine with a VM Snapshot which is used as the basis for the linked-clone.
Create and Configure Machine Blueprints according to a deployment plan
- Navigate to the vRealize Automation Portal for the Default Tenant ( https://vra.fqdn/vcac )
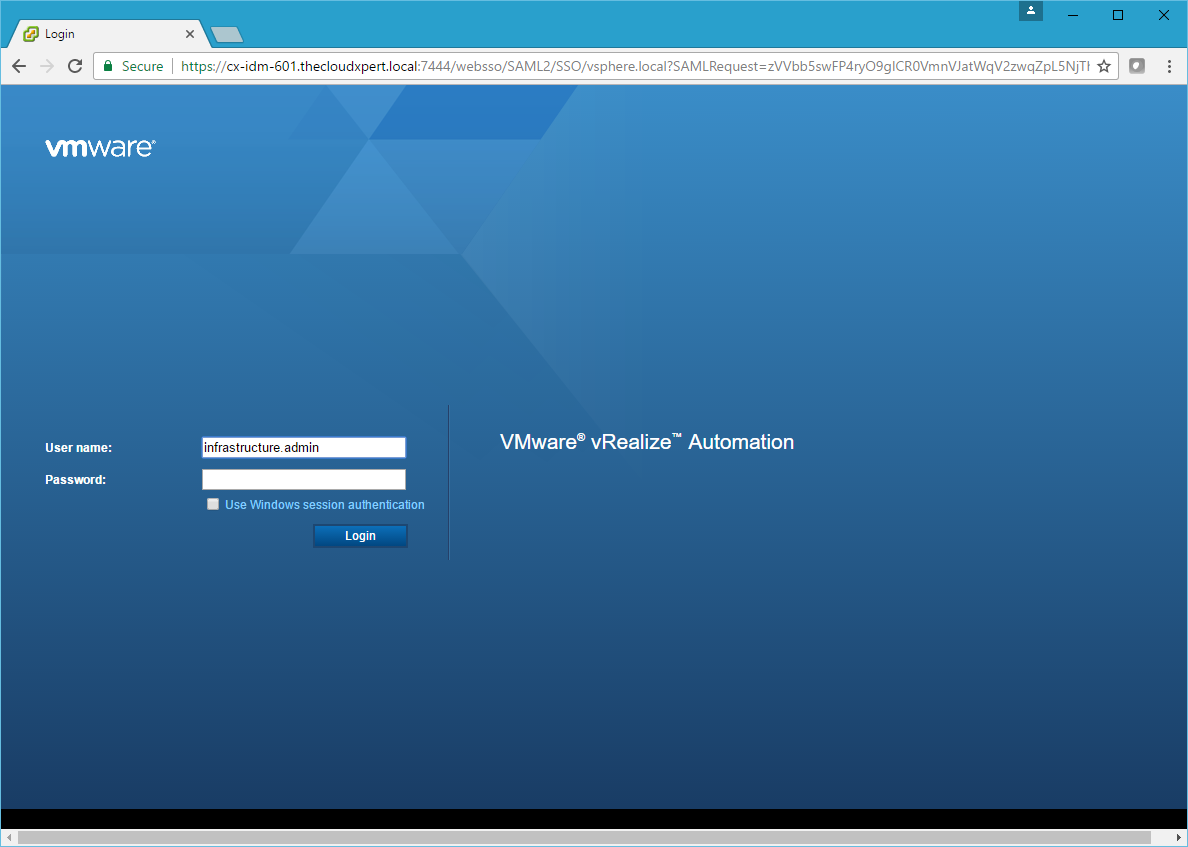
- Log in using an account with the Tenant Administrator role assigned.
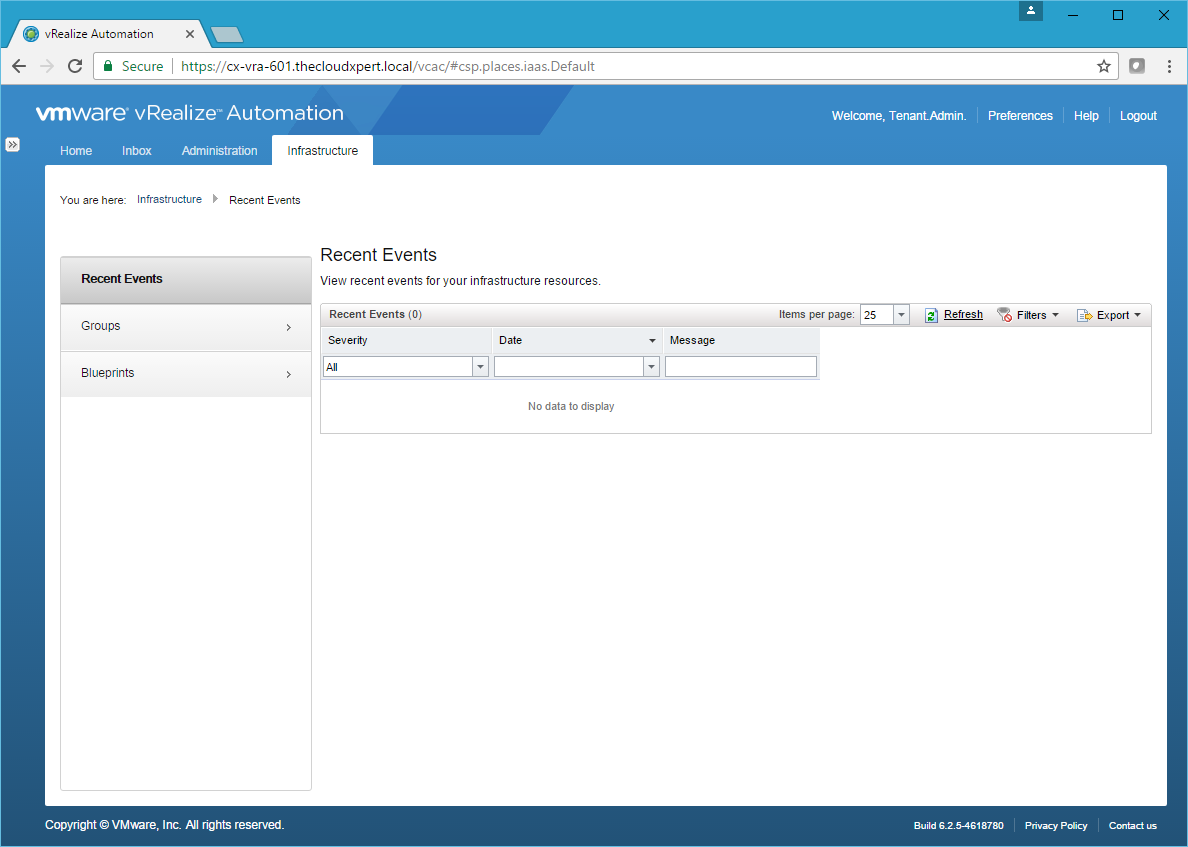
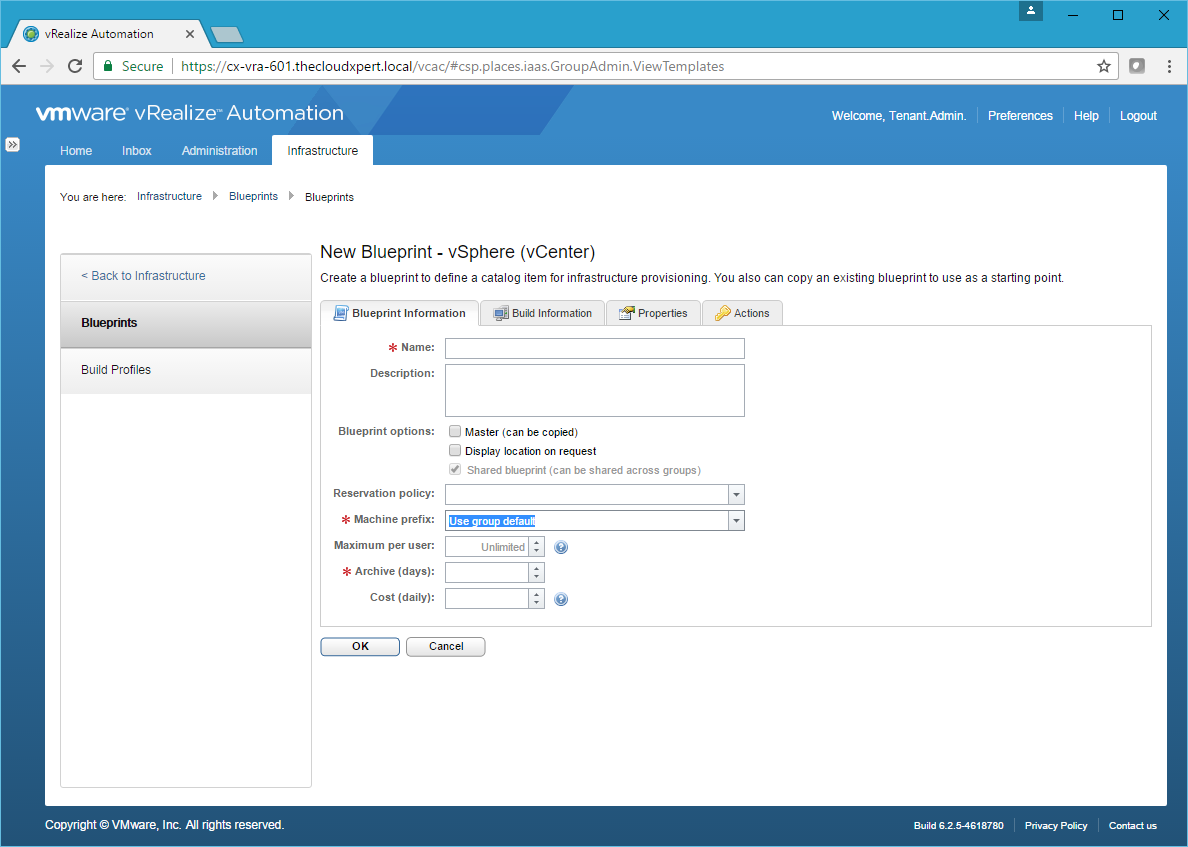
- Click the Infrastructure Tab.
- Click Blueprints > Blueprints.
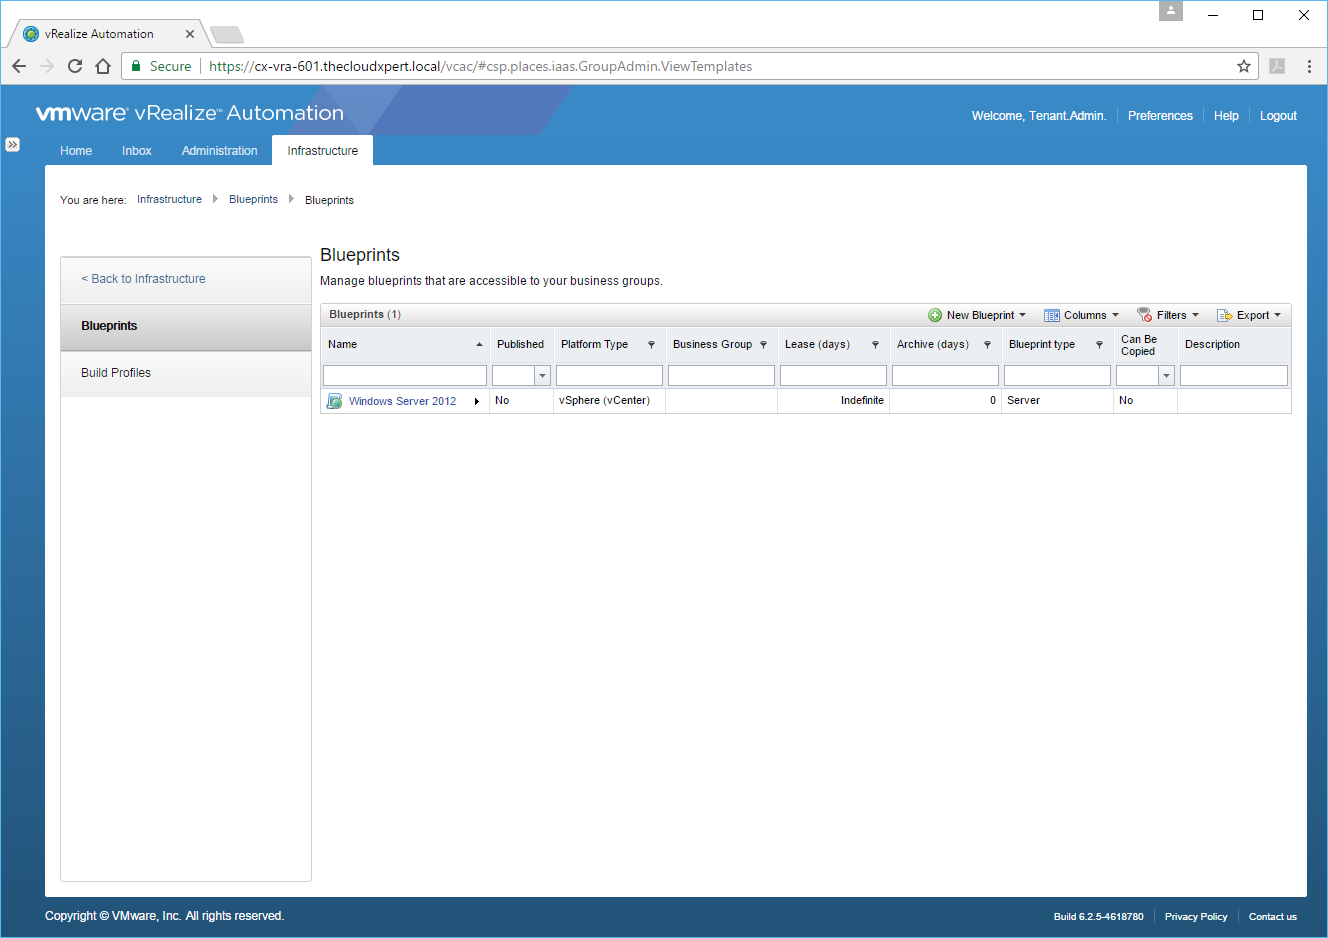
- Click New Blueprint > Virtual > vSphere (vCenter).
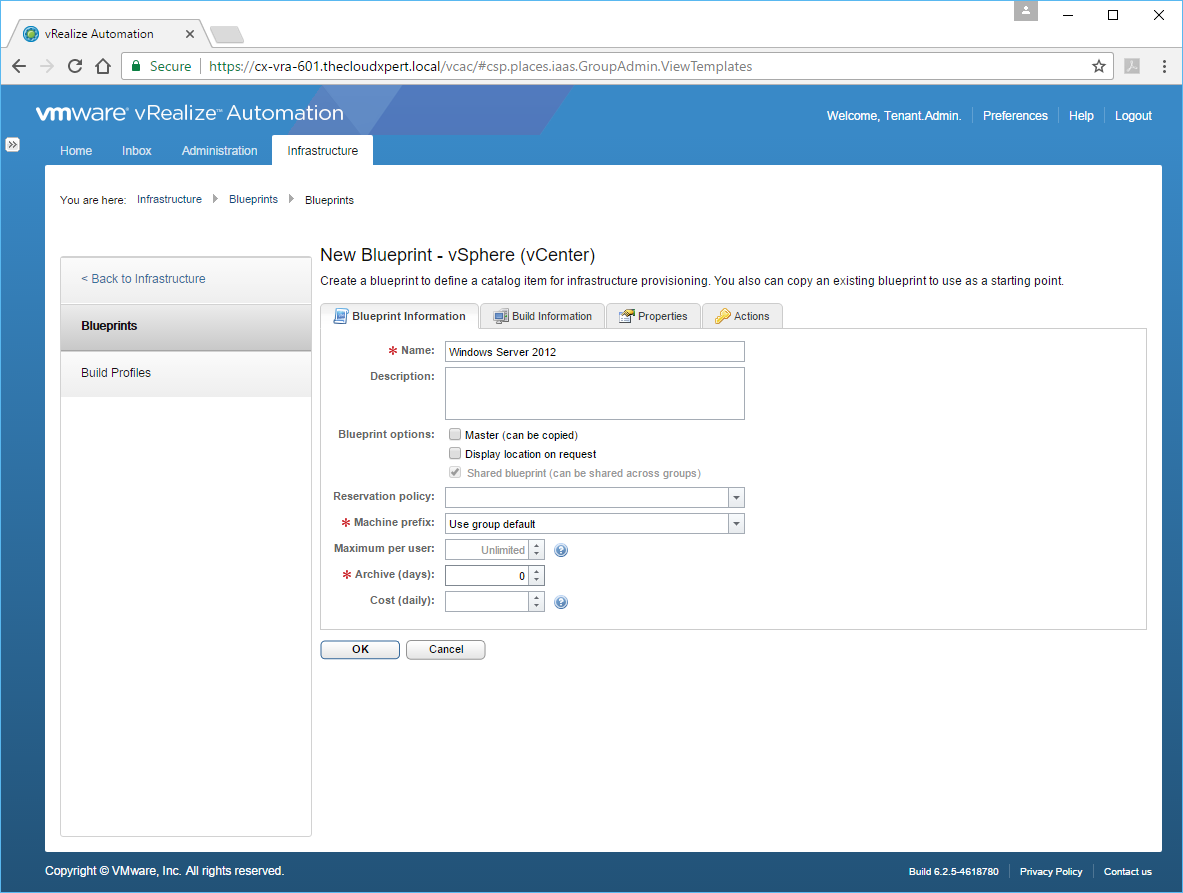
- Type the name of the of the new Blueprint into the Name text box, select machine prefix from the Machine prefix drop down, and type a numerical value into the Archive (days) text field.
- Click Build Information.
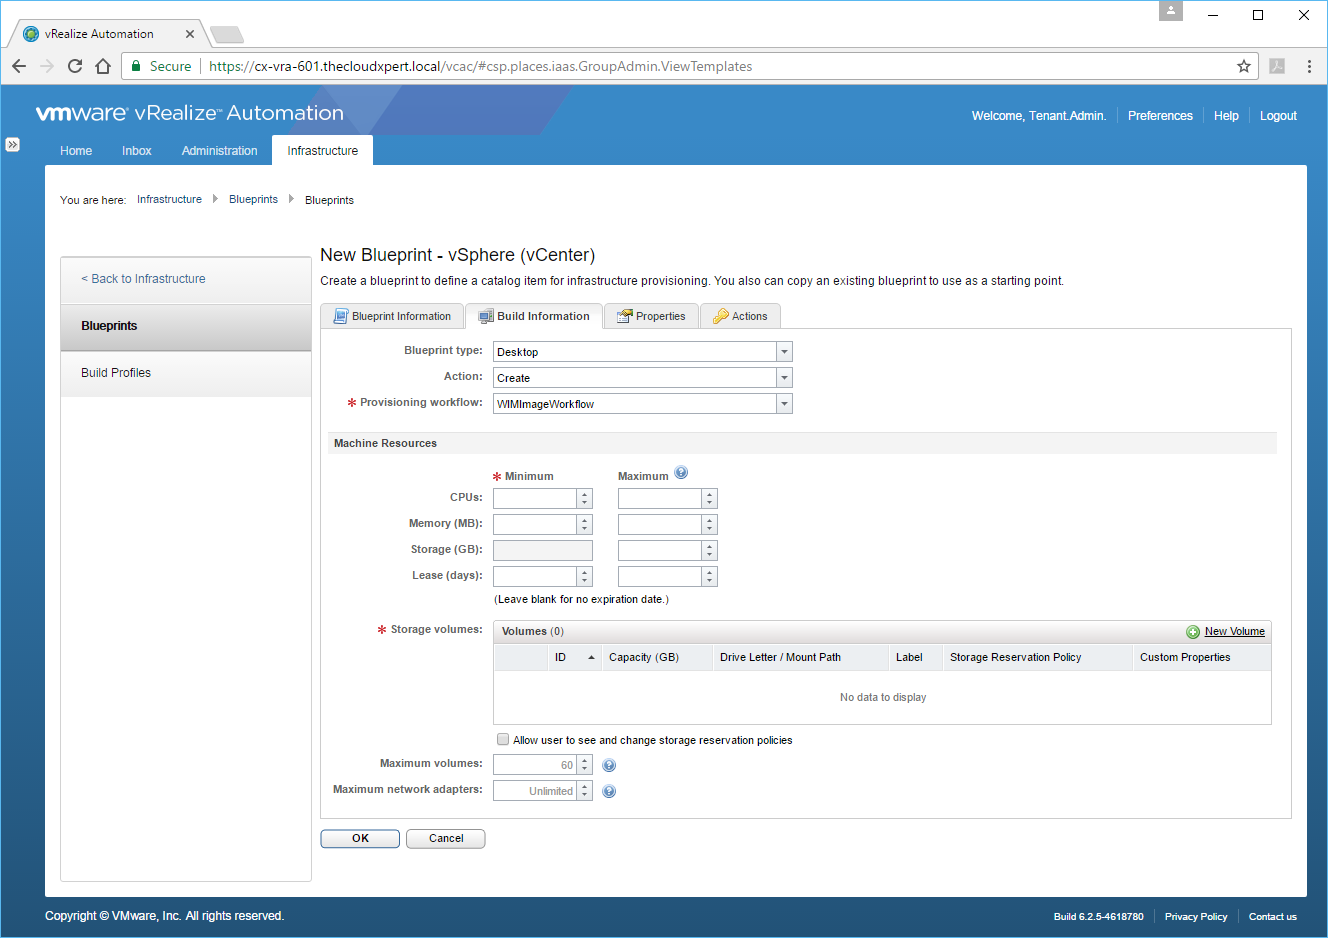
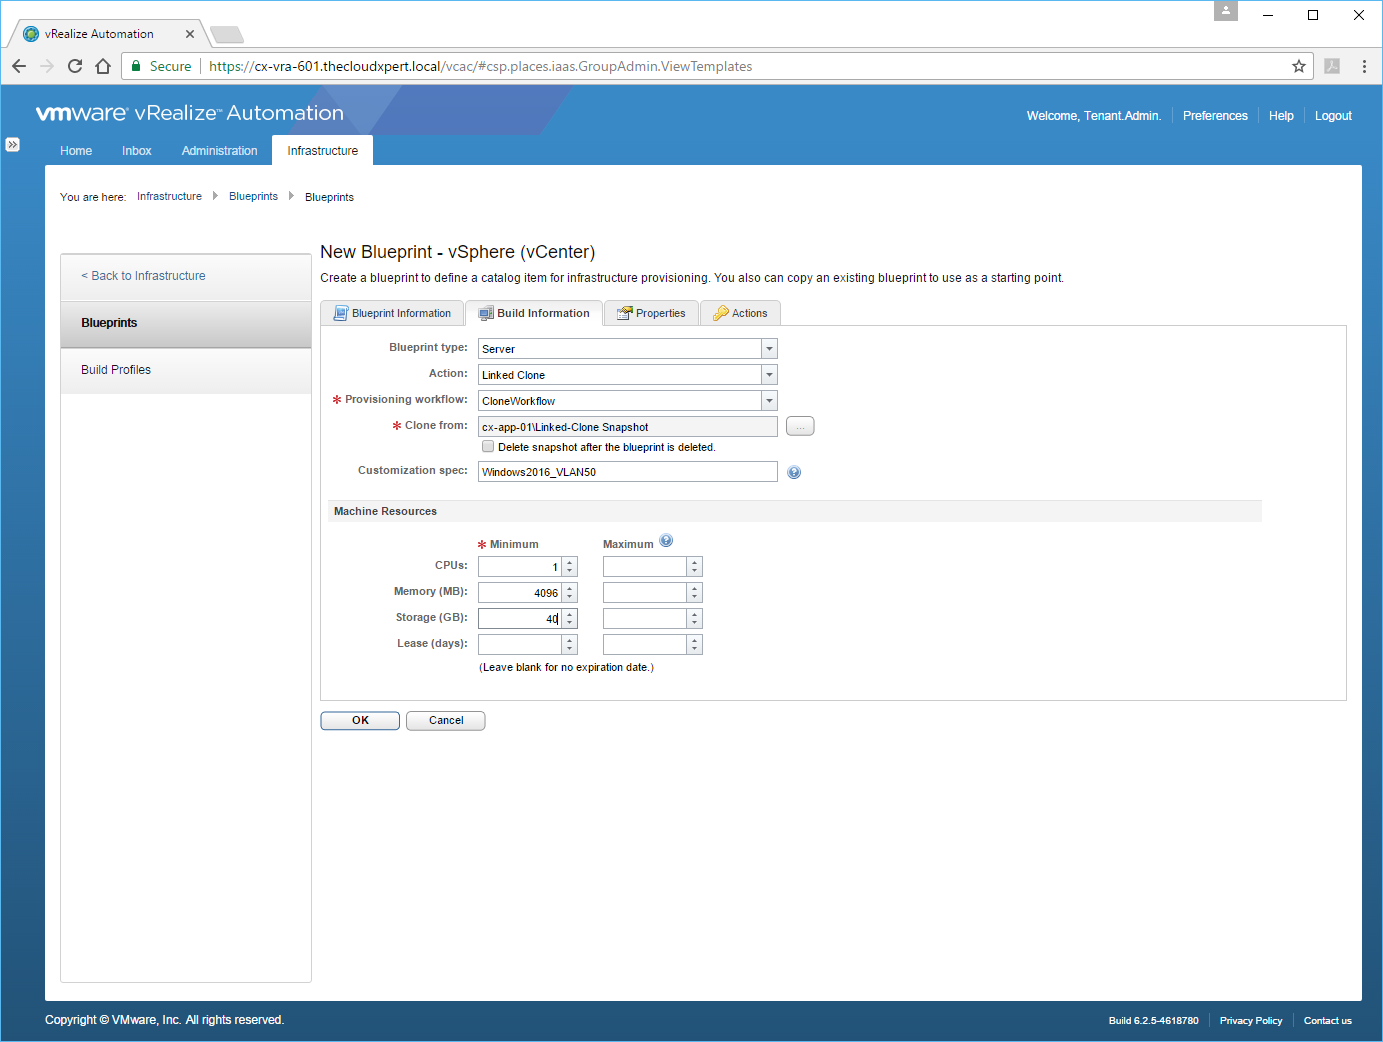
- Select Server from the Blueprint type drop down, then Linked Clone from the Action drop down and ensure CloneWorkflow is selected from the Provisioning workflow drop down. Click … next to the Clone from text field.
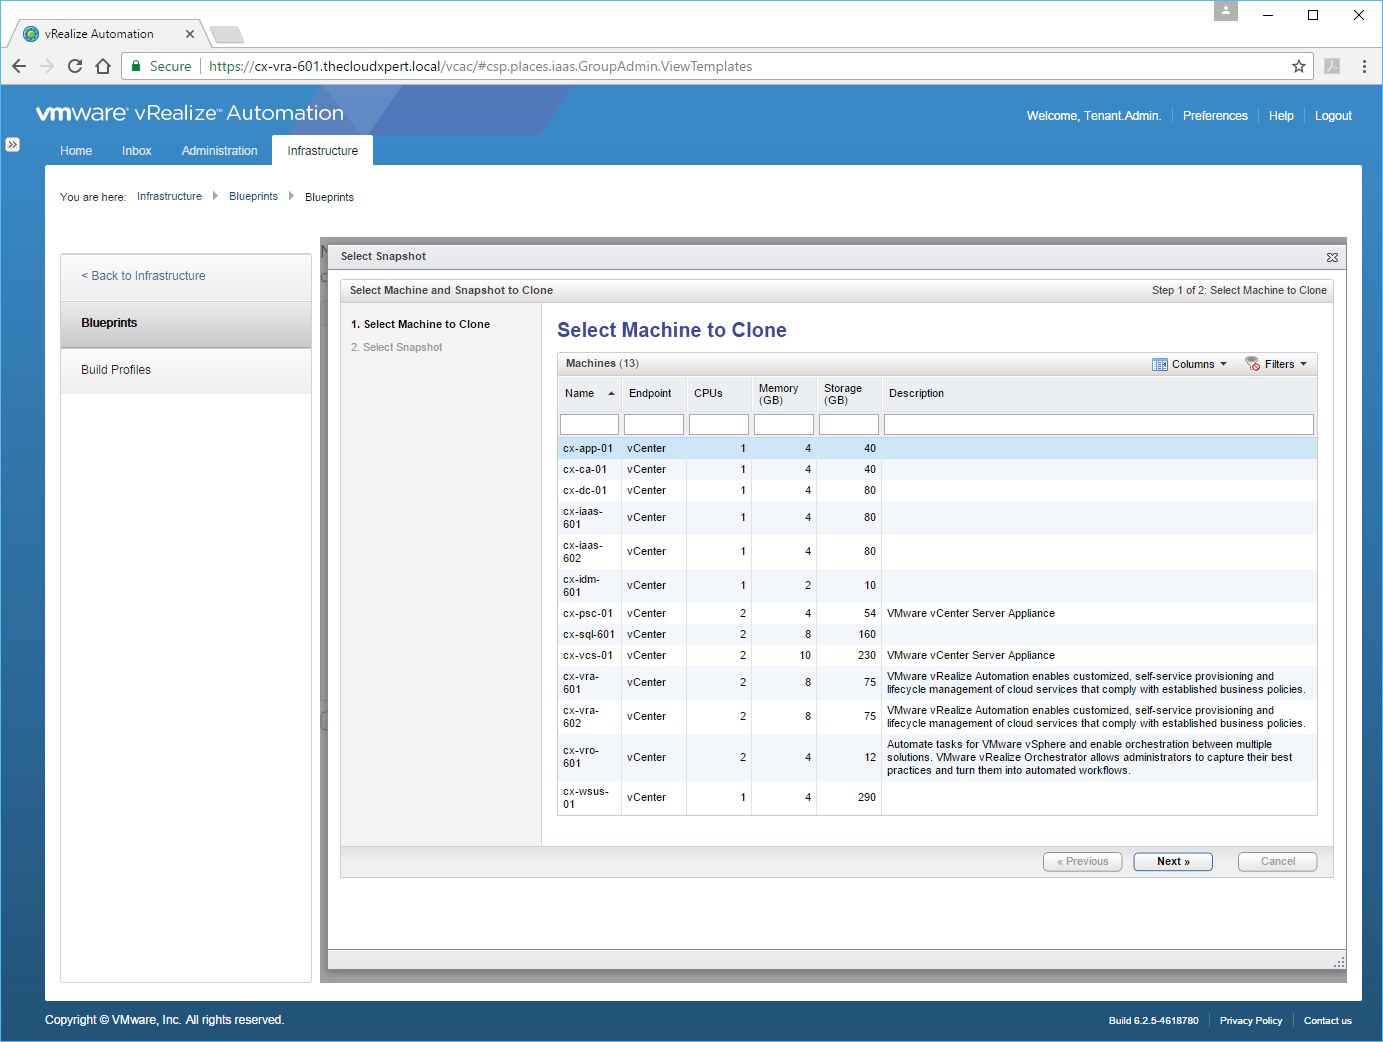
- Select the appropriate virtual machine and click Next.
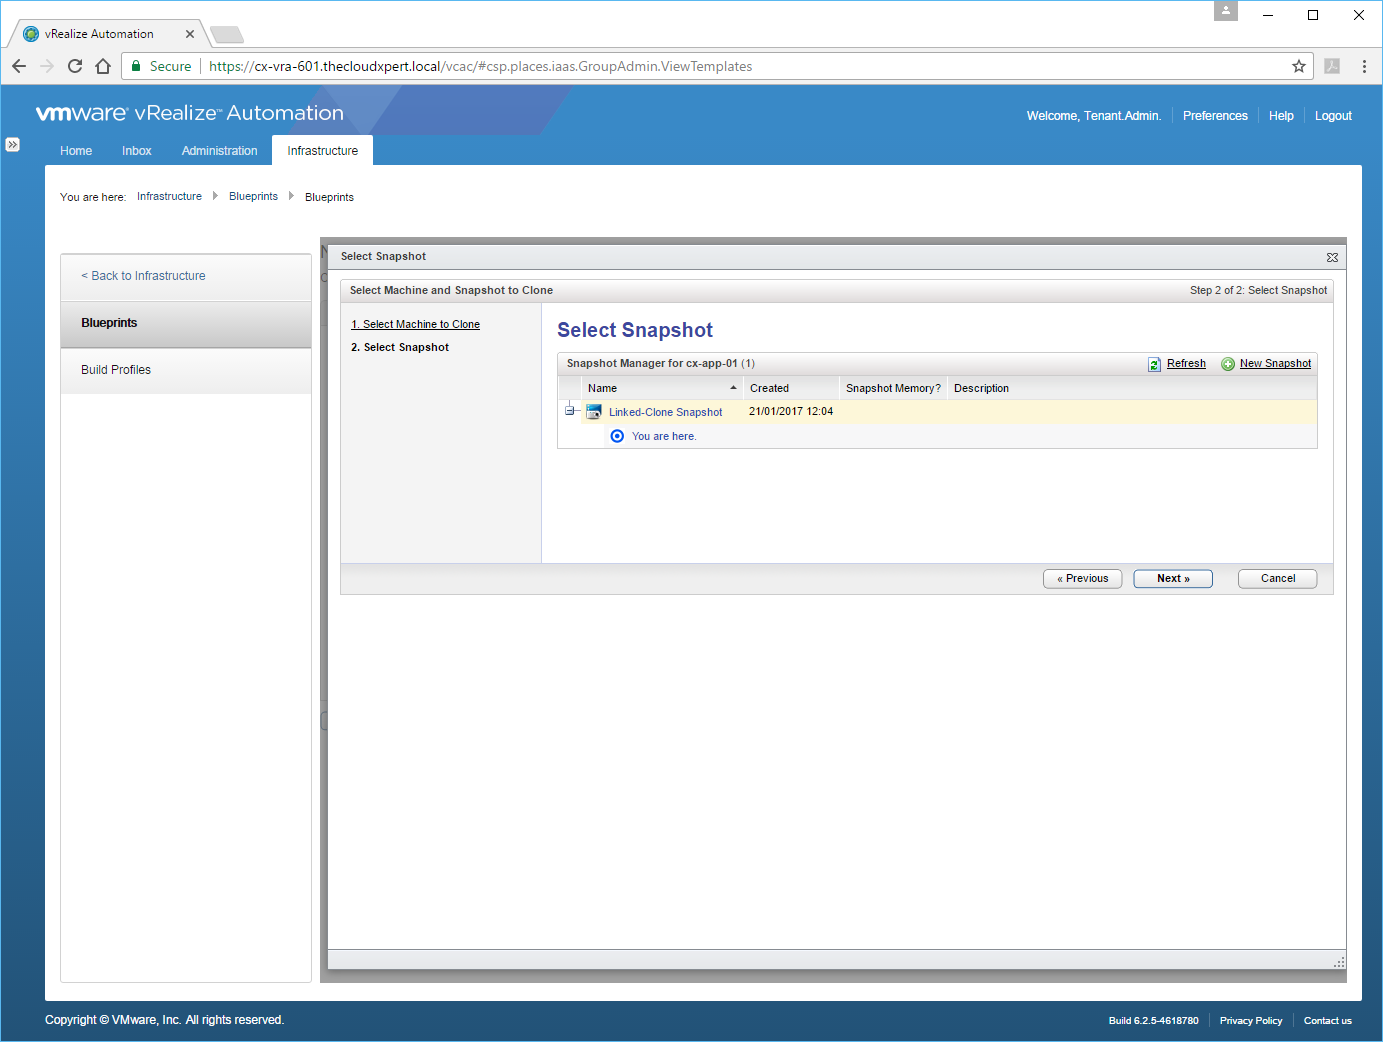
- Select the Snapshot that you wish to use as the basis for the linked-clone and click Next.
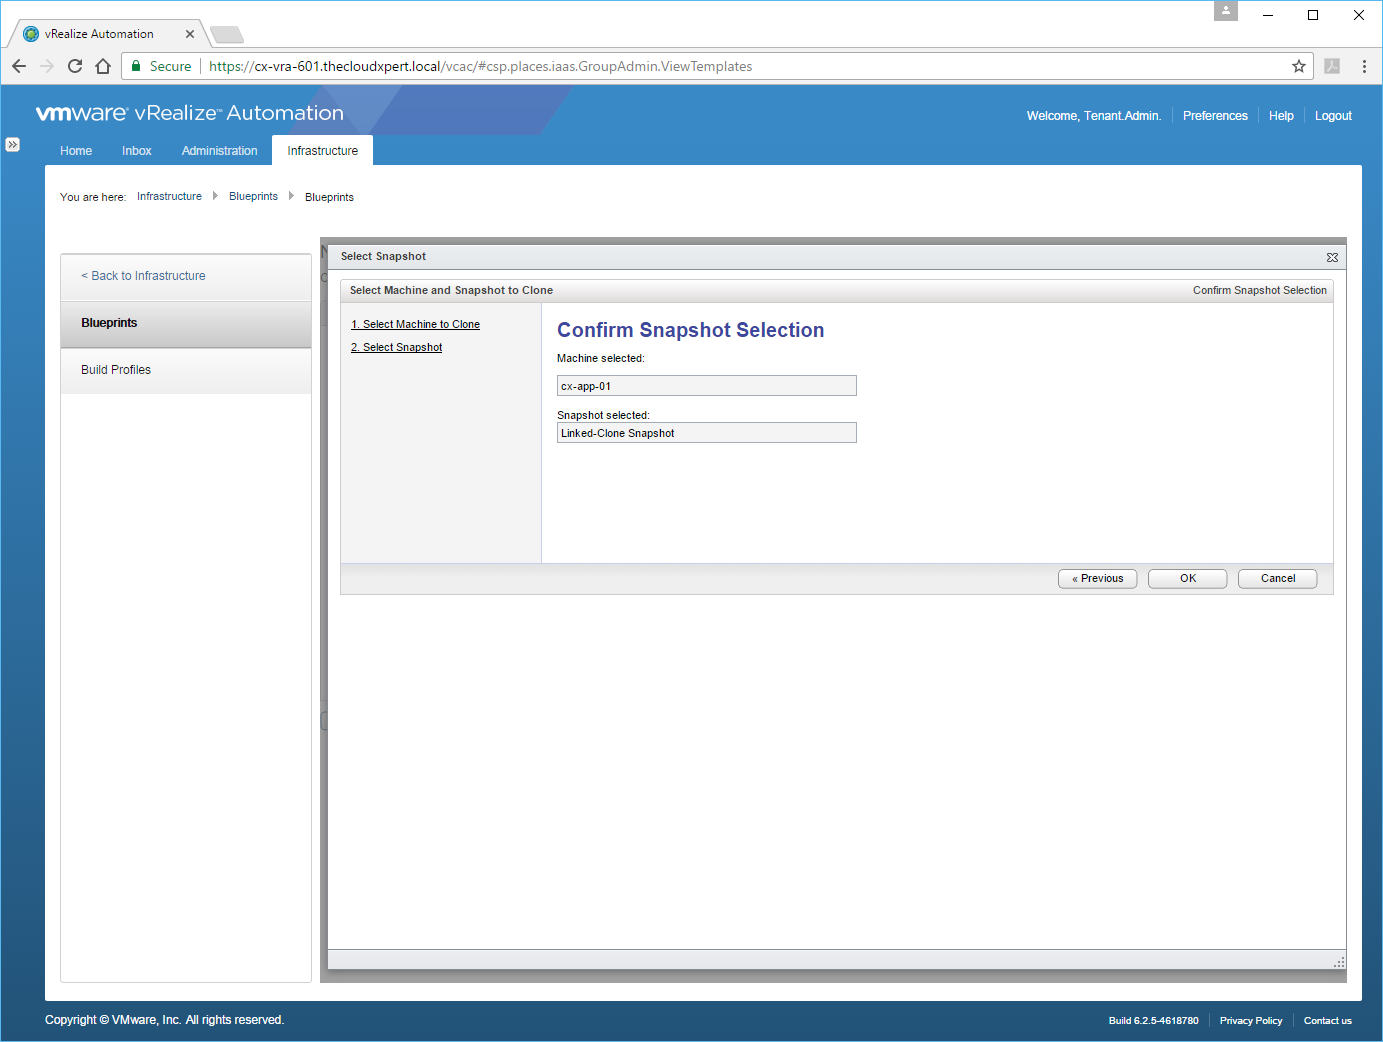
- Click OK.

- (optionally) Enter the name of the vSphere Customization specification into the Customization spec text box, and choose whether (or not) to delete the Snapshot on the Virtual Machine if the Blueprint is deleted (via the checkbox). Then choose the minimum values for the blueprint from the CPU, Memory, Storage and Lease (days) text boxes.
- Click OK.
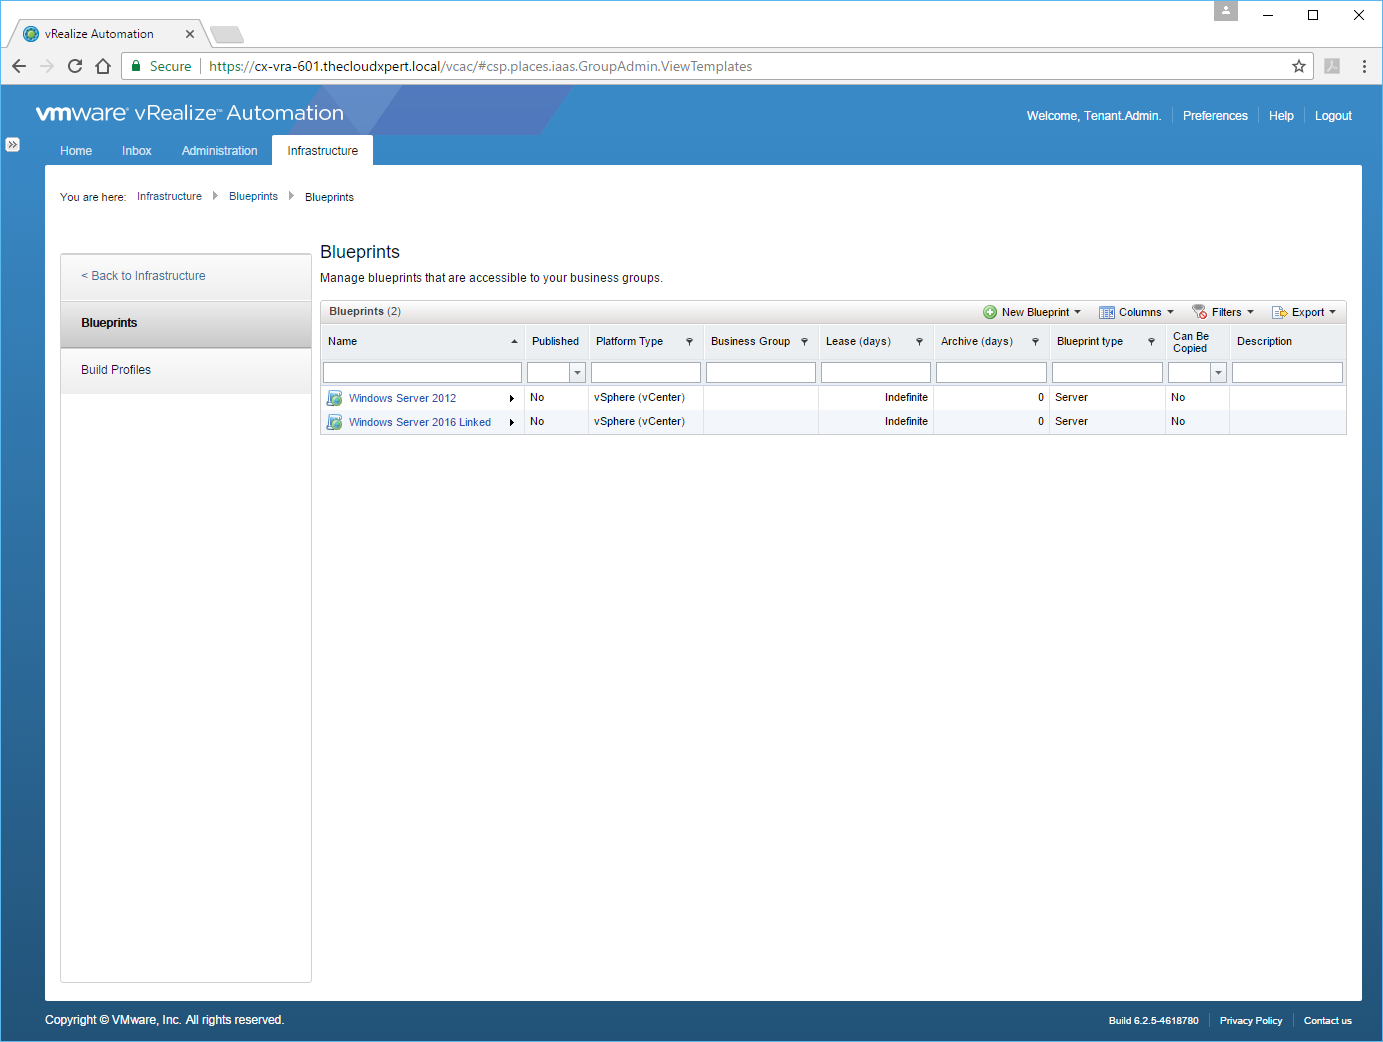
Congratulations! that’s your first vSphere Linked-Clone Template created! (queue the applause! and take a bow!)
Now you would normally go ahead and Publish the new Blueprint to the Service Catalog, but that’s covered elsewhere so we won’t be doing that here.
Published on 21 January 2017 by Christopher Lewis. Words: 494. Reading Time: 3 mins.
- VCAP6-CMA Deploy - Objective 1.5: Create Fabric Groups utilizing Reservations and Reservation Policies ()
- VCAP6-CMA Deploy - Objective 2.2: Create/Modify a Business Group ()
- VCAP6-CMA Deploy - Objective 1.4: Configure Infrastructure/Cloud-based Endpoints ()
- HOWTO: Create a vSphere Endpoint in VMware vRealize Automation 6.x ()
- VCAP6-CMA Deploy - Objective 2.1: Configure Tenant Properties ()
