Part 3A - Creating the Microsoft CA Template for SSL certificates in vSphere 6.0
Active Directory Certificate Authority Certificates Microsoft
Published on 24 March 2016 by Christopher Lewis. Words: 329. Reading Time: 2 mins.
This is Part 3A of a series of posts on how to configure VMware vSphere 6.x to use Certificates from Microsoft Windows Server Certificate Services.
The following assumes you have completed the steps within the series:
- Part 1 - Installing Microsoft Windows 2012 R2 Certificate Services
- Part 2 - Configuring an Enterprise Root Certificate Authority
The high level steps below are taken from the VMware KB Article Creating a Microsoft Certificate Authority Template for SSL certificate creation in vSphere 6.0
Instructions
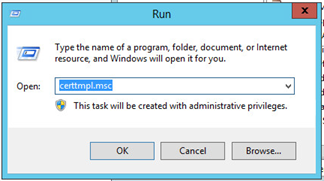
Open the Certificate Template Console by running certtmpl.msc
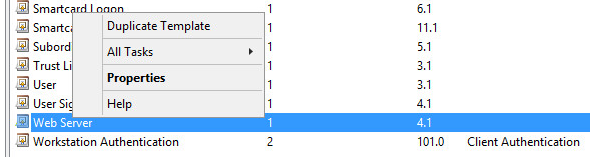
From within the Certificate Template Console, locate the Web Server template, right click and select Duplicate Template.
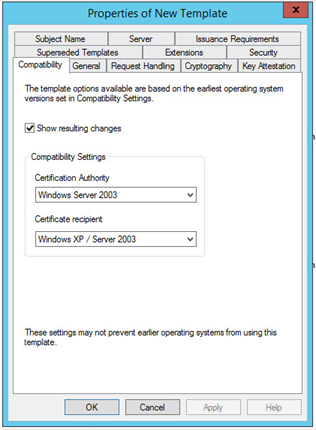
At the Properties of New Template window, select the Compatibility Tab and set the appropriate Compatibility Settings or leave as default.
Note: for anything better than SHA1, you will need to select a minimum of Windows Server 2008
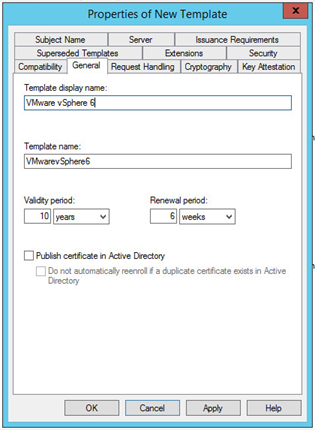
At the Properties of New Template window, select the General Tab and set the Template Display Name to VMware vSphere 6 and (if appropriate) update Validity period (default is 2 years).
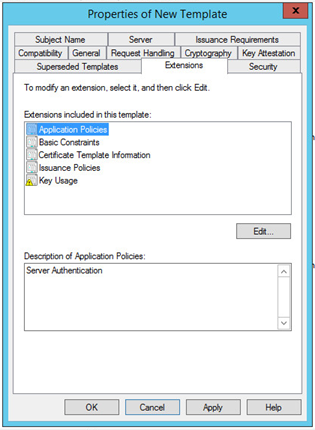
At the Properties of New Template window, select the Extensions Tab and select Application Policies and click Edit.
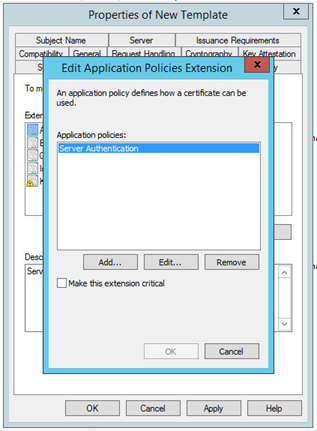
At the Edit Application Policies Extension dialog, select Server Authentication, click Remove and then click OK.
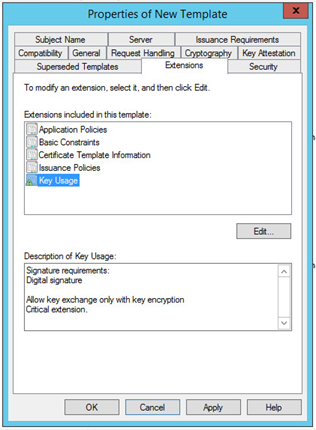
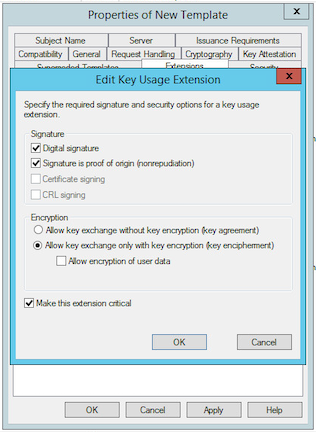
At the Properties of New Template window, select the Extensions Tab and select Key Usage and click Edit.
At the Edit Key Usage Extension dialog, check the Signature is proof of origin (nonrepudiation) checkbox.
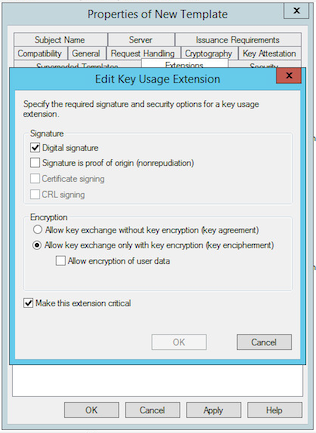
Leave all other settings as default and Click OK
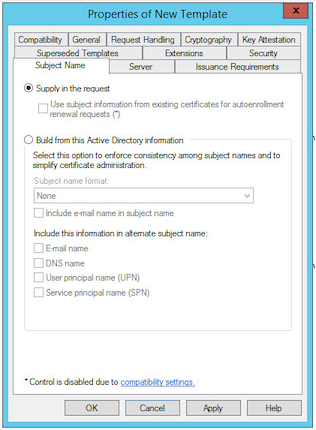
At the Properties of New Template window, select the Subject Name Tab and confirm the Supply in the request option is selected and click OK.
The newly created VMware vSphere 6 Certificate Template should appear in the list within the Certificate Template Console.

Next Steps
Now we have created the CA Template for vSphere SSL Certificates, let us move on to part Part 3B - Creating the Microsoft CA Template for Subordinate CA certificates in vSphere 6.0
Published on 24 March 2016 by Christopher Lewis. Words: 329. Reading Time: 2 mins.
