Licensing VMware NSX-v in the HTML5 Client (or Not)
NSX-V VMware vSphere
Published on 11 June 2018 by Christopher Lewis. Words: 501. Reading Time: 3 mins.
Introduction
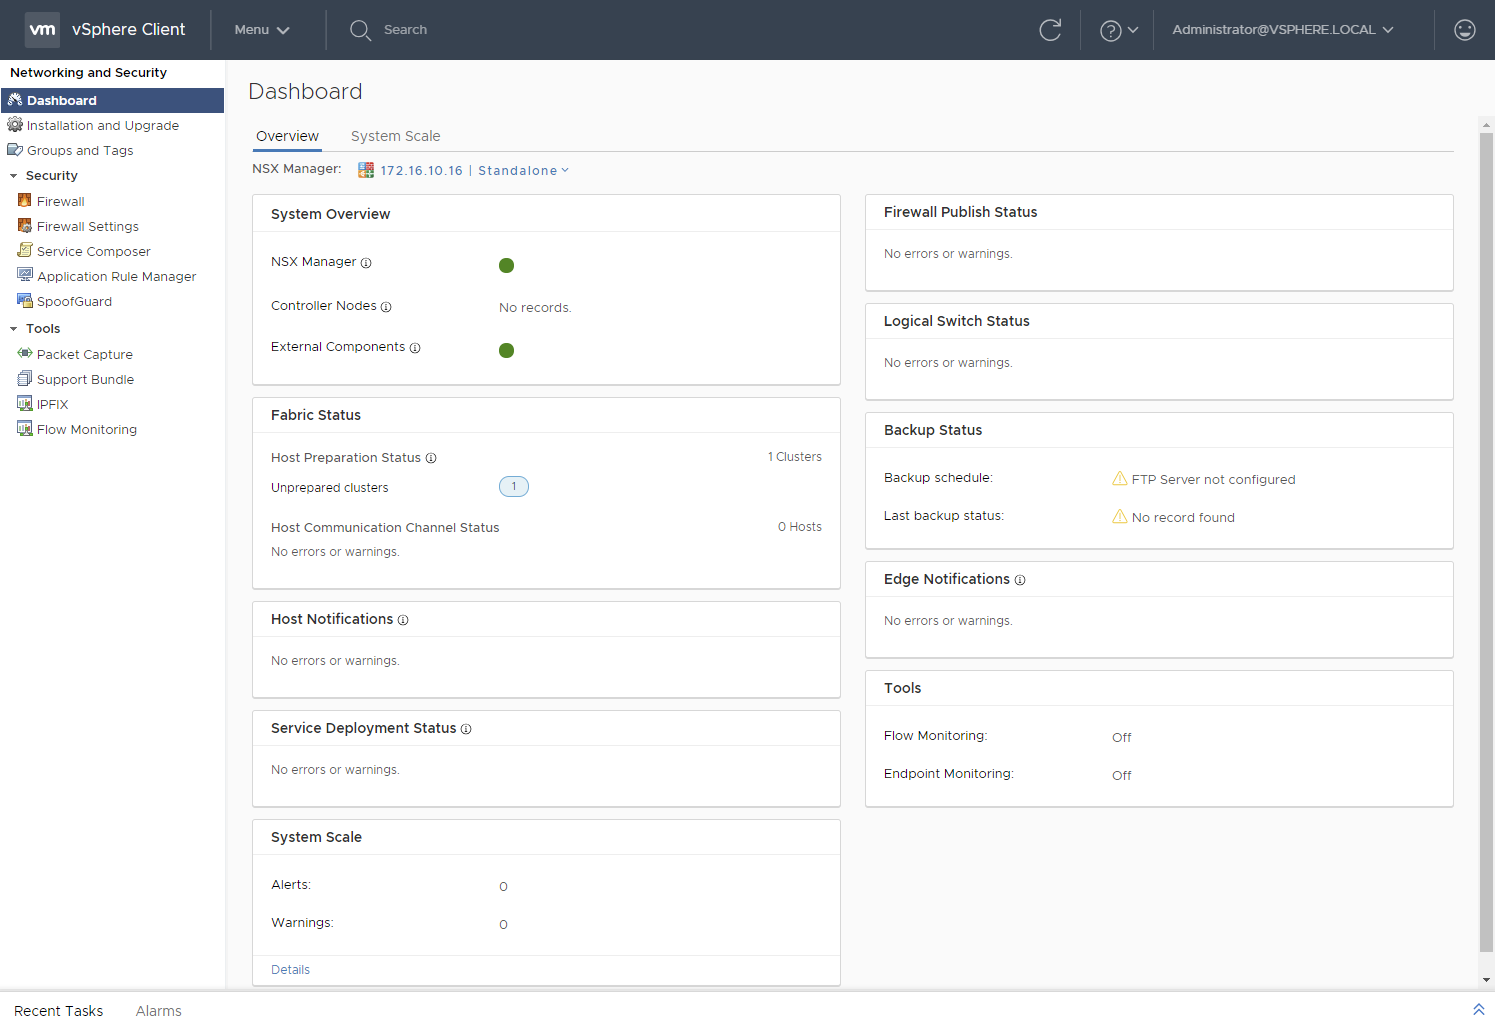
With the release of VMware vSphere 6.7, the feature parity between the legacy flex and HTML5 client is getting closer. In addition, with the release of VMware NSX-v 6.4.1 more VMware NSX-v features are also available in the HTML5 client (as seen below).
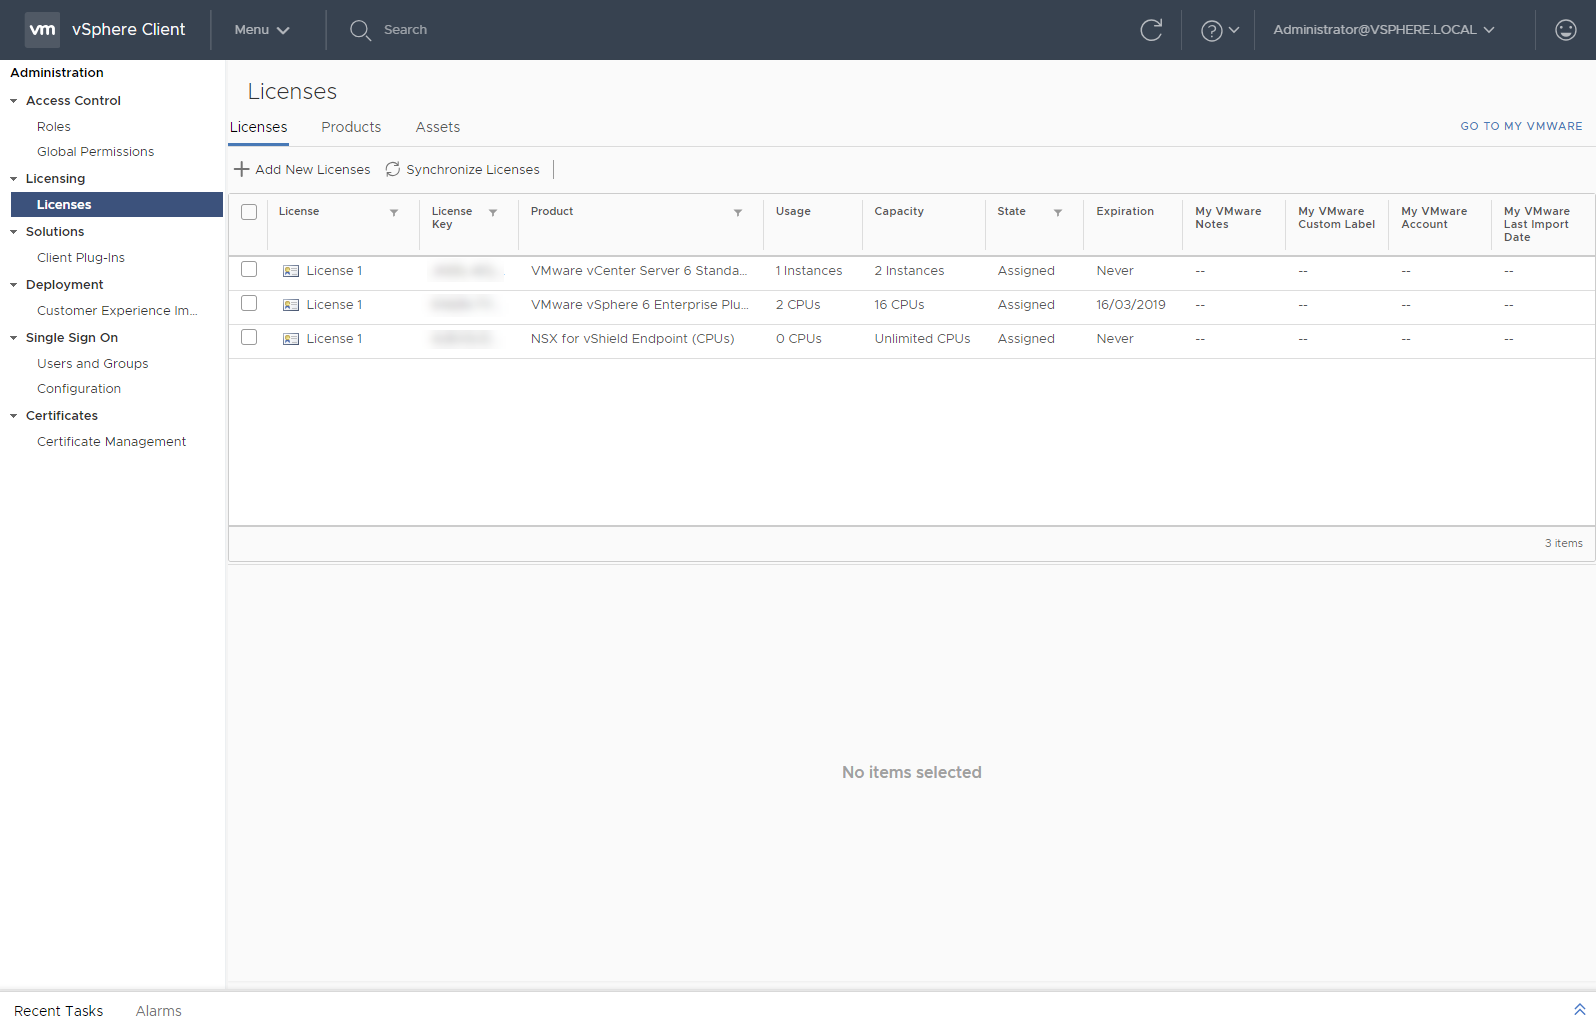
During the process of rebuilding the homelab, I experienced an unsolvable issue after upgrading VMware NSX-v 6.3.5 to VMware NSX-v 6.4.1 and VMware vSphere 6.5U1 to VMware vSphere 6.7. As I do every time I rebuild my homelab, I tried to start the configuration of VMware NSX-v and forgot add my license first. So, I went along and added my VMware NSX for vSphere license using the following steps in HTML5 client.
Adding the VMware NSX-v License in the HTML5 client
- Navigate to the
https://vcenterFQDN.
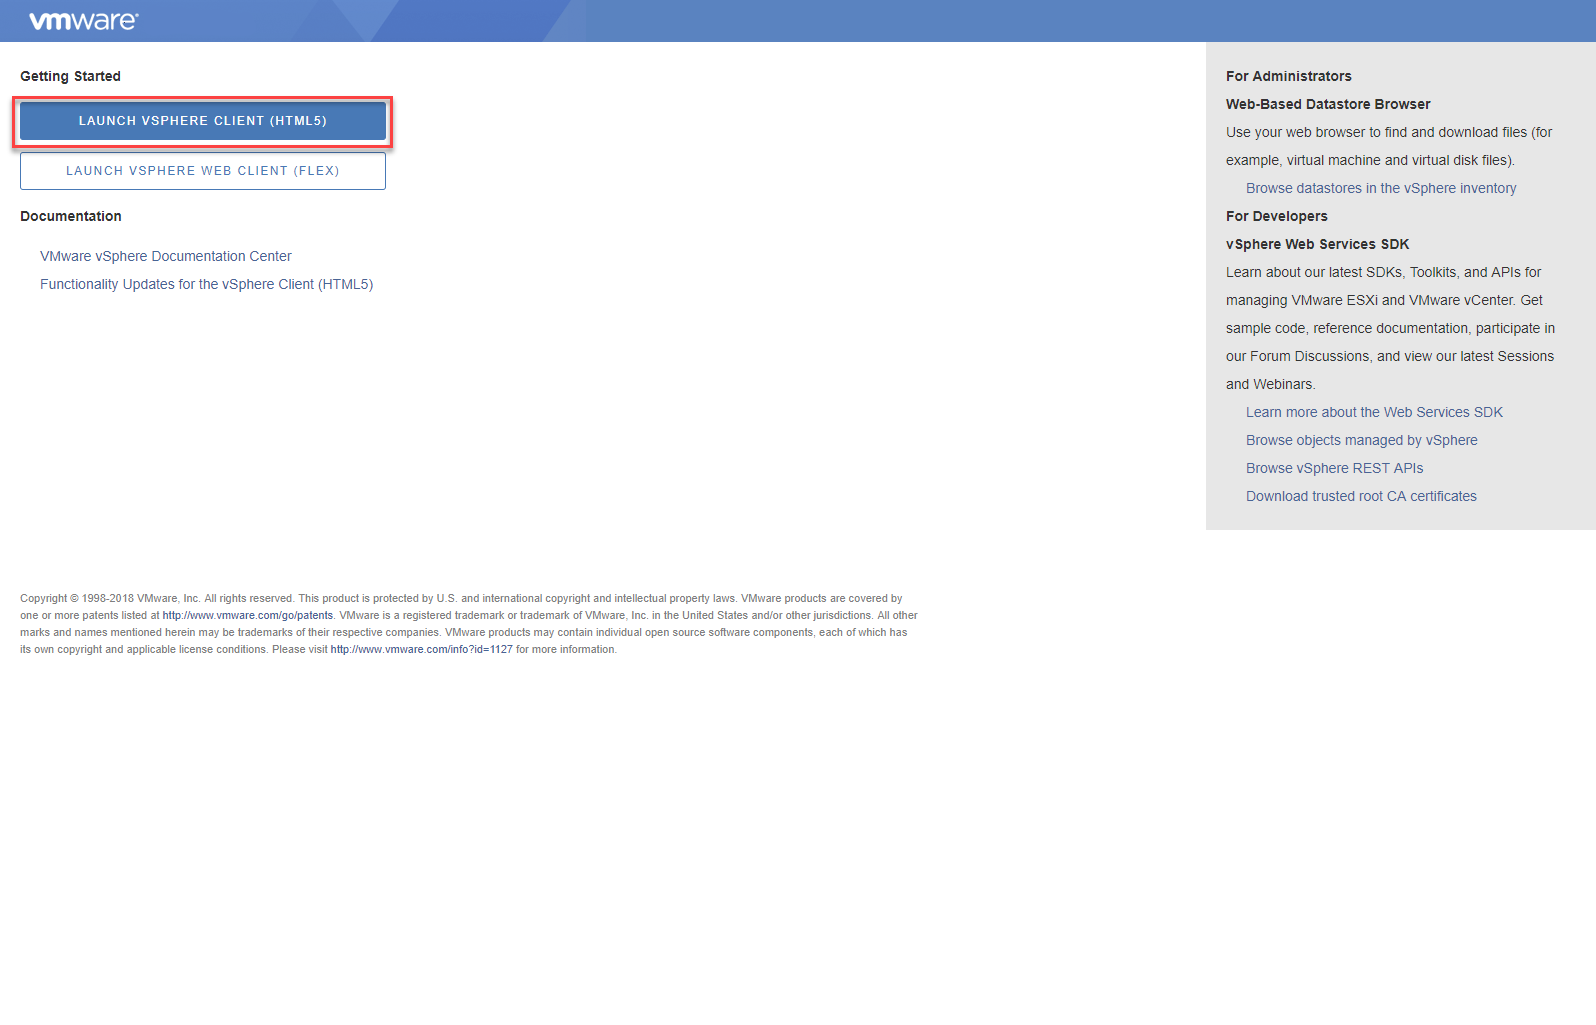
- Click Launch vSphere Client (HTML5).
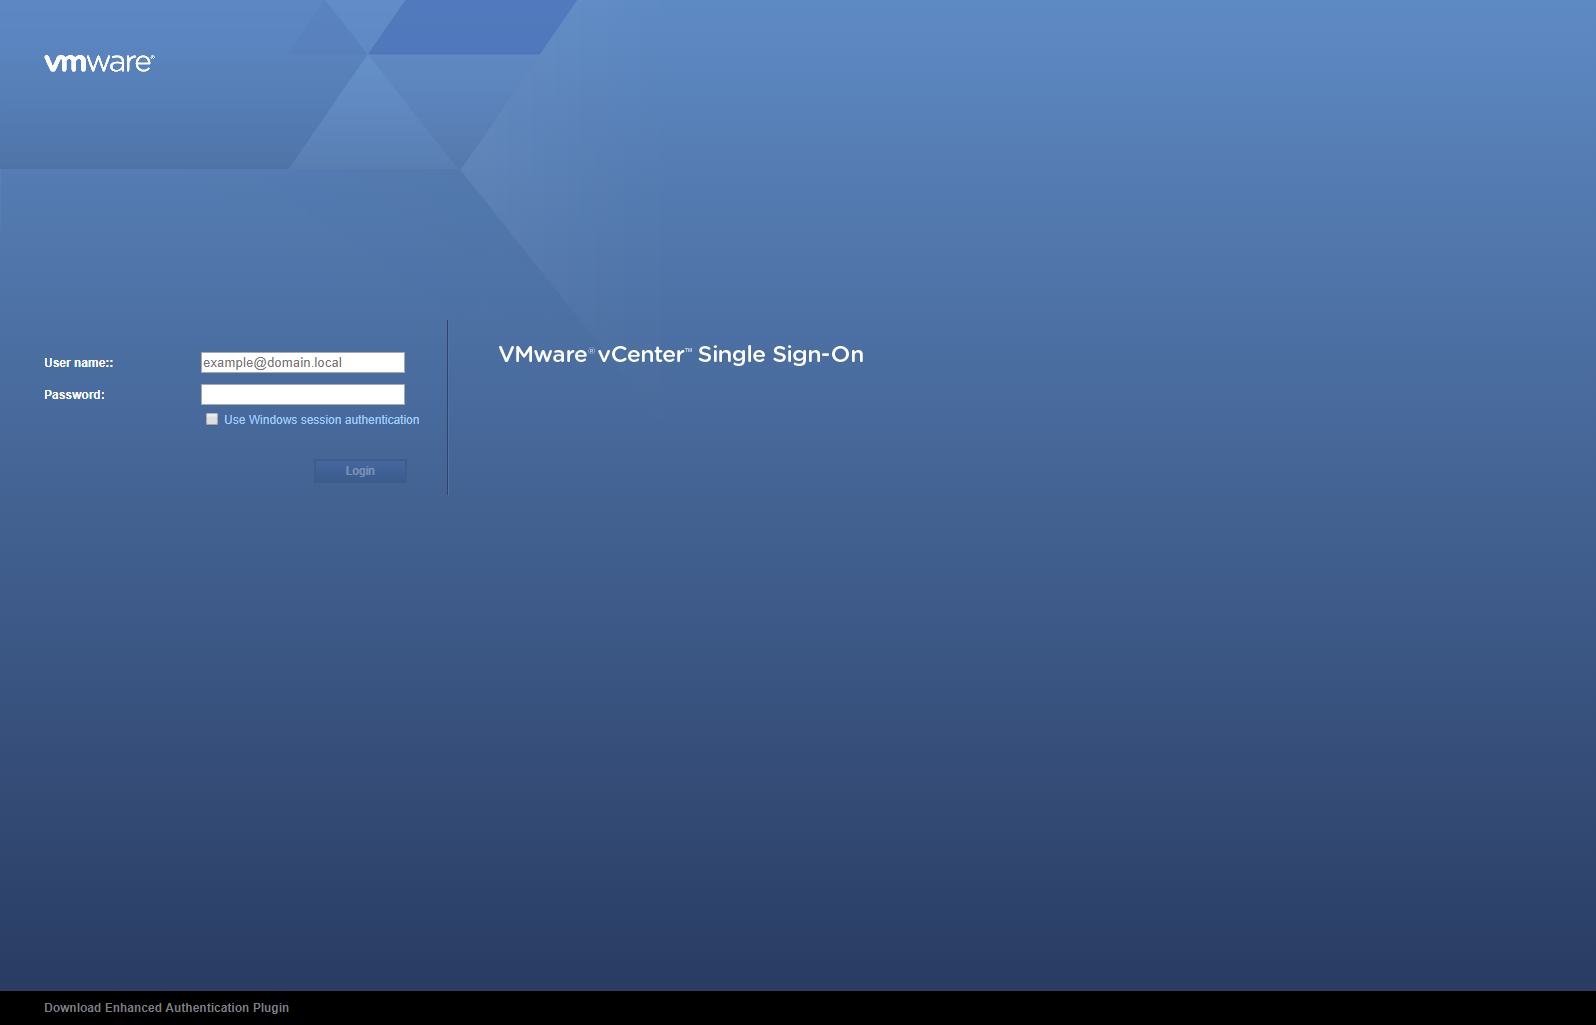
- Log in using suitable credentials.
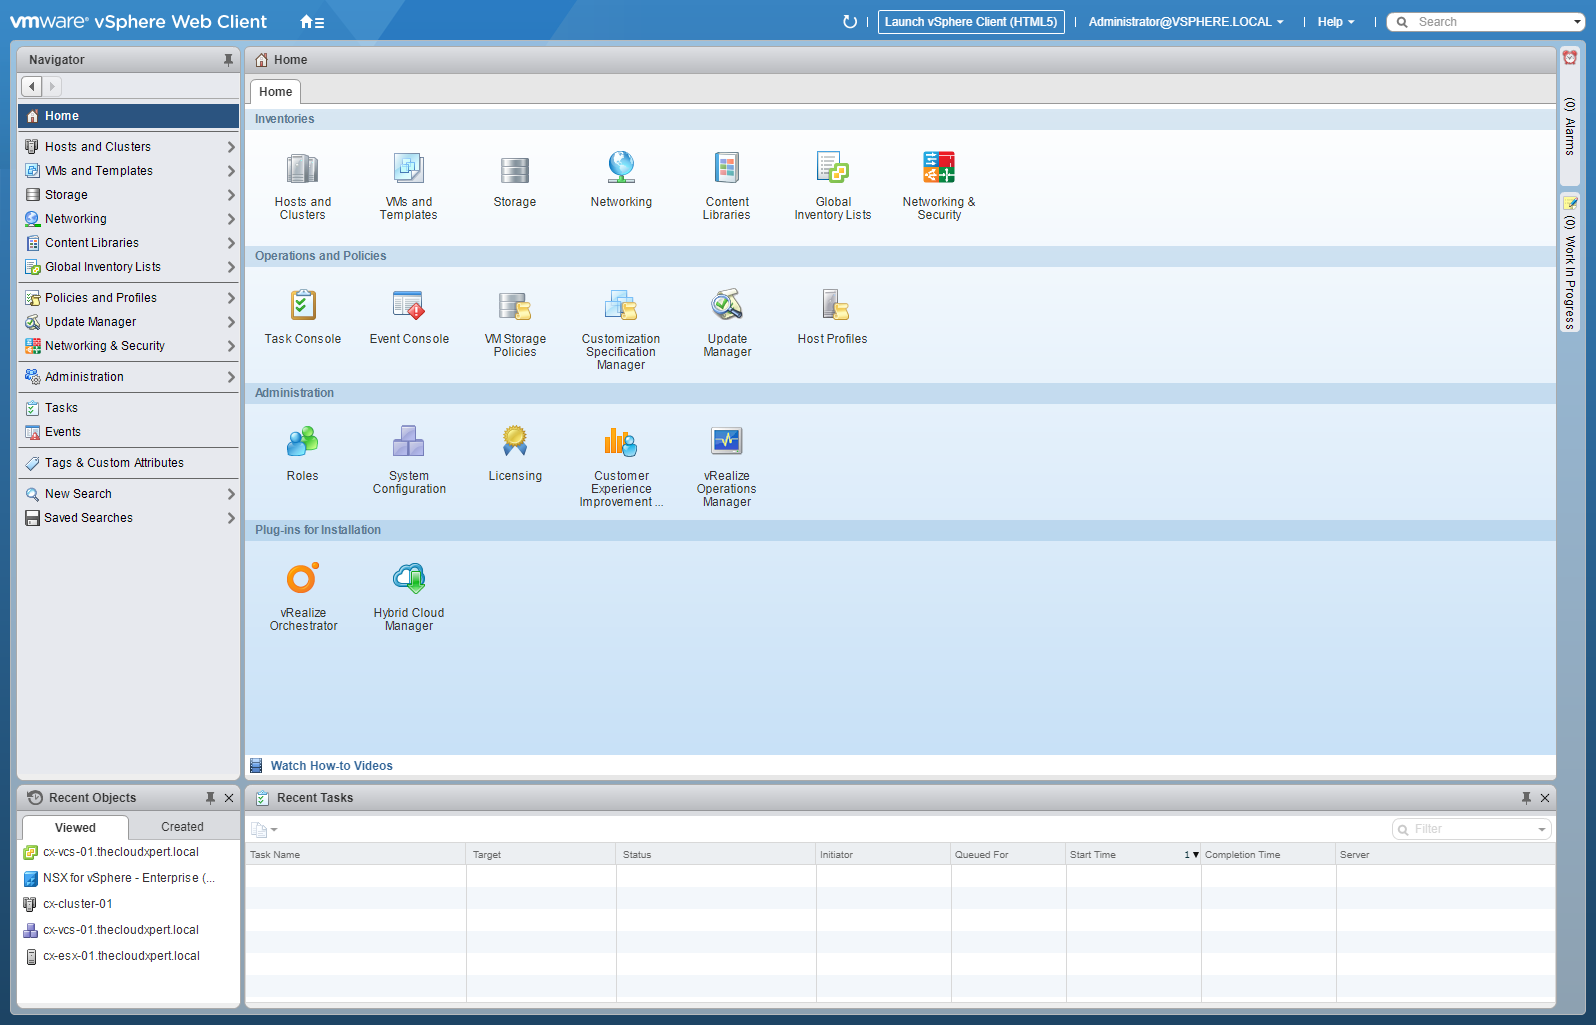
- Click Menu > Administration.
- Under Licensing, click Licenses.
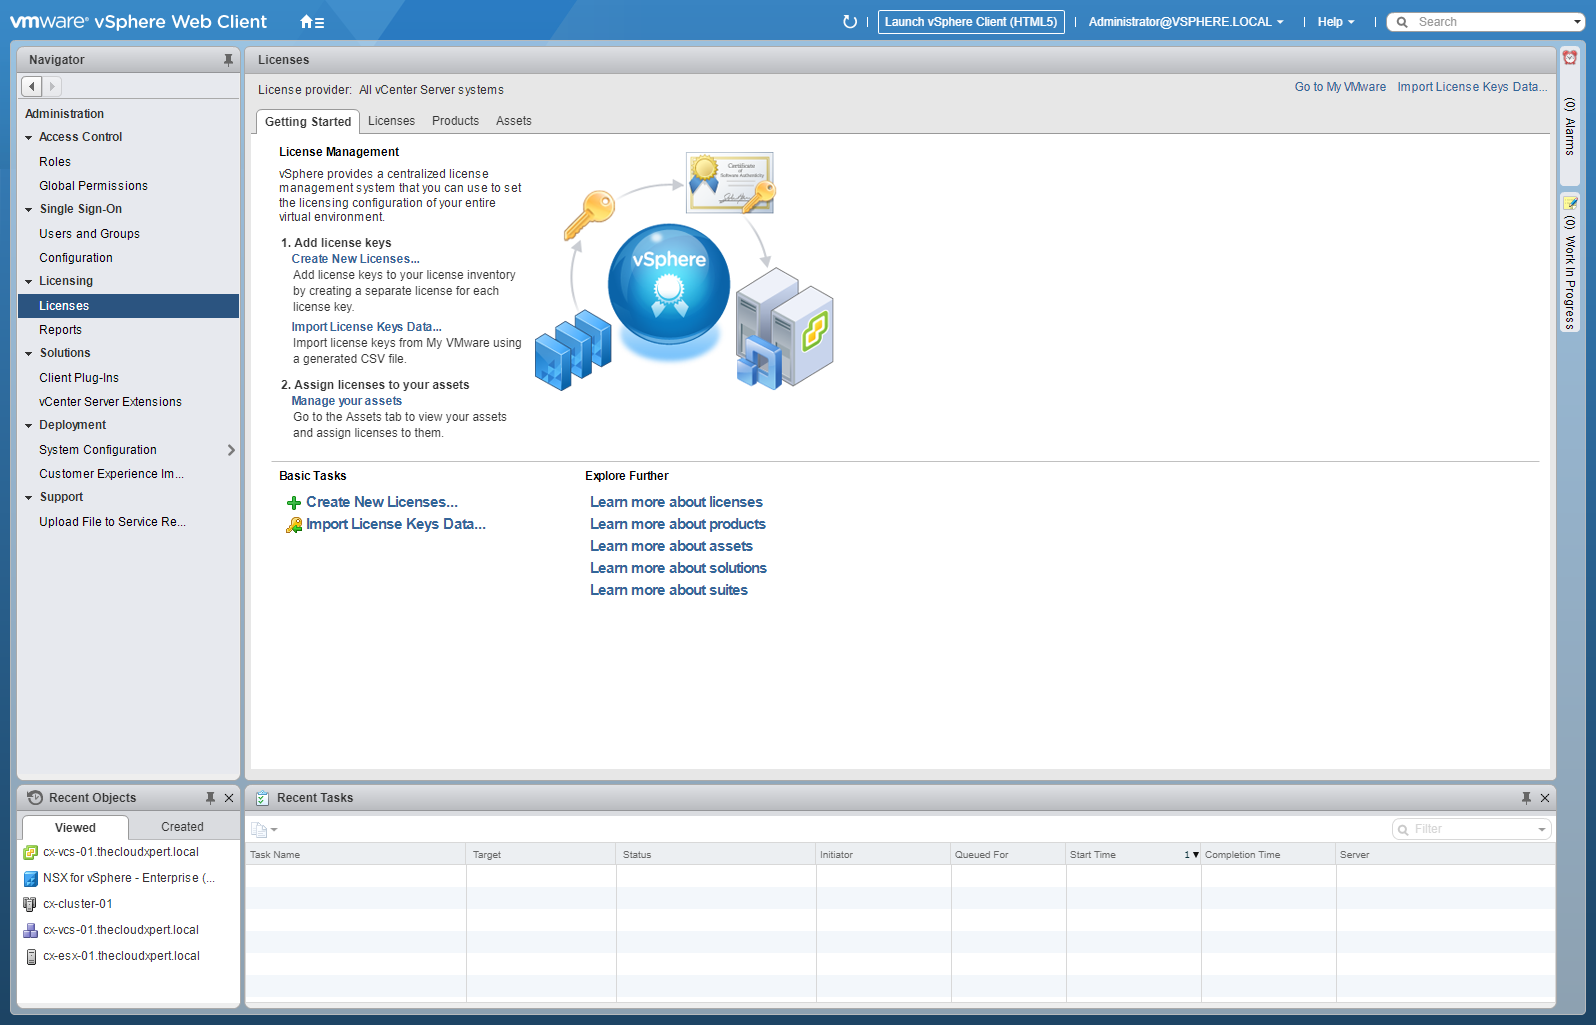
- Click Add New Licenses.

- Type or copy your new license key into the window
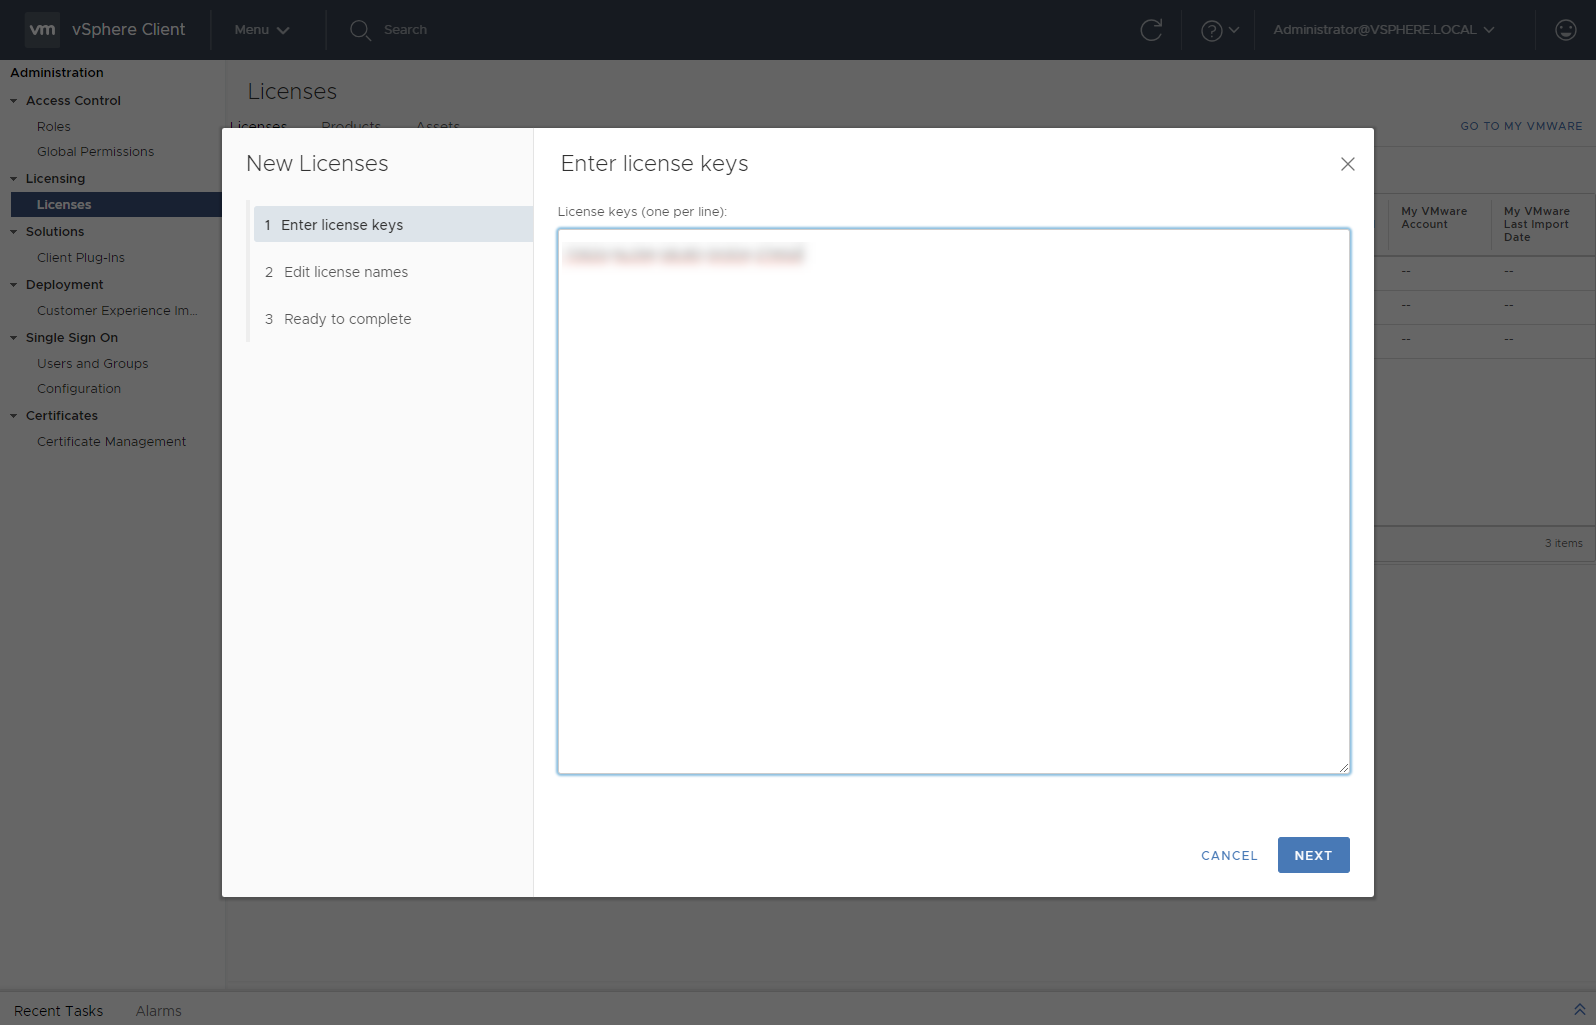
- Click Next.
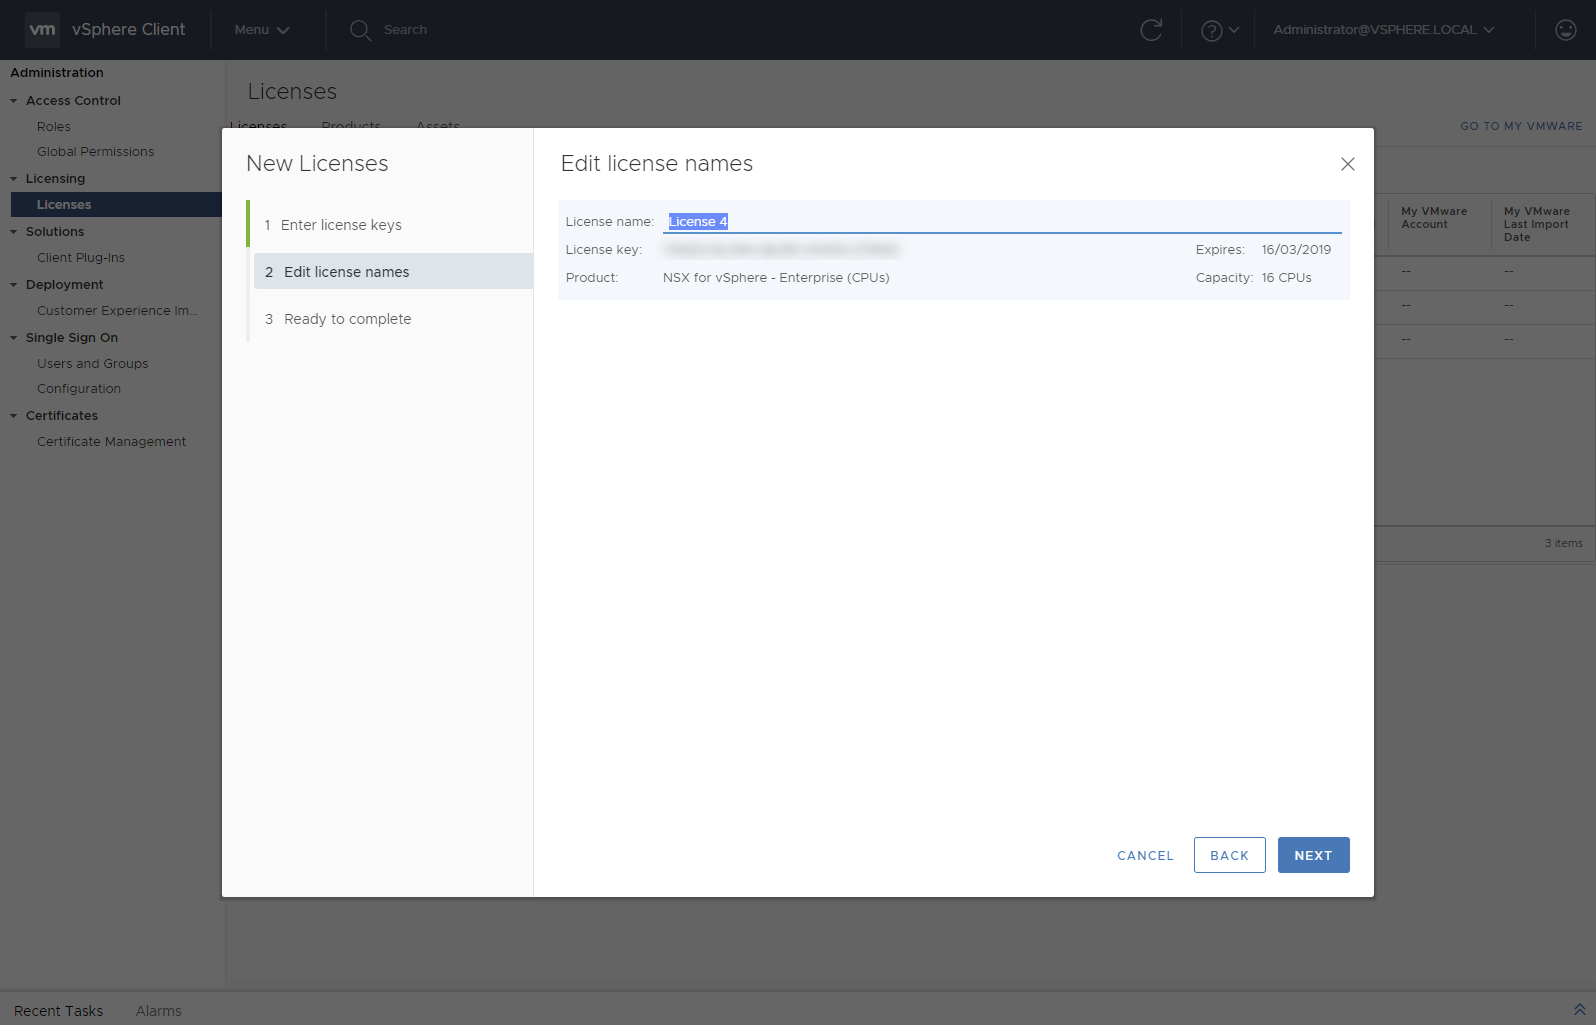
- Enter a preferred name into the License Name field.
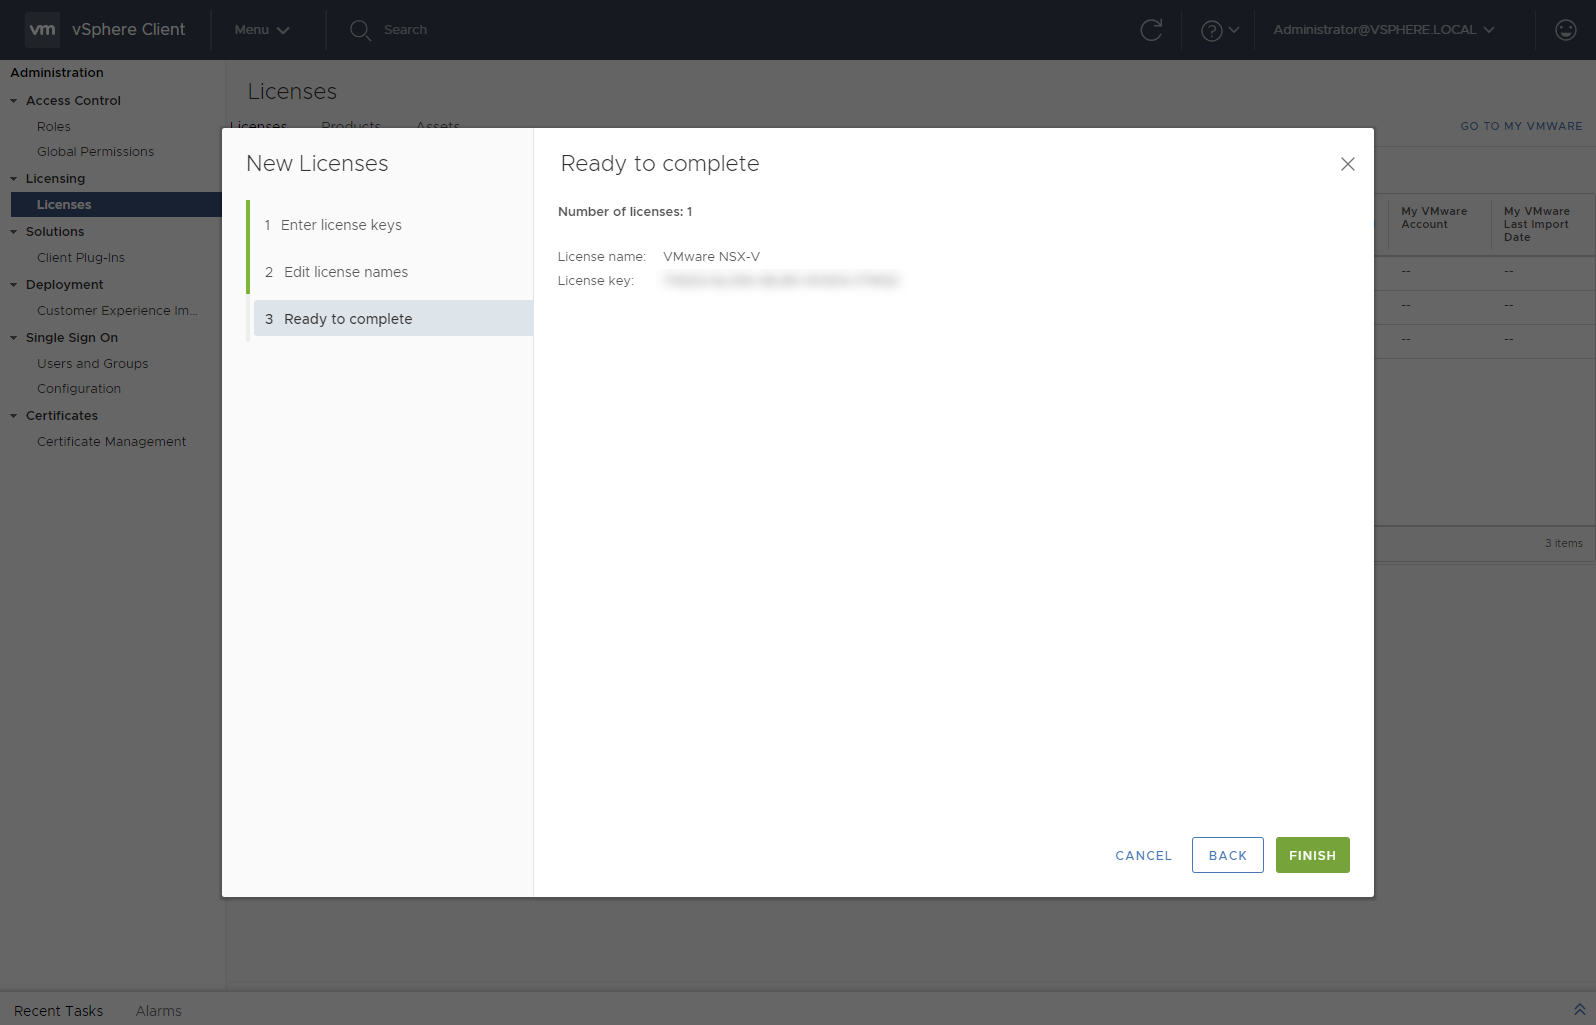
- Click Finish.

Assigning the VMware NSX-v License in the HTML5 client
I then needed to assign the VMware NSX-v license to the cluster so I could continue the configuration. I continued from where I left off and completed the following steps:
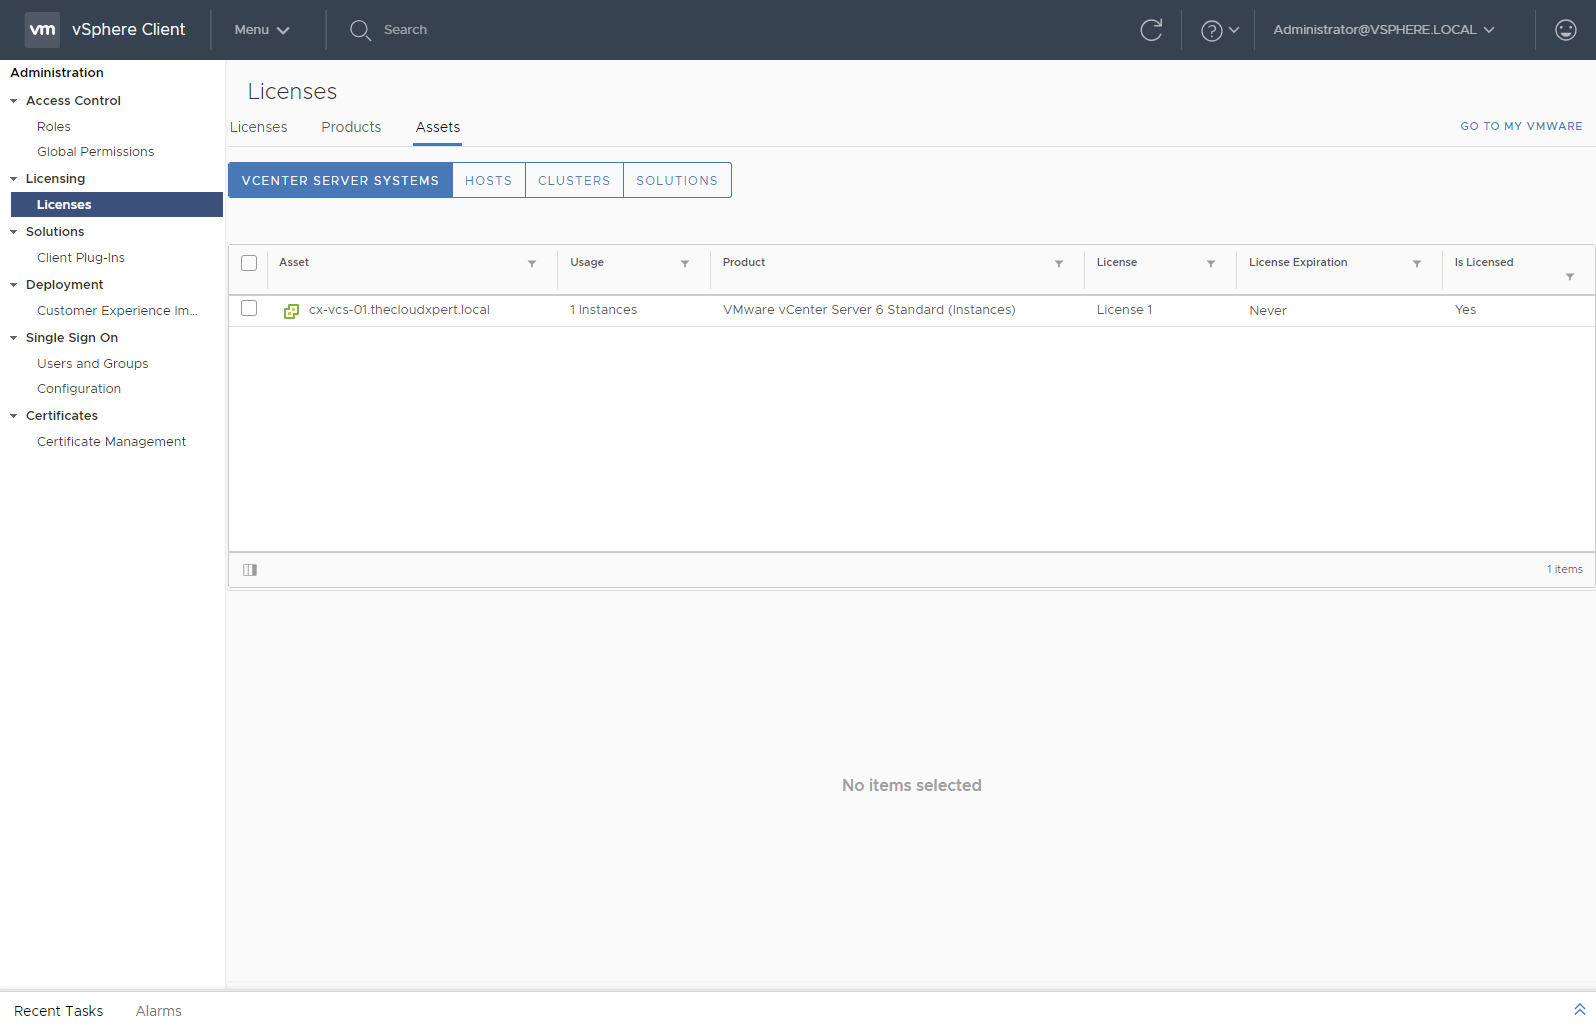
- Click on Assets.
- Click Solutions.
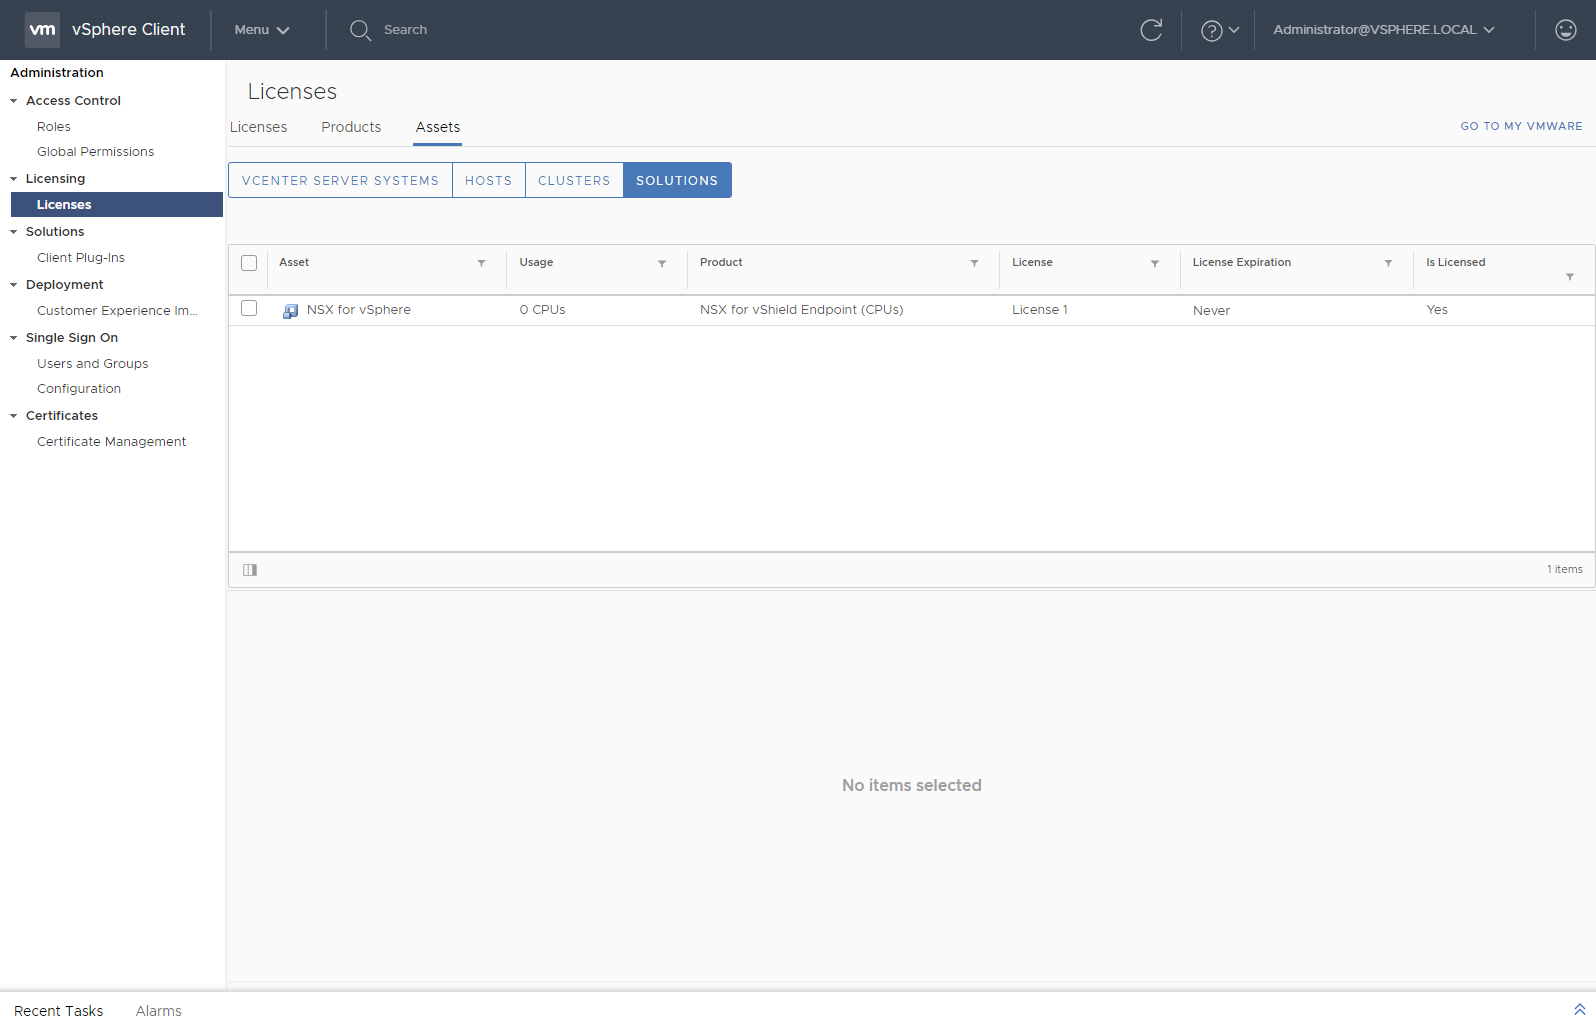
- Check the checkbox next to the NSX for vSphere solution.
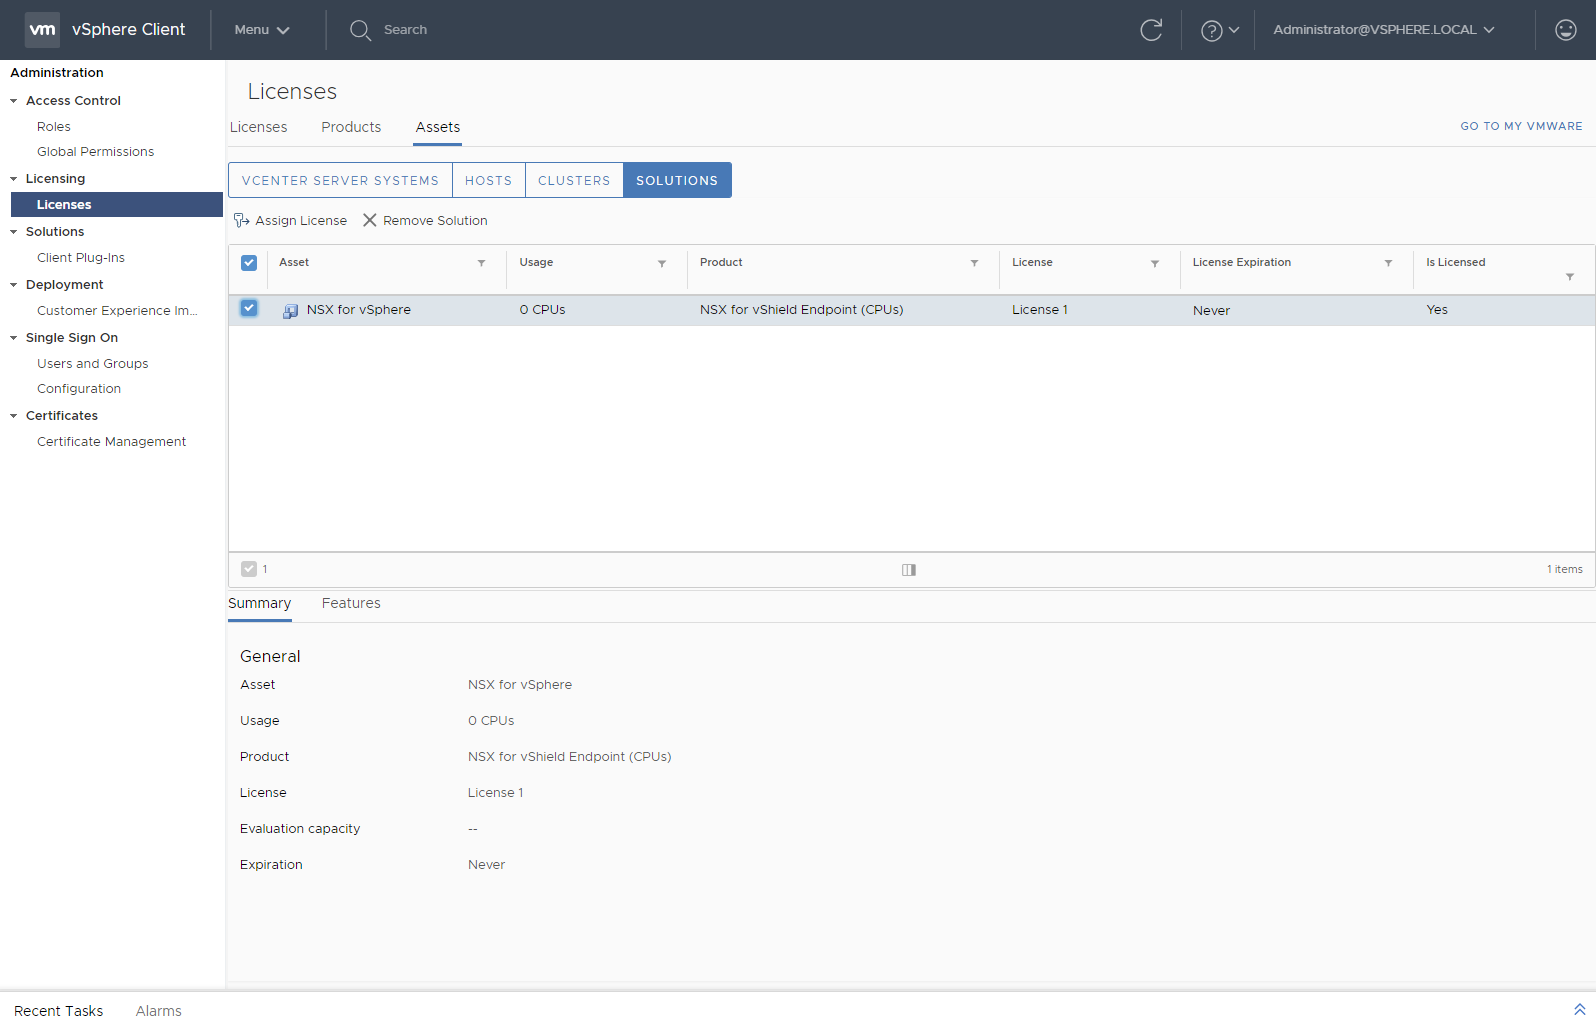
- Click Assign License.
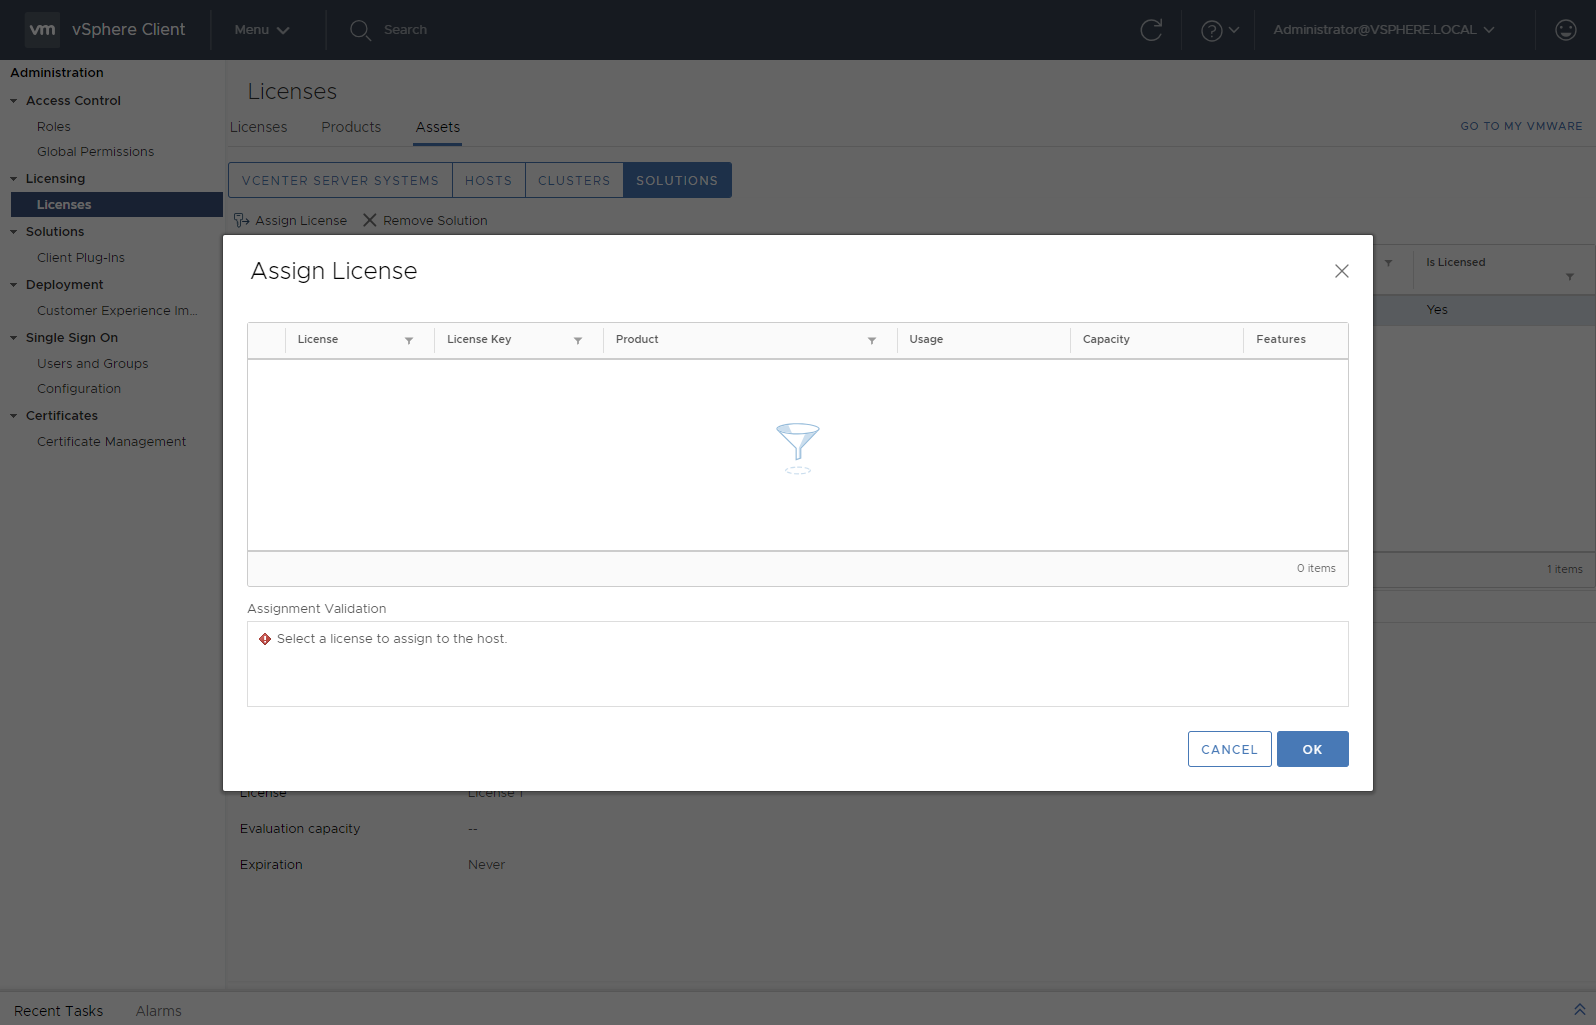
And… oh wait my license is not there…
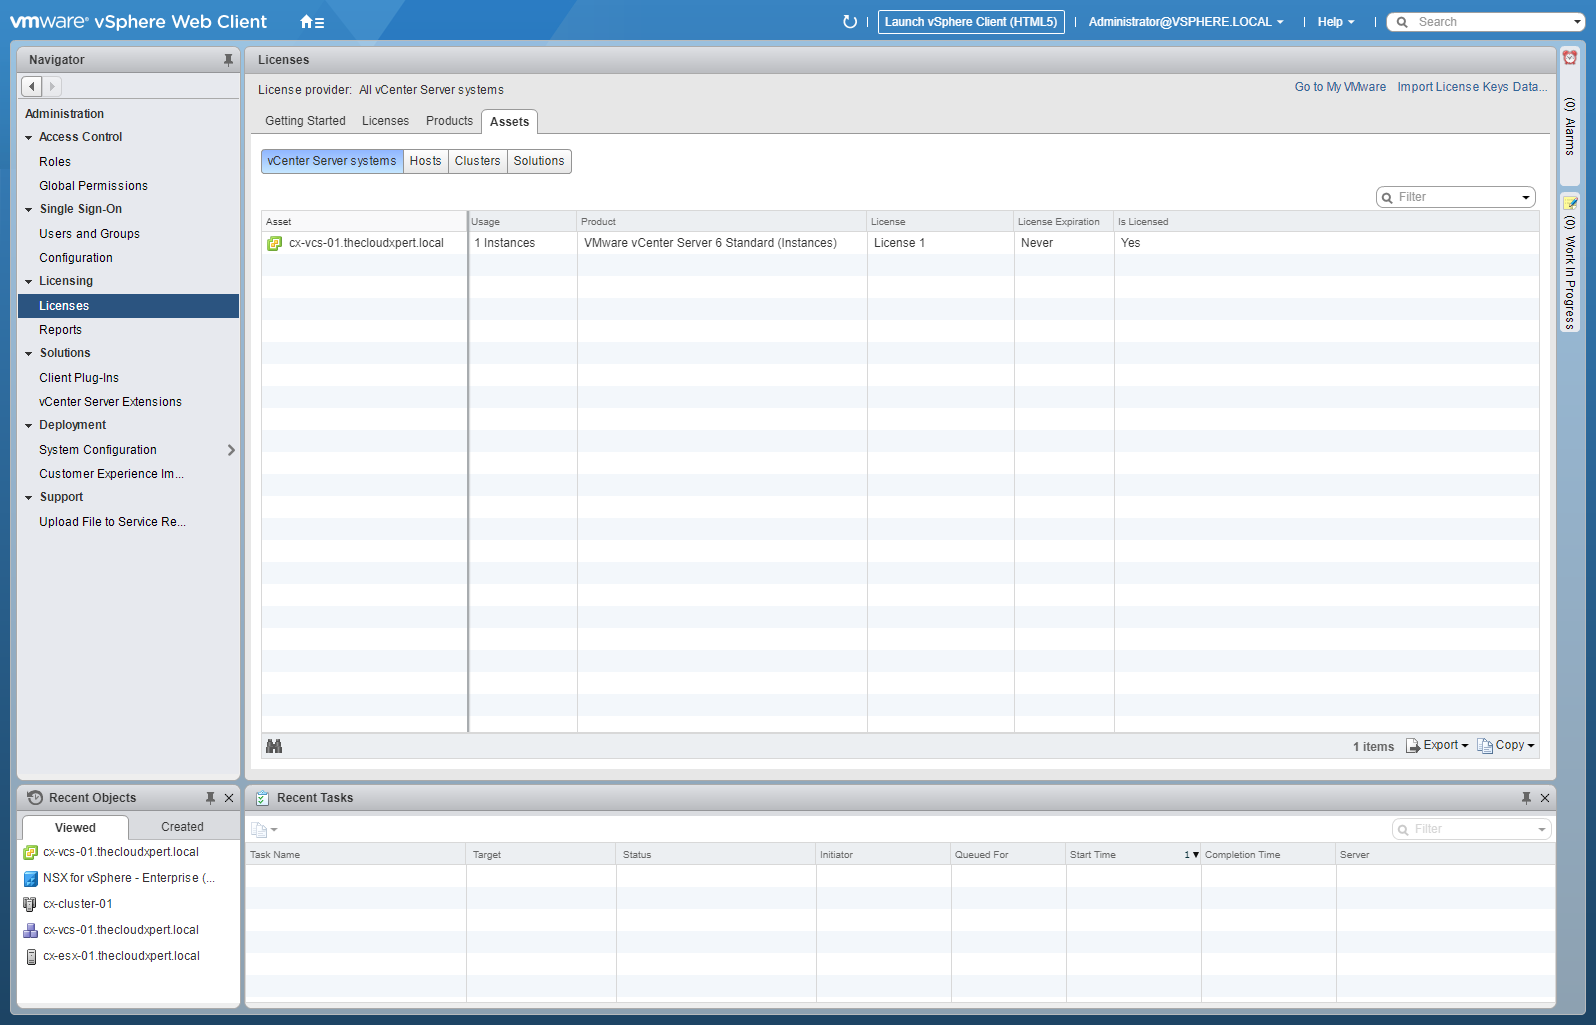
I went back and check the license was added and it was…
Then I checked the VMware NSX-v 6.4.1 Release Notes and specifically the link for Functionality Updates for VMware NSX for vSphere - UI Plugin for vSphere Client and it seems a lot of functionality still isn’t supported in the HTML5 client for NSX-v. Albeit, I’m unsure why something as simple as license activation wasn’t one of the first things that was transitioned.
Assigning the VMware NSX-V License using the Flex client
Luckily the flex client is still around and it was a pretty simple job to activate the VMware NSX-v license, steps below:
- Navigate to the
https://vcenter FQDN.

- Click Launch vSphere Web Client (Flex).
- Log in using suitable credentials.
- Click Administration > Licenses.
- Click Assets.
- Click Solutions.

- Click All Actions > Assign License.
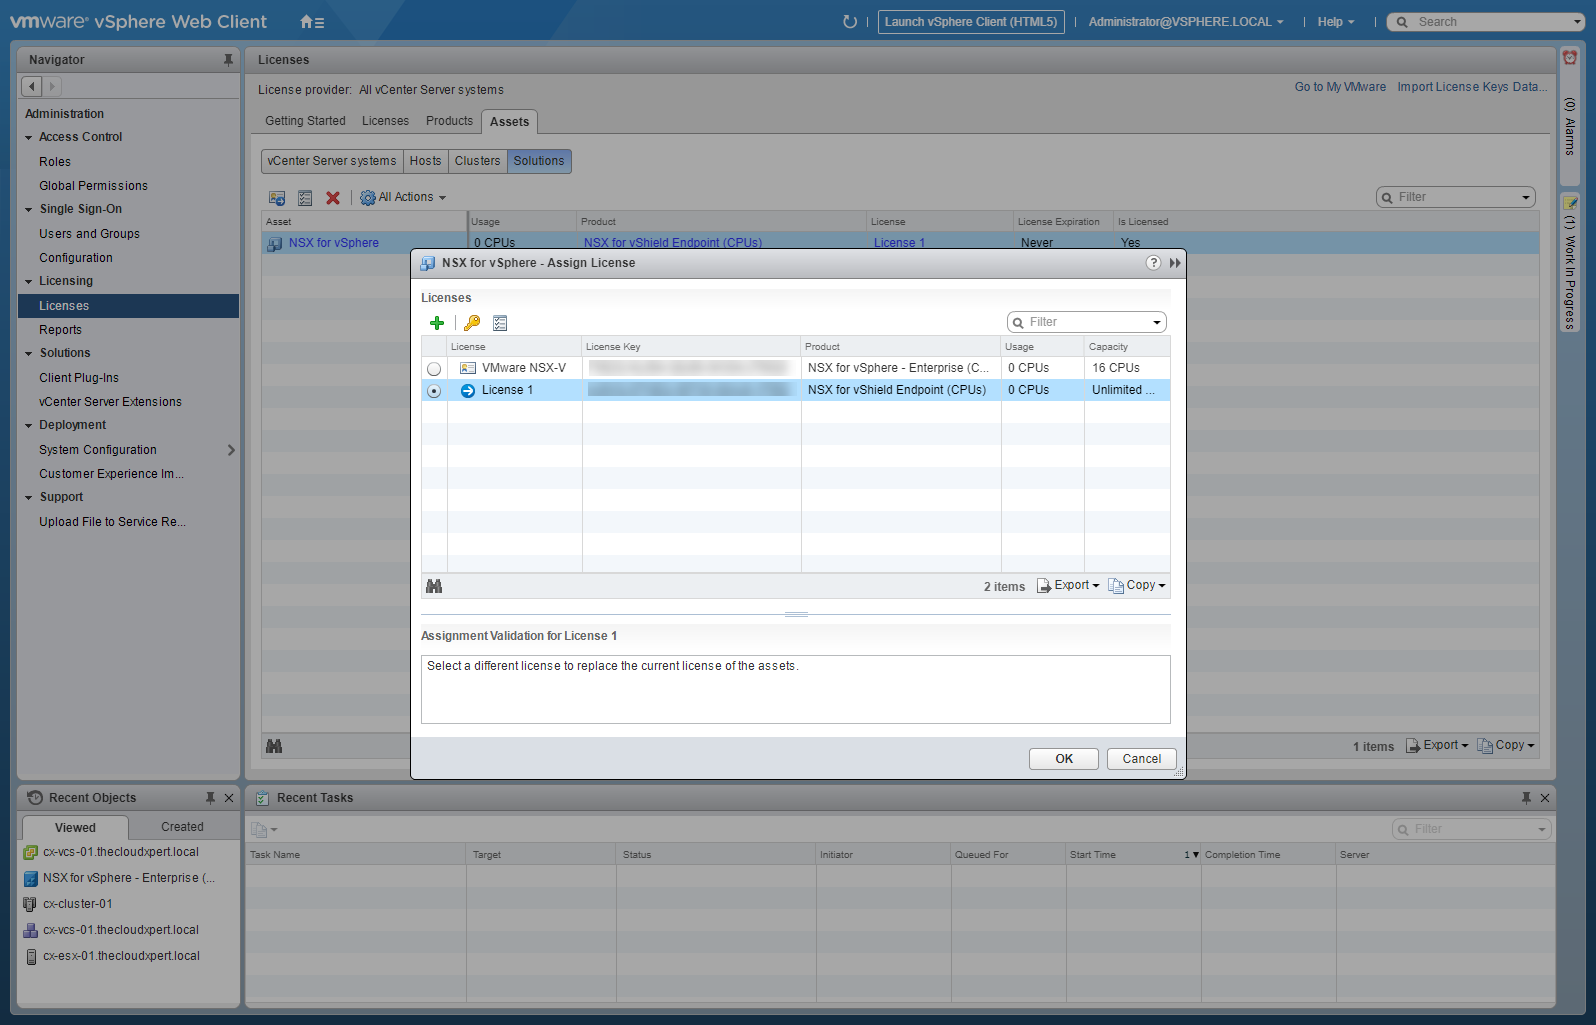
- Choose the license you want to apply (for me this is the VMware NSX-v license I specified earlier) and click OK.
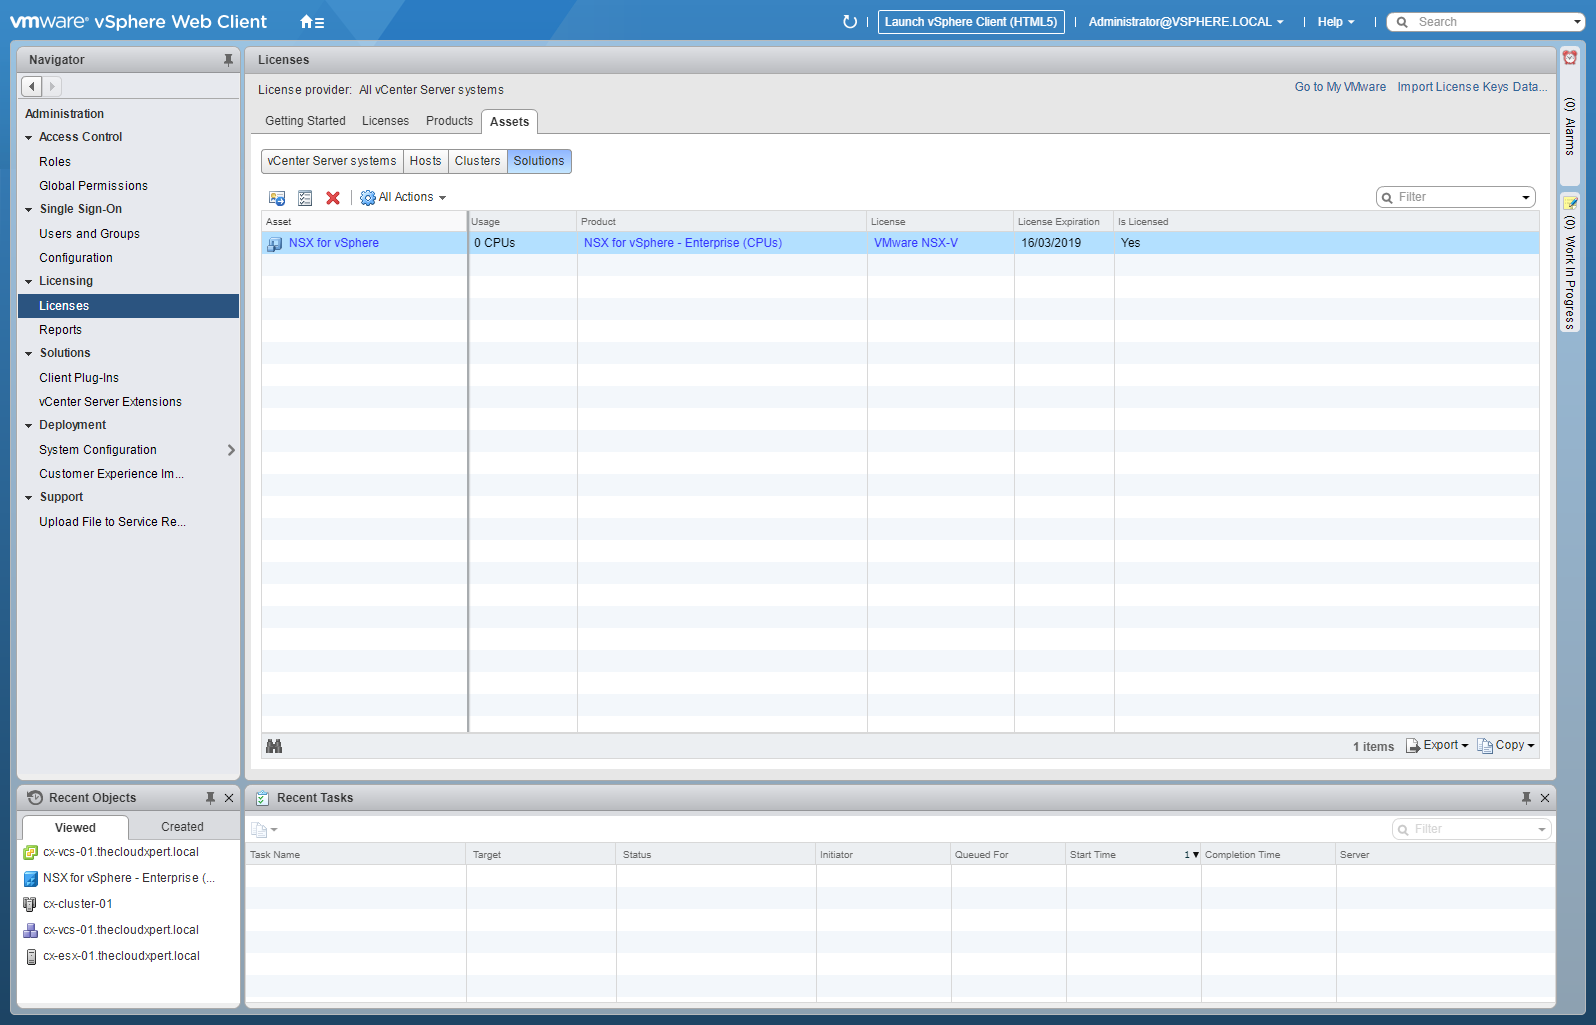
And now you’re ready to switch back to the HTML5 client to configure VMware NSX-V.
Final Word
The vSphere HTML5 Client is #awesome but, especially with VMware NSX-V in mind, don’t get too comfortable with the fluidity of it. Once you have installed VMware NSX-v you will be spending a lot of time in the Flex client because you cannot create Logical Switches and Edges in HTML5 client!
I personally can’t wait for the fully featured HTML5 client!
Published on 11 June 2018 by Christopher Lewis. Words: 501. Reading Time: 3 mins.
- VCAP6-NV Deploy - Objective 4.1 - Configure and Manage Logical Firewall Services ()
- VCAP6-NV Deploy - Objective 6.3 - Configure and Manage Universal Logical Security Objects ()
- VCAP6-NV Deploy - Objective 6.2 - Configure and Manage Universal Logical Network Objects ()
- VCAP6-NV Deploy - Objective 6.1 - Configure Cross vCenter VMware NSX infrastructure components ()
- Achievement Unlocked - VMware Certified Implementation Expert 6 - Network Virtualization ()
